Home>Production & Technology>Sound Bar>How Do I Get A Sound Bar To Work On A Proscan
Sound Bar
How Do I Get A Sound Bar To Work On A Proscan
Published: December 25, 2023
Learn how to set up and connect a sound bar to your Proscan TV for optimal audio experience. Get step-by-step instructions and troubleshooting tips in this helpful guide.
(Many of the links in this article redirect to a specific reviewed product. Your purchase of these products through affiliate links helps to generate commission for AudioLover.com, at no extra cost. Learn more)
Table of Contents
Introduction
Sound bars have become a popular choice for enhancing the audio experience of TVs, including Proscan models. With their sleek design and powerful sound output, sound bars offer a convenient and effective way to elevate your viewing and listening pleasure. If you’re wondering how to get a sound bar to work on your Proscan TV, this article will guide you through the steps.
Whether you want to enhance the dialogue clarity, amplify the impact of action scenes, or simply enjoy a more immersive sound experience, a sound bar can be a worthwhile investment. However, getting it set up correctly is crucial to ensure optimal performance. In this article, we will explain how to determine compatibility, establish the necessary connections, adjust settings, and troubleshoot common issues that may arise when using a sound bar with your Proscan TV.
Before you proceed, it’s important to note that Proscan TVs typically come with built-in speakers. However, the audio quality may not always meet your expectations, especially if you want a more cinematic experience. By connecting a sound bar, you can significantly enhance the audio output of your Proscan TV, immersing yourself in the soundstage and creating a more enjoyable viewing experience for movies, TV shows, and gaming.
In the following sections, we will walk you through the process step by step, so you can enjoy the benefits of a sound bar with your Proscan TV. Let’s get started!
Checking Sound Bar Compatibility
Before you begin setting up your sound bar with your Proscan TV, it’s important to ensure that they are compatible. Checking compatibility will help prevent any compatibility issues or frustrations down the line. Here are a few factors to consider:
1. Port Compatibility: Check the available audio output ports on your Proscan TV and compare them to the input options on your sound bar. Most sound bars connect using HDMI, optical, or AUX cables. Make sure you have the necessary ports available on both the TV and the sound bar for a seamless connection.
2. TV Audio Settings: Some Proscan TVs might require you to adjust the audio settings to enable external audio devices. Check the TV’s user manual to locate the audio settings and ensure they are set to allow external audio output.
3. Sound Bar Size: Consider the size and placement of your Proscan TV and sound bar. Ensure that the sound bar fits comfortably in front or below the TV without obstructing the view or blocking any remote sensor.
4. Power Requirements: Check the power requirements of your sound bar. Ensure that it can be conveniently plugged into a power source near your Proscan TV. Avoid using extension cords if possible, as they can sometimes cause power issues.
5. Audio Formats: Verify that your sound bar supports the audio formats used by your Proscan TV. Common audio formats include Dolby Digital, DTS, and PCM. If your TV and sound bar use different audio formats, you may not get the desired sound quality.
By confirming these compatibility factors, you can be sure that your Proscan TV and sound bar will work together seamlessly. This will help you avoid any frustrations and ensure a smooth setup process.
Connecting the Sound Bar to your Proscan TV
Once you have confirmed the compatibility of your sound bar with your Proscan TV, it’s time to establish the necessary connections. Follow these steps to connect your sound bar:
- Identify the Audio Output Port: Locate the audio output port on your Proscan TV. It is usually labeled “Audio Out” or “Digital Audio Out.” Common options include HDMI ARC (Audio Return Channel), optical, or AUX.
- Select the Right Cable: Depending on the available ports on your Proscan TV and sound bar, choose the appropriate cable. HDMI and optical cables are preferred for their high-quality audio transmission. Alternatively, you can use an AUX cable if that is the only option available.
- Connect the Sound Bar: Connect one end of the chosen cable to the audio output port on the Proscan TV, and the other end to the corresponding audio input port on the sound bar. Make sure the connections are secure and tight to avoid any audio issues.
- Power On the Sound Bar: Plug the power cord of the sound bar into an electrical outlet. Turn on the sound bar using the power button or remote control.
- Switch the TV Audio Output: On your Proscan TV, go to the audio settings and select the appropriate audio output. If using HDMI ARC, make sure the TV audio is set to HDMI ARC or eARC. If using optical or AUX, select the corresponding option.
- Test the Connection: Play a video or audio on your Proscan TV to ensure that the sound bar is receiving the audio signal. Adjust the volume on both the TV and the sound bar to your desired levels.
Once the sound bar is successfully connected to your Proscan TV and the audio signal is being transmitted, you can enjoy an enhanced audio experience. Remember to refer to the user manuals of both the TV and the sound bar for specific instructions and troubleshooting tips.
Adjusting Sound Bar Settings
After you have connected the sound bar to your Proscan TV, you may need to adjust some settings to optimize the audio performance. Here are a few key settings to consider:
- Sound Modes: Many sound bars offer different sound modes to enhance specific types of content. Experiment with these modes to find the one that suits your preferences. Options may include Movie mode for immersive cinematic sound, Music mode for enhanced music playback, and Night mode for reduced dynamic range for late-night viewing.
- Equalizer Settings: Some sound bars allow you to adjust the sound frequencies using an equalizer. This feature can be useful to customize the audio output according to your preference. Explore the available options and adjust the bass, treble, and mid-range levels to fine-tune the sound quality.
- Volume Control: While the volume can be controlled via the Proscan TV remote, many sound bars also come with their own remote control. Ensure that the sound bar’s volume control is synchronized with the TV to avoid any discrepancies. If needed, adjust the volume of both the TV and the sound bar to achieve a balanced sound output.
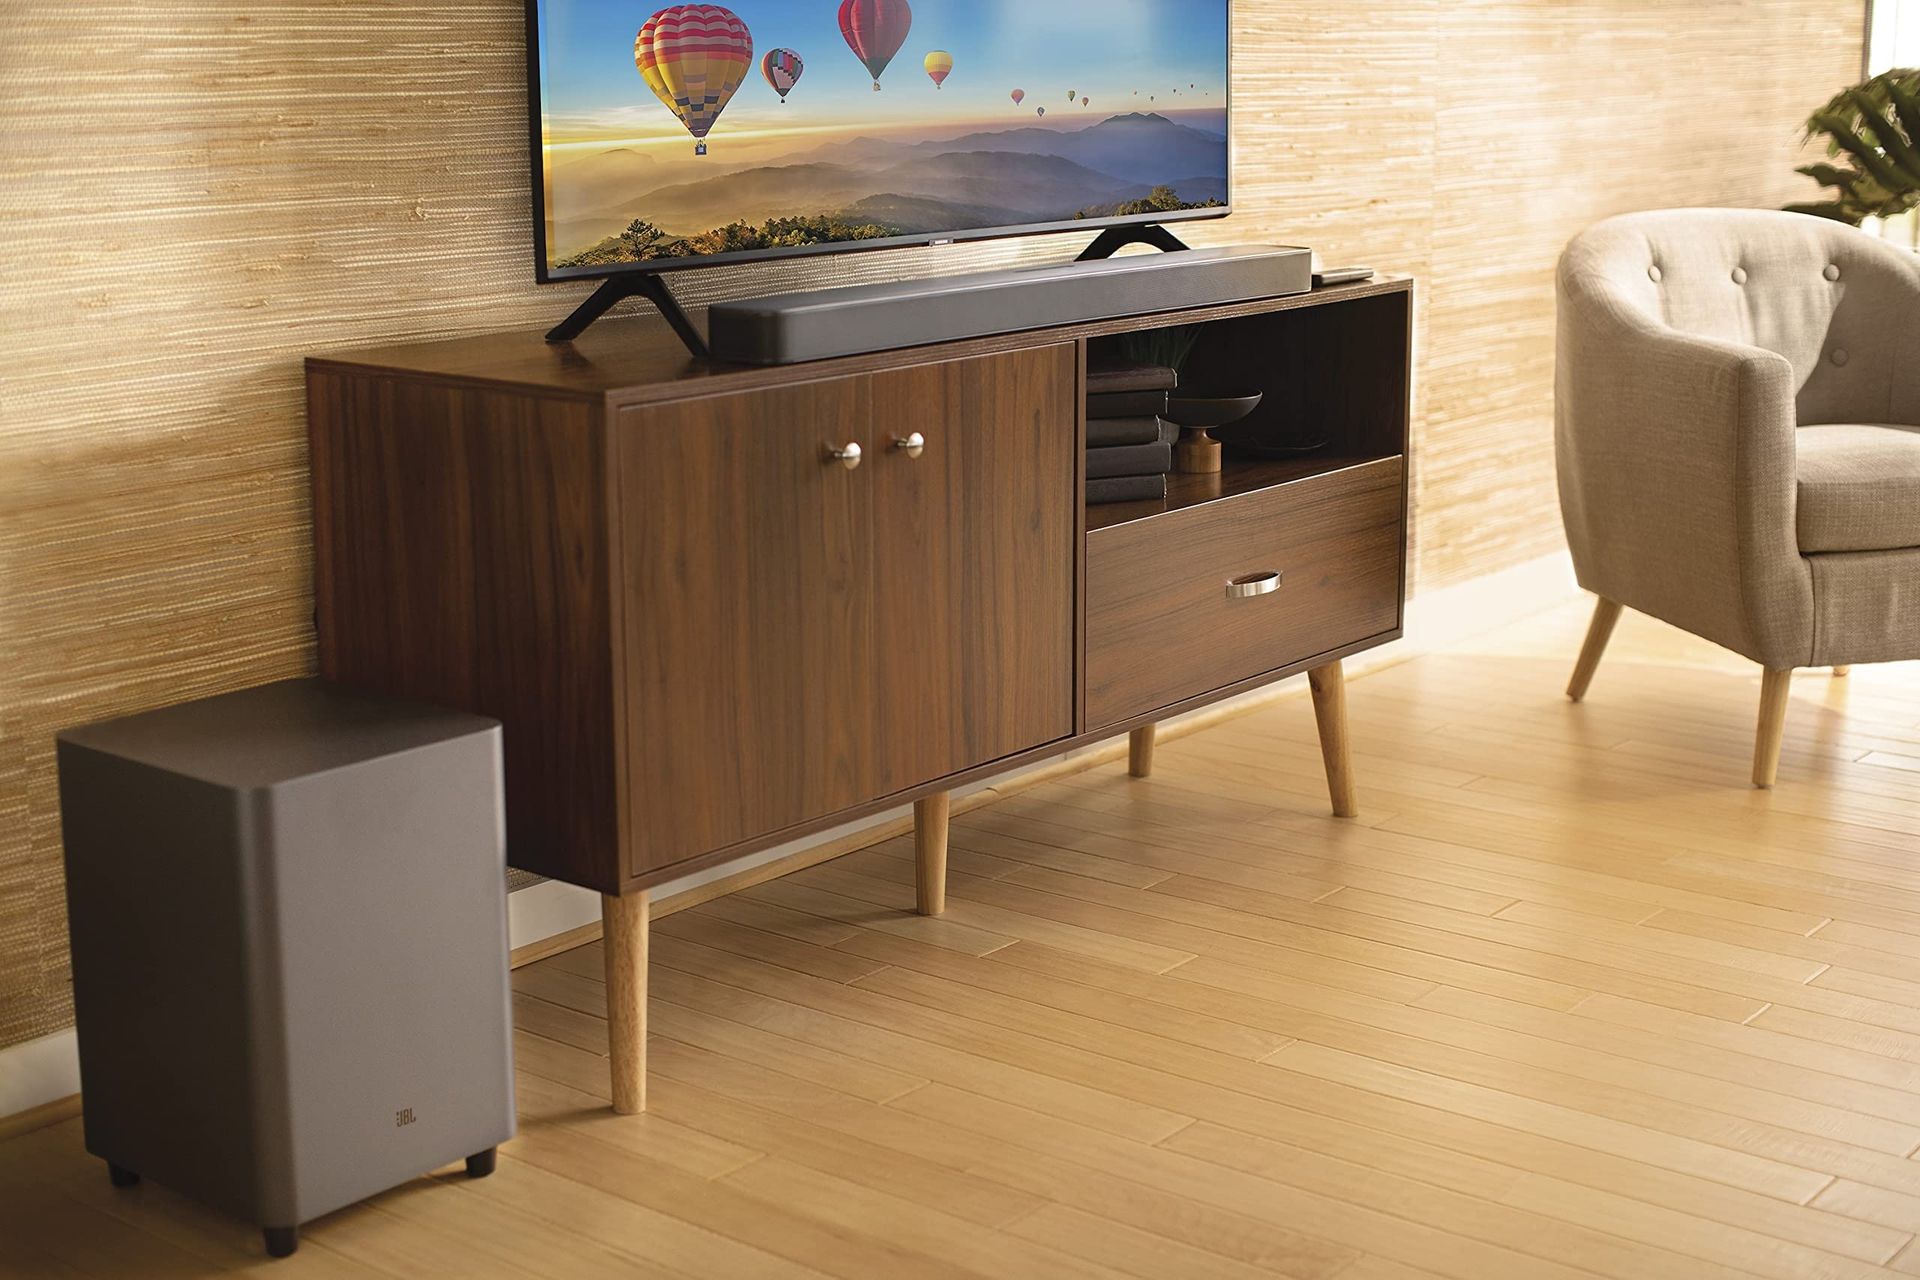
- Subwoofer Setup: If your sound bar includes a wireless subwoofer, ensure it is properly connected and positioned for optimal bass response. Follow the manufacturer’s instructions to pair the subwoofer with the sound bar, and place it in a suitable location within the room to enhance the low-frequency audio experience.
- Additional Audio Features: Depending on the model, your sound bar may offer additional features such as dialogue enhancement, virtual surround sound, or Bluetooth connectivity. Explore these options and adjust the settings to further enhance your audio experience and expand your entertainment possibilities.
Every sound bar model will have its own unique set of settings and features. Refer to the user manual or manufacturer’s website for specific guidance on adjusting the settings of your particular sound bar model.
By taking the time to adjust the sound bar settings, you can tailor the audio output to your liking and create a more immersive and enjoyable audio experience while watching your favorite shows, movies, or playing games on your Proscan TV.
Troubleshooting Common Issues
While setting up and using a sound bar with your Proscan TV is generally straightforward, you may encounter some common issues along the way. Here are a few troubleshooting tips to help you resolve them:
- No Sound: If you’re not getting any sound from your sound bar, first ensure that all the cables are securely connected between the sound bar and the Proscan TV. Check that the sound bar and TV are powered on and that the volume is not muted on either device. Additionally, ensure that the TV audio output is set to the correct option.
- Poor Sound Quality: If the sound quality from the sound bar is not satisfactory, try adjusting the equalizer settings on the sound bar. Experiment with the different sound modes to see which one provides the best audio experience. Additionally, check if there are any audio settings on your Proscan TV that may impact the sound quality.
- Audio Sync Issues: If you notice a delay in the audio when using the sound bar, it may be due to a sync issue. Check if your sound bar has an audio delay or lip-sync adjustment feature, and adjust it accordingly to match the video playback on your Proscan TV.
- Remote Control Problems: If you’re having trouble controlling the sound bar volume with the Proscan TV remote, ensure that the sound bar and TV are properly paired and that the remote is set to control the sound bar. Refer to the user manuals of both devices for instructions on how to set up the remote control functionality.
- No Connection with Subwoofer: If your sound bar includes a wireless subwoofer and you’re having trouble connecting it, make sure that both the sound bar and subwoofer are powered on. Follow the manufacturer’s instructions on how to pair the subwoofer with the sound bar, as the pairing process may vary depending on the model.
If you’re unable to resolve the issue on your own, it’s recommended to consult the troubleshooting section in the user manual of your sound bar and Proscan TV. Additionally, you can reach out to the customer support of the respective manufacturers for further assistance.
Remember, patience and persistence are key when troubleshooting. With a little effort and troubleshooting, you can overcome most common issues and enjoy the enhanced audio experience provided by your Proscan TV and sound bar setup.
Conclusion
Setting up a sound bar with your Proscan TV can greatly enhance your audio experience while watching your favorite movies, TV shows, or playing games. By ensuring compatibility, making the right connections, adjusting settings, and troubleshooting common issues, you can enjoy immersive sound quality and amplify your entertainment enjoyment.
In this article, we discussed the importance of checking sound bar compatibility with your Proscan TV before getting started. We then provided step-by-step instructions for connecting the sound bar to your TV, adjusting sound bar settings, and troubleshooting common issues that may arise along the way.
Remember to refer to the user manuals of your Proscan TV and sound bar for specific instructions and guidance on setting up and optimizing your particular model. Additionally, reaching out to customer support can be beneficial if you encounter any difficulties during the process.
We hope this guide has been helpful in assisting you with getting your sound bar to work on your Proscan TV. By following the steps outlined in this article, you can enjoy a richer, more immersive audio experience and take your entertainment to the next level.