Home>Production & Technology>Sound Bar>How To Hook PS4 To Sound Bar
Sound Bar
How To Hook PS4 To Sound Bar
Modified: January 22, 2024
Learn how to connect your PS4 to a sound bar for enhanced gaming audio. Follow our step-by-step guide and optimize your gaming experience with a sound bar.
(Many of the links in this article redirect to a specific reviewed product. Your purchase of these products through affiliate links helps to generate commission for AudioLover.com, at no extra cost. Learn more)
Table of Contents
Introduction
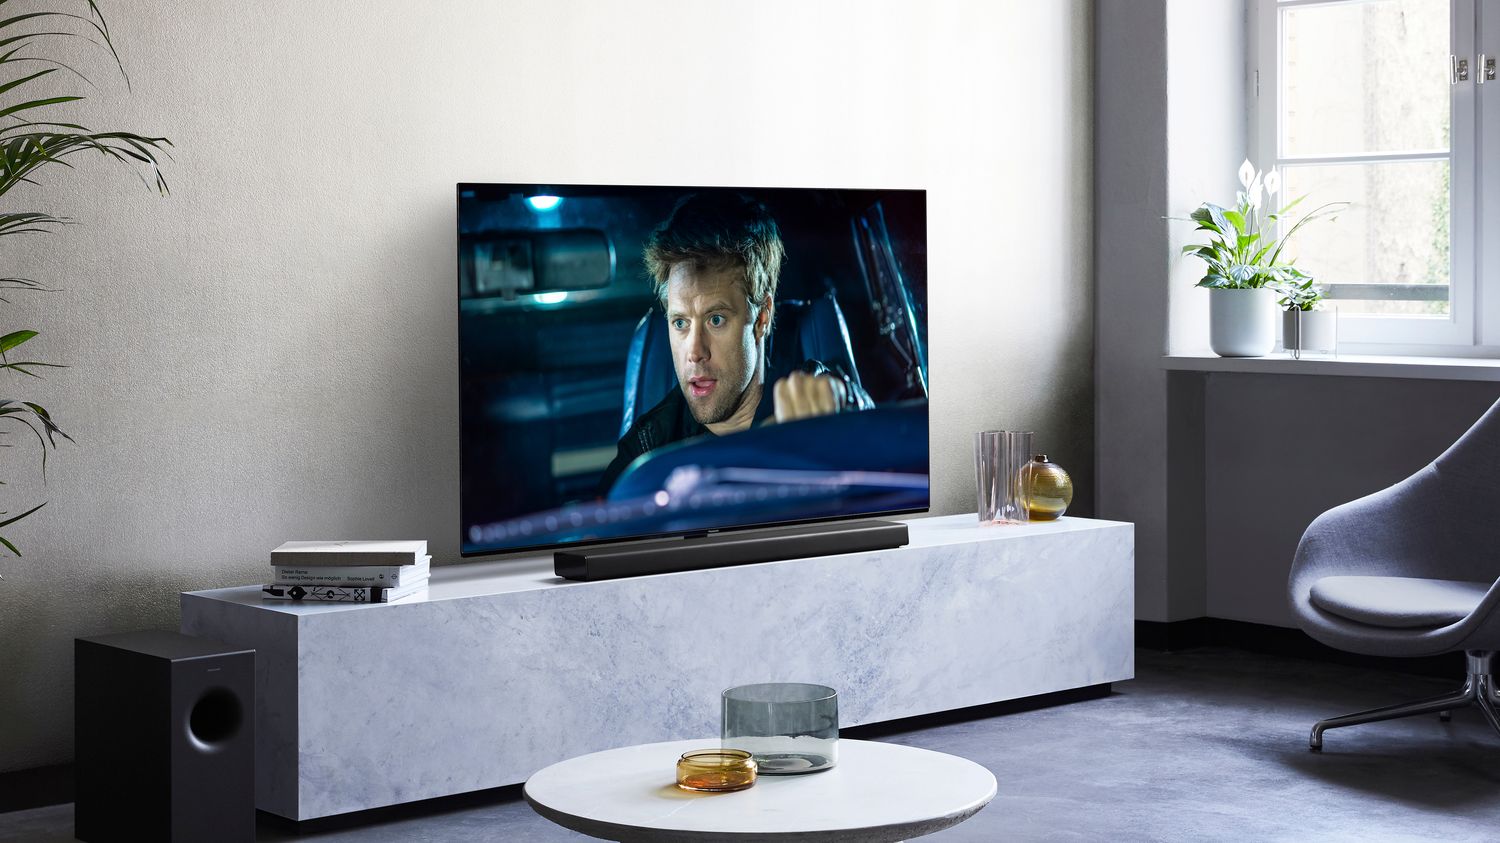
Sound bars have become an essential component of home entertainment systems, providing immersive audio experiences that complement the stunning visuals of modern TVs. If you’re a gaming enthusiast, you know how crucial sound quality is to the overall gaming experience. The standard speakers of your gaming console might not offer the same level of audio richness and clarity as a dedicated sound bar. That’s why knowing how to hook up your PlayStation 4 (PS4) to a sound bar can greatly enhance your gaming sessions.
In this article, we’ll guide you through the step-by-step process of connecting your PS4 to a sound bar, ensuring that you can enjoy the best possible audio quality while gaming. We’ll cover everything from gathering the necessary equipment to adjusting the audio settings on your console and fine-tuning the sound bar settings. By the end of this guide, you’ll be able to experience immersive audio while playing your favorite PS4 games.
Before we dive into the specifics, it’s important to note that the process may slightly vary depending on the model of your sound bar and PS4. However, the general principles and steps outlined here should apply to most devices.
So, let’s get started and unlock the full potential of your PS4’s audio capabilities!
Step 1: Gather the Necessary Equipment
Before you can start connecting your PS4 to a sound bar, it’s important to gather all the necessary equipment. Here’s what you’ll need:
- PS4 Console: Ensure that you have your PS4 console ready. This is the central device that will be connected to the sound bar to transmit audio.
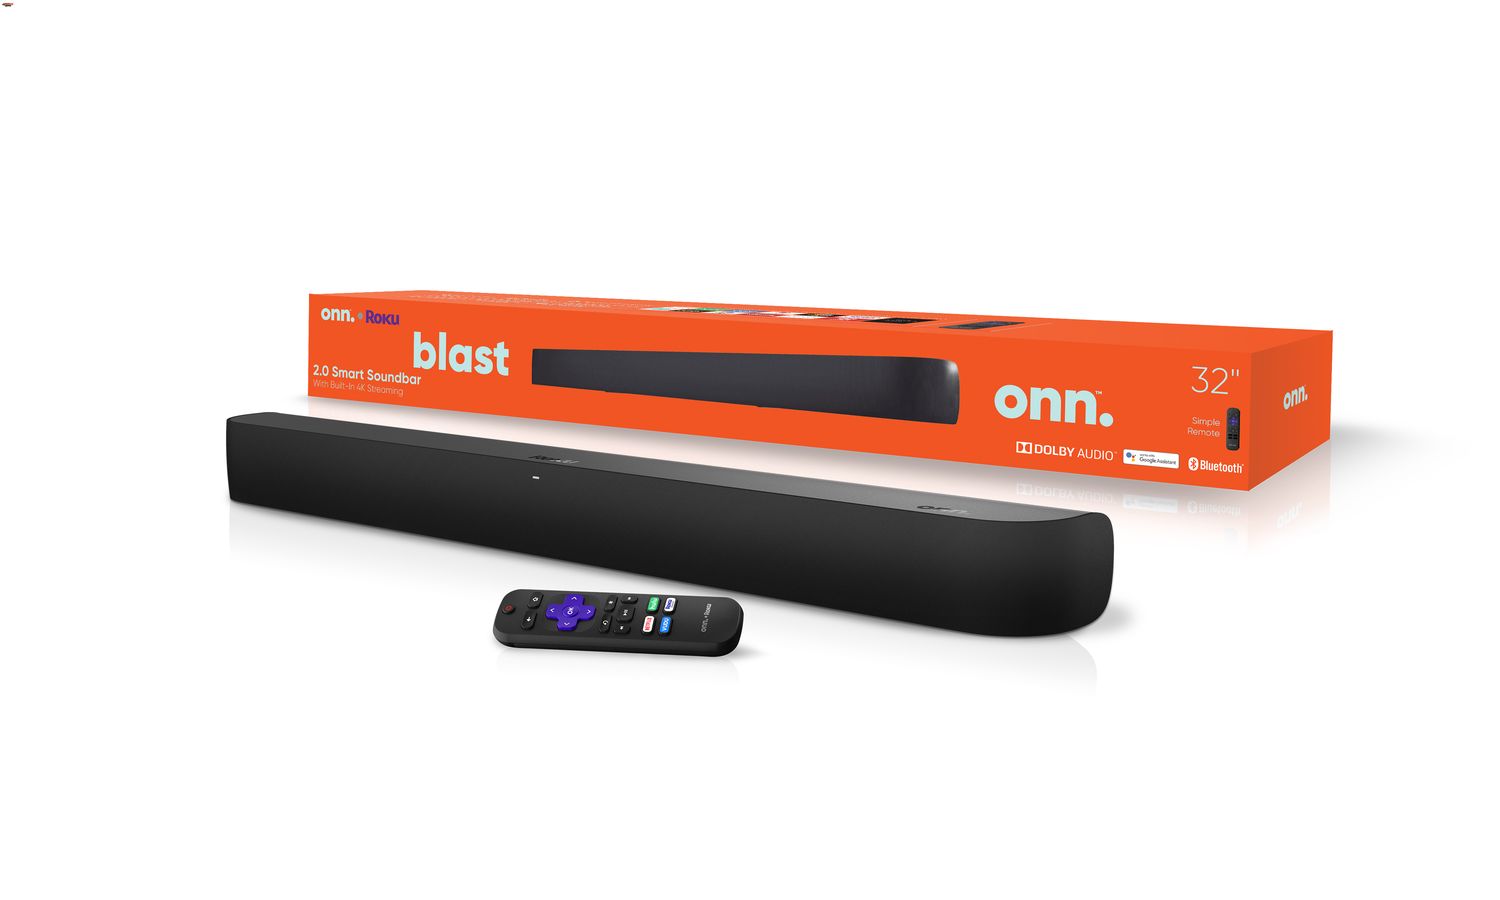
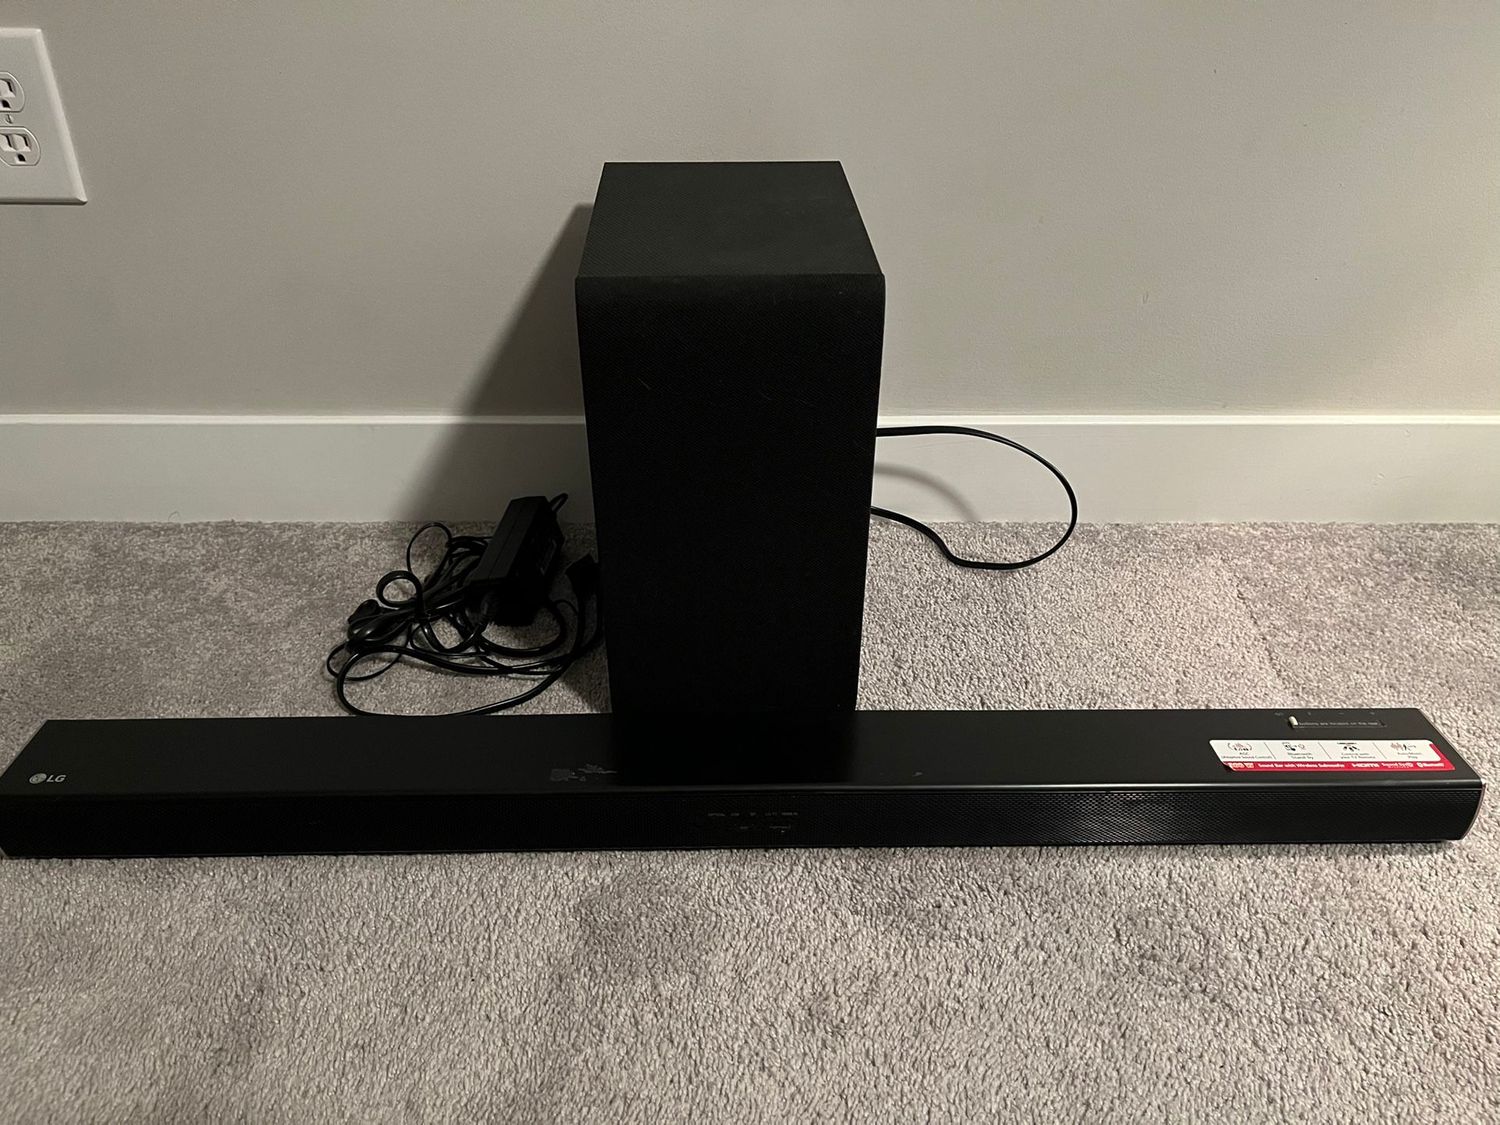
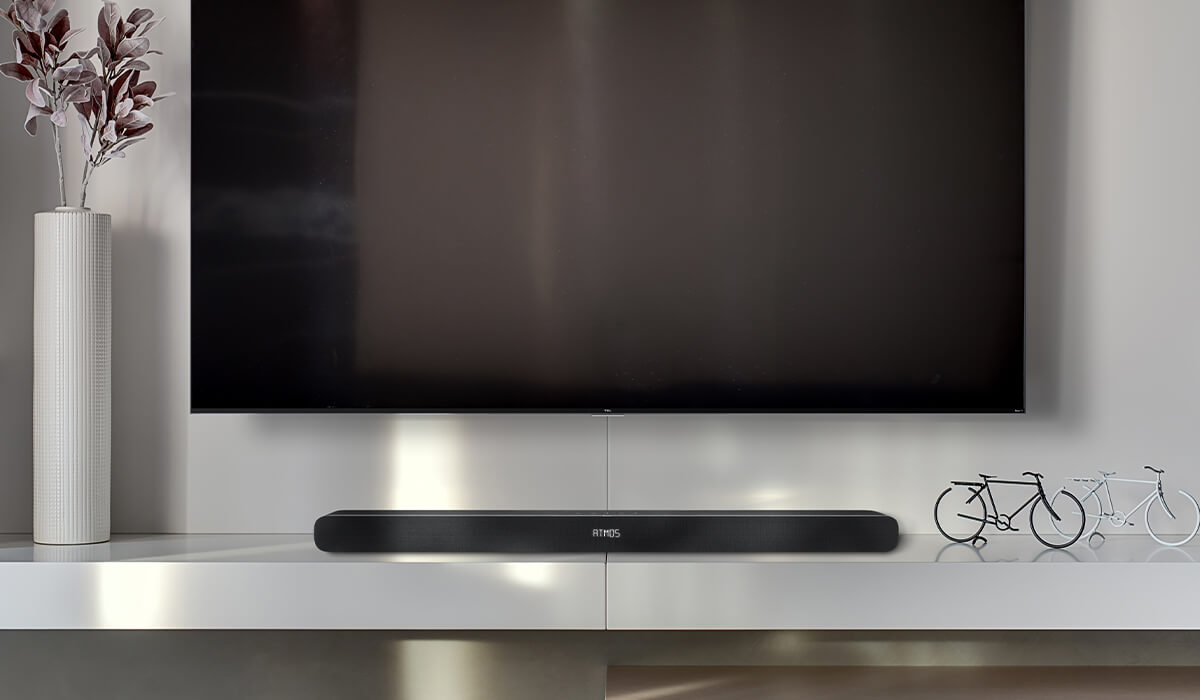
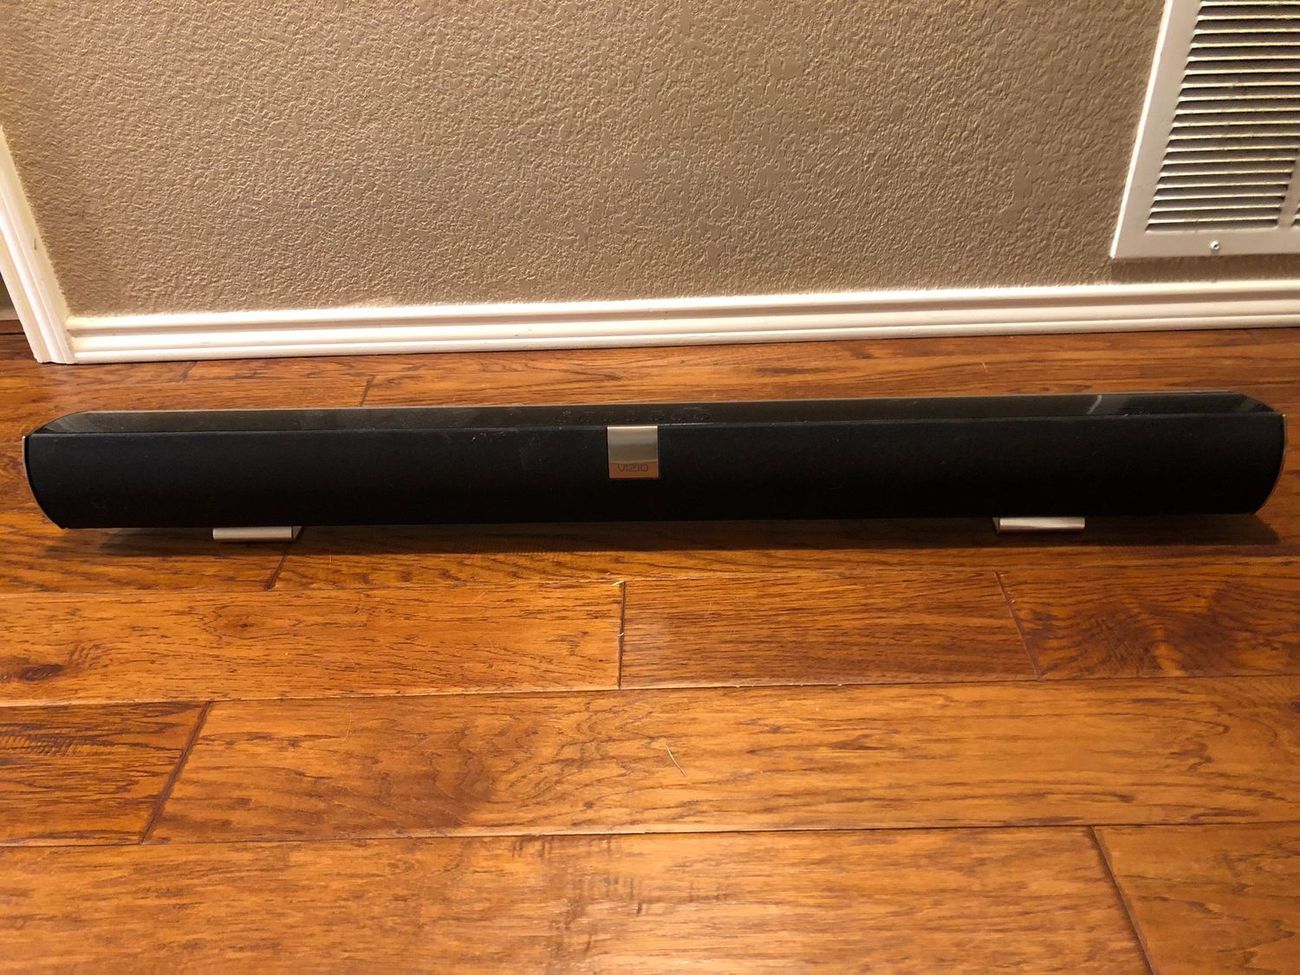
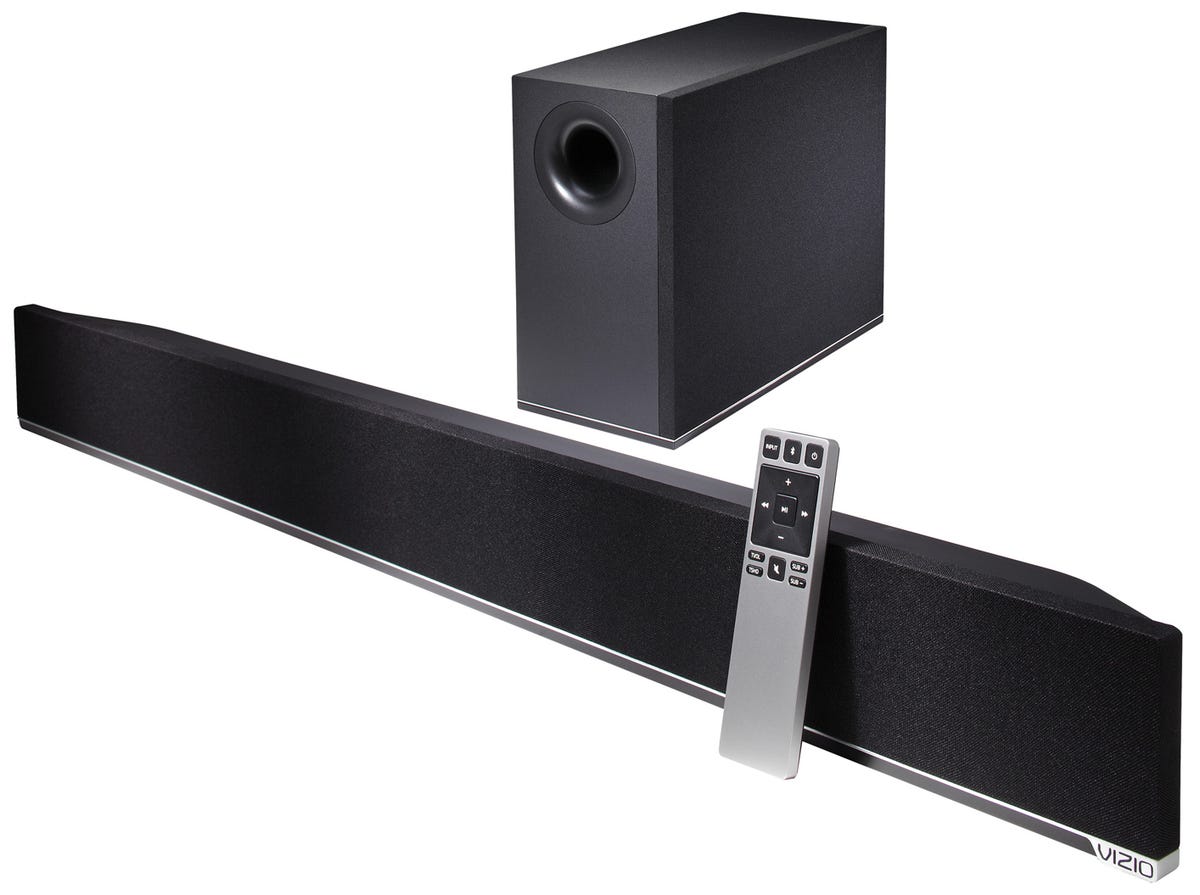
- Sound Bar: Of course, you’ll need a sound bar for this setup. Make sure you have a sound bar that is compatible with your PS4 and meets your audio preferences.
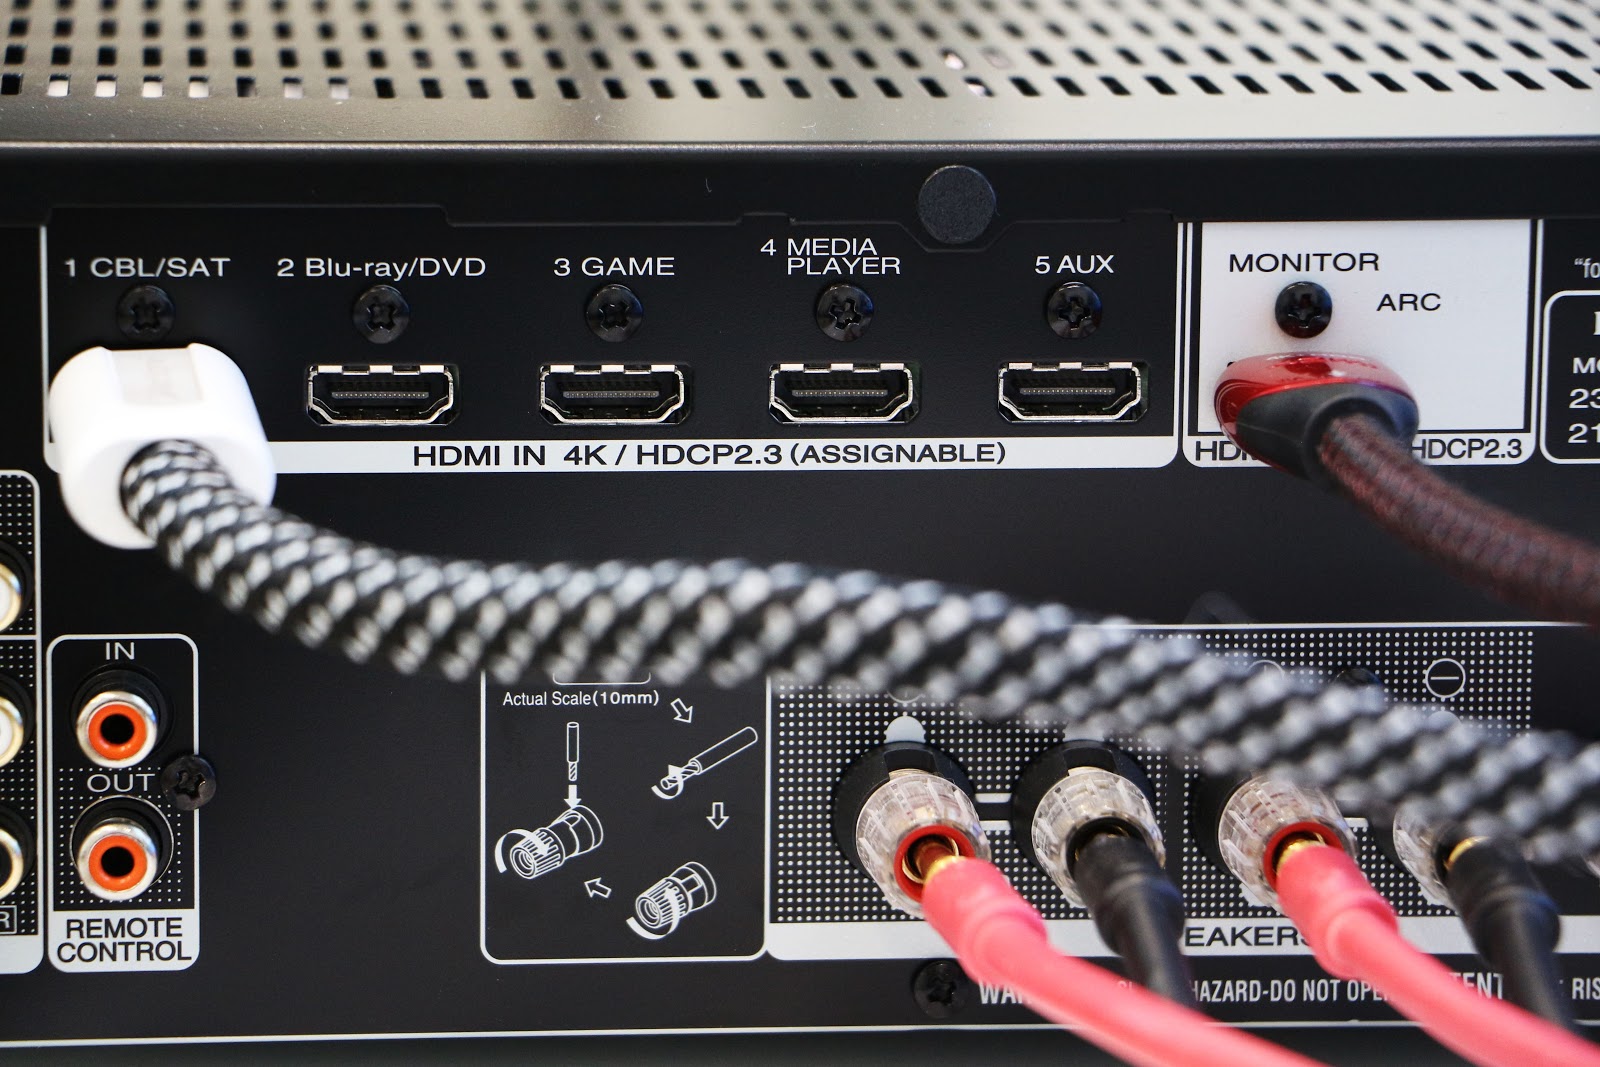
- HDMI Cable: Most sound bars require an HDMI connection for optimal audio transmission. Ensure that you have a high-quality HDMI cable that is long enough to reach from your PS4 to the sound bar.
- Power Cables: Make sure you have the necessary power cables for both your PS4 and the sound bar. It’s important to plug in and power up both devices before attempting any connections.
- Optional – Optical Cable: Some sound bars also support optical audio connections. If your sound bar has this option and you prefer to use it, make sure you have an optical cable available.
By gathering all of these equipment beforehand, you can ensure a smooth and hassle-free setup process.
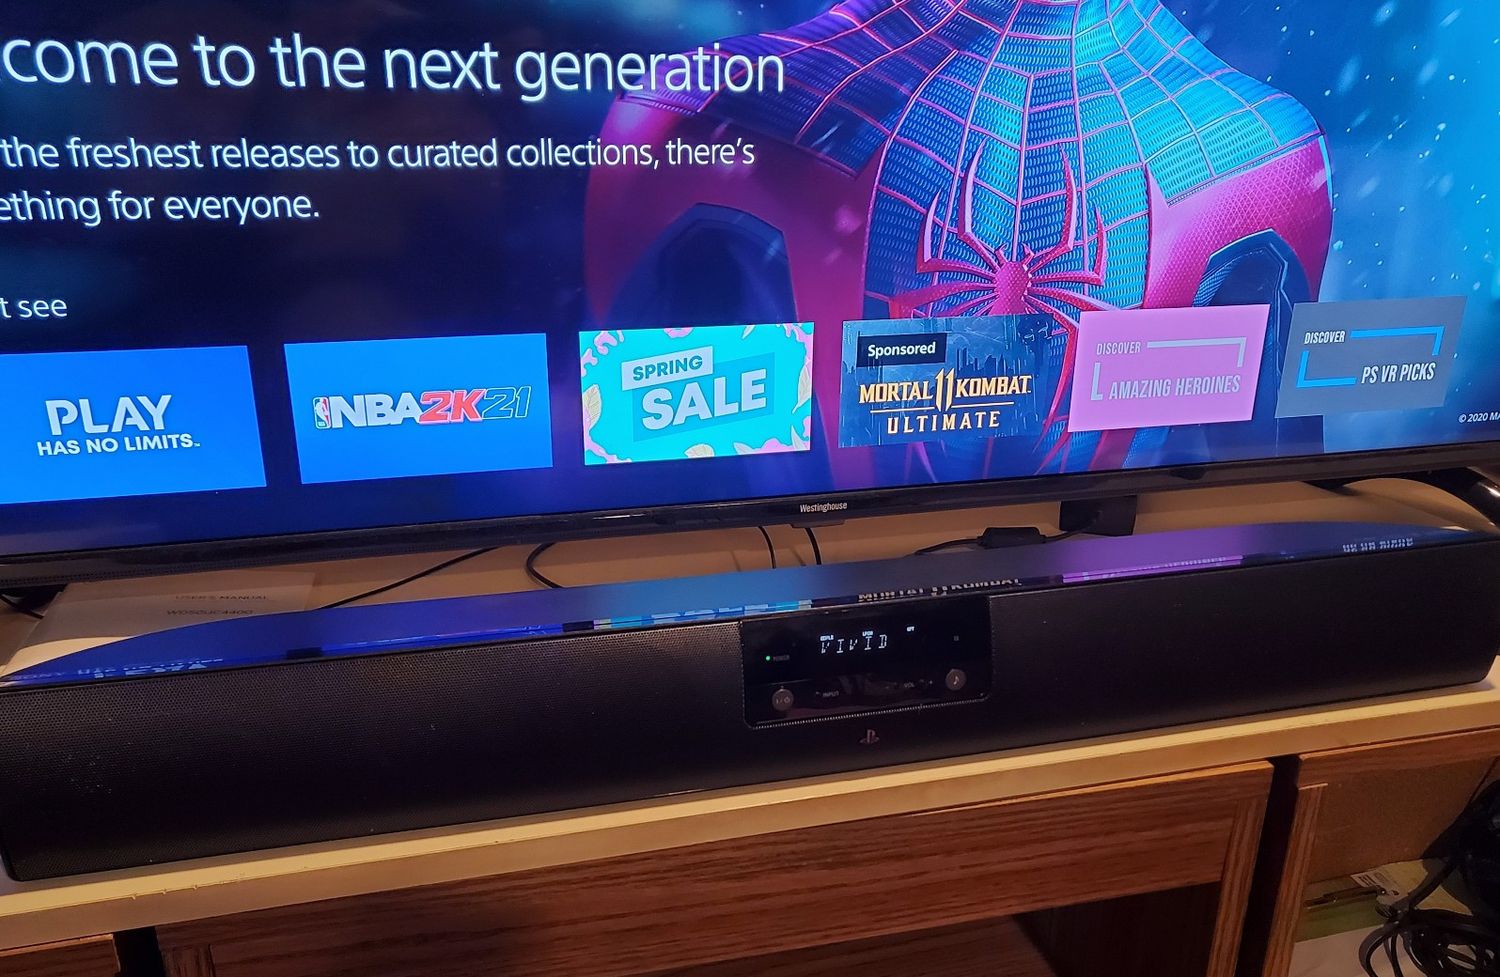
Step 2: Connect the PS4 to the Sound Bar
Once you have gathered all the necessary equipment, it’s time to connect your PS4 to the sound bar. Follow these steps:
- Locate the HDMI ports on both your PS4 and the sound bar. Most sound bars have multiple HDMI inputs, so identify the one labeled “ARC” (Audio Return Channel) if available. This port allows for two-way audio transmission between the devices.
- Take one end of the HDMI cable and insert it into the HDMI output port on your PS4. Ensure it is securely plugged in.
- Take the other end of the HDMI cable and insert it into the HDMI input port on the sound bar. Again, double-check that the connection is secure.
- If your sound bar supports optical audio connections and you prefer to use that method, connect one end of the optical cable to the optical output port on your PS4, and the other end to the corresponding input port on the sound bar. Make sure it is firmly plugged in.
- Power on both your PS4 and the sound bar.
Once the connections are made and the devices are powered up, you have successfully connected your PS4 to the sound bar. However, we still need to adjust the audio settings to ensure optimal performance.
Step 3: Adjust Audio Settings on the PS4
Now that you have connected your PS4 to the sound bar, it’s time to adjust the audio settings on your console. Follow these steps to optimize the audio output:
- Turn on your PS4 and navigate to the main menu.
- Go to “Settings” and select “Sound and Screen.”
- Choose “Audio Output Settings.”
- Select “Primary Output Port” and choose either “HDMI Out,” if you connected the PS4 to the sound bar using an HDMI cable, or “Digital Out (Optical),” if you opted for an optical audio connection.
- If you selected “HDMI Out,” you can choose between “Linear PCM” or “Bitstream (Dolby).” The best option depends on your sound bar’s audio capabilities. If in doubt, try both options and determine which one provides the best audio quality.
- If you selected “Digital Out (Optical),” choose the appropriate audio format that your sound bar supports.
- Once you’ve made these selections, go back to the “Audio Output Settings” menu and select “Audio Format (Priority).” Here, you can choose the audio format that provides the best sound quality for your specific sound bar. For most sound bars, “Linear PCM” or “Dolby Digital” should work well.
- Save your settings and exit the menu.
By adjusting these audio settings on your PS4, you ensure that the audio output is optimized for your sound bar, maximizing the gaming experience.
Step 4: Fine-tune Sound Bar Settings
After adjusting the audio settings on your PS4, it’s time to fine-tune the settings on your sound bar for optimal audio performance. Here are some key adjustments to consider:
- Access the settings menu on your sound bar. This can typically be done using the remote control or buttons on the sound bar itself.
- Adjust the volume levels to your preference. Start by setting the sound bar’s volume to a comfortable level and ensure it is not too loud or too quiet.
- Explore the sound modes available on your sound bar. Many sound bars offer different sound profiles, such as “Cinema,” “Music,” or “Game.” Select the mode that best suits your preference or try different modes to find the one that enhances the gaming experience.
- If your sound bar has customizable equalizer settings, take some time to fine-tune the equalizer to your liking. These settings allow you to adjust the levels of specific frequencies to optimize the audio output based on your preferences.
- Consider enabling any special audio features or effects that your sound bar offers. These may include virtual surround sound, dialogue enhancement, or bass boost options. Experiment with these features to find the ones that enhance your gaming audio experience.
- Save your settings and exit the sound bar’s settings menu.
By fine-tuning the settings on your sound bar, you can customize the audio output to suit your preferences and further enhance your gaming sessions.
Step 5: Test the Connection and Enjoy the Enhanced Audio
Now that you have completed the setup and fine-tuned the settings, it’s time to test the connection between your PS4 and the sound bar to ensure everything is working properly. Here’s what you need to do:
- Launch a game on your PS4 that has immersive audio or cinematic sound effects.
- Play the game and listen carefully to the audio output. Notice the difference in sound quality compared to when using the standard speakers of your console.
- Pay attention to the audio details, such as surround sound effects, dynamic range, and clarity. A good sound bar should provide a more immersive experience, making you feel like you’re truly in the game.
- Make any necessary adjustments to the audio settings on your sound bar or PS4 to fine-tune the audio experience further.
- Continue playing games and enjoying the enhanced audio experience that your sound bar provides.
By testing the connection and experiencing the enhanced audio, you can fully appreciate the difference that a sound bar can make in your gaming sessions. Immerse yourself in the rich and detailed soundscapes of your favorite games.
Remember to periodically check for firmware updates for both your PS4 and the sound bar, as these updates can sometimes provide performance improvements or additional features.
Now that you have successfully connected your PS4 to a sound bar and optimized the audio settings, you can enjoy a more immersive and captivating gaming experience. Get ready to dive into the world of enhanced sound and immerse yourself in your favorite games like never before!
Conclusion
Connecting your PS4 to a sound bar is a straightforward process that can greatly enhance your gaming experience. By following the step-by-step guide outlined in this article, you can enjoy immersive audio, rich soundscapes, and enhanced detail while playing your favorite games.
Remember, the key steps to connect your PS4 to a sound bar include gathering the necessary equipment, such as the PS4 console, a compatible sound bar, HDMI and optional optical cables, and power cables. Once you have all the equipment, you can proceed to connect the devices, adjust the audio settings on your PS4 and sound bar, and fine-tune the settings to your preferences.
With a properly connected PS4 and optimized sound bar settings, you can bring out the best in your gaming audio. Immerse yourself in the realistic sound effects, enjoy the nuances of background music, and experience the thrill of virtual surround sound.
Remember to periodically check for firmware updates for both your PS4 and sound bar, as these updates can provide performance improvements and additional features that enhance your overall gaming experience.
Now you’re ready to embark on your gaming adventures with enhanced audio quality. Get ready to hear your games like never before, feeling every explosion, whisper, and intricate detail in stunning clarity. Enjoy the immersive world of gaming brought to life through the power of your PS4 and a high-quality sound bar.