Home>Production & Technology>Sound Bar>How Do I Get My Sound Bar To Work With A Optical Cable
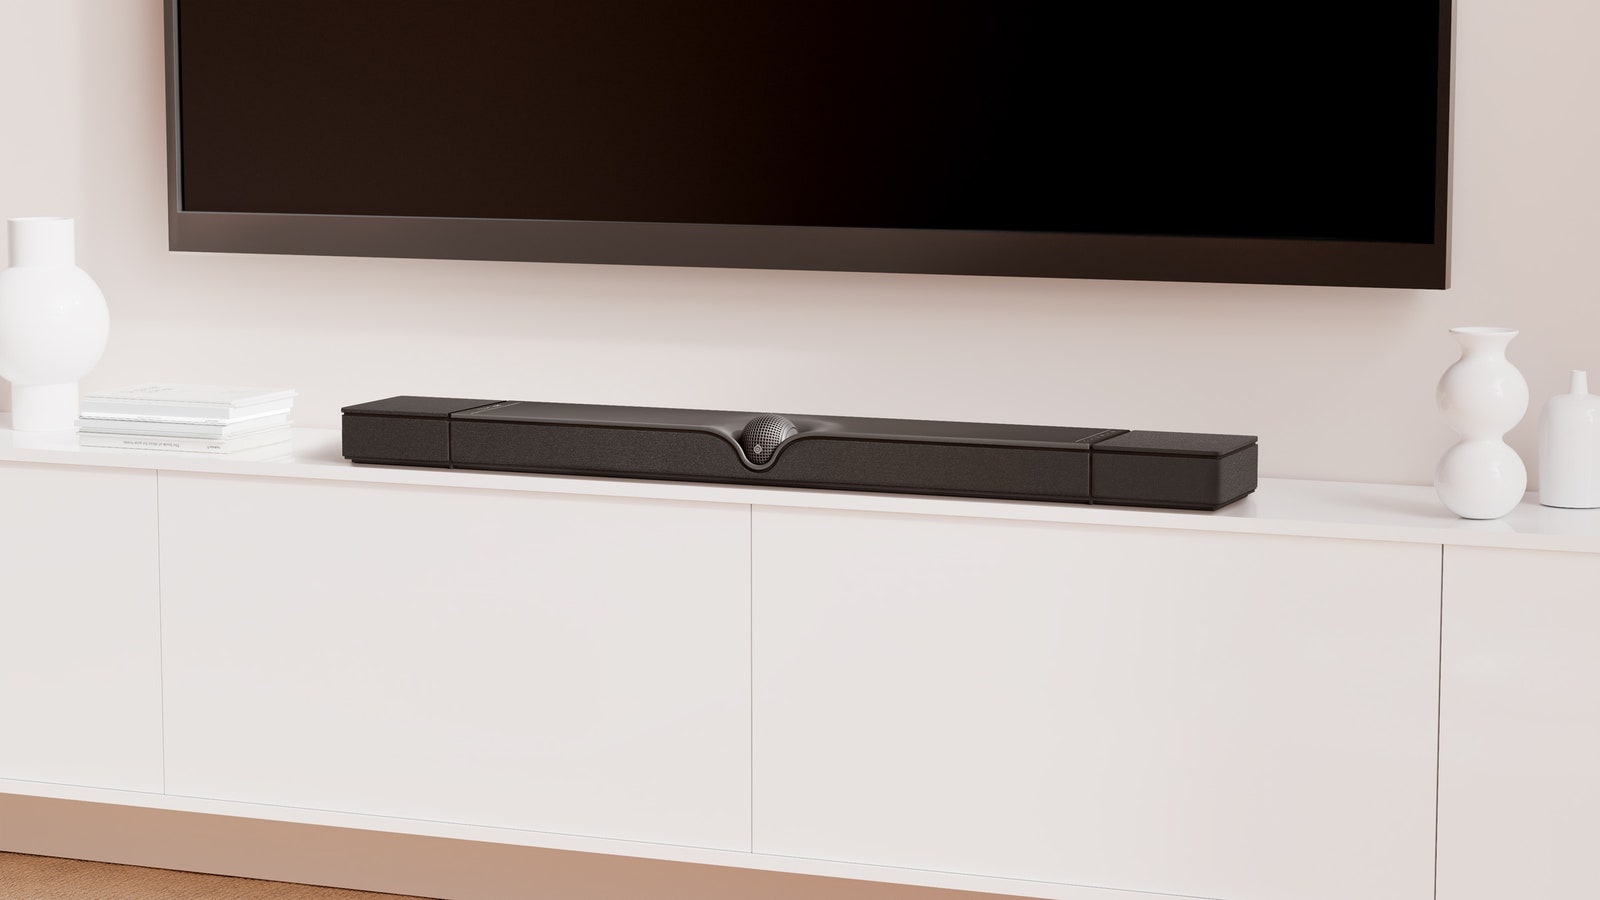
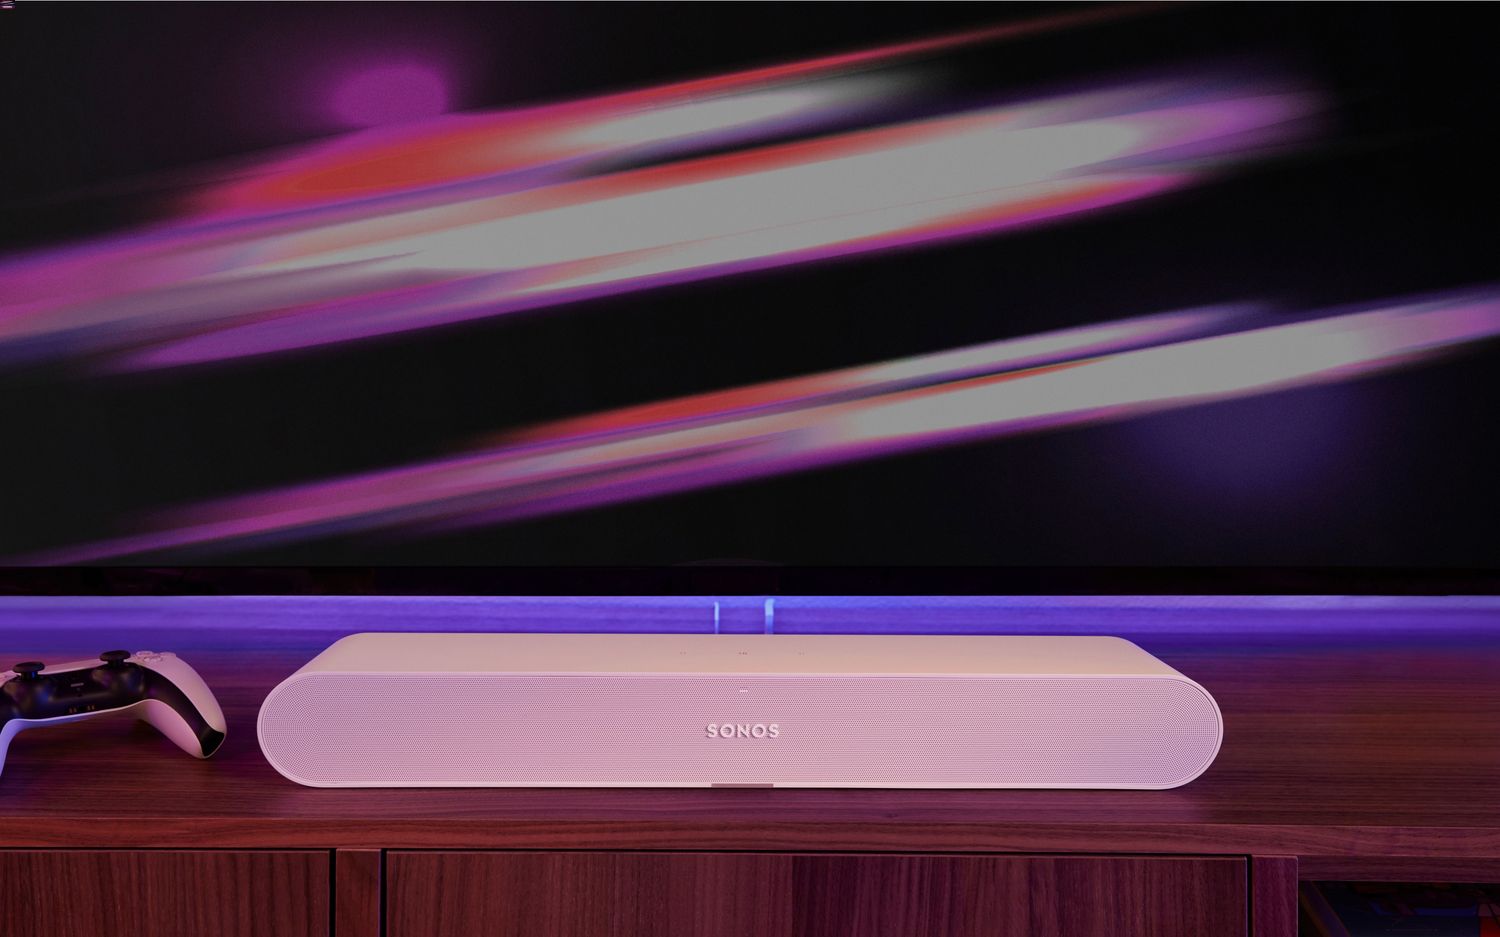
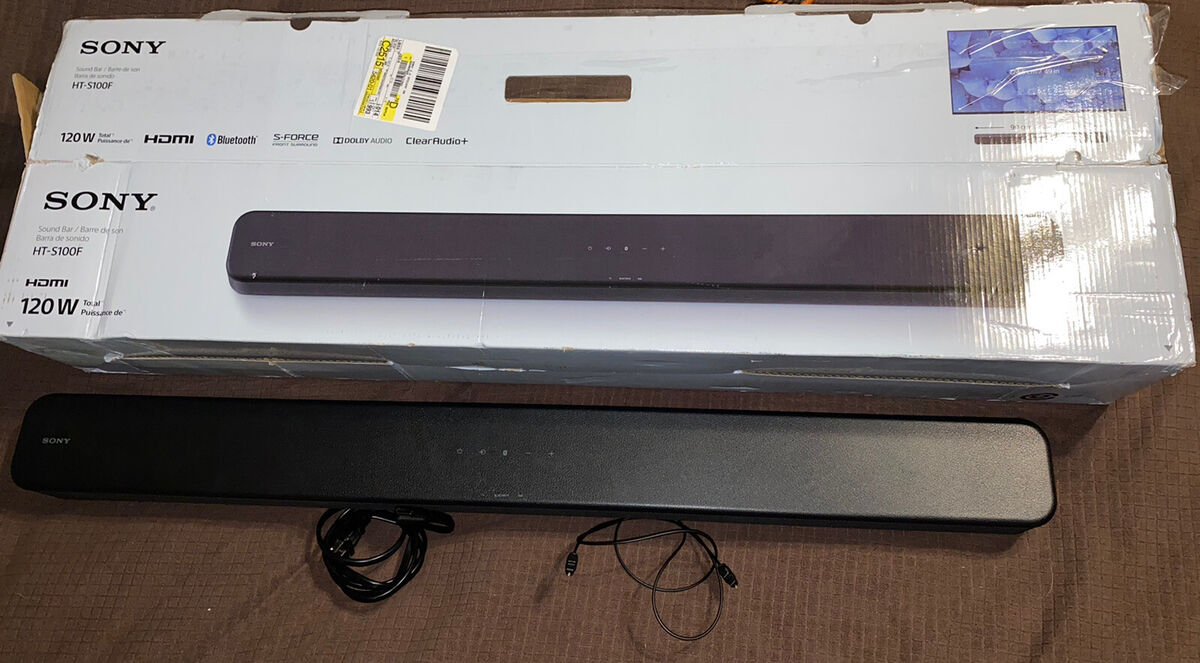
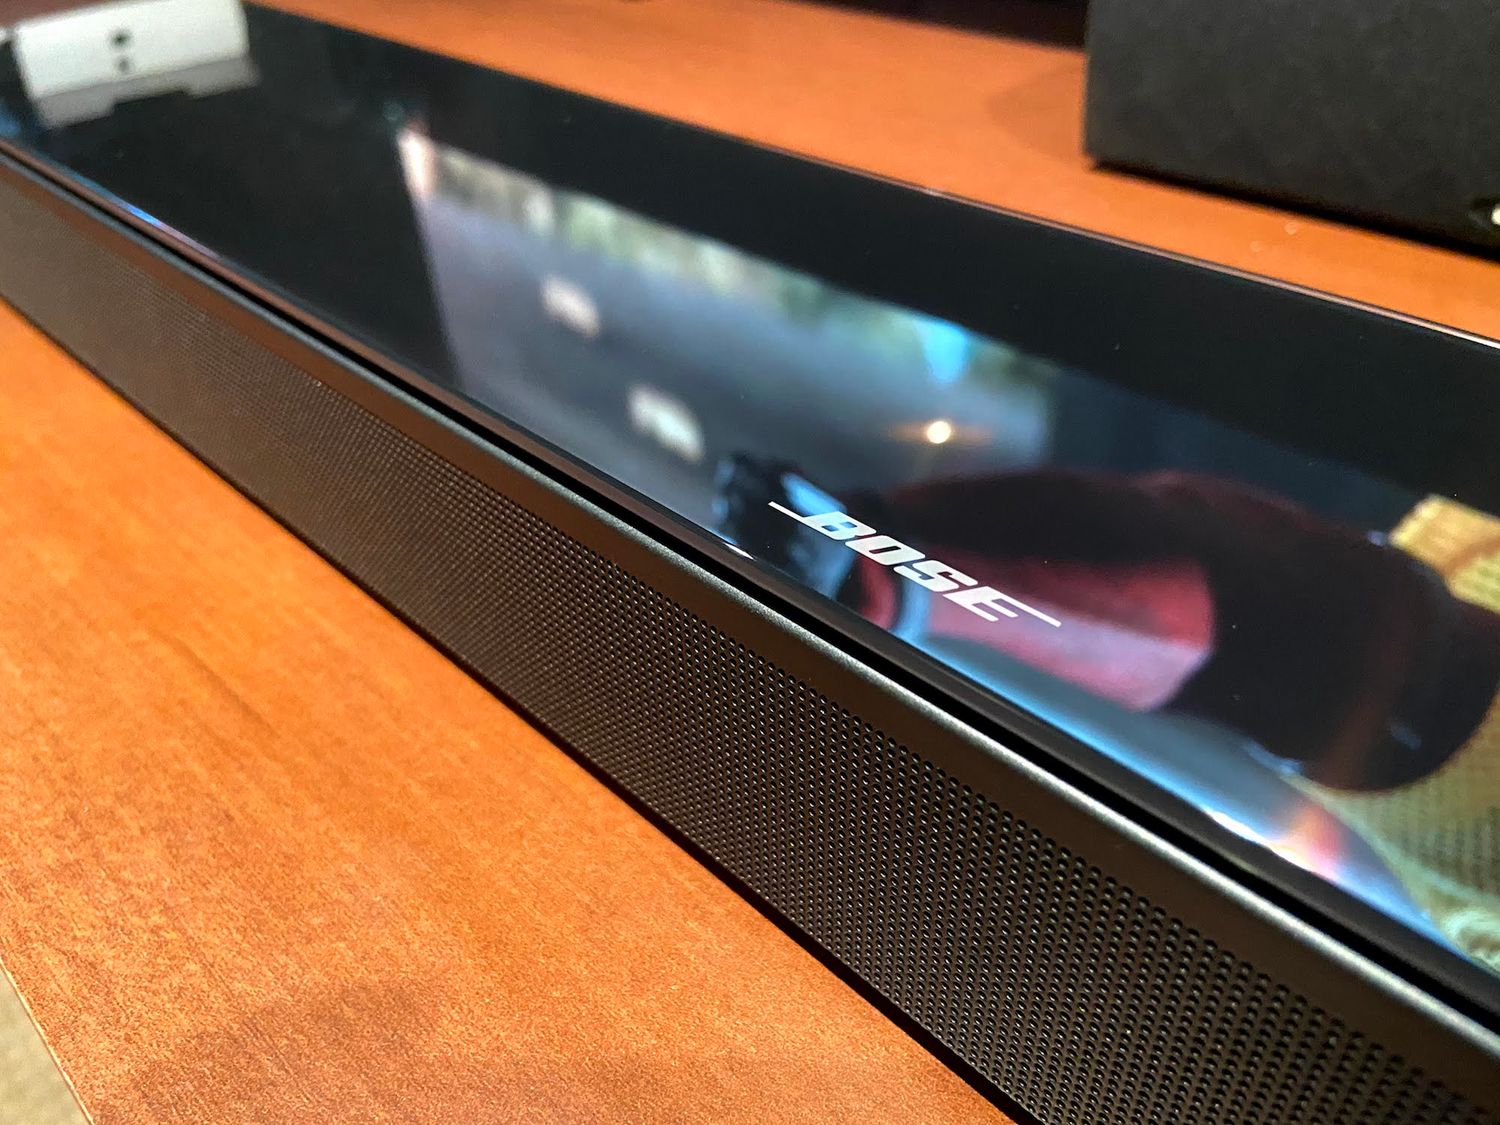
Sound Bar
How Do I Get My Sound Bar To Work With A Optical Cable
Modified: February 18, 2024
Ensure your sound bar works seamlessly with an optical cable. Get step-by-step instructions on how to connect and troubleshoot your sound bar for optimal performance.
(Many of the links in this article redirect to a specific reviewed product. Your purchase of these products through affiliate links helps to generate commission for AudioLover.com, at no extra cost. Learn more)
Table of Contents
Introduction
Sound bars have become a popular choice for home theater enthusiasts, providing an enhanced audio experience without the need for multiple speakers and complicated setups. These sleek and compact devices can deliver high-quality sound, making them a great addition to any entertainment system.
However, if you’re looking to connect your sound bar to your TV or other audio devices using an optical cable, you might be wondering how to get everything set up correctly. Don’t worry, we’ve got you covered! In this article, we’ll guide you through the process of getting your sound bar to work seamlessly with an optical cable.
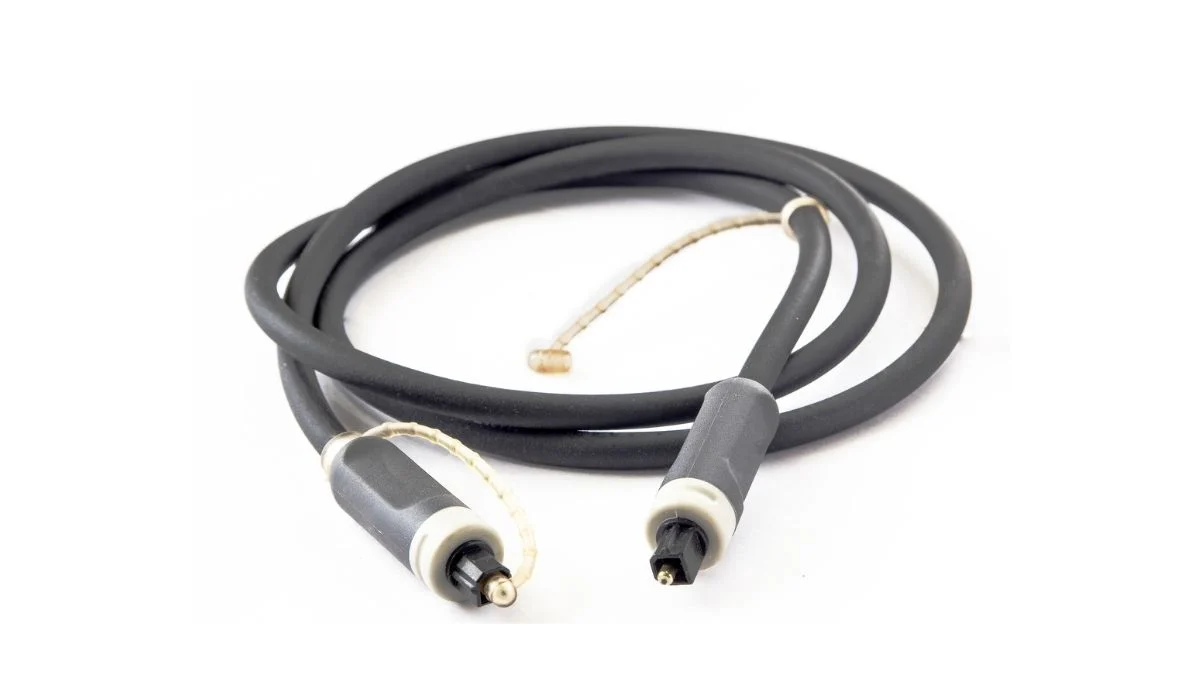
Before we dive into the details, it’s important to understand what an optical connection is and how it differs from other audio connection options. Optical cables, also known as TOSLINK or SPDIF cables, use light signals to transfer digital audio between devices.
So, sit back, relax, and let us show you how to make the most of your sound bar setup. Whether you’re watching your favorite movies, playing video games, or listening to music, you’ll be able to enjoy an immersive audio experience with the help of an optical cable.
Understanding the Optical Connection
Before we delve into connecting your sound bar using an optical cable, it’s essential to have a basic understanding of how the optical connection works. An optical cable uses fiber optic technology to transmit digital audio signals between devices.
Optical cables are designed to carry high-quality audio in a digital format, which means that the audio signal remains in its original form without any loss of quality. Unlike analog cables, where the audio signal can be susceptible to interference and degradation, optical cables ensure a pristine audio experience.
When you connect your sound bar to your TV or other audio devices using an optical cable, you’re essentially enabling a direct and reliable audio connection. The audio signal is converted to light by a transmitter at one end of the optical cable and then converted back to an electrical signal by a receiver at the other end.
One of the advantages of using an optical connection is that it can support various audio formats, including stereo, Dolby Digital, DTS, and even newer formats like Dolby Atmos. This versatility allows you to enjoy a rich and immersive audio experience with your sound bar.
It’s worth noting that most modern TVs and sound bars come equipped with optical ports, making it a widely compatible option to connect your audio devices. However, it’s always a good idea to check the specifications of your sound bar and TV to ensure that both devices have an optical input and output.
Additionally, optical cables have a limited length before the signal starts to degrade. It is recommended to keep the length of the optical cable within 10-15 feet for optimal performance.
Now that you have a better understanding of the optical connection, let’s move on to the next section and learn how to check the compatibility of your sound bar and TV.
Checking Compatibility
Before you connect your sound bar to your TV using an optical cable, it’s important to ensure that both devices are compatible with each other. This will ensure a seamless and hassle-free setup process.
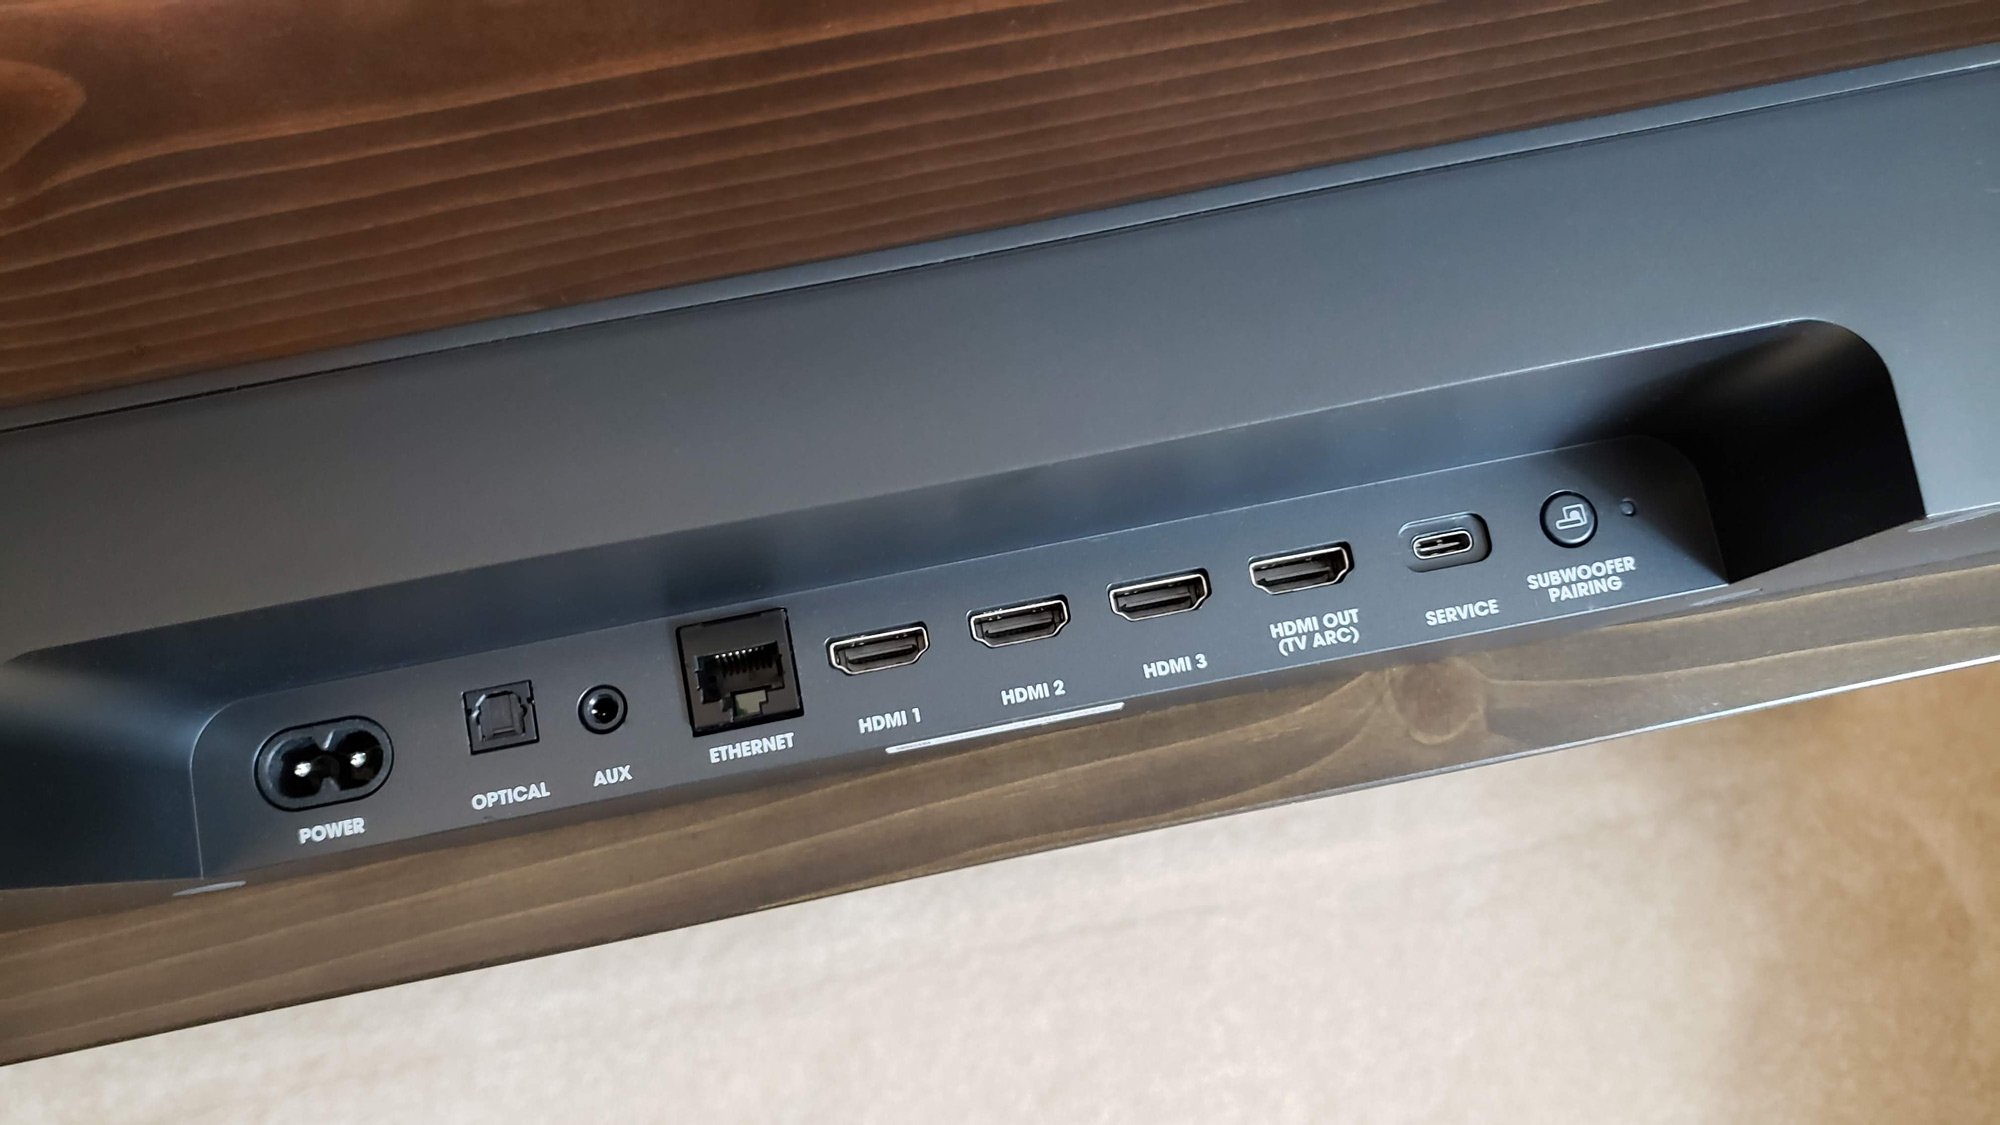
Firstly, check the specifications of your sound bar. Look for an optical input port, usually labeled as “Optical In” or “TOSLINK In.” If your sound bar doesn’t have an optical input, it won’t be able to connect to your TV using an optical cable. In this case, you may need to consider alternative connection options, such as HDMI or RCA cables.
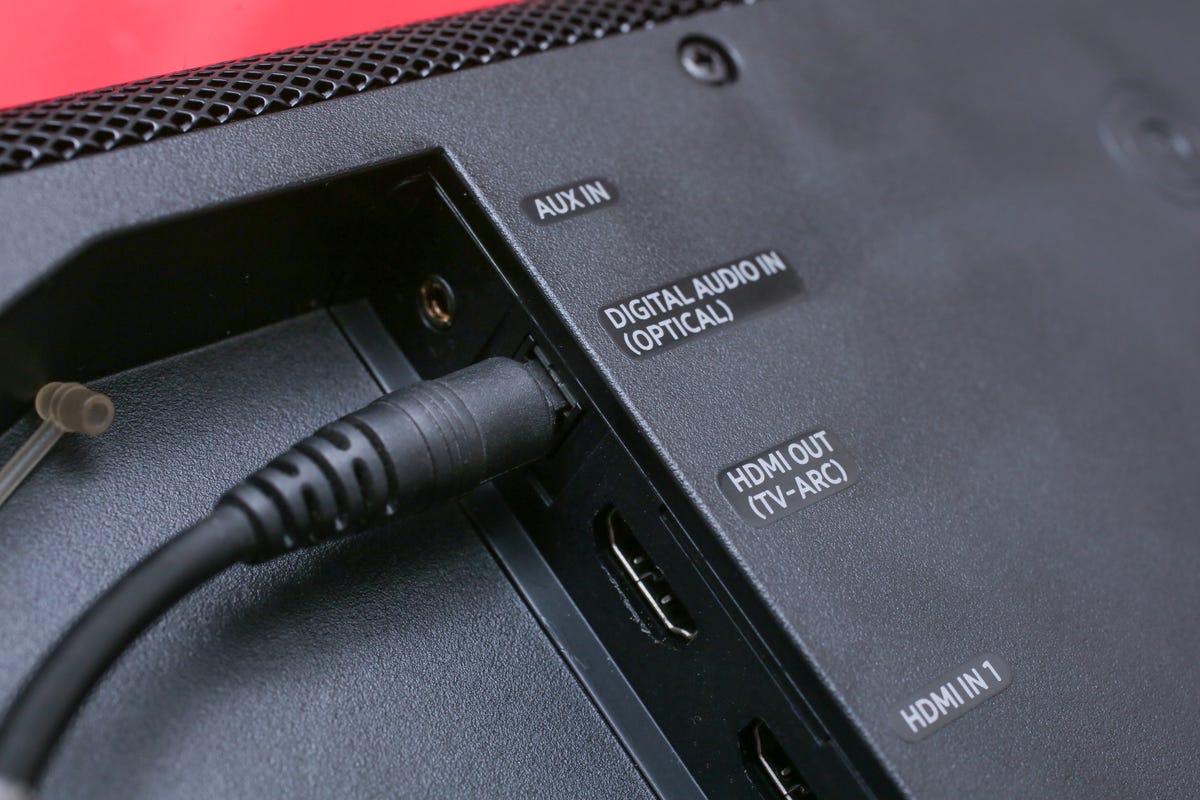
Similarly, examine your TV for an optical output port. It is typically labeled as “Optical Out” or “Digital Audio Out.” This is where you will connect one end of the optical cable to transmit the audio signal from the TV to the sound bar.
If your TV doesn’t have an optical output, you may need to explore other connection methods or consider using an audio extractor device that can extract the audio signal from HDMI or RCA connections and convert it to optical.
It’s also important to check if your sound bar and TV support the same audio formats. In the specifications of your sound bar and TV, look for audio formats such as Dolby Digital, DTS, and Dolby Atmos. Make sure that the sound bar supports these formats and that your TV can output the desired audio format through the optical connection.
Lastly, check the documentation or the manufacturer’s website of both your sound bar and TV for any specific instructions or compatibility requirements. This will help ensure a smooth setup process and avoid any compatibility issues.
By checking the compatibility between your sound bar and TV, you can ensure that they are capable of establishing a proper connection using an optical cable. Once you’ve confirmed compatibility, you’re ready to move on to the next section and connect your sound bar to your TV.
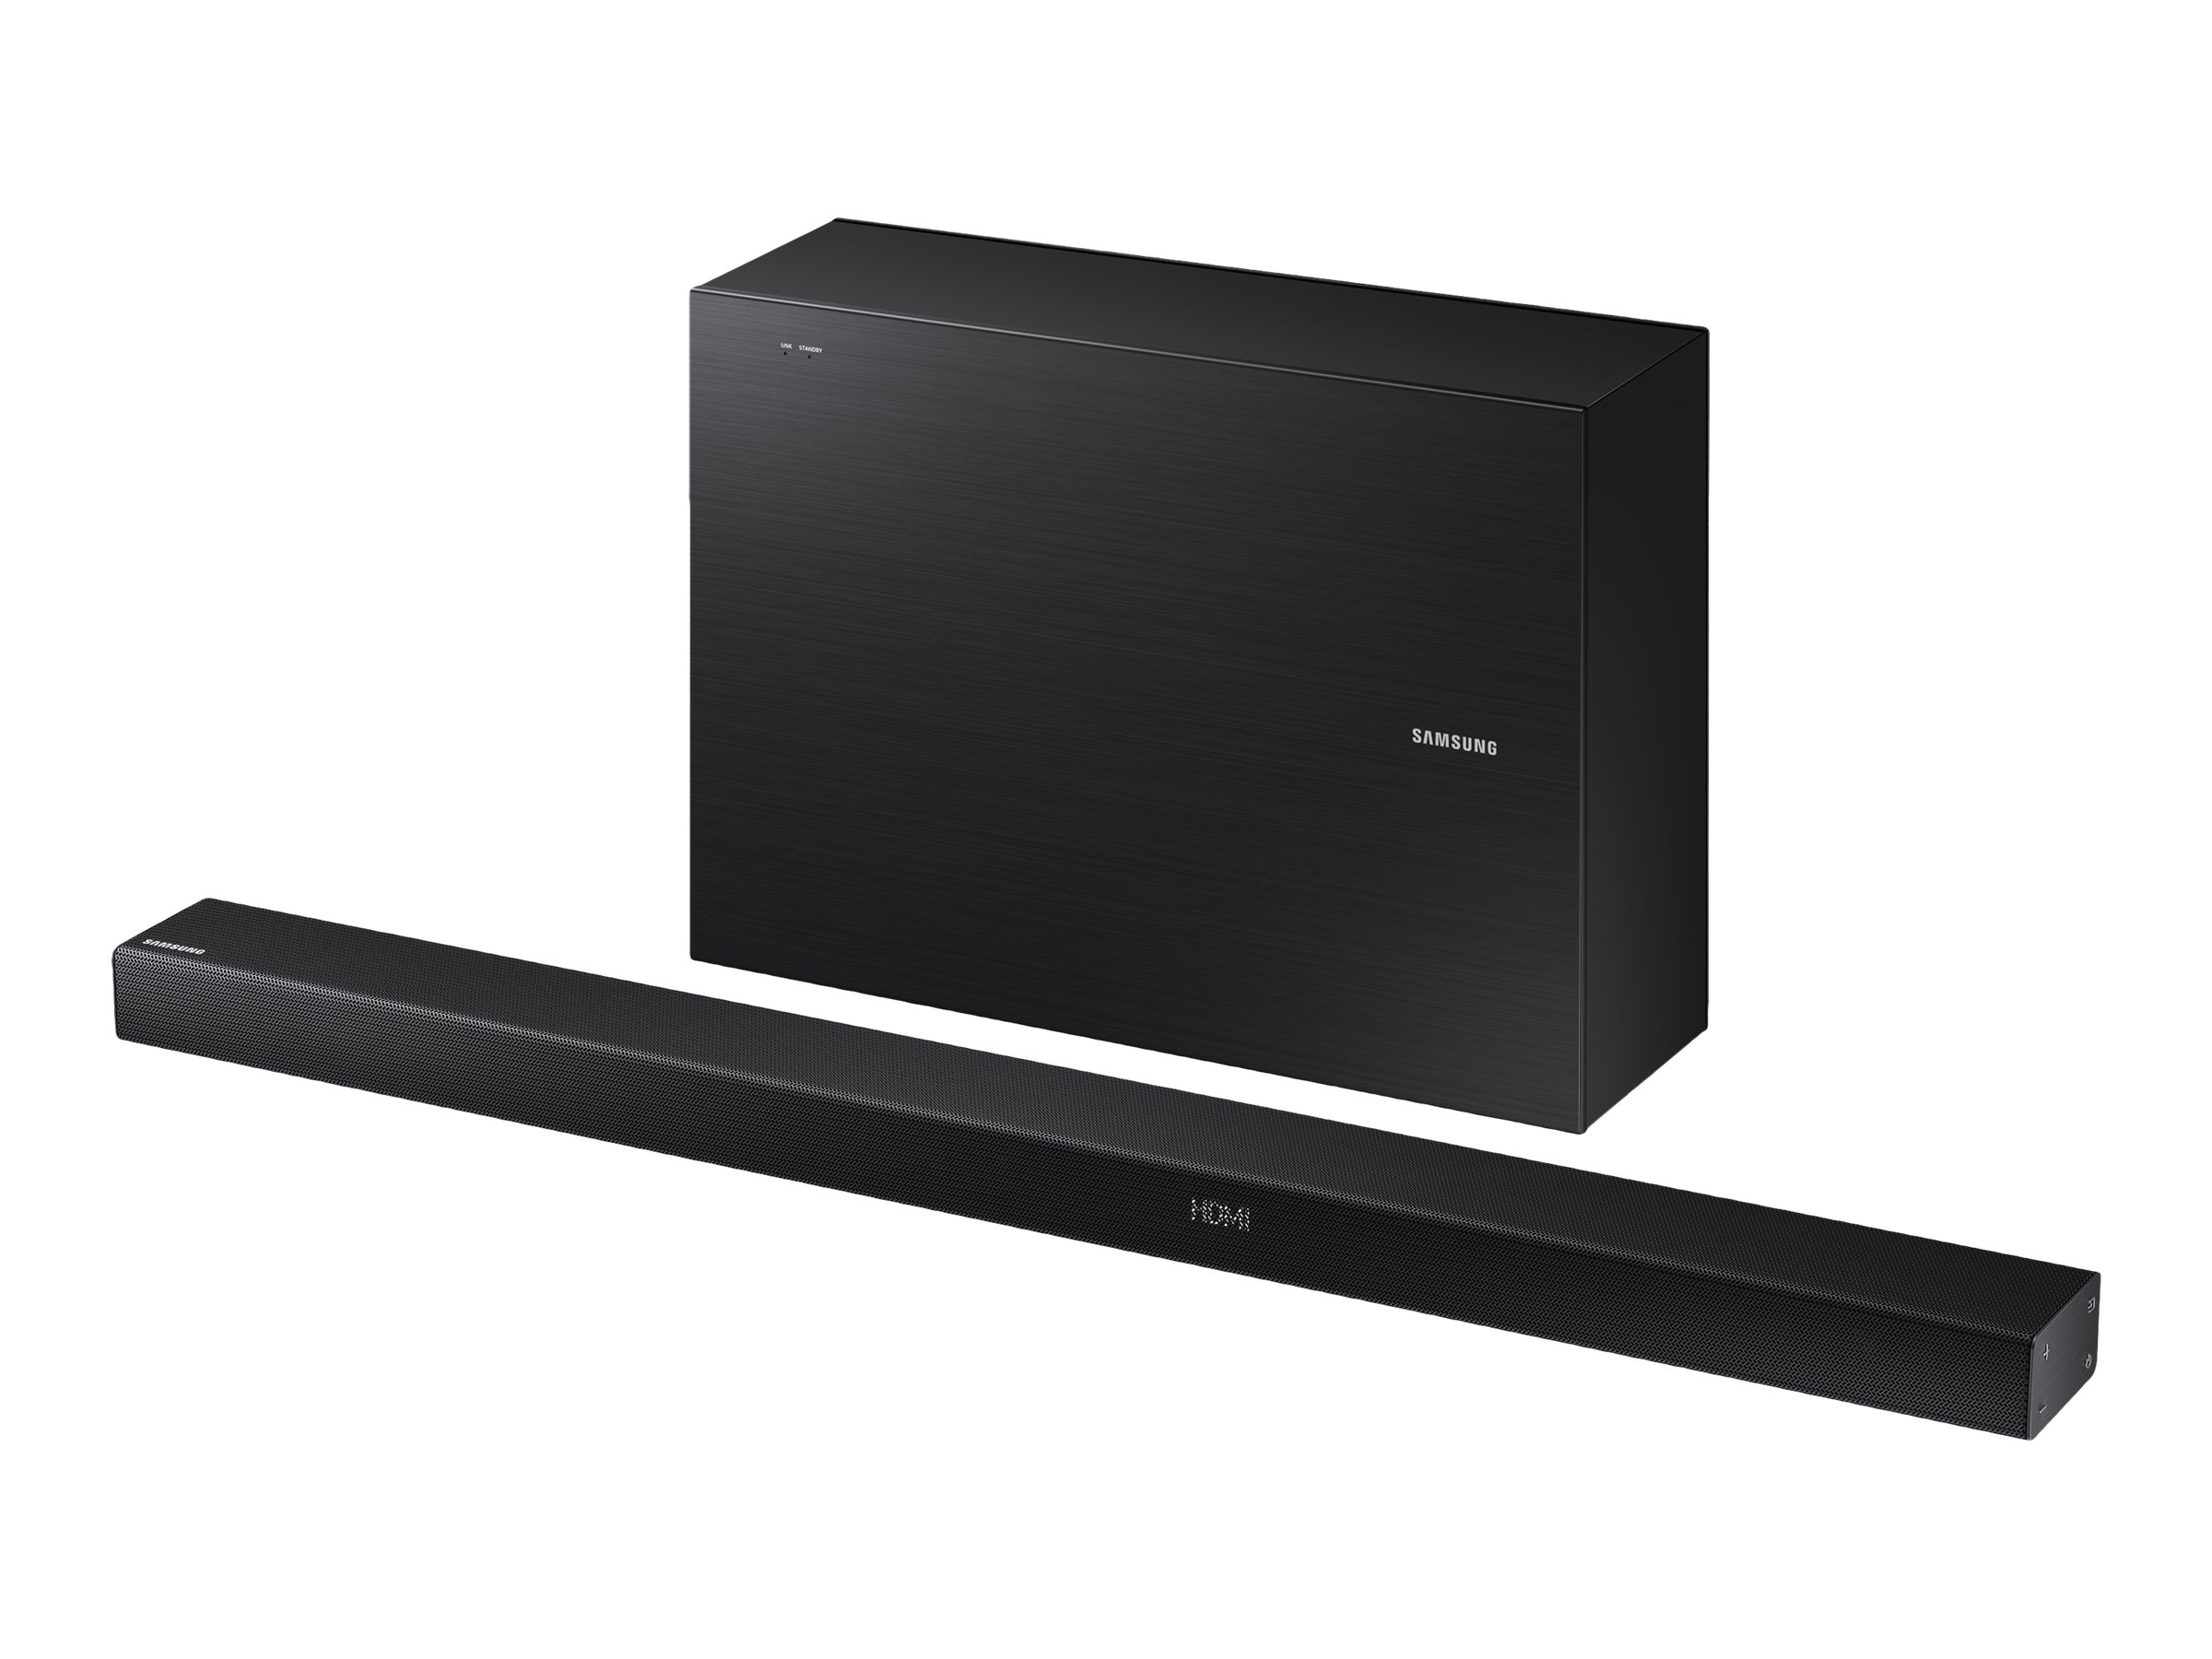
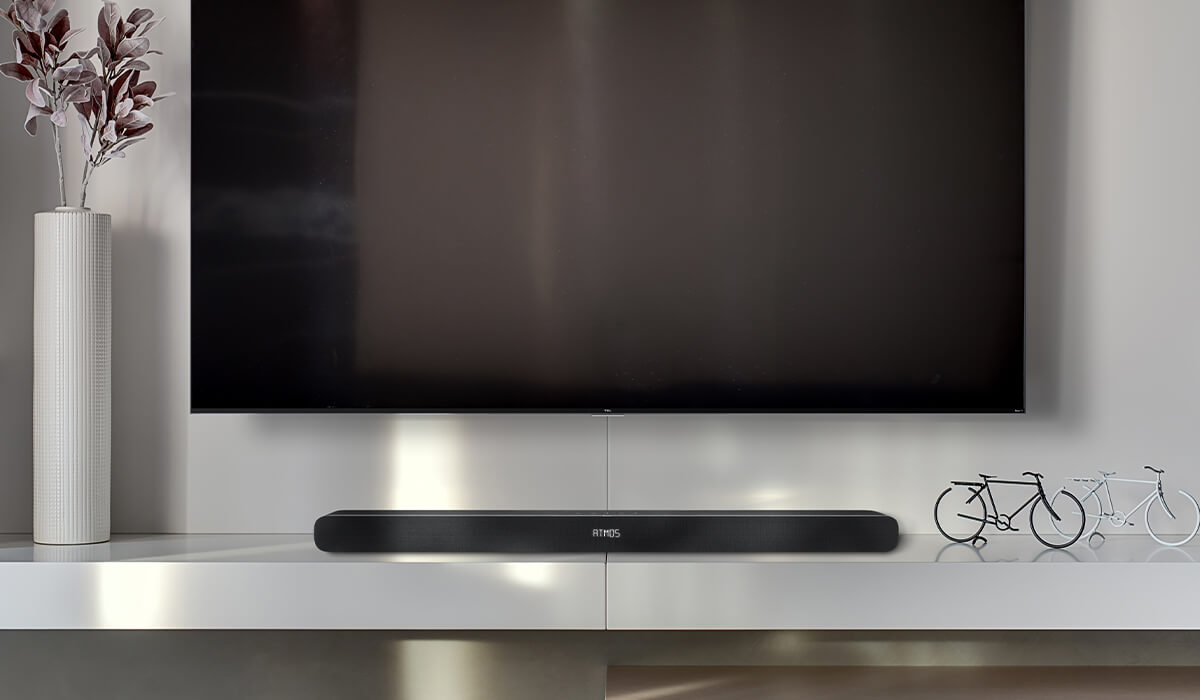
Connecting the Sound Bar via Optical Cable
Now that you’ve checked the compatibility of your sound bar and TV, it’s time to connect them using an optical cable. Follow these steps to establish a seamless connection:
- Locate the optical output port on your TV. It is usually labeled as “Optical Out” or “Digital Audio Out.”
- Take one end of the optical cable and insert it into the optical output port on your TV. Make sure it is securely connected.
- Next, locate the optical input port on your sound bar. It is typically labeled as “Optical In” or “TOSLINK In.”
- Take the other end of the optical cable and insert it into the optical input port on your sound bar.
- Ensure that both ends of the optical cable are firmly inserted into their respective ports.
- Once the cable is connected, power on your TV and sound bar.
- Using your TV’s remote or on-screen menu, navigate to the audio settings. Look for an option to select the audio output method.
- Choose the optical output as the audio output method. This will direct the audio signal to the sound bar via the optical connection.
- You may also need to adjust the audio settings on your sound bar to ensure it is set to receive the audio signal via the optical input.
- Once the connections and settings are properly configured, play some audio content on your TV to test the sound bar. You should now hear the audio through the sound bar.
Remember to consult the user manuals or documentation provided with your sound bar and TV for any specific instructions or additional settings that may be required.
By following these steps, you can successfully connect your sound bar to your TV using an optical cable. Enjoy the enhanced audio experience and immerse yourself in the world of superior sound quality.
Adjusting Sound Bar Settings
After connecting your sound bar to your TV via an optical cable, you may need to adjust some settings on your sound bar to optimize the audio output. Here are a few key settings to consider:
Sound Modes
Many sound bars offer different sound modes to tailor the audio output to your preference or the type of content you’re watching. Common sound modes include movie mode, music mode, and gaming mode. Experiment with these modes to find the one that best suits your needs.
Equalizer Settings
Some sound bars allow you to adjust the EQ settings to fine-tune the audio. You can increase or decrease specific frequency ranges to enhance bass, treble, or create a balanced sound. Play around with these settings to achieve the desired audio profile.
Virtual Surround Sound
If your sound bar supports virtual surround sound, enable this feature to create a more immersive audio experience. Virtual surround sound technology attempts to simulate the effect of surround sound using only the front speakers of the sound bar.
Volume Control
Adjusting the volume on your sound bar is crucial to ensure balanced audio levels. Some sound bars have a separate volume control for the device itself, while others rely on the TV’s volume control. Experiment with different volume levels to find the optimal setting for your listening pleasure.
Subwoofer Settings
If your sound bar comes with a separate subwoofer, check if it has its own settings. You can usually adjust the subwoofer volume, crossover frequency, and phase to achieve the desired bass response. Experiment with these settings to find the perfect balance between the sound bar and subwoofer.
Audio Sync
If you notice any audio delay or lip-sync issues, check if your sound bar has an audio sync or lip-sync setting. You can adjust the audio delay to ensure that the sound is synchronized with the video on your TV. This is especially important for an optimal viewing experience.
Keep in mind that not all sound bars offer the same settings, so refer to the user manual or the manufacturer’s website for specific instructions on adjusting the settings of your sound bar.
By fine-tuning the settings on your sound bar, you can customize the audio output to your liking and optimize your home theater experience. Take the time to explore the different settings and find the optimal configuration that enhances your audio enjoyment.
Troubleshooting Common Issues
While setting up your sound bar with an optical cable is generally a straightforward process, you may encounter some common issues along the way. Here are a few troubleshooting tips to help resolve these issues:
No Sound from the Sound Bar
If you’re not hearing any sound from your sound bar after connecting it via an optical cable, check the following:
- Ensure that the optical cable is securely connected to both the sound bar and the TV
- Make sure the optical input on the sound bar is selected as the audio input source
- Check the TV’s audio output settings and ensure that the optical output is selected
- Confirm that the TV’s volume is not muted and is set to an audible level
- Try playing audio from different sources to rule out any specific content or device-related issues
Poor Audio Quality
If you’re experiencing distorted or low-quality audio, consider the following:
- Verify that the optical cable is in good condition and not damaged
- Check if the sound bar and TV are set to output the same audio format
- Ensure that the audio settings on your sound bar are adjusted appropriately
- Experiment with different sound modes or EQ settings to optimize the audio output
Audio Delay or Lip Sync Issues
If you notice a delay between the audio and video or lip-sync issues, try the following:
- Adjust the audio sync or lip-sync settings on your sound bar, if available
- Check if there are any audio delay settings on your TV that can be adjusted
- Update the firmware of your sound bar, as some manufacturers release firmware updates to address sync issues
- Consider using an HDMI-ARC (Audio Return Channel) connection instead of optical, as it may help improve sync
No Power or Unresponsive Sound Bar
If your sound bar is not powering on or is unresponsive, here’s what you can do:
- Check if the power cable is securely connected and the power outlet is working
- Try unplugging the sound bar from the power outlet, waiting for a few seconds, and then plugging it back in
- Refer to the user manual for any specific reset procedures for your sound bar
- If none of the above steps work, contact the manufacturer’s customer support for further assistance
Remember that troubleshooting steps may vary depending on the brand and model of your sound bar. For more specific troubleshooting instructions, refer to the user manual or reach out to the manufacturer’s support team.
By addressing these common issues, you can resolve any hiccups in your sound bar setup and enjoy uninterrupted audio performance.
Conclusion
Setting up your sound bar with an optical cable can greatly enhance your audio experience while simplifying your home theater setup. By understanding the basics of the optical connection and checking the compatibility of your devices, you can ensure a seamless connection.
Connecting your sound bar via an optical cable is as simple as plugging one end into the optical output port of your TV and the other end into the optical input port of your sound bar. Adjusting the audio settings on both devices allows you to customize the sound output to your liking.
If you encounter any issues during the setup process, troubleshooting common problems like no sound, poor audio quality, or audio delay can help resolve the issues and optimize the performance of your sound bar.
Remember to consult the user manuals or contact the manufacturer’s customer support for specific instructions related to your sound bar model.
With the optical connection established and the settings adjusted, you can sit back, relax, and immerse yourself in an enhanced audio experience, whether you’re watching movies, playing games, or enjoying your favorite music.
Enjoy the rich, immersive sound that your sound bar brings to your home theater, and let your entertainment come to life with superior audio quality.