Home>Production & Technology>Sound Bar>How Do I Set Up Pioneer Sound Bar Remote To Sound Bar
Sound Bar
How Do I Set Up Pioneer Sound Bar Remote To Sound Bar
Published: December 27, 2023
Learn how to set up your Pioneer Sound Bar Remote to control your sound bar effortlessly. Follow our step-by-step guide to enhance your audio experience.
(Many of the links in this article redirect to a specific reviewed product. Your purchase of these products through affiliate links helps to generate commission for AudioLover.com, at no extra cost. Learn more)
Table of Contents
Introduction
Welcome to the world of Pioneer Sound Bar! If you’re looking for an immersive audio experience in the comfort of your own home, then a sound bar is the perfect solution. However, getting your sound bar up and running can sometimes be a bit tricky, especially when it comes to setting up the remote control.
In this guide, we will walk you through the step-by-step process of setting up the Pioneer Sound Bar remote to control your sound bar. Whether you’re a tech-savvy enthusiast or a beginner, this article is designed to help you get the most out of your sound bar by making it easy and convenient to control.
Before we dive into the setup process, it’s important to note that Pioneer Sound Bar remotes are programmed to work with a variety of TVs. This means that you can use the sound bar remote to control both your sound bar and your TV, eliminating the need for multiple remotes cluttering up your coffee table.
Now, let’s get started with the setup process and get ready to enjoy the ultimate audio experience!
Step 1: Check the contents of the package
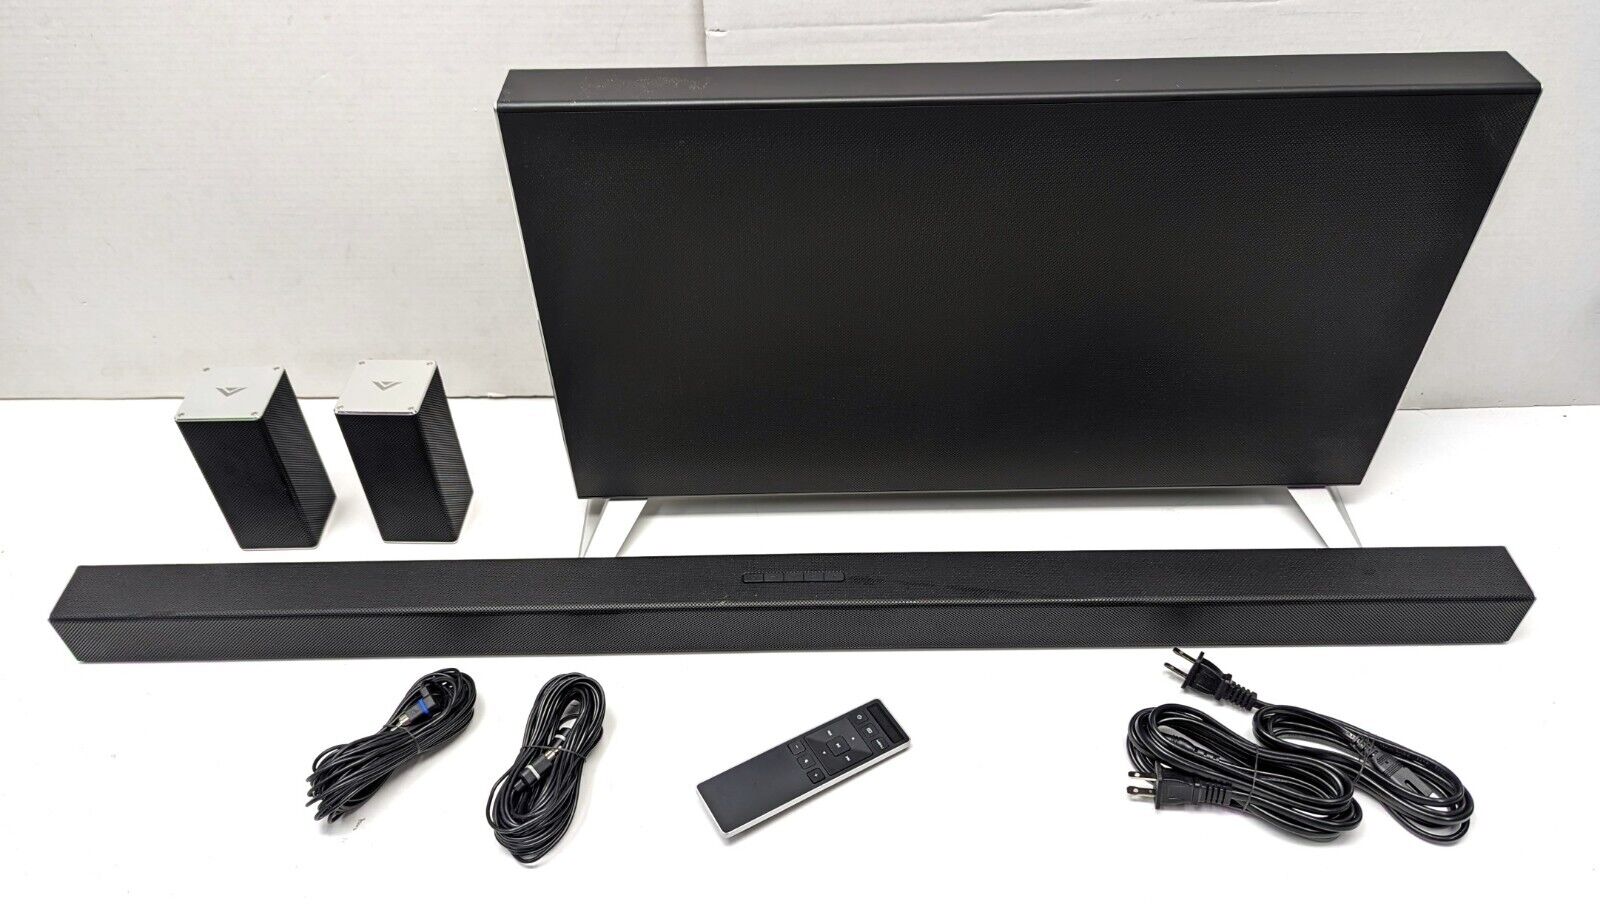
Before you begin setting up the Pioneer Sound Bar remote, it’s important to ensure that you have all the necessary components. Open the package and check that you have the following items:
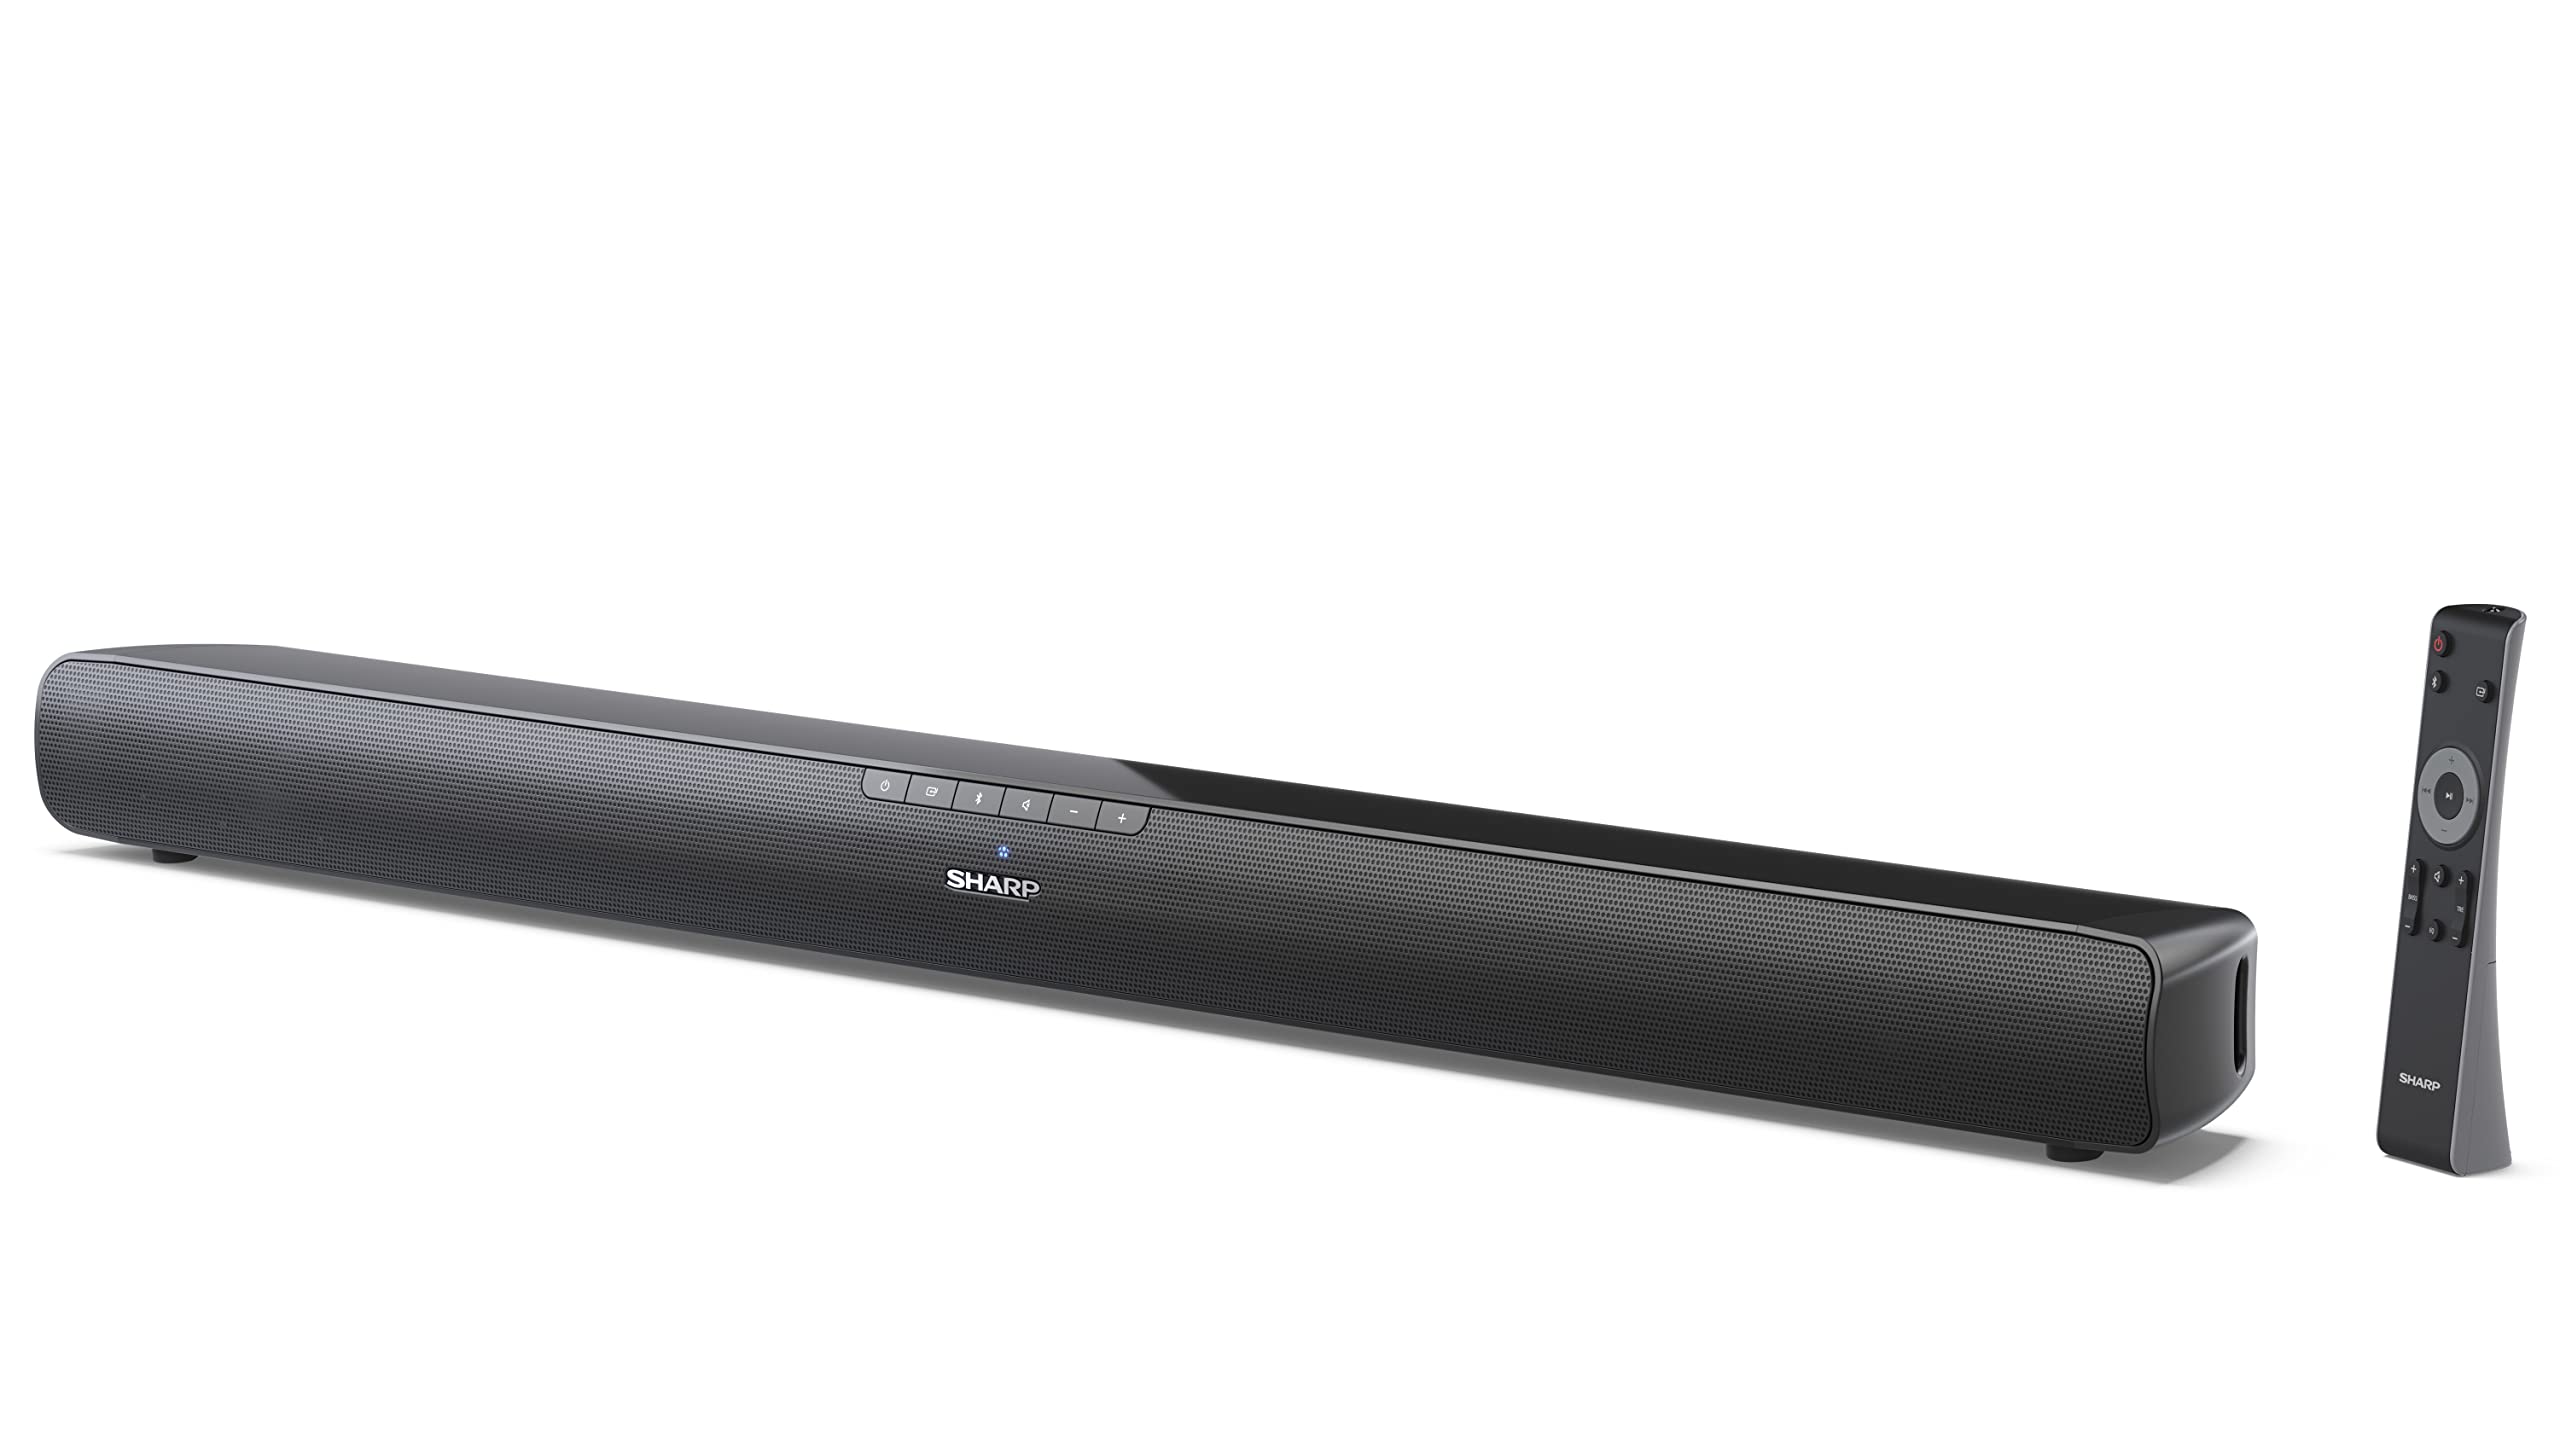
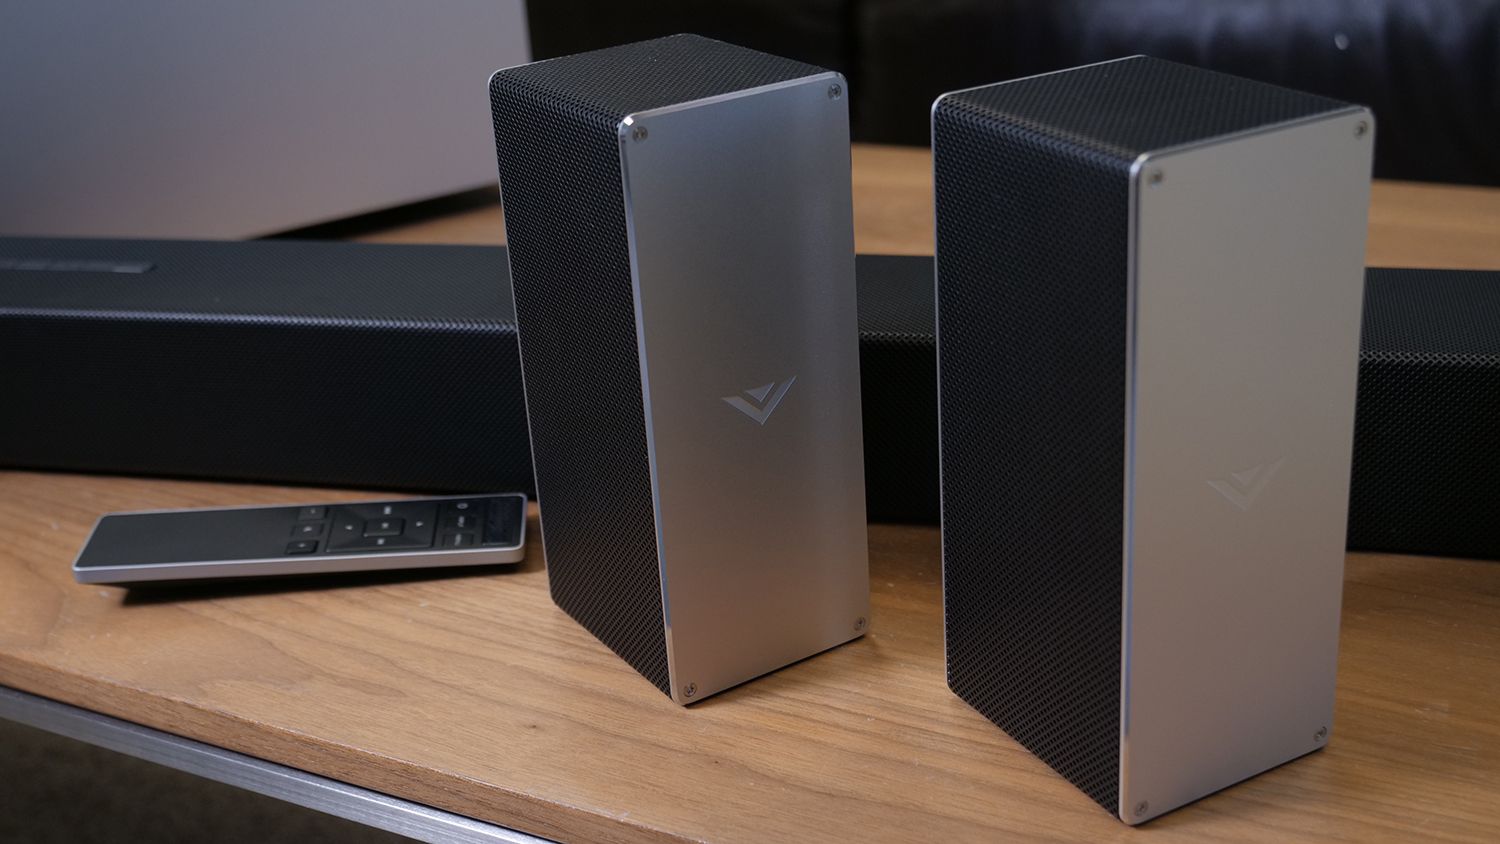
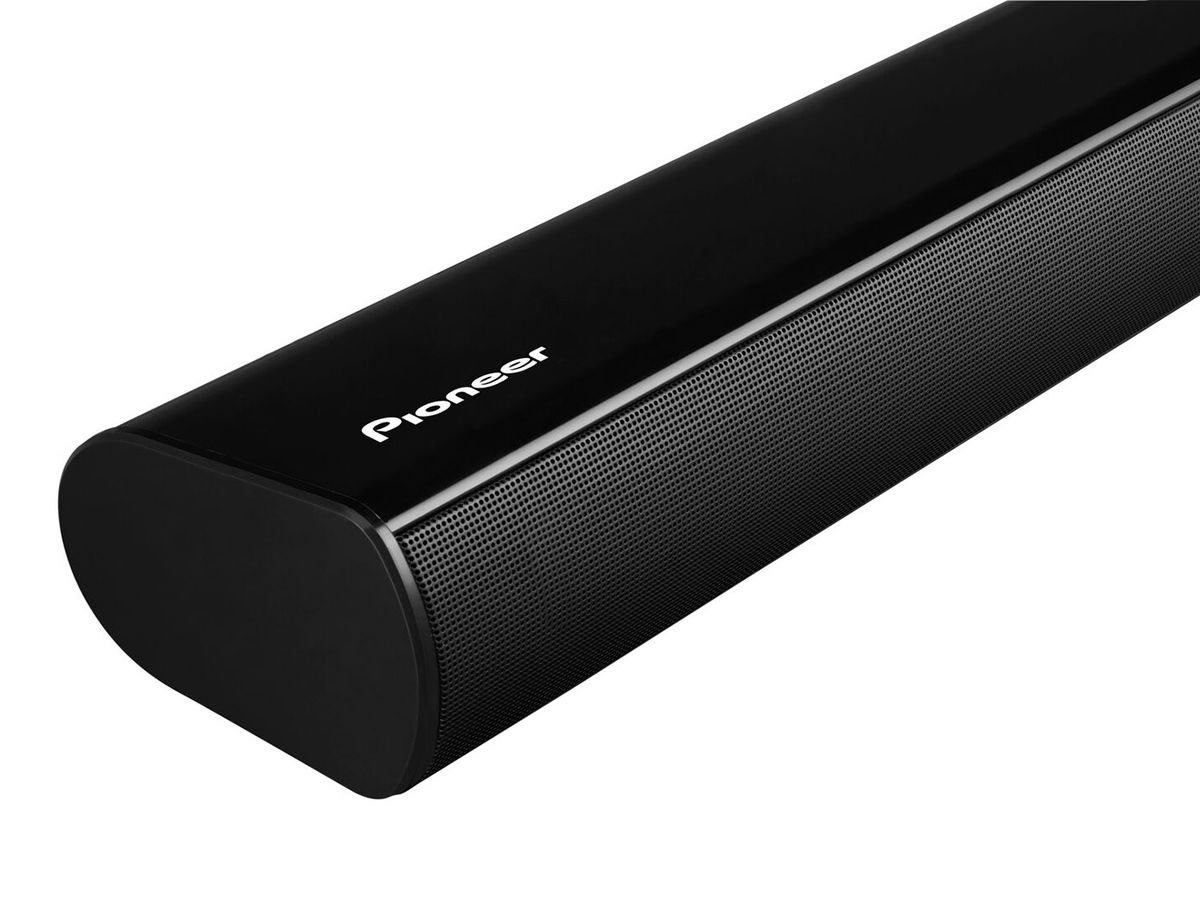
- Pioneer Sound Bar
- Remote control
- Batteries (usually included with the remote)
- Power cord
- Audio cables (HDMI, optical, or RCA, depending on the model)
- User manual and quick start guide
If any of these items are missing, contact the retailer or Pioneer customer support to resolve the issue before proceeding with the setup.
Once you have confirmed that you have all the necessary components, read through the user manual and quick start guide. These documents will provide valuable information about the specific features of your Pioneer Sound Bar model and guide you through the setup process.
It’s also a good idea to familiarize yourself with the various ports and connectors on the sound bar. This will make it easier to connect your sound bar to your TV and other devices during the setup process.
By thoroughly checking the contents of the package and familiarizing yourself with the user manual, you’ll be well-prepared to move on to the next step of setting up the Pioneer Sound Bar remote.
Step 2: Install batteries in the sound bar remote
Now that you have confirmed the package contents, it’s time to install the batteries in the Pioneer Sound Bar remote. Follow these simple steps:
- Locate the battery compartment on the back of the remote. It is usually indicated by an arrow or an icon.
- Remove the cover of the battery compartment by sliding it in the direction indicated.
- Insert the batteries into the compartment, making sure to observe the correct polarity (+ and – signs).
- Replace the battery compartment cover by sliding it back into place until it clicks securely.
It’s important to use the correct type and size of batteries recommended by the manufacturer. Consult the user manual or the markings on the remote to determine the appropriate battery specifications.
Once the batteries are installed, ensure that they are inserted correctly and securely in the compartment. Loose or improperly installed batteries may cause the remote control to malfunction. Double-check the polarity to make sure the batteries are aligned correctly.
After installing the batteries, test the remote control by pressing some buttons. If the remote control functions properly and the LED indicator lights up, you have successfully installed the batteries.
Now, your Pioneer Sound Bar remote is ready for use. In the next step, we will learn how to turn on the sound bar and the TV.
Step 3: Turn on the sound bar and the TV
Before we can proceed with setting up the Pioneer Sound Bar remote, let’s make sure that both the sound bar and the TV are turned on. Follow these steps:
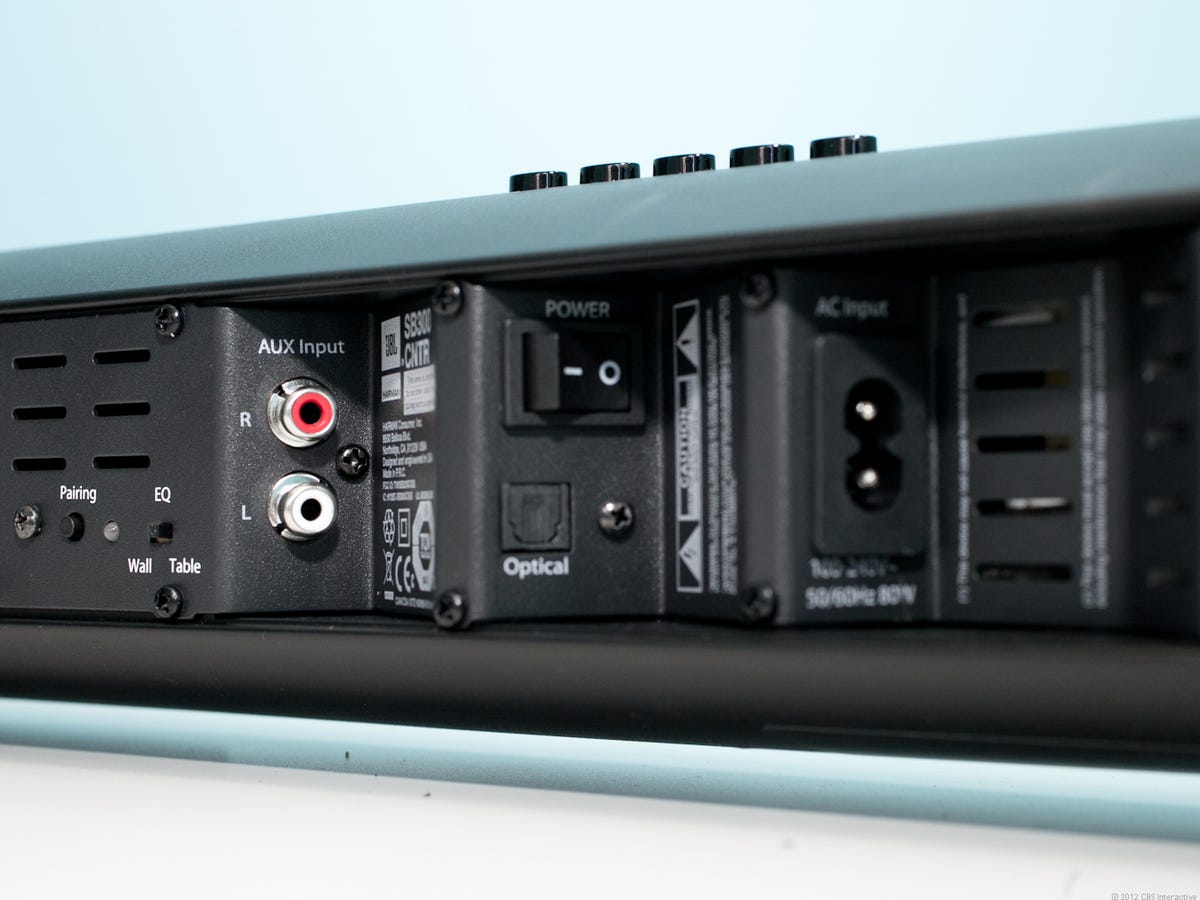
- Connect the power cord of the sound bar to a power outlet. Ensure that the power cable is securely plugged in.
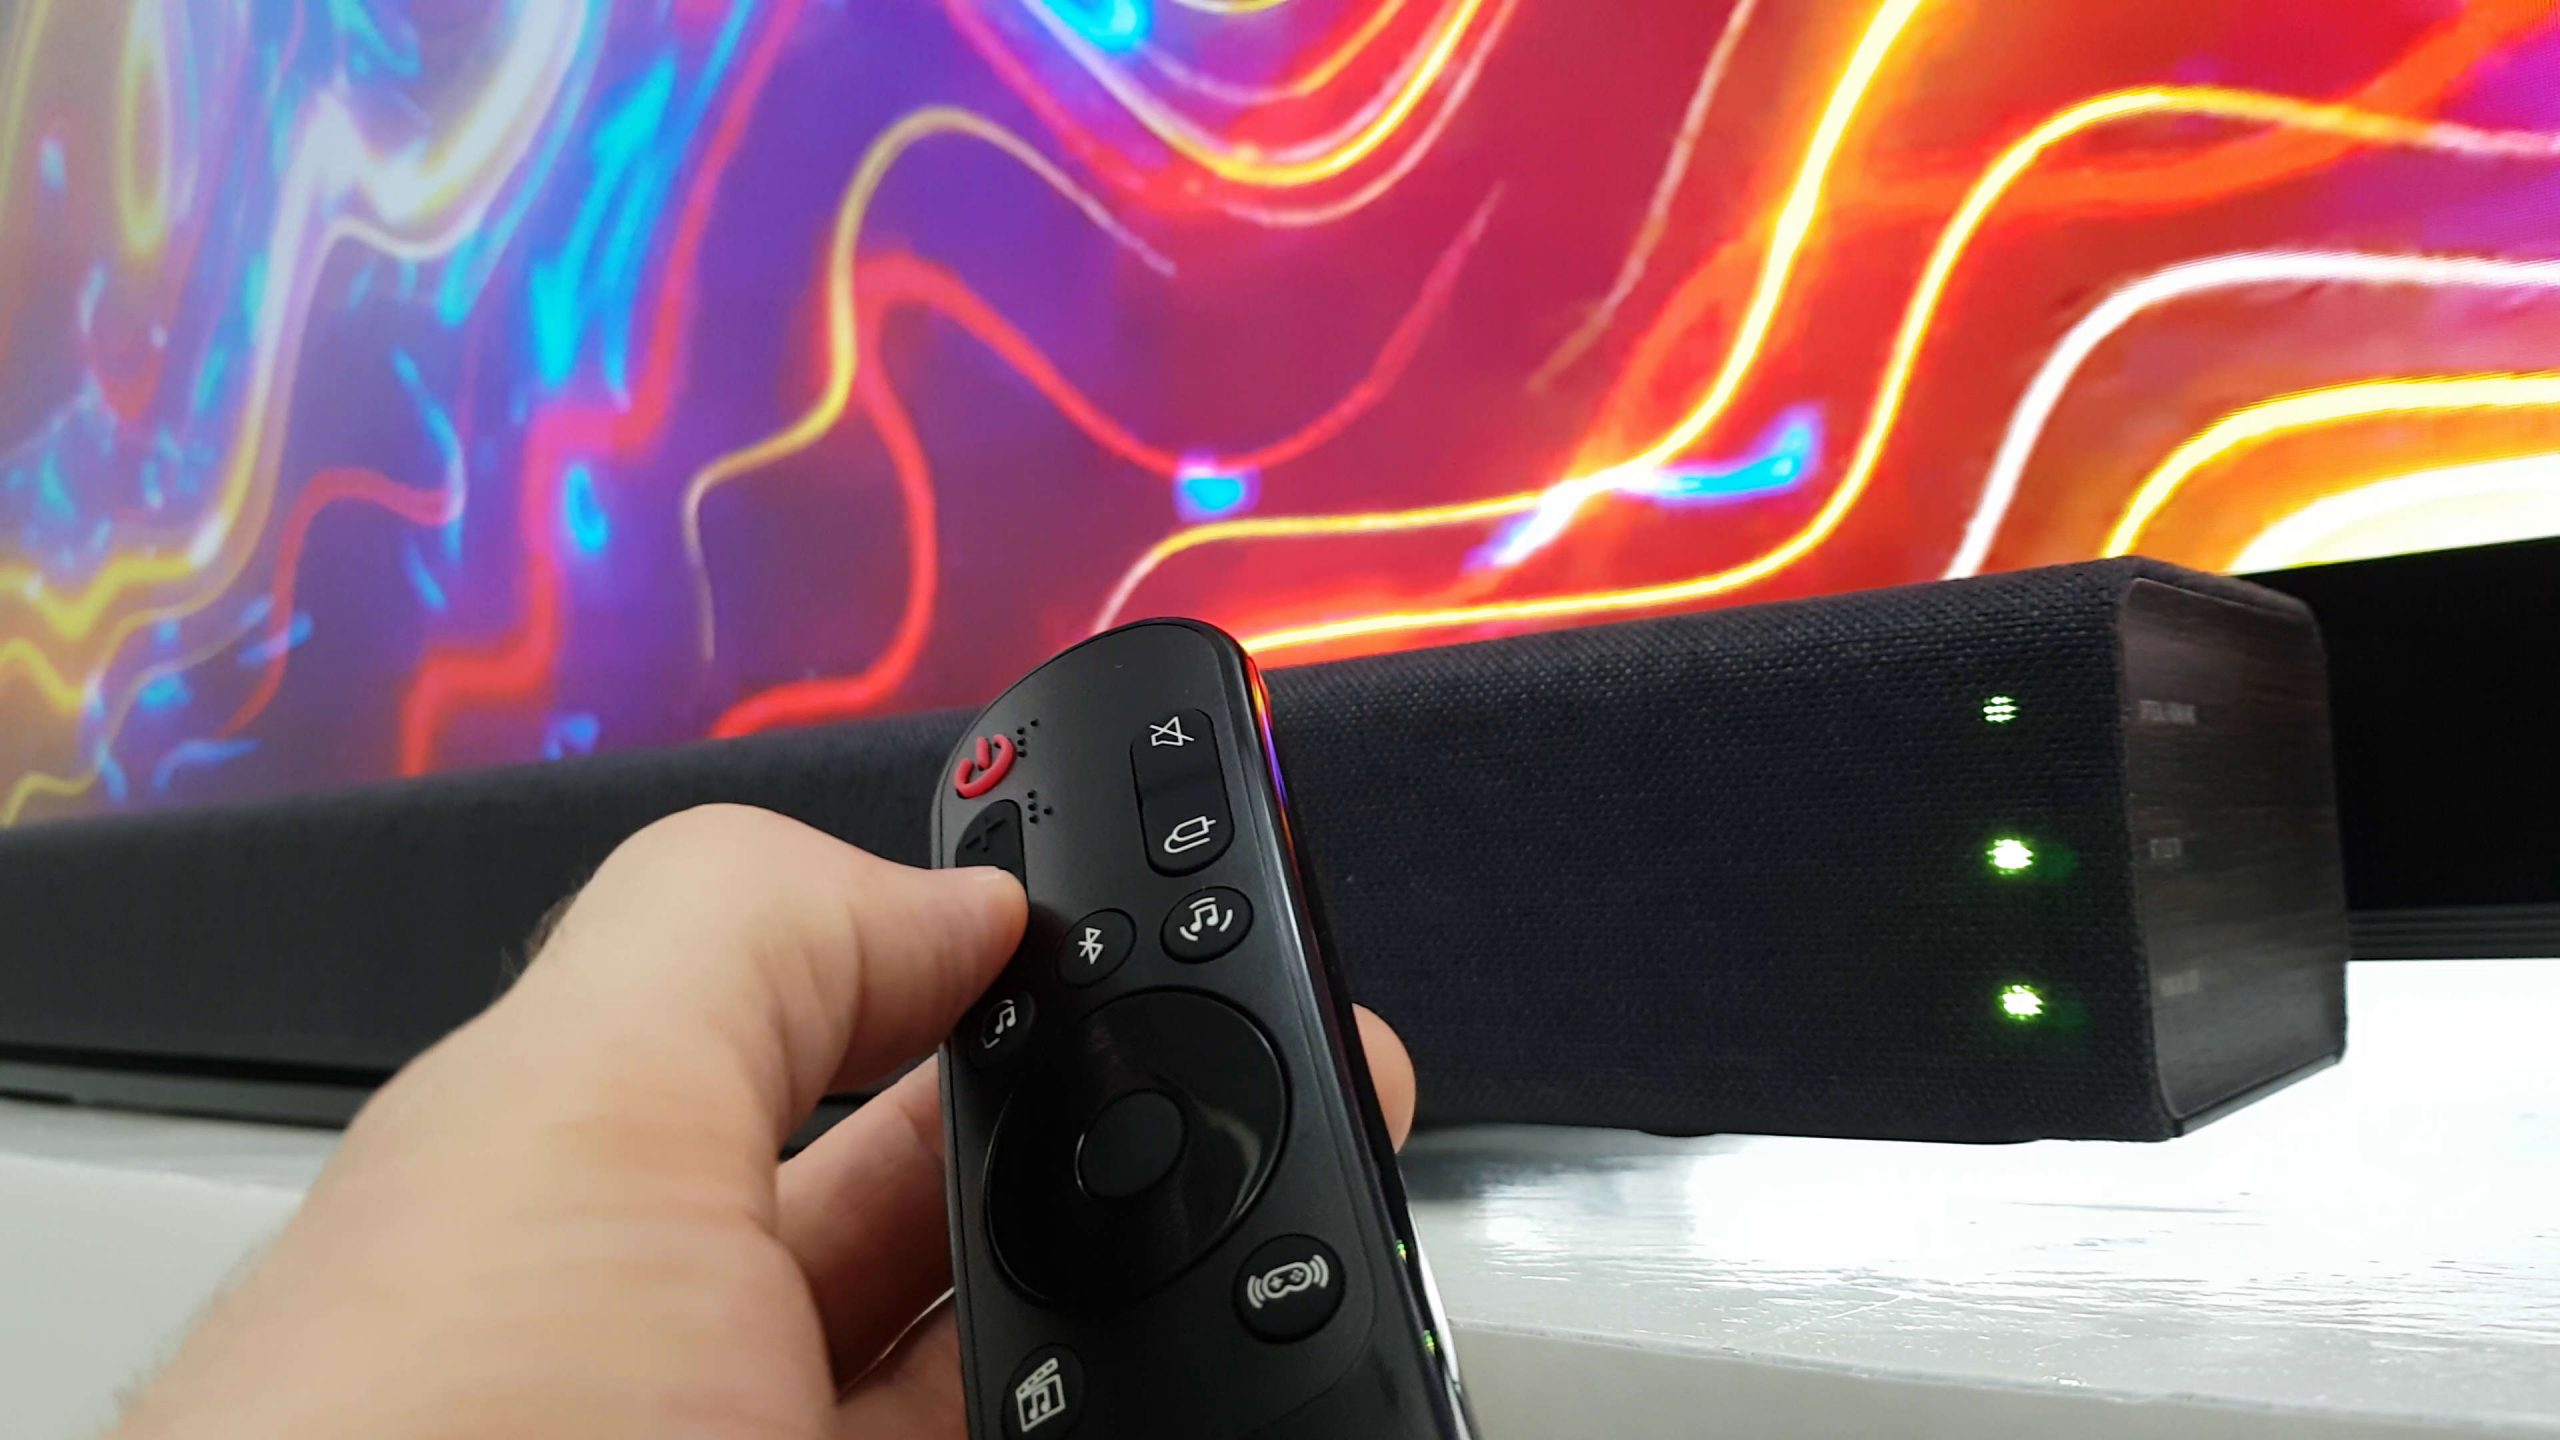
- Locate the power button on the sound bar or the remote control. Press the power button to turn on the sound bar.
- Next, turn on your TV using either the TV remote or the power button on the TV itself.
- Once the sound bar and the TV are powered on, make sure that your TV is set to the correct input source. This is the input that you have connected your sound bar to (e.g., HDMI, optical, or RCA).
It’s important to note that the specific steps for turning on the sound bar and configuring the input source may vary depending on your Pioneer Sound Bar model and the TV brand. Refer to the user manual for more detailed instructions specific to your setup.
After you have successfully turned on the sound bar and the TV, you are ready to move on to the next step: configuring the sound bar remote for your TV.
Step 4: Configure the sound bar remote for your TV
Configuring the Pioneer Sound Bar remote to control your TV is a crucial step in the setup process. By doing so, you can easily switch between controlling the sound bar and your TV using a single remote. Follow these steps to configure the sound bar remote:
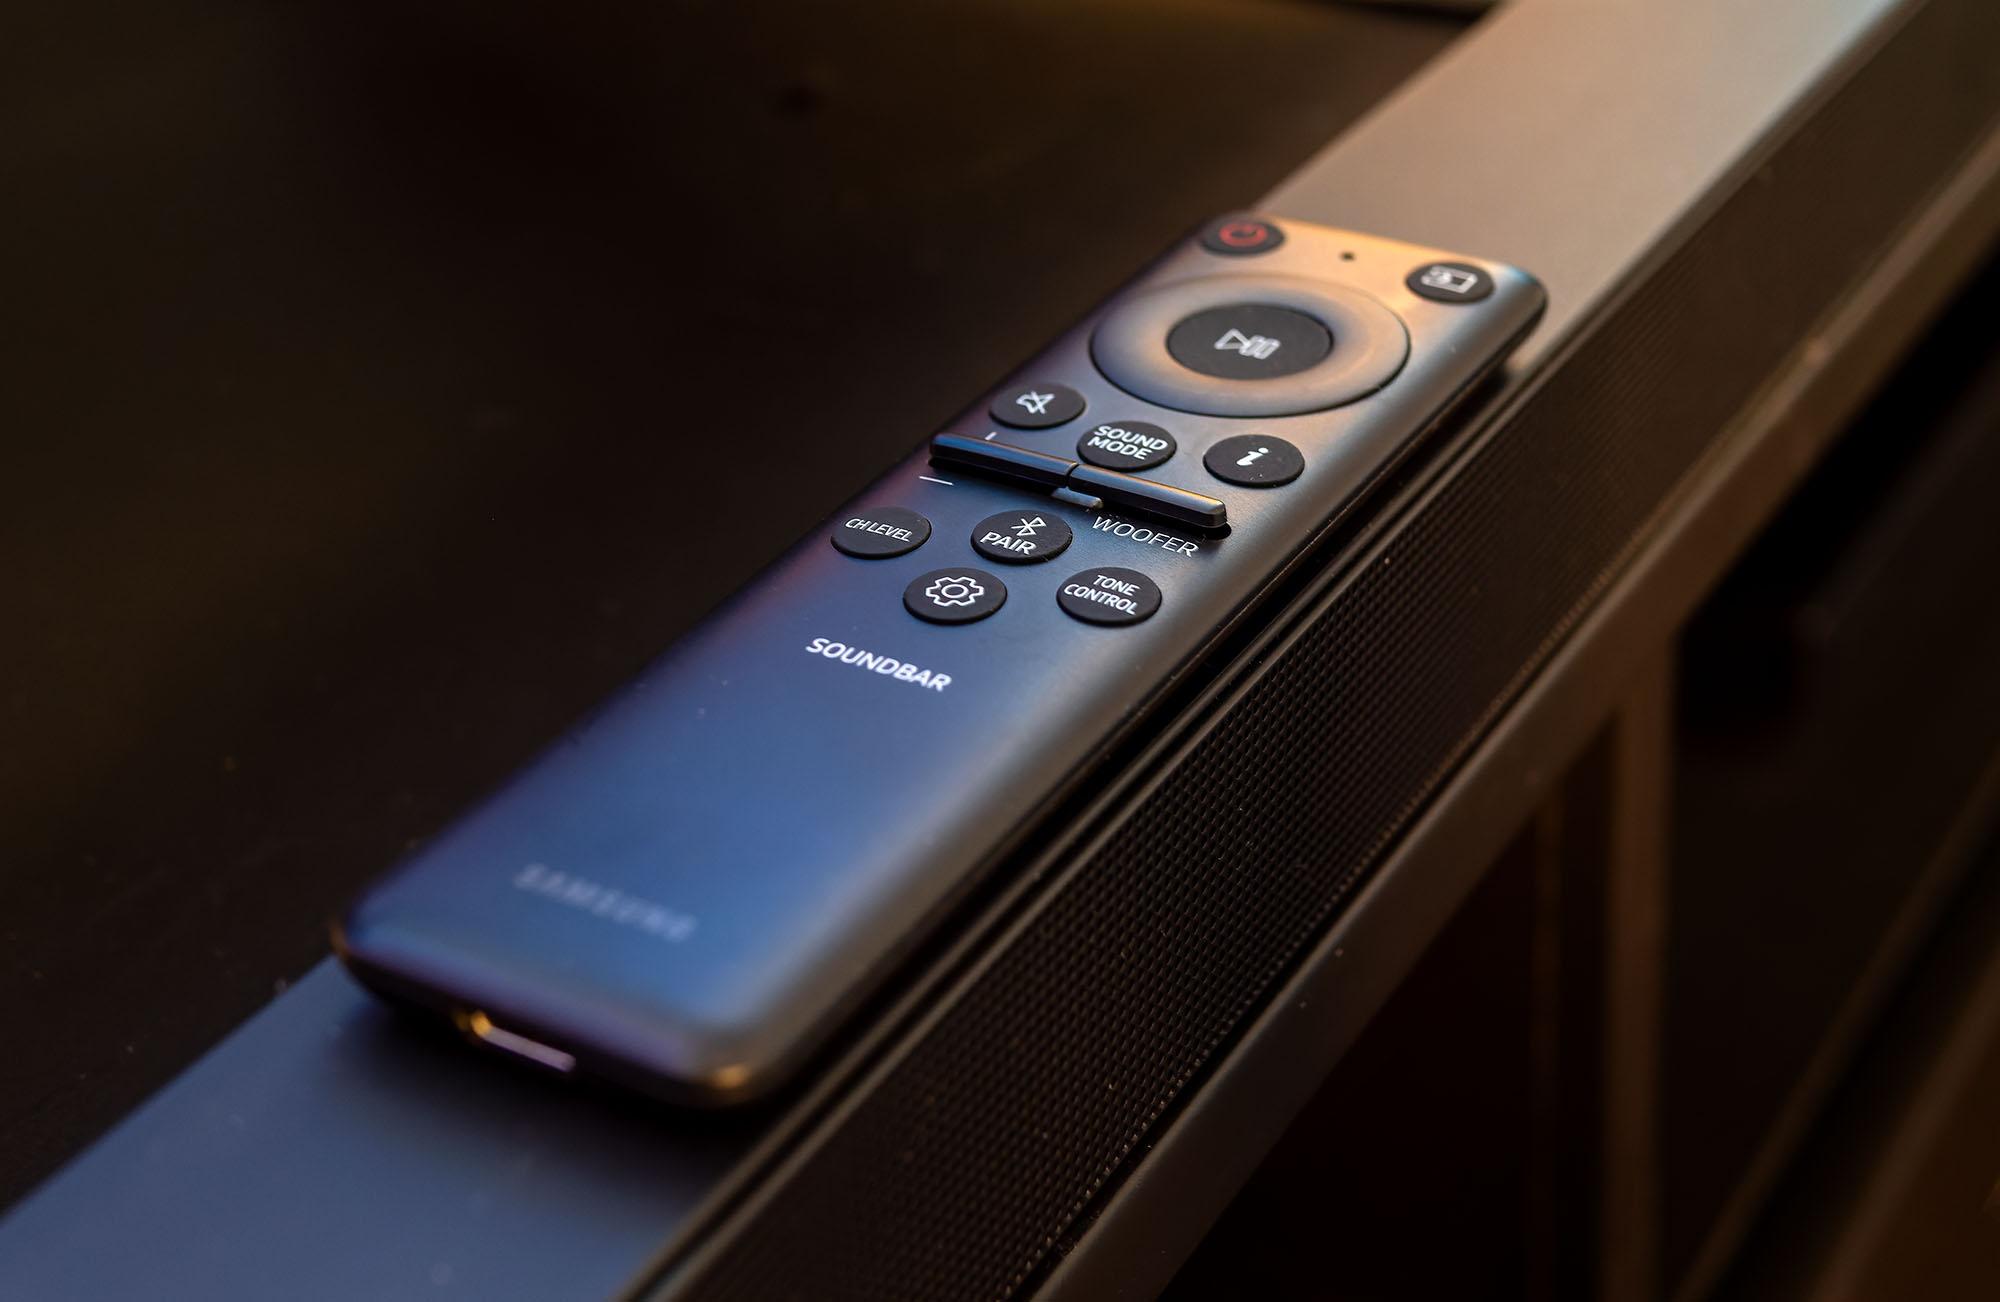
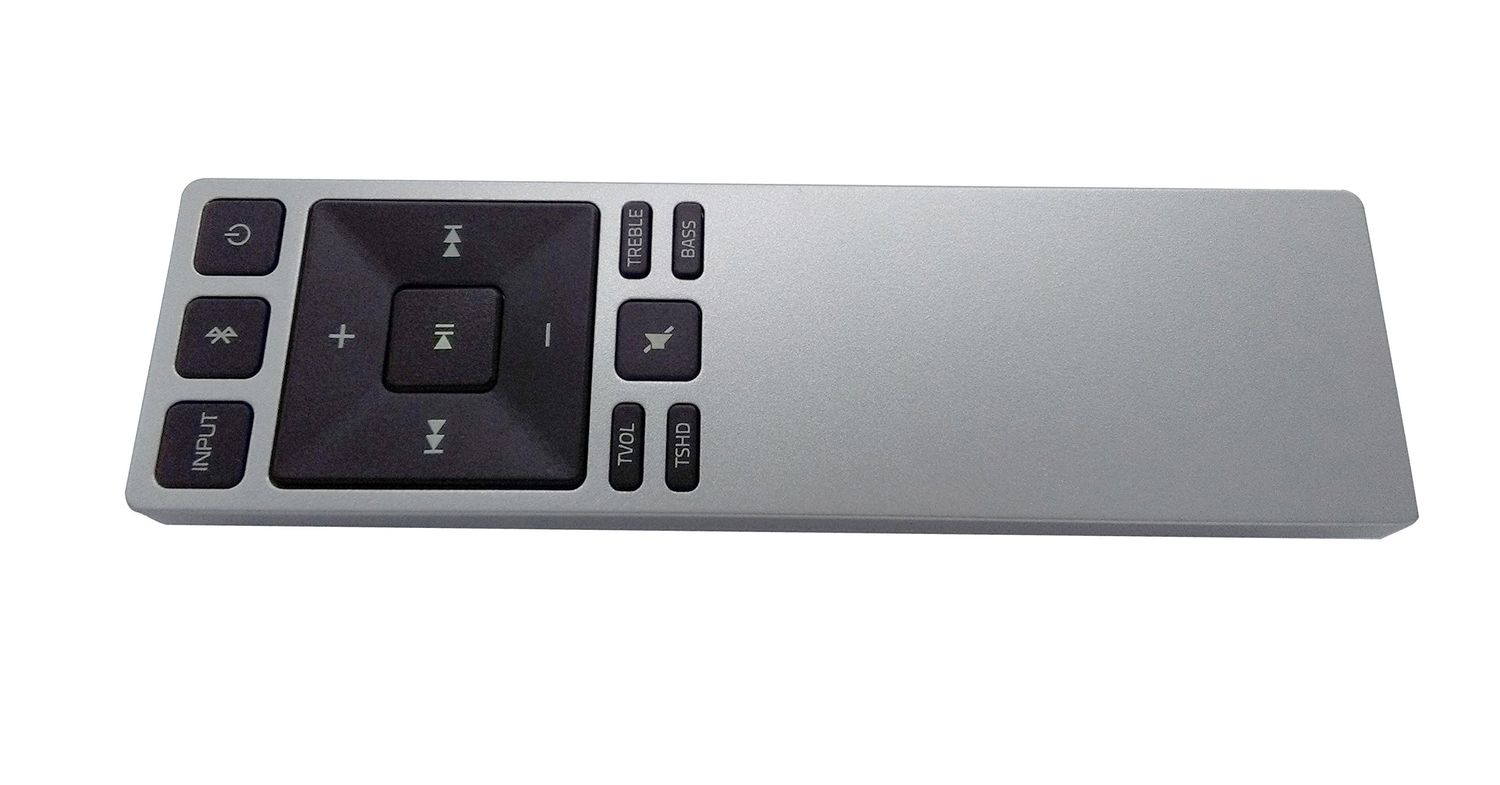
- Locate the “Settings” or “Setup” button on the sound bar remote. This button is usually labeled with a gear icon or similar.
- Press the “Settings” or “Setup” button to access the remote control settings menu.
- Navigate through the menu using the arrow keys on the remote control. Look for an option related to “TV Control,” “TV Input,” or “TV Setup.”
- Select the appropriate option and follow the on-screen instructions to set up the remote control for your TV.
- During the setup process, you may be prompted to enter a manufacturer code or follow specific instructions, such as aiming the remote at the TV and pressing certain buttons.
- Once the configuration is complete, test the remote control by adjusting the TV volume, changing channels, and navigating through the TV menu.
It’s important to note that the configuration process may vary depending on your Pioneer Sound Bar model, the TV brand, and the specific features of the remote control. Refer to the user manual for detailed instructions on configuring the remote control for your particular setup.
If you encounter any issues or have difficulty configuring the remote control, refer to the troubleshooting section of the user manual or contact Pioneer customer support for assistance.
Now that you have successfully configured the sound bar remote for your TV, it’s time to move on to the next step: testing the remote control functionalities.
Step 5: Test the remote control functionalities
After configuring the Pioneer Sound Bar remote for your TV, it’s essential to test its functionality to ensure that it is working correctly. By testing the remote control, you can verify that it can control both the sound bar and the TV seamlessly. Follow these steps to test the remote control:
- Point the sound bar remote at the TV and make sure there are no obstructions between the remote and the TV.
- Press the volume up and volume down buttons on the remote to test if it can adjust the volume on the sound bar. You should see the on-screen volume indicator or hear an audible change in volume.
- Test other buttons on the remote, such as the power button, input/select button, mute button, and navigation buttons. Make sure they perform the desired functions on both the sound bar and the TV.
- If the remote control does not work as expected or some buttons are not functioning correctly, consult the user manual for troubleshooting or contact Pioneer customer support for further assistance.
During the testing phase, pay attention to any error messages, unusual behavior, or delay in response from the remote control. These issues may indicate a need for further adjustments or troubleshooting steps.
It’s important to note that the remote control functionalities may vary depending on the specific features of your Pioneer Sound Bar model and the compatibility with your TV. Refer to the user manual for more detailed information on the remote control buttons and their functions.
Once you have confirmed that the remote control is working correctly and can control both the sound bar and the TV, congratulations! You have successfully set up the Pioneer Sound Bar remote.
Now, sit back, relax, and enjoy the immersive audio experience provided by your Pioneer Sound Bar, all conveniently controlled by a single remote.
Conclusion
Setting up the Pioneer Sound Bar remote to control your sound bar and TV is a straightforward process that enhances your audio experience and simplifies your entertainment setup. By following the step-by-step instructions provided in this guide, you can easily configure the remote control and enjoy seamless control over your sound bar and TV.
Remember to check the contents of the package, install batteries in the remote, turn on the sound bar and TV, configure the remote for your TV, and test the functionalities to ensure everything is working correctly.
With your Pioneer Sound Bar remote properly set up, you can conveniently adjust the volume, change inputs, and control various functions without the need for multiple remotes cluttering up your living space.
If you encounter any difficulties during the setup process or have specific questions related to your Pioneer Sound Bar model, consult the user manual or reach out to Pioneer customer support for assistance.
Now, sit back, relax, and immerse yourself in the incredible sound quality and superior audio experience offered by your Pioneer Sound Bar, all effortlessly controlled by your newly configured remote.