Home>Production & Technology>Sound Bar>How To Get Samsung Sound Bar To Turn On With TV
Sound Bar
How To Get Samsung Sound Bar To Turn On With TV
Published: December 25, 2023
Learn how to easily turn on your Samsung Sound Bar with your TV. Follow our step-by-step guide to enhance your audio experience.
(Many of the links in this article redirect to a specific reviewed product. Your purchase of these products through affiliate links helps to generate commission for AudioLover.com, at no extra cost. Learn more)
Table of Contents
Introduction
Welcome to the world of immersive sound experience with a Samsung sound bar! If you have recently purchased a Samsung sound bar and want to enhance your TV viewing experience, you’re in the right place. In this guide, we will walk you through the steps to get your Samsung sound bar to turn on with your TV seamlessly.
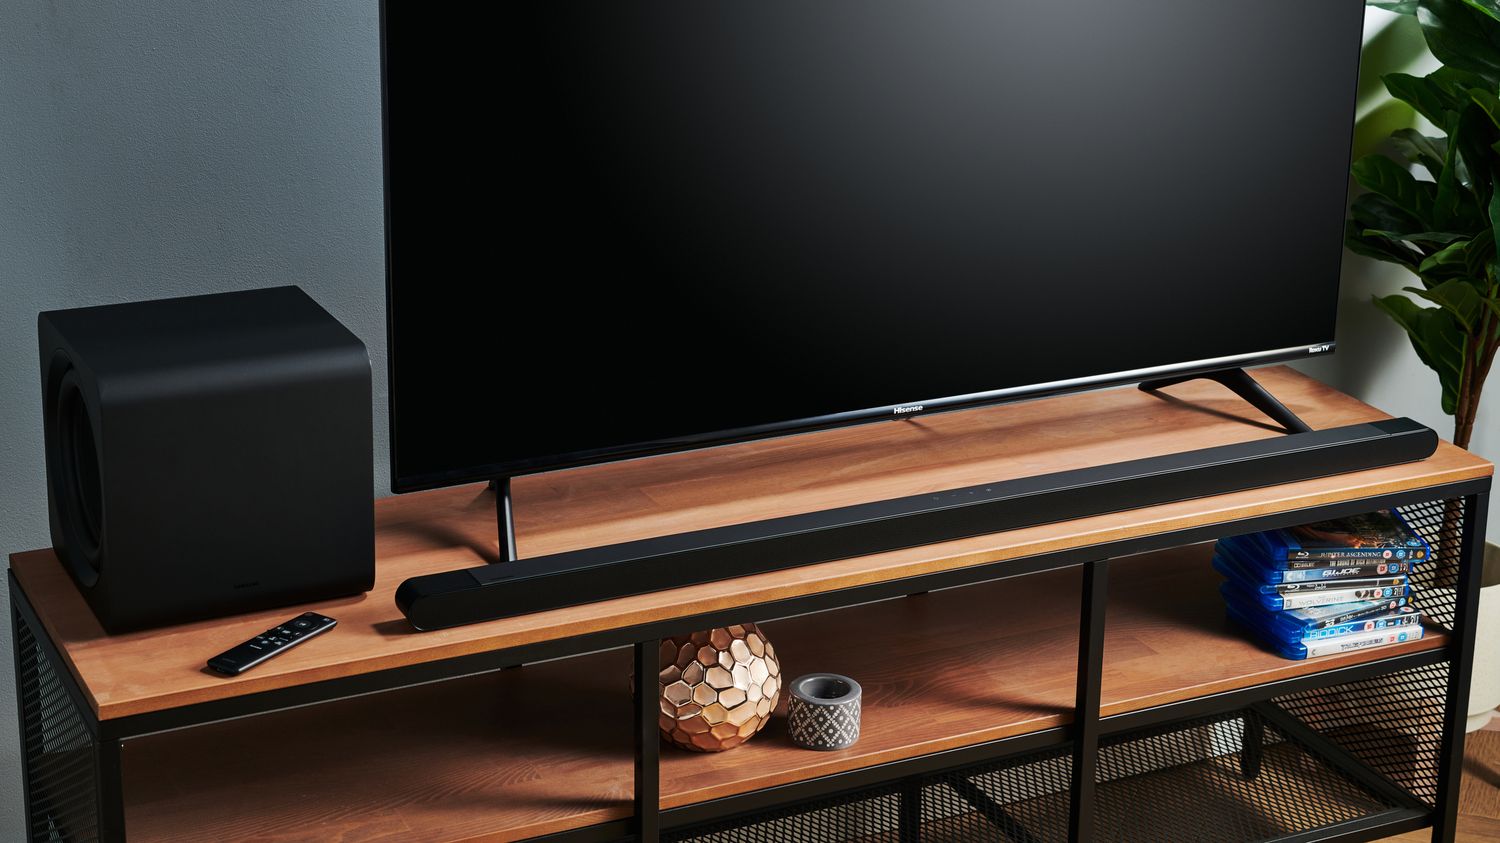
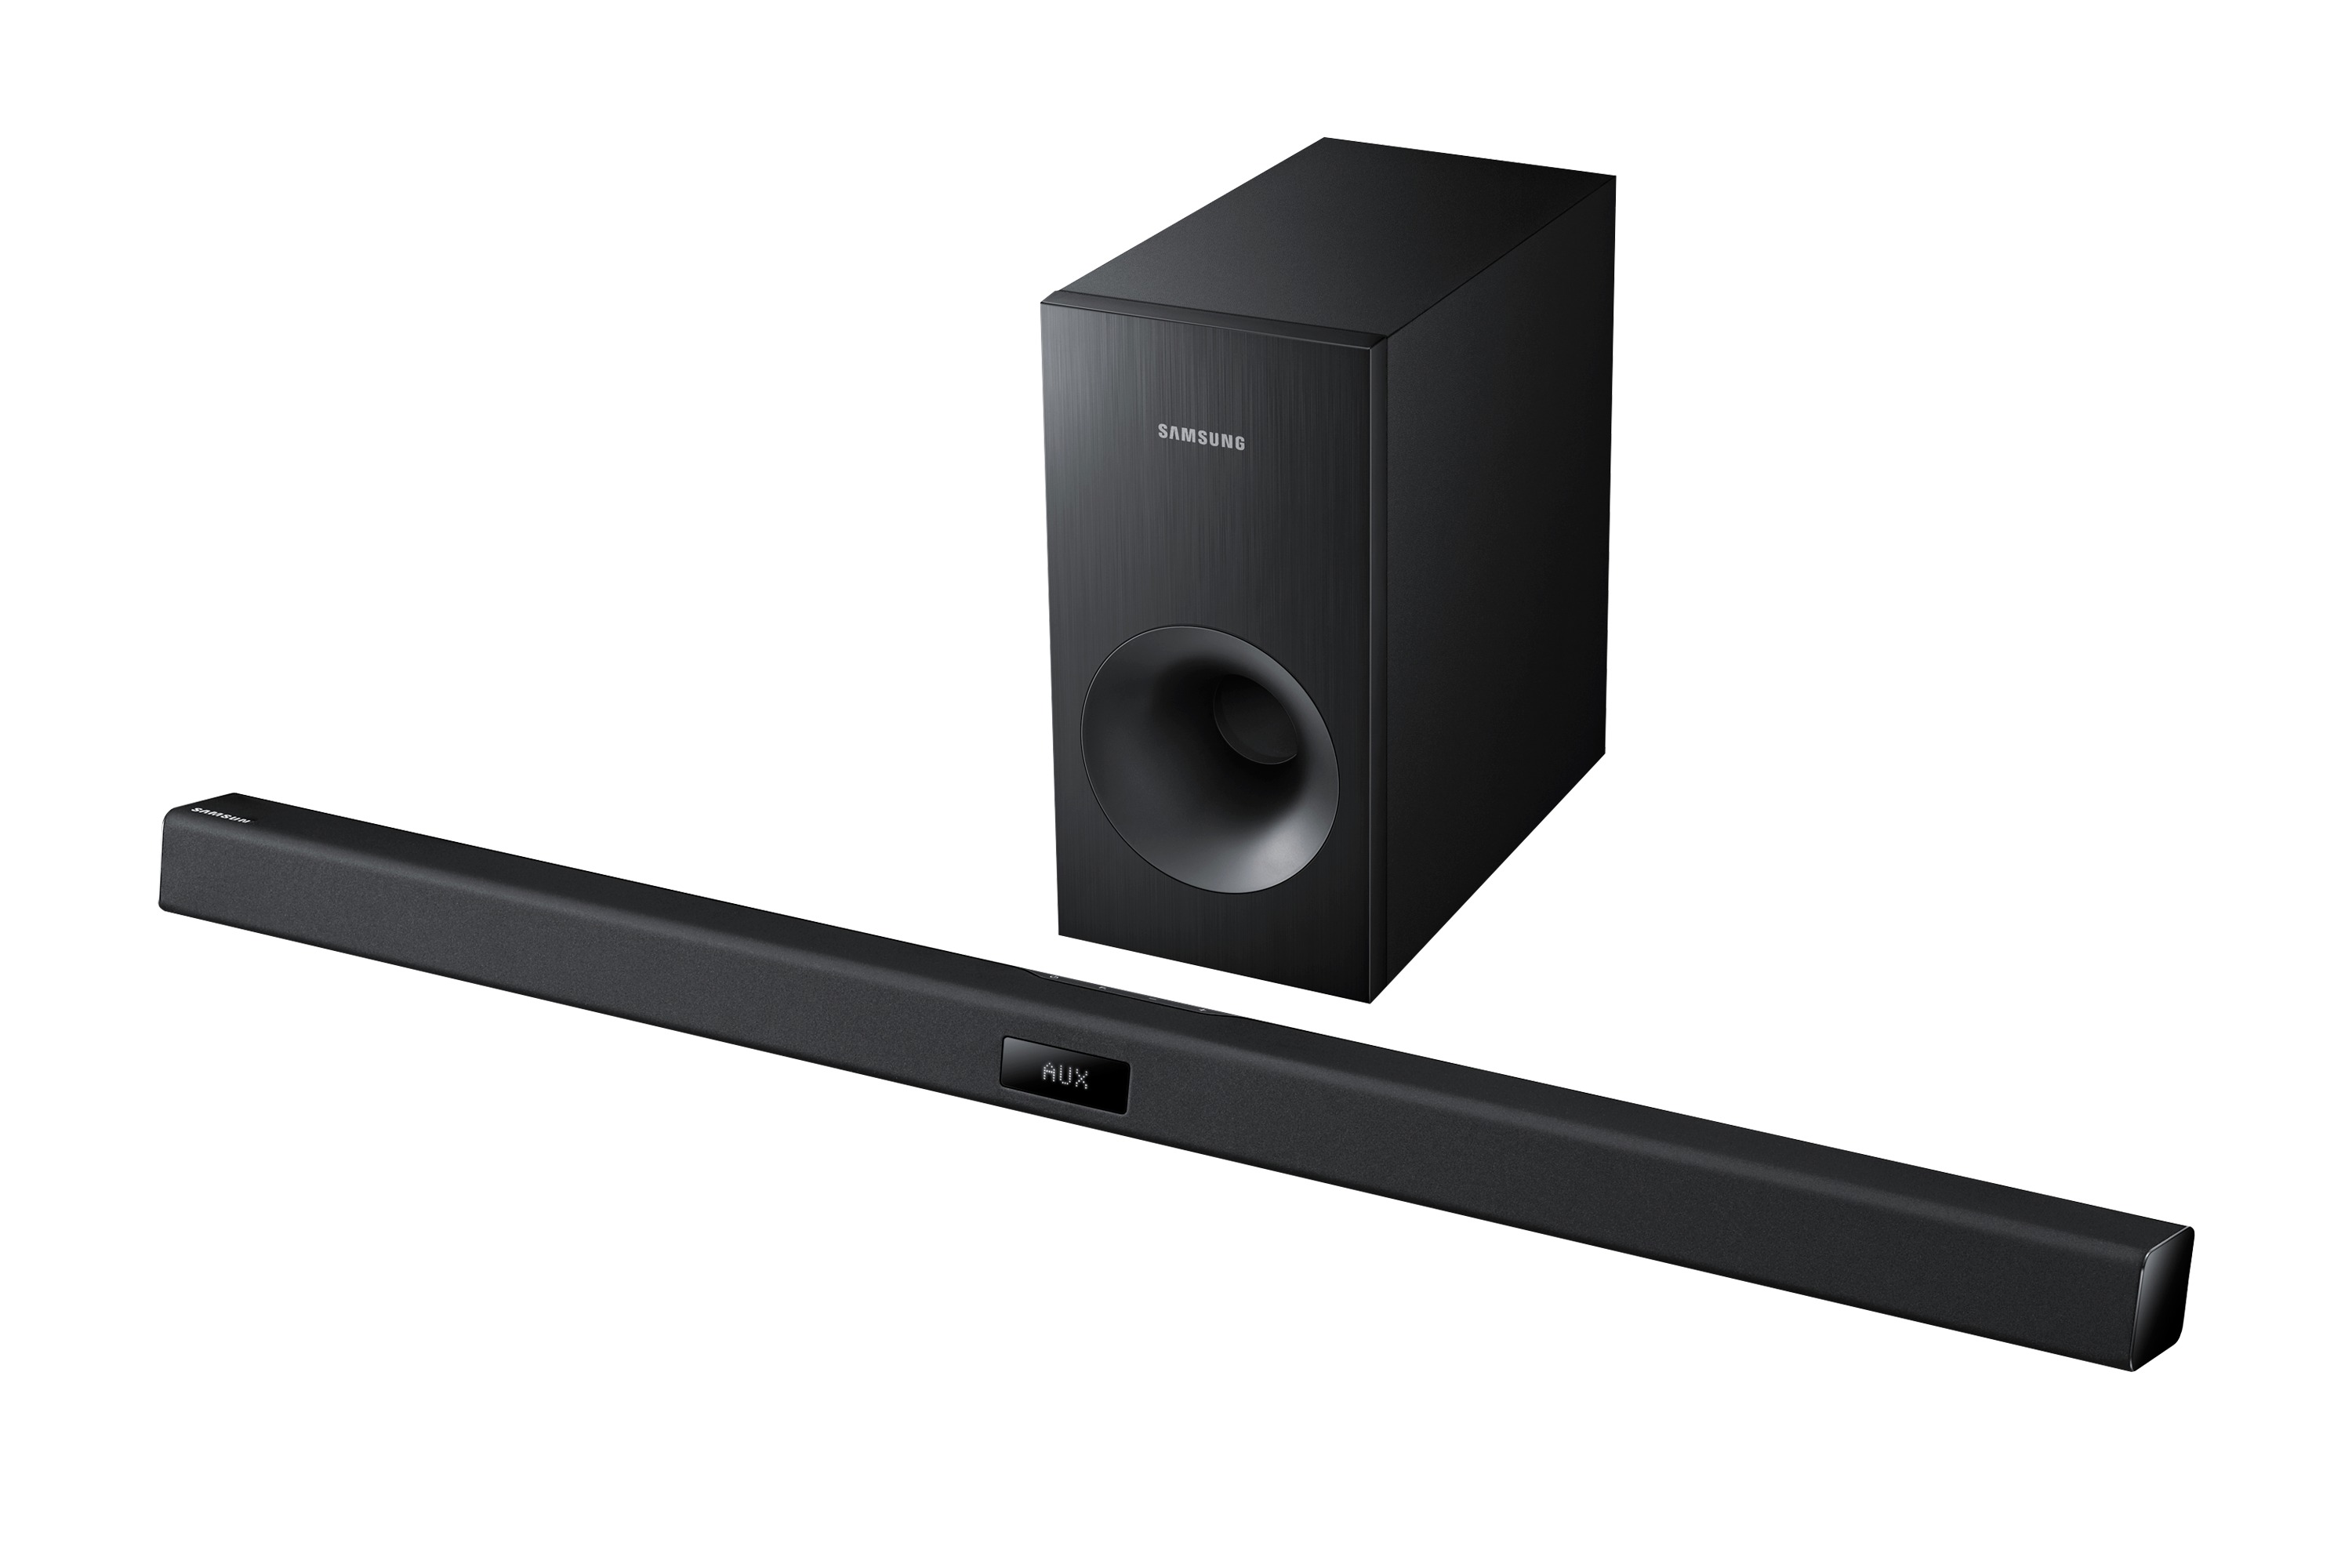
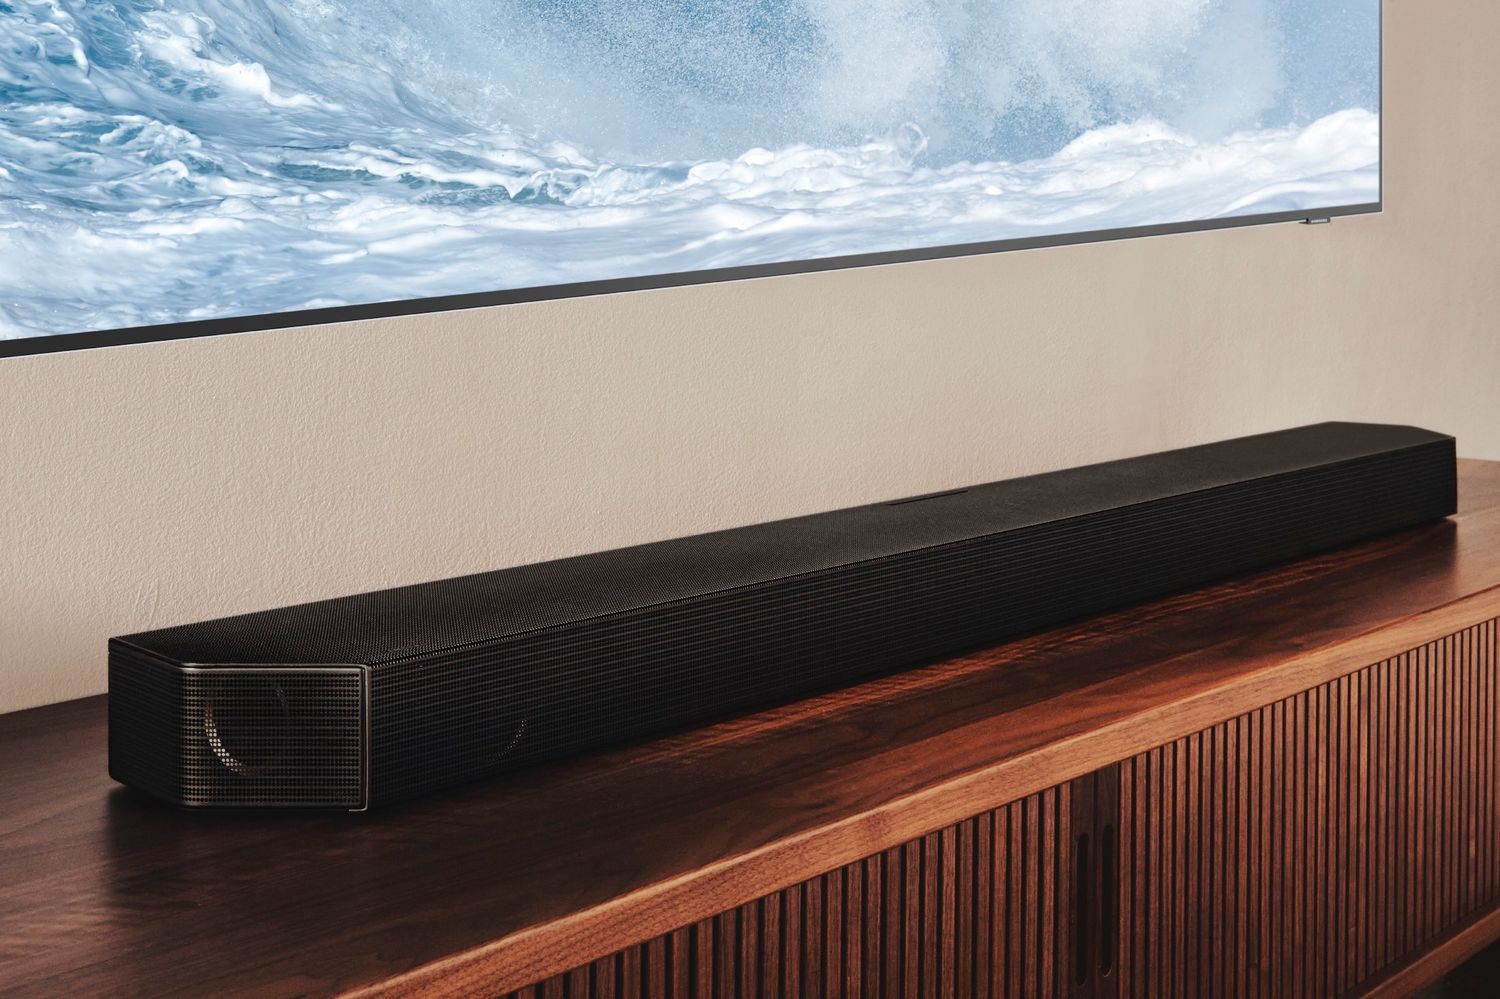
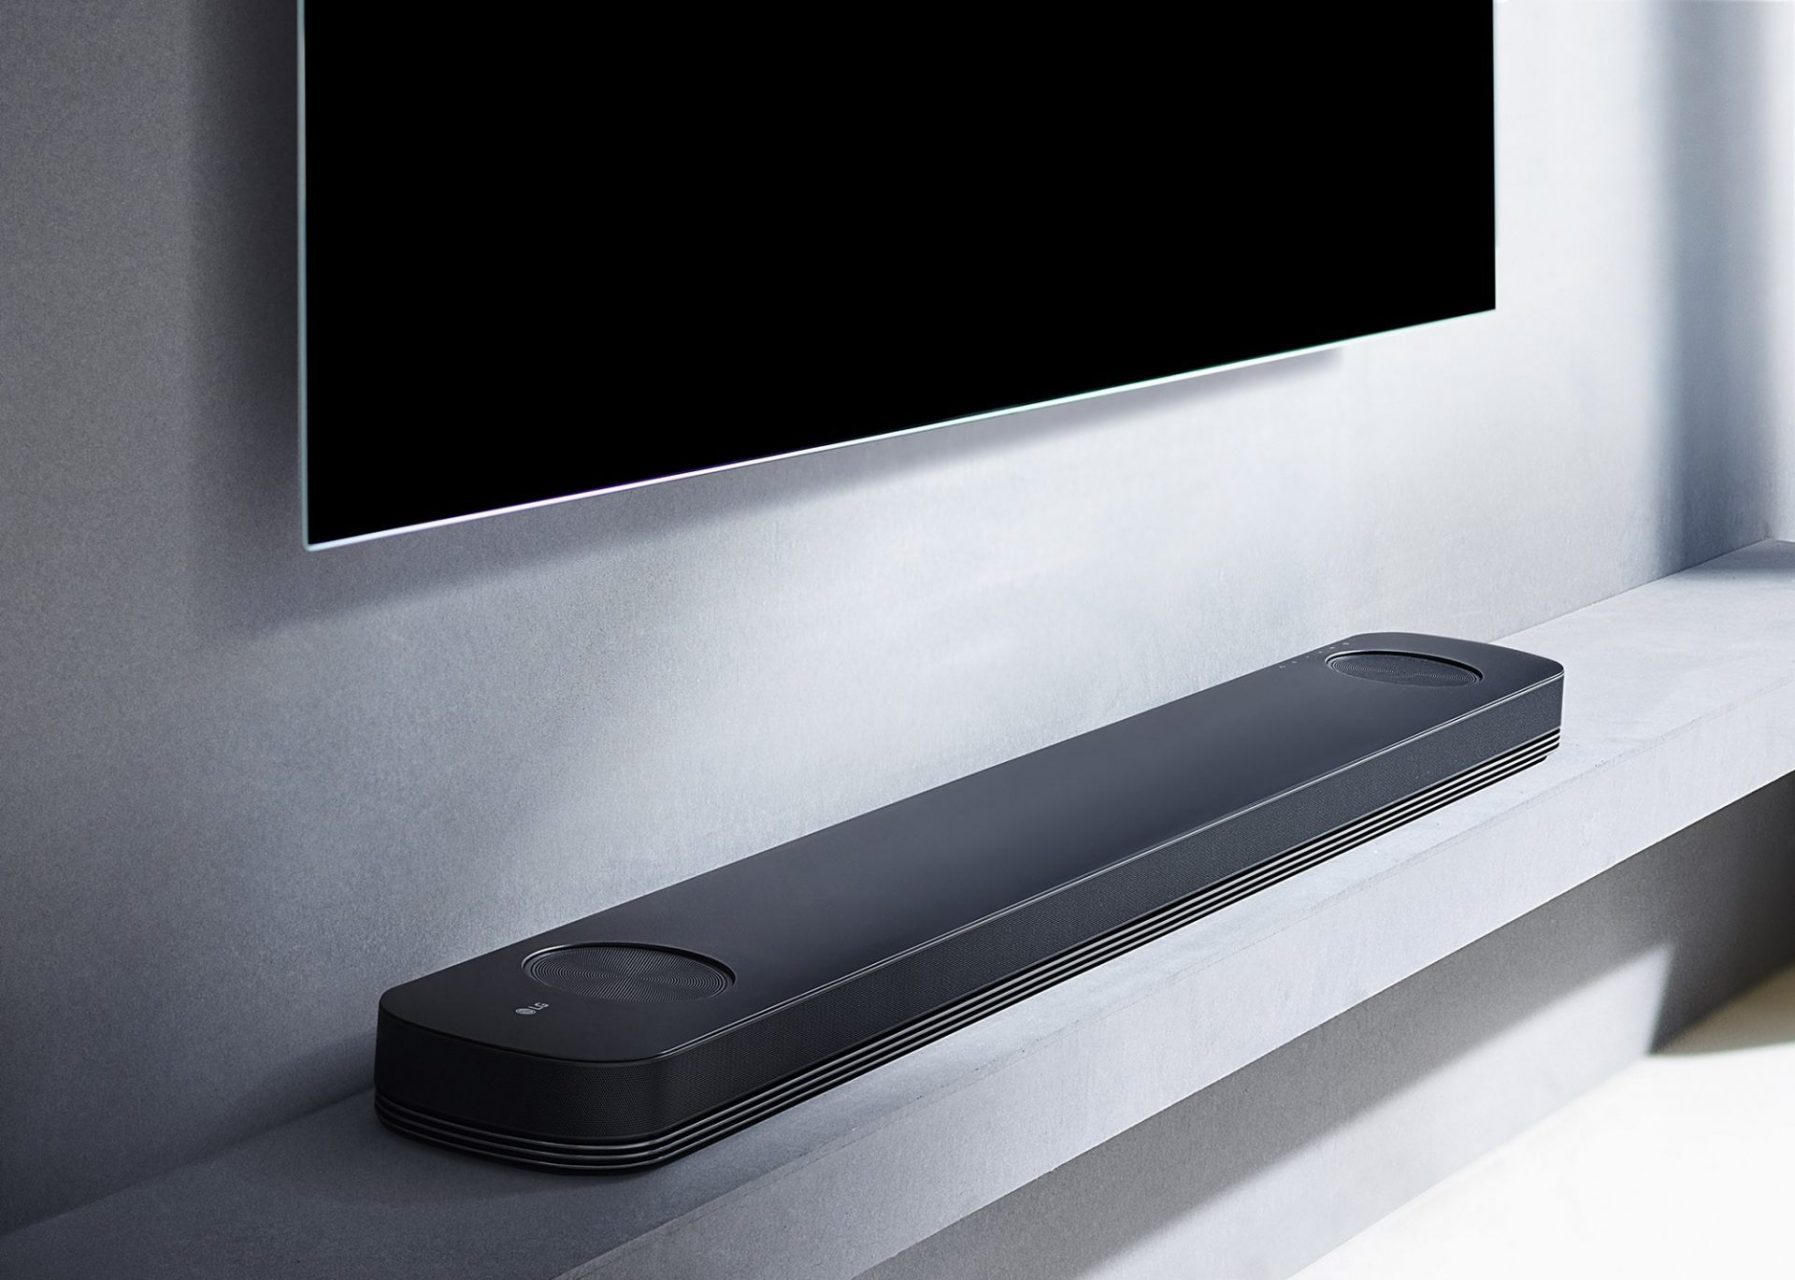
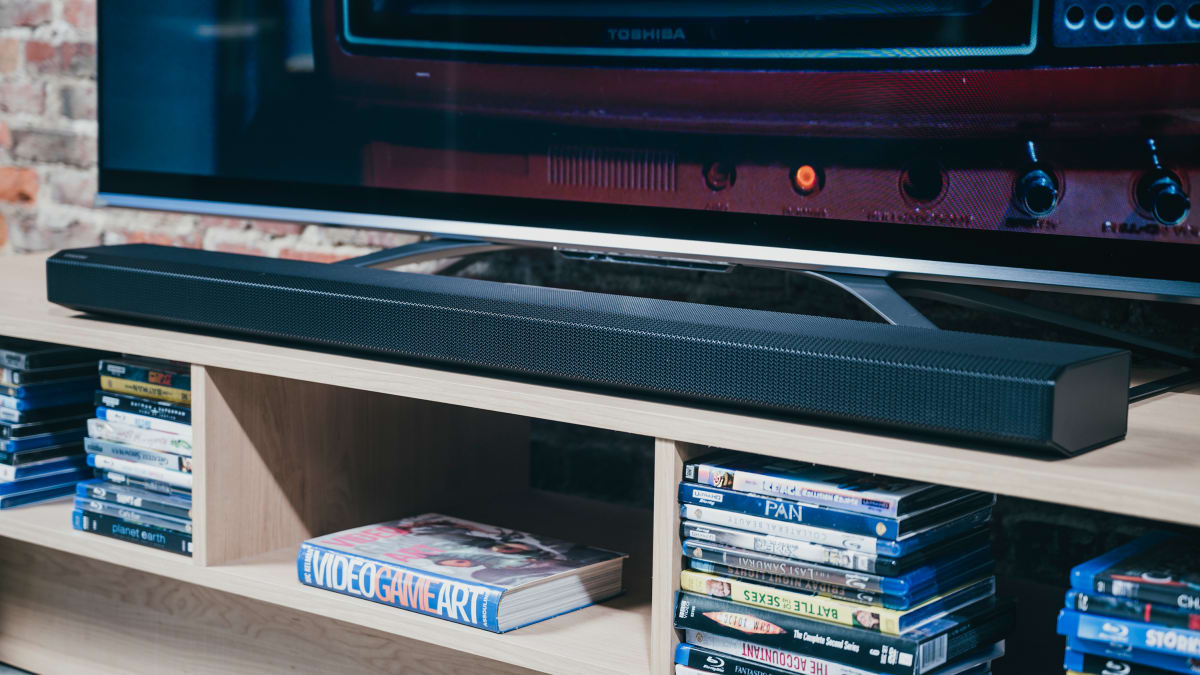
A sound bar is a compact audio system that provides high-quality sound output and serves as a perfect companion to your TV. With its sleek design and powerful audio performance, a Samsung sound bar can bring your entertainment to life, producing impressive surround sound without the need for multiple speakers and wires.
There’s nothing more frustrating than having to juggle between different remotes to turn on your TV and sound bar. The good news is that Samsung sound bars come equipped with a feature called Anynet+ (also known as HDMI-CEC), which allows your TV and sound bar to communicate and synchronize their functions.
By following the steps outlined in this guide, you will be able to conveniently turn on your Samsung sound bar with your TV, eliminating the hassle of using multiple remotes and ensuring a seamless and immersive audio experience every time you watch your favorite movies or TV shows.
So, let’s jump right in and learn how to get your Samsung sound bar to turn on with your TV!
Step 1: Check the Compatibility
Before you begin the setup process, it’s important to ensure that your Samsung sound bar and TV are compatible with each other. This will help avoid any compatibility issues and ensure a smooth integration between the two devices.
First, check the audio output options on your TV. Most modern TVs have various audio output connections, such as HDMI ARC (Audio Return Channel), optical audio, or analog audio. Look for these audio output options on the back or side panel of your TV.
Next, check the input options on your Samsung sound bar. It should have the corresponding audio input ports that match the output options on your TV. The most common input options on a sound bar include HDMI, optical audio, and auxiliary (3.5mm) audio.
If your TV and sound bar have matching audio output and input options, they are likely compatible. However, it’s always a good idea to consult the user manuals or manufacturer’s website for specific compatibility information.
In addition to the physical connections, compatibility might also be dependent on the audio formats supported by your TV and sound bar. Check the supported audio formats on both devices to ensure they are compatible.
Keep in mind that some older TVs may not have HDMI ARC or other advanced audio features. In such cases, you may need additional adapters or converters to connect your Samsung sound bar to your TV.
By verifying the compatibility between your TV and sound bar, you can proceed with confidence to the next steps of connecting and setting up the devices.
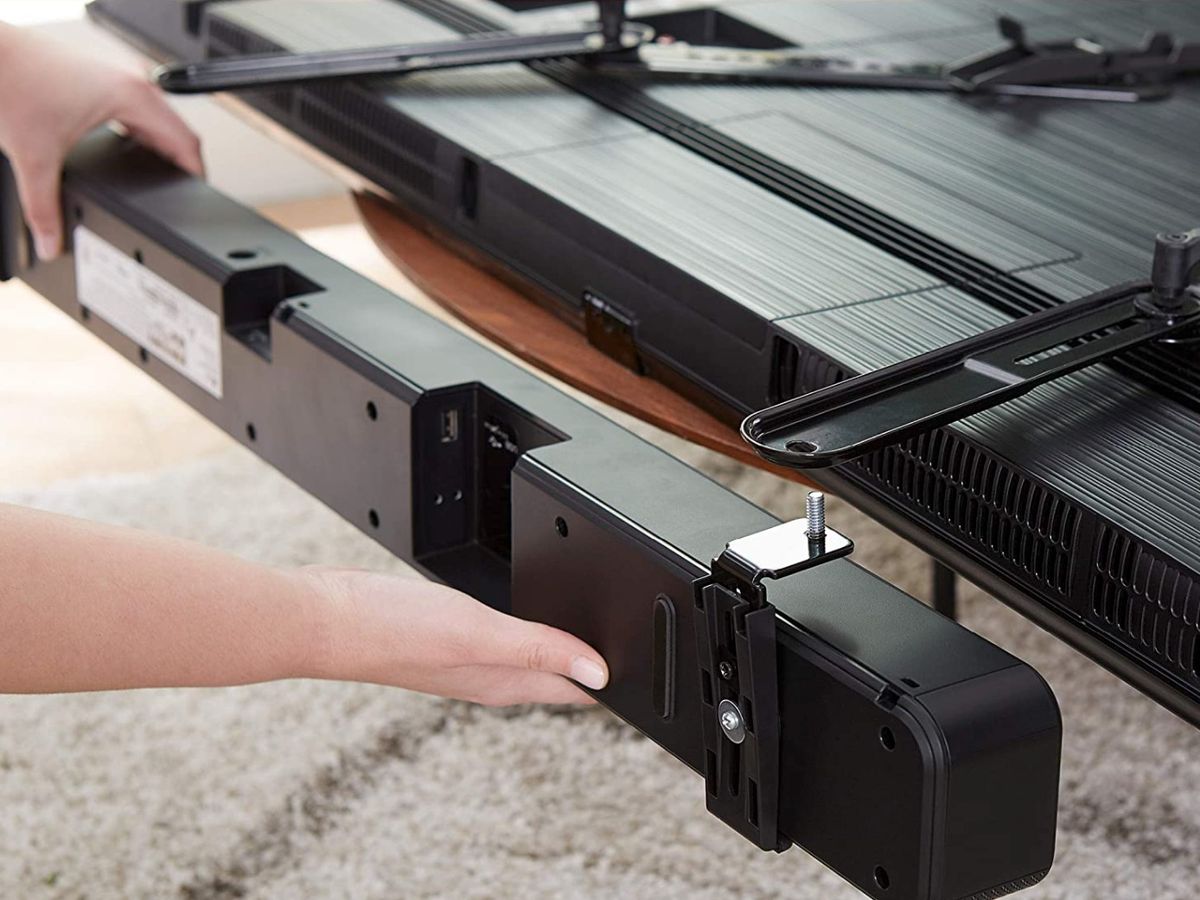
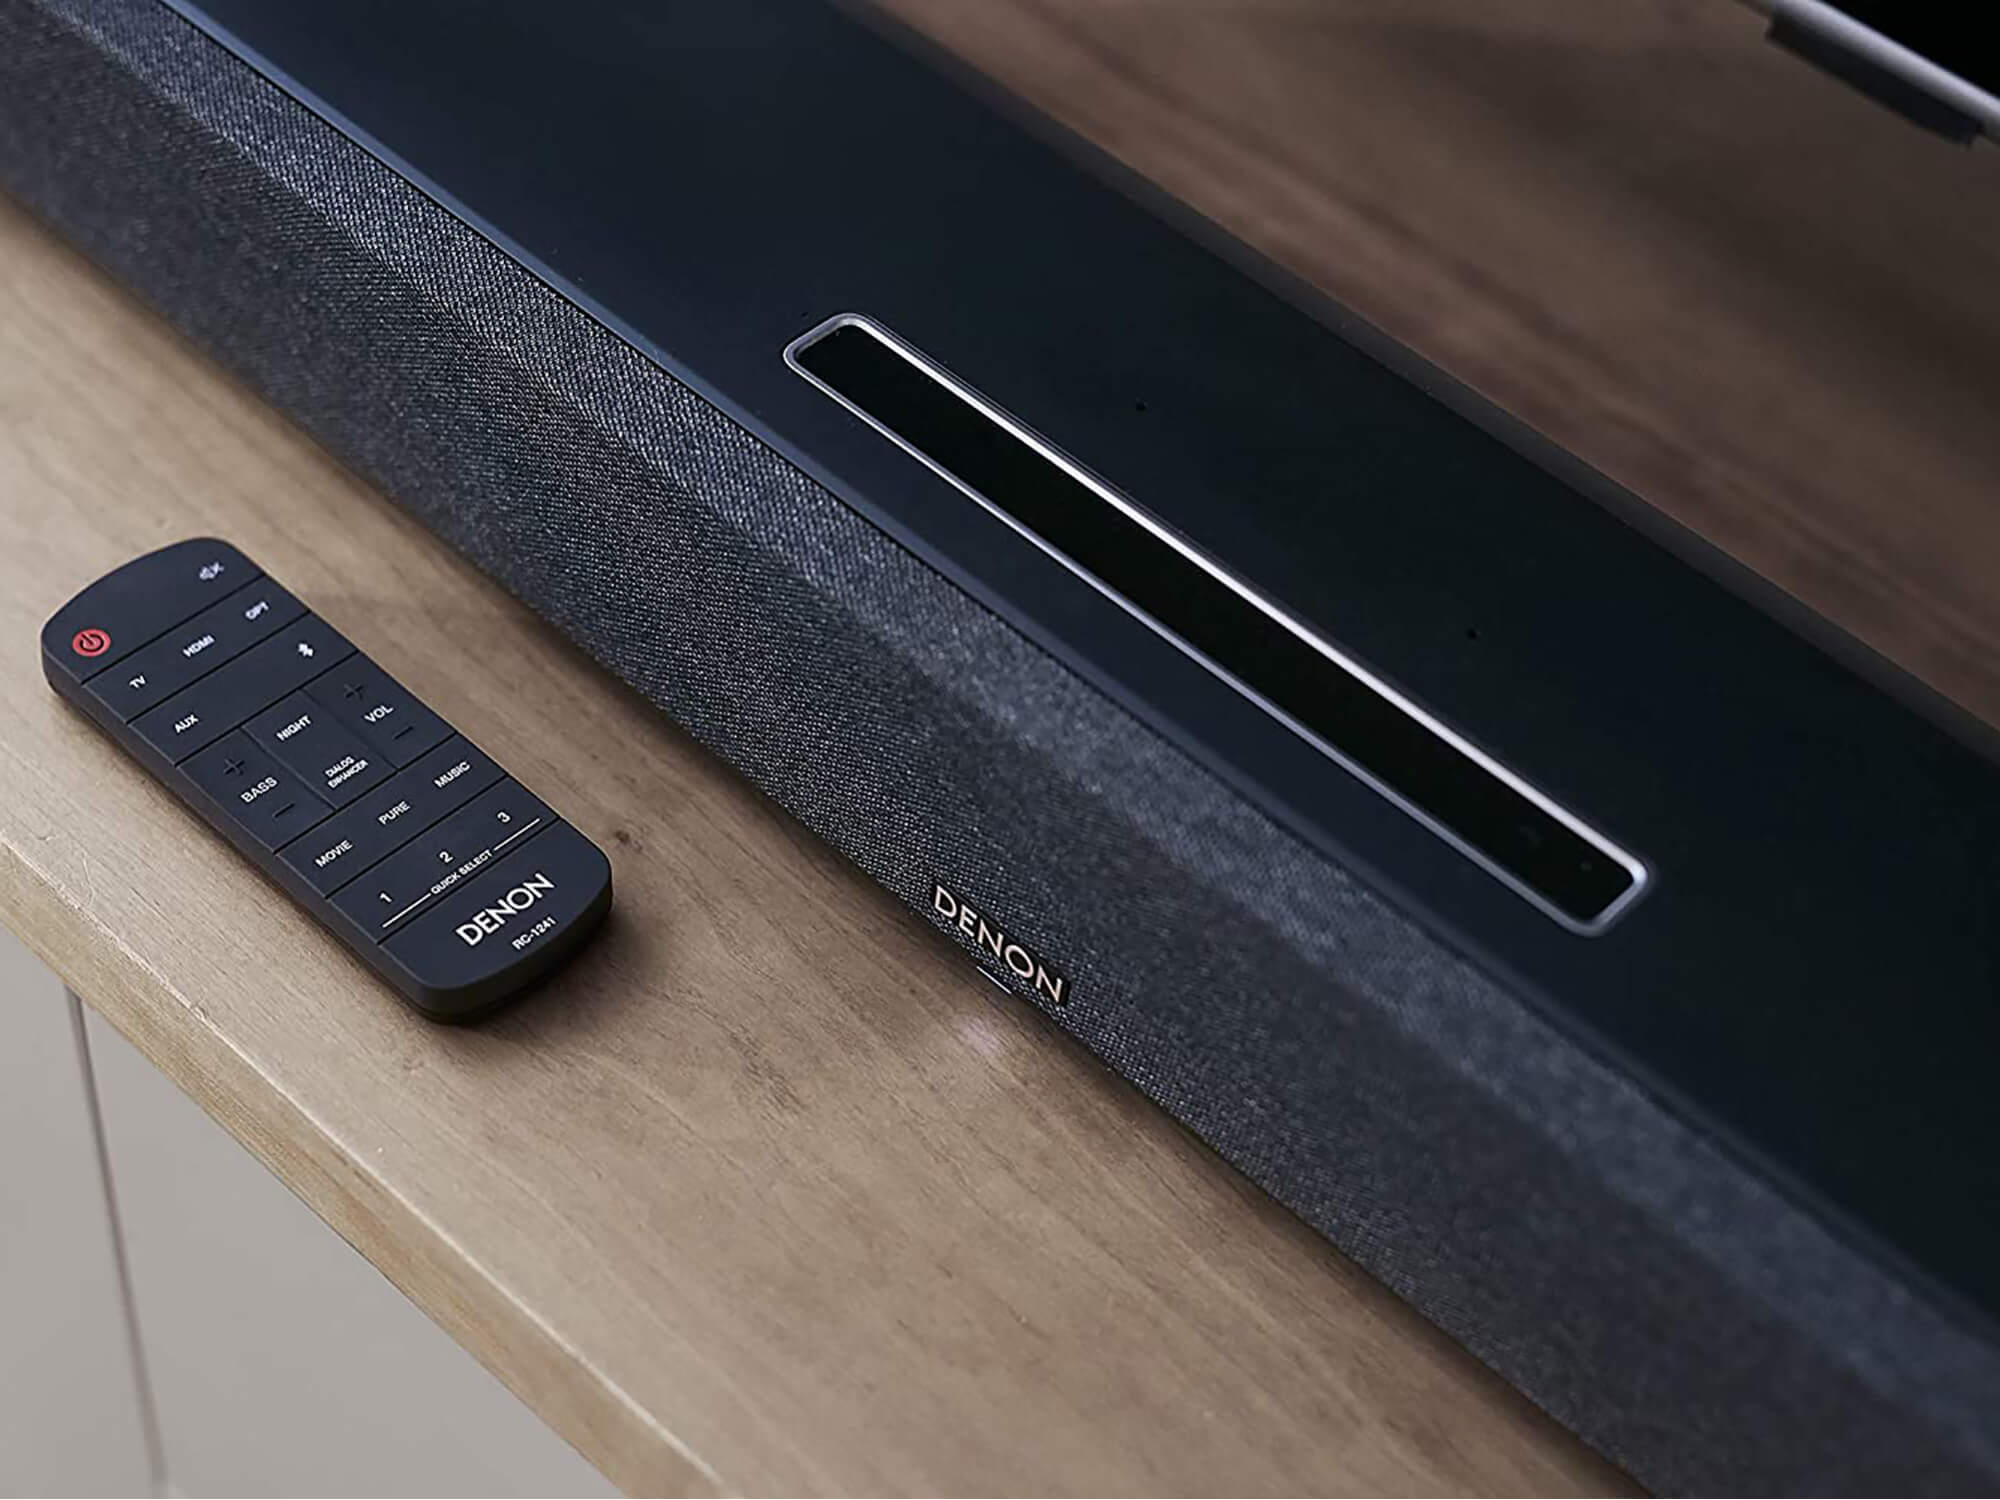
Step 2: Connect the Sound Bar to Your TV
Once you have confirmed the compatibility between your Samsung sound bar and TV, it’s time to connect the two devices. Follow these steps to establish a physical connection:
- Identify the appropriate audio output port on your TV. This could be HDMI ARC, optical audio, or analog audio.
- Using the appropriate cable, connect one end to the selected audio output port on your TV.
- Connect the other end of the cable to the corresponding audio input port on your Samsung sound bar. This could be HDMI, optical audio, or auxiliary audio.
- Ensure that the connection is securely plugged in on both ends.
- If you are using an HDMI connection, make sure to use an HDMI cable labeled as ARC or eARC, as it supports the audio return channel function. This will enable two-way communication between the TV and sound bar.
Many Samsung sound bars come with wireless connectivity options as well. If your TV supports Bluetooth or Wi-Fi, you may have the option to connect your sound bar wirelessly. Refer to the user manual for your specific sound bar model to learn how to connect via wireless methods.
Once the physical connection is established, turn on your TV and sound bar to ensure that they power up properly. If everything is connected correctly, you will be ready to move on to the next step.
Step 3: Turn on the Anynet+ (HDMI-CEC) Feature
The Anynet+ feature, also known as HDMI-CEC (Consumer Electronics Control), is a powerful feature that allows your Samsung sound bar to communicate with your TV. This feature enables you to control the sound bar’s power, volume, and other functions using your TV remote.
Follow these steps to turn on the Anynet+ feature:
- On your TV’s remote control, press the Menu button to access the settings menu.
- Navigate to the System or Settings section of the menu.
- Look for the Anynet+ or HDMI-CEC option and select it.
- Make sure the Anynet+ or HDMI-CEC feature is turned on or enabled.
- Save your settings and exit the menu.
Enabling the Anynet+ feature on your TV allows it to recognize and control the connected Samsung sound bar. This means you can turn on and off the sound bar, adjust the volume, and perform other functions using your TV remote.
Note that the exact steps to enable the Anynet+ feature may vary depending on the model and brand of your TV. If you are having trouble finding the Anynet+ or HDMI-CEC option in your TV settings, refer to the user manual or contact the manufacturer for assistance.
Once you have turned on the Anynet+ feature, you are one step closer to enjoying the convenience of controlling your Samsung sound bar with your TV remote.
Step 4: Set the Sound Bar as the Default Audio Output Device
After connecting your Samsung sound bar to your TV and turning on the Anynet+ feature, it’s time to configure your TV to recognize the sound bar as the default audio output device. This ensures that all audio playback from your TV is directed to the sound bar.
Follow these steps to set the sound bar as the default audio output device:
- On your TV’s remote control, press the Menu button to access the settings menu.
- Navigate to the Audio or Sound section of the menu.
- Look for the Audio Output or Sound Output option and select it.
- Choose the sound bar from the list of available audio output devices.
- Save your settings and exit the menu.
By selecting the sound bar as the default audio output device, you ensure that all audio signals from your TV are transmitted to the sound bar for optimal sound quality and performance.
It’s worth noting that the exact steps to set the sound bar as the default audio output device may vary depending on your TV’s make and model. If you encounter any difficulties or cannot find the appropriate options in the menu, refer to the TV’s user manual or contact the manufacturer for assistance.
Once you have successfully set the sound bar as the default audio output device, you can sit back, relax, and enjoy an immersive audio experience for all your favorite content.
Step 5: Test the Sound Bar Connection
Now that you have completed the setup process and configured your TV to recognize the Samsung sound bar, it’s essential to test the connection to ensure everything is working correctly. This step will ensure that you can enjoy optimal sound quality and control over your sound bar.
Follow these steps to test the sound bar connection:
- Play some audio or video content on your TV.
- Using the TV remote, adjust the volume to ensure that the sound is coming from the sound bar and not the TV’s built-in speakers.
- Test different audio sources or apps to ensure that the sound bar is working with various types of content.
- Try turning the sound bar on and off using your TV remote to verify that the Anynet+ feature is functioning correctly.
- If you encounter any issues or the sound bar does not produce any audio, double-check all the connections and settings, and make sure the sound bar is powered on.
If you are experiencing issues, make sure that all the cables are securely connected, and that the volume on both the TV and sound bar are set to an audible level. Additionally, ensure that the sound bar is set to the correct audio input source that matches the connection you established in step 2.
If you continue to experience difficulties, refer to the user manual provided with your Samsung sound bar or contact their customer support for further assistance.
Once you have confirmed that the sound bar connection is working properly, you can sit back, relax, and enjoy an immersive audio experience that perfectly complements your TV viewing.
Conclusion
Congratulations! You have successfully learned how to get your Samsung sound bar to turn on with your TV. By following the steps outlined in this guide, you have seamlessly integrated your sound bar into your home entertainment setup, enhancing your audio experience to new heights.
Starting with checking the compatibility between your TV and sound bar, ensuring they have the necessary audio output and input options, you have taken the necessary steps to avoid any connectivity issues. By connecting the sound bar to your TV using the appropriate cables and turning on the Anynet+ (HDMI-CEC) feature, you have enabled convenient control of your sound bar using your TV remote.
Setting the sound bar as the default audio output device ensures that all audio playback from your TV is directed to the sound bar, delivering immersive sound quality for your favorite movies, TV shows, and music.
Finally, by testing the sound bar connection, you have verified that everything is working correctly. You can now sit back, relax, and enjoy a captivating audio experience that brings your entertainment to life.
Remember, if you encounter any difficulties during the setup process or experience any issues with your Samsung sound bar, consult the user manual provided with your device or reach out to Samsung’s customer support for assistance.
Now, grab some popcorn, settle into your favorite spot on the couch, and immerse yourself in the immersive sound experience that your Samsung sound bar and TV combination offer. Happy watching!