Home>Production & Technology>Sound Bar>How To Setup LG Sound Bar
Sound Bar
How To Setup LG Sound Bar
Modified: January 22, 2024
Learn how to easily setup your LG Sound Bar and enhance your audio experience. Get step-by-step instructions and tips for optimal sound quality.
(Many of the links in this article redirect to a specific reviewed product. Your purchase of these products through affiliate links helps to generate commission for AudioLover.com, at no extra cost. Learn more)
Table of Contents
Introduction
Welcome to the ultimate guide on how to setup your LG Sound Bar! Whether you’re a movie enthusiast, a music lover, or simply seeking a better audio experience for your TV, a sound bar is a fantastic addition to any home entertainment setup. LG Sound Bars are known for their high-quality sound reproduction and user-friendly features, making them a popular choice among audio enthusiasts.
In this article, we’ll walk you through the step-by-step process of unboxing and setting up your LG Sound Bar. We’ll cover everything from connecting the sound bar to your TV, adjusting the settings to optimize the audio output, connecting external devices, and testing the setup to ensure everything is working flawlessly.
Before we dive into the setup process, let’s take a moment to understand why investing in a sound bar is a game-changer for your home audio experience. While modern TVs have evolved significantly in terms of picture quality, their built-in speakers often fall short when it comes to delivering immersive sound. That’s where sound bars come in – they enhance the audio by providing crisp, clear, and powerful sound, amplifying your favorite movies, TV shows, and music.
LG Sound Bars are engineered to deliver immersive audio with their advanced features. Whether you’re watching an action-packed blockbuster, enjoying a live concert, or indulging in a gaming session, the LG Sound Bar will bring your audio experience to the next level.
In the following sections, we’ll guide you through each step of the setup process, ensuring that you have all the information you need to make the most of your LG Sound Bar. So let’s get started with unboxing and setting up your new sound bar!
Step 1: Unboxing and Setup
Before you can start enjoying the immersive audio from your LG Sound Bar, you’ll need to unbox and set it up properly. Here’s a step-by-step guide to help you through the process:
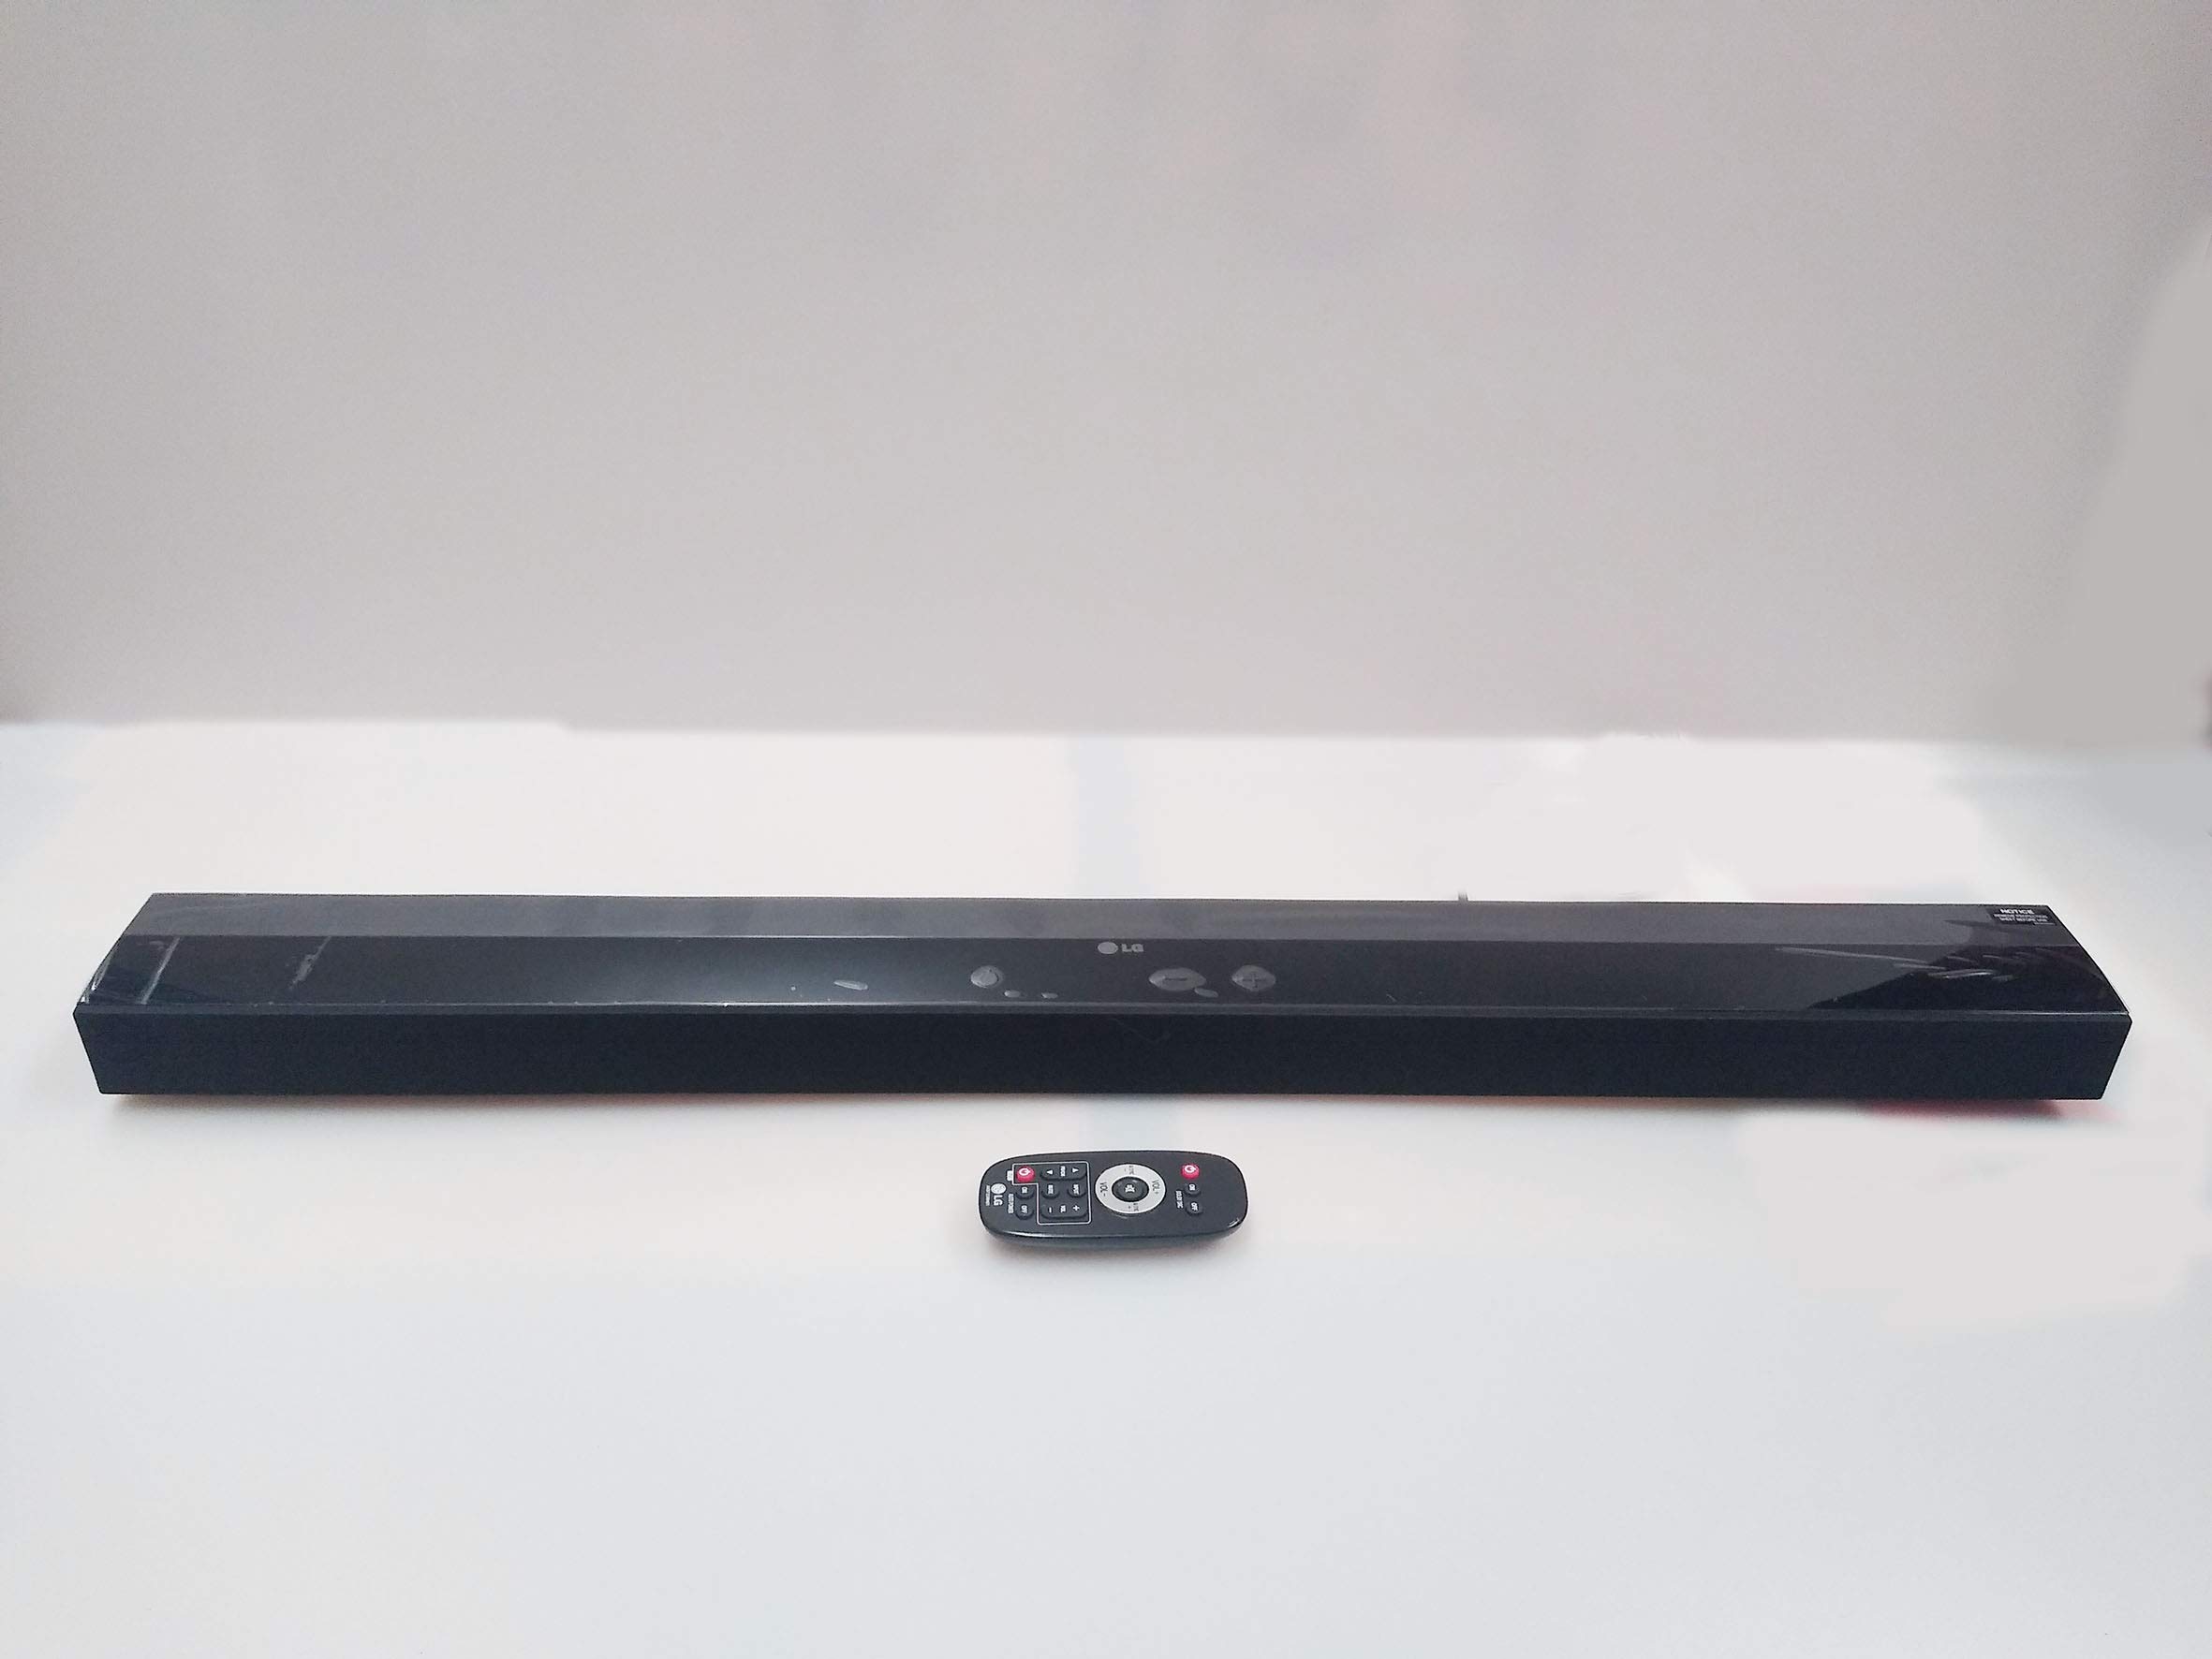
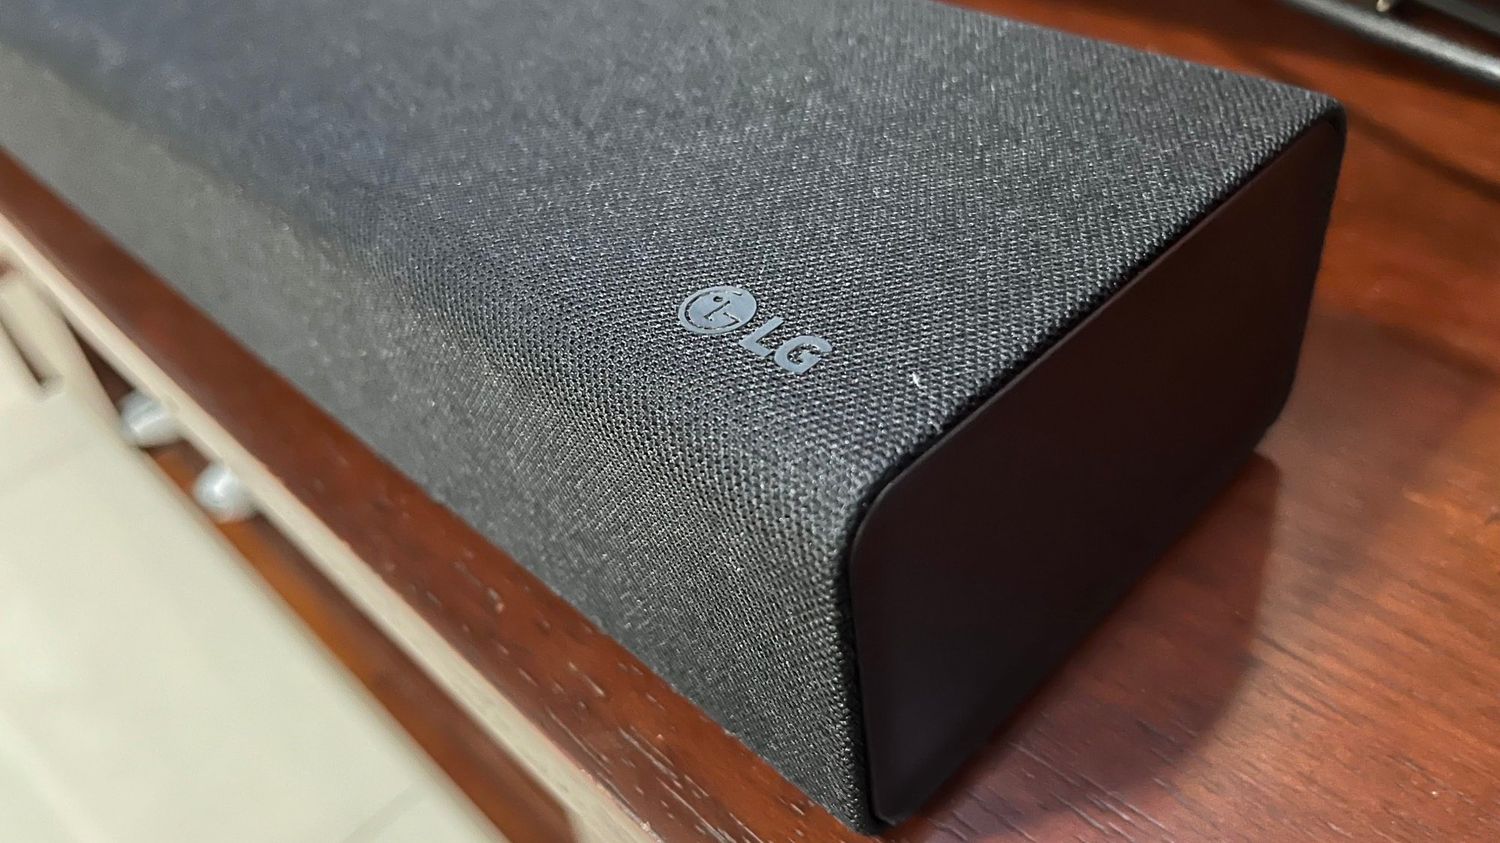
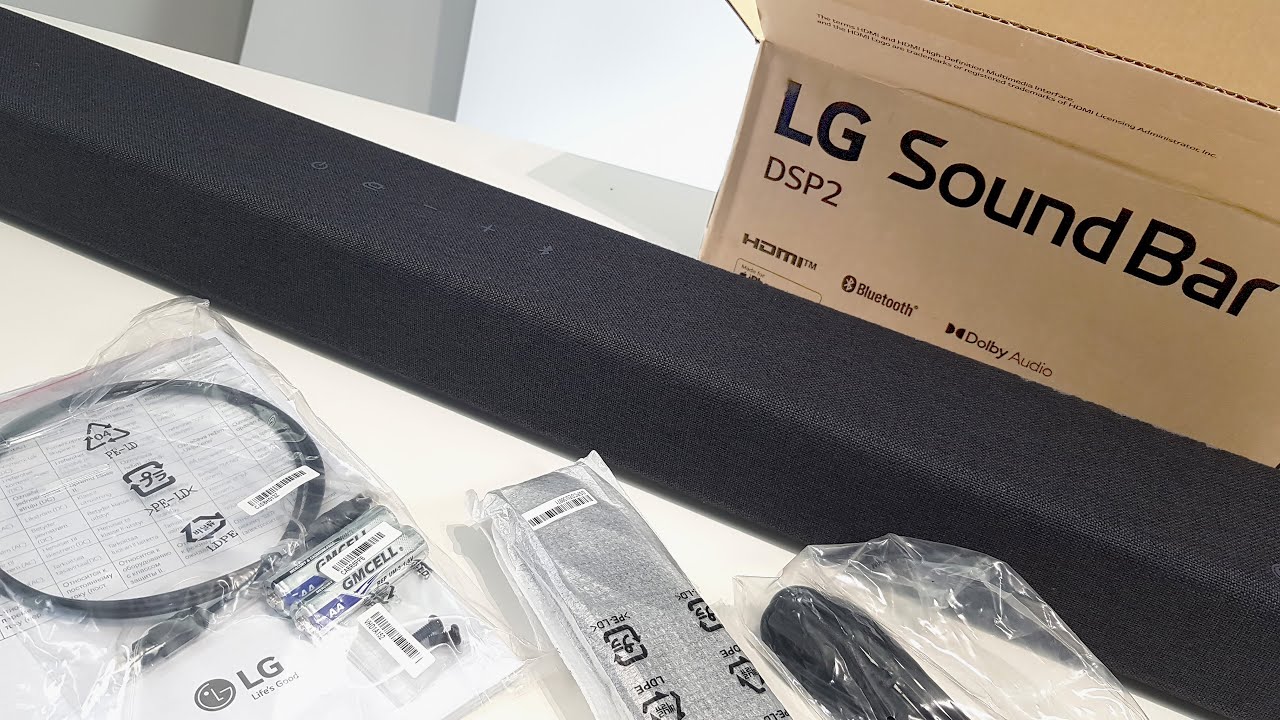
- Unbox the Sound Bar: Carefully open the packaging and remove all the contents. Ensure that you have all the necessary items, including the sound bar itself, the remote control, power cord, user manual, and any additional accessories.
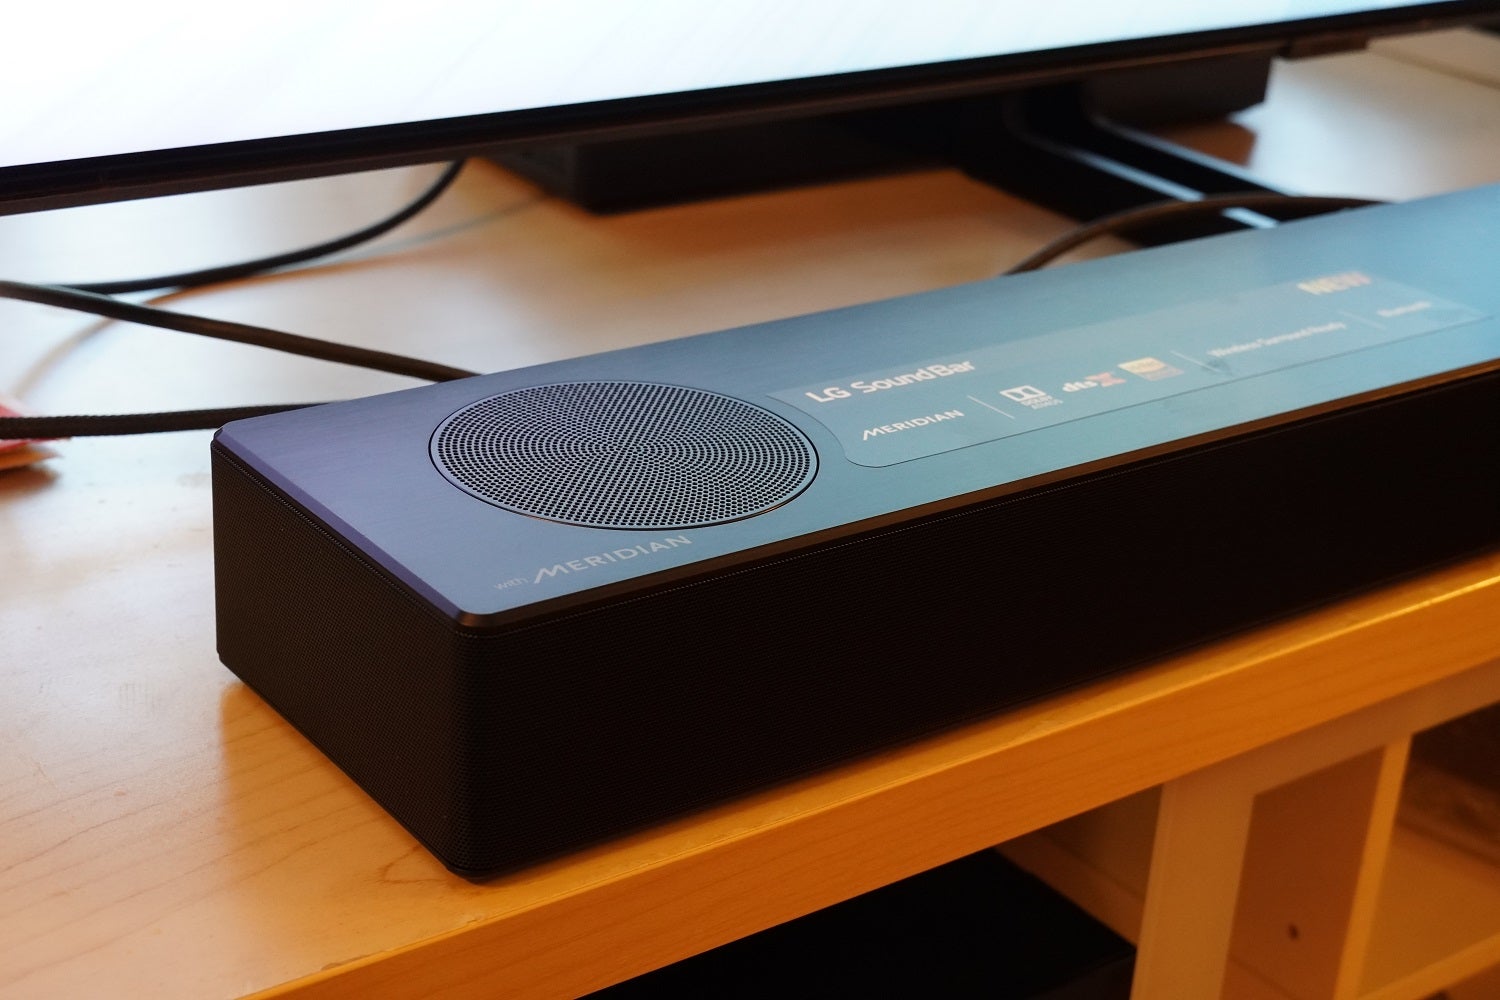
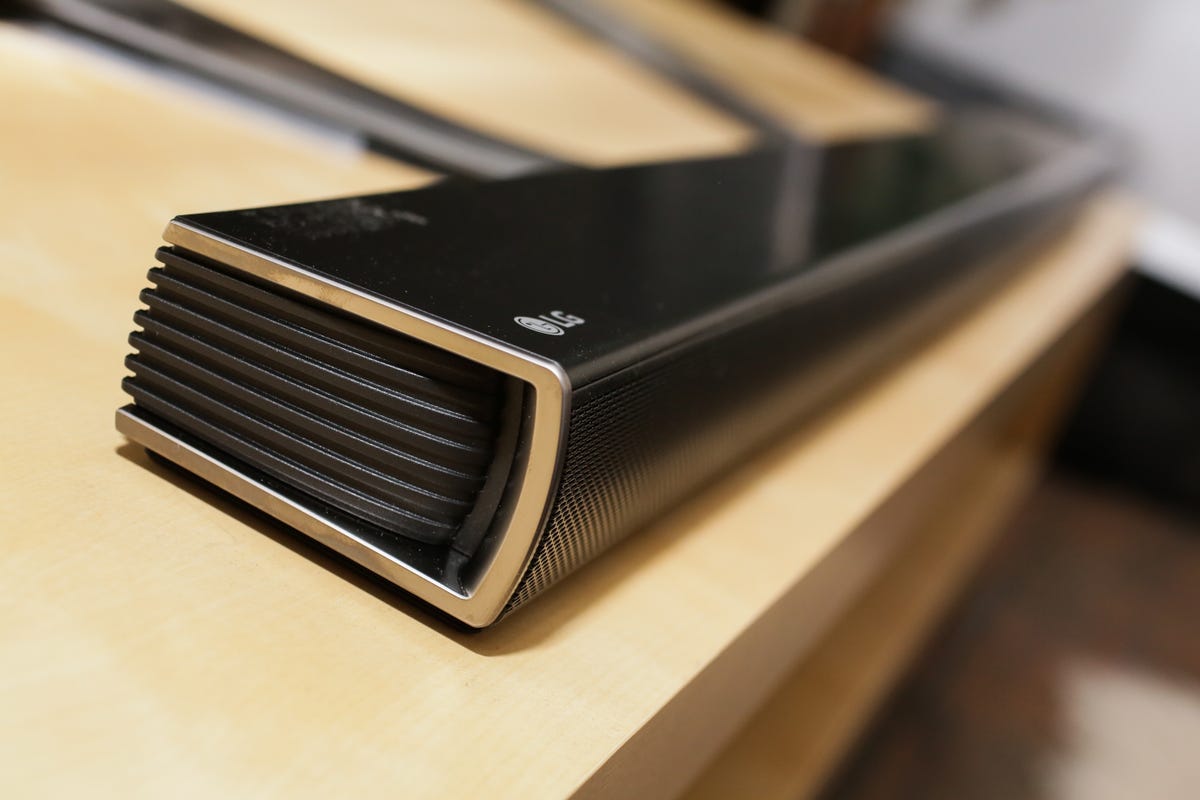
- Choose the Placement: Consider the best placement for your sound bar. It’s typically recommended to place the sound bar directly below or above your TV. Make sure there is enough space and proper alignment for optimal audio performance.
- Mounting Options: Depending on your preference and the available space, you can either mount the sound bar on the wall using the provided brackets or place it on a flat surface like a media console or TV stand. Check the user manual for specific instructions on wall mounting.
- Connect the Power Cord: Plug one end of the power cord into the sound bar and the other end into a power outlet. Ensure that the power source is easily accessible and provides sufficient voltage for the sound bar to operate effectively.
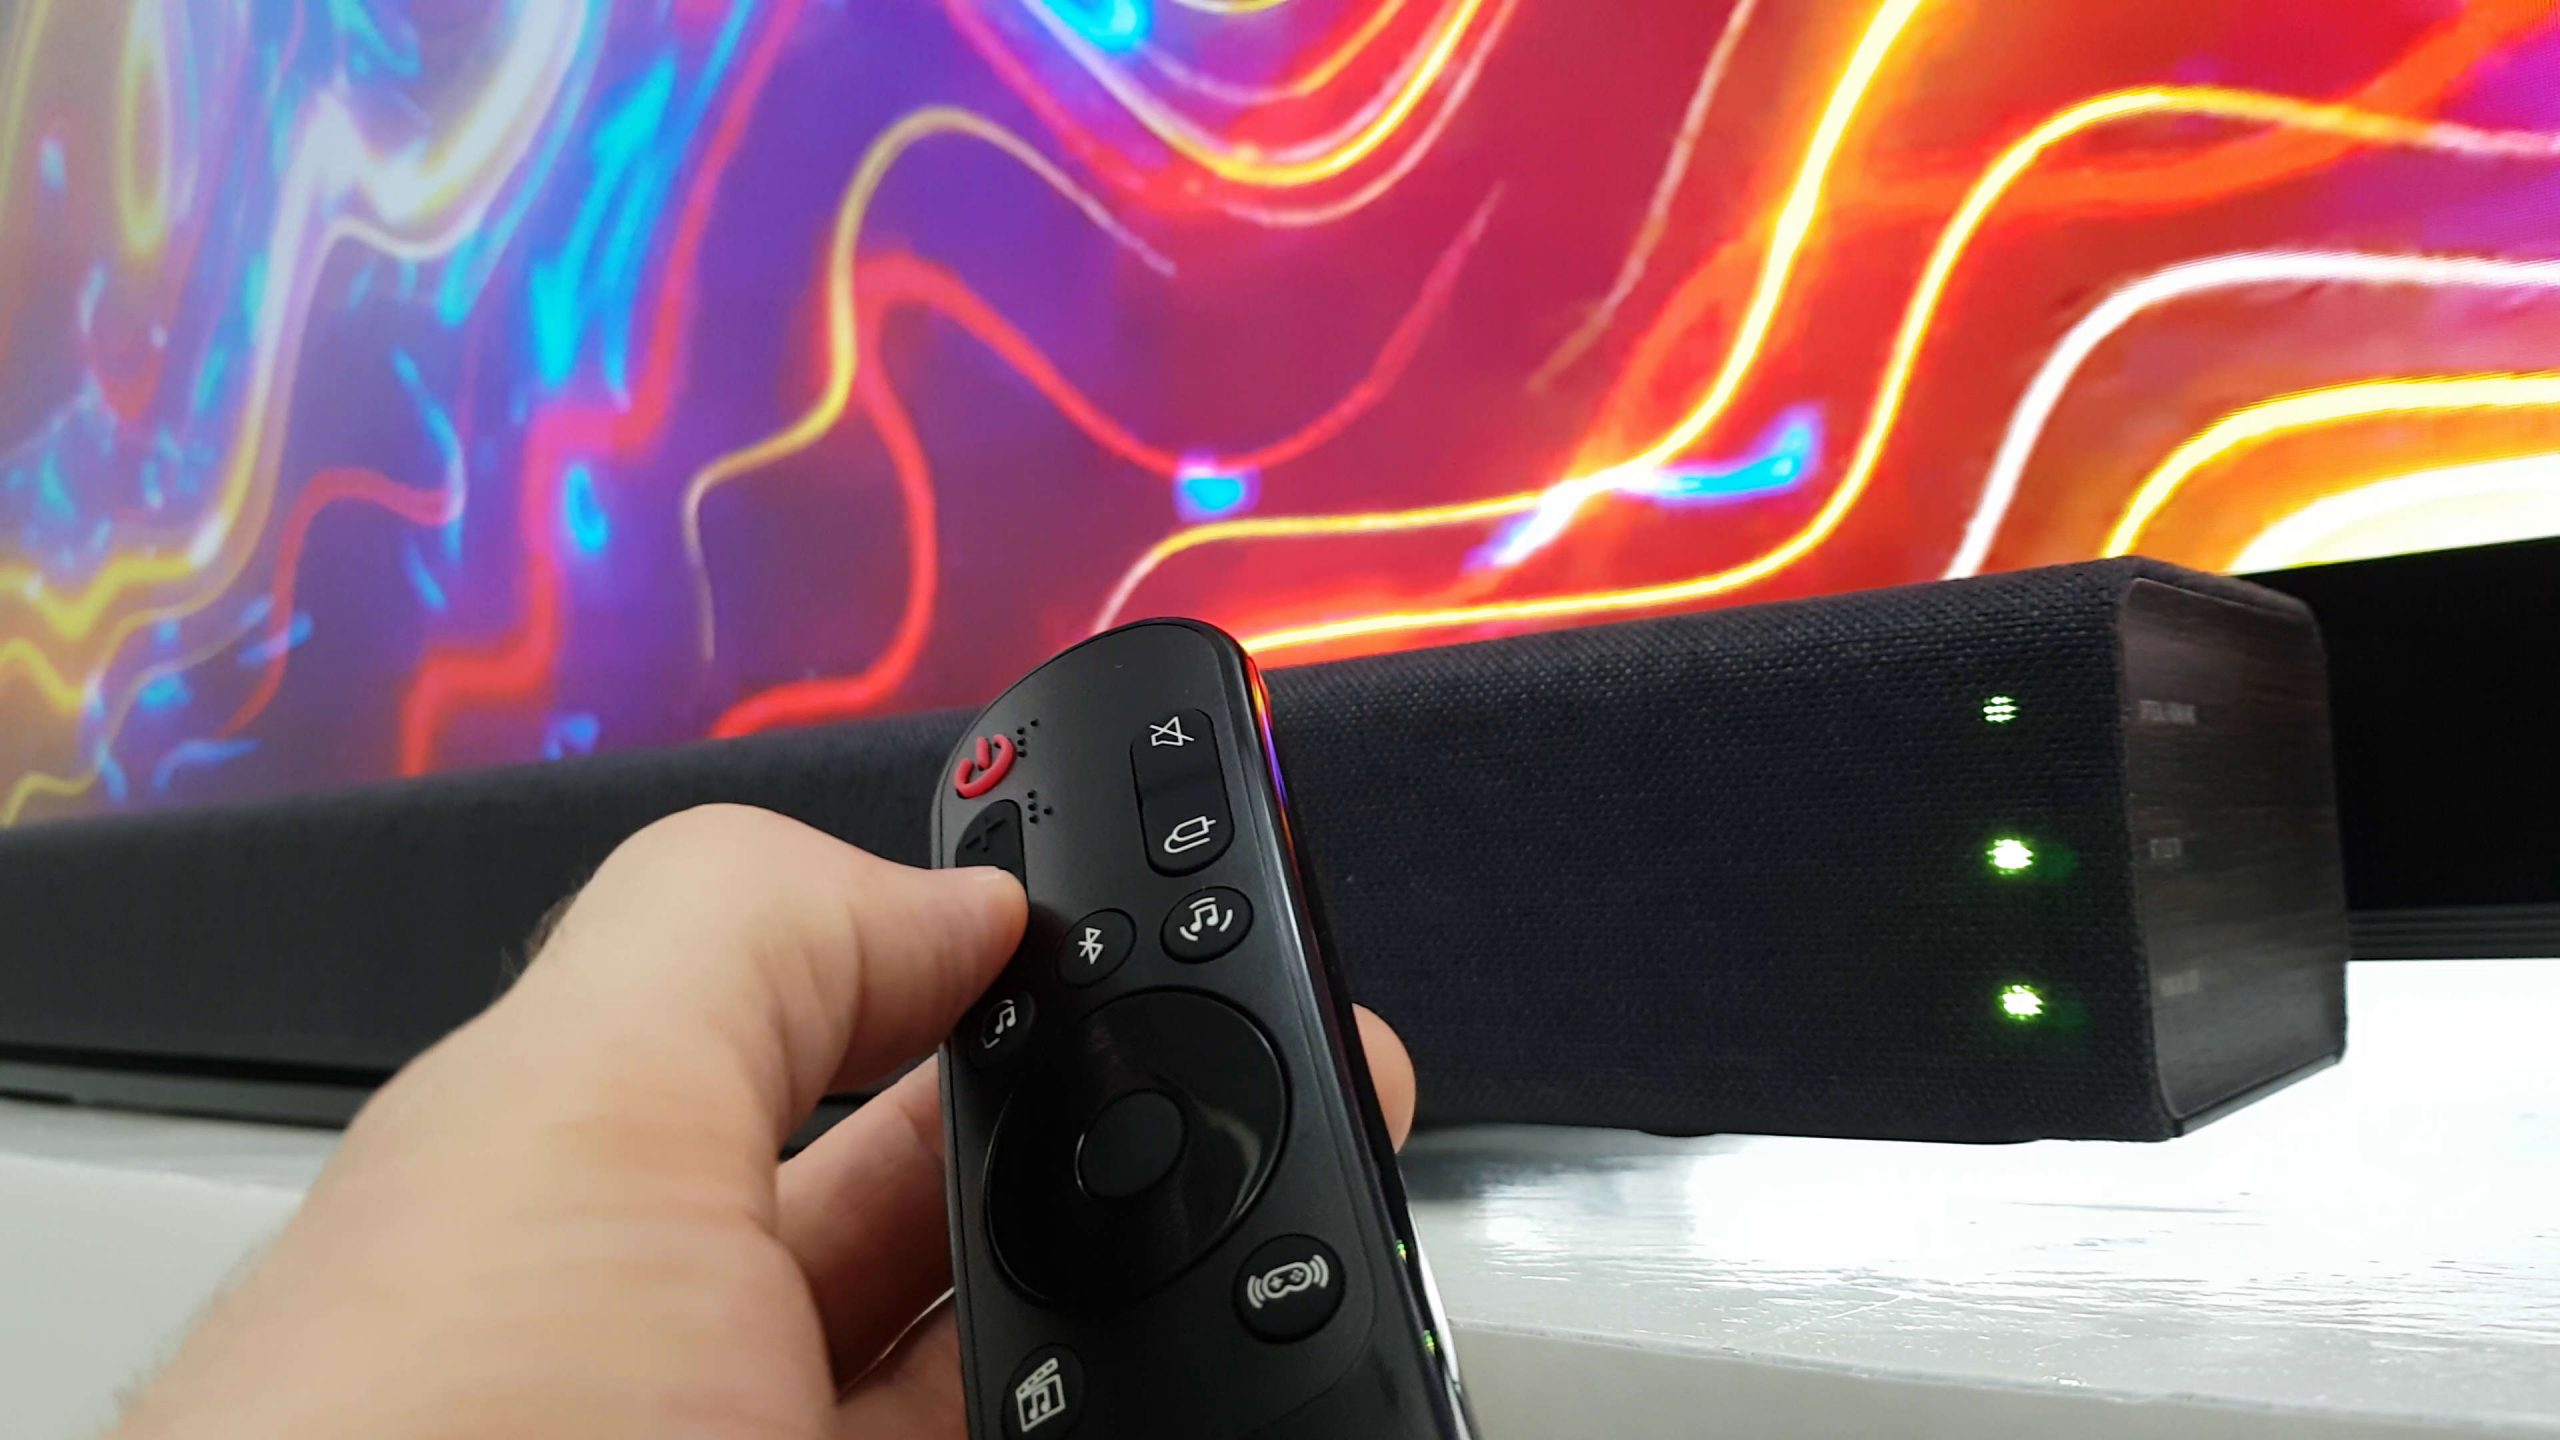
- Power On the Sound Bar: Locate the power button on the sound bar or use the remote control to turn it on. You should see the indicator lights or a display confirming that the sound bar is powered up and ready for setup.
- Wireless Subwoofer (if applicable): If your LG Sound Bar includes a wireless subwoofer, follow the specific instructions provided to pair it with the sound bar. Usually, this involves pressing a button on the subwoofer and the sound bar to establish a wireless connection between the two.
- Bluetooth Pairing (optional): If your sound bar supports Bluetooth connectivity, you can pair it with compatible devices such as smartphones or tablets. Consult your user manual for instructions on how to enable Bluetooth mode and connect your devices.
Once you’ve completed these steps, you’re all set with the initial setup of your LG Sound Bar. The next step is to connect it to your TV and optimize the audio settings, which we’ll cover in the following sections.
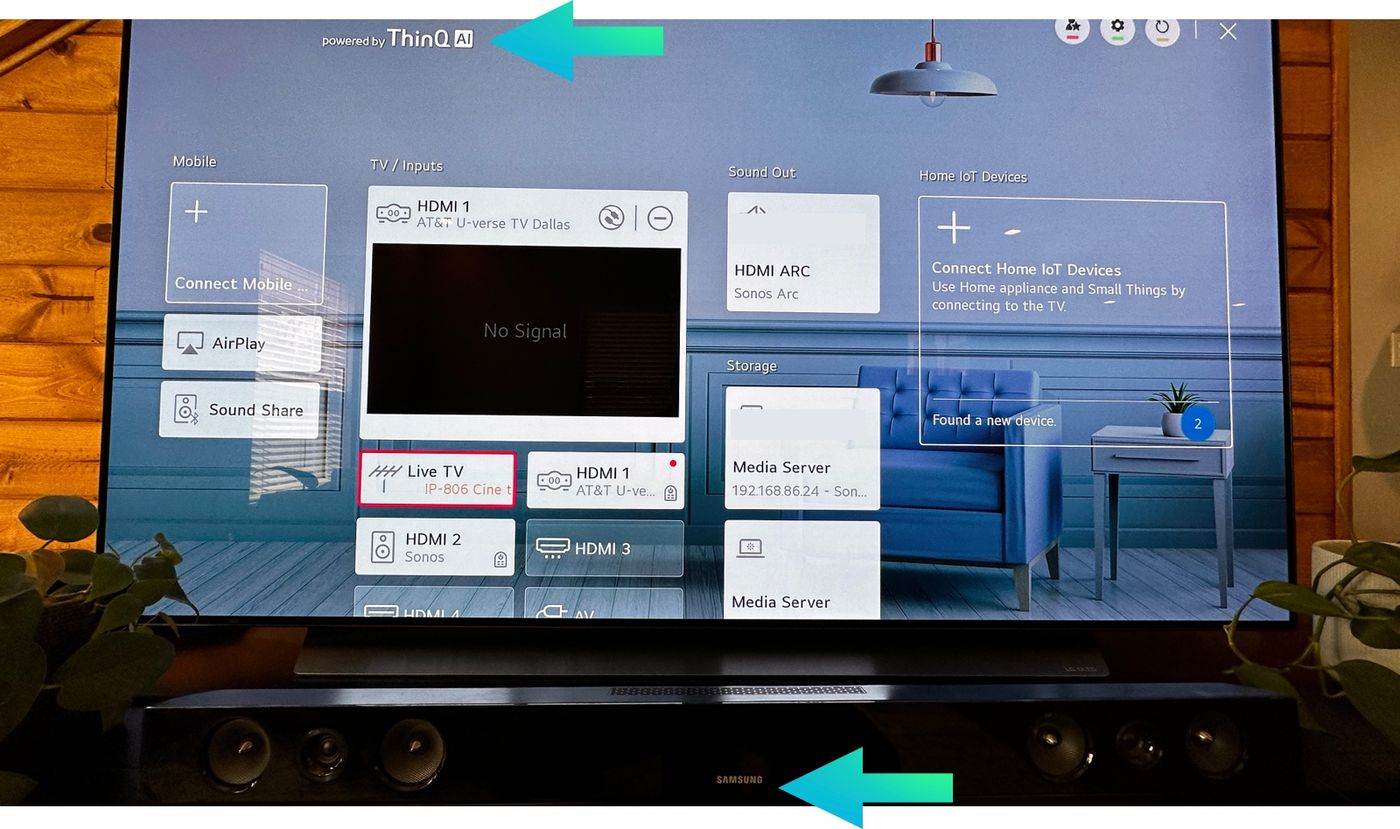
Step 2: Connecting the Sound Bar to the TV
Now that you’ve completed the initial setup of your LG Sound Bar, it’s time to connect it to your TV. Follow these simple steps to ensure a seamless audio connection:
- Identify the Audio Output on Your TV: Look for the audio output options on your TV. The most common audio outputs include HDMI ARC (Audio Return Channel), optical audio output, or a headphone jack. Refer to your TV’s user manual to locate the specific audio output ports.
- Choose the Connection Method: Depending on the audio output options of your TV and your sound bar model, choose the appropriate connection method. Here are the most common options:
- HDMI ARC: If both your TV and sound bar support HDMI ARC, this is the recommended method. Connect one end of the HDMI cable to the HDMI ARC port on your TV and the other end to the HDMI ARC port on the sound bar.
- Optical Audio: If your TV has an optical audio output, connect one end of the optical cable to the TV’s optical output port and the other end to the optical input port on your sound bar.
- Headphone Jack: If your TV has a headphone jack, you can use a 3.5mm audio cable to connect the headphone jack to the AUX or headphone input on the sound bar.
- Switch TV Audio Output: Once the physical connection is made, you may need to adjust the audio settings on your TV. Using your TV’s remote control, navigate to the audio settings and select the corresponding audio output option that matches your connection method (e.g., HDMI ARC, optical audio).
- Sound Bar Input Source: On the sound bar or the remote control, select the appropriate input source that matches the connection you’ve made (e.g., HDMI ARC, optical). This ensures that the sound bar receives the audio signal from the TV.
Once you’ve completed these steps, the audio from your TV should now be routed through your LG Sound Bar. To confirm that the connection is successful, play some content on your TV and adjust the sound bar volume to ensure you’re getting the desired audio output.
Note: If you have additional audio devices, such as a gaming console or a Blu-ray player, you can connect them to your sound bar using HDMI or other appropriate audio cables following a similar connection process. This allows you to enjoy enhanced audio from all your external devices through the LG Sound Bar.
Step 3: Adjusting Sound Bar Settings
After connecting your LG Sound Bar to your TV, it’s time to optimize the audio settings to get the best possible sound quality. Here are the key settings to consider:
- Sound Modes: Most LG Sound Bars offer different sound modes to enhance specific types of content. These modes can include Standard, Movie, Music, Sports, and more. Experiment with different modes to find the one that suits your preferences and the type of content you’re watching or listening to.
- Equalizer Settings: Some LG Sound Bars allow you to adjust the equalizer settings to fine-tune the audio output. This allows you to customize the bass, treble, and other frequency levels according to your personal preference.
- Dialogue Enhancement: If you often struggle to hear dialogue clearly, check if your sound bar has a dialogue enhancement feature. This option amplifies speech frequencies, making it easier to understand conversations in movies, TV shows, and other content.
- Night Mode: If you want to enjoy late-night TV without disturbing others, look for a night mode feature. This setting reduces the dynamic range and boosts the clarity of softer sounds, ensuring that loud action sequences don’t wake up the entire household.
- Volume Levels: Adjust the volume levels of the sound bar according to your preference and the content you’re watching. Some sound bars have separate controls for the overall volume and the subwoofer volume, allowing you to find the right balance between the main audio and the low-frequency effects.
- Bluetooth Playback: If you connected your sound bar to your devices via Bluetooth, ensure that the Bluetooth mode is enabled on the sound bar. You can control the playback and volume directly from your paired device or using the sound bar’s remote control.
Remember, the settings mentioned above may vary depending on the model of your LG Sound Bar. Refer to your user manual for specific instructions and additional features that may be available. Take some time to explore and experiment with the settings to find the combination that suits your audio preferences.
Once you’re satisfied with the settings, sit back, relax, and enjoy the immersive sound experience that your LG Sound Bar provides. Whether you’re watching movies, listening to music, or playing games, the optimized sound settings will enhance your audio enjoyment.
Step 4: Connecting External Devices
In addition to connecting your LG Sound Bar to your TV, you may also want to connect other external devices to further enhance your audio experience. Here’s how you can do it:
- HDMI-Enabled Devices: If you have devices such as gaming consoles, Blu-ray players, or streaming devices that support HDMI output, connect them directly to your LG Sound Bar using HDMI cables. Simply plug one end of the HDMI cable into the output port of the device and the other end into an available HDMI input on the sound bar.
- Optical Audio Devices: If you have devices that only have an optical audio output, you can connect them to the sound bar using an optical cable. Connect one end of the optical cable to the output port of the device and the other end to the optical input on the sound bar.
- Auxiliary Devices: If you have devices with a standard 3.5mm headphone jack, such as smartphones, MP3 players, or laptops, you can connect them to the sound bar using a 3.5mm audio cable. Simply plug one end of the cable into the headphone jack of the device and the other end into the auxiliary input on the sound bar.
- Bluetooth Devices: If your LG Sound Bar supports Bluetooth connectivity, you can pair it with Bluetooth-enabled devices such as smartphones, tablets, or laptops. Enable Bluetooth on both the sound bar and the device you want to pair, and follow the on-screen instructions to establish a connection.
- USB Playback: Some LG Sound Bars have a USB port that allows you to directly play audio from USB devices, such as flash drives or external hard drives. Simply plug in the USB device into the USB port on the sound bar, and use the sound bar’s controls to navigate and play the audio files.
Connecting external devices to your LG Sound Bar not only expands your audio options but also ensures that you get the most out of your entertainment setup. Whether you’re gaming, streaming, or playing your favorite music, the sound bar will deliver enhanced audio quality for a truly immersive experience.
Make sure to consult the user manual of your LG Sound Bar for specific instructions on connecting and utilizing external devices. Each model may have slight variations in terms of available inputs and features.
With your external devices connected, you now have a versatile audio system that can handle various sources, giving you the flexibility to enjoy your favorite content with exceptional sound quality.
Step 5: Testing and Troubleshooting
After completing the setup and connecting your LG Sound Bar to your TV and other external devices, it’s crucial to test the audio and address any potential issues. Here are some key steps to test and troubleshoot your sound bar:
- Playback Test: Play a variety of content, including movies, TV shows, music, and games, to test the sound quality and ensure that the audio is coming through the sound bar. Adjust the volume levels and sound settings as needed to achieve the desired audio experience.
- Subwoofer Check: If your LG Sound Bar includes a wireless subwoofer, make sure it’s properly paired and functioning. Ensure that the subwoofer is producing the low-frequency effects and add depth to your audio experience.
- Audio Sync: If you notice any audio lag or syncing issues between the sound bar and the video on your TV, check if your sound bar has an audio sync adjustment feature. Use this feature to fine-tune the audio timing and eliminate any delays.
- Troubleshooting: If you encounter any issues, consult the troubleshooting section of your user manual. Common issues can include sound distortion, connectivity problems, or remote control issues. Follow the suggested troubleshooting steps to identify and resolve the problem.
- Software Updates: Check if there are any available software updates for your LG Sound Bar. Manufacturers often release updates that address bugs, improve performance, and introduce new features. Follow the instructions provided with your sound bar to update its firmware if necessary.
If you’re still experiencing difficulties or have specific questions about your LG Sound Bar, don’t hesitate to reach out to LG customer support or refer to their online resources for further assistance. They will be able to provide personalized guidance or troubleshoot specific issues related to your sound bar model.
By testing and troubleshooting your LG Sound Bar, you can ensure that you’re getting the best audio performance and resolve any potential issues to fully enjoy your sound bar’s capabilities.
With these steps completed, you’ve successfully set up your LG Sound Bar, connected it to your TV and other devices, adjusted the settings, and tested the audio. Now it’s time to sit back, relax, and immerse yourself in a whole new level of audio enjoyment!
Conclusion
Congratulations! You’ve reached the end of our comprehensive guide on how to set up your LG Sound Bar. By following the steps outlined in this article, you’re now able to enjoy an enhanced audio experience with your TV and other external devices.
We started with unboxing and setting up the sound bar, ensuring that all the necessary components were in place and properly connected. We then moved on to connecting the sound bar to your TV using different audio output options such as HDMI ARC, optical audio, or a headphone jack. Adjusting the sound bar settings allowed you to optimize the audio output, including sound modes, equalizer settings, dialogue enhancement, and more.
We also covered connecting external devices such as gaming consoles, Blu-ray players, or smartphones, further expanding your audio options. Finally, we discussed the importance of testing the audio, troubleshooting any issues that may arise, and staying up to date with software updates.
With your LG Sound Bar set up and fine-tuned, you can now sit back, relax, and immerse yourself in a captivating audio experience. Enjoy the crisp, clear, and powerful sound that the sound bar delivers, making your favorite movies, TV shows, games, and music come to life like never before.
Remember to consult your specific LG Sound Bar’s user manual for model-specific instructions and features. Additionally, if you ever have any questions or encounter any difficulties, LG customer support is always available to assist you.
Thank you for choosing LG and for investing the time to set up and optimize your LG Sound Bar. We hope this guide has been helpful, and we wish you many enjoyable hours of immersive audio entertainment!