Home>Production & Technology>Sound Bar>How To Setup Samsung Sound Bar
Sound Bar
How To Setup Samsung Sound Bar
Published: December 25, 2023
Learn how to setup your Samsung Sound Bar and enhance your audio experience. Follow our step-by-step guide to optimize your Sound Bar installation.
(Many of the links in this article redirect to a specific reviewed product. Your purchase of these products through affiliate links helps to generate commission for AudioLover.com, at no extra cost. Learn more)
Table of Contents
Introduction
Welcome to the world of immersive audio experiences with the Samsung Sound Bar. Whether you’re a movie buff or a music lover, a sound bar can significantly elevate your entertainment setup by delivering crisp and powerful sound. In this article, we will guide you through the process of setting up your Samsung Sound Bar, ensuring that you get the most out of your audio system.
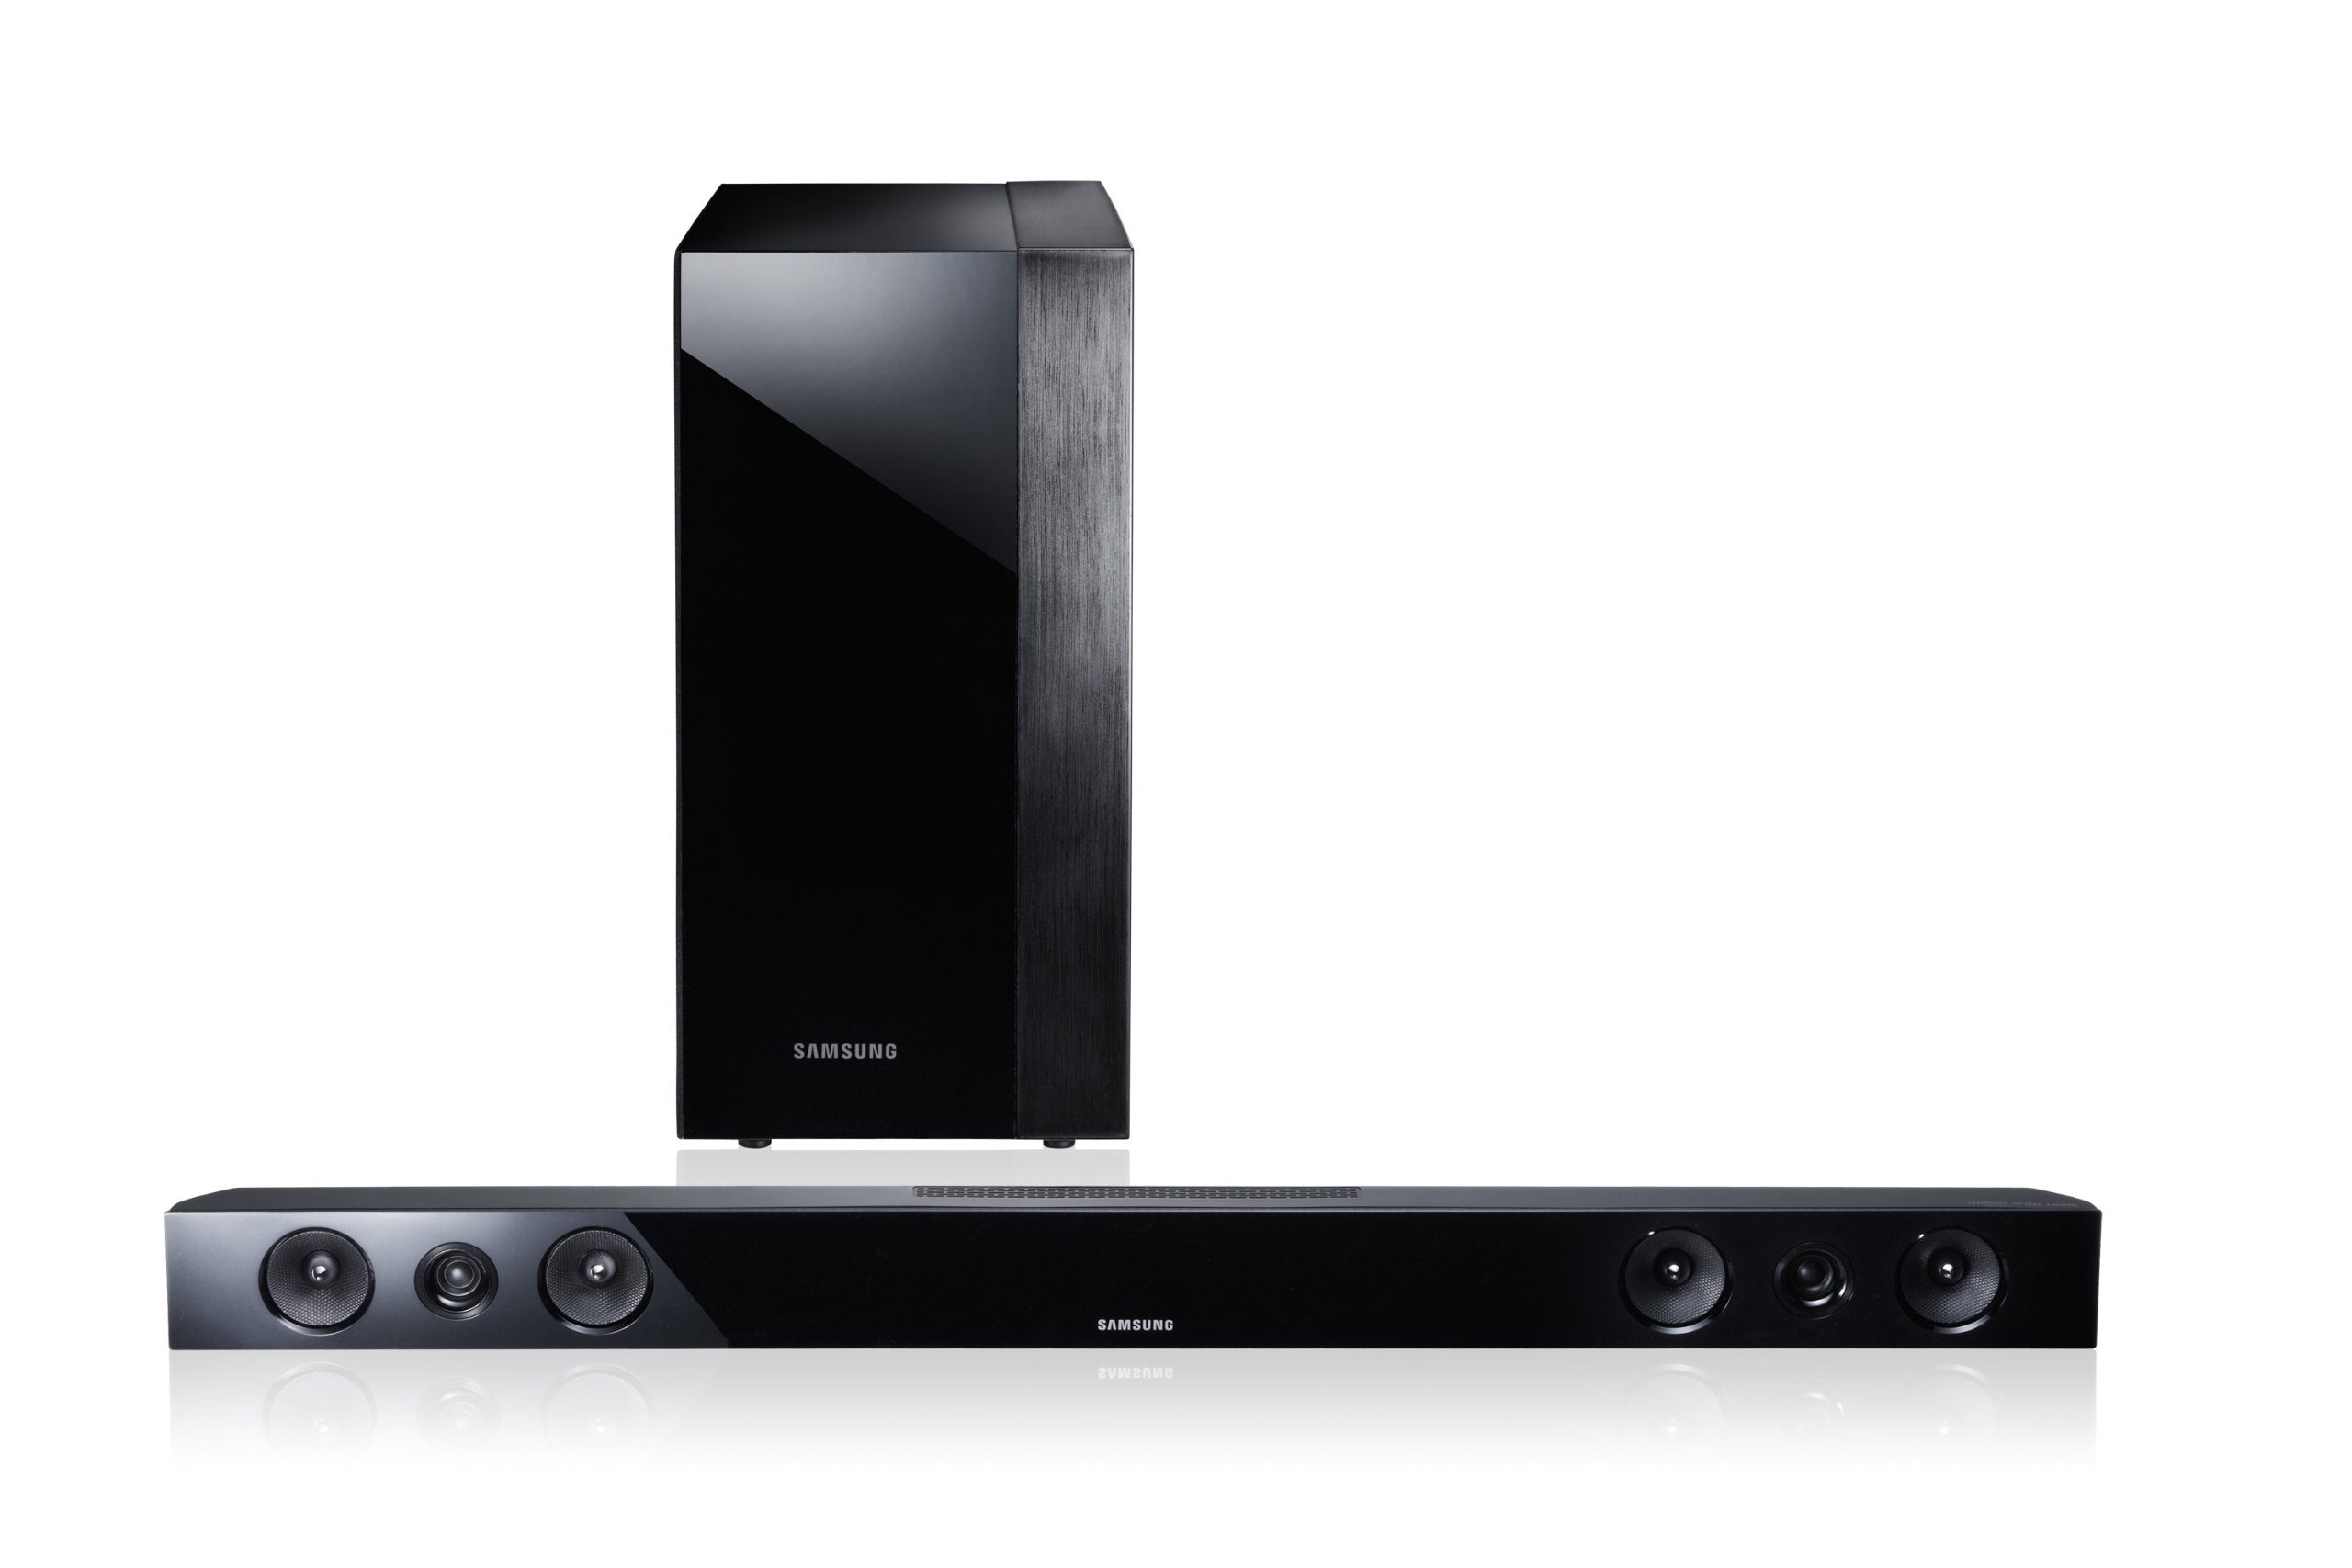
A sound bar is a sleek and compact speaker system that is designed to enhance your TV’s audio performance. It provides a more immersive sound experience compared to your TV’s built-in speakers, giving you clearer dialogue, detailed sound effects, and rich bass. Samsung sound bars are known for their cutting-edge technology, superior sound quality, and user-friendly features, making them a popular choice among home theater enthusiasts.
Setting up your Samsung Sound Bar is a straightforward process that can be completed in just a few steps. In this guide, we will take you through each step, from unboxing the sound bar to troubleshooting common issues. Whether you are a tech-savvy user or a novice, you’ll find this article helpful in getting your sound bar up and running in no time.
So, without further ado, let’s dive into the exciting world of Samsung Sound Bar technology and get ready to elevate your audio experience to new heights!
Step 1: Unboxing the Samsung Sound Bar
Before you can start enjoying the immersive sound of your Samsung Sound Bar, you’ll need to unbox it and familiarize yourself with the components. Here’s a step-by-step guide to help you through the unboxing process:
- Inspect the package: Carefully examine the shipping box for any signs of damage. If you notice any significant damage, contact the retailer or shipping company before proceeding.
- Open the box: Gently open the packaging of the sound bar, ensuring not to use any sharp objects that may scratch or damage the product.
- Remove the contents: Take out all the components of the sound bar system, including the sound bar itself, the remote control, power cable, HDMI cable, and any additional accessories that might be included.
- Read the user manual: Take a few moments to read through the user manual that comes with the sound bar. Familiarize yourself with the various functions, connections, and settings.
- Inspect the sound bar: Examine the sound bar for any visible damage or defects. If you notice any issues, contact Samsung customer support for assistance.
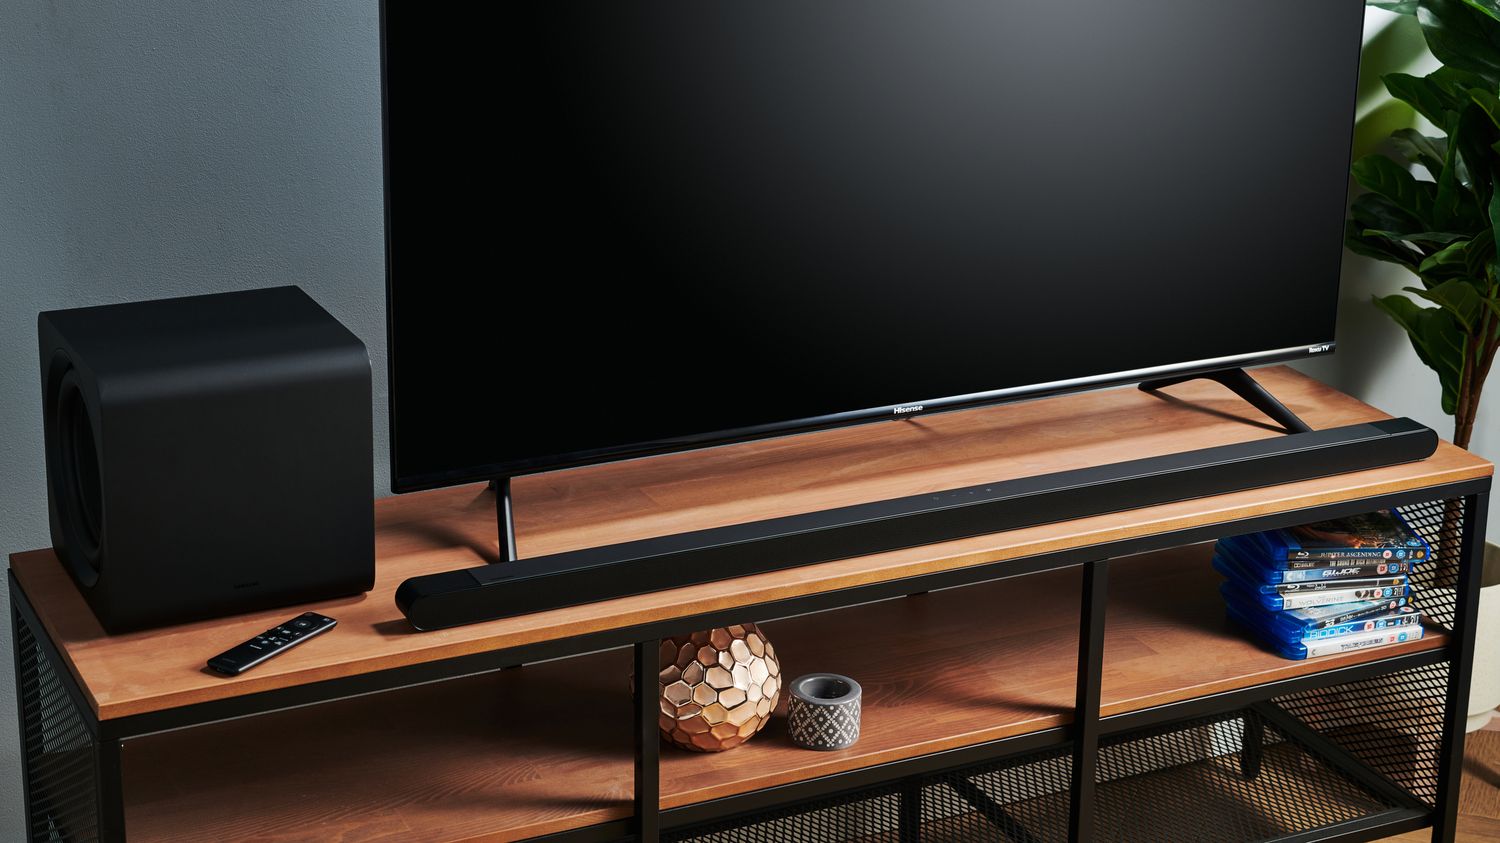
- Prepare the installation area: Choose a suitable location for your sound bar. Ensure that there is enough space and that it is near your TV, allowing for easy connection.
- Remove protective coverings: Remove any protective coverings or films from the sound bar and its components. This will ensure optimal performance and prevent any interference.
- Keep the packaging: It’s a good idea to keep the original packaging in case you need to move or store the sound bar in the future. The packaging provides added protection during transportation.
By following these steps, you’ll have successfully unboxed your Samsung Sound Bar and be ready to move on to the next stage of the setup process.
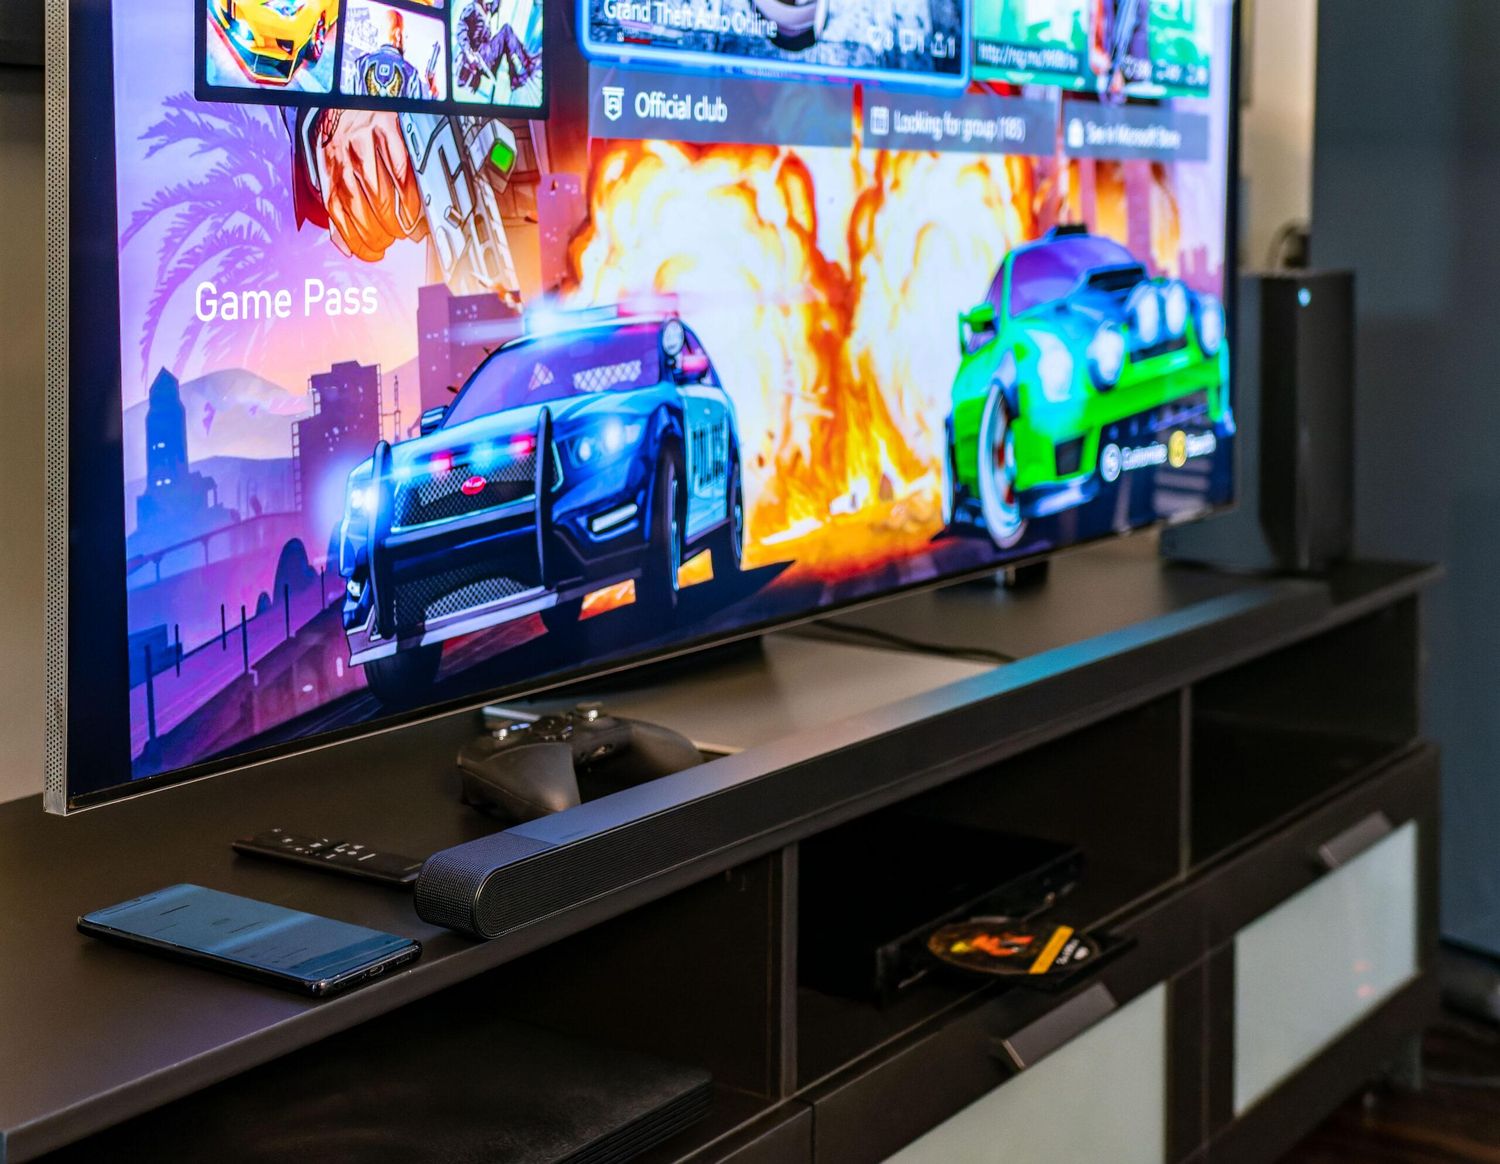
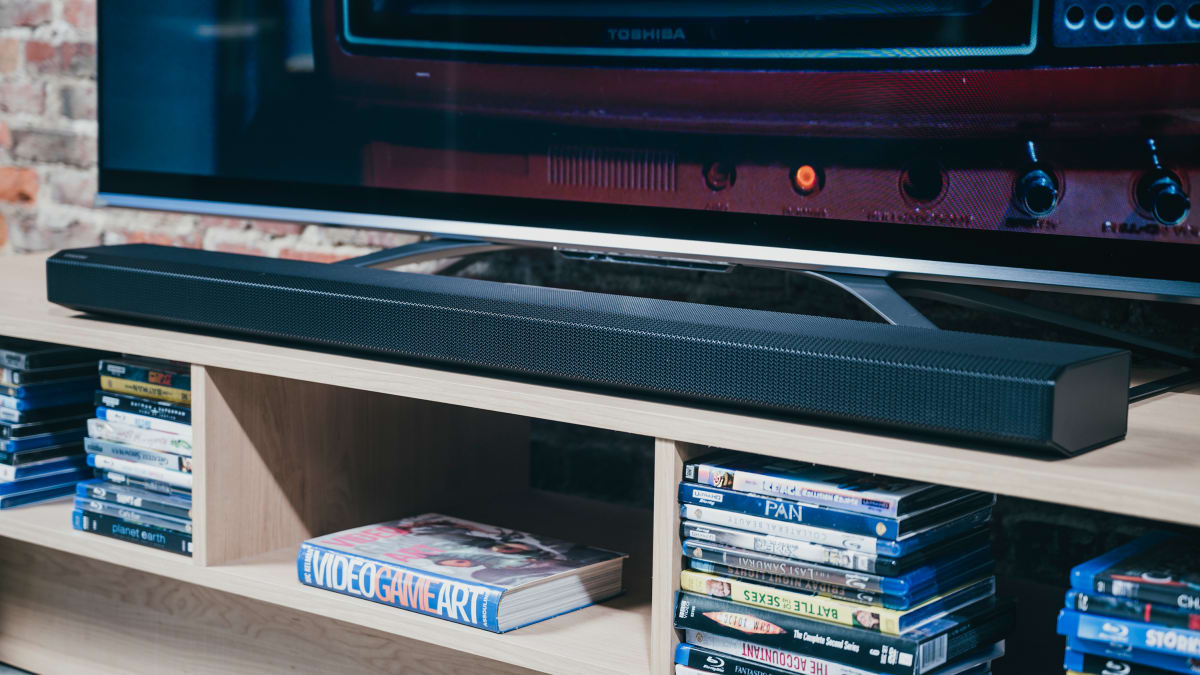
Step 2: Connecting the Sound Bar to Your TV
Now that you have unboxed your Samsung Sound Bar, it’s time to connect it to your TV to start enjoying the enhanced audio experience. Follow these steps to establish a seamless connection:
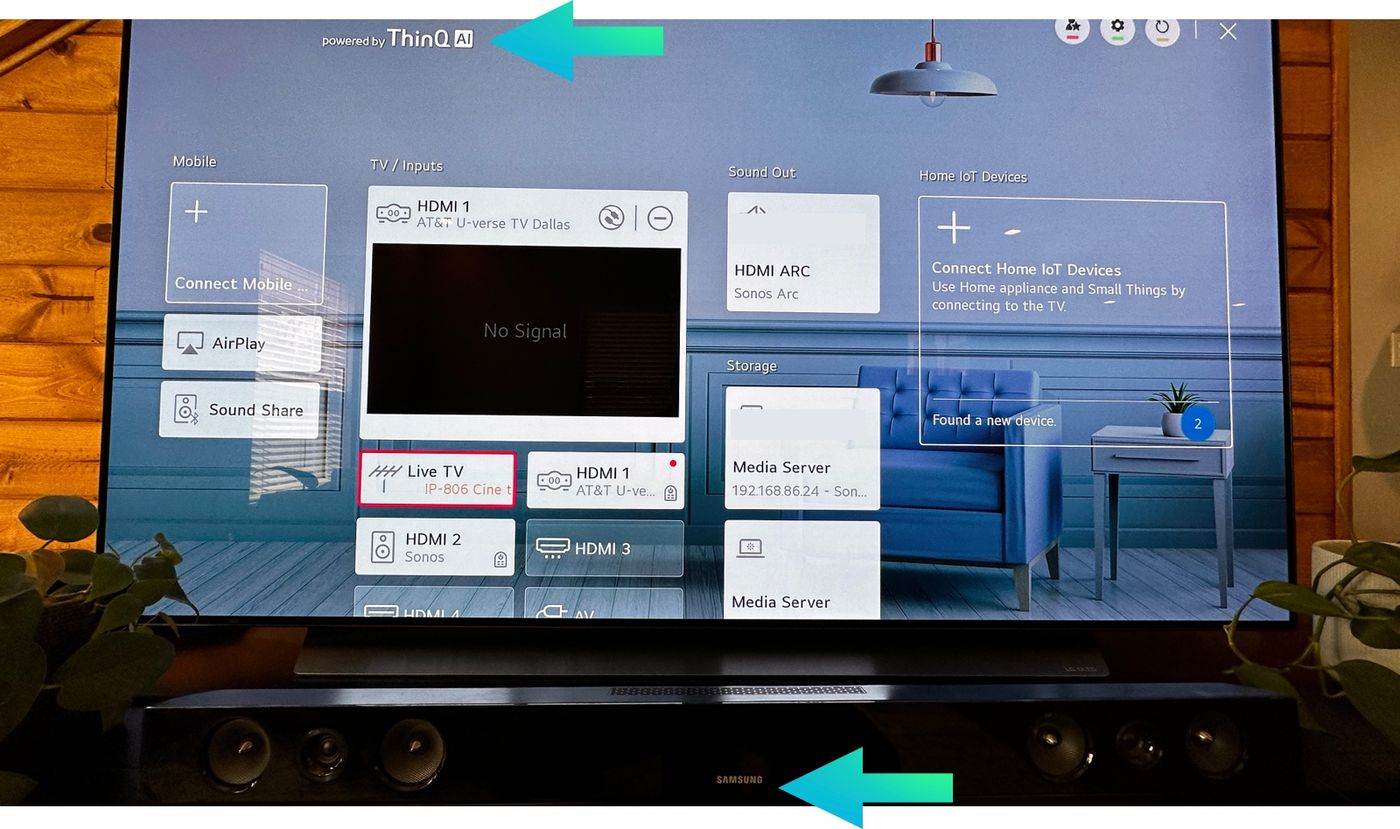
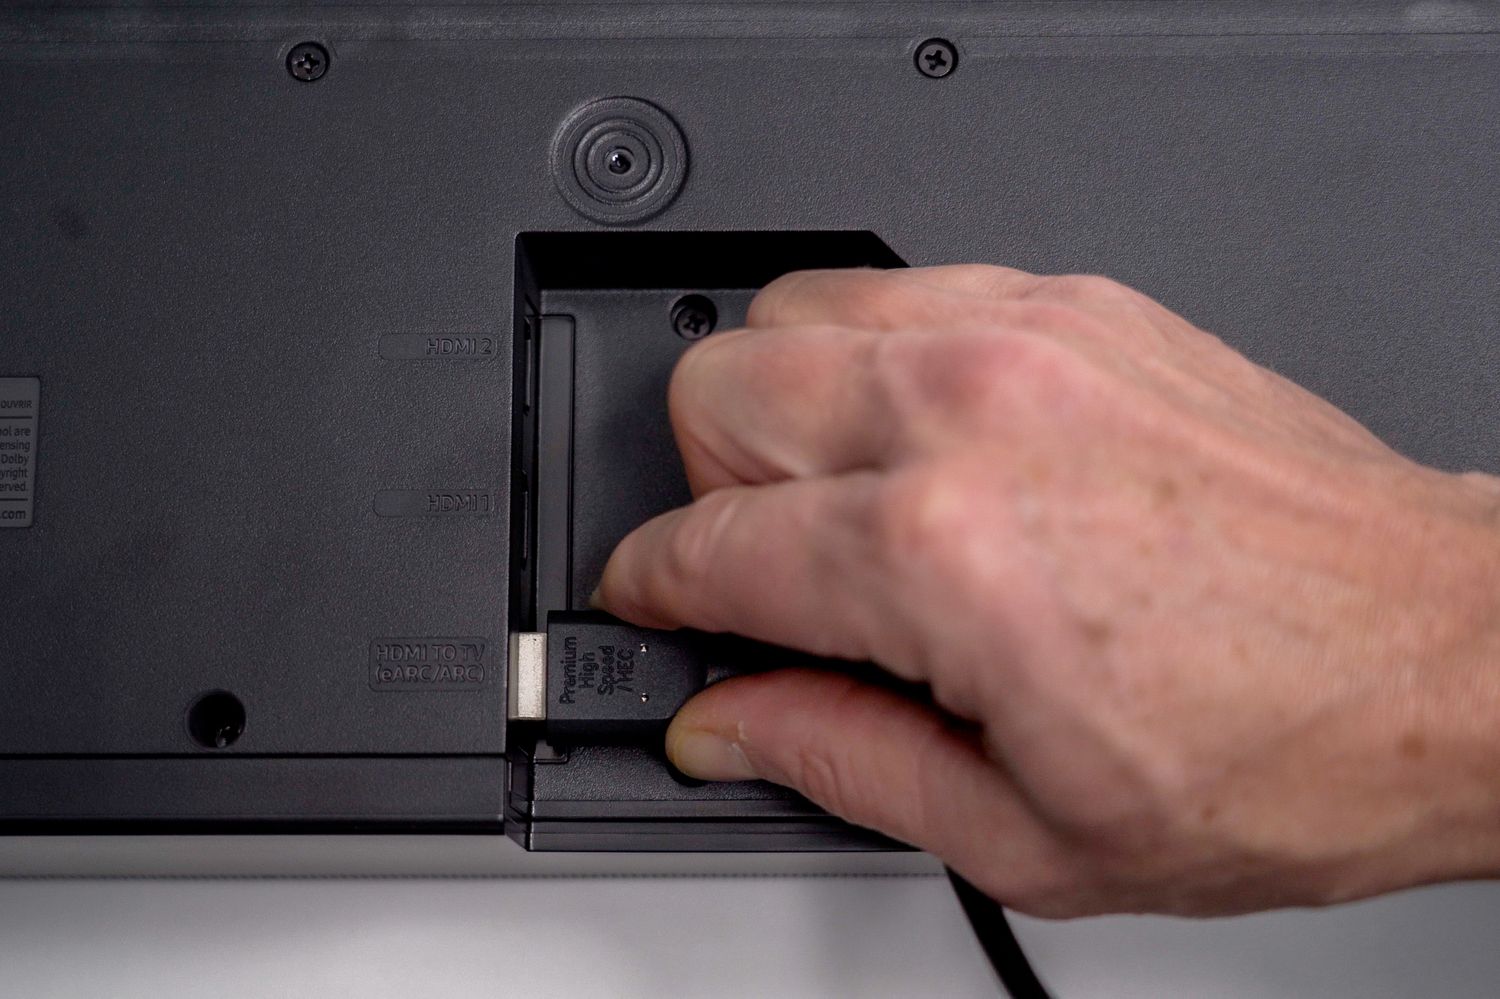
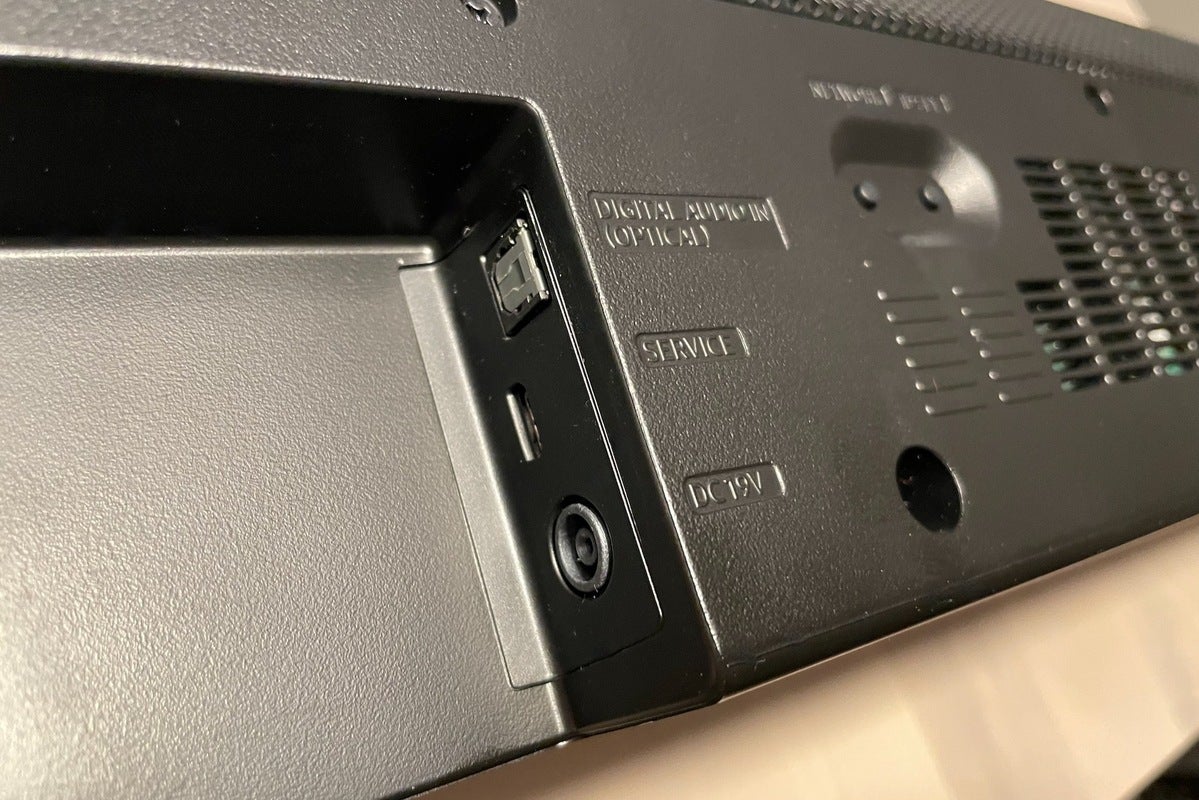
- Identify the audio output options: Examine your TV to identify the available audio output options. Common options include HDMI, optical audio, or RCA connectors. Refer to your TV’s user manual if you’re unsure.
- Choose the appropriate connection type: Select the appropriate connection type based on the available options on your TV and the sound bar. HDMI and optical audio connections are recommended for the best audio quality.
- Connect the sound bar to your TV: Use the corresponding cables to connect the sound bar to the audio output on your TV. Ensure that the input on the sound bar matches the connection type you have chosen.
- Power on the sound bar: Plug in the power cable of the sound bar and turn it on. You should see indicator lights or a display on the sound bar indicating that it is powered up.
- Select the correct input source: On your TV’s audio settings, select the input source that corresponds to the connection you made with your sound bar. This will ensure that the audio is correctly routed to the sound bar.
- Test the sound bar: Play a video or audio content on your TV to test the sound bar. You should now experience enhanced audio quality and a more immersive sound experience.
If you encounter any issues during the connection process, ensure that the cables are securely plugged in and that the correct input source is selected. Also, double-check that the sound bar and TV are powered on.
Once you have successfully connected the sound bar to your TV, you’re ready to move on to the next step of setting up the sound bar with your TV and optimizing the audio settings.
Step 3: Setting up the Sound Bar with Your TV
Now that you have connected your Samsung Sound Bar to your TV, it’s time to optimize the audio settings and ensure that the sound bar is configured correctly. Follow these steps to set up your sound bar and customize the audio output:
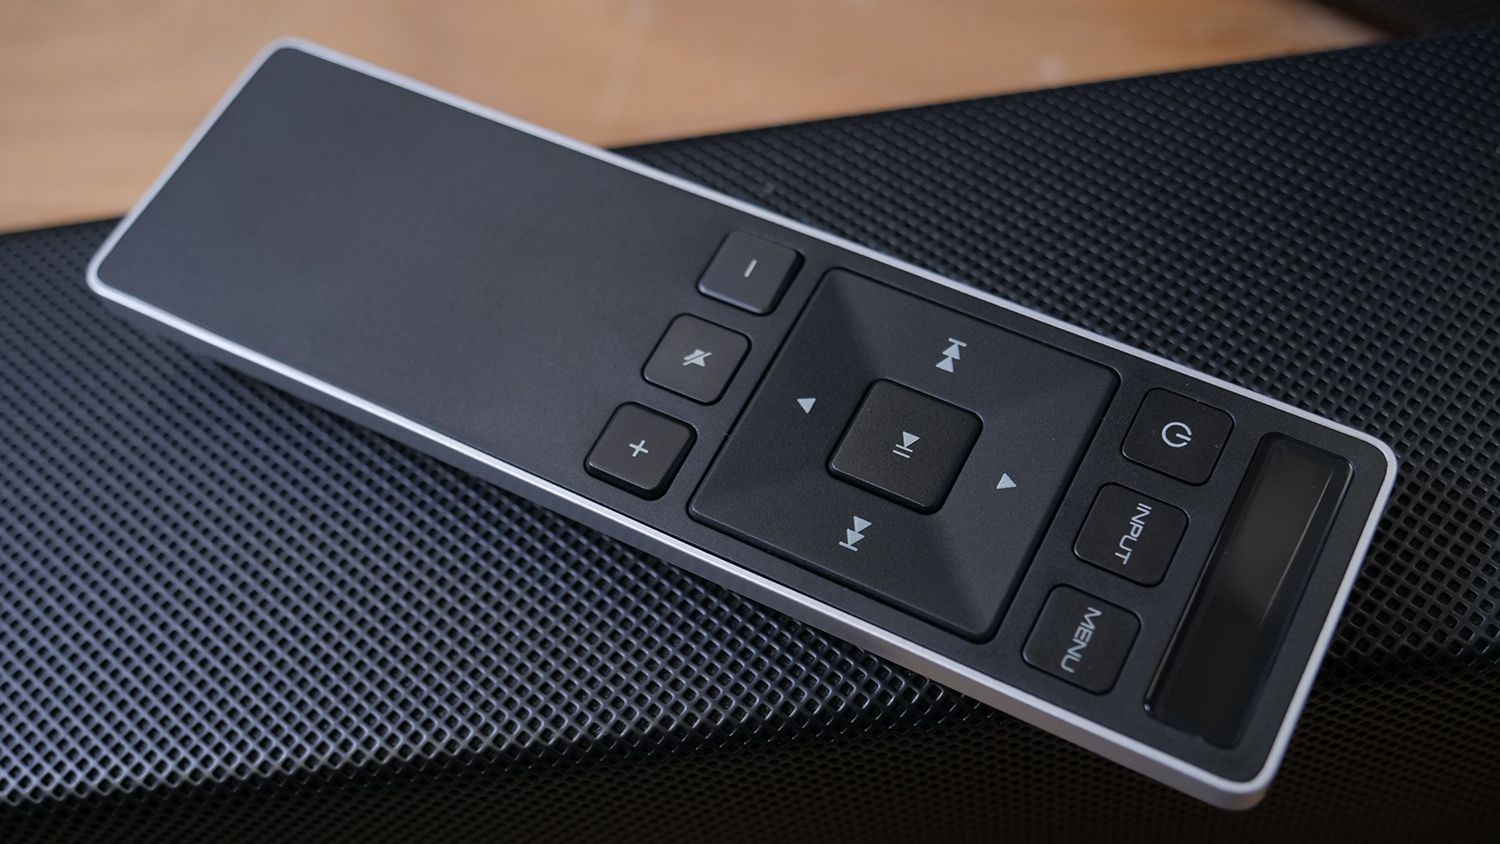
- Access the sound bar menu: Most Samsung sound bars have a menu button on the remote control or a dedicated control panel on the sound bar itself. Press the menu button to access the sound bar settings.
- Select the input source: Navigate through the menu options and select the input source that corresponds to the connection you made with your TV. This ensures that the sound bar recognizes the audio signal from the TV.
- Adjust the sound modes: Samsung sound bars often come with various sound modes, such as “Movie,” “Music,” or “Sports.” Experiment with different modes to find the one that best suits your audio preferences.
- Customize the EQ settings: Some sound bars allow you to adjust the equalizer (EQ) settings to fine-tune the sound. You can modify bass, treble, and other sound parameters to achieve the desired audio balance.
- Enable surround sound: If your sound bar supports surround sound, ensure that it is enabled in the settings menu. Surround sound creates a more immersive audio experience, especially when watching movies or playing video games.
- Set audio sync: If you notice any audio lag or synchronization issues, adjust the audio sync settings in the sound bar menu. This helps to ensure that the audio is perfectly synchronized with the video on your TV.
- Save your settings: Once you have adjusted the audio settings to your liking, save your changes in the sound bar menu. This ensures that your preferences are retained even when you power off the sound bar.
Remember to refer to the user manual for your specific Samsung sound bar model, as the menu options and settings may vary. Take your time to explore the sound bar settings and experiment with different configurations until you achieve your desired audio experience.
With the sound bar now set up and customized according to your preferences, you can sit back, relax, and enjoy high-quality audio that complements your TV viewing experience.
Step 4: Adjusting Sound Bar Settings
Now that you have set up your Samsung Sound Bar with your TV, it’s time to further refine your audio experience by adjusting the sound bar settings. Follow these steps to optimize the sound bar’s performance:
- Volume control: Use the volume buttons on the sound bar’s remote control to adjust the audio level. Find a comfortable volume that suits your preferences.
- Bass and treble: Some sound bars allow you to adjust the bass and treble levels separately. Experiment with these settings to find the right balance for your audio content.
- Virtual surround sound: If your sound bar supports virtual surround sound, make sure it is activated. This feature enhances the audio by simulating a surround sound experience, even with just the sound bar.
- Dialogue enhancement: Look for a dialogue enhancement setting, which amplifies speech frequencies. This can be especially helpful when watching movies or TV shows with dialogue-heavy content.
- Sound modes: Many sound bars come with preset sound modes for different types of audio content, such as movies, music, or sports. Experiment with these modes to find the one that best suits your preferences.
- Bluetooth connectivity: If your sound bar supports Bluetooth, you can connect your smartphone or other Bluetooth-enabled devices to stream audio wirelessly. Explore the sound bar settings to pair and manage Bluetooth connections.
- Firmware updates: Check for firmware updates for your sound bar regularly. Manufacturers often release updates to improve performance, fix bugs, and add new features. Follow the instructions in the user manual or on the manufacturer’s website to update the firmware.
Take some time to explore and experiment with these settings to find what works best for your audio preferences and content. Keep in mind that every sound bar model may have slightly different settings and features, so refer to your specific model’s user manual for detailed instructions.
By adjusting the sound bar settings, you can truly customize your audio experience and tailor it to your liking. This will result in a more immersive and enjoyable listening experience, whether you’re watching movies, playing games, or listening to music.
Step 5: Pairing the Sound Bar with Additional Devices
In addition to connecting your Samsung Sound Bar to your TV, you can also pair it with other devices to enjoy immersive audio from various sources. Follow these steps to connect additional devices to your sound bar:
- Bluetooth pairing: If your sound bar has Bluetooth capabilities, you can easily pair it with devices like smartphones, tablets, or laptops. Activate the Bluetooth mode on your sound bar and the device you want to connect, then follow the pairing instructions in the respective user manuals.
- Connect gaming consoles: If you’re a gaming enthusiast, you can connect your gaming console (e.g., PlayStation, Xbox) to the sound bar to enhance the gaming experience. Most consoles offer HDMI or optical audio outputs that you can connect to the corresponding input on your sound bar.
- Streaming devices: Devices like streaming boxes or smart TVs can be connected to your sound bar to enjoy audio from streaming services like Netflix or Amazon Prime Video. Simply connect the HDMI or optical audio output of the streaming device to the corresponding input on the sound bar.
- Audio players: If you have a standalone audio player, such as a CD player or MP3 player, you can connect it to your sound bar using the available audio input options (e.g., AUX or RCA). This allows you to enjoy high-quality audio from your favorite music collection.
- Additional speakers: Some sound bars offer the option to connect additional speakers wirelessly or using wired connections. This allows you to create a more comprehensive surround sound setup by adding rear speakers for a complete cinematic experience.
- Adjust settings for connected devices: Once you have paired or connected additional devices to your sound bar, make sure to adjust the sound settings accordingly. You may need to set the input source, adjust volume levels, or select the appropriate sound mode for each connected device.
By pairing your Samsung Sound Bar with additional devices, you can extend its functionality beyond the TV and enjoy a versatile audio experience. Whether you’re streaming music, playing games, or listening to your favorite podcasts, your sound bar can deliver exceptional sound quality.
Remember to refer to the user manual of your sound bar for specific instructions on pairing and connecting additional devices, as the steps may vary depending on the model.
Step 6: Troubleshooting Common Issues
While setting up and using your Samsung Sound Bar, you may encounter some common issues. Here are a few troubleshooting tips to help you resolve these problems:
- No sound: If you’re not getting any sound from your sound bar, ensure that all cables are securely connected and that the sound bar is turned on. Check the input source on your sound bar and TV, and make sure they are properly synchronized.
- Audio lag: If you notice a delay between the audio and video, access the audio sync settings on your sound bar and adjust them until the audio is in sync. You may also try changing the audio output settings on your TV.
- Remote control issues: If the remote control is not working, make sure the batteries are properly inserted and have sufficient charge. Also, ensure that there are no obstructions between the remote and the sound bar, and that you are within the remote’s range.
- Bluetooth connection problems: If you’re having trouble pairing your sound bar with a Bluetooth device, ensure that both devices are in pairing mode and in close proximity to each other. Also, check if there are any other nearby Bluetooth devices that may be causing interference.
- Audio distortion: If the audio from your sound bar is distorted or unclear, check the audio settings on both the sound bar and your TV. Adjust the EQ settings to see if it improves the audio quality. Additionally, ensure that the audio cables are in good condition and properly connected.
- Unresponsive sound bar: If your sound bar becomes unresponsive, try unplugging it from the power source for a few seconds and then plug it back in. This can often resolve minor technical glitches. If the issue persists, consult the user manual or contact Samsung customer support for further assistance.
If you encounter any other issues not mentioned here, consult the troubleshooting section in your sound bar’s user manual. It’s also worth checking the Samsung website or online forums for any known issues or software updates that may address the problem.
Remember to exercise caution when troubleshooting and make sure to follow safety guidelines to prevent any damage to your sound bar or other equipment. If you’re unsure or unable to resolve an issue, don’t hesitate to seek assistance from professional technicians or contact Samsung’s customer support for expert guidance.
Conclusion
Congratulations! You have successfully set up and optimized your Samsung Sound Bar, taking your home entertainment experience to the next level. By following the steps outlined in this guide, you have learned how to unbox the sound bar, connect it to your TV, adjust the settings, pair it with additional devices, and troubleshoot common issues.
With your sound bar connected, you can now enjoy immersive audio, whether you’re watching movies, playing games, or listening to music. The enhanced sound quality, dialogue clarity, and powerful bass provided by the sound bar will transform your living room into a mini-theater.
Remember to regularly update the firmware of your sound bar to ensure optimal performance and take advantage of any new features or improvements. Additionally, explore the various sound modes and settings to find the audio configuration that suits your preferences and content.
If you encounter any difficulties or have further questions, refer to the user manual for your specific sound bar model or contact Samsung customer support for assistance. They are always ready to help you get the most out of your audio equipment.
Now sit back, relax, and immerse yourself in a world of captivating sound with your Samsung Sound Bar. Enjoy your favorite movies, TV shows, games, and music like never before!