Home>Production & Technology>Sound Effects>How To Edit Sound Effects

Sound Effects
How To Edit Sound Effects
Modified: January 22, 2024
Learn how to edit sound effects to enhance your audio projects. Discover tips and techniques for manipulating and customizing sound effects for a more immersive experience.
(Many of the links in this article redirect to a specific reviewed product. Your purchase of these products through affiliate links helps to generate commission for AudioLover.com, at no extra cost. Learn more)
Table of Contents
- Introduction
- Types of Sound Effects
- Gathering Sound Effects
- Choosing the Right Editing Software
- Importing Sound Effects
- Basic Sound Editing Techniques
- Adjusting Volume and Panning
- Cutting, Trimming, and Crossfading
- Applying Effects and Filters
- Mixing and Layering Sound Effects
- Exporting the Edited Sound Effects
- Conclusion
Introduction
Welcome to the fascinating world of sound effects editing! Whether you are a filmmaker, video game developer, podcaster, or simply a sound enthusiast, the ability to create and manipulate sound effects can greatly enhance the overall impact and immersive experience of your audiovisual projects. In this article, we will explore the various aspects of sound effects editing, from gathering the right sounds to applying effects and filters, and everything in between.
Sound effects are essential for adding depth, realism, and emotion to any audiovisual production. From the subtle sound of a door creaking to the explosive roar of a thunderstorm, these effects can transport audiences and heighten the overall sense of engagement. They can create a sense of location, convey action, evoke emotions, or simply add a touch of whimsy. The possibilities are endless.
Gone are the days when sound effects had to be created solely through practical means, such as using props or orchestrating elaborate setups. With modern technology and powerful sound editing software, you have a vast library of pre-recorded sound effects at your fingertips. These can be manipulated, layered, and mixed to create unique and tailored soundscapes.
However, sound effects editing is not just about slapping random sounds onto a project. It requires careful selection, precise editing, and thoughtful application to achieve the desired result. In this article, we will explore the step-by-step process of editing sound effects, from gathering the right sounds to exporting the final edited files.
Whether you are a novice looking to learn the basics or an experienced sound designer seeking to expand your skills, this article will provide you with valuable insights and techniques to take your sound effects editing to the next level. So let’s dive in and explore the wonderful world of sound effects editing!
Types of Sound Effects
Before we delve into the intricacies of sound effects editing, it’s important to familiarize ourselves with the different types of sound effects that exist. This knowledge will help us understand the purpose and potential applications of each type, allowing us to make informed decisions during the editing process. Here are some common types of sound effects:
- Foley Effects: Foley effects are sounds that are recreated and recorded in a studio to mimic real-world actions and movements. This can include footsteps, clothing rustling, door opening and closing, and more. Foley effects add a layer of authenticity to audiovisual projects and help create a sense of realism.
- Environmental Effects: Environmental effects, also known as ambience or atmospheres, capture the sounds of specific locations or environments. This can range from the bustling streets of a city to the serene tranquility of a forest. Environmental effects are used to set the mood, establish the setting, and provide a sense of space in audiovisual projects.
- Impact Effects: Impact effects are used to create powerful and dramatic sounds, such as explosions, crashes, punches, or any other sound accompanying a forceful impact. These effects add intensity and excitement to action sequences and help create a sense of impact and energy.
- Transition Effects: Transition effects are used to smooth the transitions between scenes, segments, or audio elements. These can include swooshes, whooshes, and stingers that add a dynamic and seamless flow to the audio. Transition effects help create a sense of continuity and enhance the overall pacing of audiovisual projects.
- Special Effects (SFX): Special effects encompass a wide range of sounds that are often fantastical or otherworldly. These can include magical spells, sci-fi lasers, monster growls, and anything that goes beyond the realm of reality. Special effects are widely used in fantasy, science fiction, and gaming genres to create unique and immersive auditory experiences.
These are just a few examples, but it’s important to note that sound effects can vary greatly depending on the specific project and creative vision. Having an understanding of the different types of sound effects will help us choose the right sounds during the editing process and ensure a cohesive and impactful audio experience.
Gathering Sound Effects
Now that we have a good understanding of the different types of sound effects, it’s time to gather the necessary sounds for our editing projects. There are several ways to acquire sound effects, depending on your budget, time constraints, and specific requirements. Here are some common methods for gathering sound effects:
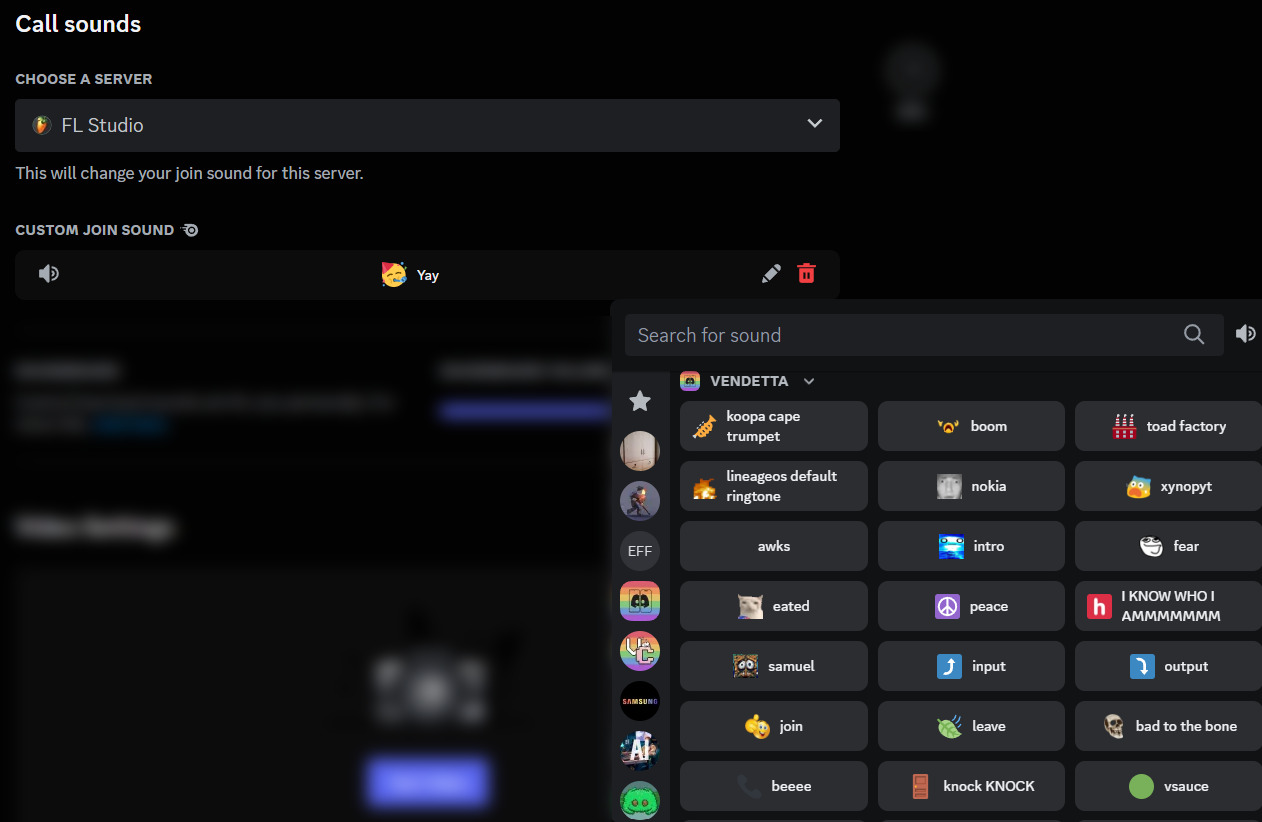
- Online Sound Libraries: One of the easiest and most convenient ways to find sound effects is by browsing through online sound libraries. There are numerous websites that offer a vast collection of pre-recorded sound effects in various categories. Some popular sound libraries include Freesound, AudioJungle, and the BBC Sound Effects Library. These libraries provide a wide range of sounds that can be previewed and downloaded for use in your projects.
- Recording Your Own Sounds: For more unique or specific sound effects, you may consider recording your own sounds. This could involve using a portable audio recorder to capture sounds in real-world environments or setting up a makeshift recording studio to create custom sounds. For example, if you need the sound of a breaking glass, you can safely break a glass object in a controlled environment and capture the sound with a high-quality microphone.
- Collaborating with Sound Designers: Another option is to collaborate with sound designers who specialize in creating custom sound effects. Sound designers have the skills and expertise to manipulate and create sounds that perfectly match your project’s needs. This option may be more suitable for larger-scale productions or projects that require a high level of customization.
- Sampling and Filtering: Sometimes, you may already have existing audio recordings that can be repurposed as sound effects. These could be snippets of music, ambient recordings, or dialogue from previous projects. By sampling and filtering these recordings, you can transform them into unique and interesting sound effects. This approach allows for a level of creativity and experimentation, giving you the freedom to create custom sounds without starting from scratch.
Regardless of the method you choose, it’s important to consider the quality of the sound effects. Look for high-quality recordings with clear and crisp audio. Pay attention to details such as background noise, distortion, or any other artifacts that can affect the overall quality of the sound. The goal is to find or create sound effects that fit seamlessly into your project and enhance the overall audio experience.
Remember to always consider the licensing requirements when using sound effects from online libraries. Some sound effects may be free to use, while others require attribution or the purchase of a license. Be sure to read and understand the licensing agreements to ensure compliance and avoid any legal issues.
Once you have gathered the necessary sound effects, it’s time to move on to the next step: choosing the right editing software.
Choosing the Right Editing Software
When it comes to sound effects editing, having the right software is crucial. It allows you to import, organize, edit, and manipulate sound files with ease and precision. With a multitude of choices available in the market, it’s important to consider your specific needs, budget, and level of expertise when selecting the right editing software. Here are some factors to consider:
- Features and Functionality: Look for editing software that offers a comprehensive set of features and tools specifically tailored for sound effects editing. This may include options for cutting, trimming, crossfading, applying effects, and mixing. Consider the software’s ability to handle multiple tracks, support for various file formats, and the availability of plugins and effects to enhance your editing capabilities.
- User-Friendliness: Choose software that has an intuitive and user-friendly interface. The editing process should be straightforward and efficient, allowing you to focus on the creative aspects rather than getting lost in a complex interface. Look for software that offers a customizable workspace, keyboard shortcuts, and a visually appealing layout.
- Compatibility: Ensure that the editing software is compatible with your operating system and hardware. Some software may be available for Windows, Mac, or both. Additionally, consider the system requirements of the software to ensure smooth performance on your computer.
- Scalability: Consider whether the software can grow with your needs. If you plan to expand your sound effects editing skills or work on larger projects, software that offers scalability and flexibility is essential. Look for options that allow for easy integration with other software or the ability to handle larger file sizes and complex projects.
- Community and Support: Research the software’s user community and support options. Having access to tutorials, forums, and knowledgeable support can greatly assist your learning process and troubleshooting efforts. Check for regular updates and bug fixes from the software developer, as this indicates ongoing support and improvement.
- Budget: Lastly, consider your budget. Sound effects editing software can range from free options with limited features to professional-grade software with a higher price tag. Evaluate your needs and investment capabilities to find a balance between functionality and affordability.
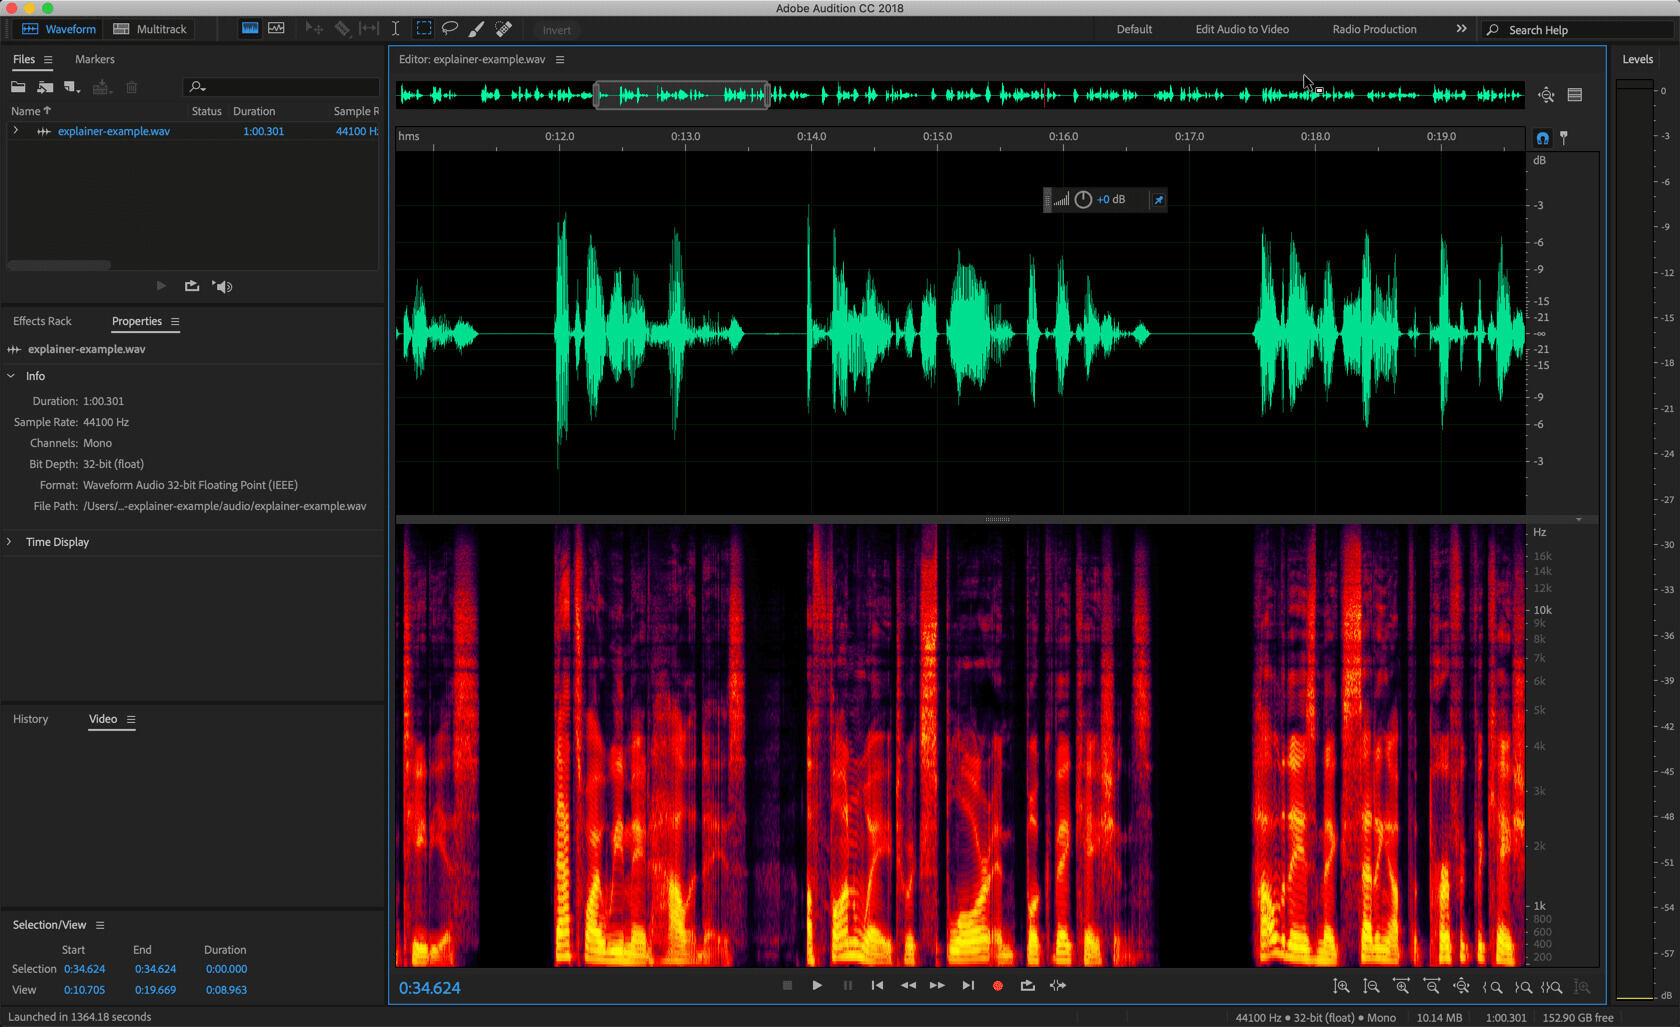
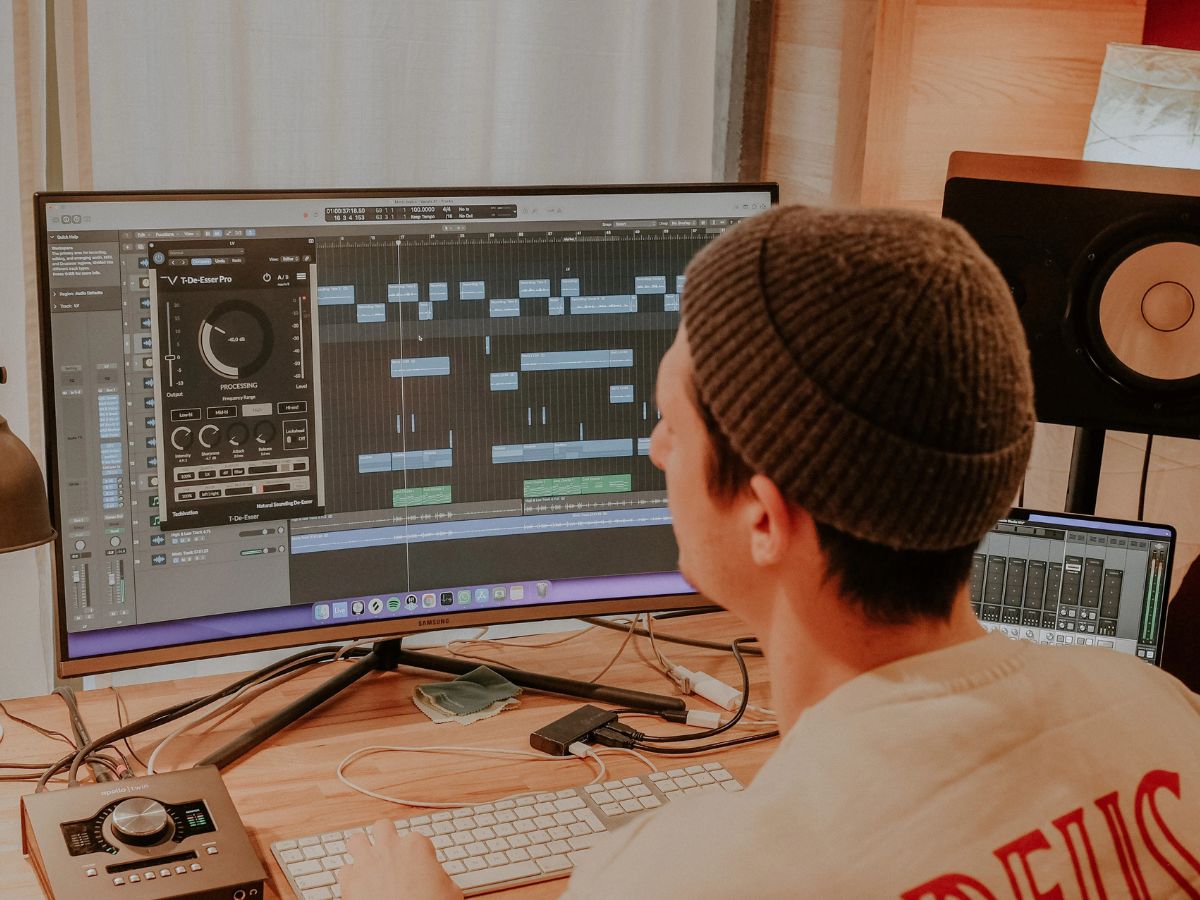
Some popular sound effects editing software options include Adobe Audition, Pro Tools, Logic Pro, Ableton Live, and Reaper. These software choices offer a wide range of features and are widely used in the industry. Remember, the best software for you will depend on your specific requirements and personal preferences.
Take the time to research, read reviews, and even try out demo versions of the software to get a feel for their capabilities and workflow. With the right editing software, you will have the tools and flexibility to bring your sound effects to life and elevate the quality of your audiovisual projects.
Now that you have selected your editing software, it’s time to move on to the next step: importing the sound effects into your chosen software.
Importing Sound Effects
Once you have gathered your desired sound effects and chosen the right editing software, the next step is to import the sound effects into the software. This allows you to access and manipulate the files within your editing workspace. Here’s how to import sound effects:
- Create a New Project: Start by creating a new project in your chosen editing software. This will serve as the working environment for your sound effects editing.
- Locate the Sound Effects Files: Find the sound effects files you gathered earlier on your computer or external storage device. Ensure that the files are in a compatible format supported by your editing software.
- Organize and Prepare: Before importing the sound effects, it’s a good practice to organize them into folders or categories based on their type or purpose. This will make it easier to navigate and locate specific sound effects during the editing process. Additionally, consider renaming the files to provide a clear and descriptive name that reflects their content.
- Importing the Files: In your editing software, locate the import function or option. This is usually found in the “File” or “Import” menu. Once selected, navigate to the folder where you stored the sound effects files and choose the files you want to import. Depending on the software, you may be able to import multiple files at once or one at a time.
- Review and Confirm: After importing the sound effects, take a moment to review and confirm that they are successfully imported into your project. You should see the sound effect files listed or displayed within your editing software’s interface, ready for further manipulation.
- Organize the Sound Effects: Within your editing software, it’s helpful to further organize the imported sound effects for easy access. This can include creating folders or playlists specific to your project needs. By organizing the sound effects, you can efficiently locate and manage them throughout the editing process.
Once you have imported the sound effects into your editing software, you are ready to begin editing and shaping them to fit your project’s requirements. This includes techniques such as adjusting volume and panning, cutting and trimming, applying effects and filters, and ultimately mixing and layering the sound effects to create a cohesive and captivating auditory experience.
Remember to save your project regularly to ensure that all your edits are preserved. It’s also a good practice to create backups of your sound effects files to avoid any data loss.
Now that your sound effects are imported and organized, it’s time to explore the various techniques and tools available for sound effects editing. Stay tuned for the next section where we will dive into the basics of sound editing techniques!
Basic Sound Editing Techniques
With your sound effects imported and organized, it’s time to start editing and shaping them to perfection. Sound editing techniques allow you to refine the sound effects and tailor them to fit your project’s specific needs. Here are some basic sound editing techniques to get you started:
- Adjusting Volume: Volume control is one of the fundamental techniques in sound editing. You can increase or decrease the volume of a sound effect to achieve the desired level of prominence in your project. This is particularly useful for balancing multiple sound effects or emphasizing specific elements within the audio.
- Panning: Panning refers to the distribution of sound between the left and right stereo channels. By adjusting the panning, you can position the sound effects in the stereo field, creating a sense of movement or depth. For example, you can pan a car passing by from left to right to create a more realistic and immersive audio experience.
- Cutting and Trimming: Cutting and trimming involve removing unwanted portions of sound effects to streamline the audio and eliminate any unnecessary elements. This technique helps tighten the timing of sound effects and ensures that they are precisely synchronized with the visuals or other audio elements.
- Crossfading: Crossfading is the technique of smoothly transitioning between two sound effects. By overlapping the beginning and end portions of two adjacent sound effects and gradually fading out one while fading in the other, you can create a seamless and natural transition. Crossfading is commonly used in film editing to blend sounds between scenes or when transitioning between different audio elements.
- Applying Effects and Filters: Effects and filters can dramatically alter the characteristics of sound effects. You can use equalization (EQ) to adjust the frequency balance, add reverberation or delay to create a sense of space, or apply specialized effects such as distortion or modulation to achieve specific artistic or narrative goals. Experiment with different effects and filters to enhance and shape your sound effects creatively.
- Time Stretching: Time stretching allows you to change the duration of a sound effect without altering its pitch. This technique is useful when you need to match specific timings or extend or shorten the duration of a sound effect. Time stretching can also be used creatively to create unique sounds or achieve special effects.
- Layering and Mixing: Layering involves combining multiple sound effects together to create a richer and more complex sound. This technique allows you to add depth, texture, and variation to your audio. Mixing involves adjusting the levels and balance of the layered sound effects to create a cohesive and harmonious audio mix. Experiment with different combinations and levels to achieve the desired sonic impact.
These are just a few basic sound editing techniques to help you shape and refine your sound effects. The key is to experiment and explore the capabilities of your editing software. Don’t be afraid to try different approaches and push the boundaries of creativity to achieve unique and impactful sound designs for your projects.
As you gain more experience, you can delve into more advanced techniques and explore specialized editing tools within your chosen software. The art of sound effects editing is a continuous learning process, and with practice, you will hone your skills and develop your own unique style.
Next, let’s take a deeper look at adjusting volume and panning, two fundamental techniques for shaping the sound effects within your project.
Adjusting Volume and Panning
Adjusting volume and panning are fundamental techniques in sound effects editing that help create a balanced and immersive audio mix. These techniques allow you to control the perceived loudness and spatial positioning of the sound effects within your project. Let’s explore these techniques in more detail:
Volume: Adjusting the volume of sound effects is crucial for achieving the right balance between the different audio elements. You can increase the volume to make a sound effect more prominent or decrease it to blend it into the background. By carefully controlling the volume, you can ensure that the sound effects enhance the overall audio experience without overpowering other elements such as dialogue or music.
Most editing software provides intuitive volume controls that allow you to adjust the amplitude of the sound effects. You can typically select individual sound effects or groups of sound effects and modify their volume levels using sliders or numerical values. It’s important to listen critically while adjusting the volume to ensure that the desired impact is achieved without any distortion or clipping.
Panning: Panning refers to the distribution of sound between the left and right stereo channels. By adjusting the panning, you can position sound effects in the stereo field, creating a sense of movement and space. For example, if a sound effect is coming from the left side of the visual frame, you can pan it more towards the left channel to enhance the spatial realism.
Panning controls are typically represented as a horizontal slider or knob within the editing software’s interface. By manipulating the panning control, you can adjust the positioning of the sound effect within the stereo spectrum. Most software also offers options for adjusting the width or stereo field of the sound, allowing you to control the perceived distance and depth.
When adjusting volume and panning, it’s essential to consider the overall audio mix and the specific requirements of your project. Experiment with different combinations of volume levels and panning positions to achieve the desired spatial and sonic balance. It’s often helpful to listen to the edited sound effects in context with the project’s other audio elements to ensure a seamless integration.
Remember, the key to effective volume and panning adjustments is to maintain clarity and coherence in the audio mix. Avoid extreme volume changes or excessive panning, as this can lead to an unnatural and disorienting listening experience. Subtle and controlled adjustments are often more effective in creating a balanced and immersive sound environment.
By mastering the art of adjusting volume and panning, you can create a dynamic and engaging sound effects mix that enhances the overall impact of your audiovisual projects. With these techniques at your disposal, you are ready to explore more advanced sound effects editing techniques and take your projects to the next level.
Next, let’s dive into the techniques of cutting, trimming, and crossfading, which are essential for refining the timing and transitions of your sound effects.
Cutting, Trimming, and Crossfading
When it comes to sound effects editing, cutting, trimming, and crossfading are essential techniques for refining the timing and transitions of your audio. These techniques allow you to precisely control the duration and placement of sound effects, ensuring seamless integration and a polished final mix. Let’s explore these techniques in more detail:
Cutting: Cutting involves removing unwanted portions of a sound effect to streamline the audio and eliminate any unnecessary elements. It helps to maintain a focused and concise sound effect that aligns perfectly with the visuals or other audio elements. To cut a sound effect, you can use the editing software’s selection tools to identify the specific section you want to remove. Then, simply delete that portion to create a clean and precise sound effect.
Trimming: Trimming allows you to adjust the start and end points of a sound effect to refine its timing and sync it with other audio or visual elements. With trimming, you can remove any leading or trailing silence, ensuring that the sound effect starts and ends at the right moment. You can use the software’s trimming tools to select and adjust the start or end point of the sound effect, enabling a more accurate fit and synchronization within your project.
Crossfading: Crossfading is the technique of smoothly transitioning between two sound effects or audio segments. By overlapping the beginning and end portions of two adjacent sound effects and gradually fading out one while fading in the other, you can create a seamless and natural transition. Crossfading is particularly useful when transitioning between scenes, segments, or audio elements. It helps to avoid any sudden or jarring audio cuts, providing a smooth and coherent listening experience.
Most editing software offers crossfading features that allow you to adjust the duration and curve of the fade in and fade out. This gives you greater control over the blending and transition between sound effects. When crossfading, it’s important to listen carefully to ensure a smooth and seamless transition. Too short of a crossfade can result in an audible click or pop, while too long of a crossfade can create an unnatural and extended overlap.
By combining cutting, trimming, and crossfading techniques, you can precisely shape and refine the timing and transitions of your sound effects. This level of precision ensures that the sound effects are perfectly synchronized with your visuals and other audio elements, creating an immersive and professional audio mix.
Remember, these techniques require attention to detail and a keen ear. Take the time to listen closely and make subtle adjustments as needed. Additionally, it’s always a good practice to save multiple versions or backups of your project throughout the editing process to maintain flexibility and the ability to revert changes if necessary.
Now that you have mastered cutting, trimming, and crossfading, you are ready to explore further sound effects editing techniques, such as applying effects and filters to enhance and shape your sound.
Applying Effects and Filters
Applying effects and filters is a powerful technique in sound effects editing that allows you to enhance and shape your sound to better fit your project’s needs. With the right selection and application of effects and filters, you can transform your sound effects, add depth and texture, and create unique auditory experiences. Let’s dive into the world of effects and filters:
Equalization (EQ): EQ is a versatile tool that allows you to adjust the frequency balance of your sound effects. By boosting or cutting specific frequencies, you can modify the tonal characteristics of the sound and emphasize or de-emphasize certain elements. For example, you can use EQ to enhance the crispness of footsteps or reduce unwanted background noise in an environmental effect.
Reverberation and Delay: Reverberation and delay effects are used to create a sense of space and add depth to your sound effects. Reverberation simulates the reflections of sound in different environments, such as a large hall or a small room. Delay introduces a subtle echo effect by delaying the sound by a specific amount of time. These effects can be used creatively to place sound effects in specific environments or to achieve specific moods or atmospheres.
Specialized Effects: Depending on your project’s requirements, you may want to explore specialized effects such as distortion, modulation, or pitch shifting. These effects can be used to create unique and otherworldly sounds, particularly in genres like science fiction or fantasy. Experiment with these effects to unleash your creativity and add a touch of experimentation to your sound effects.
Dynamic Range Compression: Dynamic range compression is a technique used to control the dynamic range of sound effects. It helps to balance the loud and soft parts of a sound effect and ensures that it is consistently audible throughout the audio mix. This technique is useful when working with sound effects that have a wide dynamic range, such as explosions or gunshot sounds.
Filters: Filters are a powerful tool for manipulating the frequency content of your sound effects. There are various types of filters, including low-pass, high-pass, bandpass, and notch filters, each affecting different frequency ranges. Filters can be used to sculpt the sound and remove unwanted frequencies or emphasize specific tonal characteristics. For example, a low-pass filter can be used to simulate the effect of sound being muffled or heard through a closed door.
Most editing software provides a range of effects and filters that you can apply to your sound effects. These tools are often presented in a user-friendly interface, allowing you to adjust parameters such as intensity, duration, and frequency response. It’s important to listen critically to the effect and carefully experiment with different settings to achieve the desired outcome.
Remember, the goal of applying effects and filters is to enhance and shape the sound effects, not to overpower them or distract from their intended purpose. Use these tools judiciously and with a purpose in mind. Ultimately, the goal is to create a cohesive and immersive audio experience that enhances and elevates your project.
Now that you have explored the realm of effects and filters, you are equipped with further techniques to bring your sound effects to life. Next, let’s explore the art of mixing and layering sound effects to create a rich and dynamic sound design.
Mixing and Layering Sound Effects
Mixing and layering sound effects are key techniques in sound effects editing that allow you to create a rich and dynamic sound design. By carefully blending and combining different sound effects, you can create a cohesive and immersive audio experience that enhances the impact of your project. Let’s explore the art of mixing and layering sound effects:
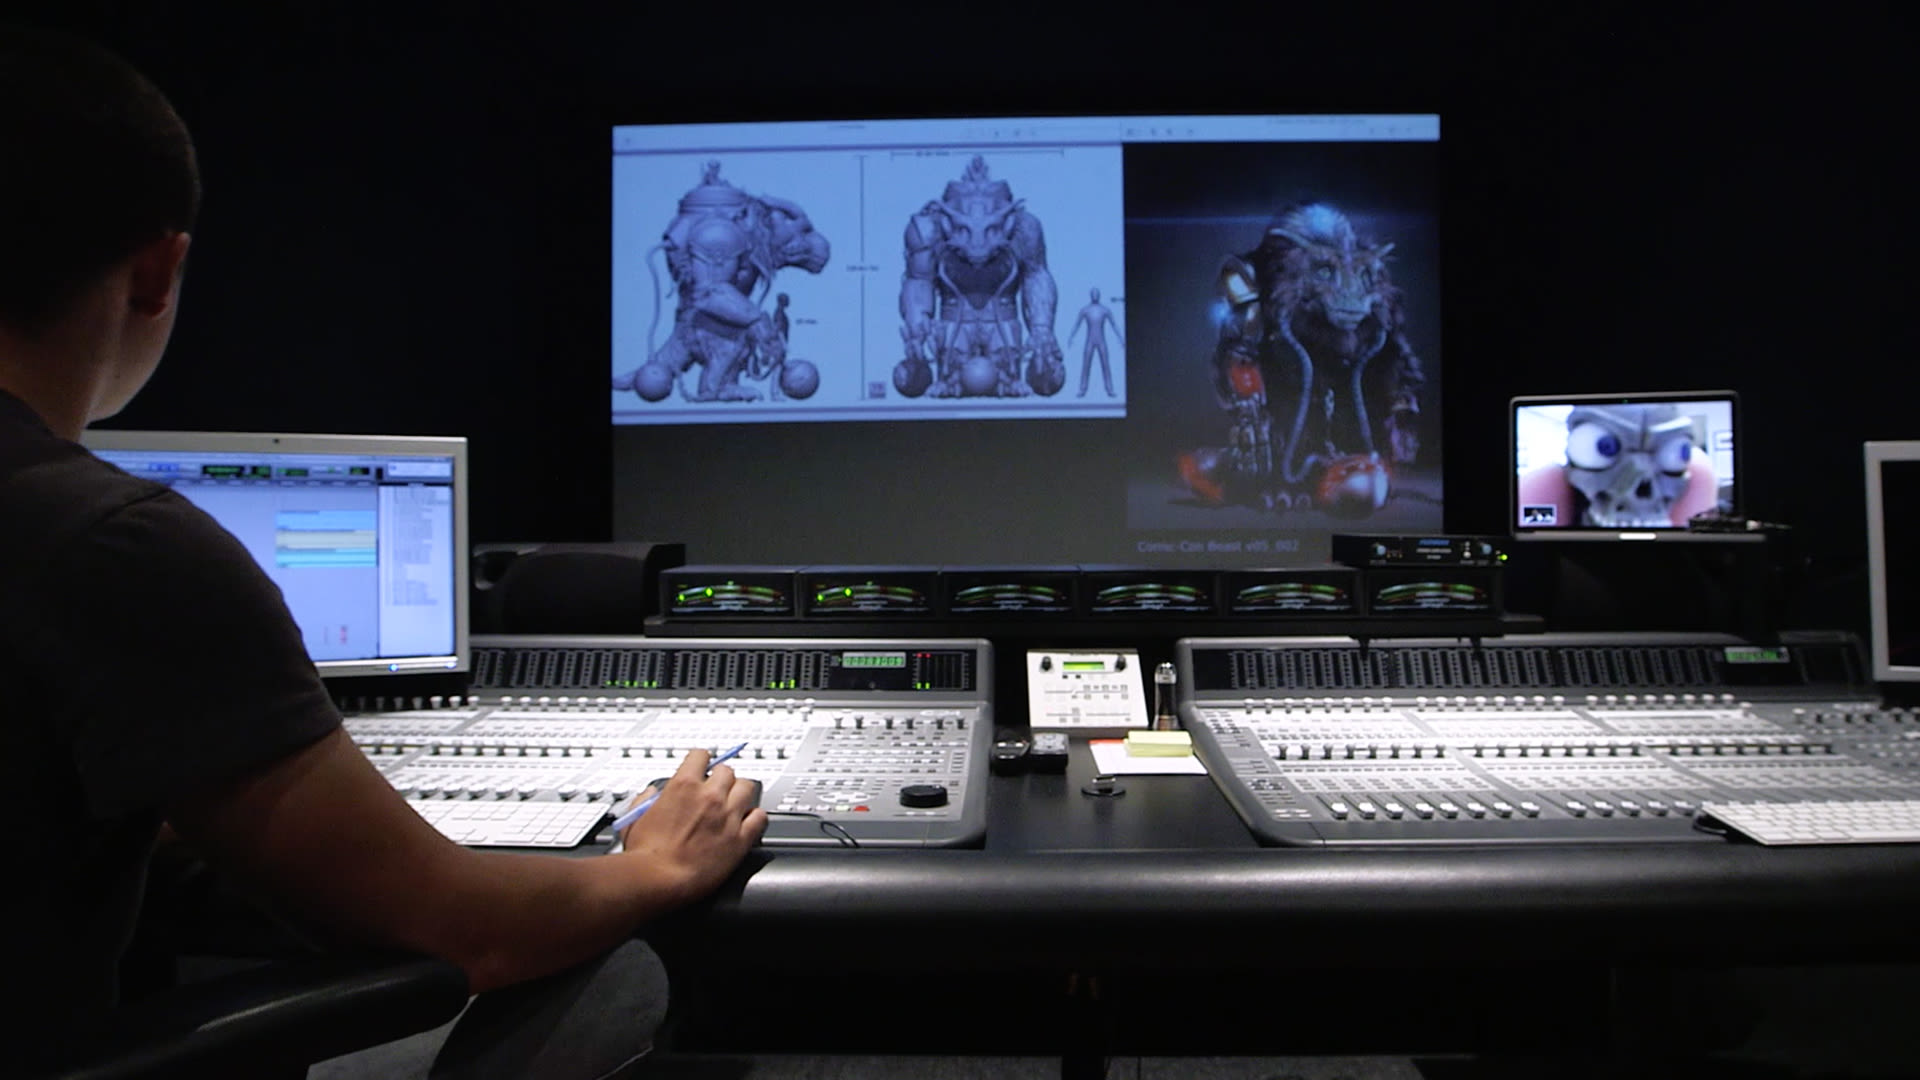
Mixing Sound Effects: Mixing involves adjusting the levels and balance of individual sound effects to create a harmonious and well-balanced overall audio mix. It’s important to ensure that no sound effect is overpowering or dominating the mix, and that each individual sound effect can be clearly heard and appreciated. By using volume control, panning, and specialized mixing tools within your editing software, you can achieve the desired level and spatial positioning for each sound effect.
Pay attention to the interaction between different sound effects and how they complement each other. It’s crucial to listen critically and make subtle adjustments to achieve a cohesive and pleasing auditory experience. Keep in mind the hierarchy of sound effects within your project and adjust the levels accordingly to convey the intended impact and emotion.
Layering Sound Effects: Layering involves combining multiple sound effects to create a rich and textured sound design. By layering different sounds together, you can add depth, variation, and complexity to your audio mix. This technique allows you to create unique and immersive sonic environments.
Consider the different elements and components of the scene or situation you are trying to portray. By layering different sound effects such as footsteps, environmental ambience, and object interactions, you can create a more realistic and engaging audio experience. Experiment with layering different sound effects and adjusting their levels and panning positions to find the perfect blend and balance.
When layering sound effects, make sure that each individual sound effect contributes something unique and valuable to the overall mix. Avoid clutter and excessive layering that may result in a chaotic or muddy sound. It’s important to strike a balance between complexity and clarity.
Remember, the goal of mixing and layering sound effects is to enhance the visual storytelling and immerse the audience in the audio experience. Pay attention to the emotions, atmosphere, and narrative of your project and use sound effects strategically to enhance these elements.
As with any editing technique, it’s important to listen critically and make adjustments based on your project’s specific needs. Take the time to experiment, iterate, and fine-tune your mix until you achieve the desired sonic impact. Don’t be afraid to trust your instincts and explore your creativity to create a unique and captivating sound design.
With your newly acquired knowledge of mixing and layering sound effects, you are now equipped to bring your projects to life with a professional and immersive audio experience. Next, let’s explore the final step in the sound effects editing process: exporting the edited sound effects.
Exporting the Edited Sound Effects
After you have meticulously crafted and polished your sound effects, it’s time to export them in a format that is suitable for your project’s final delivery. Exporting the edited sound effects ensures that they can be easily integrated into your audiovisual project or shared with others. Here’s how to export your edited sound effects:
- Select the Desired Format: Determine the output format that best suits your project’s requirements. Common audio formats include WAV, MP3, and AIFF. Consider factors such as the intended platform, file size, and compatibility with your project’s audio editing or playback software.
- Choose the Desired Settings: Within your editing software, navigate to the export or render settings. Here, you will have options to specify the desired quality, sample rate, bit depth, and other parameters. Choose the settings that align with your project’s specifications while maintaining a balance between file size and audio quality.
- Define the Export Range: Determine the specific portion of the project you want to export. This could be the entire project or a selected range. Set the starting and ending points accordingly to export only the desired sound effects.
- Specify the Destination: Choose the folder or directory on your computer where you want to save the exported sound effects. It’s advisable to create a separate folder dedicated to storing your finalized sound effects for easy access and organization.
- Export the Sound Effects: Initiate the export process by clicking the “Export” or “Render” button within your editing software. The software will process the selected sound effects and output them in the specified format. This may take some time, depending on the length and complexity of your sound effects.
- Verify the Exported Sound Effects: Once the export process is complete, take a moment to verify the exported sound effects. Listen to them and ensure that they sound as intended and meet your expectations in terms of audio quality and content.
It’s a good practice to save a backup of your edited sound effects project file, as well as the exported files. This way, you can easily make adjustments or modifications in the future if needed.
Remember to consider any licensing requirements associated with the sound effects you used in your project. If you obtained the sound effects from online libraries, ensure that you comply with the licensing agreements and appropriately attribute the creators or purchase the necessary licenses. Be mindful of any copyright restrictions to avoid potential legal issues.
With your edited sound effects successfully exported, you can now seamlessly integrate them into your audiovisual project. Import them into your video editing software, digital audio workstation, or game engine, and align them with the visuals or other audio elements to create the final audio mix.
By following these steps and ensuring the quality and compatibility of your exported sound effects, you can deliver a polished and professional audio experience that enhances the overall impact and storytelling of your project.
Congratulations! You have completed the sound effects editing process from start to finish. Now you are equipped with the knowledge and skills to create captivating and immersive soundscapes for your audiovisual projects.
Thank you for joining us on this journey through the world of sound effects editing! We hope this article has provided valuable insights and techniques to fuel your creative endeavors. Happy sound editing!
Conclusion
Sound effects editing is a fascinating and essential aspect of audiovisual production. By utilizing the right techniques and tools, you can enhance the overall impact and immerse your audience in a captivating audio experience. Throughout this article, we’ve explored the various stages of sound effects editing, from gathering the right sounds to exporting the final edited files. Let’s recap the key points:
We started by understanding the different types of sound effects, including foley effects, environmental effects, impact effects, transition effects, and special effects. This knowledge allows us to choose the right sound effects for our projects and create a more immersive audio experience.
Next, we discussed the methods for gathering sound effects, including utilizing online sound libraries, recording your own sounds, collaborating with sound designers, or repurposing existing audio recordings. Each method offers unique advantages and flexibility based on your project’s needs and resources.
We then explored the importance of choosing the right editing software, considering factors such as features and functionality, user-friendliness, compatibility, scalability, and community support. The right software provides the necessary tools and flexibility to edit and manipulate sound effects effectively.
Importing the gathered sound effects into your editing software allows you to organize and prepare them for editing. By creating a well-structured system and naming conventions, you can easily locate and manage your sound effects throughout the editing process.
From there, we dived into the essential techniques of adjusting volume and panning, cutting, trimming, and crossfading. These techniques give you precise control over the timing, placement, and transitions of your sound effects, ensuring smooth integration and synchronization within your project.
Applying effects and filters, such as equalization, reverberation, and specialized effects, helps shape and enhance your sound effects creatively. By experimenting with different parameters, you can add depth, texture, and a unique sonic identity to your sound design.
Mixing and layering sound effects are crucial steps in creating a balanced and immersive audio mix. By adjusting levels, panning positions, and combining multiple sound effects, you can achieve a rich and dynamic sound design that complements the visuals and enhances the storytelling in your project.
Finally, we discussed the process of exporting the edited sound effects in a suitable format for your project’s final delivery. We emphasized the importance of maintaining audio quality, following licensing requirements, and archiving backups for future modifications or adjustments.
With your newly acquired knowledge and skills in sound effects editing, you are now equipped to bring your audiovisual projects to life with engaging and immersive soundscapes. Remember to continuously refine your techniques, experiment with creativity, and stay updated with the latest advancements in sound editing software and tools.
Thank you for joining us on this journey through the world of sound effects editing. We hope this article has provided valuable insights and techniques to enhance your sound editing endeavors. Now go forth and let your creativity soar as you create stunning and captivating audio experiences!

