Home>Production & Technology>Sound Effects>How To Add Sound Effects In Capcut


Sound Effects
How To Add Sound Effects In Capcut
Published: November 9, 2023
Learn how to enhance your videos with realistic sound effects using Capcut. Discover step-by-step instructions and tips to elevate your editing skills.
(Many of the links in this article redirect to a specific reviewed product. Your purchase of these products through affiliate links helps to generate commission for AudioLover.com, at no extra cost. Learn more)
Table of Contents
Introduction
Sound effects play a crucial role in enhancing the impact of videos. They have the power to evoke emotions, set the mood, and create a more immersive experience for viewers. Whether you’re making a short film, a music video, or a vlog, adding sound effects can take your video to the next level.
In this article, we’ll explore how to add sound effects in CapCut, a popular video editing app that allows users to create professional-looking videos on their mobile devices. From importing and selecting sound effects to adjusting settings and syncing them with your video, we’ll cover everything you need to know to make your videos more engaging and captivating.
CapCut is a versatile video editing tool that offers a wide range of features and effects, including the ability to add and customize sound effects. Whether you want to add a dramatic background score, enhance the ambiance, or incorporate unique sound effects, CapCut provides easy-to-use tools to make your videos stand out.
So, if you’re ready to elevate your video editing skills and create more impactful videos, let’s dive into the world of sound effects in CapCut.
Overview of CapCut
CapCut is a popular video editing app developed by Bytedance, the creators of TikTok. It is available for both iOS and Android devices and offers a comprehensive set of editing tools to create professional-looking videos. With its intuitive interface and wide range of features, CapCut has become a go-to choice for content creators, vloggers, and social media enthusiasts.
One of the key features of CapCut is its ability to add and customize sound effects. Whether you want to add music, voiceovers, or other audio elements, CapCut provides multiple options to enhance the audio experience in your videos. Additionally, the app offers a vast library of pre-installed sound effects, ranging from basic audio clips to more complex soundscapes, making it easy to find the perfect match for your video.
CapCut also allows users to import custom sound effects from their device’s local storage, giving them the freedom to use their own audio files or access external libraries for a more personalized sound experience. Furthermore, the app provides advanced editing features, such as adjusting volume levels, fading in/out, and syncing audio with specific video clips, allowing users to have full control over the sound effects in their videos.
With CapCut’s seamless integration of sound effects, users can create engaging and immersive videos that captivate their audience’s attention. Whether you’re looking to create a captivating montage, a funny TikTok video, or a professional-looking vlog, CapCut offers all the necessary tools to make your videos visually stunning and audibly appealing.
Now that we have an overview of CapCut’s capabilities, let’s explore how to add sound effects in the app and make your videos truly stand out.
Importing and Selecting Sound Effects
Adding sound effects to your videos in CapCut is a breeze. The app offers two main ways to import and select sound effects: using the built-in library or importing your own custom sound files.
To access the built-in sound effects library, simply open CapCut and navigate to the sound effects section. Here, you’ll find a vast collection of pre-installed sound effects organized into different categories such as music, nature, sports, and more. Browse through the library and listen to the sound effects to find the perfect one for your video.
If you have a specific sound effect in mind or prefer to use your own audio files, CapCut allows you to import custom sound effects. To import a custom sound effect, tap on the import button within the sound effects section. Select the desired file from your device’s local storage and it will be added to your project.
Once you have imported or selected a sound effect, you can easily drag and drop it onto the timeline of your video project. CapCut allows you to have multiple sound effects in a single project, giving you the flexibility to layer and mix different audio elements for a more dynamic audio experience.
CapCut also provides features to trim and adjust the length of sound effects, ensuring that they perfectly align with your video. This allows you to have precise control over when the sound effect starts and ends, enabling you to create seamless transitions and synchronizations with your visuals.
Whether you choose a sound effect from the built-in library or import your own, CapCut’s user-friendly interface and intuitive controls make it easy to select and add the perfect sound effects to your videos.
Now that you know how to import and select sound effects in CapCut, let’s move on to the next step: adjusting the settings to customize your sound effects and make them blend seamlessly with your video.
Adjusting Sound Effects Settings
Once you have imported or selected a sound effect in CapCut, you can further customize its settings to make it fit perfectly with your video. CapCut offers various options to adjust the sound effects, allowing you to control the volume, fade in/out, and more.
One of the primary settings you can adjust is the volume of the sound effect. CapCut provides a simple slider that allows you to increase or decrease the volume, making it louder or softer as desired. This feature is particularly useful when you want the sound effect to be more prominent or act as background music.
In addition to volume adjustment, CapCut also allows you to apply fade in/out effects to your sound effects. This feature gradually increases or decreases the volume of the sound effect at the beginning or end, creating smooth transitions and avoiding abrupt audio changes. By adding fade in/out effects, you can ensure a more professional and polished audio experience in your videos.
Furthermore, CapCut provides an equalizer tool that enables you to fine-tune the sound effect’s frequencies. This allows you to adjust the bass, treble, and other audio parameters to match the overall tone and mood of your video. Experimenting with the equalizer settings can help you achieve the desired audio balance and enhance the impact of the sound effect.
Another feature worth exploring is the option to add audio effects to your sound effects in CapCut. The app provides a range of audio effects, such as echo, reverb, and distortion, which can add depth and character to your sound effects. Applying these effects can help you achieve a specific aesthetic or create a more immersive audio experience for your viewers.
By taking advantage of CapCut’s sound effect settings, you can truly personalize the audio experience in your videos. Whether you want to fine-tune the volume, apply fade in/out effects, adjust the frequencies, or add audio effects, CapCut provides all the necessary tools to make your sound effects blend seamlessly with your video.
Now that we’ve explored the settings, let’s move on to the next section: timing and syncing sound effects with your video to ensure perfect audio-visual coordination.
Timing and Syncing Sound Effects
Timing and syncing sound effects with your video is crucial to create a seamless and immersive audio-visual experience. CapCut offers several features to help you achieve perfect coordination between your sound effects and the visuals.
Firstly, CapCut provides a timeline interface where you can see the duration of each video clip and sound effect. This allows you to precisely determine when you want the sound effect to start and end. By adjusting the placement of the sound effect on the timeline, you can ensure that it aligns perfectly with the corresponding scene or action in your video.
In addition to the timeline, CapCut offers a frame-accurate editing feature. This allows you to scrub through the frames of your video and pinpoint the exact moment where you want the sound effect to be triggered. This level of precision ensures that the sound effect is synchronized with the visuals, enhancing the overall impact of the video.
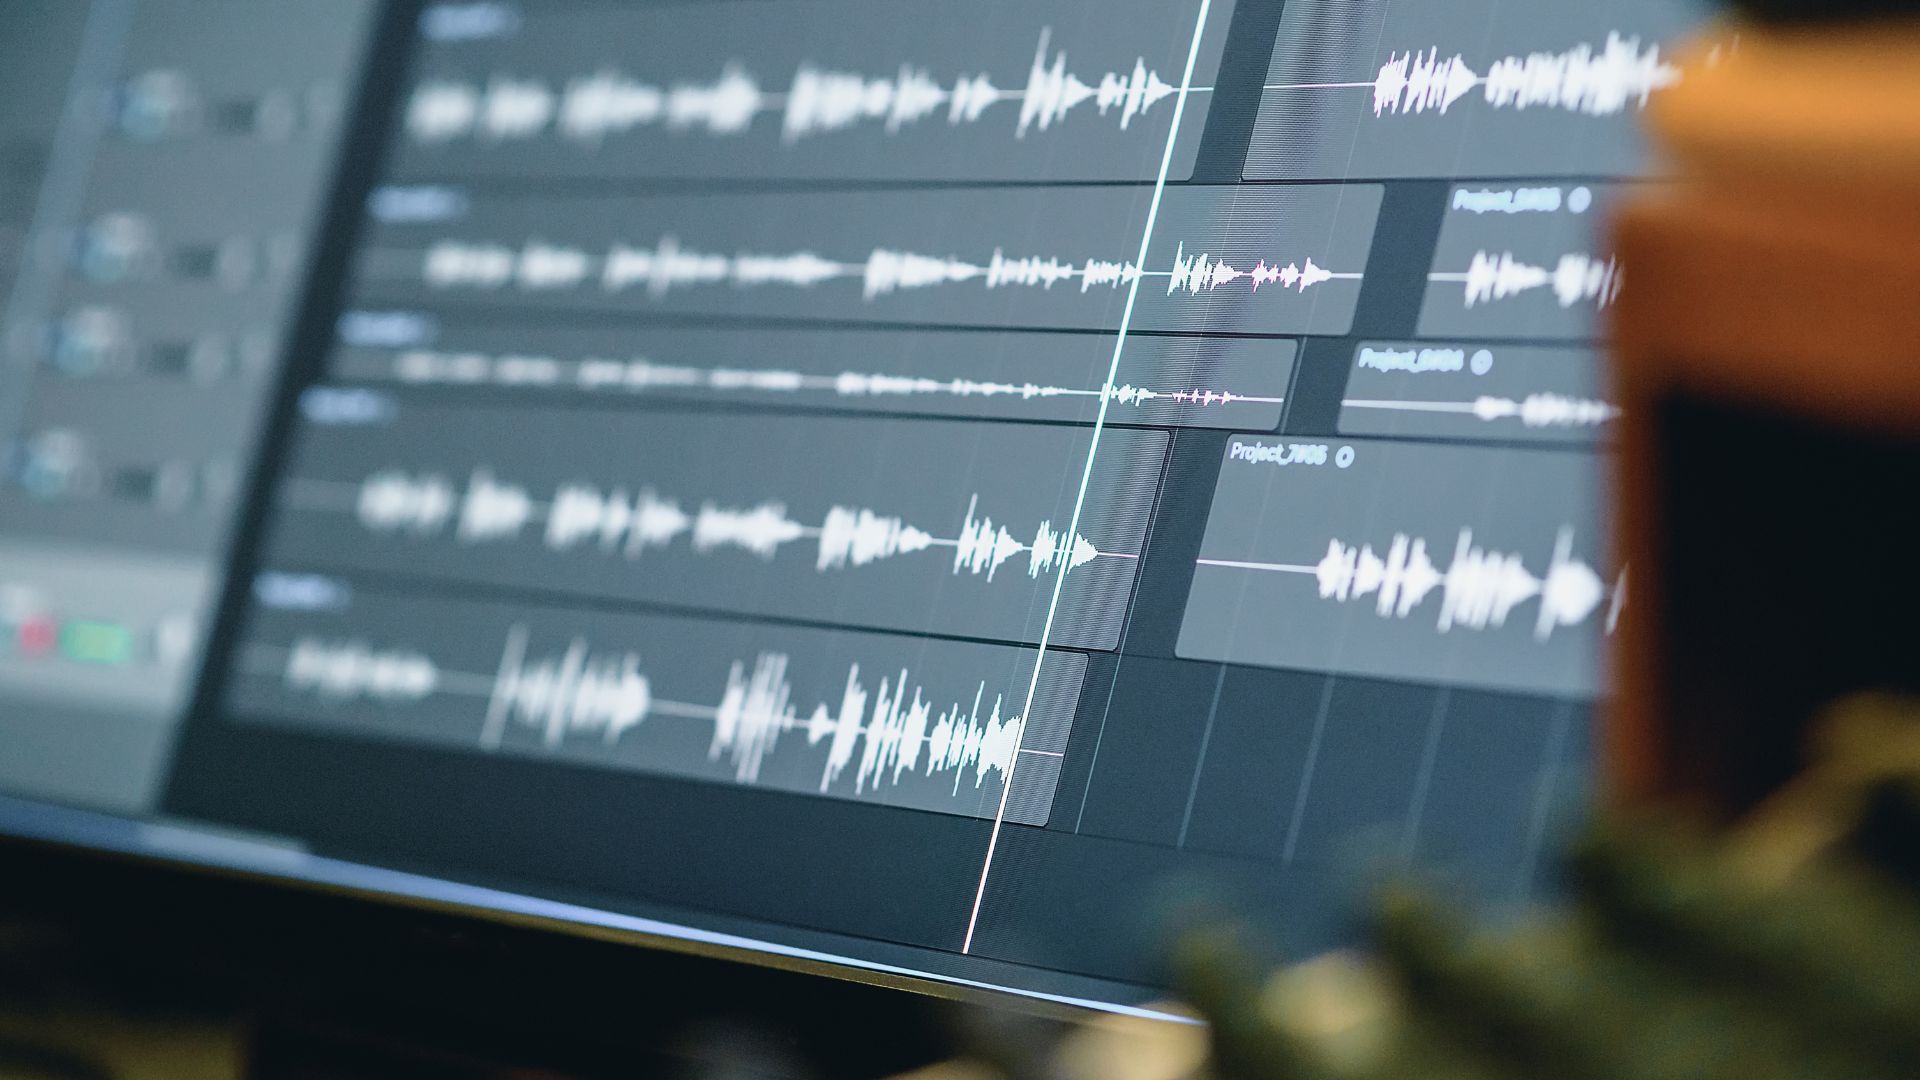
CapCut also provides a feature called “split screen”, which enables you to view both the video and the sound effect waveform simultaneously. This visual representation of the sound effect waveform allows you to easily identify the peaks and troughs of the audio, making it easier to sync certain sounds with specific video moments.
If you find that your sound effect is not perfectly synced with the visuals, CapCut offers the option to manually adjust the timing of the sound effect. Simply drag and drop the sound effect on the timeline to the desired position, ensuring that it matches the intended action or scene in your video.
To further enhance the synchronization of sound effects, CapCut provides options to apply keyframes. Keyframes allow you to gradually increase or decrease the volume of a sound effect, or even apply other audio effects over time. This feature can be particularly useful for creating dynamic audio effects synchronized with specific moments in your video.
By utilizing CapCut’s timing and syncing features, you can ensure that your sound effects are perfectly coordinated with the visuals, creating a more immersive and captivating viewing experience for your audience.
Now that we’ve covered timing and syncing, let’s explore how to apply multiple sound effects in CapCut and create layered and dynamic audio experiences.
Applying Multiple Sound Effects
CapCut allows you to take your sound design to the next level by applying multiple sound effects to your videos. This feature gives you the ability to create a layered and dynamic audio experience that enhances the overall impact of your video.
To apply multiple sound effects in CapCut, you can simply drag and drop them onto the timeline. Each sound effect will have its own track on the timeline, allowing you to control the volume and timing of each individual sound effect.
By layering different sound effects, you can create a rich audio landscape that adds depth and complexity to your video. For example, you can combine a background music track with ambient sound effects to create a cinematic atmosphere. You can also mix dialogue or voiceovers with sound effects to enhance storytelling and emphasize certain moments in your video.
CapCut provides intuitive controls for adjusting the volume levels of each sound effect track. This allows you to blend the different audio elements seamlessly, ensuring that they don’t overpower each other or compete for attention. By finding the right balance between the various sound effects, you can create a harmonious and immersive audio experience for your viewers.
In addition to controlling the volume levels, CapCut also allows you to adjust the timing and synchronization of each sound effect track independently. This gives you precise control over the placement and duration of each sound effect, allowing you to create intricate soundscapes that align perfectly with the visuals.
By leveraging the multiple sound effects feature in CapCut, you can elevate your video editing skills and create professional-quality videos that not only look great but also sound amazing.
Now that we’ve explored how to apply multiple sound effects, let’s move on to the next section: previewing and editing sound effects in CapCut.
Previewing and Editing Sound Effects
Before finalizing your video with sound effects in CapCut, it’s important to preview and make any necessary edits to ensure that the audio enhances the overall quality of your video. CapCut offers various features that allow you to preview and fine-tune your sound effects for a polished final product.
CapCut provides a real-time preview option, allowing you to play back your video with the added sound effects. This enables you to assess how the sound effects blend with the visuals and make any adjustments as needed. You can play, pause, and scrub through your video to identify potential areas for improvement or synchronization issues.
In addition to previewing the overall video, CapCut offers the ability to listen to specific sections of your video in isolation. This feature allows you to focus on the specific sound effect or audio element that you want to edit or fine-tune. By isolating the sound effect, you can ensure that it sounds exactly as you want it to be and make any necessary adjustments to volume, timing, or other settings.
If you notice any issues during the preview, CapCut provides the flexibility to edit and modify your sound effects. You can easily access the settings of each sound effect track on the timeline and make appropriate changes to volume levels, fade in/out effects, synchronization, or any other adjustments required.
CapCut also allows you to trim and edit the length of your sound effects directly within the app. This is particularly useful when you want to precisely time the sound effect to match a specific action or moment in your video. Trimming and editing the length of the sound effect ensures that it fits seamlessly with your video’s pacing and enhances the overall impact.
By taking advantage of the previewing and editing capabilities in CapCut, you can fine-tune your sound effects and create a well-crafted audio experience that perfectly complements your visuals.
Now that we’ve covered the previewing and editing of sound effects, let’s move on to the final section: exporting and sharing your video with sound effects.
Exporting and Sharing the Video with Sound Effects
Once you have added and edited your desired sound effects in CapCut, it’s time to export and share your video with the world. CapCut makes it easy to save and share your final video with the sound effects intact.
When you are satisfied with the edits and adjustments you have made to your video’s sound effects, you can proceed to export it. CapCut offers various exporting options to cater to your specific needs and preferences. You can choose the desired video resolution, aspect ratio, and file format for the exported video.
After selecting the export settings, CapCut will process your video with the sound effects included. This ensures that the final output of your video retains the enhanced audio experience you have created with the sound effects.
Once the export is complete, you can choose to save the video to your device’s local storage or share it directly to social media platforms such as Instagram, TikTok, YouTube, and more. CapCut provides seamless integration with popular social media platforms, allowing you to showcase your videos with the desired sound effects to a wider audience.
When sharing your video on social media, the sound effects you have added in CapCut will be preserved, allowing viewers to experience your video exactly as you intended. The carefully synchronized sound effects will enhance the overall quality and impact of your video, making it more engaging and memorable.
Whether you’re sharing your video for personal enjoyment or promoting your brand or content, CapCut ensures that the sound effects in your video remain intact, providing an immersive and polished audio-visual experience to your audience.
Now that you know how to export and share your video with sound effects through CapCut, let’s conclude this article.
Conclusion
Adding sound effects to your videos can greatly enhance the overall quality and impact of your content, and CapCut provides the perfect platform to do so. With its intuitive interface and comprehensive set of features, CapCut makes it easy to import, select, adjust, and synchronize sound effects with your videos.
In this article, we explored the process of adding sound effects in CapCut, starting from importing and selecting the perfect sound effect from the built-in library or your own custom audio files. We discussed adjusting the sound effects settings, including volume, fade in/out effects, and equalizer settings to customize the sound to perfection.
We also delved into timing and syncing the sound effects with your video, utilizing CapCut’s timeline, frame-accurate editing, and split-screen features to achieve precise audio-visual coordination. Additionally, we learned how to apply multiple sound effects to create layered and dynamic audio experiences.
Furthermore, we discussed the importance of previewing and editing sound effects, utilizing CapCut’s real-time preview and isolation features to fine-tune the audio to match your vision. Finally, we explored the process of exporting and sharing your video with the sound effects preserved, allowing you to showcase your videos with enhanced audio quality on various platforms.
With CapCut, you have the power to take your videos to new heights by adding captivating sound effects. Whether you’re creating a cinematic masterpiece, a promotional video, or a vlog, the sound effects in CapCut can transform your videos into engaging and immersive experiences for your viewers.
So, why wait? Download CapCut and start exploring the world of sound effects to elevate your video editing skills and create impressive content that stands out from the crowd.
Remember, the right sound effect can make all the difference in creating memorable and impactful videos. So, unleash your creativity and let CapCut be your go-to tool to add that extra audio magic to your videos!


