Home>Production & Technology>Soundproofing>How To Install A Drop Ceiling With Soundproofing

Soundproofing
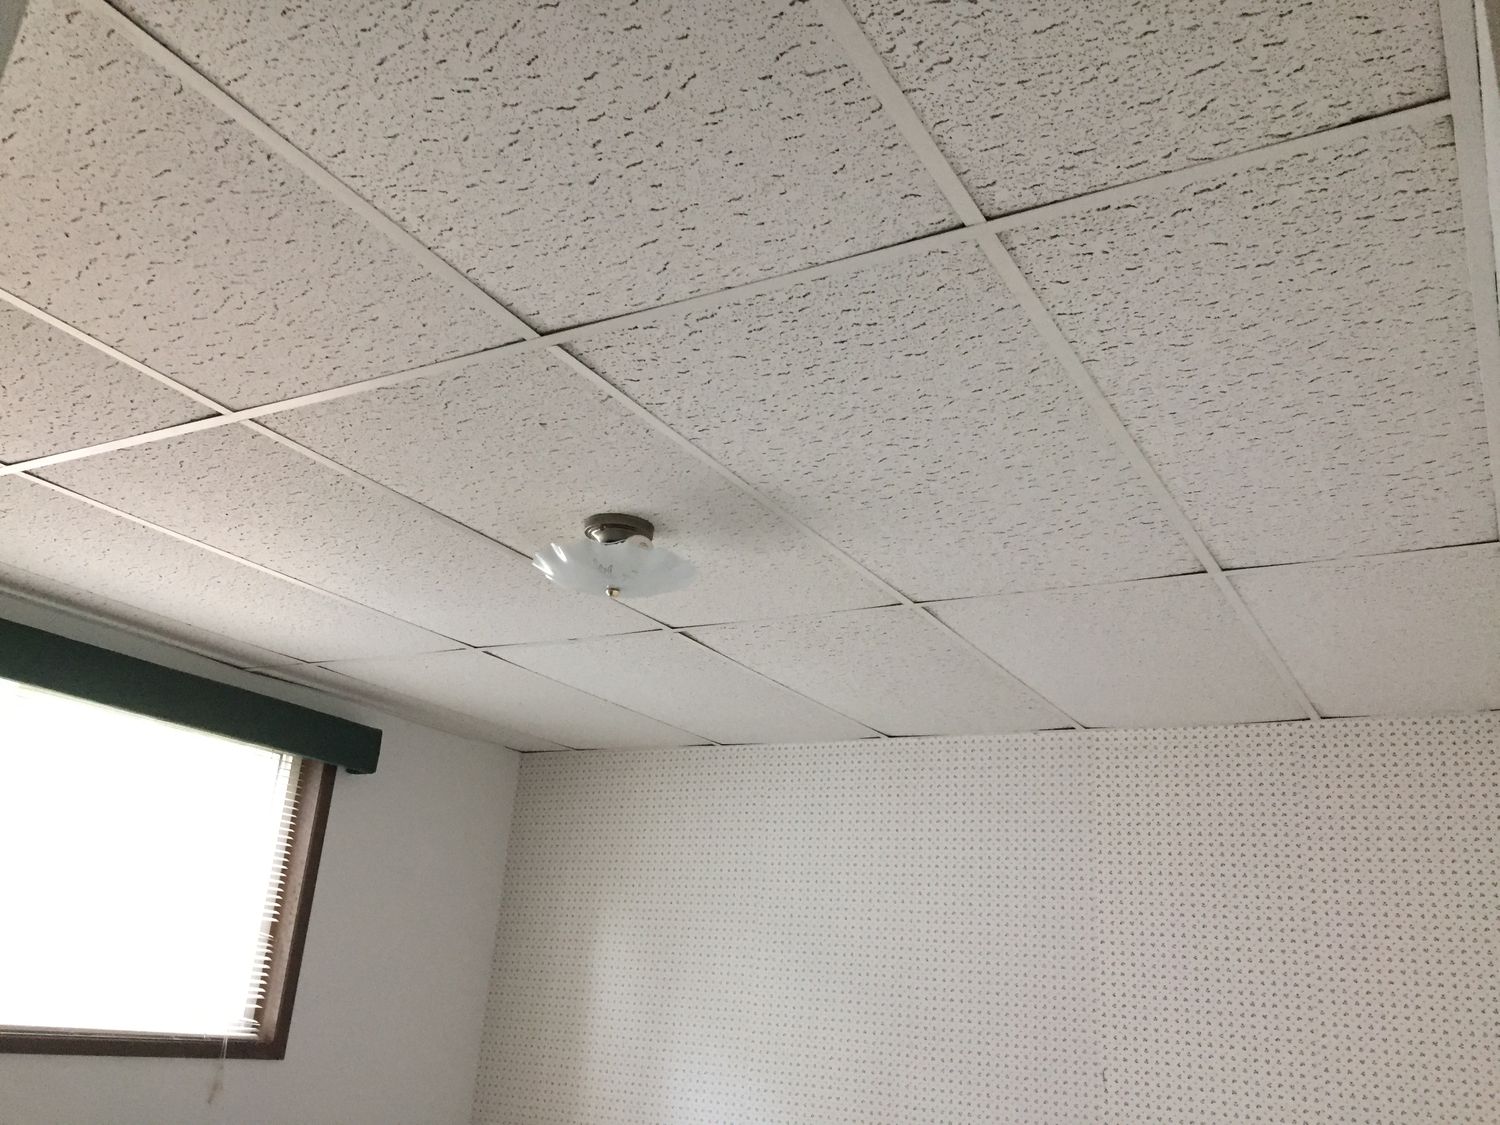
How To Install A Drop Ceiling With Soundproofing
Published: January 27, 2024
Learn how to install a drop ceiling with effective soundproofing techniques to create a quieter and more peaceful environment. Enhance the sound insulation of your space with our step-by-step guide.
(Many of the links in this article redirect to a specific reviewed product. Your purchase of these products through affiliate links helps to generate commission for AudioLover.com, at no extra cost. Learn more)
Table of Contents
Introduction
When it comes to creating a peaceful and serene environment, soundproofing is a crucial element to consider. Whether you are working in a busy office, hosting a band practice in your basement, or simply trying to enjoy some peace and quiet in your home, soundproofing plays a vital role in reducing unwanted noise transmission.
One effective way to soundproof a space is by installing a drop ceiling. Not only does it provide a sleek and modern design, but it also acts as an additional barrier to minimize sound transfer between rooms. In this article, we will guide you through the process of installing a drop ceiling with soundproofing, step by step.
Before we dive into the installation process, it is important to gather all the necessary materials. You will need the following:
- Drop ceiling panels
- Main tees
- Cross tees
- Wall angle
- Soundproofing materials (acoustic foam or insulation)
- Measuring tape
- Level
- Pencil
- Utility knife
- Screwdriver or drill
With these materials ready, let’s start the installation process.
Materials Needed
Before you begin installing a drop ceiling with soundproofing, gather the following materials:
- Drop ceiling panels: These are the main components of the ceiling and come in various styles and materials. Choose panels that are specifically designed for soundproofing purposes for optimal results.
- Main tees: These are the long metal channels that run across the width of the ceiling. They provide support and stability for the ceiling panels.
- Cross tees: These shorter metal channels intersect with the main tees to form a grid pattern. They hold the ceiling panels in place.
- Wall angle: This L-shaped metal trim is used along the perimeter of the room to secure the drop ceiling.
- Soundproofing materials: To enhance the soundproofing capabilities of your drop ceiling, you will need additional insulation or acoustic foam. These materials absorb and block sound, ensuring a quieter space.
- Measuring tape: Essential for measuring the dimensions of the room accurately.
- Level: Used to ensure the ceiling is installed straight and level.
- Pencil: To mark measurements and guide the installation process.
- Utility knife: Needed to cut the ceiling panels and soundproofing materials to the desired size.
- Screwdriver or drill: Used to secure the ceiling panels and attach the grid system to the ceiling.
Having these materials readily available will make the installation process smoother and more efficient.
Step 1: Preparing the Ceiling
Before installing the drop ceiling, it’s important to prepare the ceiling surface to ensure a smooth and secure installation. Follow these steps to get started:
- Clean the ceiling: Begin by removing any existing ceiling tiles, fixtures, or debris from the ceiling. Use a broom or vacuum to eliminate dust and dirt.
- Locate and mark joists: Use a stud finder or tap on the ceiling to locate the ceiling joists. Mark their positions with a pencil. This step is important as it will help you identify the best spots to attach the grid system.
- Measure and mark the drop height: Determine how much space you want between the existing ceiling and the drop ceiling. Measure this distance from the highest point on the existing ceiling and mark it on the walls or along the perimeter of the room.
- Install furring strips (optional): If you have a particularly uneven ceiling or need additional support, you can install furring strips perpendicular to the joists. These strips will provide a level surface for the drop ceiling installation.
- Decide on the layout: Consider how the drop ceiling will fit into the room. Determine the orientation of the main tees (parallel to the longest wall or in the direction of the natural light), and plan the position of the wall angle. This step will help you visualize the installation process.
By thoroughly preparing the ceiling, you’ll ensure a solid foundation for the drop ceiling installation, allowing for a more seamless and sturdy finished product.
Step 2: Measuring and Marking
Accurate measurements and markings are crucial for a successful drop ceiling installation. Follow these steps to measure and mark the ceiling:
- Measure the room dimensions: Use a measuring tape to determine the length and width of the room. Write down these measurements as they will help you calculate the number of ceiling panels and grid components required.
- Mark the wall angle: Begin by measuring and marking the position of the wall angle. Start at a corner of the room and use a level to ensure the line is straight. This line will serve as a guide for attaching the wall angle along the perimeter of the room.
- Mark the main tee placement: Measure and mark the placement of the main tees along the length of the room. The first main tee should be positioned perpendicular to the joists and parallel to the wall angle, ensuring it is correctly aligned with the marked drop height.
- Mark the cross tee placement: Measure and mark the placement of the cross tees. These should be spaced evenly between the main tees, creating a grid pattern. Ensure the measurements are accurate to maintain consistency and stability throughout the installation.
- Double-check the markings: Before proceeding, double-check all the measurements and markings to ensure they are correct. This will minimize mistakes and prevent any rework later on.
Taking the time to measure and mark the ceiling accurately will help you achieve a precise and professional-looking drop ceiling installation.
Step 3: Installing the Wall Angle
Once you have measured and marked the ceiling, it’s time to install the wall angle. The wall angle acts as a support structure for the drop ceiling and provides stability. Follow these steps to install the wall angle:
- Cut the wall angle: Using a hacksaw or tin snips, cut the wall angle to match the length of each wall. Ensure the cuts are clean and straight.
- Position the wall angle: Start at a corner of the room and align the bottom edge of the wall angle with the marked line on the wall. Make sure it is level using a spirit or laser level.
- Attach the wall angle: Secure the wall angle to the wall using appropriate screws or nails, ensuring they are spaced at regular intervals. Be careful not to overtighten to prevent damaging the wall surface.
- Continue installing the wall angle: Repeat the process for the remaining walls, making sure the corners are properly aligned and the wall angle is level throughout the installation.
- Connect the corner pieces: If your room has outside corners, use corner connectors or miter the wall angle to create a clean and seamless transition.
Properly installing the wall angle is essential for a stable and straight drop ceiling. Take your time to ensure it is level and securely attached to the walls.
Step 4: Installing the Main Tees
With the wall angle in place, it’s time to install the main tees. The main tees provide the primary framework for the drop ceiling and will hold the cross tees and ceiling panels. Follow these steps to install the main tees:
- Measure the length: Measure and cut the main tees to match the length of the room. Use a hacksaw or tin snips for this task.
- Attach the main tees to the wall angle: Position the cut main tees perpendicular to the wall angle. Insert one end of the main tee into the slot on the wall angle and slide it along until it is securely held in place.
- Secure the main tees: Depending on the type of main tees you are using, secure them by either twisting them into position or using clips to hold them in place. Ensure they are evenly spaced and aligned with the marked grid pattern.
- Repeat the process: Continue installing the remaining main tees parallel to the first one, maintaining the same distance and alignment. Trim the last main tee to fit if necessary.
- Check for levelness: Use a level to ensure that the main tees are level and straight throughout the installation. Adjust as needed to achieve a uniform appearance.
Properly installing the main tees will provide a sturdy framework for the drop ceiling and contribute to a smooth and visually pleasing finish. Take your time to ensure accurate measurements and precise alignment during this step.
Step 5: Installing the Cross Tees
Once the main tees are in place, it’s time to install the cross tees. The cross tees will complete the grid pattern and securely hold the drop ceiling panels. Follow these steps to install the cross tees:
- Measure and cut the cross tees: Measure the distance between the main tees and cut the cross tees accordingly. It’s important to ensure they fit snugly within the main tees.
- Start in one corner: Begin installing the cross tees by inserting one end into the main tee slot. Position it perpendicular to the main tee, aligning it with the grid pattern. Make sure it is securely attached.
- Continue installing the cross tees: Work your way across the grid, securing each cross tee into the main tees. Ensure they are evenly spaced and aligned with the grid pattern.
- Trim the last cross tee: If necessary, trim the last cross tee to fit into the remaining space in the grid. Measure carefully and make accurate cuts to ensure a precise fit.
- Check for levelness and alignment: Use a level to ensure that the cross tees are level and aligned with the main tees. Adjust as needed to achieve a uniform and visually appealing grid pattern.
Installing the cross tees is a crucial step in creating a stable and secure drop ceiling framework. Take your time to measure accurately and ensure proper alignment for a professional-looking result.
Step 6: Installing the Ceiling Panels
With the main tees and cross tees in place, it’s time to install the drop ceiling panels. Follow these steps to complete the installation:
- Measure and cut the ceiling panels: Measure the dimensions of the grid opening and cut the drop ceiling panels accordingly. Use a utility knife or a saw to make clean and precise cuts.
- Insert the ceiling panels: Starting from one corner, lift the panel and insert it into the grid opening. Gently lower it into position, ensuring it is securely held by the surrounding main and cross tees. Repeat this process for each panel in the ceiling.
- Check for proper fit: Ensure that each panel fits snugly within the grid and there are no gaps or noticeable misalignment. Make any necessary adjustments or recuts if needed.
- Continue panel installation: Repeat the process until all the grid openings are filled with the ceiling panels. Take care when handling the panels to avoid damaging their surface.
- Ensure overall stability: Once all the panels are in place, check the stability of the drop ceiling. Gently tap each panel to make sure they are secure and properly seated within the grid.
Properly installing the ceiling panels is essential for a finished drop ceiling that enhances both the aesthetics and soundproofing capabilities of the space. Take your time to measure accurately and ensure a precise fit for each panel.
Step 7: Soundproofing the Drop Ceiling
To enhance the soundproofing capabilities of your drop ceiling, you can incorporate additional soundproofing materials. Follow these steps to soundproof your drop ceiling:
- Select soundproofing materials: Choose the appropriate soundproofing materials to achieve the desired level of noise reduction. Options include acoustic foam panels, soundproofing insulation, or fiberglass batts.
- Measure and cut the soundproofing materials: Measure the dimensions of each section of the drop ceiling and cut the soundproofing materials to match. Ensure a snug fit within the grid structure.
- Install the soundproofing materials: Place the cut soundproofing materials on top of the ceiling panels, ensuring they cover the entire surface but do not interfere with the grid framework.
- Secure the soundproofing materials (optional): If desired, you can use adhesive or double-sided tape to secure the soundproofing materials to the drop ceiling panels. This will help prevent shifting or sagging over time.
- Double-check the ceiling installation: After adding the soundproofing materials, ensure that the drop ceiling panels are still properly seated within the grid. Gently tap each panel to check for stability.
- Enjoy the soundproofing benefits: With the additional soundproofing materials in place, your drop ceiling will help minimize noise transmission between rooms and create a quieter and more peaceful environment.
By incorporating soundproofing materials into your drop ceiling, you can significantly reduce sound transfer and create a more enjoyable and isolated space.
Conclusion
Installing a drop ceiling with soundproofing can greatly enhance the acoustic quality of a room. By following the step-by-step guide outlined in this article, you can create a quieter and more peaceful environment in your home or office. The process involves preparing the ceiling, measuring and marking, installing the wall angle, main tees, cross tees, and finally, the ceiling panels.
Remember, proper preparation and accurate measurements are key to ensuring a successful drop ceiling installation. Take the time to clean the ceiling surface, locate and mark joists, and measure the dimensions of the room. When installing the wall angle, ensure it is straight and securely attached to the walls. The main tees and cross tees need to be installed evenly and aligned with the marked grid pattern.
To further enhance the soundproofing capabilities of your drop ceiling, consider adding soundproofing materials such as acoustic foam or insulation. These materials absorb and block sound, reducing noise transfer between rooms.
By following the steps outlined in this article and incorporating soundproofing materials, you can create a peaceful and serene space that is free from unwanted noise. Whether you’re working, relaxing, or enjoying hobbies, a properly installed and soundproofed drop ceiling will greatly improve your overall experience.
So, don’t let noise disrupt your peace and quiet. Take control of your environment by installing a drop ceiling with soundproofing today!

