Home>Instruments>Bass>How To Install A Bass Knob
Bass
How To Install A Bass Knob
Published: November 28, 2023
Learn how to easily install a bass knob in your audio system for enhanced bass control and optimal sound quality. Follow our step-by-step guide now!
(Many of the links in this article redirect to a specific reviewed product. Your purchase of these products through affiliate links helps to generate commission for AudioLover.com, at no extra cost. Learn more)
Table of Contents
Introduction
Welcome to the world of bass music! Whether you’re a seasoned bass enthusiast or just starting to dive into the deep end of sound, having control over your bass levels is essential for enjoying your music to the fullest. One way to achieve this control is by installing a bass knob.
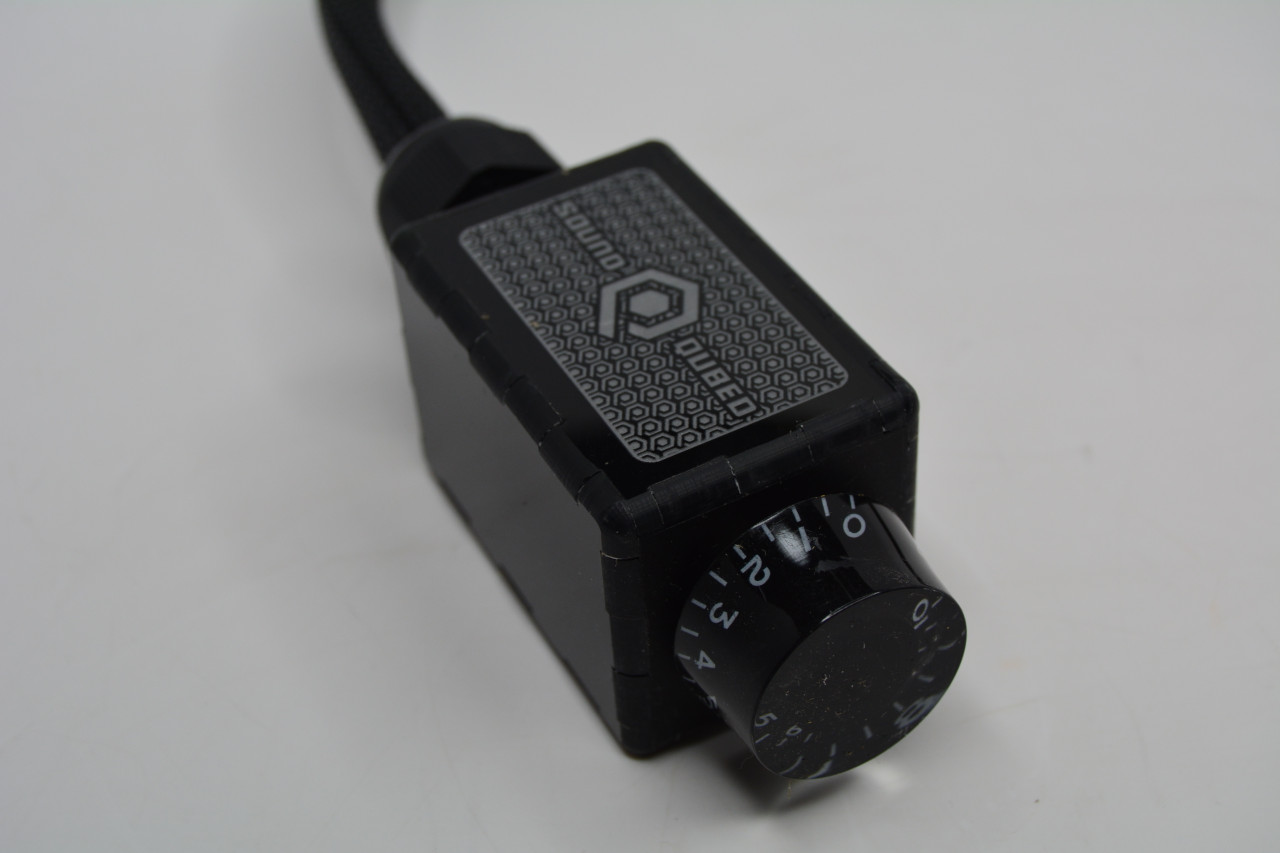
A bass knob, also known as a bass controller or remote bass control, allows you to adjust the bass intensity of your audio system with just a twist of a dial. It gives you the flexibility to fine-tune the bass output according to your preferences, whether you want a subtle and balanced sound or a deep and pounding bass experience.
In this step-by-step guide, we’ll walk you through the process of installing a bass knob in your car or home audio system. Don’t worry if you’re not a technical expert – this installation is relatively straightforward and can be completed by anyone with a little patience and basic knowledge of wiring.
Before we dive into the installation process, let’s take a look at the tools and materials you’ll need to have on hand:
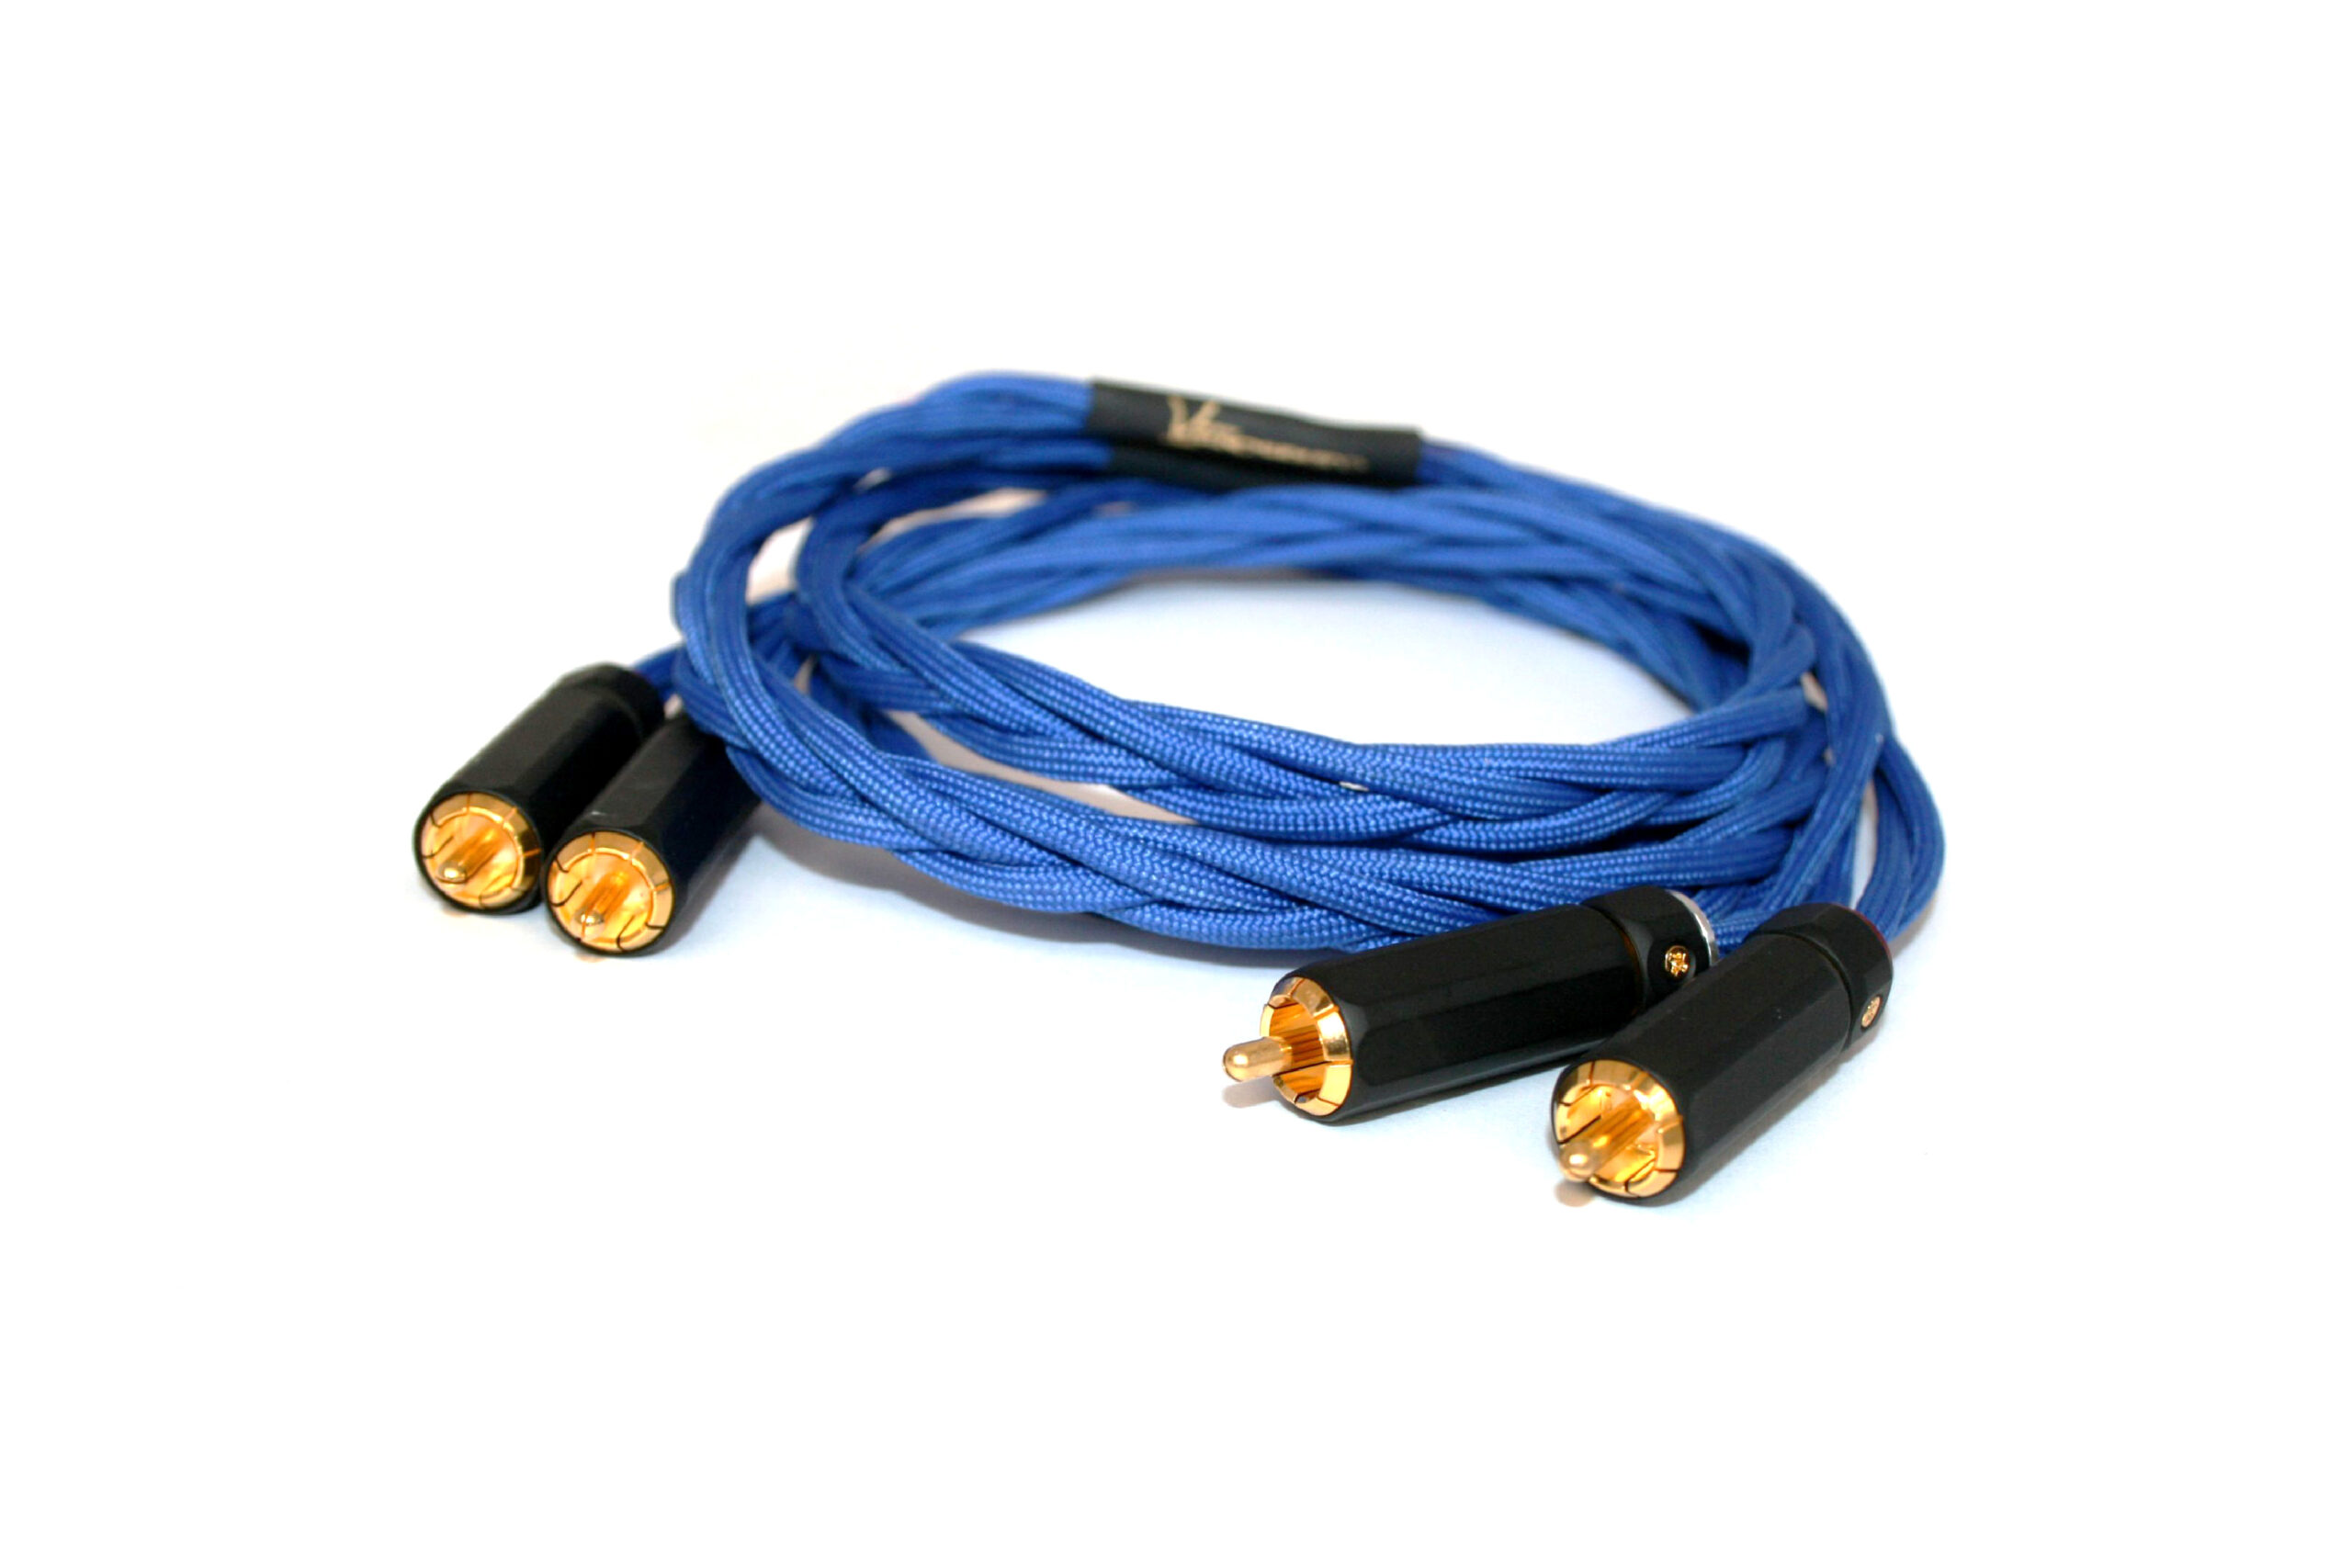
- Bass knob or bass controller
- Wire cutters/strippers
- Electrical tape
- Wiring harness/terminal connectors
- Screwdriver/set of screwdrivers
Once you’ve gathered these tools, you’ll be ready to proceed with the installation. So, let’s get started and bring more control and excitement to your bass experience!
Step 1: Gather the Necessary Tools and Materials
Before you begin the installation process, it’s important to ensure you have all the tools and materials required. Here’s a list of what you’ll need:
- Bass knob or bass controller: This is the main component of the installation. Choose a high-quality bass knob that is compatible with your amplifier and audio system.
- Wire cutters/strippers: These tools will be essential for cutting and stripping the wires during the installation process.
- Electrical tape: You’ll need electrical tape to secure the connections and insulate the wires, preventing any loose connections or short circuits.
- Wiring harness/terminal connectors: These connectors will help make the wiring process easier and ensure a secure connection between the bass knob and your amplifier.
- Screwdriver/set of screwdrivers: Depending on the type of screws used in your amplifier and bass knob, you’ll need a suitable screwdriver to mount the components.
It’s important to ensure that all the tools and materials are easily accessible before you begin the installation. This will help you avoid any interruptions or delays during the process, allowing you to complete the installation smoothly.
Once you have everything ready, double-check to make sure the bass knob you’ve selected is compatible with your amplifier. Refer to the user manual or manufacturer’s guidelines for any specific requirements or recommendations regarding the installation process. It’s always best to follow the instructions provided by the product manufacturer to ensure a successful and optimal installation.
With your tools and materials in hand, you’re now prepared to move on to the next step: identifying the appropriate location for your bass knob.
Step 2: Identify the Appropriate Location for the Bass Knob
When installing a bass knob, it’s crucial to choose the right location for easy access and convenience. Here are some factors to consider when identifying the ideal spot:
- Reachability: Select a location within easy reach, preferably near the driver’s seat or the main listening area. This ensures that you can make adjustments to the bass levels without having to stretch or strain.
- Visibility: Look for a position that offers good visibility of the bass knob. You should be able to see the knob clearly, even in low-light conditions, to make precise adjustments to the bass levels.
- Aesthetics: Consider the overall aesthetics of your car or room. Choose a location that blends seamlessly with the interior and doesn’t obstruct any other important controls or displays.
- Accessibility: Ensure that the chosen location allows for easy access to the wiring and connections behind the bass knob. You may need to make adjustments or troubleshoot in the future, so accessible wiring is crucial.
- Stability: Find a stable surface or location to mount the bass knob. Avoid areas prone to vibrations or where the knob may be accidentally bumped or knocked during daily use.
Once you’ve considered these factors, you can proceed to physically locate and mark the position where the bass knob will be installed. Keep in mind that the exact location may vary depending on your personal preferences and the specific requirements of your setup.
If you’re installing the bass knob on a car dashboard, you may need to remove panels or trim pieces to access the desired location. In a home audio setup, you might need to drill a small hole or use adhesive to mount the knob in the desired spot.
Take your time during this step to ensure that you’ve chosen a suitable location. Once you’re confident in your selection, you can move on to preparing the installation area in the next step.
Step 3: Prepare the Installation Area
Now that you have identified the location for your bass knob, it’s essential to properly prepare the installation area before proceeding with the installation. Here’s what you need to do:
- Clean the surface: Ensure that the surface where you will be mounting the bass knob is clean and free from dust, dirt, or any other debris. Use a mild cleaning agent or cloth to wipe the area and remove any particles that could hinder the adhesive or cause the knob to come loose.
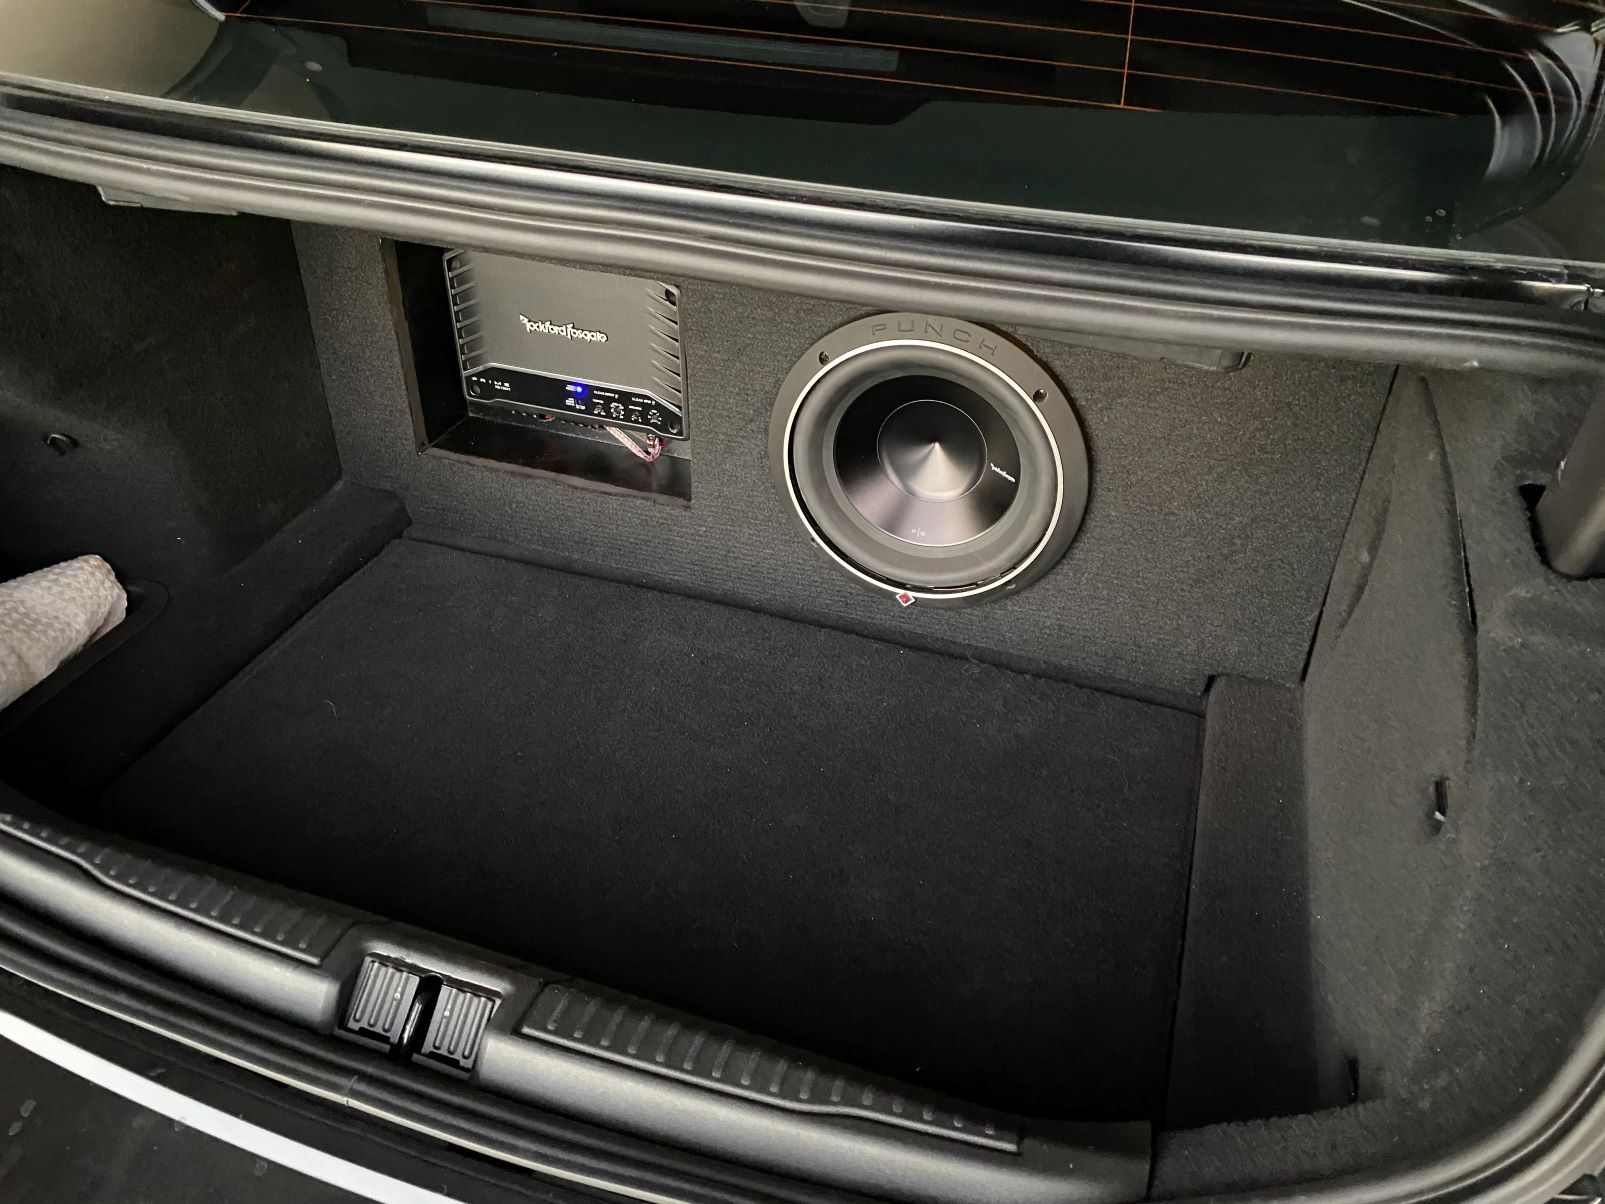
- Remove panels or trim pieces (if applicable): If you’re installing the bass knob in a car, you may need to remove certain panels or trim pieces to access the installation area. Refer to your vehicle’s user manual or online resources for specific instructions on how to safely remove these components.
- Check for clearance: Ensure that there is enough clearance behind the chosen location to accommodate the wiring and connections for the bass knob. You may need to remove or adjust any obstacles, such as cables or brackets, to create enough space for the installation.
- Drill pilot holes (if necessary): If you’re using screws to mount the bass knob, you may need to drill pilot holes to prevent the surface from splitting or cracking. Ensure that the size of the pilot holes matches the size of the screws you will be using.
- Apply adhesive (if necessary): If you’re using adhesive to mount the bass knob, carefully apply it to the back of the knob or designated mount. Follow the manufacturer’s instructions for the adhesive to ensure proper bonding and long-lasting installation.
By properly preparing the installation area, you lay the foundation for a secure and stable mounting of your bass knob. Taking the time to clean, remove obstructions, and create necessary clearances will help ensure a smooth and hassle-free installation process.
Once you have completed the preparations, you’re ready to move on to the next step: connecting the wires to the bass amplifier.
Step 4: Connect the Wires to the Bass Amplifier
With the installation area prepared, it’s time to connect the wires of the bass knob to your bass amplifier. Follow these steps to ensure a proper and secure connection:
- Identify the wiring connections: Locate the bass amplifier in your audio system and identify the specific wiring connections that you will need to make to integrate the bass knob. Refer to the amplifier’s user manual or manufacturer’s guidelines for a clear understanding of the wiring diagram.
- Strip the wire ends: Using wire cutters or strippers, carefully strip the ends of the wires that will be connected to the bass knob. Strip off about 1/2 inch of insulation from each wire to expose the conductor.
- Connect the wires: Match the wires from the bass knob to the corresponding wires on the amplifier. Twist the bare ends of the wires together, ensuring a tight and secure connection.
- Secure the connections: Once the wires are twisted together, use electrical tape to wrap around the exposed wire ends. This provides extra insulation and prevents any loose connections or short circuits.
- Connect to power source (if applicable): Certain bass knobs may require a power source. In this case, follow the product instructions to connect the power wire to a suitable power source, such as a 12V accessory or the amplifier’s remote turn-on lead.
- Double-check the connections: Before proceeding, double-check all the connections to ensure they are secure and properly matched. Make sure there are no loose wires or exposed conductors that could cause any issues.
Remember to refer to the specific instructions provided by your specific bass knob and amplifier for any additional steps or considerations specific to your setup. It’s essential to follow these guidelines to ensure a successful and safe installation.
Once you have made the necessary connections, you’re ready for the next step: mounting the bass knob in the selected location.
Step 5: Mount the Bass Knob
Now that you have connected the wires to the bass amplifier, it’s time to mount the bass knob in its designated location. Follow these steps to securely install the bass knob:
- Position the bass knob: Carefully position the bass knob in the predetermined location. Make sure it aligns properly with any mounting holes or brackets, if applicable.
- Secure the knob: Depending on the design of your bass knob, you may need to use screws or adhesive to secure it in place. If using screws, use the appropriate screwdriver to tighten them. If using adhesive, make sure to follow the manufacturer’s instructions for the best bonding results.
- Ensure stability: Ensure that the bass knob is securely mounted and doesn’t wobble or move when touched. This will ensure its longevity and prevent any accidental adjustments during use.
- Reassemble any panels or trim pieces: If you had to remove any panels or trim pieces during the installation, carefully reassemble them now. Make sure everything fits snugly and that no wires are pinched or obstructed.
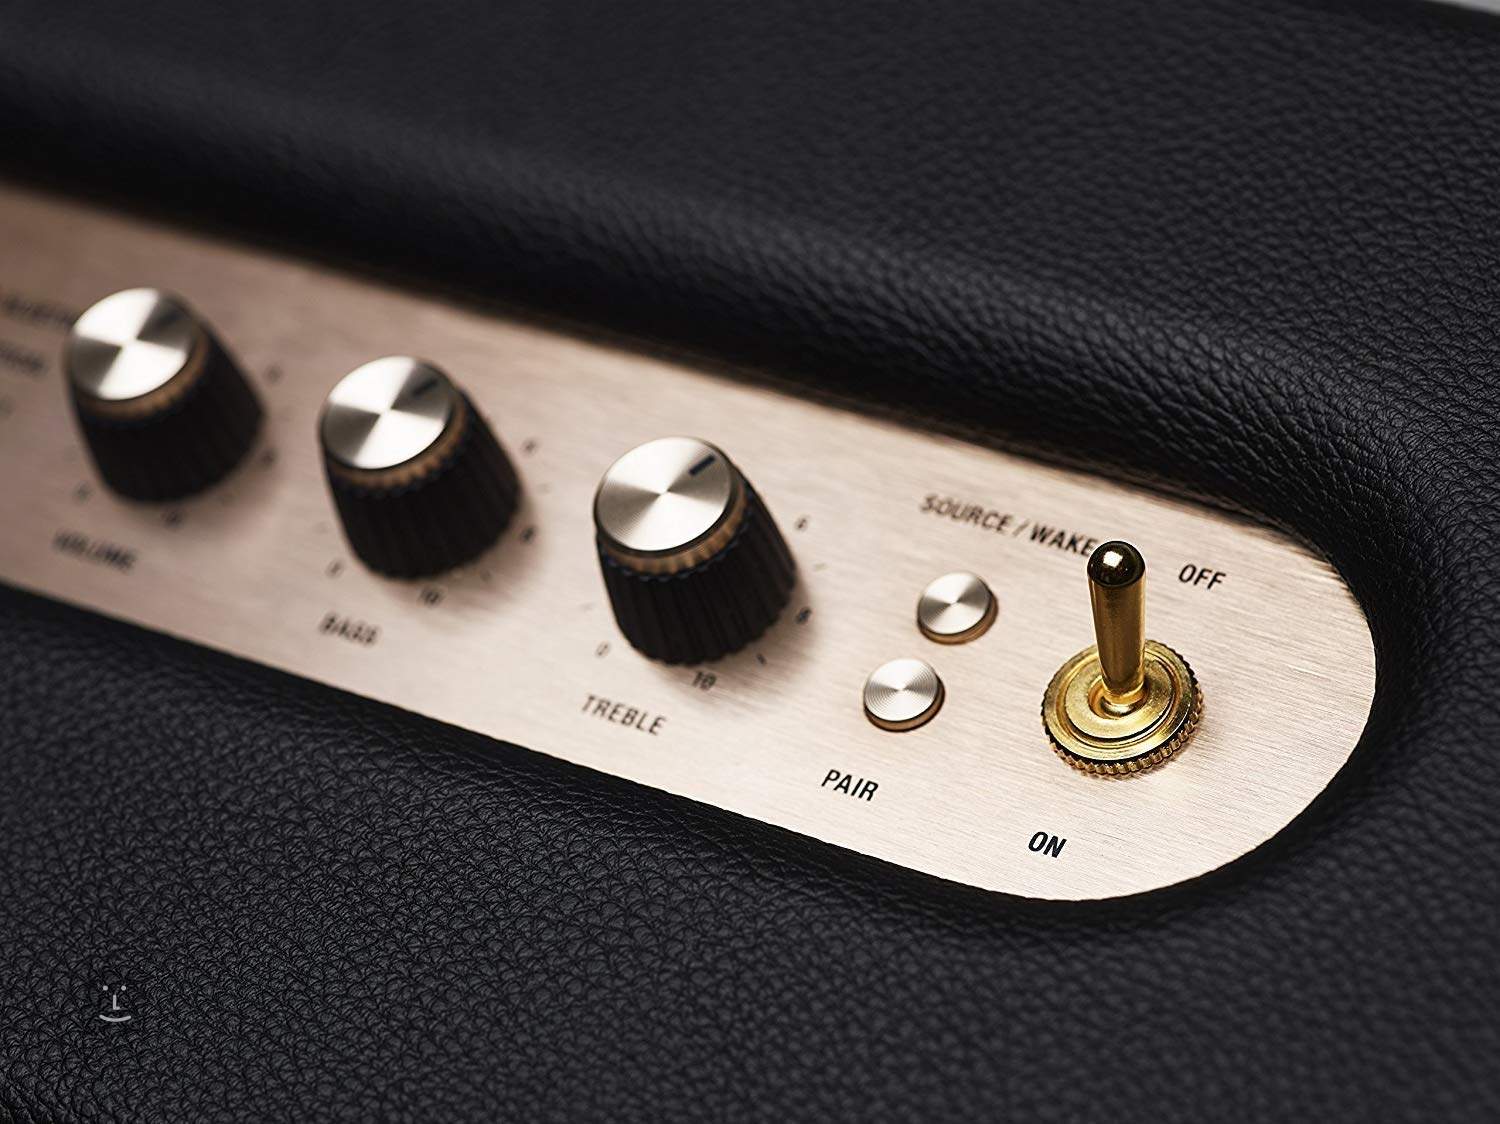
- Test the knob: Once the bass knob is securely mounted, test it by adjusting the bass levels. Turn the knob clockwise to increase the bass and counterclockwise to decrease it. Ensure that the knob moves smoothly and that the bass intensity changes accordingly.
It’s important to note that different bass knobs may have slightly different mounting procedures. Always refer to the specific instructions provided by your bass knob’s manufacturer for any additional steps or tips.
With the bass knob now mounted, you’re ready for the final step: testing the bass knob installation.
Step 6: Test the Bass Knob Installation
After successfully installing the bass knob, it’s essential to test its functionality to ensure that everything is working correctly. Here’s how you can test the bass knob installation:
- Play some music: Start by playing some of your favorite bass-heavy music through your audio system. Choose tracks that you are familiar with and that have a wide range of bass frequencies.
- Make adjustments: Use the bass knob to make adjustments to the bass levels while the music is playing. Turn the knob clockwise to increase the bass and counterclockwise to decrease it. Take note of any changes in the bass intensity as you turn the knob.
- Listen for balance: Pay attention to the overall balance of the audio. Ensure that the bass levels blend well with the rest of the music without overpowering or distorting the sound. Experiment with different settings until you find a balance that suits your preferences.
- Test the knob’s range: Turn the bass knob to its minimum and maximum settings to test its full range of adjustment. Observe how the bass levels change at each extreme end. Ensure that the knob is functioning smoothly and that the bass adjustments are gradual and accurate.
- Check for any issues: While testing, keep an eye out for any issues such as buzzing or distortion in the audio, loose connections, or any unusual behavior from the bass knob itself. If you encounter any problems, double-check the connections and consult the manufacturer’s instructions or seek professional assistance if needed.
By testing the bass knob installation, you can make sure that the knob is functioning properly and that the bass levels can be adjusted to your preference. This step allows you to fine-tune your audio system and enjoy a more tailored and immersive bass experience.
Congratulations! You have successfully installed and tested your bass knob. Now you can sit back, relax, and enjoy the enhanced control over your bass levels as your favorite music comes to life with deep, powerful lows.
If you are satisfied with the results of the test, the installation process is complete. However, if you encounter any issues or if you feel that adjustments are needed, don’t hesitate to revisit any of the previous steps to ensure a proper installation.
Remember to always refer to the specific instructions provided by the manufacturer of your bass knob and amplifier for any additional testing or troubleshooting steps.
Enjoy your newfound control over your bass frequencies and immerse yourself in the rich and vibrant world of bass music!
Conclusion
Installing a bass knob can greatly enhance your audio experience by giving you control over the bass levels in your car or home audio system. With just a few simple steps, you can enjoy a more tailored and immersive bass performance that brings your music to life. Here’s a quick recap of the installation process:
- Gather the necessary tools and materials.
- Identify the appropriate location for the bass knob.
- Prepare the installation area, ensuring cleanliness and accessibility.
- Connect the wires to the bass amplifier, following the wiring diagram and securing the connections with electrical tape.
- Mount the bass knob securely, using screws or adhesive, and ensure stability.
- Test the bass knob installation by playing music, making adjustments, and checking for balance and a smooth range of adjustment.
By following these steps and referring to the specific instructions provided by the manufacturer, you can successfully install and enjoy the benefits of a bass knob in your audio system.
Remember, the installation process may vary depending on your specific setup and the type of bass knob you have chosen. Always consult the manufacturer’s guidelines and seek professional assistance if needed.
Now that you have gained the ability to fine-tune your bass to perfection, get ready to immerse yourself in a world of powerful, thunderous lows and heart-pounding beats. Enjoy the sensation of deep bass resonating through your car or room, and let the music take on a new dimension of richness and impact.
So, grab your favorite songs, twist the bass knob, and let the rhythm course through your veins. Get ready to feel the bass in a whole new way!