Home>Instruments>Bass>How To Install Bass Blockers
Bass
How To Install Bass Blockers
Published: November 29, 2023
Learn how to install bass blockers to enhance your car audio system. Stop unwanted low-frequency bass distortion for a clean and powerful sound.
(Many of the links in this article redirect to a specific reviewed product. Your purchase of these products through affiliate links helps to generate commission for AudioLover.com, at no extra cost. Learn more)
Table of Contents
Introduction
Bass blockers are an essential component in any car audio system, especially when it comes to achieving the perfect balance of sound. The resonating bass frequencies produced by subwoofers can sometimes overpower the other audio frequencies, leading to distorted sound quality and potential damage to the speakers. Bass blockers, also known as subwoofer filters or crossover capacitors, help to eliminate excessive bass from the speakers, allowing them to reproduce the higher range of audio frequencies more accurately.
In this article, we will discuss the importance of bass blockers in car audio systems, the different types of bass blockers available, and provide you with a comprehensive guide on how to install them. Whether you are a car audio enthusiast looking to upgrade your system or a beginner wanting to enhance your listening experience, understanding and installing bass blockers properly can make a significant difference in the overall sound quality of your car audio system.
When it comes to bass, balance is key. While subwoofers are designed to produce deep and powerful bass, they should complement the overall sound rather than overpower it. By using bass blockers, you can control the bass reproduction and ensure that it blends seamlessly with the rest of the audio frequencies, resulting in a more balanced and enjoyable listening experience.
Now, let’s delve into the different types of bass blockers available and the tools and equipment you’ll need to install them.
What Are Bass Blockers?
Bass blockers are audio components designed to restrict the lower frequency range of sound signals from reaching certain speakers, typically midrange or tweeters. They are used to prevent overpowering bass frequencies from distorting or damaging these smaller speakers, allowing them to focus on reproducing the higher range of audio frequencies more accurately.
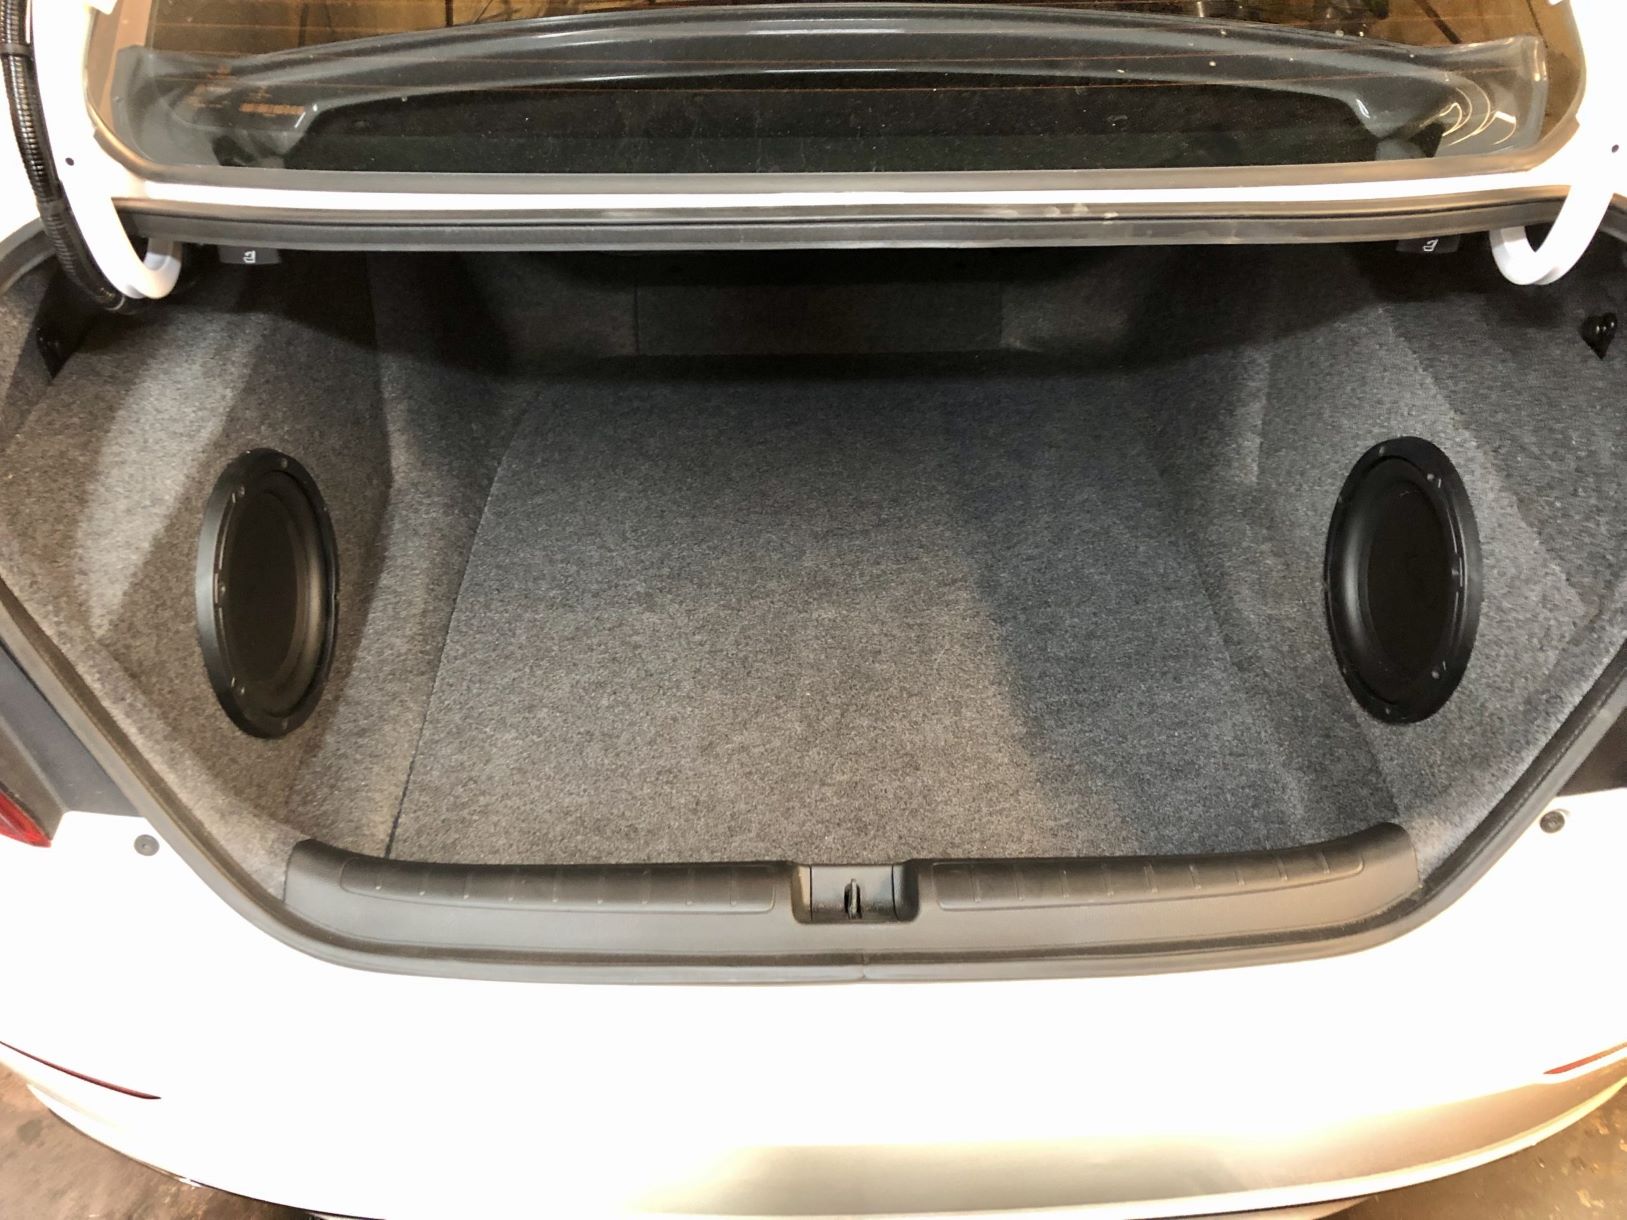
When it comes to car audio systems, bass blockers are particularly useful. In a typical setup, a subwoofer is responsible for producing the low-frequency bass tones, while smaller speakers handle the midrange and higher frequencies. However, the powerful bass from subwoofers can sometimes bleed into the smaller speakers, causing them to produce distorted or muffled sound.
Bass blockers work by using specialized components, such as capacitors or inductors, to create a filtering effect. These components have specific electrical properties that block or attenuate the low-frequency bass signals, allowing only the desired higher range of frequencies to pass through to the connected speakers. By implementing bass blockers in your car audio system, you can ensure that each speaker is operating within its optimal frequency range.
One important thing to note is that bass blockers are often used in conjunction with a crossover network. A crossover network is an electronic circuit that divides the audio signal into different frequency bands, directing them to the appropriate speakers. While a crossover network separates the frequencies, a bass blocker specifically targets the lower bass frequencies, further refining the sound. This combination of crossover networks and bass blockers helps to create a more balanced and accurate audio experience in your car.
It is worth mentioning that bass blockers are not always necessary, especially in systems where there is proper tuning and component matching. However, for those who want more control over their sound and want to protect their smaller speakers, installing bass blockers can be a worthwhile investment.
Now that we understand the purpose and function of bass blockers, let’s explore the different types available in the market and discuss their respective advantages and disadvantages.
Types of Bass Blockers
When it comes to bass blockers, there are a few different types to choose from, each offering its own advantages and limitations. Understanding the different types will help you choose the right bass blocker for your specific audio setup:
- Capacitor-Based Bass Blockers: These are the most common type of bass blockers and work by using capacitors to filter out low-frequency signals. Capacitors have the ability to conduct high-frequency signals while blocking low-frequency signals. They are relatively easy to install and are available in various cutoff frequencies to match your specific audio system requirements. However, capacitor-based bass blockers may introduce a small amount of distortion or phase shift in the audio signal.
- Inductor-Based Bass Blockers: Inductor-based bass blockers, also known as series inductors, use an inductor coil to restrict the flow of low-frequency signals to the speakers. Inductors are known for their ability to pass high-frequency signals while blocking low-frequency signals. Inductor-based bass blockers are durable and can handle high power levels. However, they tend to be larger in size and may require more installation space compared to capacitor-based blockers.
- Resistor-Based Bass Blockers: Resistor-based bass blockers, also known as parallel resistors, work by dividing the audio signal between the speaker and the resistor. These blockers attenuate the low-frequency signals by creating a voltage drop across the resistor. Resistor-based bass blockers are simple and inexpensive but may not provide as precise filtering as capacitor or inductor-based blockers.
- Active Bass Blockers: Active bass blockers are more advanced and require external power to function. These blockers utilize active electronic components, such as op-amps and integrated circuits, to actively filter out unwanted bass frequencies. Active bass blockers provide greater control and more precise filtering, making them ideal for high-end audio systems. However, they are typically more expensive and require more complex installation and setup.
Each type of bass blocker has its own advantages and considerations. The selection will depend on your specific audio system requirements, budget, and personal preferences. It is recommended to consult with car audio experts or professionals to determine the most suitable bass blocker for your setup.
Now that we have explored the different types of bass blockers, let’s move on to the tools and equipment you will need to install them.
Tools and Equipment Needed
Before you begin installing bass blockers in your car audio system, there are a few tools and equipment you will need to ensure a smooth and successful installation. Here’s a list of the essential items:
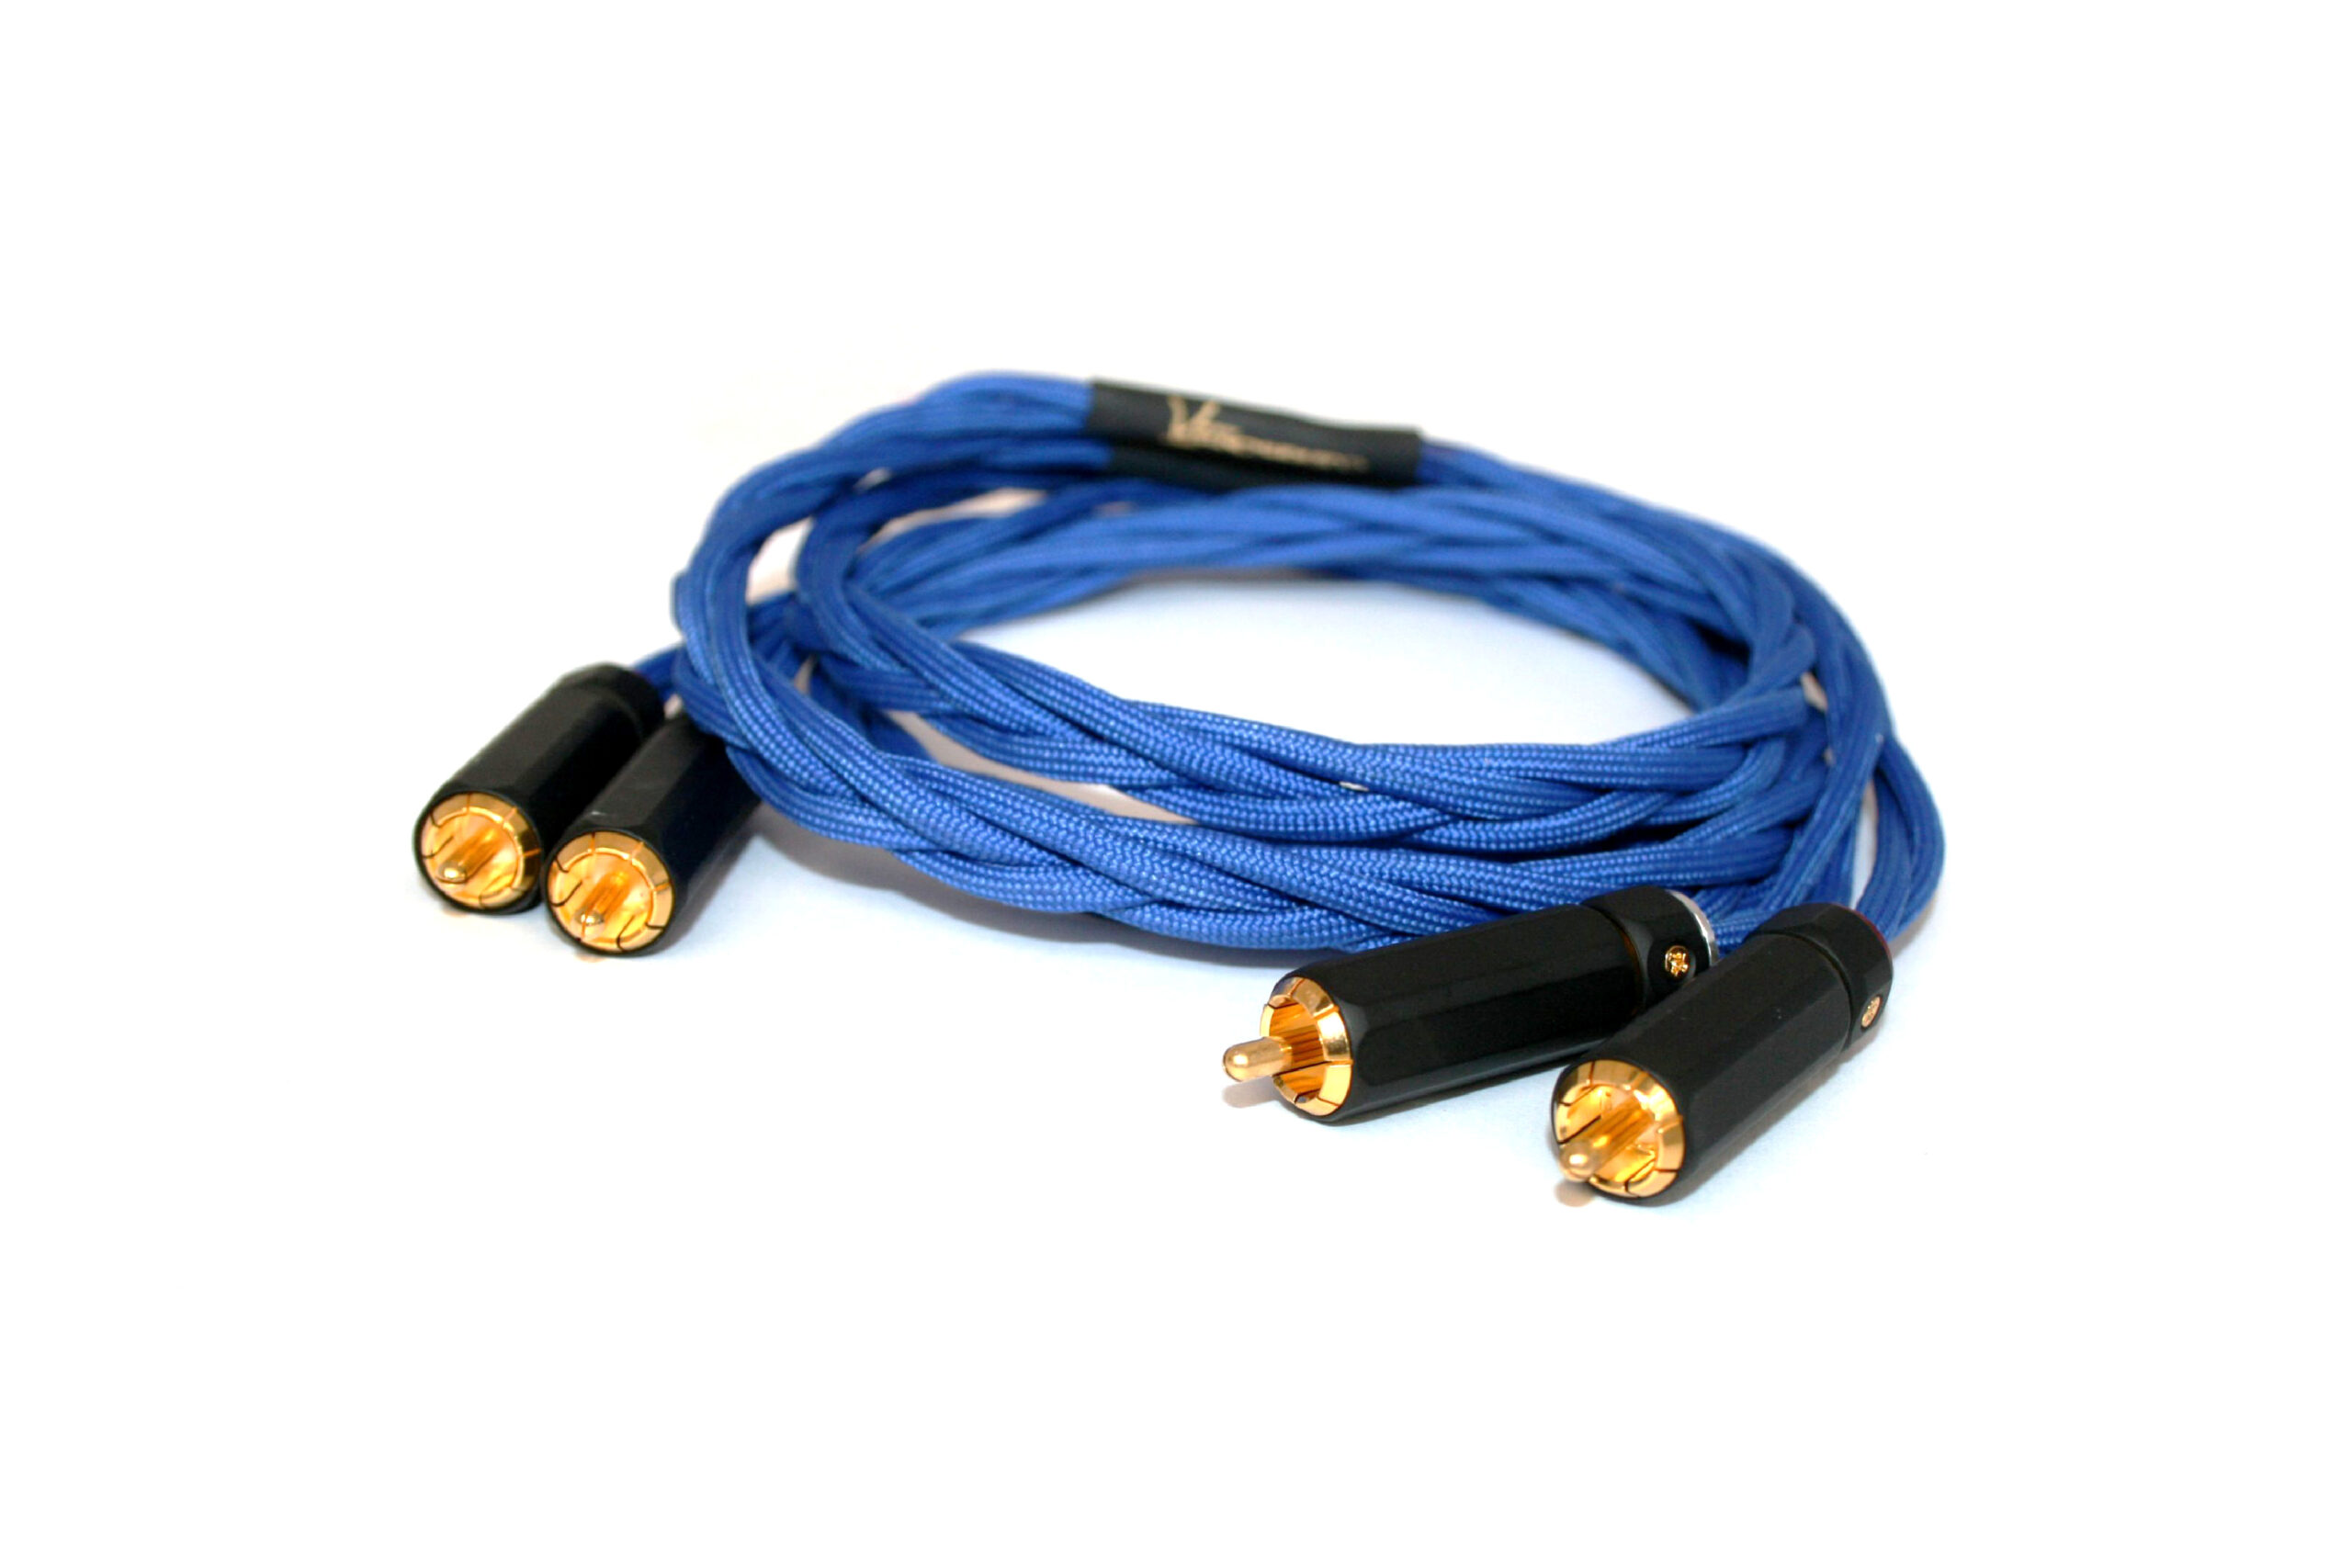
- Wire Cutters and Strippers: These tools are necessary to cut and strip the speaker wire, allowing you to connect the bass blockers effectively.
- Soldering Iron and Solder: If you prefer a more secure and reliable connection, you may want to solder the wires together. A soldering iron and solder will be required for this process.
- Electrical Tape or Heat Shrink Tubing: To insulate and protect the connections, you will need electrical tape or heat shrink tubing. This will prevent any short circuits or exposed wires.
- Crimping Tool or Wire Connectors: If you choose not to solder the connections, a crimping tool or wire connectors can be used to secure the wires together.
- Screwdriver Set: Depending on your car audio setup, you may need a screwdriver set to remove panels or access the speaker wire connections.
- Multimeter: A multimeter is an essential tool for troubleshooting and verifying the electrical connections and voltage levels in your audio system.
- Bass Blockers: Of course, you will need the actual bass blockers themselves. Make sure to choose the type and cutoff frequency that suits your specific audio system.
Having these tools and equipment ready before you start the installation will save you time and ensure that you have everything necessary to complete the process without any hiccups. It is always a good idea to check if you have everything on the list and have them easily accessible before you begin.
Now that you have gathered all the tools and equipment needed, let’s move on to the step-by-step guide on how to install bass blockers in your car audio system.
Step 1: Identify the Speaker Wire Connections
The first step in installing bass blockers in your car audio system is to identify the speaker wire connections. It is essential to know which wires are connected to the speakers you want to install the blockers on. Here’s a simple guide to help you:
- Locate the Speaker Wire Harness: In most cars, the speaker wires are usually bundled together in a wire harness. Look for the wire bundle near the speakers or behind the audio unit.
- Identify the Positive and Negative Wires: Each speaker wire consists of two parts – the positive (+) and negative (-) wires. If your vehicle’s wire harness is color-coded, you can match the colors to identify which wire is positive and negative. If not, refer to the car’s manual or use a multimeter to determine the polarity.
- Label the Speaker Wires: Once you have identified the positive and negative wires, it is a good idea to label them with tape or tags to avoid any confusion during the installation process.
- Repeat for Each Speaker: If you are installing bass blockers on multiple speakers, repeat the process to identify the speaker wire connections for each speaker. Ensure that you label each set of wires accordingly.
Properly identifying the speaker wire connections is crucial as it ensures that you are connecting the bass blockers to the correct speakers. This will help achieve the desired audio balance and prevent any damage to the speakers or audio components.
Now that you have identified the speaker wire connections, let’s move on to the next step: disconnecting the speaker wires.
Step 2: Disconnect the Speaker Wire
Once you have identified the speaker wire connections, the next step in installing bass blockers in your car audio system is to disconnect the speaker wires. This will allow you to install the blockers in line with the speaker wires effectively. Follow these steps to disconnect the speaker wires:
- Locate the Speaker Wire Connections: Refer back to the labeled speaker wires from the previous step and locate where they are connected. This may be at the back of the audio unit or in the door panels, depending on your car’s design.
- Disconnect the Speaker Wire Connectors: If your speaker wires have connectors, such as plugs or terminal blocks, simply disconnect them by gently pulling them apart or releasing any locking mechanisms.
- Trim or Strip the Speaker Wires: If your speaker wires do not have connectors, you will need to trim or strip the wires to prepare them for connection to the bass blockers. Use wire cutters or strippers to remove a small section of insulation from the ends of the wires.
- Ensure Proper Insulation: Take extra care to ensure that the bare wire ends are properly insulated to avoid any short circuits or damage. You can use electrical tape or heat shrink tubing to insulate and protect the exposed wire ends.
By disconnecting the speaker wires, you create a space to install the bass blockers effectively. Remember to handle the wires with care to avoid any damage or accidental short circuits.
Now that you have successfully disconnected the speaker wires, let’s move on to the next step: connecting the bass blockers.
Step 3: Connect the Bass Blocker
With the speaker wires disconnected, you are now ready to connect the bass blocker in line with the speaker wires. The bass blocker will help filter out the low-frequency bass signals and protect your speakers from distortion or damage. Follow these steps to connect the bass blocker:
- Refer to the Bass Blocker Instructions: Before connecting the bass blocker, it is important to refer to the specific instructions provided by the manufacturer. This will ensure that you install the blocker correctly and prevent any potential issues.
- Match the Wire Connections: Identify the input and output terminals on the bass blocker. Match the positive and negative wires from the speaker to the corresponding input and output terminals on the blocker.
- Make the Connections: Depending on the type of bass blocker you have, you may need to solder, crimp, or use wire connectors to make the connections. Follow the manufacturer’s instructions for the specific connection method.
- Insulate the Connections: Once the connections are made, ensure that they are properly insulated to avoid any potential short circuits or damage. Use electrical tape or heat shrink tubing to insulate and protect the connections.
It is important to follow the manufacturer’s instructions and ensure that the connections are secure and properly insulated. This will help maintain the integrity of the audio signal and ensure the proper functioning of the bass blocker.
Now that you have successfully connected the bass blocker, let’s move on to the next step: reconnecting the speaker wires.
Step 4: Reconnect the Speaker Wire
Now that you have connected the bass blocker, it’s time to reconnect the speaker wires. This step will complete the installation process and allow the audio signal to flow through the bass blocker and reach the speakers. Follow these steps to reconnect the speaker wires:
- Refer to the Labeled Speaker Wires: Recall the labeled speaker wires from earlier in the installation process. Match the positive and negative wires to their respective terminals on the speakers.
- Make the Connections: Connect the positive wire to the positive terminal of the speaker and the negative wire to the negative terminal. Depending on the speaker connectors, you may need to insert the wire into a socket, secure it with a screw, or use other connection methods specified by the manufacturer.
- Secure the Connections: Once the wires are connected, ensure they are securely fastened to the speaker terminals. This will ensure a stable and reliable connection between the speaker and the wire.
- Repeat for each Speaker: If you are installing bass blockers on multiple speakers, repeat the above steps for each speaker, ensuring proper connections for each one.
Reconnecting the speaker wires is a crucial step as it allows the audio signal to flow through the bass blockers and reach the speakers. Take care to properly match the positive and negative wires and securely fasten the connections to avoid any potential issues with audio quality or performance.
Now that the speaker wires are reconnected, we can move on to the final step: testing the installation.
Step 5: Test the Installation
After completing the installation of the bass blockers and reconnecting the speaker wires, it’s crucial to test the installation to ensure everything is functioning as desired. Testing allows you to verify the proper functioning of the bass blockers and the overall audio performance. Follow these steps to test the installation:
- Turn on the Car Audio System: Start by turning on your car’s audio system and playing a variety of audio tracks, including those with prominent bass frequencies.
- Listen for Balance and Clarity: Pay close attention to the audio output from each speaker. Listen for a balanced sound with clear and distinct audio frequencies. Take note of any improvements in the clarity and separation of the bass frequencies.
- Adjust the Bass Levels: Depending on the capabilities of your car audio system, you may need to adjust the bass levels to find the optimal balance between the bass frequencies and the rest of the audio spectrum. Experiment with different settings to achieve the desired sound quality.
- Check for Distortion or Disturbances: While listening, ensure there are no signs of distortion, rattling, or unwanted vibrations from the speakers. If you notice any issues, double-check the connections, and make adjustments if necessary.
- Revisit the Settings: If you aren’t satisfied with the audio performance, you can revisit the settings, tweak the crossover frequencies, or make adjustments to the equalizer to fine-tune the sound to your liking.
Testing the installation is crucial as it allows you to assess the effectiveness of the bass blockers and ensure that the speakers are operating within their optimal frequency range. By carefully listening to the audio output and making necessary adjustments, you can achieve a well-balanced and enhanced listening experience in your car.
Congratulations! You have successfully installed and tested the bass blockers in your car audio system. Enjoy the improved sound quality and the balanced reproduction of audio frequencies throughout your car.
With the completion of the testing phase, our installation guide comes to an end. We hope this step-by-step process has been helpful in guiding you through the installation of bass blockers in your car audio system. Remember, if you encounter any difficulties, it is always recommended to seek assistance from a professional car audio installer or technician.
Now, sit back, relax, and enjoy the enhanced audio experience in your car!
Conclusion
Installing bass blockers in your car audio system is a crucial step in achieving a balanced and immersive audio experience. These components help to filter out excessive bass frequencies, allowing your speakers to accurately reproduce the higher range of audio frequencies. Throughout this article, we have explored the importance of bass blockers, the different types available, and provided a comprehensive guide on how to install them.
By installing bass blockers, you can protect your speakers from potential damage caused by overpowering bass, and ensure that each speaker operates within its optimal frequency range. This results in improved sound clarity, better separation of audio frequencies, and a more enjoyable listening experience in your car.
We discussed the various types of bass blockers, including capacitor-based, inductor-based, resistor-based, and active bass blockers. Each type has its own advantages and considerations, allowing you to choose the one that best suits your audio system requirements and personal preferences.
Furthermore, we provided a step-by-step guide on how to install bass blockers in your car audio system. From identifying the speaker wire connections to reconnecting the speaker wires and testing the installation, following these steps will ensure a successful and effective installation process.
Remember, it is important to consult the instructions provided by the manufacturer of your specific bass blockers and seek professional assistance if needed. A well-installed and properly functioning bass blocker will enhance your audio system’s performance and protect your speakers for years to come.
Now that you have learned about bass blockers and how to install them, you are well-equipped to take your car audio system to the next level. Enjoy the balanced and immersive sound experience that bass blockers provide, and let the music accompany you on every journey. Happy listening!