Home>Devices & Equipment>Radio>How To Install An Aftermarket Radio
Radio
How To Install An Aftermarket Radio
Modified: January 22, 2024
Learn how to easily install an aftermarket radio in your vehicle and upgrade your audio system. Follow our step-by-step guide for a seamless installation experience.
(Many of the links in this article redirect to a specific reviewed product. Your purchase of these products through affiliate links helps to generate commission for AudioLover.com, at no extra cost. Learn more)
Table of Contents
Introduction
Welcome to this step-by-step guide on how to install an aftermarket radio in your vehicle. If you’re tired of the limited features or poor audio quality of your factory-installed radio, upgrading to an aftermarket radio is a fantastic solution. Not only can you enjoy enhanced audio performance and modern features, but it also allows you to customize the look and functionality of your car’s audio system.
Installing an aftermarket radio may seem like a daunting task, but with the right tools and knowledge, it can be a straightforward process. This guide will walk you through the installation process, providing detailed instructions and tips along the way.
Before we begin, it’s important to note that the exact steps may vary depending on the specific make and model of your vehicle and the aftermarket radio you’re installing. Always refer to the manufacturer’s instructions for your specific radio and consult a professional if you’re unsure about any part of the installation process.
Now, let’s dive in and get started on transforming your car’s audio system!
Step 1: Gather the necessary tools
Before you begin the installation, it’s essential to gather all the necessary tools and equipment. Having everything on hand will make the process much smoother and save you time. Here are the tools you’ll need:
- Trim removal tools or a panel removal tool: These tools will help you safely remove any panels or trim pieces without damaging them.
- Wire strippers: You’ll need these to strip and connect the wires for the aftermarket radio.
- Electrical tape or heat shrink tubing: This will be used to secure and insulate the connected wires.
- Screwdriver set: Depending on your vehicle, you may need a variety of screwdriver sizes to remove screws and brackets.
- Socket set: If your factory radio is installed with bolts, a socket set will come in handy for removing them.
- Wire connectors: These will be used to connect the wiring harness of the aftermarket radio to the existing wires in your vehicle.
- Multimeter: A multimeter will help you ensure a proper electrical connection throughout the installation.
It’s important to have all the necessary tools readily available to avoid any interruptions during the installation process. Having the right tools will ensure that you can safely and efficiently complete the job.
Once you have gathered all the tools mentioned above, you’re ready to move on to the next step: disconnecting the battery.
Step 2: Disconnect the battery
Before you begin working on your vehicle’s electrical system, it’s crucial to disconnect the battery to prevent any accidental short circuits or damage. Follow these steps to safely disconnect the battery:
- Locate the vehicle’s battery: The battery is typically located under the hood of the car. Refer to your vehicle’s manual if you’re unsure of its exact location.
- Ensure the vehicle is turned off: Make sure your vehicle’s engine is completely turned off, and remove the key from the ignition.
- Identify the negative terminal: The battery terminals are labeled as positive (+) and negative (-). Locate the negative terminal, marked with a minus sign (-).
- Disconnect the negative terminal: Using a socket or adjustable wrench, loosen the nut connecting the negative terminal. Once loosened, carefully remove the terminal from the battery post. To prevent any accidental contact, you can cover the terminal with a piece of cloth or tape.
By disconnecting the battery, you eliminate the risk of electrical shock or damage to your vehicle’s electrical system. It’s important to leave the battery disconnected throughout the installation process to ensure your safety.
Once the battery is successfully disconnected, you can proceed to the next step: removing the factory radio.
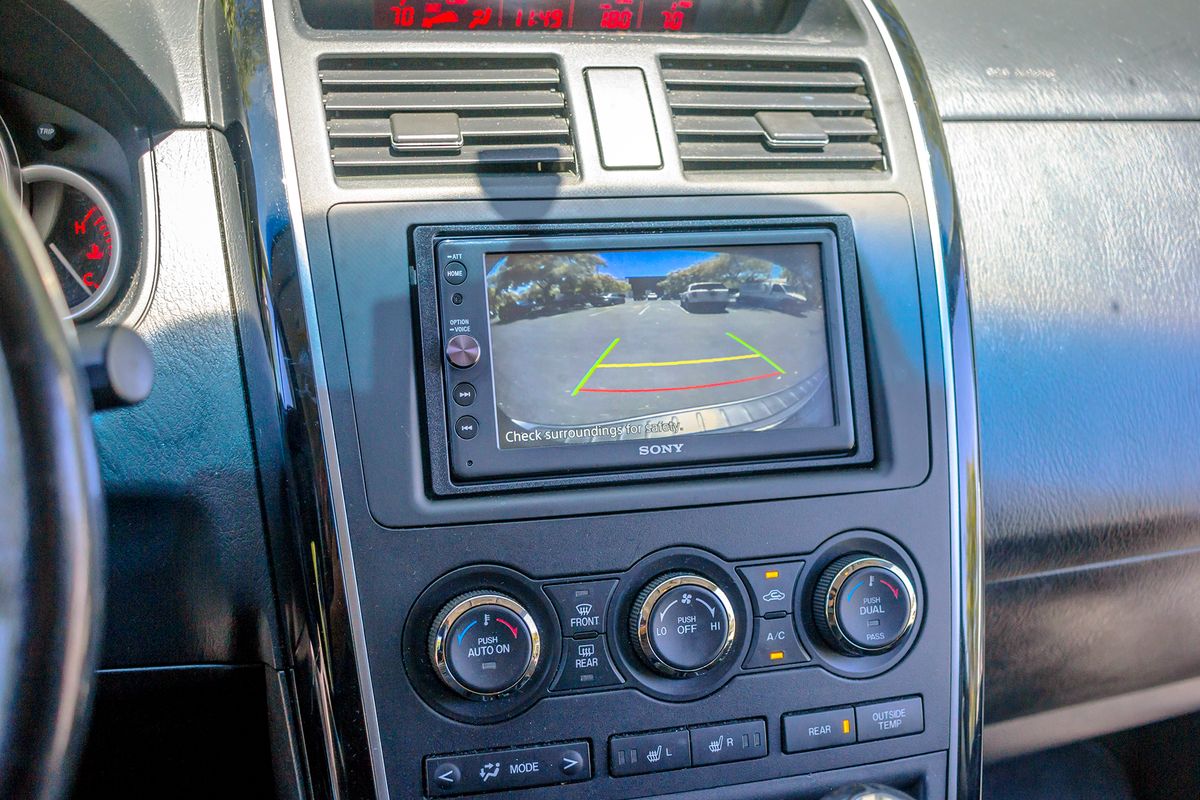
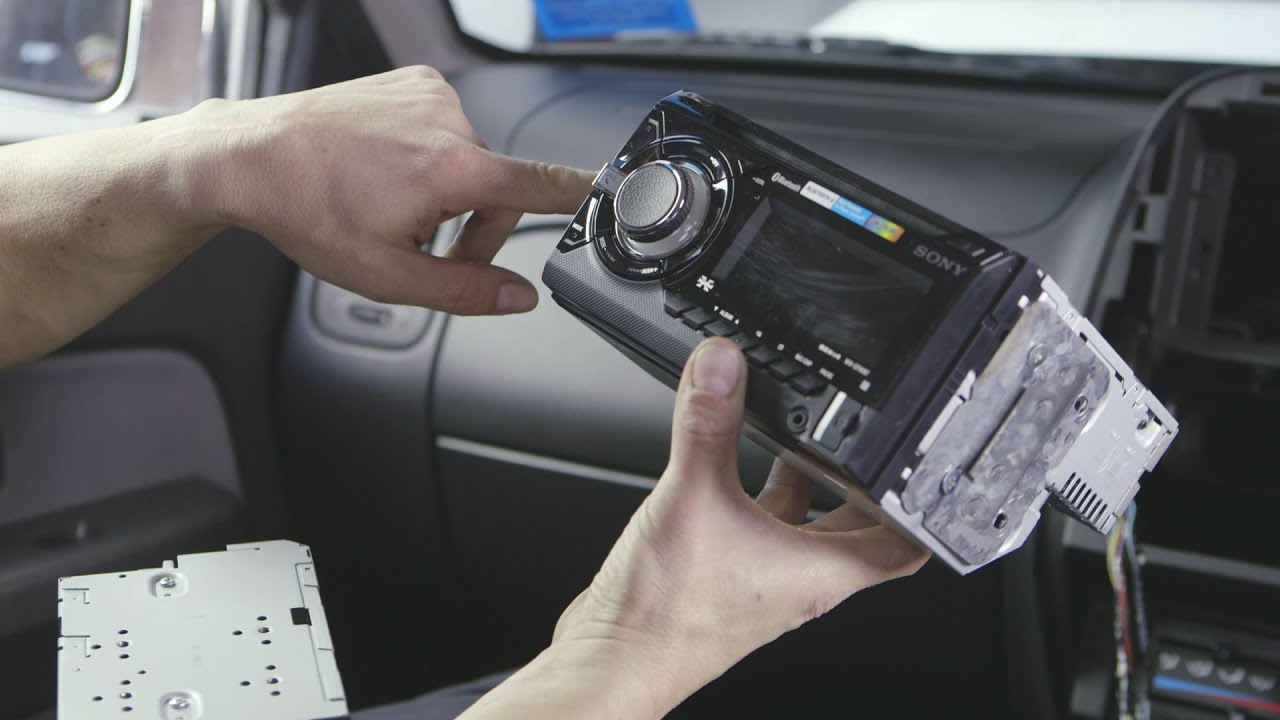
Step 3: Remove the factory radio
Now that you have disconnected the battery, it’s time to remove the factory-installed radio from your vehicle. The exact steps may vary depending on your vehicle’s make and model, but here is a general guide:
- Locate the radio removal tools: Many vehicles require specific radio removal tools to release the radio from its mounting bracket. These tools are often shaped like U-hooks or keys designed to fit into slots on the sides of the radio. Consult your vehicle’s manual or do some research to determine the appropriate tools for your specific model.
- Insert the removal tools: Carefully insert the radio removal tools into the slots on either side of the factory radio until they engage with the securing clips.
- Apply outward pressure: Once the removal tools are securely in place, apply even pressure in an outward direction. This will release the securing clips and allow the radio to slide out of the mounting bracket.
- Disconnect the wiring harnesses: With the radio partially removed, you will be able to access the wiring connections at the back. Gently unplug the wiring harnesses by pressing on the release tabs or pulling the connectors apart. Be careful not to force any connections or damage the wires.
- Remove the factory radio: Once all the wiring harnesses are disconnected, fully remove the factory radio from the dash. Set it aside in a safe place, as you may need it for reference later or if you plan to sell your vehicle in the future.
Remember, these steps are general guidelines, and the specific process may vary depending on your vehicle’s make and model. It’s always a good idea to consult your vehicle’s manual or seek guidance from a professional if you encounter any difficulties during this step.
With the factory radio successfully removed, you’re one step closer to installing your new aftermarket radio. The next step is to prepare the aftermarket radio for installation.
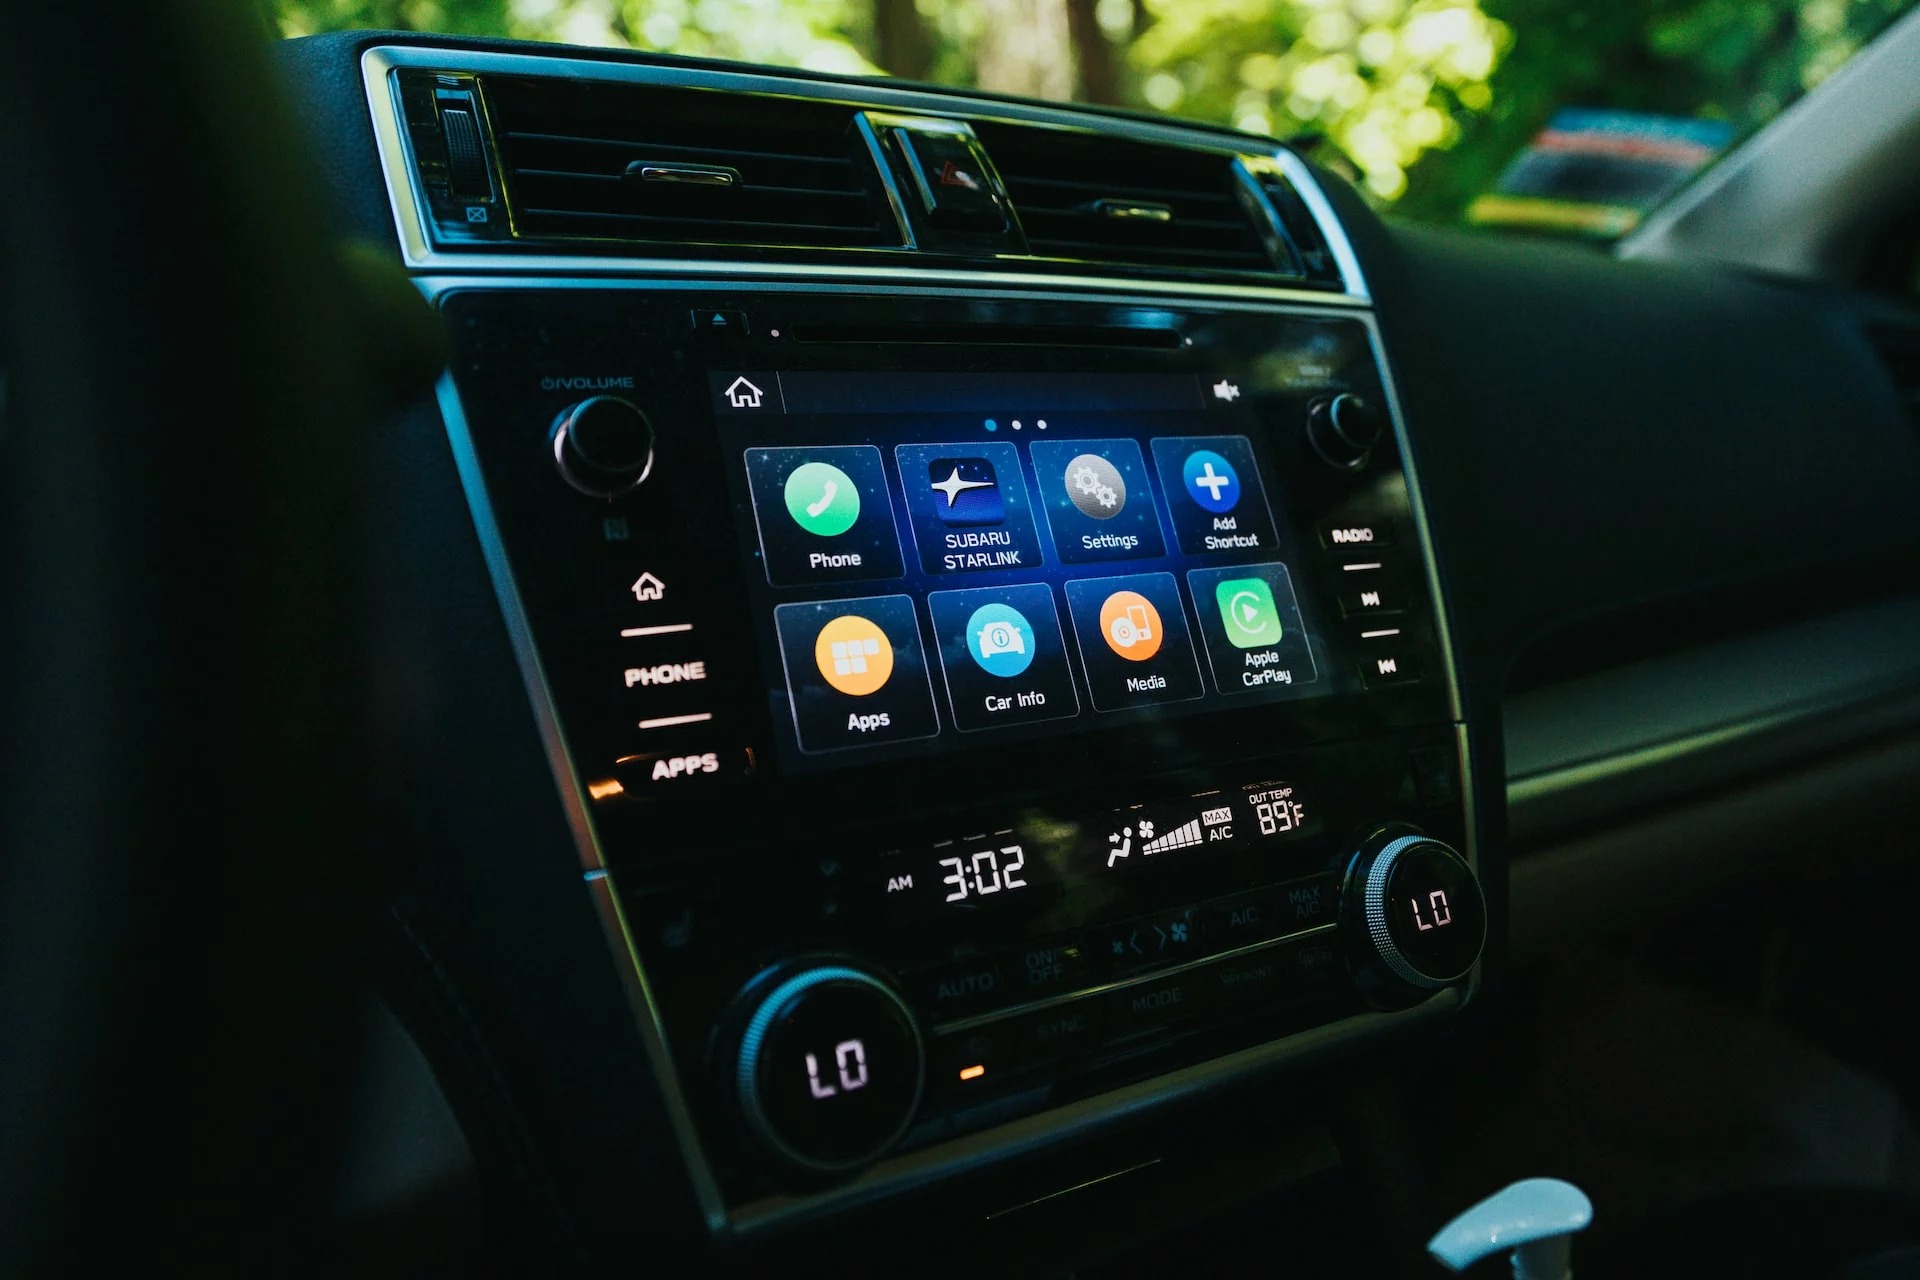
Step 4: Prepare the aftermarket radio
Now that you have removed the factory radio, it’s time to prepare the aftermarket radio for installation. This step involves making sure the new radio is compatible with your vehicle and adjusting any necessary settings. Here’s what you need to do:
- Check for compatibility: Ensure that the aftermarket radio you have chosen is compatible with your vehicle’s make and model. Double-check the specifications and consult the manufacturer’s instructions or website if you’re unsure. It’s essential to ensure the radio fits properly and has the necessary wiring connections to seamlessly integrate with your vehicle’s electrical system.
- Adjust the mounting bracket: Most aftermarket radios come with a universal mounting bracket that may require some adjustment. Follow the manufacturer’s instructions to determine the correct position of the mounting bracket and make any necessary adjustments to ensure it fits securely in your vehicle’s dash.
- Connect the antenna adapter: In many cases, the factory-installed antenna will not directly connect to the aftermarket radio. To solve this, you’ll need an antenna adapter specific to your vehicle’s make and model. Connect the adapter to the radio’s antenna input, and then connect the factory antenna plug to the adapter.
- Set up any additional features: If your aftermarket radio has additional features such as Bluetooth connectivity or steering wheel controls, refer to the manufacturer’s instructions to set up and configure these features. This step may involve pairing devices, programming settings, or making wiring connections.
- Double-check all connections: Before mounting the radio in the dash, double-check all the wiring connections. Ensure that the wiring harnesses are securely connected and that there are no loose or exposed wires. This will help prevent any issues or malfunctions once the radio is installed.
By properly preparing the aftermarket radio, you can ensure a smooth installation process and avoid any compatibility or wiring issues. Take your time to carefully follow the manufacturer’s instructions and make any necessary adjustments before moving on to the next step: connecting the wiring harness.
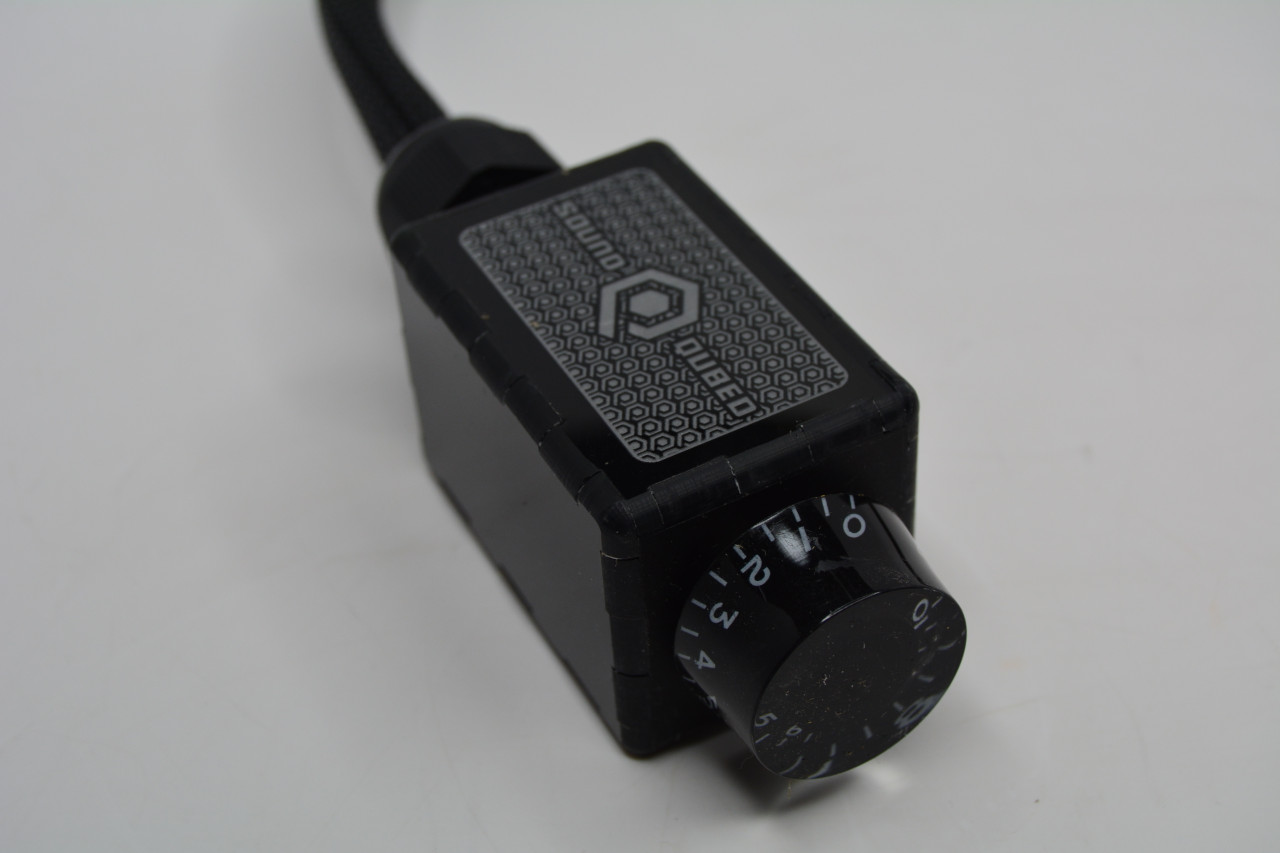
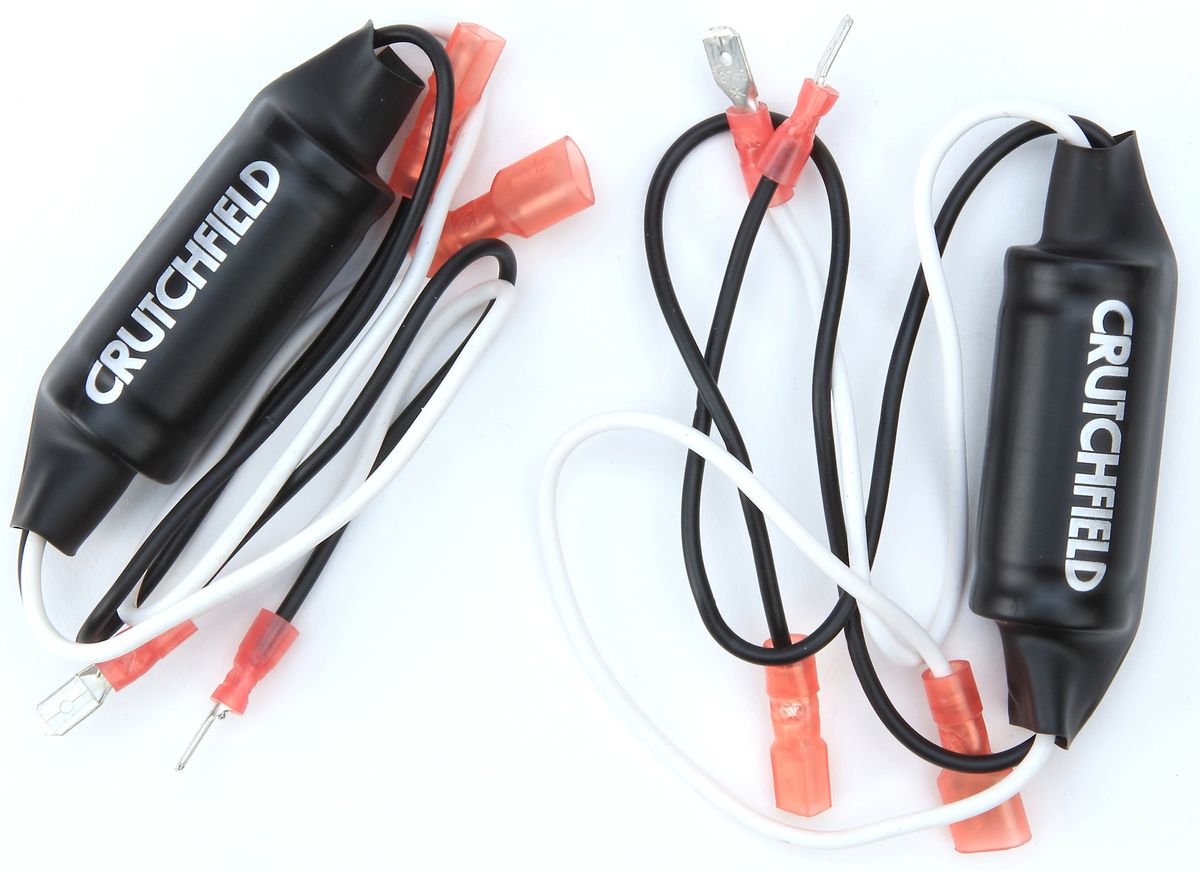
Step 5: Connect the wiring harness
With the aftermarket radio prepared, it’s time to connect the wiring harness. The wiring harness serves as the intermediary between the aftermarket radio and your vehicle’s electrical system. Here’s how to connect the wiring harness:
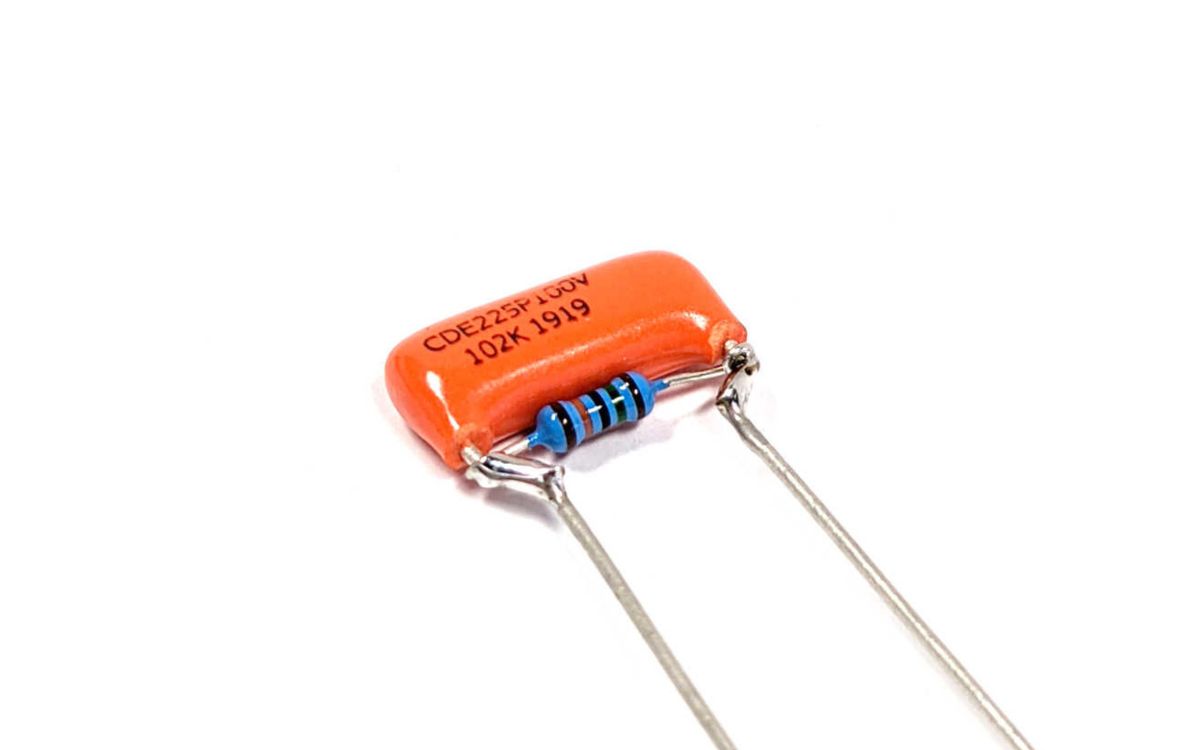
- Identify the wiring harnesses: Locate the main wiring harness of the aftermarket radio and the corresponding wiring harness for your vehicle. These harnesses typically have color-coded wires that match their respective functions.
- Match the wires: Match the wires between the aftermarket radio’s harness and the vehicle’s harness based on their colors and functions. The most common wire connections are for power (typically red or yellow), ground (usually black), speaker wires (color-coded in pairs), and any additional features like the antenna or steering wheel controls.
- Strip and connect the wires: Using wire strippers, carefully strip the insulation of each wire to expose a small section of bare wire. Twist the exposed copper strands for each wire together and securely fasten them with wire connectors. Ensure that the connections are tight and insulated properly with electrical tape or heat shrink tubing.
- Verify the connections: Once all the wires are connected, double-check that every wire is securely fastened and insulated. It’s important to ensure that there are no loose connections or exposed wires that could cause electrical issues or malfunctions.
- Tuck away any excess wiring: If you have extra wire length after making the connections, carefully tuck it away behind the radio or secure it with cable ties. This will help keep the wiring tidy and prevent any interference with the radio’s placement in the dash.
Connecting the wiring harness correctly is crucial to ensure proper functionality and compatibility between the aftermarket radio and your vehicle’s electrical system. Take your time during this step and refer to the manufacturer’s instructions or wiring diagrams if needed.
With the wiring harness successfully connected, you’re ready to move on to the next step: mounting the aftermarket radio in the dash.
Step 6: Mount the aftermarket radio
Now that the wiring harness is properly connected, it’s time to mount the aftermarket radio into the dash of your vehicle. Follow these steps to securely mount the radio:
- Slide the radio into the mounting bracket: Carefully slide the aftermarket radio into the mounting bracket in the dash. Ensure that the radio fits snugly and aligns properly with the surrounding panels.
- Secure the mounting bracket: Once the radio is in place, use the appropriate screws or brackets to secure the mounting bracket to the dash. Refer to the manufacturer’s instructions for guidance on the specific mounting method for your radio.
- Double-check the fit: After securing the mounting bracket, double-check that the radio is properly aligned and there are no gaps or loose connections. Adjust the radio if necessary to ensure a seamless and professional installation.
- Reinstall any removed panels or trim pieces: If you had to remove any panels or trim pieces to access the factory radio, carefully reinstall them. Ensure that they are securely fastened and aligned with the surrounding interior of the vehicle.
It’s essential to ensure that the aftermarket radio is securely mounted in the dash. A proper and secure mounting will prevent any vibrations or movement while driving, which can lead to damage or poor audio performance.
Once the aftermarket radio is securely mounted, you’re almost done with the installation. The next step is to test the installation to ensure everything is functioning correctly.
Step 7: Test the installation
After mounting the aftermarket radio in the dash, it’s important to test the installation to ensure that everything is working properly. Here’s what you need to do:
- Reconnect the battery: Before testing the radio, reconnect the negative terminal of the battery. Use a socket or adjustable wrench to tighten the nut securely.
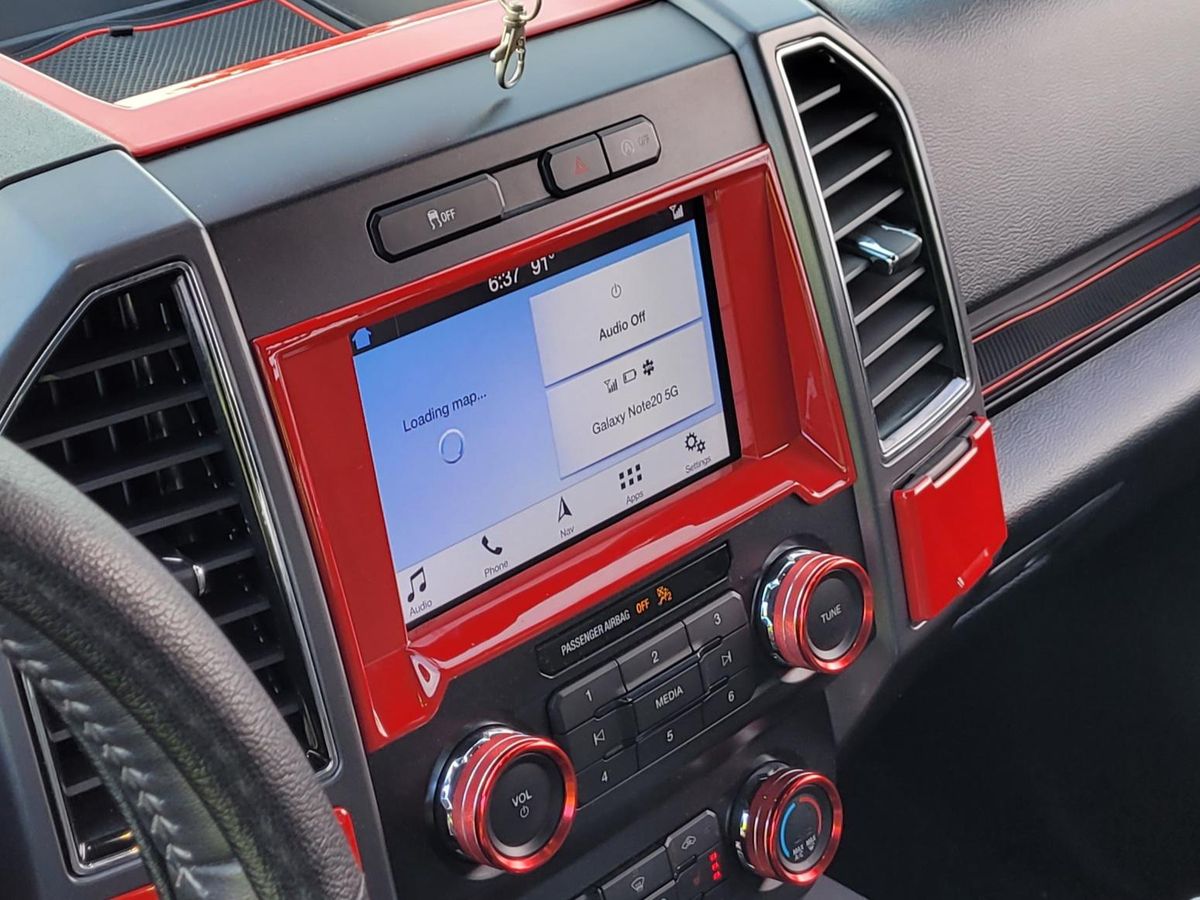
- Turn on the radio: Power on the vehicle and turn on the aftermarket radio. Check that it powers on without any issues and that the display and controls are functioning correctly.
- Test the audio: Play some music or a radio station to check the audio output. Ensure that all speakers are working and that the volume and sound quality are satisfactory.
- Check additional features: If your aftermarket radio has any additional features like Bluetooth connectivity, USB ports, or auxiliary inputs, test them to make sure they’re functioning properly.
- Test steering wheel controls (if applicable): If your vehicle has steering wheel controls, ensure that they properly interface with the aftermarket radio. Test the volume control, track selection, and any other functions to verify their functionality.
- Verify the radio’s reception: Tune into different radio stations to ensure that the aftermarket radio has good reception and can pick up all available frequencies without any distortion.
If any issues or abnormalities are detected during the testing phase, double-check the wiring connections and settings to ensure everything is correctly installed. If the issues persist, consult the manufacturer’s instructions or seek professional assistance to troubleshoot and resolve the problem.
Once you have tested the installation and are satisfied with the performance of the aftermarket radio, you can proceed to the final step: reconnecting the battery.
Step 8: Reconnect the battery
After successfully testing the aftermarket radio installation, it’s time to reconnect the battery. Here’s how to do it:
- Turn off the vehicle: Ensure that the vehicle’s engine is turned off and remove the key from the ignition.
- Reattach the negative terminal: Using a socket or adjustable wrench, reattach the negative terminal of the battery. Tighten the nut securely to establish a good electrical connection.
- Test the radio again: Once the battery is reconnected, turn on the vehicle and test the aftermarket radio again to confirm that it powers on and functions properly.
- Check for any electrical issues: As the vehicle’s electrical system powers back up, take a moment to observe and ensure that there are no abnormal electrical issues such as flickering lights, warning indicators, or any other unusual observations.
Reconnecting the battery allows the aftermarket radio to retain its settings and ensures that it will function properly whenever the vehicle is turned on. Following these steps will help maintain a smooth and reliable operation of the radio.
Congratulations! You have successfully installed an aftermarket radio in your vehicle. Enjoy the enhanced audio experience and modern features that come with your new radio.
Remember, it’s important to refer to the manufacturer’s instructions and seek professional assistance if you encounter any difficulties or have concerns about the installation process. When performed correctly, installing an aftermarket radio can greatly enhance your driving experience.
Thank you for following this step-by-step guide, and happy listening!
Conclusion
Installing an aftermarket radio in your vehicle can greatly enhance your audio experience, provide modern features, and allow for customization. While the process may seem intimidating at first, following a step-by-step guide like this one can make it manageable and fulfilling.
In this guide, we walked through the installation process, starting with gathering the necessary tools and disconnecting the battery. We then moved on to removing the factory radio, preparing the aftermarket radio, connecting the wiring harness, mounting the new radio, and finally testing the installation. We concluded by reconnecting the battery to ensure proper functionality.
Throughout each step, it’s important to refer to the manufacturer’s instructions and consult a professional if needed, especially if you encounter any difficulties or have concerns about compatibility. Taking the time to properly prepare and connect the wiring harness, mount the radio securely, and test the installation will help ensure a successful and enjoyable outcome.
Remember, every vehicle and aftermarket radio installation may have unique specifications and requirements, so it’s crucial to reference the appropriate manuals and seek professional advice when in doubt.
By following this guide, you’ve taken the necessary steps to transform your car’s audio system and enjoy the benefits of an upgraded radio. Whether you’re looking for improved sound quality, additional features like Bluetooth connectivity, or a modern aesthetic, installing an aftermarket radio can bring a new level of enjoyment to your driving experience.
We hope that this guide has been informative and helpful to you. If you have any further questions or need additional assistance, don’t hesitate to reach out to the manufacturer or a professional installer. Now, it’s time to sit back, relax, and enjoy the music as you cruise with your new aftermarket radio.