Home>Devices & Equipment>Subwoofer>How To Install A Subwoofer
Subwoofer
How To Install A Subwoofer
Published: January 22, 2024
Learn how to properly install a subwoofer in your car for unparalleled bass and audio quality. Our step-by-step guide is perfect for beginners and seasoned enthusiasts alike.
(Many of the links in this article redirect to a specific reviewed product. Your purchase of these products through affiliate links helps to generate commission for AudioLover.com, at no extra cost. Learn more)
Table of Contents
- Introduction
- Step 1: Gather Necessary Tools and Materials
- Step 2: Choose the Subwoofer Location
- Step 3: Prepare the Vehicle
- Step 4: Run Power Cable from Battery to Amplifier
- Step 5: Install the Amplifier and Wiring
- Step 6: Connect the Subwoofer and Amplifier
- Step 7: Test and Fine-Tune the Subwoofer
- Conclusion
Introduction
Subwoofers are an essential component of any audio system, providing deep, booming bass that adds depth and richness to music, movies, and other media. Whether you’re a car audio enthusiast or a home theater enthusiast, installing a subwoofer can greatly enhance your listening experience. In this article, we will guide you through the process of installing a subwoofer, from choosing the right location to connecting it to an amplifier.
Before we dive into the installation process, let’s start with a brief overview of what a subwoofer is and its role in an audio system. A subwoofer is a specialized speaker designed to reproduce low-frequency sounds, typically below 100 Hz. These low-frequency sounds, commonly referred to as bass, are responsible for creating the impact and thump in music and movies. While regular speakers can reproduce some bass frequencies, a dedicated subwoofer is specifically designed to deliver powerful and accurate bass reproduction.
Installing a subwoofer involves a few key steps, such as choosing the right location for optimal sound, preparing the vehicle or room for installation, running power cables, and connecting the subwoofer to an amplifier. By following these steps and taking the time to properly set up and fine-tune your subwoofer, you can achieve an immersive audio experience that will truly elevate your audio enjoyment.
It’s important to note that the specific installation process may vary depending on whether you are installing a car audio subwoofer or a home theater subwoofer. For the purposes of this article, we will provide a general guide that applies to both scenarios, highlighting any key differences along the way.
Step 1: Gather Necessary Tools and Materials
Before you begin the installation process, it’s important to gather all the necessary tools and materials. Having everything on hand will ensure a smooth and efficient installation. Here are the tools and materials you will need:
- Subwoofer: Choose a subwoofer that suits your needs and preferences. Consider factors such as power handling, size, and enclosure type. Make sure to select a subwoofer that is compatible with your audio system.
- Amplifier: A dedicated amplifier is required to power the subwoofer. Ensure that the amplifier has sufficient power output and is compatible with your subwoofer and audio system.
- Wiring Kit: A wiring kit will include all the necessary cables and connectors for the installation. Look for a kit that matches the power requirements of your subwoofer and amplifier.
- Power Drill: You may need to drill holes for mounting the subwoofer enclosure or the amplifier, depending on your installation setup.
- Screwdriver and Socket Set: These tools will be required for securing the subwoofer enclosure, amplifier, and other components in place.
- Wire Cutters and Strippers: These tools will help you cut and strip the necessary wires for a clean and proper connection.
- Electrical Tape: Use electrical tape to secure and protect the connections from moisture and other potential hazards.
- Cable Ties: These will help you organize and secure the wiring neatly.
- Safety Glasses and Gloves: It’s essential to protect yourself during the installation process. Wear safety glasses to protect your eyes and gloves to prevent any injuries.
Make sure that you have all these tools and materials available before starting the installation process. It’s also a good idea to read the user manuals for your subwoofer, amplifier, and any other components you will be installing. Familiarize yourself with the specific instructions and any precautions mentioned by the manufacturers.
Step 2: Choose the Subwoofer Location
Choosing the right location for your subwoofer is crucial to achieving optimal sound quality and integration with your audio system. The subwoofer placement will affect the overall bass response and how well it blends with the other speakers in your setup. Here are some factors to consider when selecting the subwoofer location:
- Room Acoustics: The characteristics of the room or vehicle where the subwoofer will be installed play a significant role in its performance. Consider the dimensions, shape, and construction materials of the space. Try to find a location that minimizes sound reflections and resonances.
- Listenting Area: Determine the primary listening area in the room or car. Ideally, the subwoofer should be placed near this area to ensure even distribution of bass throughout the space.
- Subwoofer Type: Different types of subwoofers have different requirements for placement. For example, a sealed enclosure subwoofer can be placed in various locations, while a ported or bandpass enclosure subwoofer might have specific placement guidelines to optimize its performance.
- Size and Shape: Consider the physical dimensions of the subwoofer and how it will fit within your room or vehicle. Some subwoofers are designed to be placed on the floor, while others can be mounted in an enclosure or integrated into existing furniture.
- Distance from Walls and Obstacles: Keep the subwoofer at least a few inches away from walls and other obstructions to prevent interference and unwanted resonances. Experiment with different distances to find the best sound balance.
- Power Source: Plan for easy access to a power source to connect the subwoofer and amplifier. This might require positioning the subwoofer near a wall outlet or running power cables through the vehicle’s interior.
Once you have considered these factors, take some time to experiment with different subwoofer locations. Start by placing the subwoofer near your listening area and playing some test tracks with varying bass content. Listen for any imbalances or distortion in the bass response. Keep adjusting the subwoofer’s position until you find the sweet spot where the bass is well-balanced and seamlessly integrates with the rest of the audio system’s speakers.
Remember that the optimal subwoofer location may vary depending on the specific acoustics of your room or vehicle. It’s always a good idea to consult the user manual or seek professional advice to ensure the best placement for your particular subwoofer model.
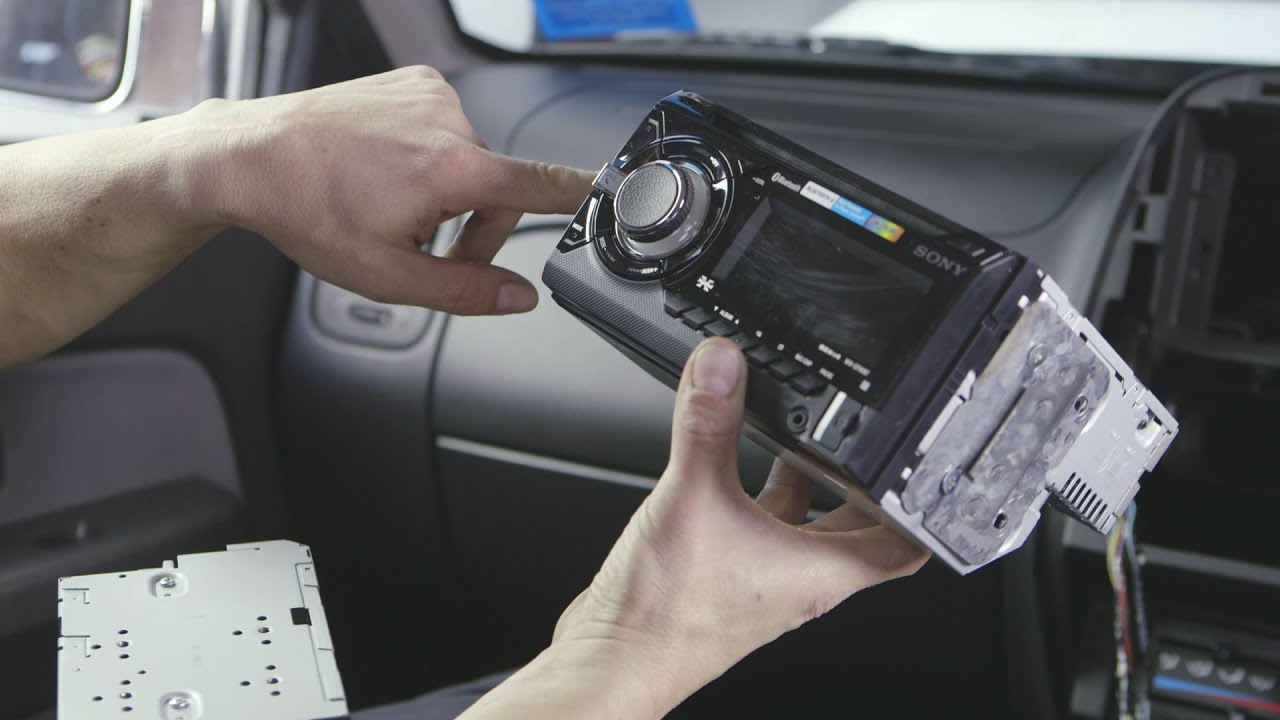
Step 3: Prepare the Vehicle
If you’re installing a subwoofer in a car, it’s important to prepare the vehicle to ensure a smooth and successful installation. Here are some key steps to follow when preparing your vehicle:
- Disconnect the Battery: Before starting any electrical work, disconnect the vehicle’s battery to prevent any accidental short circuits or electrical damage.
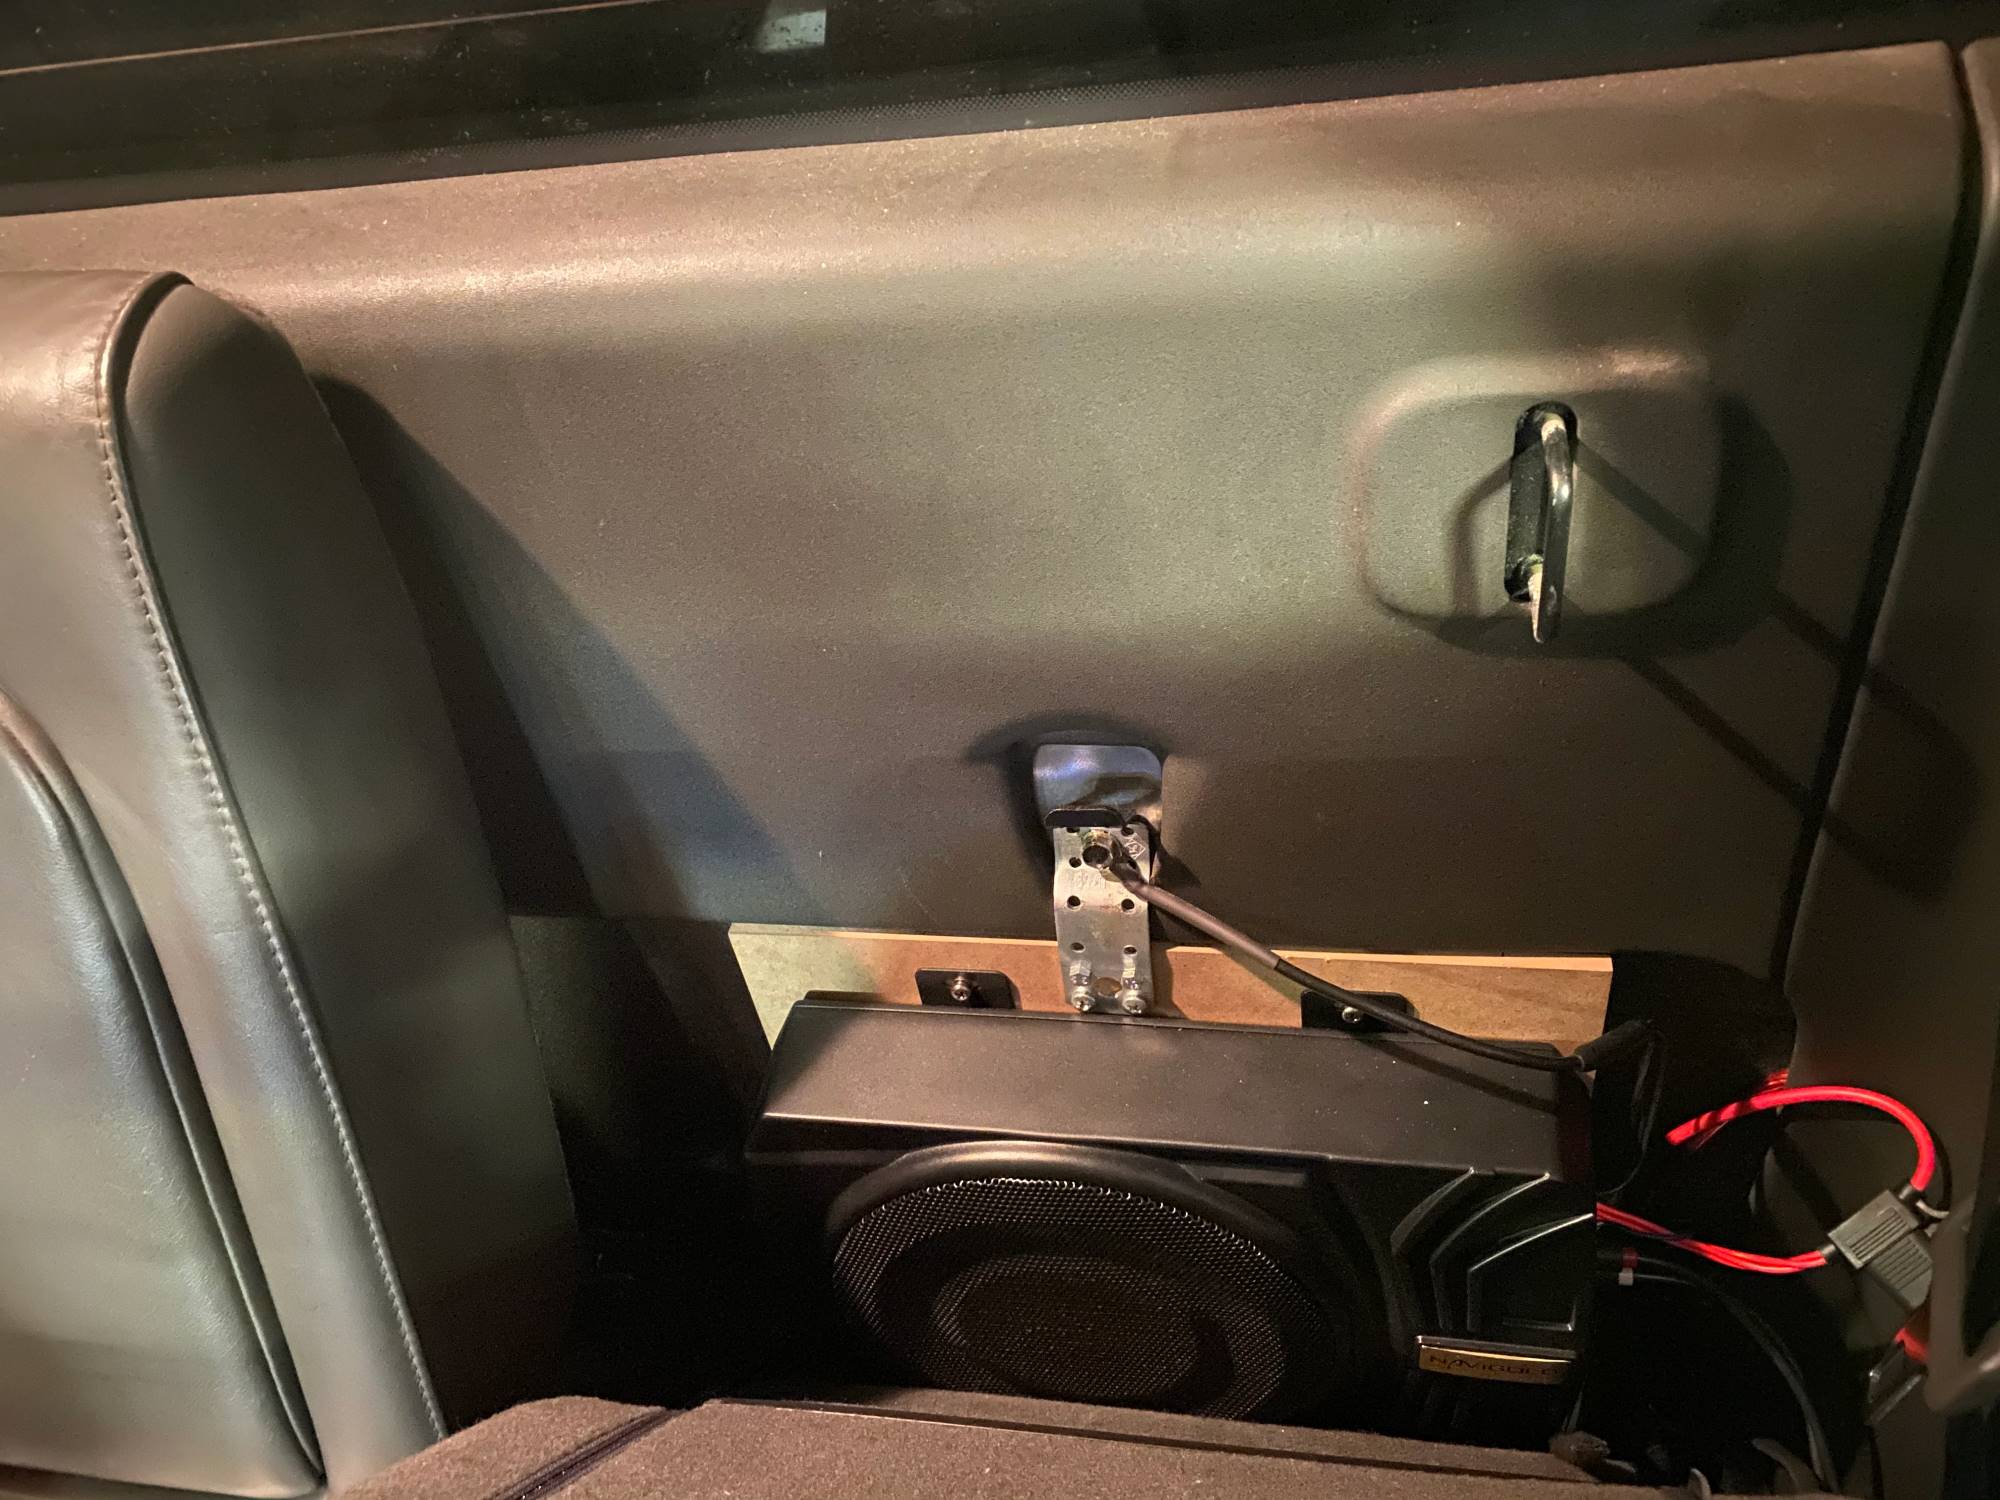
- Identify a Suitable Mounting Location: Determine where you want to mount the subwoofer enclosure in the vehicle. Consider factors such as available space, visibility, and impact on cargo or passenger comfort.
- Remove Interior Panels: Depending on the location you choose, you may need to remove interior panels to gain access to the mounting area. Use appropriate tools to remove panels carefully without causing any damage.
- Prepare Wiring Routes: Plan the routes for your power and signal wiring. Identify areas where you can safely run the wires without hindering vehicle functionality or causing damage.
- Protect Wiring: It’s crucial to protect your wiring from potential wear and tear or the risk of electrical interference. Use wire loom, grommets, or tape to secure and shield the wiring from sharp edges or moving parts.
Once you’ve prepared the mounting location and wiring routes, securely mount the subwoofer enclosure in the chosen spot. Follow the manufacturer’s instructions for proper installation and ensure a sturdy and vibration-free mounting. - Reinstall Interior Panels: After the subwoofer enclosure is mounted and the wiring routes are established, carefully reinstall the interior panels you removed earlier. Take your time to align the panels properly and ensure a clean and professional-looking finish.
Remember to take your time during the preparation process and be mindful of the specific steps required for your vehicle model. It’s always a good idea to consult the vehicle’s manual or seek professional assistance if you’re unsure about any aspect of the preparation process.
By thoroughly preparing your vehicle, you’ll have a solid foundation for the subwoofer installation process. Taking these steps will help ensure a safe and reliable installation while preserving the integrity of your vehicle’s interior.
Step 4: Run Power Cable from Battery to Amplifier
Running a power cable from the battery to the amplifier is a critical step in the subwoofer installation process. Here’s a step-by-step guide on how to run the power cable:
- Choose the Proper Gauge Cable: The gauge of the power cable depends on the power requirements of your amplifier. Consult the amplifier’s specifications or refer to the manufacturer’s guidelines to determine the appropriate gauge. Generally, larger amplifiers require thicker cables to handle higher power loads.
- Locate the Vehicle’s Battery: Identify the location of your vehicle’s battery. In most cars, the battery is located in the engine compartment. Pop the hood and visually locate the battery.
- Plan the Cable Route: Determine the best route to run the power cable from the battery to the amplifier. It’s crucial to avoid any areas that can potentially damage the cable, such as sharp edges or moving parts.
- Prepare the Cable: Measure the required length for the power cable, ensuring that you have enough slack to reach the amplifier comfortably. Use wire cutters to cut the cable to the desired length.
- Connect a Fuse Holder: Install a fuse holder near the battery to protect against electrical overload or short circuits. Follow the instructions provided with the fuse holder to ensure proper installation. It’s important to choose a fuse rating that matches the current draw of your amplifier.
- Connect the Cable to the Battery: Strip the insulation from the end of the power cable and connect it securely to the positive terminal of the battery. Use an appropriate connector, such as a ring terminal, to ensure a reliable connection.
- Route the Cable: Carefully route the power cable from the battery towards the amplifier. Secure the cable using cable ties or wire loom to avoid any potential damage or interference with other vehicle components.
- Avoid Interference: Keep the power cable away from any audio cables or sources of electrical interference, such as the ignition system or engine components. This will help prevent unwanted noise in the audio system.
- Connect the Cable to the Amplifier: Strip the insulation from the other end of the power cable and connect it securely to the appropriate terminal on the amplifier. Refer to the amplifier’s manual for the correct connection method.
Once you have completed running the power cable, carefully check all connections to ensure they are secure and properly insulated. Double-check the fuse holder to ensure the fuse is properly installed and matches the amplifier’s requirements. Reconnect the vehicle’s battery to restore power and proceed to the next step in the installation process.
Running a power cable may require some patience and attention to detail. If you’re unsure about any aspect of this step, it’s recommended to consult a professional or seek guidance from an experienced installer.
Step 5: Install the Amplifier and Wiring
Installing the amplifier and wiring is a crucial step in the subwoofer installation process. Here’s a step-by-step guide on how to complete this step:
- Choose an Adequate Location: Find a secure and accessible location to mount the amplifier. It should be away from heat sources, moisture, and any moving parts that could potentially damage the amplifier or wiring.
- Prepare the Mounting Surface: Ensure that the mounting surface is clean and free of any debris or dirt. Use appropriate fasteners and mounting brackets to secure the amplifier in place. Refer to the amplifier’s manual for specific mounting instructions.
- Connect the Power Cable: Connect the power cable from the battery to the positive terminal of the amplifier. Use an appropriate connector, such as a ring terminal, to ensure a secure and reliable connection. Be sure to connect to the designated power input on the amplifier.
- Ground the Amplifier: Grounding is an essential step to ensure proper operation and safety. Locate a suitable grounding point near the amplifier. It should be a clean and bare metal surface. Use a self-tapping screw or grounding bolt to firmly secure the amplifier’s ground wire to the grounding point.
- Connect the Remote Turn-On Wire: Locate the remote turn-on wire on your head unit or audio system. This wire is responsible for sending a signal to the amplifier to turn it on and off when the system is activated. Connect one end of the remote wire to the appropriate terminal on the amplifier and the other end to the remote turn-on wire on the head unit or audio system.
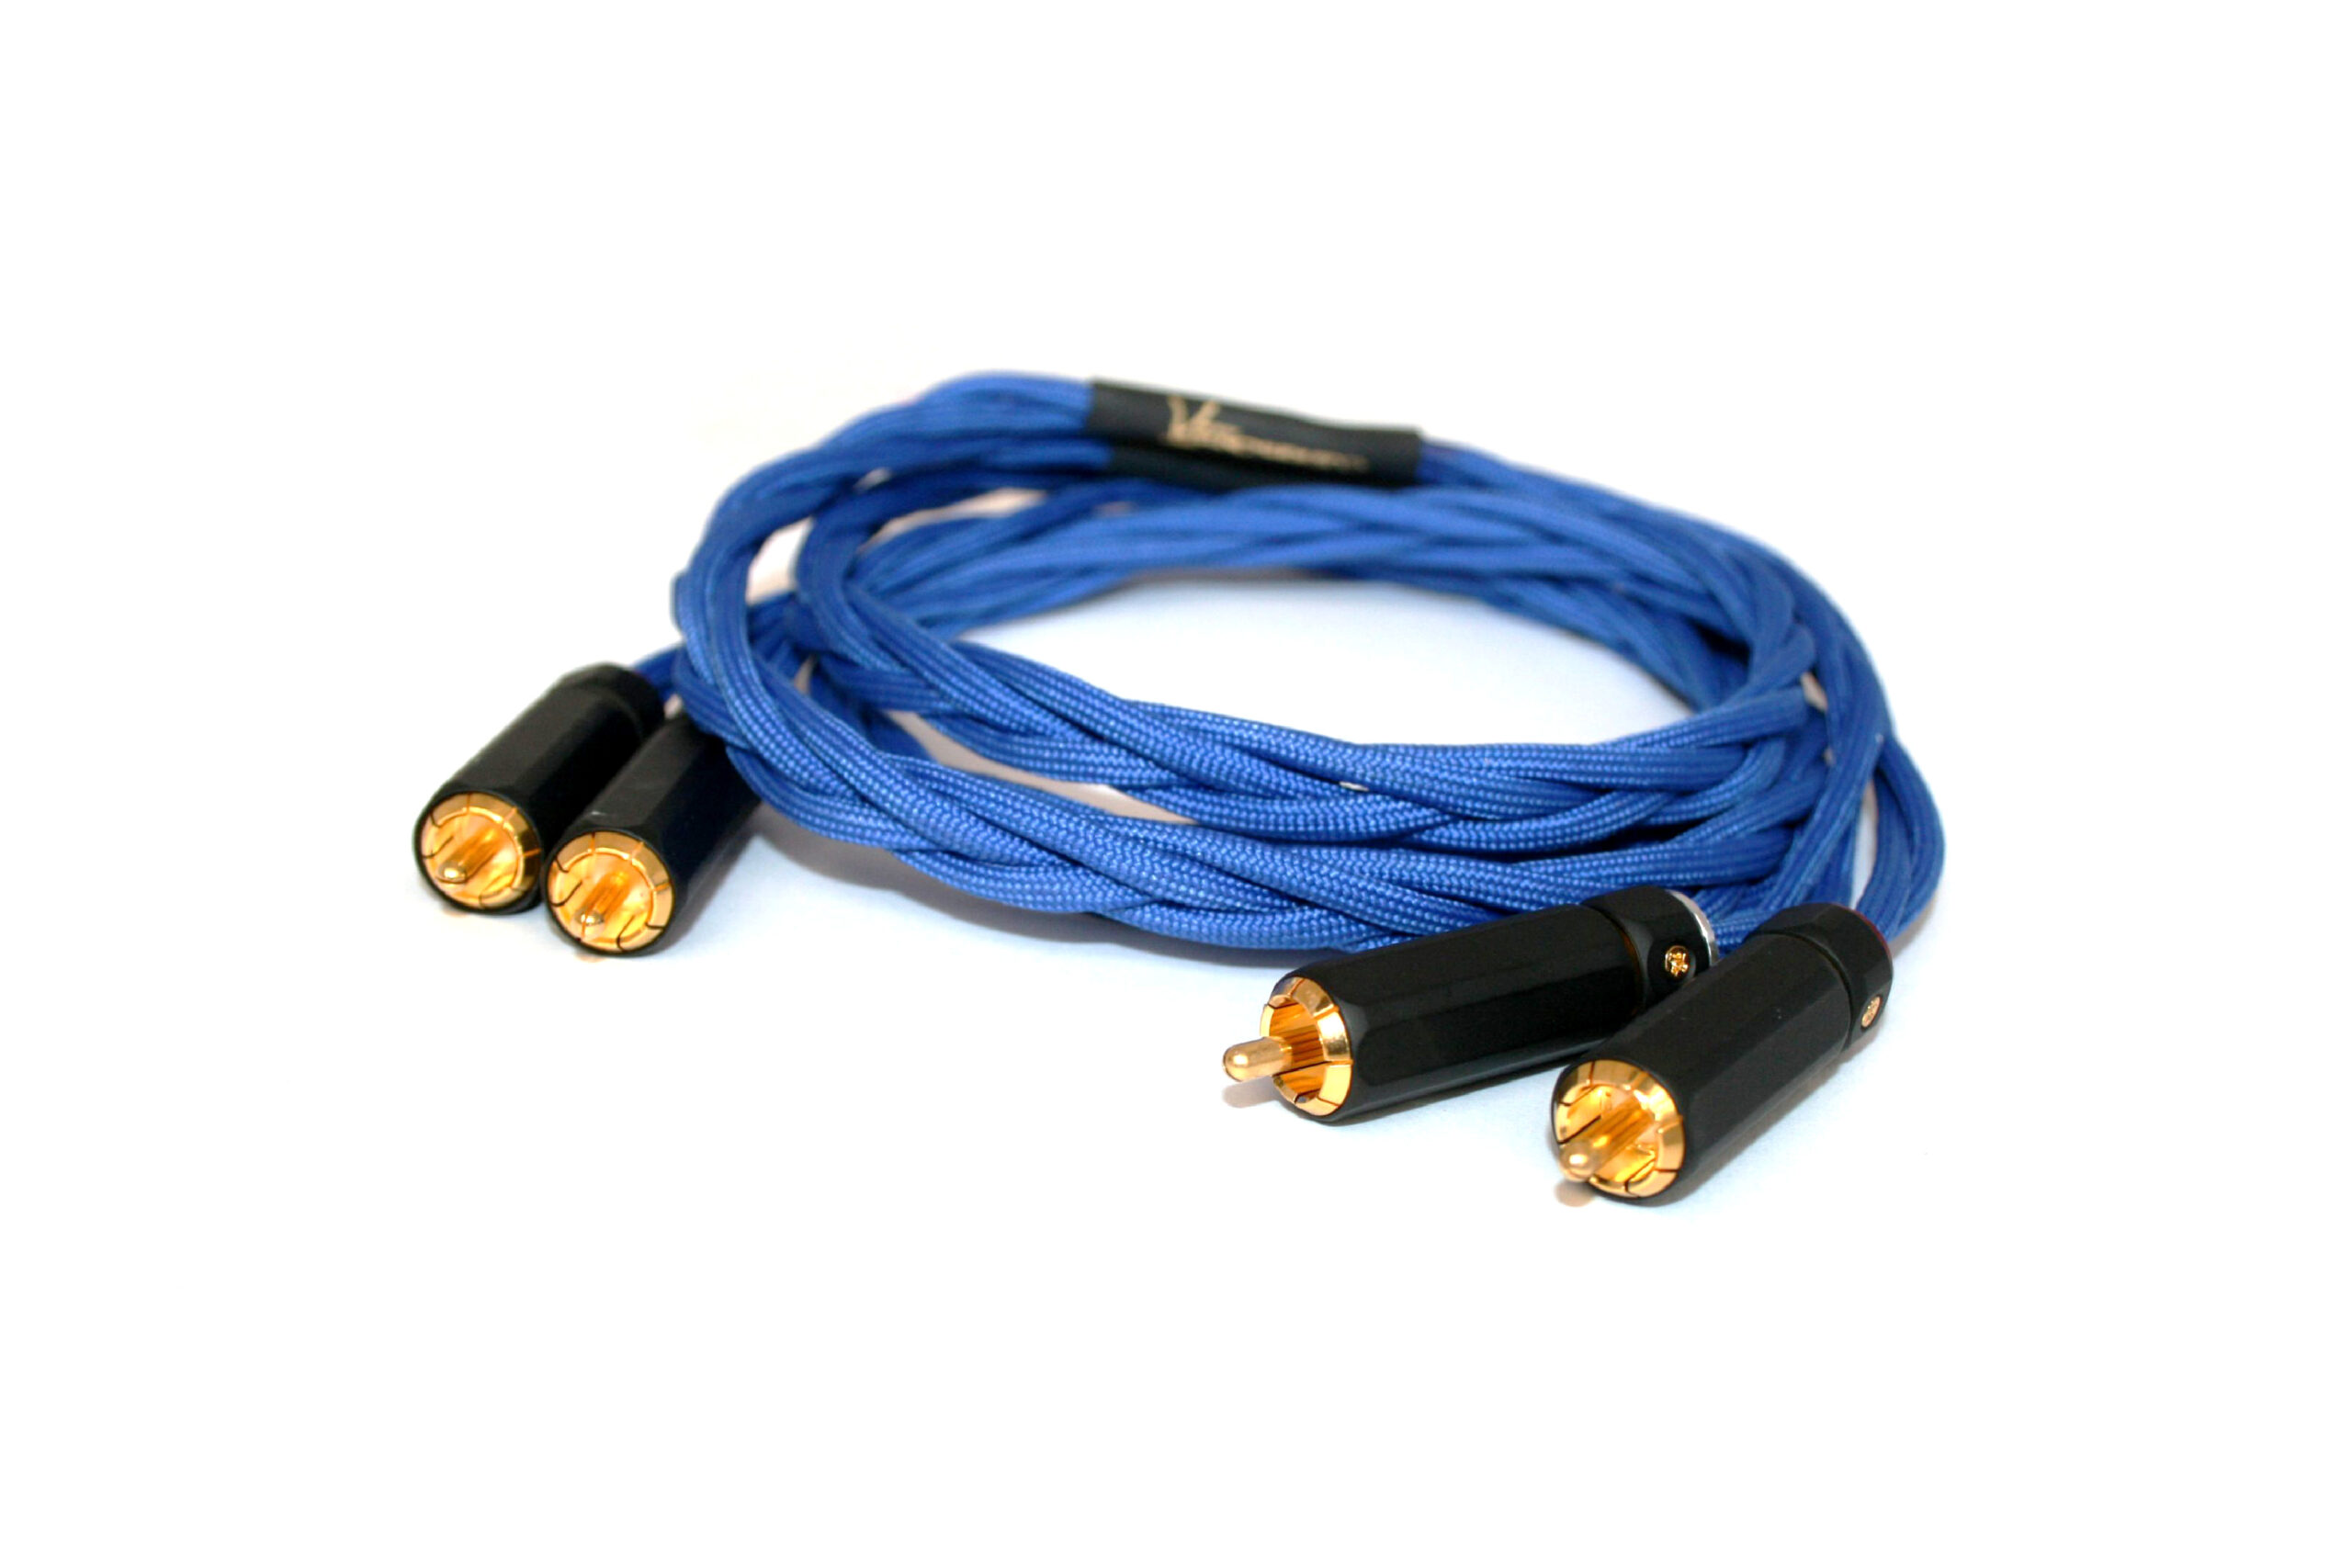
- Connect the RCA Cables: RCA cables are used to transmit the audio signal from the head unit to the amplifier. Connect the RCA cables to the appropriate input ports on the amplifier and run them along with the power and remote wires to avoid any potential interference.
- Connect the Speaker Wire: Connect the speaker wire to the amplifier’s speaker output terminals. Ensure that the positive and negative terminals are properly matched to the corresponding speaker terminals. Take care to maintain proper polarity throughout the wiring to ensure correct audio reproduction.
- Secure and Organize the Wiring: Use zip ties, cable clamps, or wire loom to secure and organize the wiring. This will not only ensure a tidy installation but also help prevent any potential damage or interference with other vehicle components.
- Double-Check Connections: Carefully double-check all the connections to ensure they are secure and properly insulated. Verify that the amplifier’s settings, such as gain and crossover settings, are appropriately adjusted for your audio system.
Once you have completed the installation of the amplifier and wiring, take the time to test the system and ensure that everything is functioning correctly. Play various audio tracks to ensure proper sound reproduction and adjust the amplifier’s settings if necessary.
If you’re unsure about any aspect of installing the amplifier and wiring, it’s advised to consult the amplifier’s manual or seek assistance from a professional installer. Attention to detail and proper installation techniques are key to achieving optimal performance and longevity of your subwoofer system.
Step 6: Connect the Subwoofer and Amplifier
Connecting the subwoofer to the amplifier is the next step in the subwoofer installation process. Properly establishing this connection ensures that the subwoofer receives the audio signal and power it needs to produce deep and impactful bass. Follow these steps to connect the subwoofer and amplifier:
- Locate the Subwoofer RCA Input: Identify the RCA input on the amplifier that is specifically labeled for the subwoofer. It is usually color-coded or marked as “SUB” or “LFE” (Low-Frequency Effects).
- Connect the RCA Cable: Take the RCA cable and connect one end to the subwoofer output of your head unit or audio system. Then, connect the other end to the RCA input of the amplifier labeled for the subwoofer.
- Set the Crossover Frequency: Adjust the crossover frequency on the amplifier according to the specifications of your subwoofer and personal preference. The crossover frequency determines the range of frequencies that will be sent to the subwoofer. Usually, the frequency is set between 80Hz to 120Hz, but it may vary depending on your specific audio setup.
- Configure the Phase: The phase control ensures that the subwoofer’s sound blends smoothly with the other speakers in your audio system. Experiment with the phase control settings (usually marked as 0 or 180 degrees) to find the optimal phase alignment between the subwoofer and other speakers.
- Adjust the Gain: The gain control on the amplifier determines the volume level of the subwoofer. Start by setting the gain to a low level and gradually increase it until the desired balance is achieved between the subwoofer and the other speakers.
- Connect the Subwoofer: Use speaker wire to connect the positive and negative terminals on the subwoofer to the corresponding terminals on the amplifier. Ensure that the polarity is correct, with the positive terminal on the subwoofer connected to the positive terminal on the amplifier.
- Secure and Organize Wiring: Once all connections are made, secure and organize the wiring using zip ties, cable clamps, or wire loom. This helps to maintain a clean and organized installation while preventing any potential damage or interference.
- Test the System: After the connections are complete, turn on your audio system and play some music or audio content that contains deep bass. Listen carefully to ensure that the subwoofer is producing the desired level of bass without any distortion or rattling.
It’s important to note that the specific connection process may vary slightly depending on your amplifier and subwoofer models. Therefore, consulting their manuals is highly recommended to ensure proper connection and adjustment procedures.
By following these steps and properly connecting the subwoofer to the amplifier, you can enjoy the full potential of your subwoofer, enhancing the overall audio experience with deep, rich bass.
Step 7: Test and Fine-Tune the Subwoofer
Once the subwoofer is connected and all the connections are secure, it’s imperative to test and fine-tune the subwoofer to ensure optimal audio performance. Here are the steps to follow:
- Play Test Tracks: Select a variety of audio tracks that encompass a wide range of frequencies, including deep bass. Use tracks that you are familiar with and that have a balanced mix of instruments and vocals.
- Listen for Balance and Blend: Pay attention to the overall audio balance and how the subwoofer blends with the other speakers. The bass should be well-integrated and not overpowering or lacking in presence. Adjust the crossover frequency, phase, and gain settings to achieve the desired balance and blend.
- Check for Distortion: Listen for any distortion or rattling sounds coming from the subwoofer. If you encounter any distortion, reduce the gain or adjust the crossover to ensure that the subwoofer is accurately reproducing the low-frequency content without strain.
- Make Small Adjustments: Fine-tune the settings gradually, making small adjustments at a time. This allows you to carefully calibrate the subwoofer to your listening environment and personal preferences.
- Consider Room Acoustics: If you’re installing a home theater subwoofer, take into account the acoustics of the room. Experiment with subwoofer placement and adjustments to compensate for any room resonances or reflections that affect the bass response.
- Utilize Room Correction Tools: Depending on your audio system, you may have access to room correction tools or equalizers that can optimize the subwoofer’s performance. Use these tools to further refine the subwoofer’s output and achieve a well-balanced sound.
- Repeat the Testing Process: After making adjustments, play the test tracks again to evaluate the impact of the changes. Repeat this process as needed until you are satisfied with the subwoofer’s performance.
Remember that the fine-tuning process is subjective and can vary depending on personal preferences and room acoustics. Take your time to carefully listen and make adjustments until you achieve the desired bass response and overall audio experience.
It’s also recommended to periodically retest and readjust the subwoofer’s settings as environmental factors and audio sources may change over time. Regularly evaluating and fine-tuning the subwoofer will help maintain optimal audio performance and ensure a satisfying listening experience.
Conclusion
Installing a subwoofer can greatly enhance the audio experience whether it’s in your car or home theater system. By following the step-by-step process outlined in this article, you can successfully install and connect a subwoofer to an amplifier. From gathering the necessary tools and materials to fine-tuning the subwoofer, each step plays an important role in achieving optimal sound reproduction.
Remember to choose the right location for your subwoofer, taking into account room or vehicle acoustics and the desired listening area. Properly prepare the vehicle or room by removing panels and planning wiring routes to ensure a clean and safe installation.
Running the power cable correctly from the battery to the amplifier is crucial. Take care to protect the wiring and make secure connections, including grounding the amplifier to ensure proper operation and safety.
Installing the amplifier and connecting it to the subwoofer involves proper cable routing, setting the crossover frequency, phase adjustment, and gain control to achieve the desired balance and blend with the other speakers in your audio system.
Lastly, don’t forget to test and fine-tune the subwoofer to ensure optimal performance. Listen for balance, adjust for room acoustics, and make small adjustments as needed to achieve your desired bass response.
By following these steps and taking the time to properly install and set up your subwoofer, you can transform your audio system into a powerful and immersive experience. Enjoy the deep, rich bass that comes with a well-installed and connected subwoofer, and elevate your audio enjoyment to new heights.