Home>Production & Technology>DJ>How To Make DJ Drops On Garageband
DJ
How To Make DJ Drops On Garageband
Published: March 2, 2024
Learn how to create professional DJ drops using Garageband. Follow our step-by-step guide to produce high-quality audio for your mixes and sets.
(Many of the links in this article redirect to a specific reviewed product. Your purchase of these products through affiliate links helps to generate commission for AudioLover.com, at no extra cost. Learn more)
Table of Contents
Introduction
Are you ready to take your DJ game to the next level? One of the most effective ways to make your DJ sets stand out is by incorporating custom DJ drops. These personalized audio snippets not only add a professional touch to your mixes but also help establish your unique brand identity. Whether you're a seasoned DJ or just starting out, creating your own DJ drops can be a game-changer.
In this comprehensive guide, we'll show you how to craft attention-grabbing DJ drops using Garageband, a versatile digital audio workstation available on Mac. With its user-friendly interface and powerful features, Garageband provides the perfect platform for producing high-quality DJ drops that will elevate your performances and leave a lasting impression on your audience.
By following the step-by-step instructions outlined in this tutorial, you'll learn how to record captivating voiceovers, apply dynamic effects and filters, and export your custom DJ drops with ease. Whether you want to inject energy into your mixes with catchy catchphrases or create a signature intro for your sets, mastering the art of DJ drop production will set you apart from the crowd and add a professional polish to your performances.
So, if you're ready to unleash your creativity and make a memorable impact with your DJing, grab your headphones, fire up Garageband, and let's dive into the exciting world of crafting custom DJ drops that reflect your style and personality. Get ready to captivate your audience and leave them eagerly anticipating your next electrifying mix!
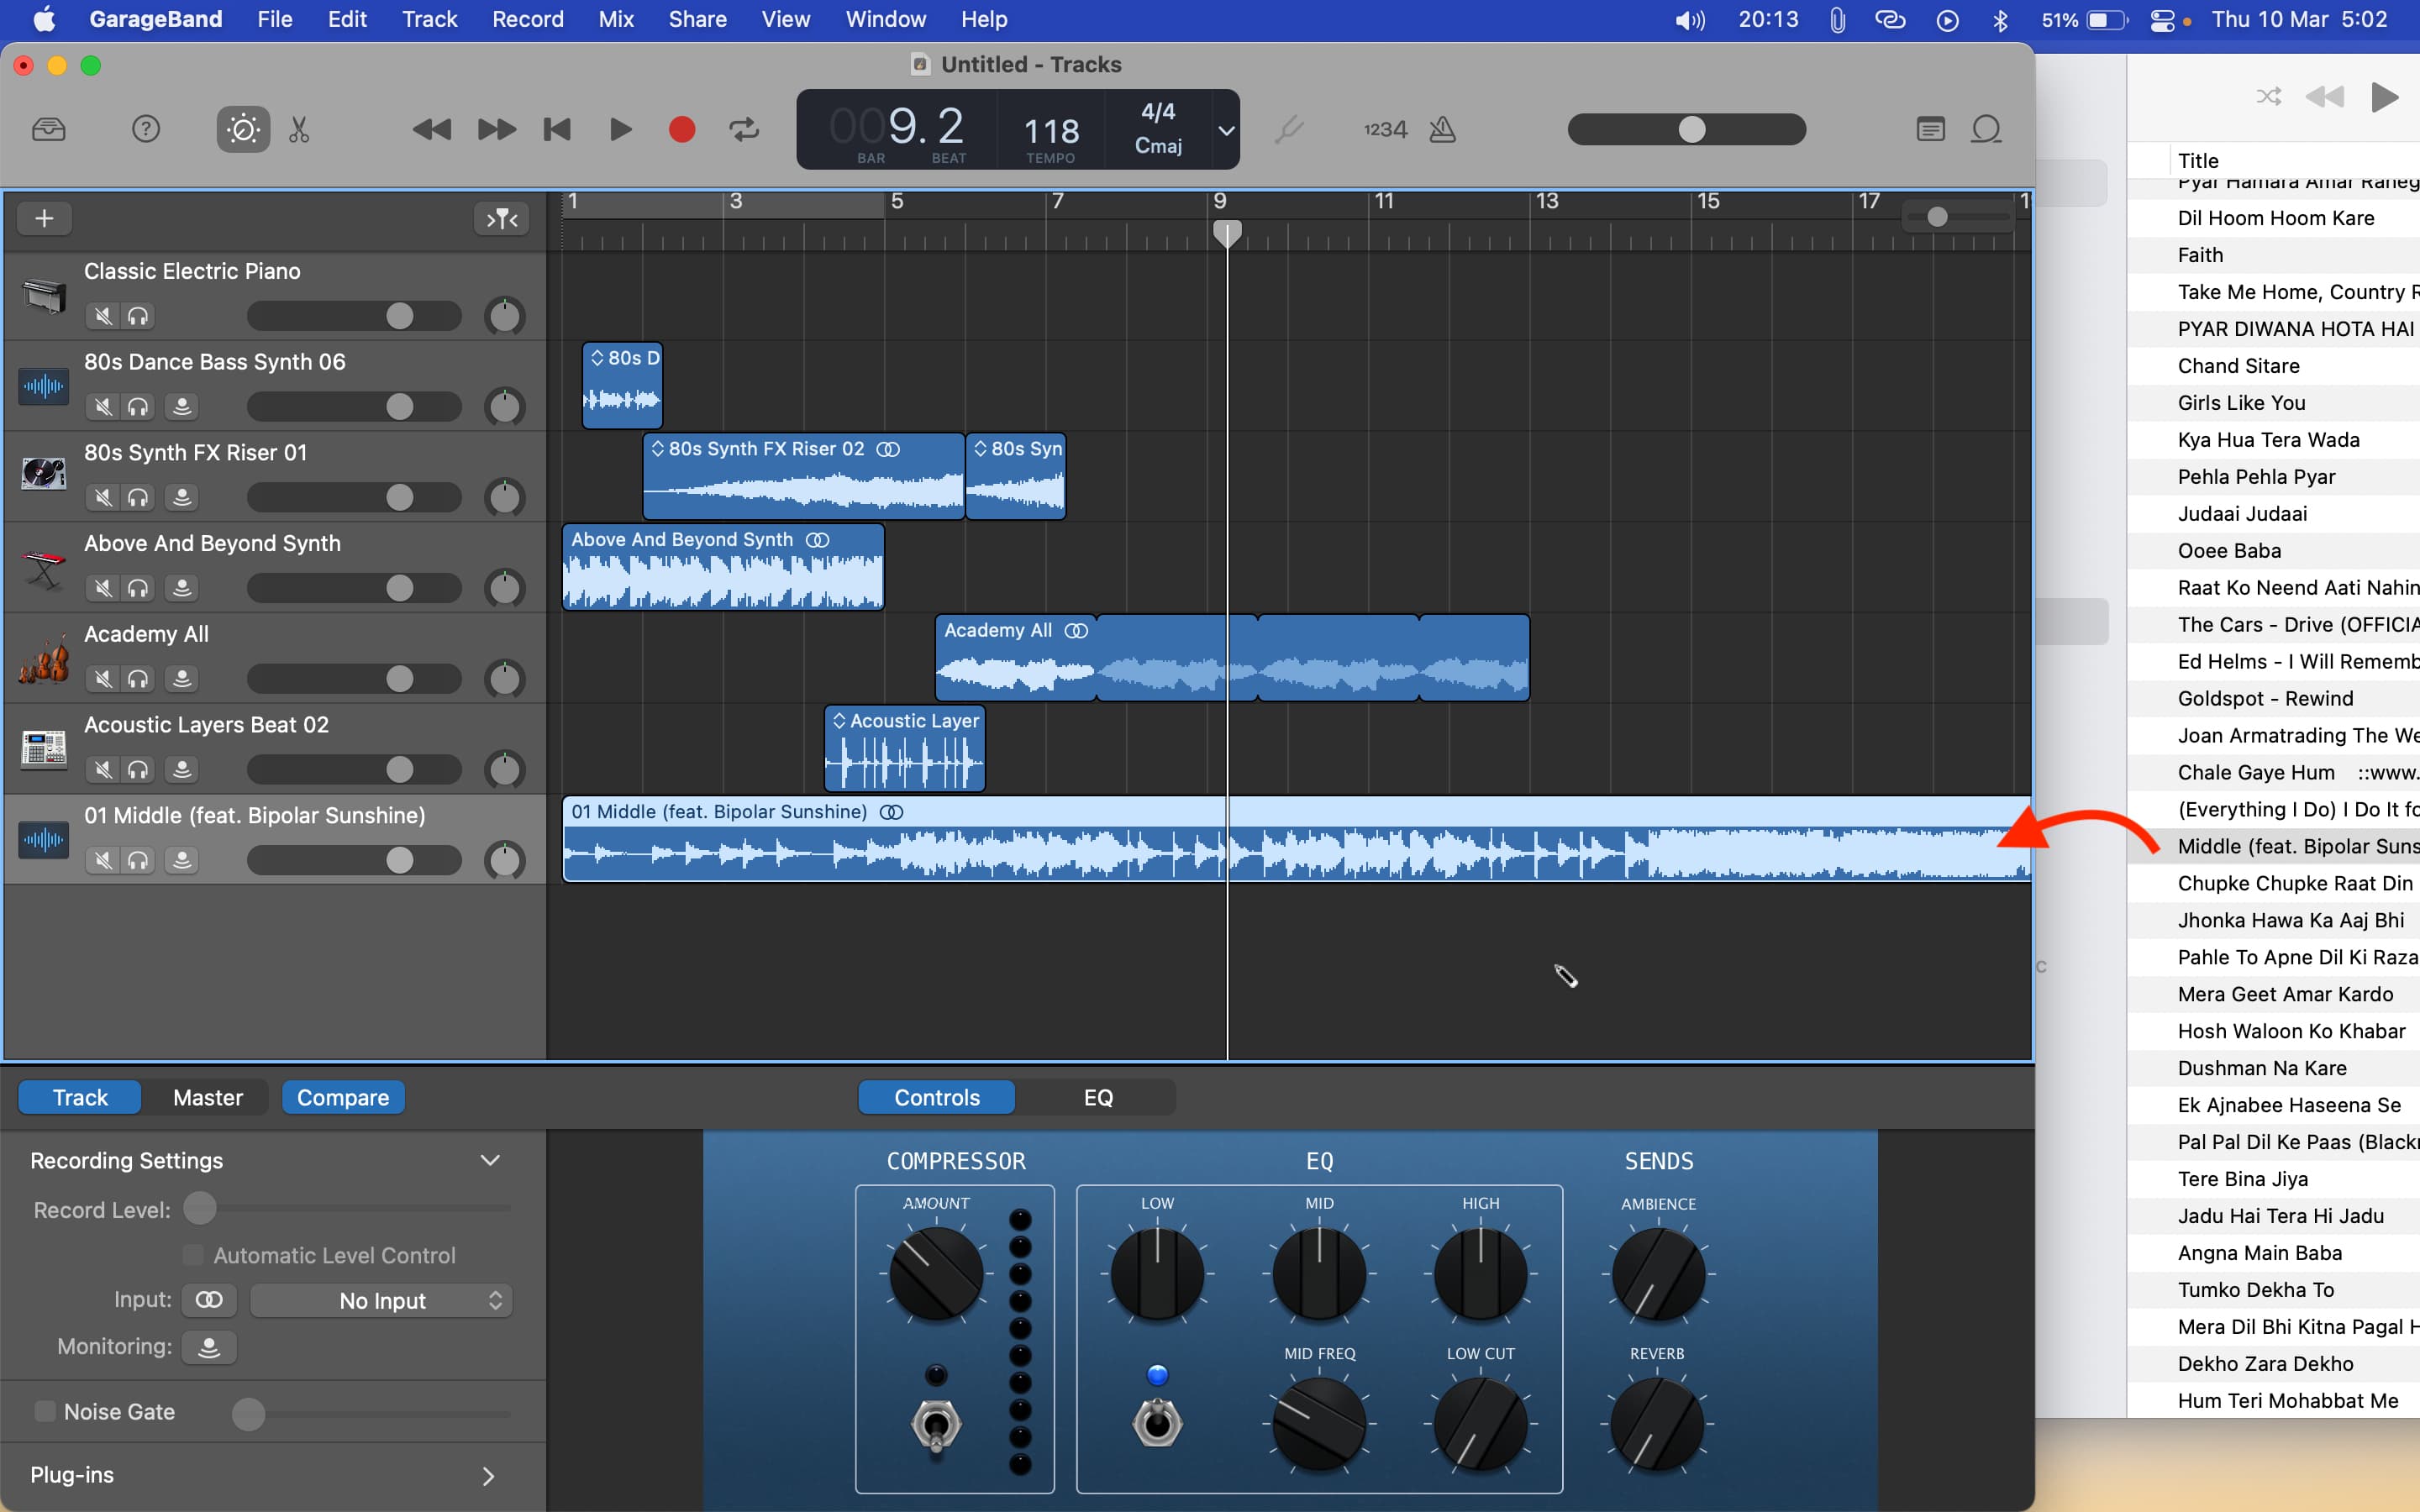
Setting Up Your Garageband Project
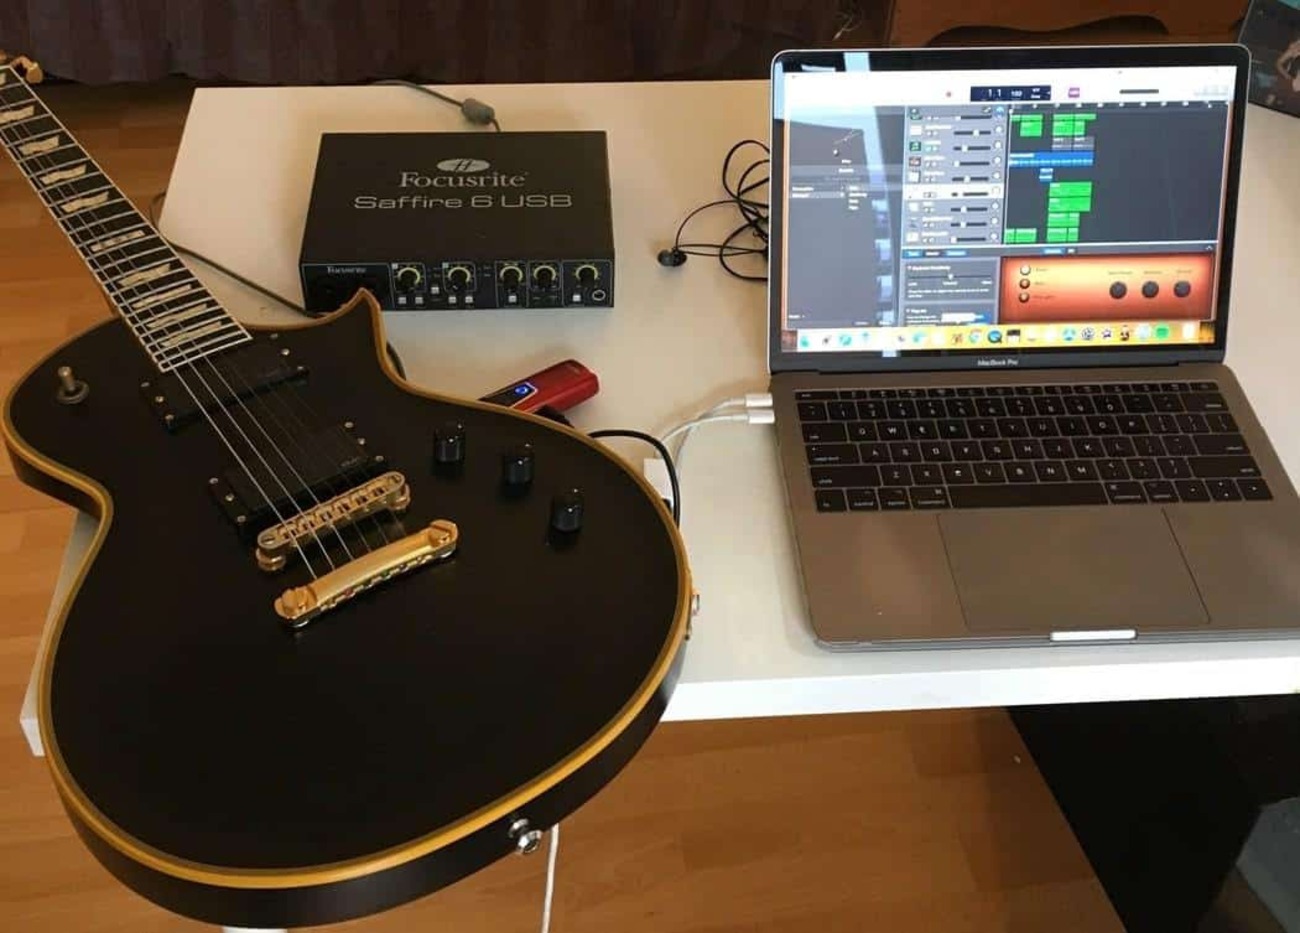
Before diving into the creative process of crafting your own DJ drops, it's crucial to set up your Garageband project for optimal recording and editing. Here's a step-by-step guide to ensure that you're ready to unleash your creativity:
-
Launch Garageband: After opening Garageband on your Mac, select "New Project" to begin a fresh audio project. You can choose the "Voice" option as the project template, which provides a suitable starting point for recording voiceovers.
-
Select Your Input Device: Ensure that your preferred microphone is selected as the input device. Garageband offers a range of compatible input devices, so make sure to choose the one that best suits your recording setup.
-
Adjust Project Settings: Click on the settings icon to configure the project settings according to your preferences. You can adjust parameters such as the project tempo, time signature, and key to align with the style and mood of your DJ drops.
-
Set Track Parameters: Create a new audio track by clicking on the "+" icon and selecting "Audio." This will enable you to record your voiceover on a dedicated track, allowing for seamless editing and processing later on.
-
Check Input Levels: Before recording, it's essential to check the input levels to ensure that your voice is captured at an optimal volume. Garageband provides visual indicators that help you monitor the input levels and prevent distortion during recording.
-
Configure Headphone Monitoring: To facilitate clear and accurate voice recording, set up headphone monitoring to hear your voice in real-time while recording. This feature allows you to adjust your delivery and ensure that the voiceover aligns with your vision for the DJ drop.
By meticulously setting up your Garageband project, you lay a solid foundation for the creative process that follows. This preparation ensures that you can focus on delivering captivating voiceovers and experimenting with effects and filters to produce compelling DJ drops that resonate with your audience. With your project primed and ready, it's time to bring your unique style and personality to life through the power of audio production.
Recording Your Voiceover
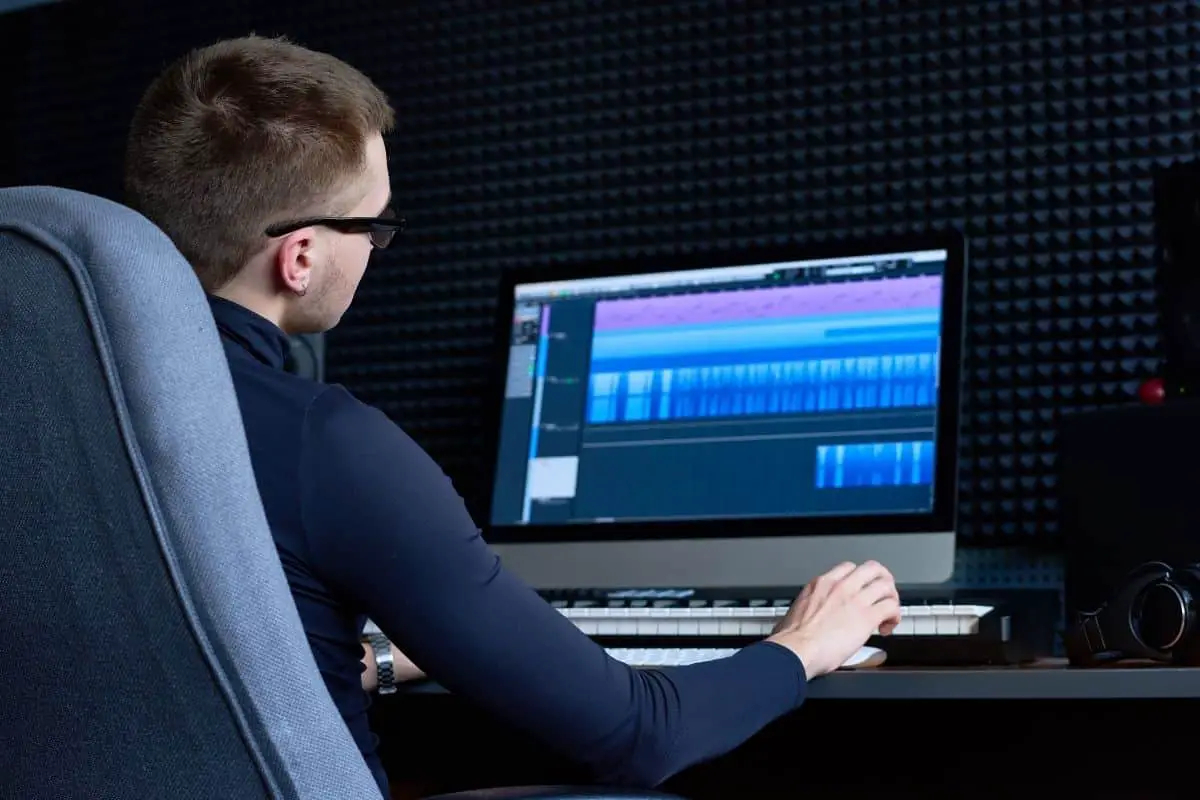
With your Garageband project primed for action, it's time to channel your creativity into recording captivating voiceovers that will form the foundation of your custom DJ drops. Here's a detailed walkthrough of the voice recording process, designed to help you unleash your vocal prowess and infuse your DJ drops with personality and flair.
-
Prepare Your Script: Before hitting the record button, it's beneficial to have a well-crafted script at your disposal. Whether you're aiming for a punchy catchphrase, a memorable intro, or a signature tagline, a thoughtfully written script provides a roadmap for your vocal delivery. Consider the tone, energy, and cadence that align with your DJ persona and the vibe of your mixes.
-
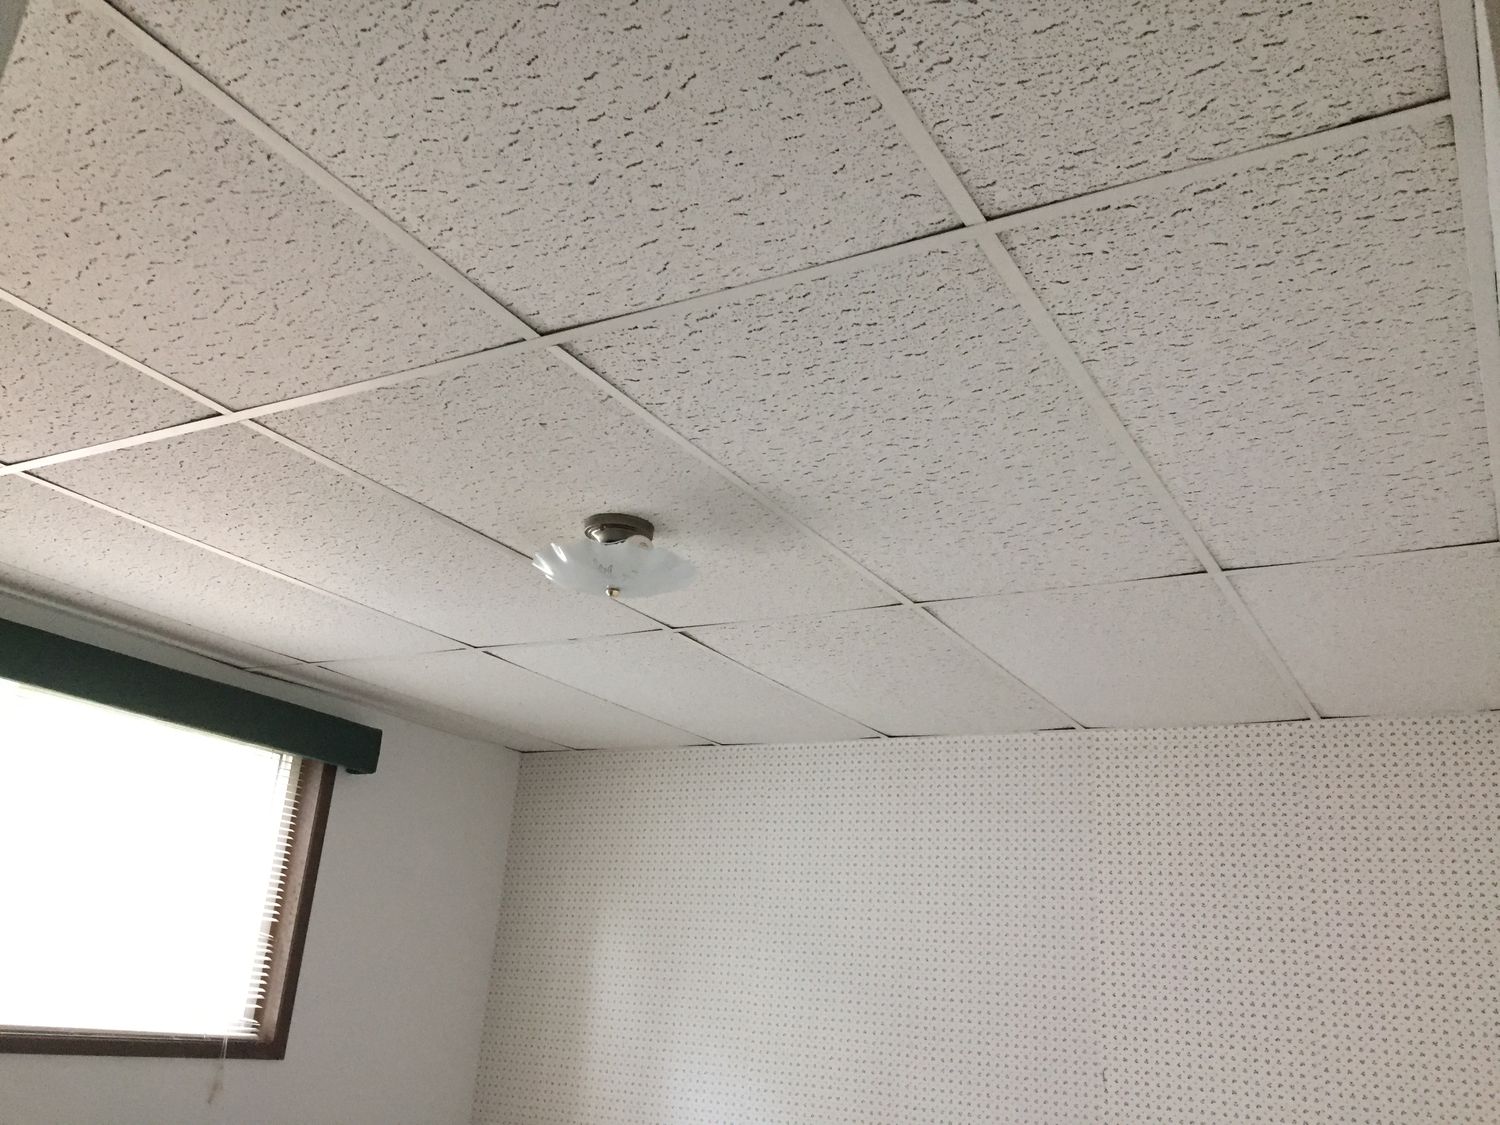
Find Your Ideal Recording Environment: Selecting the right recording environment is crucial for capturing clean and professional-sounding voiceovers. Choose a quiet space with minimal background noise to ensure that your recordings are devoid of unwanted distractions. Additionally, consider using acoustic treatments or portable vocal booths to minimize room reflections and achieve a crisp, focused sound.
-
Warm Up Your Voice: Just as a DJ warms up the crowd before unleashing a high-energy set, it's essential to warm up your vocal cords before recording. Engage in vocal exercises and gentle warm-ups to ensure that your voice is flexible, clear, and ready to deliver impactful performances. This simple yet effective practice can make a noticeable difference in the quality of your recordings.
-
Capture Expressive Takes: When recording your voiceover, aim to deliver multiple takes with varying levels of expression and delivery. Experiment with different inflections, emphasis on key words, and pacing to explore the full range of possibilities. This approach provides you with a diverse pool of recordings to choose from, allowing you to select the most compelling take during the editing phase.
-
Embrace Authenticity and Confidence: As you step into the recording booth, embrace your authentic voice and exude confidence in your delivery. Injecting your personality and style into the voiceover adds a genuine touch that resonates with your audience. Whether you opt for a commanding delivery, a playful tone, or a smooth vocal style, embodying confidence and authenticity elevates the impact of your DJ drops.
-
Leverage Vocal Techniques: Explore vocal techniques such as modulation, emphasis, and vocal dynamics to infuse your voiceovers with depth and emotion. By mastering these techniques, you can craft voiceovers that command attention, evoke excitement, and leave a lasting impression on your listeners.
By following these steps and infusing your voiceovers with passion and creativity, you'll be well-equipped to capture compelling recordings that form the heart and soul of your custom DJ drops. With your voice brought to life in the digital realm, you're poised to embark on the next phase of the production process, where you'll add dynamic effects and filters to transform your voiceovers into attention-grabbing DJ drops.
Adding Effects and Filters
With your voiceovers expertly recorded and brimming with personality, it's time to elevate them to new heights through the strategic application of effects and filters in Garageband. These transformative tools will allow you to infuse your DJ drops with sonic richness, energy, and a professional sheen that captivates your audience. Let's delve into the exciting realm of audio manipulation and explore the steps to enhance your voiceovers with dynamic effects and filters.
-
Selecting the Right Effects: Garageband offers a diverse array of effects, ranging from EQ and compression to reverb and delay. Each effect serves a specific purpose, whether it's sculpting the tonal characteristics of your voice or adding spatial depth and dimension. Consider the mood and vibe of your DJ drops as you browse through the effects palette, aiming to enhance the impact of your voiceovers in a way that resonates with your audience.
-
Applying EQ and Compression: Utilize the equalization (EQ) tool to fine-tune the tonal balance of your voice, emphasizing clarity and presence while attenuating any unwanted frequencies. Additionally, leverage compression to control the dynamic range of your voiceovers, ensuring that the quieter and louder passages are balanced for a polished and consistent sound.
-
Infusing Spatial Depth with Reverb and Delay: To imbue your voiceovers with a sense of space and depth, experiment with reverb and delay effects. Reverb adds a lush ambience, simulating various acoustic environments, while delay introduces rhythmic echoes that can enhance the rhythmic flow and impact of your voiceovers.
-
Exploring Creative Modulation and Pitch Effects: Delve into the realm of creative modulation and pitch-shifting effects to impart a unique character to your voiceovers. Whether it's adding subtle chorus for a touch of warmth or experimenting with pitch modulation for an otherworldly vibe, these effects can inject personality and intrigue into your DJ drops.
-
Harnessing Automation for Dynamic Impact: Garageband's automation capabilities enable you to dynamically control the parameters of your effects over time. By automating effect parameters such as reverb decay, delay feedback, or EQ settings, you can sculpt evolving textures that amplify the emotional impact of your voiceovers.
-
Fine-Tuning with Pre-Set and Custom Presets: Garageband offers a plethora of pre-set and custom presets for effects, providing a convenient starting point for sculpting your desired sound. Experiment with different presets, and don't hesitate to create custom effect chains tailored to the unique characteristics of your voice and the creative vision for your DJ drops.
By skillfully integrating these effects and filters into your voiceovers, you'll transform them into compelling DJ drops that command attention and elevate the sonic landscape of your mixes. With your voiceovers now imbued with a captivating sonic identity, the final step of exporting your custom DJ drops awaits, allowing you to share your creative expressions with the world.
Exporting Your DJ Drop
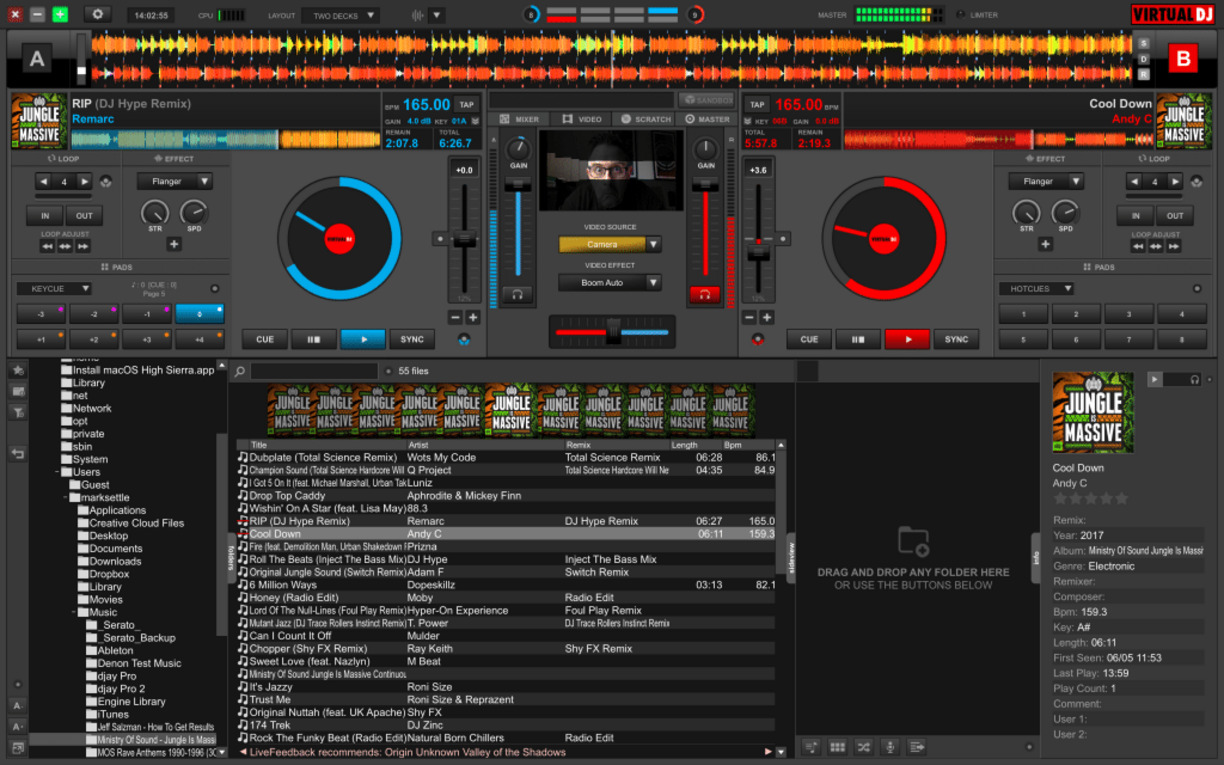
Once you've meticulously crafted your custom DJ drops in Garageband, it's time to export them in a format that ensures seamless integration into your DJ mixes and sets. The export process is a crucial step that determines the compatibility, quality, and accessibility of your DJ drops. By following the steps outlined below, you'll navigate the export process with confidence and precision, ready to unleash your custom DJ drops in your performances.
-
Selecting the Export Format: Upon completing the production and enhancement of your DJ drops, navigate to the "File" menu in Garageband and select the "Export" option. Here, you'll encounter a range of export formats, including MP3, WAV, AIFF, and more. Consider the specific requirements of your DJ software or platform, as well as the desired audio quality, when choosing the export format.
-
Optimizing Audio Settings: Before finalizing the export, delve into the audio settings to ensure that your DJ drops are optimized for seamless integration into your mixes. Adjust parameters such as the sample rate, bit depth, and encoding method to align with the specifications of your DJ software and the desired audio fidelity.
-
Naming and Organizing: Assign a clear and descriptive name to each DJ drop, allowing for easy identification and organization within your DJ library. Consider incorporating relevant metadata such as BPM, key, and category tags to streamline the sorting and retrieval of your DJ drops during performances.
-
Finalizing the Export: With the export format and audio settings configured to your satisfaction, proceed to initiate the export process. Garageband will render your DJ drops into the selected format, ensuring that they are ready for seamless integration into your DJ sets.
-
Quality Assurance: Take a moment to audition the exported DJ drops to verify their sonic integrity and compatibility with your DJ software. By conducting a quality check, you can address any potential issues and ensure that your DJ drops meet the highest standards of audio fidelity and performance readiness.
-
Organizing Your DJ Drop Library: Upon exporting your DJ drops, consider organizing them within a dedicated folder or library structure that aligns with your DJ workflow. This systematic approach facilitates quick access to your custom DJ drops during performances, allowing you to effortlessly incorporate them into your mixes and sets.
By meticulously executing the export process and organizing your DJ drop library, you'll empower yourself to seamlessly integrate your custom creations into your DJ performances, elevating the energy, impact, and professionalism of your sets. With your custom DJ drops at the ready, you're poised to captivate your audience and leave a lasting impression with your distinct sonic identity.