Home>Production & Technology>Soundproofing>Soundproofing How To Hang Movers Blankets
Soundproofing
Soundproofing How To Hang Movers Blankets
Published: January 26, 2024
Learn how to soundproof your space with movers blankets. Follow these step-by-step instructions and hang your blankets effectively for maximum sound reduction.
(Many of the links in this article redirect to a specific reviewed product. Your purchase of these products through affiliate links helps to generate commission for AudioLover.com, at no extra cost. Learn more)
Table of Contents
- Introduction
- Why Use Movers Blankets for Soundproofing
- Materials and Tools Needed
- Step 1: Measure the Area to be Soundproofed
- Step 2: Prepare the Movers Blankets
- Step 3: Install Hooks or Rings for Hanging
- Step 4: Hang the Movers Blankets
- Step 5: Secure the Blankets in Place
- Step 6: Evaluate and Make Adjustments
- Conclusion
Introduction
Welcome to this comprehensive guide on soundproofing using movers blankets. If you’re looking for an effective and cost-efficient way to minimize noise in your space, movers blankets can be a great solution. Whether you want to keep your home quiet, create a private space in a shared environment, or block out external noises for a home recording studio, soundproofing with movers blankets can provide the sound isolation you need.
Movers blankets, also known as moving pads or furniture blankets, are thick and heavy-duty blankets used to protect furniture and other delicate items during transportation. These blankets are designed to provide padding and insulation, which makes them highly effective at absorbing sound waves and reducing noise transmission.
In addition to their affordability and versatility, movers blankets are a popular choice for soundproofing because they are easy to install and remove. They can be used in various settings such as apartments, homes, offices, recording studios, and even vehicles.
In this guide, we’ll walk you through the step-by-step process of soundproofing using movers blankets. We’ll cover everything from measuring the area to be soundproofed, preparing the blankets, installing hooks or rings for hanging, and securely installing the blankets in place. We’ll also provide tips for evaluating the effectiveness of your soundproofing efforts and making any necessary adjustments.
Before we dive into the details, it’s important to note that while movers blankets can significantly reduce noise, they may not eliminate it entirely. The level of noise reduction will depend on various factors such as the thickness and quality of the blankets, the type of structure and its existing soundproofing capabilities, and the intensity of the noise source.
Now that we have a good understanding of what movers blankets are and their potential benefits, let’s get started on the soundproofing journey!
Why Use Movers Blankets for Soundproofing
When it comes to soundproofing, movers blankets are an excellent choice for several reasons. Let’s explore why using movers blankets can be an effective solution for reducing noise in your space.
1. Sound Absorption: Movers blankets are specifically designed with sound absorption in mind. Their thick and dense construction allows them to absorb and dampen sound waves, preventing them from bouncing off walls and other surfaces. This helps to minimize echo and reverberation, resulting in a quieter and more controlled environment.
2. Versatility: Movers blankets can be used in a variety of settings and applications. Whether you’re soundproofing a room in your home, creating a makeshift studio, or even insulating a noisy vehicle, movers blankets are a versatile option. They can be easily cut to size and draped or attached to walls, ceilings, doors, or other surfaces, offering flexibility in how you use them.
3. Cost-Effectiveness: Compared to other soundproofing materials, movers blankets are relatively inexpensive. They provide a cost-effective solution for those on a budget or for temporary soundproofing needs. Investing in a few blankets can yield significant noise reduction without breaking the bank.
4. Easy Installation and Removal: Another advantage of using movers blankets is their simplicity and ease of installation. You don’t need any specialized tools or skills to hang and secure them. With the right accessories, such as hooks or rings, you can quickly set up and remove the blankets as needed. This makes them ideal for renters or those who may need to change their soundproofing setup in the future.
5. Reusability: Movers blankets are designed to withstand the rigors of moving and transportation. They are made from durable materials that can withstand repeated use, making them a cost-effective and environmentally friendly option. Even after their intended purpose, movers blankets can be repurposed for soundproofing or as furniture protectors, adding value and longevity to your investment.
6. Aesthetics: While soundproofing materials may not always be the most visually appealing, some movers blankets come in neutral and attractive colors. This allows you to integrate them seamlessly into your space without compromising on style. In fact, with a little creativity, you can even use movers blankets as decorative elements, adding a unique touch to your soundproofing efforts.
Overall, movers blankets offer a practical and effective way to reduce noise in your environment. They provide excellent sound absorption, versatility, affordability, easy installation, reusability, and the potential for aesthetic integration. Now that we understand the benefits of using movers blankets, let’s move on to the next steps: gathering the necessary materials and tools.
Materials and Tools Needed
Before you begin the soundproofing process with movers blankets, it’s important to gather all the necessary materials and tools. Having everything prepared beforehand will ensure a smooth installation process. Here is a list of what you’ll need:
1. Movers Blankets: The main component of this soundproofing method is, of course, the movers blankets themselves. You’ll need enough blankets to cover the area you want to soundproof. The number of blankets will depend on the size of the space and your desired level of sound insulation. Consider purchasing blankets made specifically for soundproofing, as they are designed to provide the best sound absorption.
2. Measuring Tape: To accurately measure the dimensions of the space you want to soundproof, you’ll need a measuring tape. Measure the height and width of the walls, doors, or other surfaces to determine the amount of blanket material you’ll need.
3. Scissors or Cutting Tools: Movers blankets are typically large and may need to be cut to fit specific dimensions or shapes. Having a pair of scissors or cutting tools handy will make it easier to customize the blankets to your desired size.
4. Hooks or Rings: To hang the movers blankets, you’ll need hooks or rings that are suitable for the weight and thickness of the blankets. Depending on the type of hooks or rings you choose, you might also need screws or nails to secure them to the walls or ceilings.
5. Drill or Hammer: If you’re using hooks that require screws or nails, you’ll need a drill or a hammer to create holes and attach the hooks securely. Ensure you have the necessary power tools or manual tools to complete this step safely.
6. Ladder or Step Stool: Depending on the height of the walls or ceilings you’re working with, you might need a ladder or step stool to reach higher areas safely. Always prioritize your safety when using any elevated equipment.
7. Optional Accessories: Depending on your specific soundproofing needs, you may consider additional accessories such as adhesive tape or velcro strips to secure the blankets in place, soundproof caulk to seal any gaps or cracks, or double-sided tape for quick and temporary installations.
Make sure you have all the necessary materials and tools on hand before starting the soundproofing process. Having everything prepared will save you time and ensure a more efficient installation. Now that you’re equipped with the required materials and tools, let’s move on to the step-by-step process of soundproofing with movers blankets.
Step 1: Measure the Area to be Soundproofed
Before you can begin soundproofing with movers blankets, you need to accurately measure the area you want to cover. This step will help determine the number and size of movers blankets you’ll need. Here’s how to get started:
- Take out your measuring tape: Grab a reliable measuring tape that shows both inches and feet. A retractable tape measure is recommended for convenience and accuracy.
- Identify the surfaces to be covered: Determine which walls, doors, or other surfaces you’ll be soundproofing with movers blankets. It’s essential to have a clear understanding of the boundaries and dimensions of the area you want to soundproof.
- Measure the height: Start by measuring the height of the walls or surfaces you want to cover. Hold the measuring tape at the floor and extend it vertically until it reaches the desired height. Take note of the measurement.
- Measure the width: Next, measure the width of the walls or surfaces you want to soundproof. Hold the measuring tape horizontally and measure from one end to the other. Make sure to account for any obstacles such as doors or windows that you won’t be covering.
- Calculate the area: Multiply the height and width measurements to determine the total area you need to cover. This will give you the square footage or square meters of movers blankets required. Consider adding a little extra to account for any overlaps or adjustments you might need during the installation process.
It’s important to be as precise as possible when measuring the area to be soundproofed. Small measurement errors can result in incorrect estimates and the need for additional movers blankets or improper coverage.
Once you have your measurements, you can proceed to the next step of preparing the movers blankets for soundproofing. With accurate measurements in hand, you’ll be well-prepared to cover your desired area effectively and efficiently.
Step 2: Prepare the Movers Blankets
After measuring the area to be soundproofed, the next step is to prepare the movers blankets for installation. This involves assessing the size, thickness, and overall condition of the blankets, as well as making any necessary adjustments. Here’s what you need to do:
- Inspect the blankets: Start by examining the movers blankets for any damages or defects. Look for tears, holes, or uneven padding. It’s important to ensure that the blankets are in good condition and able to effectively block sound.
- Trim excess material: If the movers blankets are larger than the measured area, use scissors or cutting tools to trim off any excess material. Be mindful of maintaining straight and clean-cut edges to achieve a neat look once the blankets are installed.
- Consider layering: Depending on the thickness and quality of your movers blankets, you might want to consider layering them for improved soundproofing. This is especially beneficial if you’re dealing with particularly loud or persistent noises. Layering the blankets will enhance their sound absorption capabilities.
- Attach grommets (optional): If your movers blankets do not come with pre-installed grommets, you can add them for easier hanging and securing. Grommets are reinforced metal holes that allow you to attach hooks or rings. Use a grommet kit and follow the instructions to add grommets to the blankets at regular intervals.
- Check for fire safety: It’s important to ensure that the movers blankets you’re using have fire-resistant properties. This is especially crucial if you’re planning to use them in areas with potential fire hazards, such as recording studios or practice spaces. Look for blankets labeled as flame retardant or fire-resistant.
By preparing the movers blankets before installation, you can ensure they are the right size, in good condition, and optimized for soundproofing. Trimming excess material, layering blankets for added thickness, attaching grommets, and prioritizing fire safety will help you achieve the best soundproofing results.
With the movers blankets properly prepared, you’re now ready to move on to the next step: installing hooks or rings to hang the blankets. These accessories will provide a secure and convenient way to attach the blankets to walls, ceilings, or other surfaces.
Step 3: Install Hooks or Rings for Hanging
Once you have prepared the movers blankets, the next step in the soundproofing process is to install hooks or rings that will be used to hang the blankets. This step is essential in securely attaching the blankets to the desired surfaces. Here’s how you can proceed:
- Select suitable hooks or rings: Choose hooks or rings that are suitable for the weight and thickness of the movers blankets. Heavy-duty hooks or sturdy metal rings are recommended to ensure they can support the weight of the blankets.
- Determine placement: Decide where you want to position the hooks or rings on the walls, ceilings, or other surfaces. Consider the layout of the area and the coverage you want to achieve with the movers blankets. It’s usually best to install the hooks or rings at regular intervals along the edges of the blankets.
- Mark the installation points: Use a pencil or a marker to make small marks on the surface where you’ll be installing the hooks or rings. Take measurements and ensure the placement of the marks is accurate and symmetrical.
- Drill or hammer: If you’re using hooks that require screws, use a drill to create pilot holes at the marked points. Make sure the pilot holes are slightly smaller than the screws you’ll be using. If you’re using rings that require nails, gently tap the nails into the marked points using a hammer.
- Secure the hooks or rings: Place the hooks or rings into the pilot holes or onto the nails, ensuring they are firmly attached to the surface. If necessary, tighten the screws with a screwdriver to ensure a secure fit.
It’s important to follow proper installation techniques to ensure the hooks or rings are securely in place. This will prevent any accidents or damage caused by the weight of the movers blankets. If you’re unsure about installing the hooks or rings yourself, consider consulting a professional to ensure a safe and effective soundproofing setup.
With the hooks or rings installed, you’re now ready to move on to the next step: hanging the movers blankets. This step will involve attaching the blankets to the hooks or rings securely, allowing them to effectively block and absorb sound.
Step 4: Hang the Movers Blankets
With the hooks or rings in place, it’s time to hang the movers blankets and start reaping the benefits of soundproofing. Properly hanging the blankets will ensure they are securely attached and able to effectively block and absorb sound. Here’s how you can proceed with this step:
- Start from one corner: Begin by hanging the first movers blanket from one corner of the area you’re soundproofing. Lift the blanket and align its top edge with the hook or ring attached to the wall or ceiling.
- Spread the blanket: Unfold the blanket completely and gently spread it along the surface, ensuring it covers as much of the area as possible. Smooth out any wrinkles or bulges for a neat and even appearance.
- Repeat for additional blankets: If you’re using multiple movers blankets, repeat the process for each subsequent blanket. Hang them adjacent to each other, slightly overlapping the edges to minimize sound leakage.
- Adjust for full coverage: Pay attention to the corners and edges to ensure the blankets adequately cover the entire soundproofing area. Make any necessary adjustments, such as pulling the blankets tighter or rearranging them for better coverage.
- Ensure secure attachment: Check that each blanket is securely attached to the hooks or rings. Give them a gentle tug to confirm they are firmly in place. If any blankets feel loose, readjust and ensure they are properly secured.
Keep in mind that the soundproofing effectiveness will depend on how well the movers blankets are hung. Optimizing coverage and minimizing gaps or spaces between the blankets will enhance their ability to absorb sound waves.
If your movers blankets are equipped with grommets, you can also use additional hooks or rings to attach them vertically along the edges. This allows for better stability and prevents the blankets from sagging or falling down over time.
Remember, the goal is to create a barrier that effectively blocks and absorbs sound, so take your time to ensure the movers blankets are hung properly. Once the blankets are in place, you can proceed to the next step: securing them to maintain their position and maximize soundproofing performance.
Step 5: Secure the Blankets in Place
After hanging the movers blankets, it’s important to secure them in place to ensure they remain properly positioned and provide optimal soundproofing. This step involves taking measures to prevent the blankets from sagging, shifting, or falling down. Here’s how you can securely attach the blankets:
- Use adhesive tape or Velcro: To prevent the blankets from shifting or sagging, you can use adhesive tape or Velcro strips to secure them in place. Attach the tape or Velcro to the top corners or edges of the blankets, and then press them firmly against the wall or ceiling surface.
- Add additional hooks or rings: If the blankets are still not securely held, consider installing additional hooks or rings at strategic points along the edges or corners. Attach the blankets to these new hooks or rings for added support.
- Utilize double-sided tape: For a quick and temporary solution, you can use double-sided tape on the back or bottom edges of the blankets. Attach the tape to the wall or surface, then press the blankets onto the tape to hold them in place.
- Check for any gaps or spaces: Inspect the area where the blankets meet the walls, ceiling, or other surfaces for any gaps or spaces. These areas can allow sound to escape, so use adhesive tape, caulk, or additional blankets to seal any openings and ensure a tight seal.
- Make adjustments as needed: Step back and evaluate the overall appearance and effectiveness of the soundproofing. If you notice any sagging, unevenness, or gaps, make the necessary adjustments by readjusting the blankets, adding more support, or using additional soundproofing materials.
Remember, the key is to create a secure and uninterrupted barrier that effectively blocks and absorbs sound. By securing the movers blankets in place, you’ll maximize their soundproofing capabilities and ensure a more tranquil environment.
Once you’ve secured the blankets to your satisfaction, it’s time to move on to the final step: evaluating the effectiveness of your soundproofing efforts and making any necessary adjustments for optimal results.
Step 6: Evaluate and Make Adjustments
The final step in the soundproofing process with movers blankets is to evaluate the effectiveness of your efforts and make any necessary adjustments. This step allows you to fine-tune your soundproofing setup for optimal noise reduction. Here’s how you can evaluate and make adjustments:
- Assess noise reduction: Take some time to observe and listen to the space you’ve soundproofed. Pay attention to the level of noise reduction, whether it’s from outside sources or within the room. Notice any changes in sound quality and volume.
- Identify areas of improvement: If you notice any areas or spots where sound is leaking or not sufficiently blocked, make a note of them. Look for any gaps, loose sections, or gaps between the movers blankets that need attention.
- Make necessary adjustments: Based on your evaluation, proceed to make the necessary adjustments. This might involve repositioning the movers blankets, adding additional blankets for better coverage, sealing gaps or openings with adhesive tape or caulk, or using other soundproofing materials to enhance the effectiveness of your setup.
- Experiment with placement: If you’re still experiencing unwanted noise, consider experimenting with the placement of the movers blankets. Moving them to different positions or angles can sometimes help improve soundproofing by redirecting or absorbing sound waves more effectively.
- Test and reevaluate: After making adjustments, take some time to test and reevaluate the soundproofing. Listen for any improvements in noise reduction and assess how well the changes have addressed the previously identified areas of concern.
Remember, soundproofing is often a process of trial and error. It may take some time and experimentation to find the ideal setup for your specific noise reduction needs. Don’t be discouraged if you need to make several adjustments before achieving the desired level of soundproofing.
It’s also worth mentioning that while movers blankets are effective in reducing noise, they may not completely eliminate all sounds. The level of noise reduction will depend on factors such as the thickness and quality of the blankets, the structure of the room, and the intensity of the noise source.
By evaluating the effectiveness of your soundproofing setup and making adjustments as needed, you’ll be able to create a quieter and more comfortable environment that suits your specific requirements.
Now that you’ve completed the evaluation and adjustment process, you can enjoy the enhanced soundproofing provided by the movers blankets. Congratulations on successfully soundproofing your space!
Conclusion
Congratulations on completing the soundproofing process using movers blankets! By following the steps outlined in this guide, you’ve taken a cost-effective and practical approach to reducing noise and creating a more peaceful environment. Let’s recap the key points:
1. Movers blankets are versatile, cost-effective, and easy to install soundproofing solutions.
2. When properly prepared and hung, movers blankets can effectively block and absorb sound waves.
3. Measuring the area accurately ensures you have the right amount of blanket coverage.
4. Securing the blankets in place prevents sagging or shifting, maximizing their soundproofing capabilities.
5. Evaluating and making adjustments fine-tunes the soundproofing setup for optimal noise reduction.
Remember, while movers blankets are effective, they may not completely eliminate all noise. The level of noise reduction will depend on various factors, as mentioned throughout the guide.
By incorporating movers blankets into your soundproofing efforts, you’ve taken a proactive step towards creating a quieter and more comfortable space. Enjoy the benefits of reduced noise and improved sound quality, whether you’re creating a home theater, a recording studio, or simply seeking a more peaceful living environment.
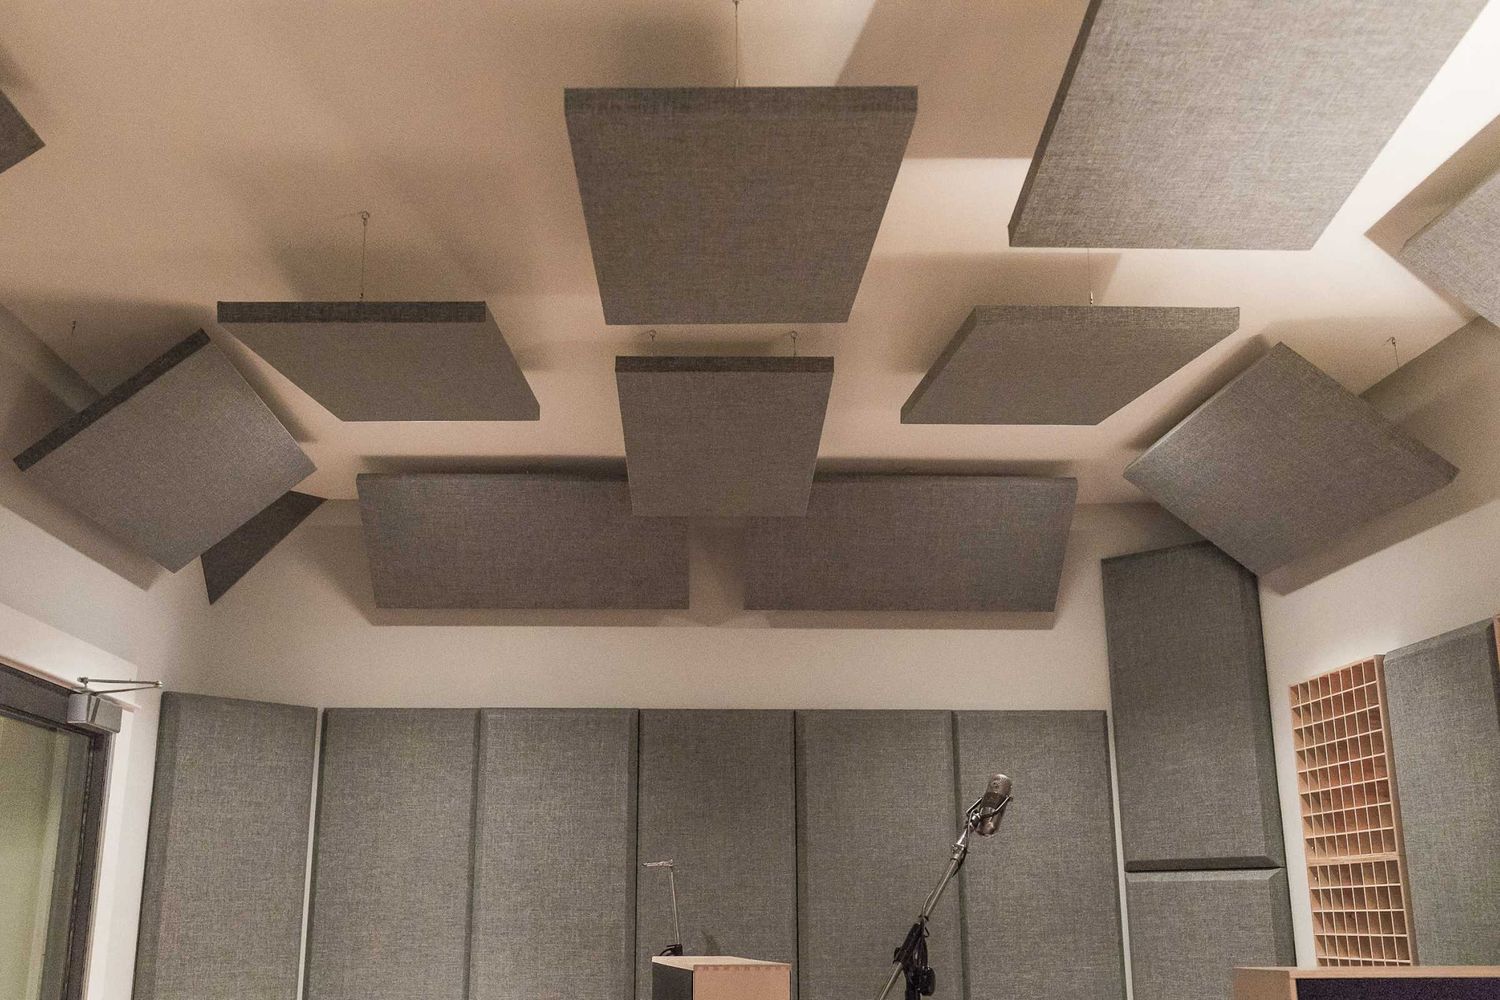
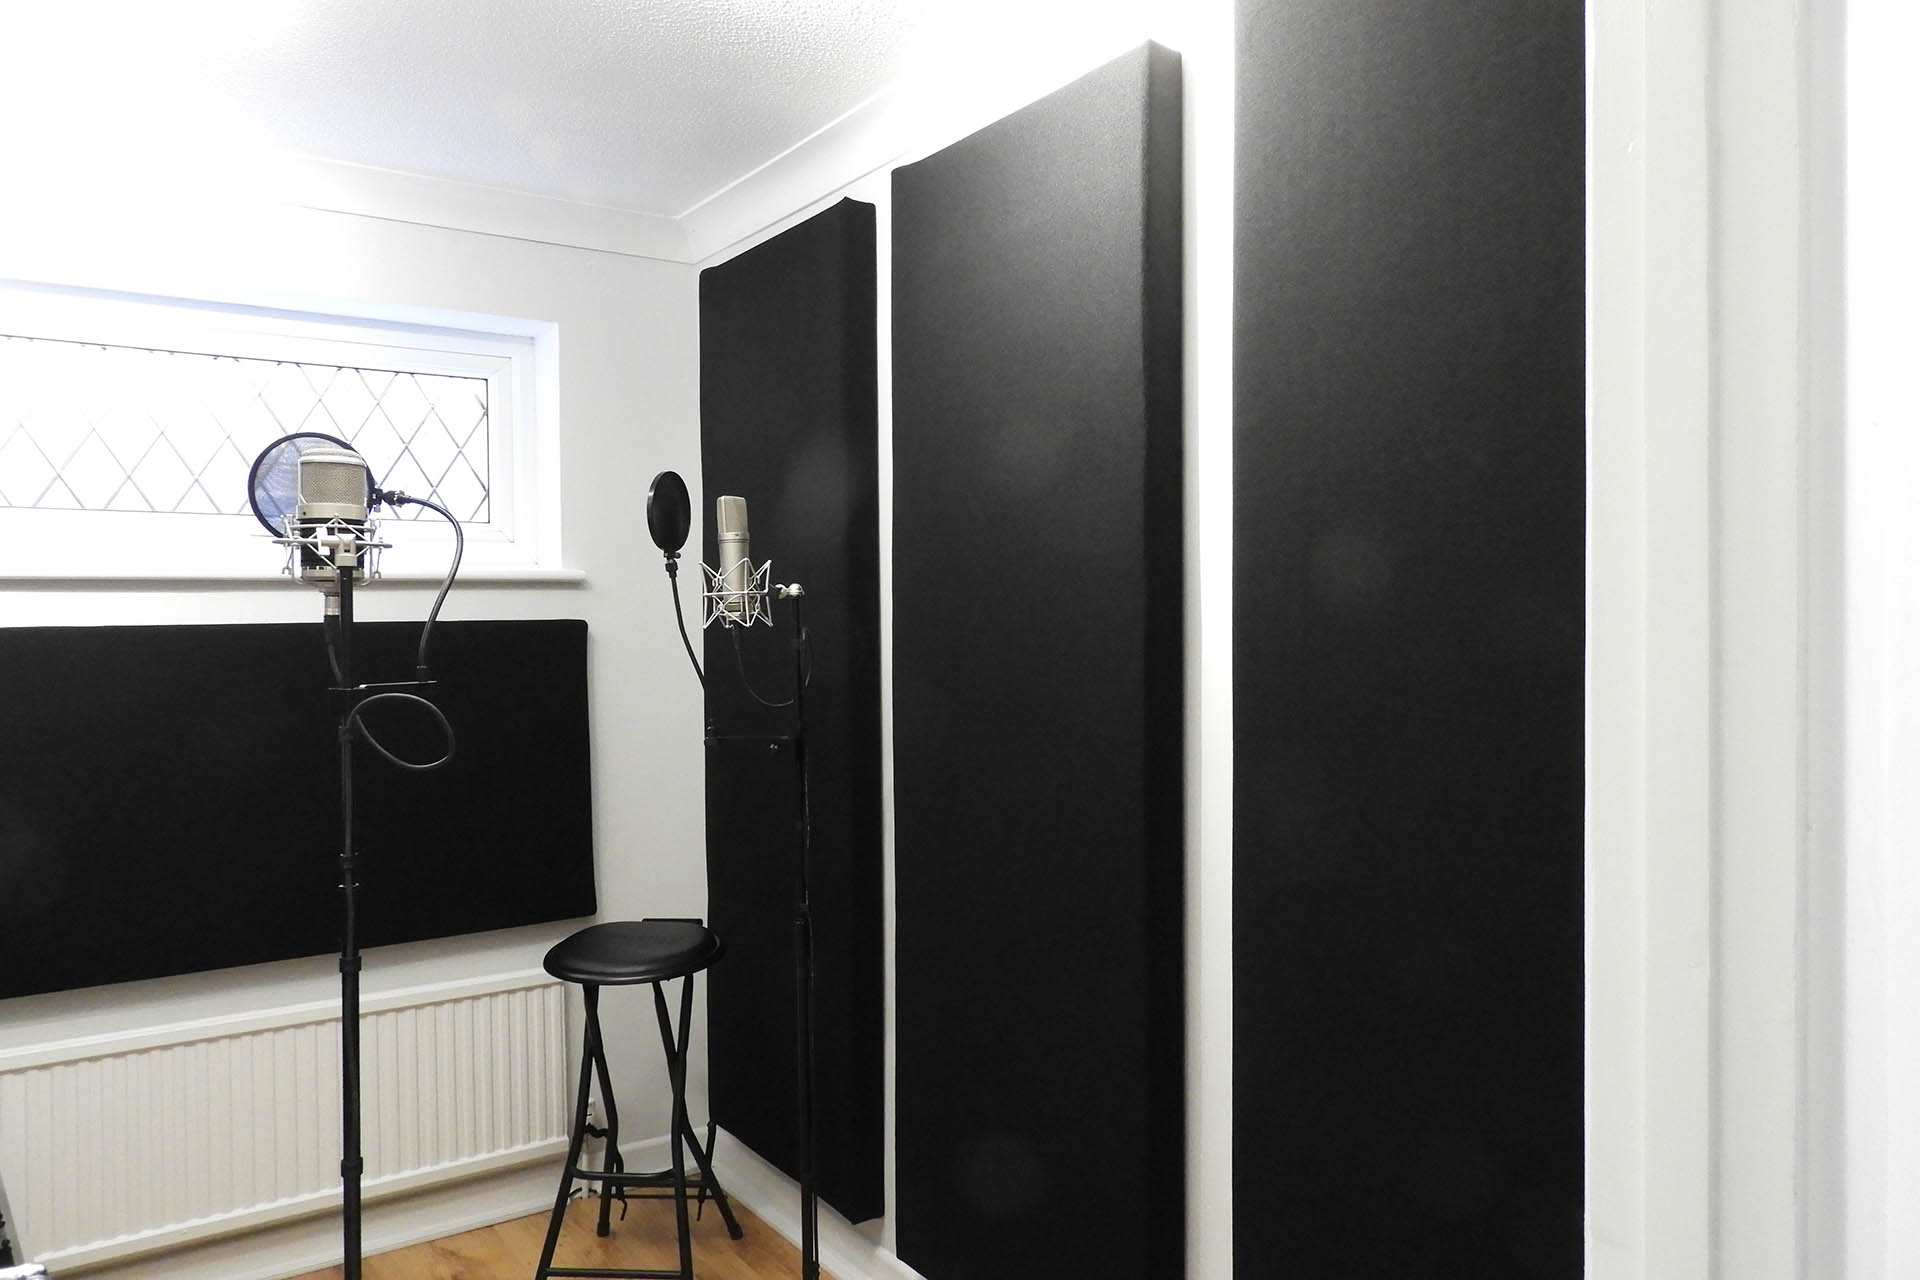
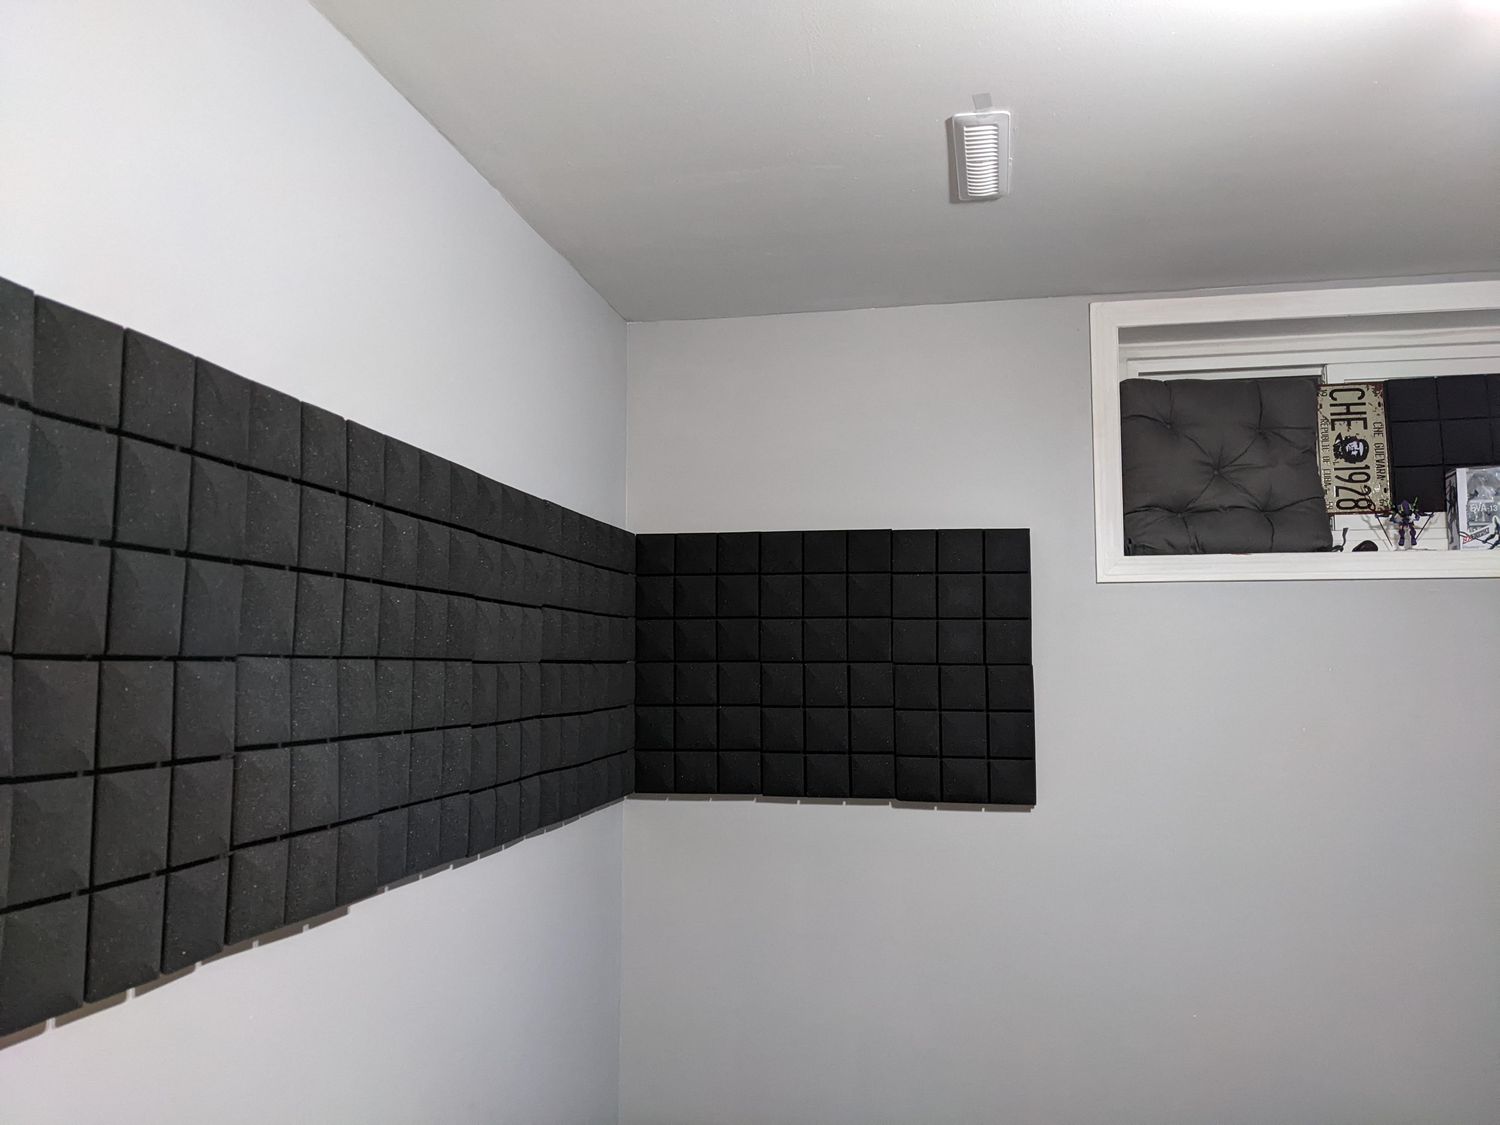
If you’re interested in further enhancing your soundproofing, there are additional techniques and materials available, such as acoustic foam panels, soundproof curtains, or wall insulation. These options can be explored to further tailor your soundproofing setup to your specific needs and preferences.
We hope this guide has been informative and helpful in your soundproofing journey. With your newfound knowledge, you’re now equipped to tackle sound issues in your space effectively. Enjoy the tranquility and enhanced acoustic environment!