Home>Production & Technology>Surround Sound>How To Hang Surround Sound Speaker
Surround Sound
How To Hang Surround Sound Speaker
Modified: February 18, 2024
Learn how to hang surround sound speakers and create the ultimate home theater experience. Our step-by-step guide covers everything you need to know.
(Many of the links in this article redirect to a specific reviewed product. Your purchase of these products through affiliate links helps to generate commission for AudioLover.com, at no extra cost. Learn more)
Table of Contents
- Introduction:
- Step 1: Determine the Ideal Speaker Placement
- Step 2: Gather the Necessary Tools and Equipment
- Step 3: Prepare the Surround Sound System
- Step 4: Mount the Surround Sound Speakers
- Step 5: Connect the Speakers to the Audio Receiver
- Step 6: Adjust and Test the Sound System
- Step 7: Conceal the Speaker Wires
- Conclusion:
Introduction:
Surround sound systems are a fantastic addition to any home entertainment setup. With their ability to create an immersive audio experience, they bring movies, music, and games to life like never before. But to truly enjoy the benefits of surround sound, it’s essential to position the speakers correctly to achieve optimal audio distribution. In this article, we will guide you through the process of hanging surround sound speakers, ensuring that you get the most out of your system.
Whether you’re a movie enthusiast looking to replicate the cinematic experience in your living room or a music lover wanting to hear every instrument and vocal with clarity, proper speaker placement is key. By strategically positioning the speakers in your room, you can create a captivating audio environment where sound seems to come from all directions, enveloping you in a three-dimensional sonic experience.
While it may seem daunting at first, hanging surround sound speakers is a straightforward process that requires some planning, basic tools, and a keen eye for aesthetics. In this step-by-step guide, we’ll walk you through each stage, from determining the ideal speaker placement to concealing the speaker wires.
Before we dive into the process, it’s important to mention that the specific steps and techniques may vary depending on the type of surround sound system you have, whether it’s a 5.1, 7.1, or Dolby Atmos setup. Be sure to consult the user manual that came with your system for any manufacturer-specific instructions.
Now let’s get started on the journey to achieving the ultimate surround sound experience in your home.
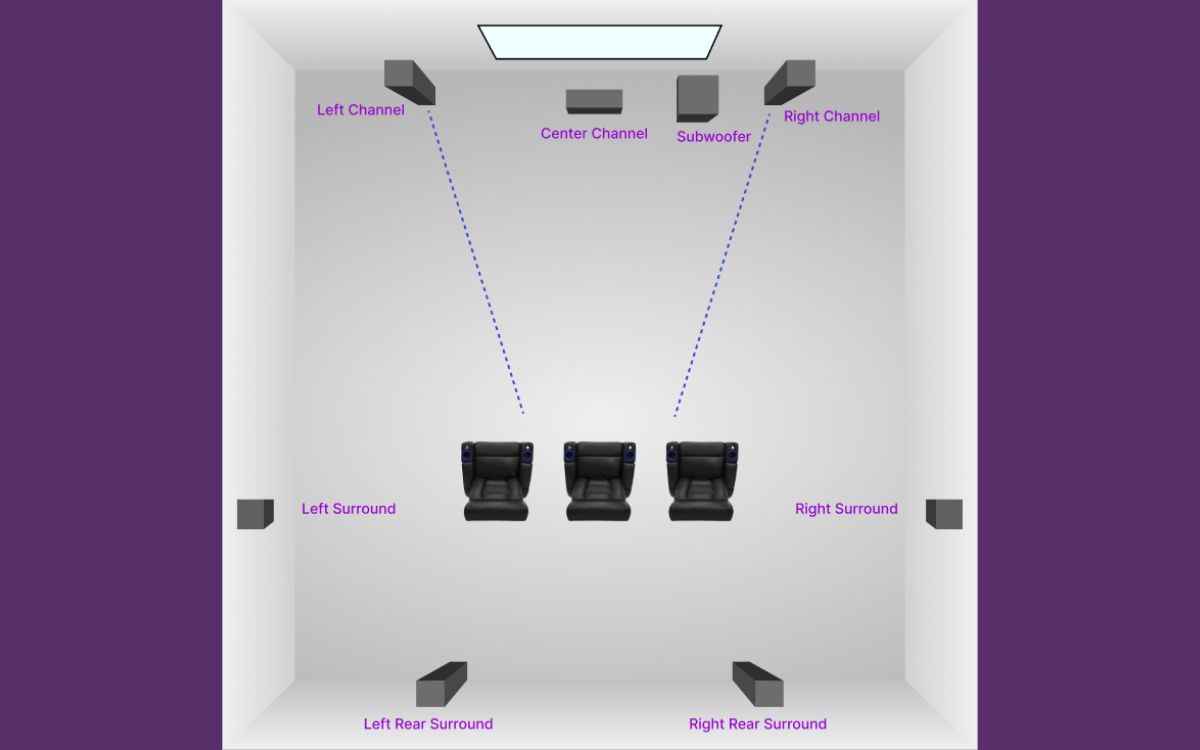
Step 1: Determine the Ideal Speaker Placement
The first step in hanging surround sound speakers is determining the ideal placement for optimal audio quality. The placement of the speakers will depend on the layout of your room and the type of surround sound system you have. Here are a few factors to consider:
- Room Size and Layout: Take note of the dimensions and layout of your room. Different room sizes and shapes may require adjustments in speaker placement to ensure even sound distribution.
- Listening Position: Identify the primary listening position, usually where you’ll be sitting while watching movies or listening to music. This will help you determine the direction and angles at which the speakers should be aimed.
- Speaker Specifications: Refer to the user manual of your surround sound system to understand the recommended placement guidelines provided by the manufacturer. These guidelines will assist in determining the distance between the speakers and the listener.
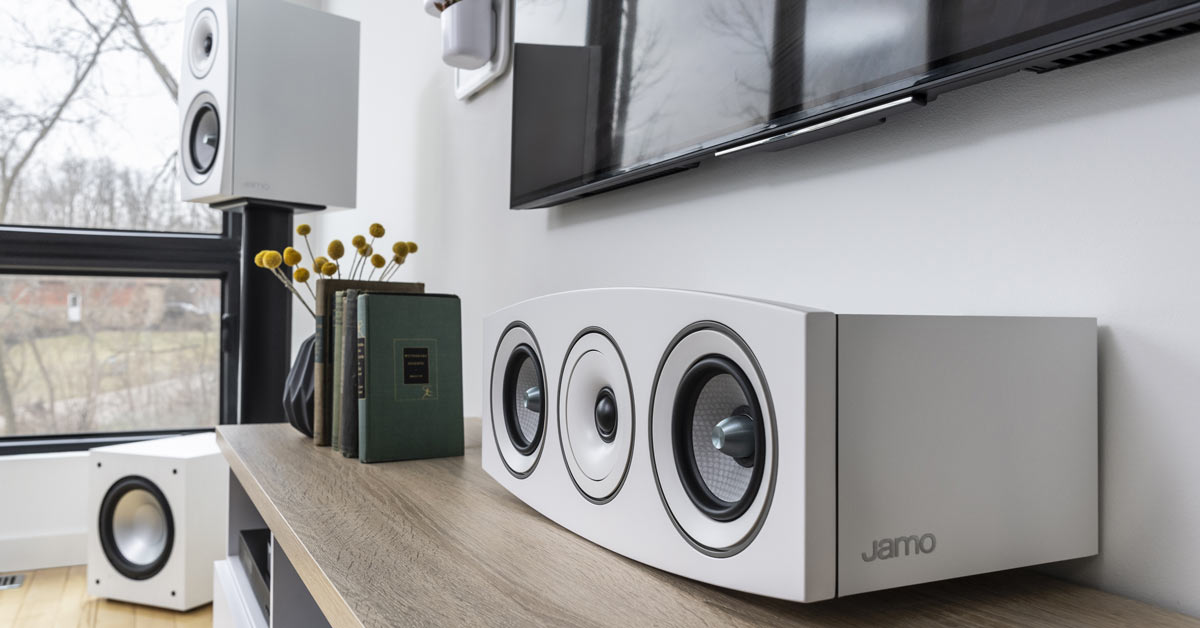
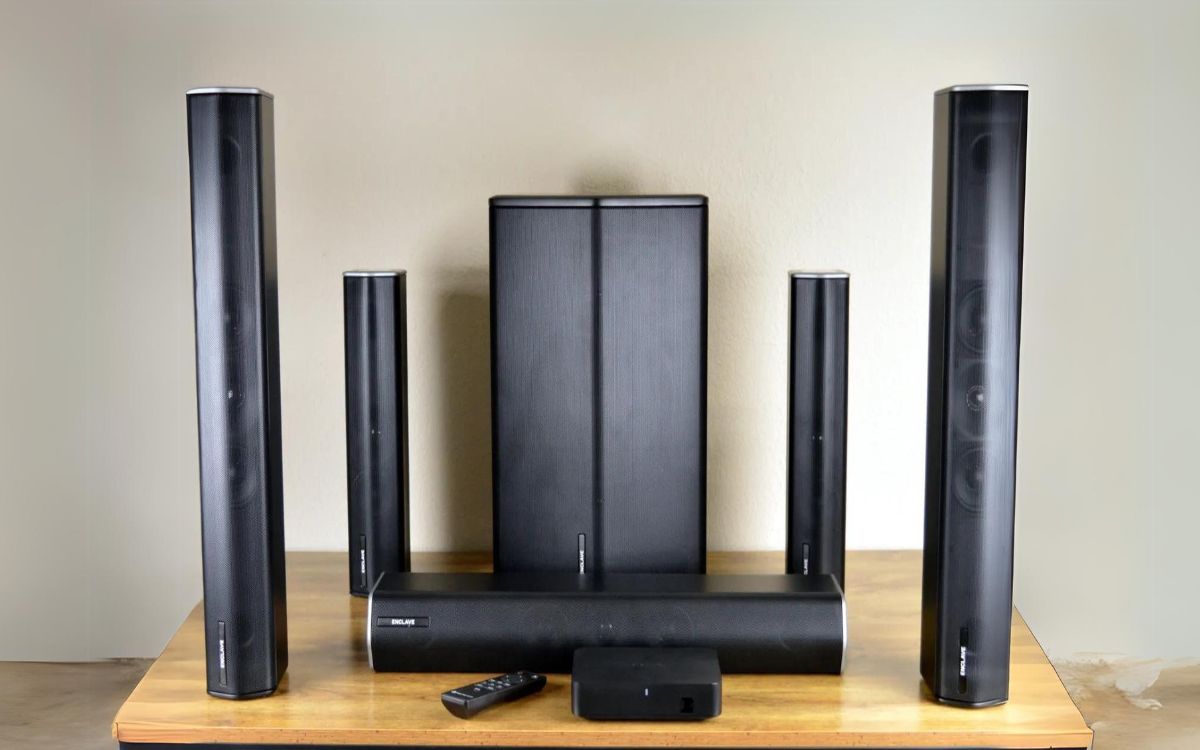
- Speaker Types: Consider the type of speakers you have – front, center, rear, and subwoofer. Each speaker has a specific purpose and placement requirement to achieve the desired surround sound effect.
- Acoustic Environment: Take into account any potential acoustic challenges, such as reflective surfaces or obstructions, that may impact the sound quality. Adjust the speaker placement to mitigate any negative effects.
While there are general guidelines to follow, it’s important to note that room acoustics play a significant role in determining ideal speaker placement. Experimentation may be required to find the perfect configuration for your specific room.
Once you have considered these factors, it’s time to start identifying the ideal locations for your surround sound speakers. Here are some general placement recommendations for common speaker types:
- Front Speakers: These speakers should be positioned on either side of your television or projector screen, approximately at ear level. Angle them towards the primary listening area to direct the sound towards the viewer.
- Center Speaker: The center speaker, responsible for dialogues and vocals, should be placed either above or below your display, aligned with the front speakers. It should be aimed at the primary listening position.
- Rear Speakers: The rear speakers are responsible for creating a surround sound effect. Ideally, they should be placed behind and slightly above the primary listening position, aiming towards the seating area.
- Subwoofer: The subwoofer, which delivers deep bass frequencies, can be placed anywhere in the room. Experiment with different locations to find a spot that produces balanced and impactful bass response.
Remember to leave some space between the speakers and the walls to minimize sound reflections and optimize audio imaging. It’s also a good idea to ensure that the speakers are securely mounted or placed on stable surfaces to minimize unwanted vibrations.
By carefully considering these factors and following the general placement recommendations, you can determine the ideal speaker placement and lay the foundation for an immersive surround sound experience in your home.
Step 2: Gather the Necessary Tools and Equipment
Before you begin hanging your surround sound speakers, it’s important to gather all the necessary tools and equipment. Having everything prepared ahead of time will make the installation process smoother and more efficient. Here are the essential tools and equipment you’ll need:
- Tape Measure: Ensure accurate measurements for speaker placement and wire routing.
- Level: A level is necessary to ensure your speakers are straight and properly aligned.
- Pencil or Marker: These will be used to mark the positions where you’ll be mounting the speakers and running the speaker wires.
- Screwdriver: A screwdriver, either a Phillips or flathead, will be needed to mount the speakers to the wall or ceiling.
- Drill and Drill Bits: Depending on your mounting surface, a drill may be required to create pilot holes for the screws.
- Stud Finder: If you’re mounting speakers to a wall, a stud finder is essential for locating the wooden studs behind the drywall for secure mounting.
- Wire Strippers: These will come in handy when preparing the speaker wires for connection.
- Wire Cutters: Wire cutters are useful for trimming excess speaker wire length.
- Speaker Mounts or Brackets: Depending on the type of speakers you have, you may need specific mounts or brackets for secure installation. Check the speaker manufacturer’s recommendations.
- Cable Management Solutions: To keep your speaker wires organized and hidden, consider cable clips, conduits, or wall plates.
Make sure to have a clear workspace and organize your tools and equipment before you start the installation process. This will save you time and frustration, ensuring a seamless installation experience.
Additionally, it’s crucial to read the instruction manuals for your speakers and any accompanying mounting hardware. This will provide you with valuable information about weight limits, recommended installation methods, and any specific requirements for your particular speakers.
By having all the necessary tools and equipment ready, you’ll be well-prepared to hang your surround sound speakers efficiently and effectively. The next step is to prepare your surround sound system for installation.
Step 3: Prepare the Surround Sound System
Before you hang the surround sound speakers, it’s important to prepare your surround sound system for installation. This step involves organizing the components, checking the connections, and configuring the audio settings. Here’s how to get your system ready:
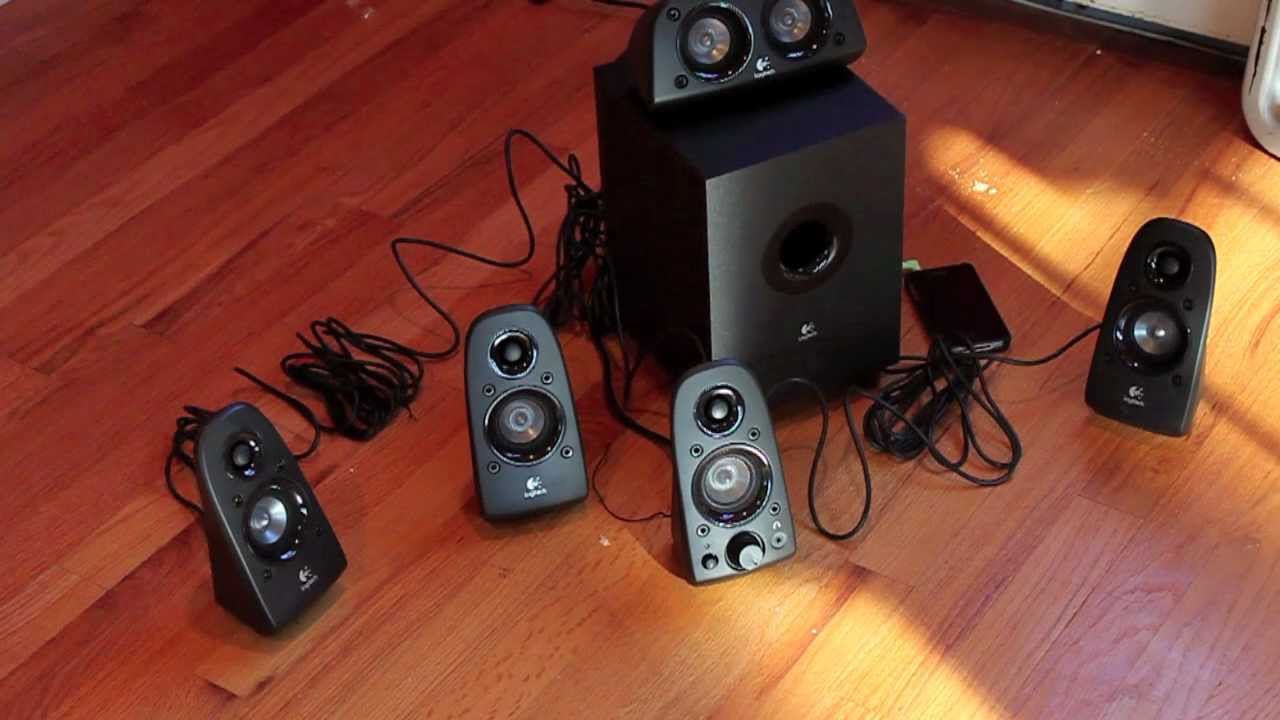
- Unbox and Organize: Take the time to unbox all the components of your surround sound system, including the receiver, speakers, cables, and any other accessories. Organize them in a clean and accessible space, ensuring that everything is accounted for.
- Check Connections: Inspect all the cables and connectors to ensure they are in good condition and free from any damage. Verify that you have all the necessary cables, such as HDMI, optical, or RCA, to connect your audio sources to the receiver.
- Connect the Receiver: Locate the audio receiver and connect it to your TV or audio source using the appropriate cables. Follow the receiver’s manual for detailed instructions on connecting the various components, including the speakers, subwoofer, and audio sources.
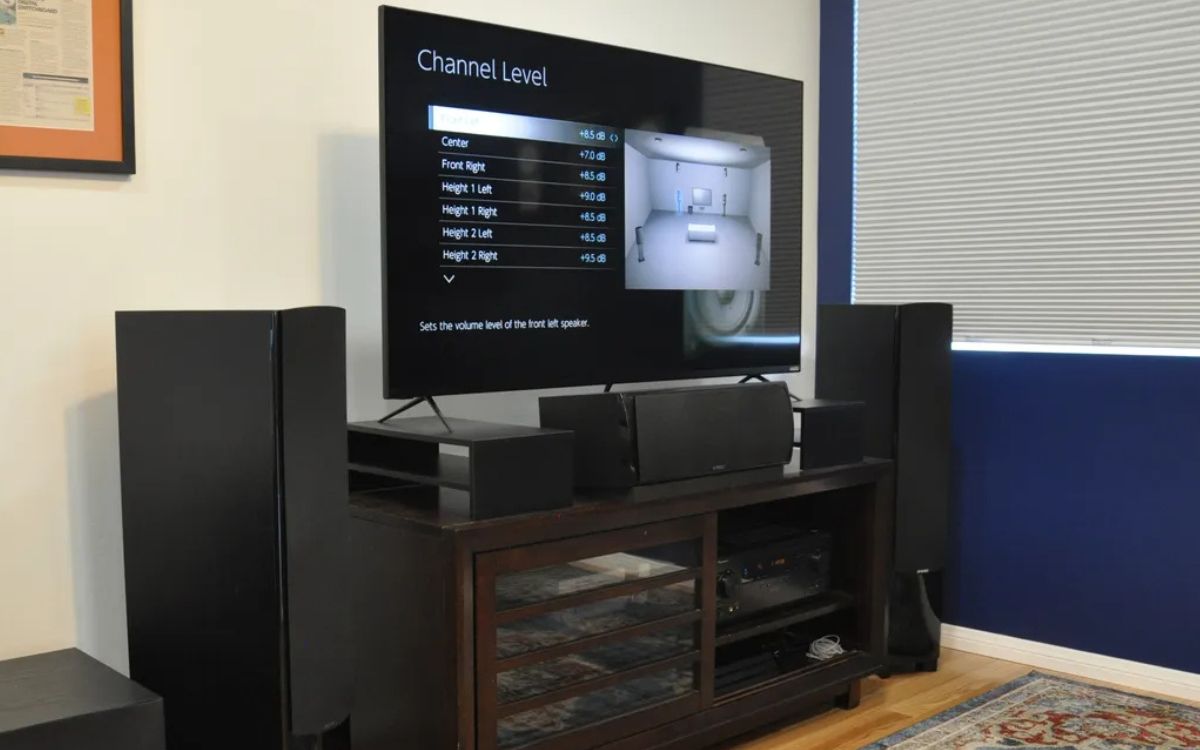
- Configure Audio Settings: Access the settings menu on your audio receiver and configure the audio settings to match your surround sound system setup. This includes selecting the correct speaker configuration (such as 5.1 or 7.1) and adjusting the channel levels, crossover frequency, and other audio preferences.
- Test the System: Once the connections and settings are in place, perform a quick test to ensure that the audio is being transmitted correctly to all the speakers. Play some audio content and verify that sound is coming from each speaker as expected.
- Firmware Updates: Check if there are any firmware updates available for your audio receiver. Manufacturers often release firmware updates to address bugs or introduce new features. Update your receiver’s firmware if necessary to ensure optimal performance.
By properly preparing your surround sound system, you’ll ensure that all the components are functioning correctly and ready for installation. This step will minimize any potential issues or troubleshooting required during the installation process.
Once your system is prepared, you’re ready to move on to the next step: mounting the surround sound speakers.
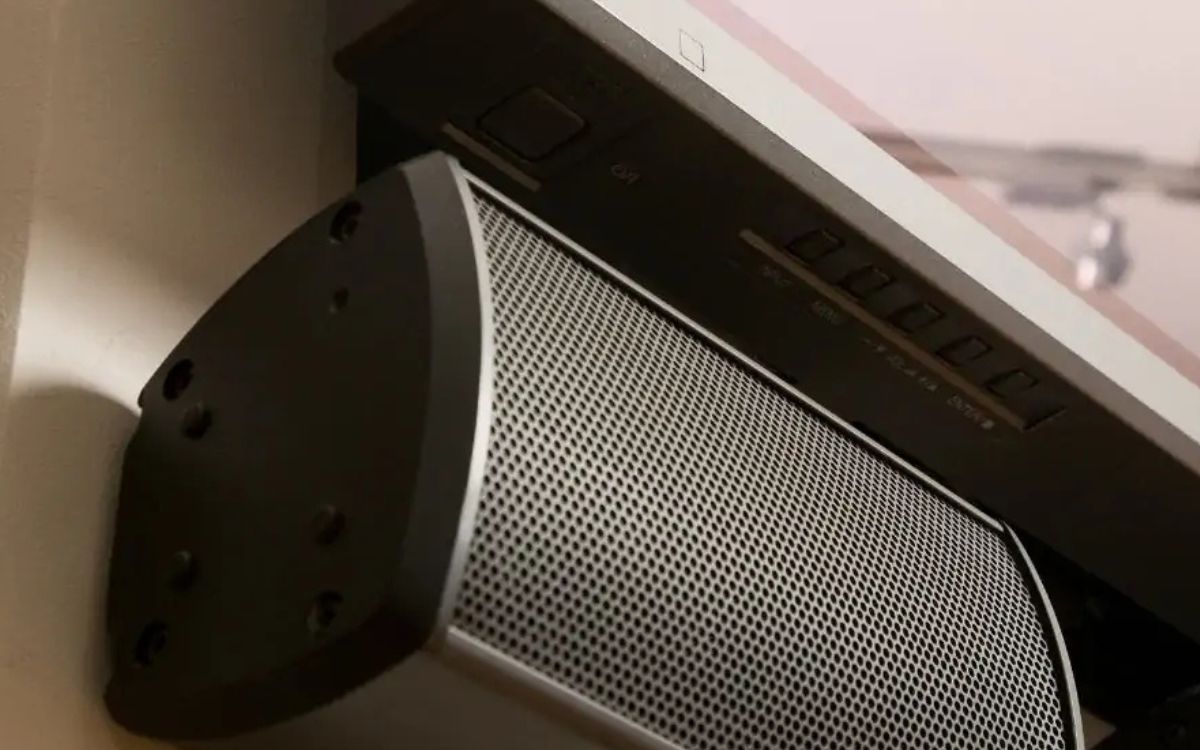
Step 4: Mount the Surround Sound Speakers
Now that you’ve determined the ideal speaker placement and prepared your surround sound system, it’s time to mount the surround sound speakers. Properly mounting the speakers ensures stability, optimal positioning, and improves the overall aesthetic of your setup. Follow these steps to mount your surround sound speakers:
- Locate Mounting Points: Using a pencil or marker, mark the exact spots on the wall or ceiling where the speakers will be mounted. Ensure that the mounting points align with your predetermined speaker placement from Step 1.
- Find Studs: If you are mounting the speakers to a wall, use a stud finder to locate the wooden studs behind the drywall. Mounting the speakers directly onto the studs ensures a secure and stable installation.
- Mounting Options: Depending on your speakers and mounting surface, you may have different mounting options available. Some speakers come with their own mounting brackets, while others may require third-party mounts. Follow the manufacturer’s instructions or mounting kit guidelines to attach the brackets to the speakers.
- Drill Pilot Holes: If necessary, use a drill with a drill bit slightly smaller than the screws to create pilot holes at the marked mounting points. This will make it easier to insert the screws and prevent the wall from cracking or splitting.
- Secure the Mounts: Attach the mounting brackets to the wall or ceiling using screws suitable for your mounting surface. Make sure the mounts are level to prevent any tilting or misalignment.
- Attach the Speakers: Once the mounts are securely in place, carefully attach the speakers to the mounts. Refer to the speaker’s instruction manual for specific guidance on attaching them to the mounting brackets.
- Adjust Speaker Angles: After mounting the speakers, adjust their angles to the desired position using the pivoting or tilting mechanisms, if available. Aim the speakers towards the listening area to ensure optimal sound projection.
Repeat these steps for each surround sound speaker, ensuring consistent positioning and alignment with your predetermined speaker placement. Take your time and double-check the mountings to ensure stability and a professional look.
Remember, if you’re uncomfortable with mounting the speakers yourself or have tricky mounting requirements, it’s always a good idea to consult a professional installer who can ensure the speakers are securely mounted and provide expert advice on speaker placement.
With the speakers properly mounted, you’re ready to move on to the next step: connecting the speakers to the audio receiver.
Step 5: Connect the Speakers to the Audio Receiver
With the surround sound speakers properly mounted, it’s time to connect them to the audio receiver to complete the installation process. Connecting the speakers to the receiver is crucial for ensuring audio signals are transmitted accurately and efficiently. Follow these steps to connect your speakers:
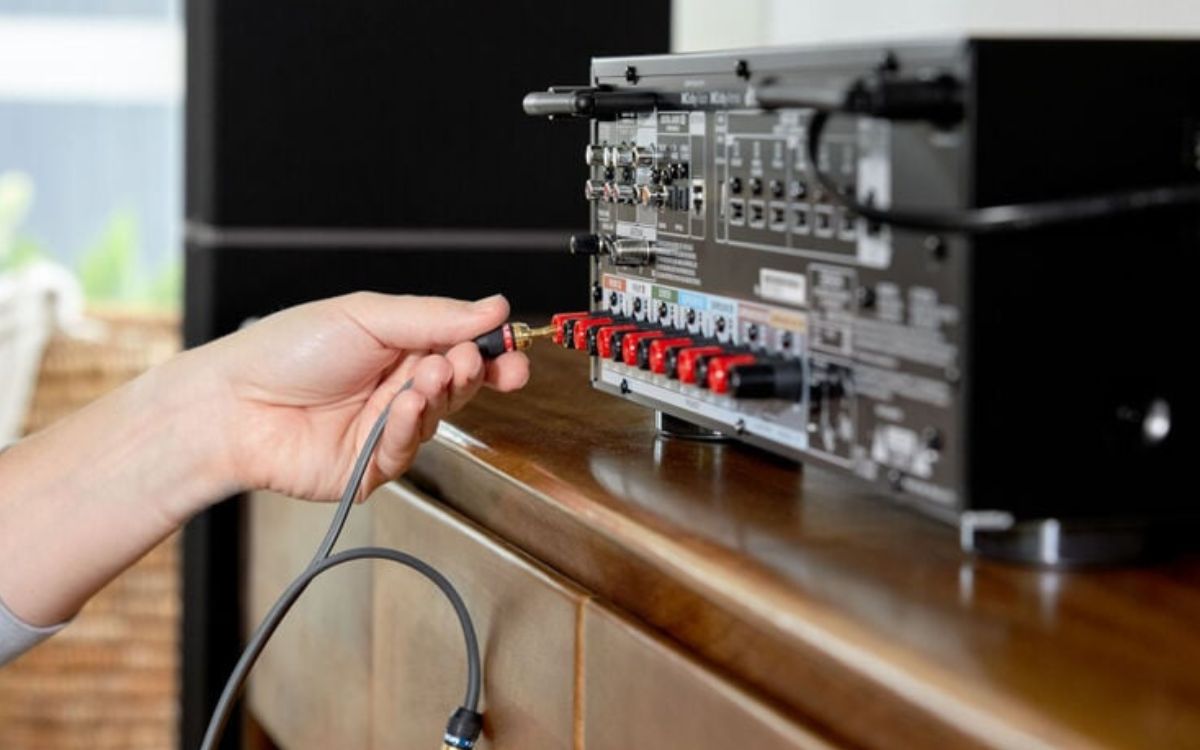
- Identify Speaker Terminals: On the back of your audio receiver, locate the speaker terminals. These are typically color-coded and labeled for each speaker channel.
- Prepare the Speaker Wires: Strip the insulation from the ends of the speaker wires using wire strippers, exposing enough bare wire to make a solid connection with the speaker terminals.
- Speaker Wire Polarities: Pay attention to the polarity of the speaker wires. Most speaker wires are color-coded, with one wire having a solid color and the other having a stripe or different color. Match the positive (+) and negative (-) terminals on the speakers with the corresponding terminals on the receiver.
- Connect the Wires: Insert the bare ends of the speaker wires into the corresponding speaker terminals on the receiver. Ensure a secure and tight connection by tightening the terminals’ screws or using any clamping mechanisms provided.
- Double-check Connections: Once all the speaker wires are connected, double-check that each wire is securely fastened and that there are no loose connections.
- Repeat for Each Speaker: Repeat the process for each surround sound speaker, ensuring that the correct wires are connected to their respective terminals.
- Subwoofer Connection: If you have a powered subwoofer, connect it to the designated subwoofer output on the audio receiver using an appropriate cable, such as an RCA or dedicated subwoofer cable.
Once all the speaker wires are properly connected to the audio receiver, you’re ready to move on to the next step: adjusting and testing the sound system.
Note: It is important to handle the speaker wires with care and avoid running them near electrical wiring to minimize any interference or signal degradation.
Step 6: Adjust and Test the Sound System
After connecting the surround sound speakers to the audio receiver, it’s important to adjust and test the sound system to ensure optimal audio performance and balance. Fine-tuning the settings will help you achieve the best possible surround sound experience. Follow these steps to adjust and test your sound system:
- Access Audio Receiver Settings: On your audio receiver, access the settings menu or audio setup options. Refer to the receiver’s manual for specific instructions on how to navigate the settings.
- Speaker Configuration: Verify that the receiver is set to the correct speaker configuration (e.g., 5.1, 7.1) to match your setup. Adjust the settings if necessary.
- Channel Levels: Adjust the individual channel levels to ensure balanced sound across all speakers. Some receivers allow you to manually adjust the volume levels for each speaker, while others have an automated speaker calibration feature that can set the levels automatically.
- Crossover Frequency: Set the crossover frequency for the speakers. This determines the point at which low frequencies are sent to the subwoofer. Experiment with different crossover frequencies to find the best balance between the speakers and the subwoofer.
- Room Acoustic Correction: If your audio receiver supports room acoustic correction features, such as Audyssey or similar technologies, run the calibration process. This helps adjust the audio output based on your room’s acoustics for improved sound quality.
- Sound Test: Use the built-in sound test feature on your receiver to verify that each speaker is working properly. The test tone should play through each speaker in the correct order. As the tones play, ensure that the sound is being projected from the correct speaker and adjust the speaker positions or settings if necessary.
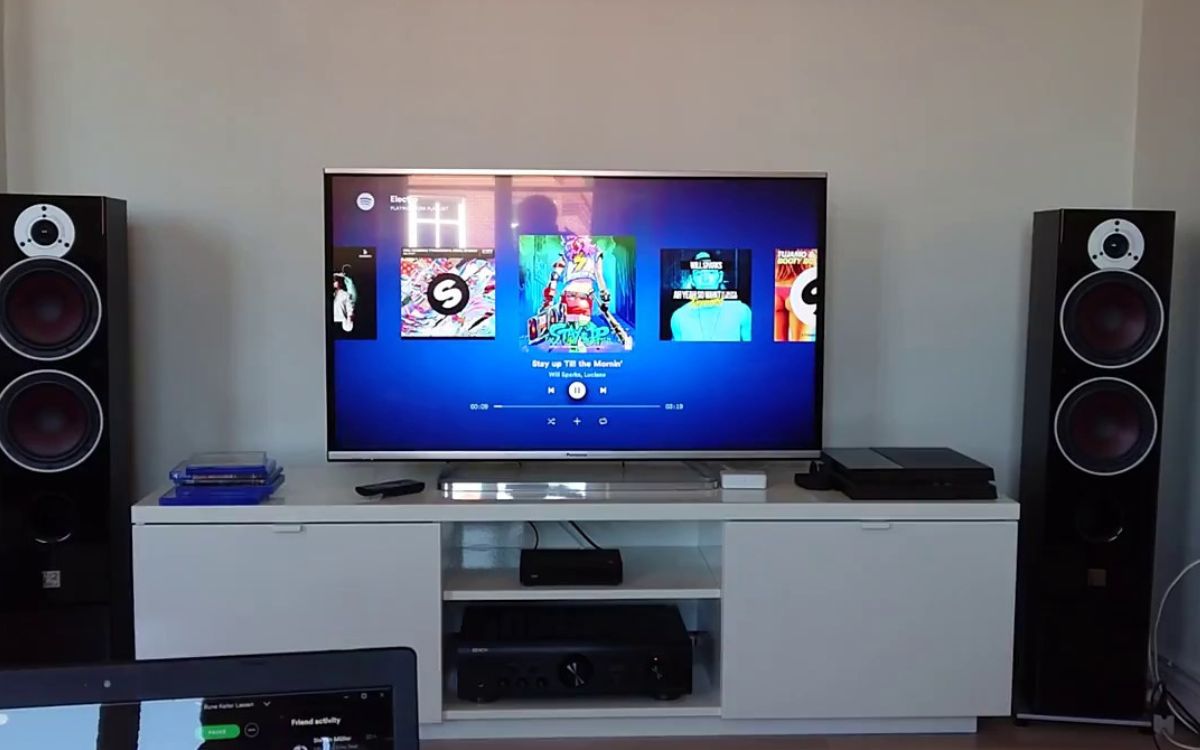
- Audio Source Testing: Play various audio content, such as movies or music, to assess the surround sound effect. Listen for balanced audio across all speakers and ensure that sound effects and dialogue are clear and crisp.
During the adjustment and testing process, make note of any settings or tweaks you make to achieve the desired sound quality. This will allow you to recreate the optimal audio setup in case you need to reset the receiver or make changes in the future.
Remember to refer to the user manual for your specific audio receiver to fully understand and utilize all the available features and settings. Fine-tuning your sound system will provide you with an immersive and enjoyable surround sound experience.
Step 7: Conceal the Speaker Wires
After hanging the surround sound speakers and connecting them to the audio receiver, it’s important to conceal the speaker wires for a cleaner and more professional-looking installation. Concealing the wires not only improves the aesthetics of your setup but also helps prevent tripping hazards and protects the wires from damage. Follow these steps to conceal the speaker wires:
- Choose a Wire Concealment Method: There are several options available for hiding speaker wires. The method you choose depends on your preferences, room layout, and the type of walls or flooring in your space. Common wire concealment methods include using cable raceways, running wires behind baseboards or crown molding, or even running wires through wall cavities if you’re comfortable with more advanced installation techniques.
- Plan the Wire Route: Determine the best path for the speaker wires from the audio receiver to each speaker. Take into account any obstacles, such as furniture or doorways, and aim to have the wires hidden from view as much as possible.
- Prepare the Wires: If the wires are too long, use wire cutters to trim them to the appropriate length. Be sure to leave a little extra length at each end to allow for adjustments or future modifications.
- Install Wire Concealment Method: Follow the manufacturer’s instructions to install the chosen wire concealment method. This may involve mounting the raceways to the walls, attaching baseboard or crown molding, or making small incisions in the walls to thread the wires through.
- Route and Hide the Wires: Route the speaker wires according to your planned path, making sure they are securely attached to the wire concealment solution. Use adhesive clips, hooks, or tape to keep the wires in place and prevent them from sagging or becoming a tripping hazard.
- Finishing Touches: To further enhance the wire concealment, consider painting or matching the wire concealment solution to the color of your walls or molding. This helps the wires blend seamlessly with the surroundings.
It’s important to always follow proper safety guidelines when concealing wires, such as avoiding electrical wiring and using caution when working with wall cavities. If you’re unsure or uncomfortable with handling electrical or construction-related tasks, it’s best to consult a professional installer or electrician.
By concealing the speaker wires, you’ll achieve a clean, clutter-free look for your surround sound system. This final step adds the finishing touch to your installation, allowing you to fully enjoy the immersive audio experience without any distractions.
Conclusion:
Setting up a surround sound system and hanging the speakers may seem like a daunting task, but by following these step-by-step instructions, you can achieve a rewarding and immersive audio experience in your home. Proper speaker placement, careful wire management, and adjusting the audio settings are all crucial elements to ensure optimal sound quality and enjoyment.
Remember, when determining the ideal speaker placement, consider factors such as room size, layout, and the specific requirements of your surround sound system. Taking the time to plan and position the speakers correctly will enhance the immersive effect and audio distribution.
Gathering the necessary tools and equipment beforehand will make the installation process smoother and more efficient. The right tools, such as a tape measure, level, and screwdriver, will ensure precision and stability when mounting the speakers.
Preparing your surround sound system involves organizing the components, checking connections, and configuring the audio settings. Take the time to read the manuals and familiarize yourself with the process for optimal performance.
Mounting the surround sound speakers properly is essential for stability and optimal positioning. Following the manufacturer’s instructions and using appropriate mounts or brackets will ensure a secure and aesthetically pleasing installation.
Once the speakers are mounted, connecting them to the audio receiver is the next step. Pay attention to wire polarity and make sure the connections are secure to transmit accurate audio signals to each speaker.
Adjusting and testing the sound system allows you to fine-tune the settings, such as speaker levels and crossover frequency, to achieve balanced audio and an immersive surround sound experience. Take advantage of features like room acoustic correction to optimize sound quality based on your specific room environment.
Lastly, concealing the speaker wires adds the final touch to your installation. Choose the appropriate wire concealment method and route the wires to achieve a clean and professional look, minimizing any tripping hazards and improving the aesthetics of your space.
By following these steps and taking the time to set up your surround sound system correctly, you’ll be rewarded with a captivating audio experience that enhances your enjoyment of movies, music, and games. So, gather your tools, plan your speaker placement, and dive into the immersive world of surround sound in your own home.