Home>Devices & Equipment>Car Audio>How To Reset Pioneer Car Audio System

Car Audio
How To Reset Pioneer Car Audio System
Published: February 6, 2024
Learn how to reset your Pioneer car audio system quickly and easily. Get step-by-step instructions and troubleshooting tips for a seamless audio experience.
(Many of the links in this article redirect to a specific reviewed product. Your purchase of these products through affiliate links helps to generate commission for AudioLover.com, at no extra cost. Learn more)
Table of Contents
Introduction
Welcome to our guide on how to reset a Pioneer car audio system. If you’re experiencing issues with your Pioneer car audio system, such as audio distortion, unresponsive controls, or a frozen screen, a reset could potentially resolve these problems. Resetting the system will bring it back to its default factory settings, which often clears any glitches or errors that may have occurred.
Before we dive into the step-by-step process, it’s important to note that resetting your Pioneer car audio system should be a last resort. It’s always recommended to troubleshoot and exhaust other possible solutions first. However, if you’ve exhausted all options and a reset is necessary, this guide will walk you through the process.
Throughout this guide, we’ll outline the necessary tools and materials, provide step-by-step instructions, and offer tips to ensure a successful reset without causing damage to your car audio system. So, let’s get started on restoring your Pioneer car audio system to its default settings and getting it back in top-notch working order.
Step 1: Gathering the necessary tools and materials
Before you begin the reset process for your Pioneer car audio system, it’s essential to gather the necessary tools and materials. Here’s a list of items you’ll need:
- A small flat-head screwdriver.
- A set of car battery terminal disconnect tools (optional but recommended).
- Protective gloves (optional but recommended).
The small flat-head screwdriver will be used to access the reset button or fuse of your Pioneer car audio system, which we’ll discuss in more detail in the following steps.
The car battery terminal disconnect tools are useful for safely disconnecting the car battery. While not mandatory, using these tools can help prevent any accidental damage to your car’s electrical system during the reset process. If you don’t have these tools, you can still proceed with caution by following proper safety procedures.
Lastly, wearing protective gloves is recommended to prevent any potential injuries, especially when working with the car battery or using the tools. It’s always better to err on the side of caution and protect yourself during the reset process.
Now that you’re equipped with the necessary tools and materials, let’s move on to the next step of disconnecting the car battery in preparation for the reset.
Step 2: Disconnecting the car battery
Before you begin any work on your car audio system, it’s crucial to disconnect the car battery to ensure your safety and prevent any potential damage to the electrical system. Follow these steps to disconnect the car battery properly:
- Make sure your car is turned off and the key is removed from the ignition.
- Locate the car battery in your vehicle. It’s usually located in the engine compartment.
- Identify the negative terminal of the battery. It is typically marked with a minus (-) sign and a black cable.
- Using the appropriate car battery terminal disconnect tools or a wrench, loosen the nut on the negative terminal. Rotate the connector counterclockwise to loosen it fully.
- Once the negative terminal is loose, carefully lift it off the battery post. Ensure that it is positioned away from any metal surfaces to prevent accidental contact.
- Secure the loose negative terminal by taping it or using a battery terminal protector to prevent any accidental contact while working on the car audio system.
By disconnecting the car battery, you’re cutting off the power supply to the car audio system, which is important for a safe and effective reset.
Now that the car battery is disconnected, we can move on to the next step of locating the RESET button or fuse on your Pioneer car audio system.
Step 3: Locating the RESET button or fuse
In this step, we’ll guide you on how to locate the RESET button or fuse on your Pioneer car audio system. The location may vary depending on the model and design of your system, but here are some common methods to find it:
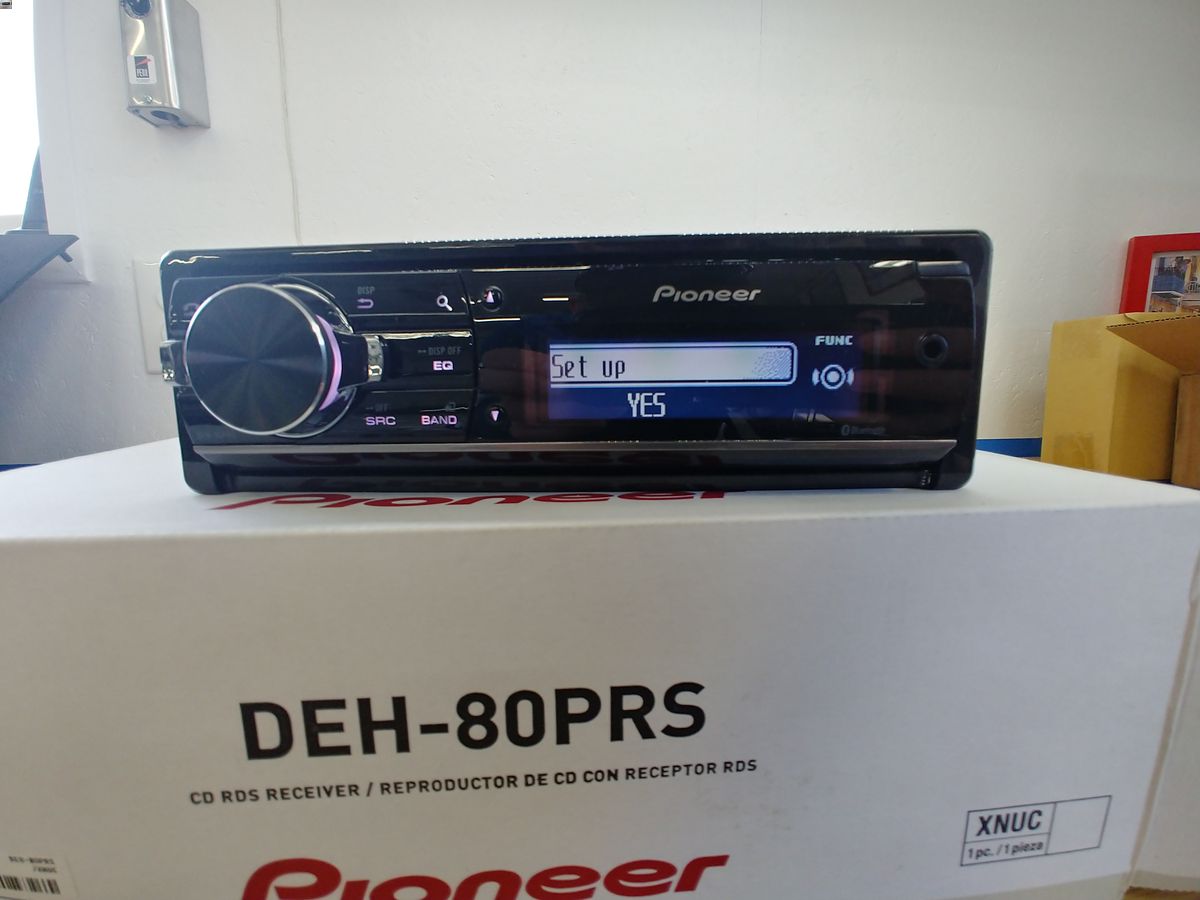
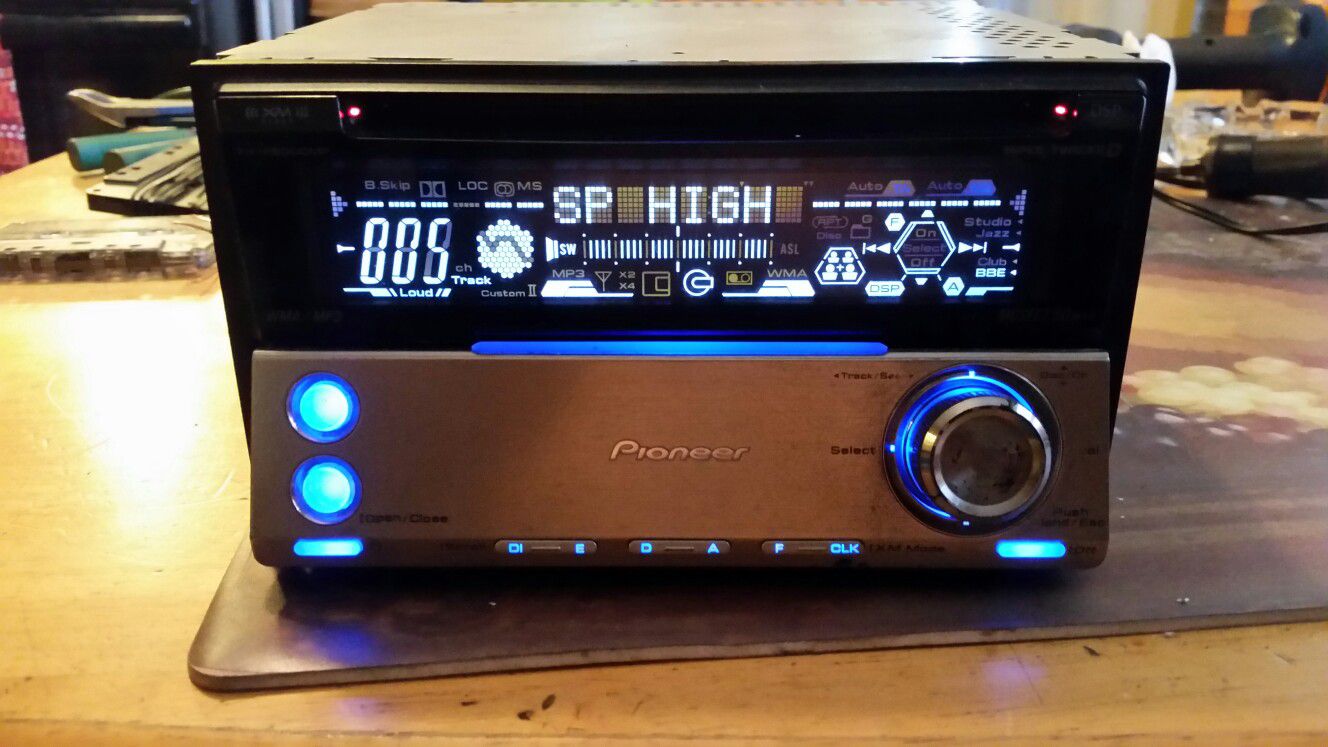
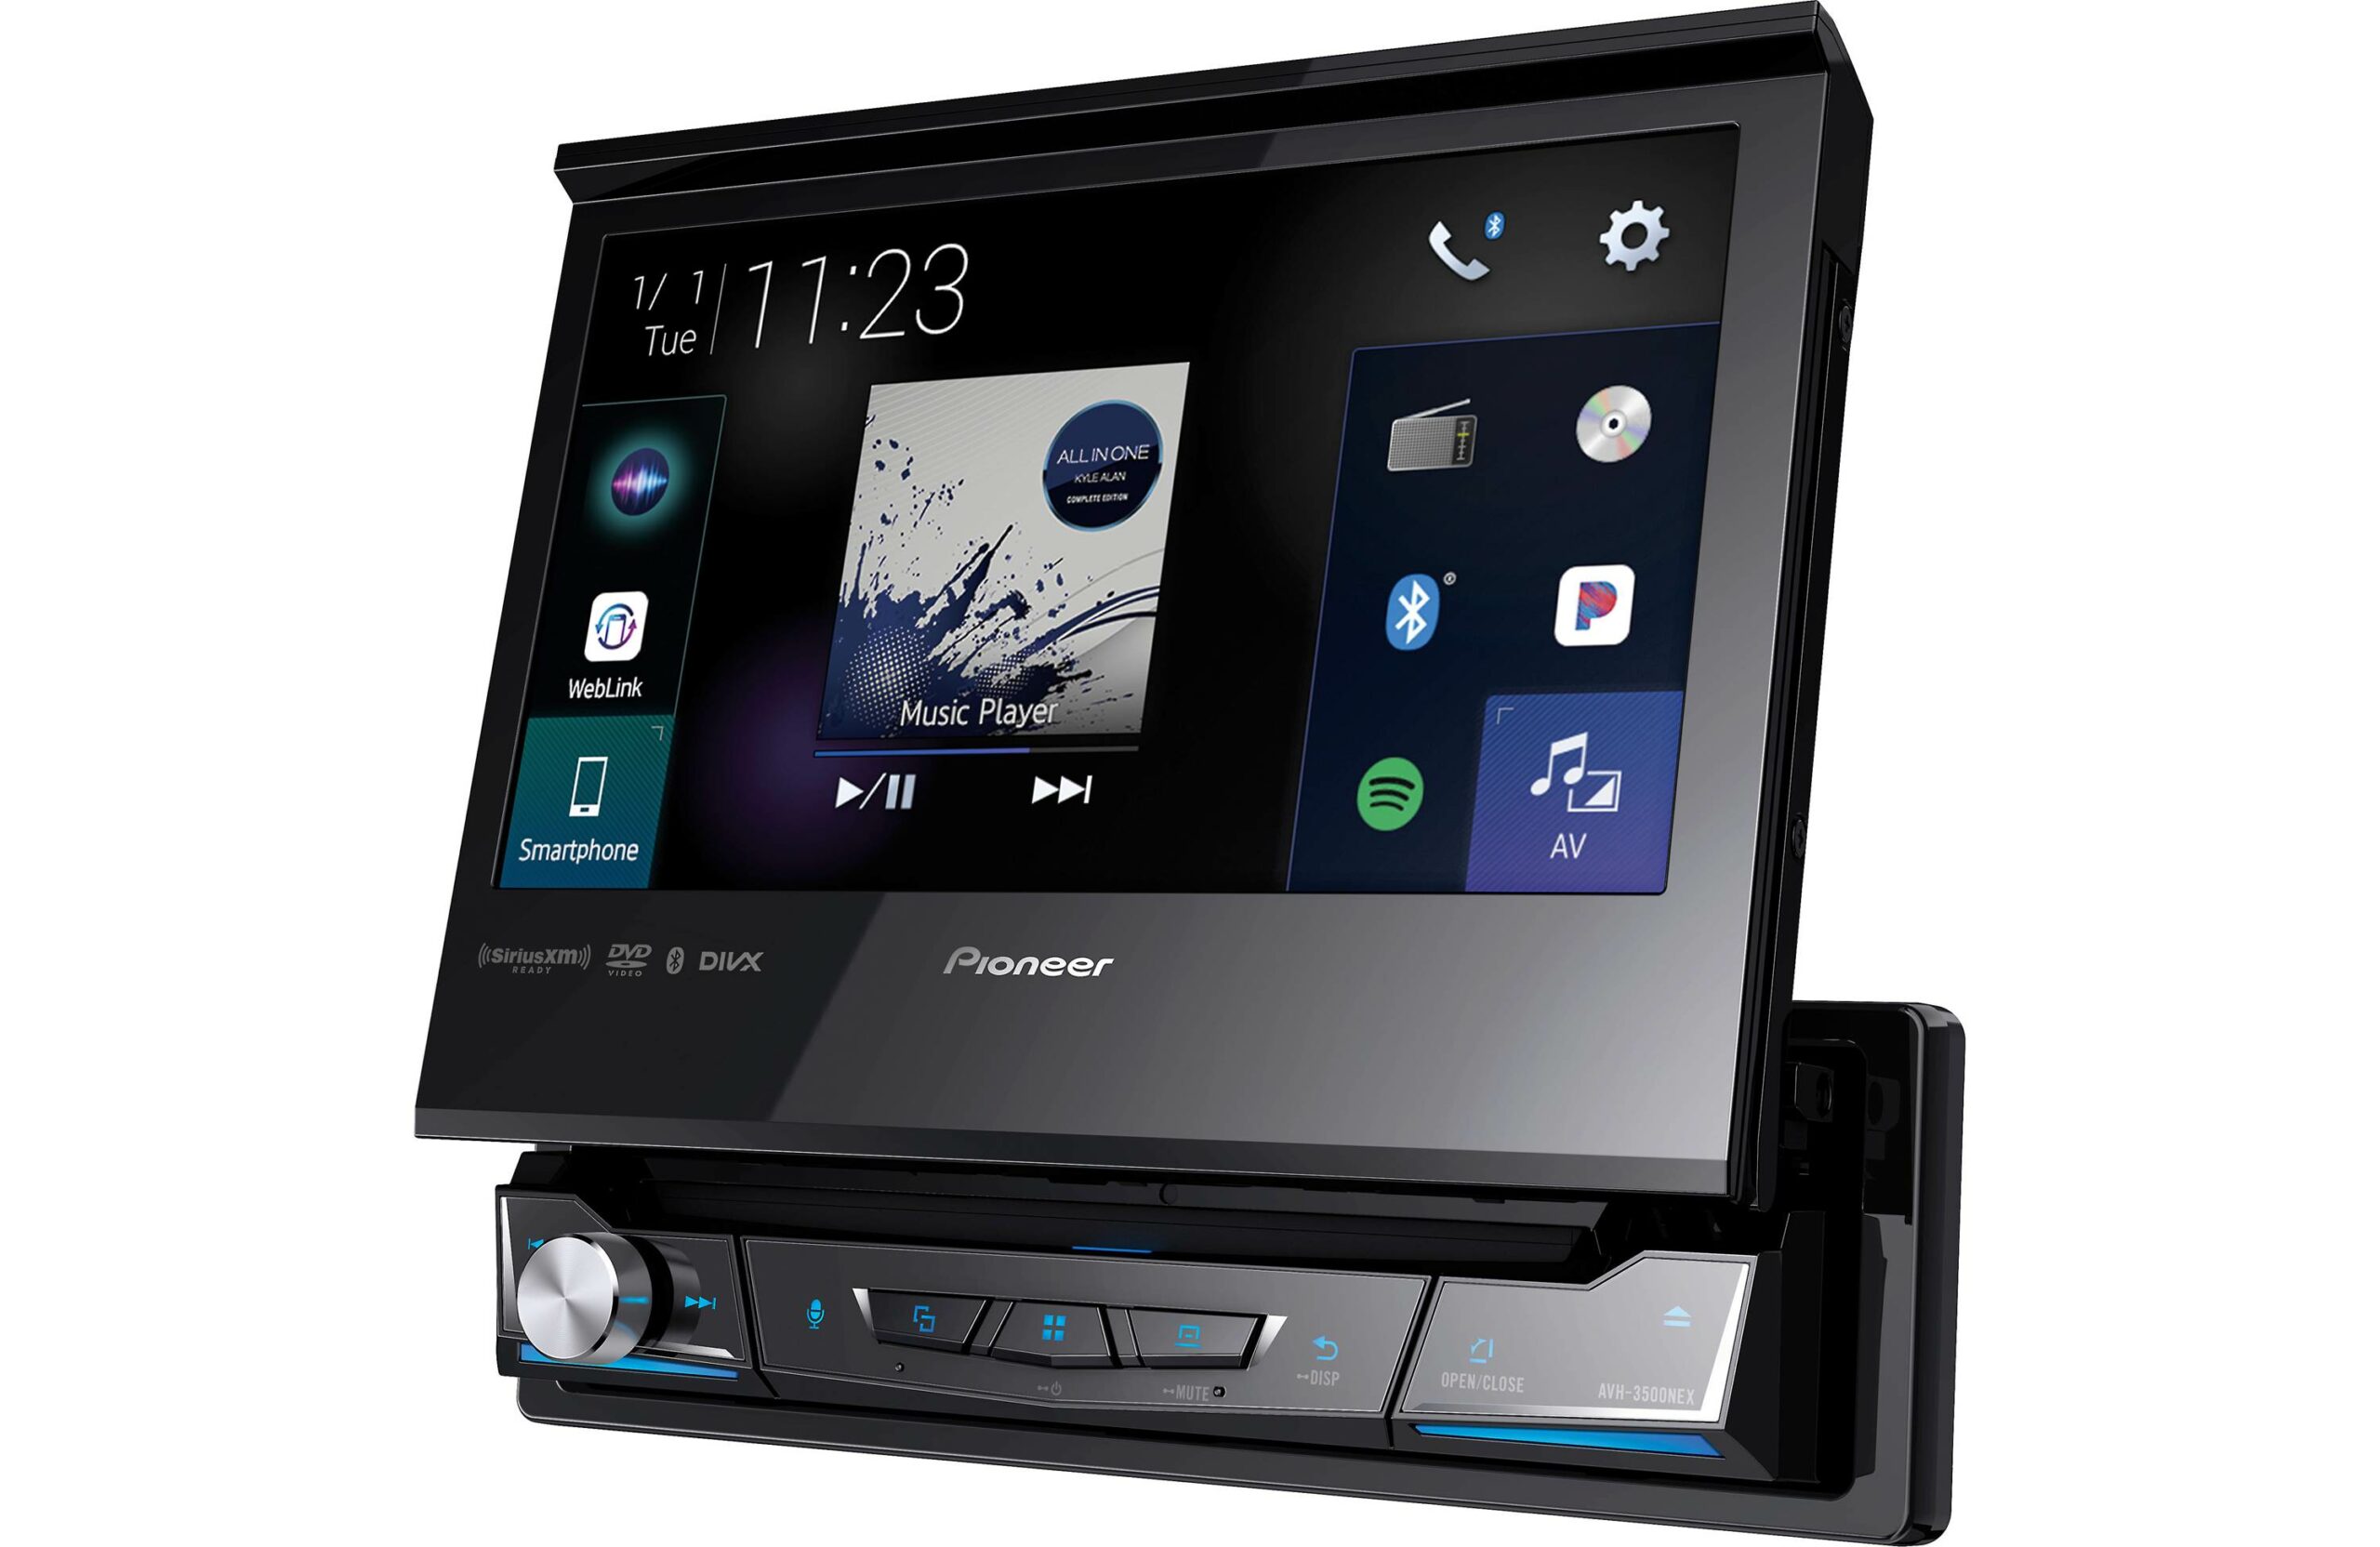
- Check the front panel: Some Pioneer car audio systems have a small reset button located on the front panel. Look for a tiny hole labeled “RESET” or a button with the word “RESET” next to it. If you find it, you can proceed to the next step directly.
- Refer to the manual: If you can’t locate the reset button on the front panel, refer to the user manual that came with your Pioneer car audio system. The manual should contain specific instructions on where to find the reset button or fuse.
- Online research: If you don’t have access to your user manual or can’t find the reset button in the mentioned locations, you can search online for the specific model of your Pioneer car audio system. Many manufacturers provide online manuals or support documents that can guide you to the reset button or fuse location.
It’s important to note that not all Pioneer car audio systems have a physical reset button. In some cases, the reset function is performed through a software option in the system’s settings menu. If you’ve exhausted all options and still can’t find the reset button or fuse, consult the manufacturer’s support or seek professional assistance.
Now that you’ve located the RESET button or fuse, we can proceed to the next step of resetting your Pioneer car audio system.
Step 4: Resetting the Pioneer car audio system
Now that you’ve located the RESET button or fuse on your Pioneer car audio system, it’s time to proceed with the actual reset. Follow these steps for a successful reset:
- If your Pioneer car audio system has a physical reset button, use a small flat-head screwdriver or a similar tool to press and hold the reset button. Hold it for a few seconds to ensure the reset process initiates.
- If your Pioneer car audio system doesn’t have a physical reset button, the reset function might be accessible through the system’s settings menu. Power on the system and navigate to the settings menu. Look for options like “System Reset” or “Factory Reset.” Select the appropriate option and confirm your selection to initiate the reset process.
- During the reset process, it’s normal for the car audio system to power off and then power back on automatically. This signifies that the reset is taking place.
- Once the reset process is complete, you should see the system return to its default factory settings. The screen may display a welcome or initial setup screen.
It’s important to note that during the reset process, any saved settings, stored presets, and paired devices will be erased. After the reset, you’ll need to reconfigure any settings and re-pair any devices.
Now that you’ve successfully reset your Pioneer car audio system, it’s time to move on to the next step: reconnecting the car battery.
Step 5: Reconnecting the car battery
After completing the reset process for your Pioneer car audio system, it’s time to reconnect the car battery. Follow these steps to ensure a safe and proper reconnection:
- Ensure that the Pioneer car audio system is turned off and in a powered-off state.
- Remove any protective coverings you placed over the negative terminal of the car battery.
- Take the loose negative terminal and position it back onto the negative battery post. Align the terminal with the post and carefully lower it into place.
- Using your hands or the appropriate tools, tighten the nut on the negative terminal by rotating it clockwise. Make sure it is securely fastened to prevent any loose connections.
- Double-check that the negative terminal is firmly connected and secured on the battery post.
Once the car battery is reconnected, the power supply will be restored to your Pioneer car audio system. You’re almost done! In the next step, we’ll guide you on testing the reset and ensuring that your Pioneer car audio system is functioning properly.
Step 6: Testing the reset
Now that you’ve successfully reset and reconnected your Pioneer car audio system, it’s time to test the reset and ensure that everything is functioning properly. Follow these steps to complete the final testing:
- Turn on your car’s ignition and power on the Pioneer car audio system.
- Check if the system boots up without any issues and if the screen displays the default home screen or setup screen.
- Test the audio by playing different sources such as radio, CD, or connected devices. Make sure the sound is clear and free of any distortion.
- Test all the primary functions of the car audio system, including volume control, EQ settings, and navigation (if applicable).
- Verify that any previously paired devices are no longer connected. If needed, re-pair your devices following the manufacturer’s instructions.
- Ensure that all the settings are back to default and customize them as per your preference.
If everything is functioning properly and the system is back to its normal state without any issues, congratulations! You have successfully reset and tested your Pioneer car audio system.
If you encounter any problems during the testing process or if the issues you were facing before the reset persist, it might be necessary to contact Pioneer customer support or seek professional assistance for further troubleshooting and solutions.
By following these steps, you have taken the necessary actions to troubleshoot and reset your Pioneer car audio system. Regular maintenance and keeping up with the latest updates can help prevent future issues and ensure optimal performance.
Now you can enjoy your car audio system again, knowing that you have resolved any previous issues through a successful reset.
Conclusion
Resetting your Pioneer car audio system can be a useful troubleshooting step to resolve issues like audio distortion, unresponsive controls, or freezing screens. By following the steps outlined in this guide, you can reset your Pioneer car audio system safely and effectively.
Remember, before proceeding with a reset, it’s essential to exhaust other troubleshooting methods and consider consulting the user manual or seeking professional assistance if needed.
Throughout this guide, we discussed the importance of gathering the necessary tools and materials, disconnecting the car battery, locating the reset button or fuse, performing the reset, reconnecting the car battery, and testing the reset. By following these steps diligently, you can restore your Pioneer car audio system to its default factory settings and potentially resolve any issues you were experiencing.
It’s worth mentioning that resetting your car audio system will erase any saved settings, stored presets, and paired devices. After the reset, make sure to reconfigure your settings and re-pair any devices as necessary.
If, after performing the reset, the issues persist or new issues arise, it may be best to consult Pioneer customer support or seek professional help for further assistance. They will be better equipped to provide specific solutions and address any concerns you may have.
By taking the time to reset your Pioneer car audio system, you can enjoy optimal performance and an enhanced audio experience while on the road. Regular maintenance, keeping up with software updates, and troubleshooting techniques can help prevent future issues and keep your car audio system functioning at its best.
We hope this guide has been helpful in assisting you with resetting your Pioneer car audio system. Thank you for choosing Pioneer, and happy driving!

