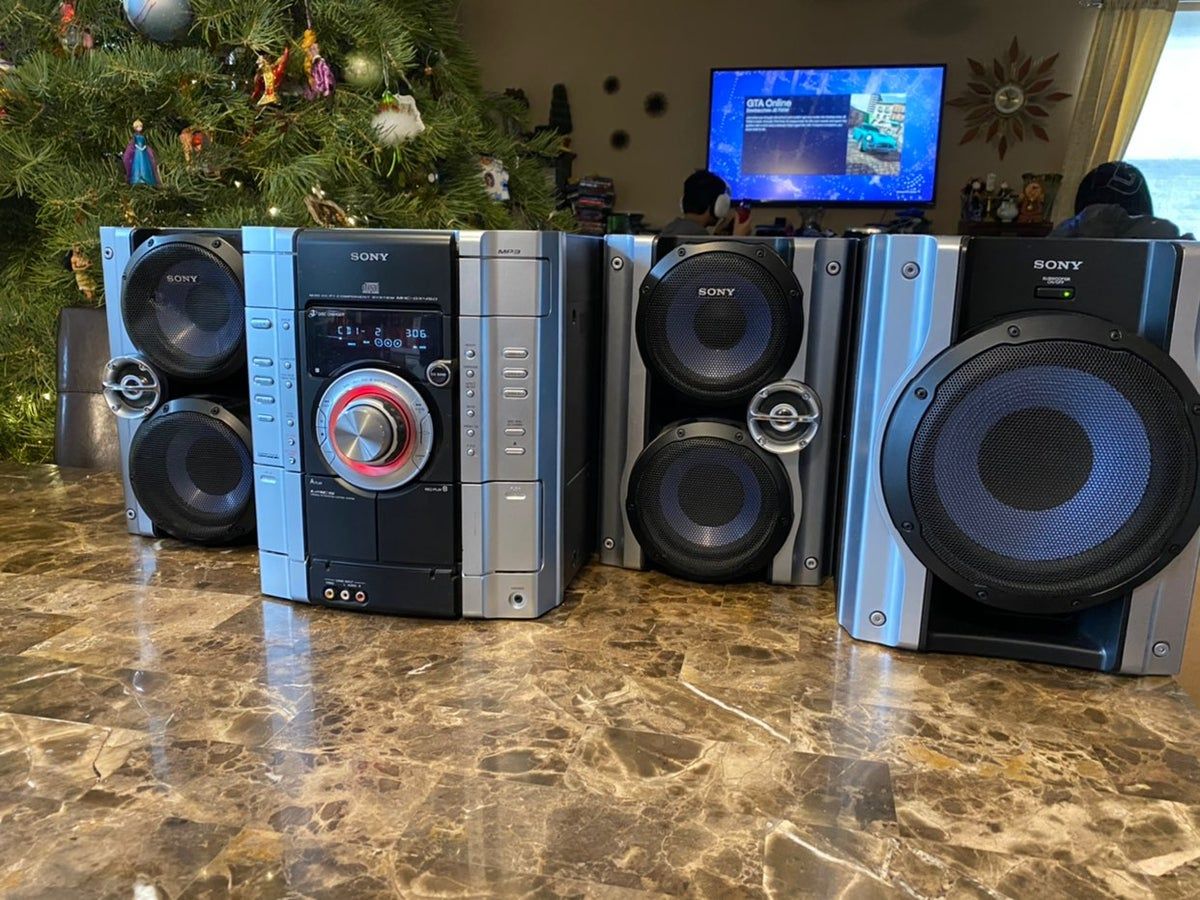
Home>Production & Technology>Stereo>How To Reset Sony Stereo System
Stereo
How To Reset Sony Stereo System
Modified: January 22, 2024
Learn how to reset your Sony Stereo System with our step-by-step guide. Quickly resolve any issues and get back to enjoying your favorite music.
(Many of the links in this article redirect to a specific reviewed product. Your purchase of these products through affiliate links helps to generate commission for AudioLover.com, at no extra cost. Learn more)
Table of Contents
Introduction
Welcome to our comprehensive guide on how to reset your Sony Stereo System. Whether you’re facing technical issues, experiencing glitches, or simply want to restore your system to its factory settings, performing a reset can often be the solution. Resetting your stereo system can help resolve a variety of problems, such as frozen screens, unresponsive buttons, or audio playback issues.
Sony is a renowned brand known for its high-quality audio equipment, including stereo systems that deliver exceptional sound performance. However, like any electronic device, these systems can encounter occasional glitches or software-related issues that may require a reset to bring them back to optimal functionality.
Before proceeding with the reset, it’s important to note that performing this action will restore your stereo system to its default settings. This means that any personalized settings, such as sound presets or customizations, will be erased. Therefore, it’s a good idea to take note of your preferred settings or make any necessary backups before proceeding with the reset.
In this guide, we will walk you through the step-by-step process of resetting your Sony Stereo System. By following these instructions carefully, you can get your stereo system back in working order without the need for professional assistance. So, let’s dive into the steps you need to follow to reset your Sony Stereo System and get it up and running smoothly once again.
Step 1: Turn off the Stereo System
The first step in resetting your Sony Stereo System is to ensure that it is turned off. This is crucial to prevent any potential damage or interference during the reset process. Make sure that the system is completely powered down before proceeding with the next steps.
To turn off your stereo system, locate the power button. It is usually located on the front panel of the system or on the remote control. Press and hold the power button until you see the display screen turn off. This may take a few seconds, so be patient and keep holding the button until the system powers down completely.
If you are unsure of the location of the power button, refer to your user manual or consult the manufacturer’s website for specific instructions. Different Sony Stereo Systems may have slightly different designs, so it’s important to familiarize yourself with the layout of your particular model.
Once the stereo system is turned off, you are ready to proceed to the next step of the reset process. Ensuring that the system is powered off is essential to avoid any interruptions or complications during the reset procedure.
Step 2: Disconnect the Power Source
After turning off the Sony Stereo System, the next step in the reset process is to disconnect the power source. This step is important as it ensures that the system is completely disconnected from any electrical supply, allowing for a full reset.
To disconnect the power source, locate the power cord that is connected to the stereo system. Follow the cord from the back of the system to the power outlet or power strip it is plugged into. Gently but firmly, unplug the power cord from the outlet or power strip.
It’s important to note that some Sony Stereo Systems may have a removable power cord, while others may have a built-in cord that cannot be removed. If your system has a removable power cord, disconnect the cord from the back of the stereo system. If your system has a built-in power cord, simply unplug it from the power source.
Once the power cord is disconnected, ensure that there are no other cables or connections still attached to the stereo system. Check for any USB cables, auxiliary cables, or other audio cables that may be connected to the system. Disconnect these cables as well, ensuring that the system is completely isolated from any external devices or connections.
By disconnecting the power source and any additional cables, you are ensuring that the Sony Stereo System is completely cut off from any power supply. This step is essential for performing a successful reset.
Step 3: Press and Hold the Reset Button
Once you have turned off the Sony Stereo System and disconnected the power source, it’s time to proceed to the actual reset process. Many stereo systems, including Sony models, come equipped with a reset button that allows you to perform a factory reset.
To locate the reset button, carefully examine the front or back panel of your stereo system. It is usually a small, recessed button that may require the use of a pen, paperclip, or similar object to press. The location of the reset button can vary depending on the model, so refer to your user manual or the manufacturer’s website for specific instructions.
Once you have located the reset button, press and hold it down firmly for at least 10-15 seconds. While holding the reset button, you may notice some changes on the display screen or hear a click sound. This indicates that the reset process has started.
While pressing and holding the reset button, make sure to keep a firm grip on the stereo system to prevent any accidental movements or damage. It is important to hold the button down for the specified duration to ensure that the system recognizes the reset command.
This step triggers the reset process, clearing any stored data or customized settings on the stereo system. It is a crucial step in restoring the system to its factory default settings.
After holding the reset button for the required duration, you can proceed to the next step of the reset process.
Step 4: Release the Reset Button
Once you have held down the reset button on your Sony Stereo System for the specified duration, it’s time to move on to the next step. In this step, you will release the reset button, allowing the system to recognize the reset command and proceed with the restoration process.
To release the reset button, simply let go of it after holding it down for the required duration. You may feel a slight click as you release the button, indicating that the reset command has been registered by the system.
After releasing the reset button, it’s important to give the system a few moments to process the reset command. During this time, the stereo system may reboot or display a message indicating that it is resetting. Be patient and allow the system sufficient time to complete the reset process.
It’s important to note that the exact duration of the reset process may vary depending on your specific Sony Stereo System model. Typically, it takes a few seconds to a couple of minutes for the system to fully reset and restore its default settings.
While the system is processing the reset command, avoid touching any buttons or making any adjustments to the system. Interfering with the reset process could result in errors or incomplete restoration of the system.
Once the system has completed the reset process, you can proceed to the next step of reconnecting the power source.
Step 5: Reconnect the Power Source
After the Sony Stereo System has completed the reset process, it’s time to reconnect the power source. This step allows the system to regain power and fully initialize with the default settings.
To reconnect the power source, locate the power cord that you previously disconnected from the stereo system. Take the power cord and plug it back into the power outlet or power strip that you were using before. Ensure that the power cord is securely plugged in and that there are no loose connections.
If your stereo system has a built-in power cord, simply plug it back into the power source. Ensure that the cord is properly inserted and that there are no obstructions blocking the connection.
Once you have reconnected the power source, give the stereo system a few seconds to power up and initialize. You may notice the display screen turning on, lights blinking, or other indications that the system is receiving power.
During this time, it’s important to avoid pressing any buttons or making any adjustments to the system. Allow the system to fully power up and initialize before proceeding to the next step.
Reconnecting the power source is a crucial step in the reset process as it provides the necessary power for the system to function. With the power restored, the Sony Stereo System is now ready to be turned on and tested to ensure that the reset was successful.
Step 6: Turn on the Stereo System
Now that you have successfully reset your Sony Stereo System and reconnected the power source, it’s time to turn on the system and test if the reset was successful. This step will allow you to verify if the system has been restored to its factory default settings and is functioning properly.
To turn on the stereo system, locate the power button on the front panel or the remote control. Press the power button once to initiate the system’s startup process. You may hear a click sound or see the display screen light up as the system powers on.
As the system powers up, pay attention to any on-screen messages or indications that confirm the reset process. Some stereo systems may display a message stating that the system has been reset to its default settings.
After the system has fully powered up, perform some basic tests to ensure that everything is working correctly. Play some audio files or switch between different audio sources to check if the sound output is clear and uninterrupted. Test the functionality of the buttons and controls to confirm that they are responsive and functioning as expected.
If everything appears to be in order, congratulations! You have successfully reset your Sony Stereo System. It should now be restored to its factory default settings and ready to use.
However, if you encounter any issues or the system is still not functioning properly even after the reset, refer to the user manual or consider seeking further assistance from Sony’s customer support or a professional technician. They will be able to help diagnose and resolve any unresolved problems with your stereo system.
By following these steps, you can effectively reset your Sony Stereo System and address any issues or glitches you may have been experiencing. Resetting your stereo system can often resolve common technical problems and bring your system back to optimal performance.
Remember to refer to your specific model’s user manual or consult the manufacturer’s website for any model-specific instructions or recommendations regarding the reset process.
Thank you for following this comprehensive guide on how to reset a Sony Stereo System. We hope that this guide has been helpful in assisting you with successfully resetting your stereo system and getting it back in working order. Enjoy your audio experience!
Conclusion
Resetting your Sony Stereo System can be a simple yet effective solution for resolving technical issues and restoring it to its default settings. By following the step-by-step process outlined in this guide, you can easily reset your stereo system without the need for professional help.
We began by emphasizing the importance of ensuring the stereo system is turned off before proceeding with the reset process. Then, we walked you through the steps of disconnecting the power source, pressing and holding the reset button, releasing the reset button, reconnecting the power source, and finally, turning on the stereo system.
Resetting your Sony Stereo System can address a range of problems, such as frozen screens, unresponsive buttons, or audio playback issues. However, it’s essential to note that performing a reset will erase any personalized settings or customizations you have made. Therefore, it’s wise to take note of your preferred settings or create backups beforehand.
If you encounter any challenges or the system doesn’t function properly even after the reset, consult the user manual or consider seeking assistance from Sony’s customer support or a professional technician.
By following the reset process outlined in this guide, you can restore your Sony Stereo System to its factory default settings and enjoy optimal audio performance once again.
We hope this comprehensive guide has been useful and has provided the necessary information to successfully reset your Sony Stereo System. With a reset, you can overcome technical issues and enjoy crisp and immersive audio experiences once more.
Thank you for choosing Sony, and we wish you many enjoyable hours of listening pleasure with your reset stereo system!