Home>Devices & Equipment>Car Audio>How To Tune A Car Audio System
Car Audio
How To Tune A Car Audio System
Modified: January 22, 2024
Learn how to tune your car audio system for optimal sound quality with our comprehensive guide. Enhance your driving experience with expert tips and tricks.
(Many of the links in this article redirect to a specific reviewed product. Your purchase of these products through affiliate links helps to generate commission for AudioLover.com, at no extra cost. Learn more)
Table of Contents
- Introduction
- Understanding the Basic Components of a Car Audio System
- Choosing the Right Speakers for Your Car
- Installing the Speakers Properly
- Selecting and Installing an Amplifier
- Adjusting the Equalizer Settings
- Adjusting the Balance and Fade Controls
- Tweaking the Sound with Time Alignment
- Fine-tuning the System with Crossover Settings
- Evaluating and Testing the Audio System
- Troubleshooting Common Issues
- Conclusion
Introduction
Welcome to the world of car audio systems, where you can transform your mundane daily commute into a concert-like experience on wheels. Whether you’re a passionate audiophile or simply someone who loves good music, upgrading your car’s audio system can take your driving experience to a whole new level.
Car audio systems have come a long way since the days of cassette players and AM/FM radios. Today, you have a wide range of options to choose from, including speakers, amplifiers, equalizers, and more, all designed to deliver high-quality sound and immersive audio performance.
In this article, we will guide you through the process of tuning a car audio system to achieve the best sound possible. We’ll cover the basic components of a car audio system, how to choose the right speakers for your car, proper installation techniques, and the importance of selecting and installing an amplifier. We’ll also delve into adjusting equalizer settings, balancing audio levels, utilizing time alignment, fine-tuning with crossover settings, and evaluating and testing your audio system.
Before we dive in, it’s important to note that tuning a car audio system is not just about cranking up the volume and increasing the bass. It’s about achieving a well-balanced soundstage, where each component works harmoniously to deliver accurate and immersive sound.
So, whether you’re a seasoned car audio enthusiast or a beginner looking to improve your audio experience, join us as we explore the world of tuning car audio systems and unlock the potential of your car’s sound system.
Understanding the Basic Components of a Car Audio System
Before diving into the process of tuning a car audio system, it’s essential to have a basic understanding of its components. A typical car audio system consists of several key elements that work together to produce high-quality sound.
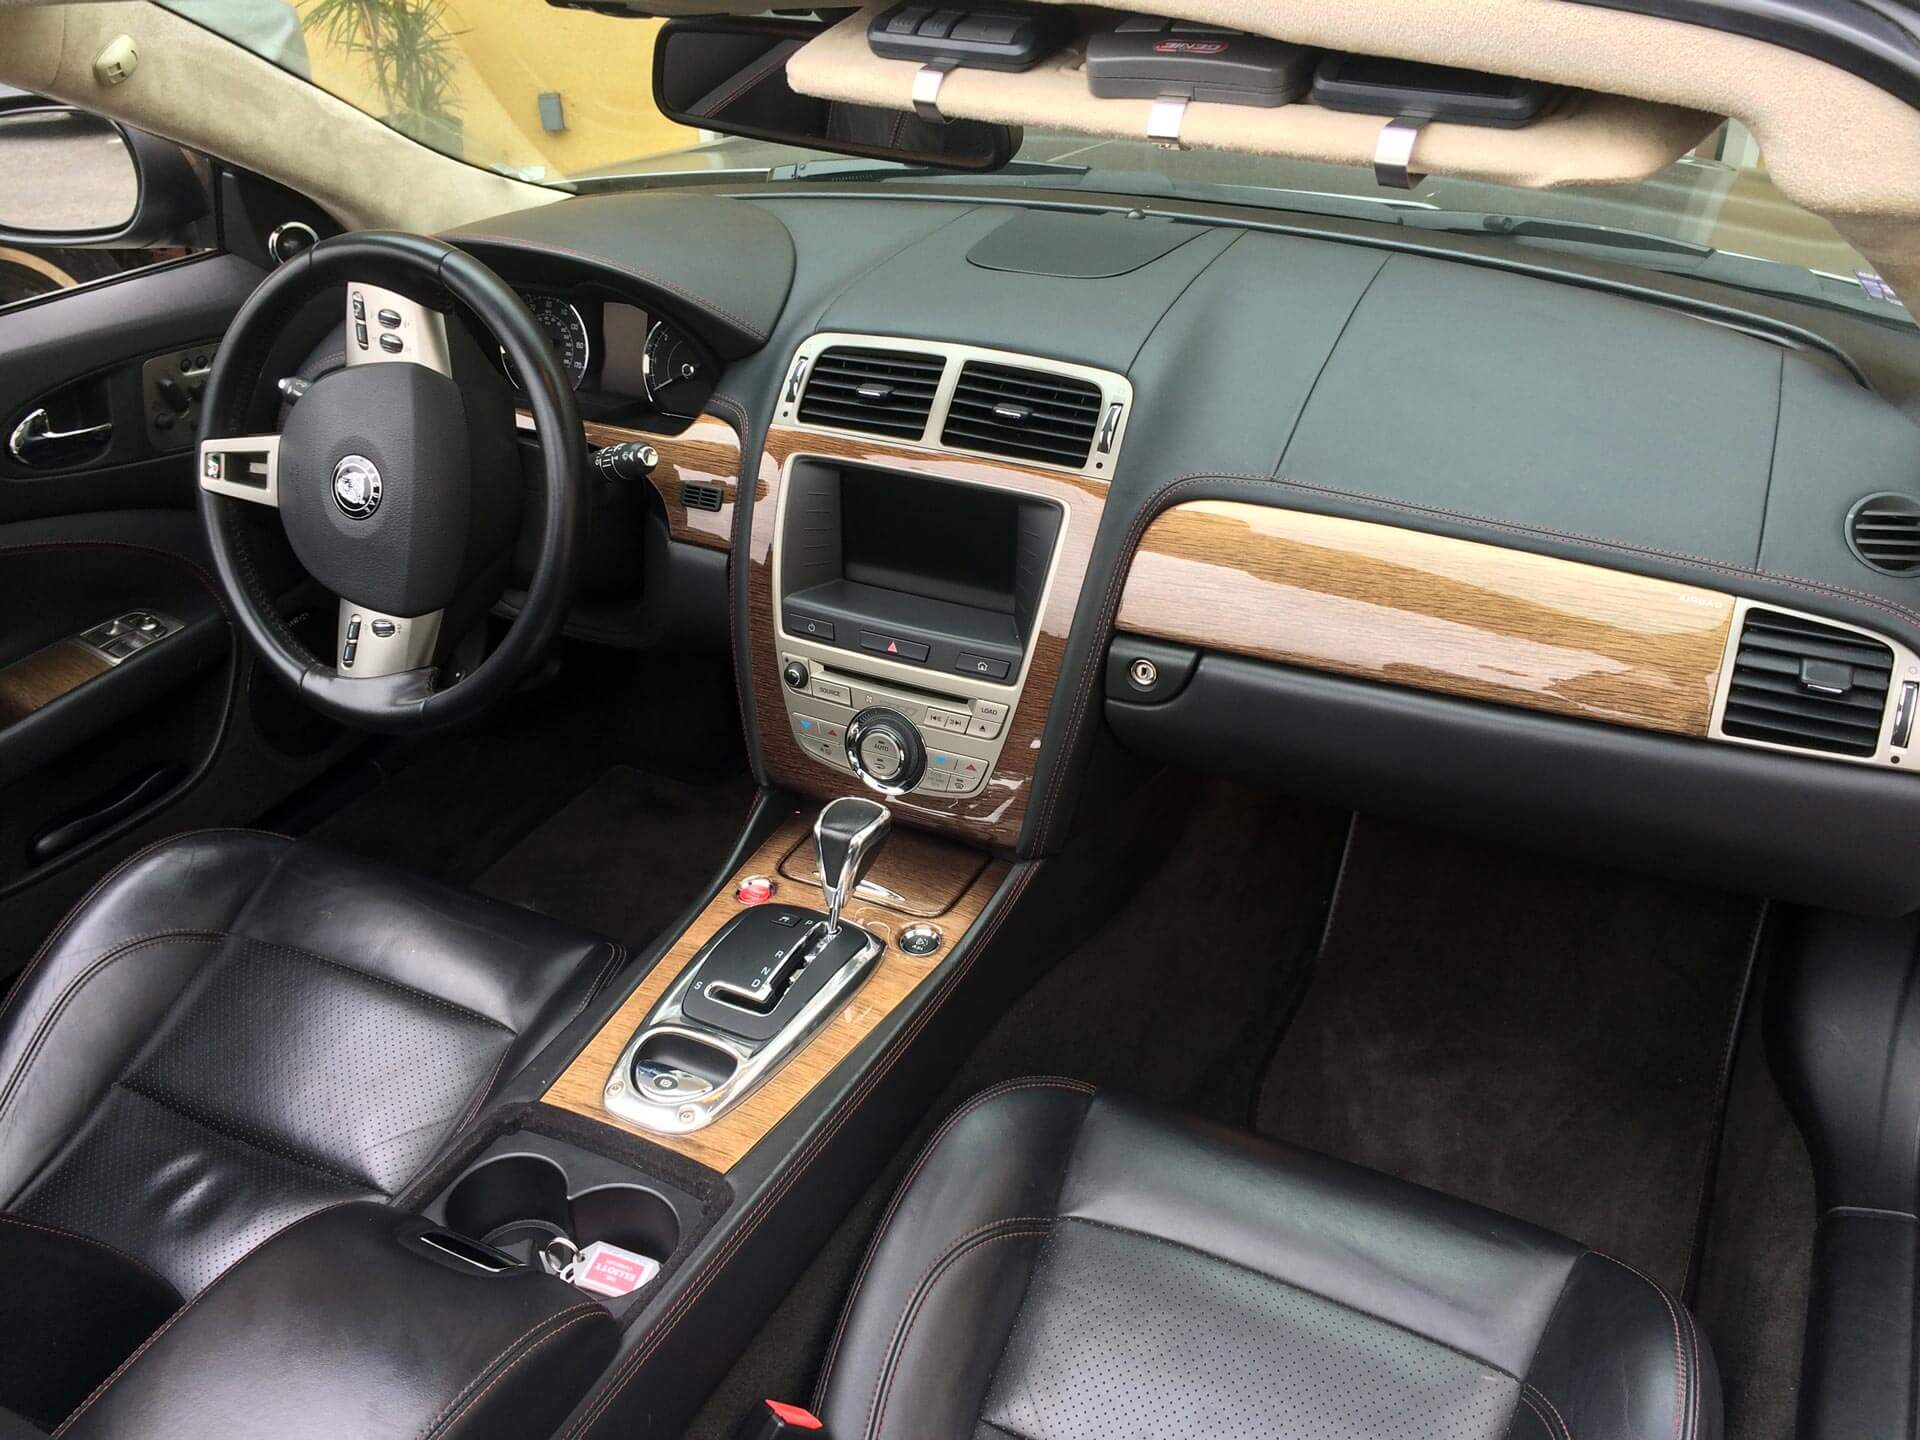
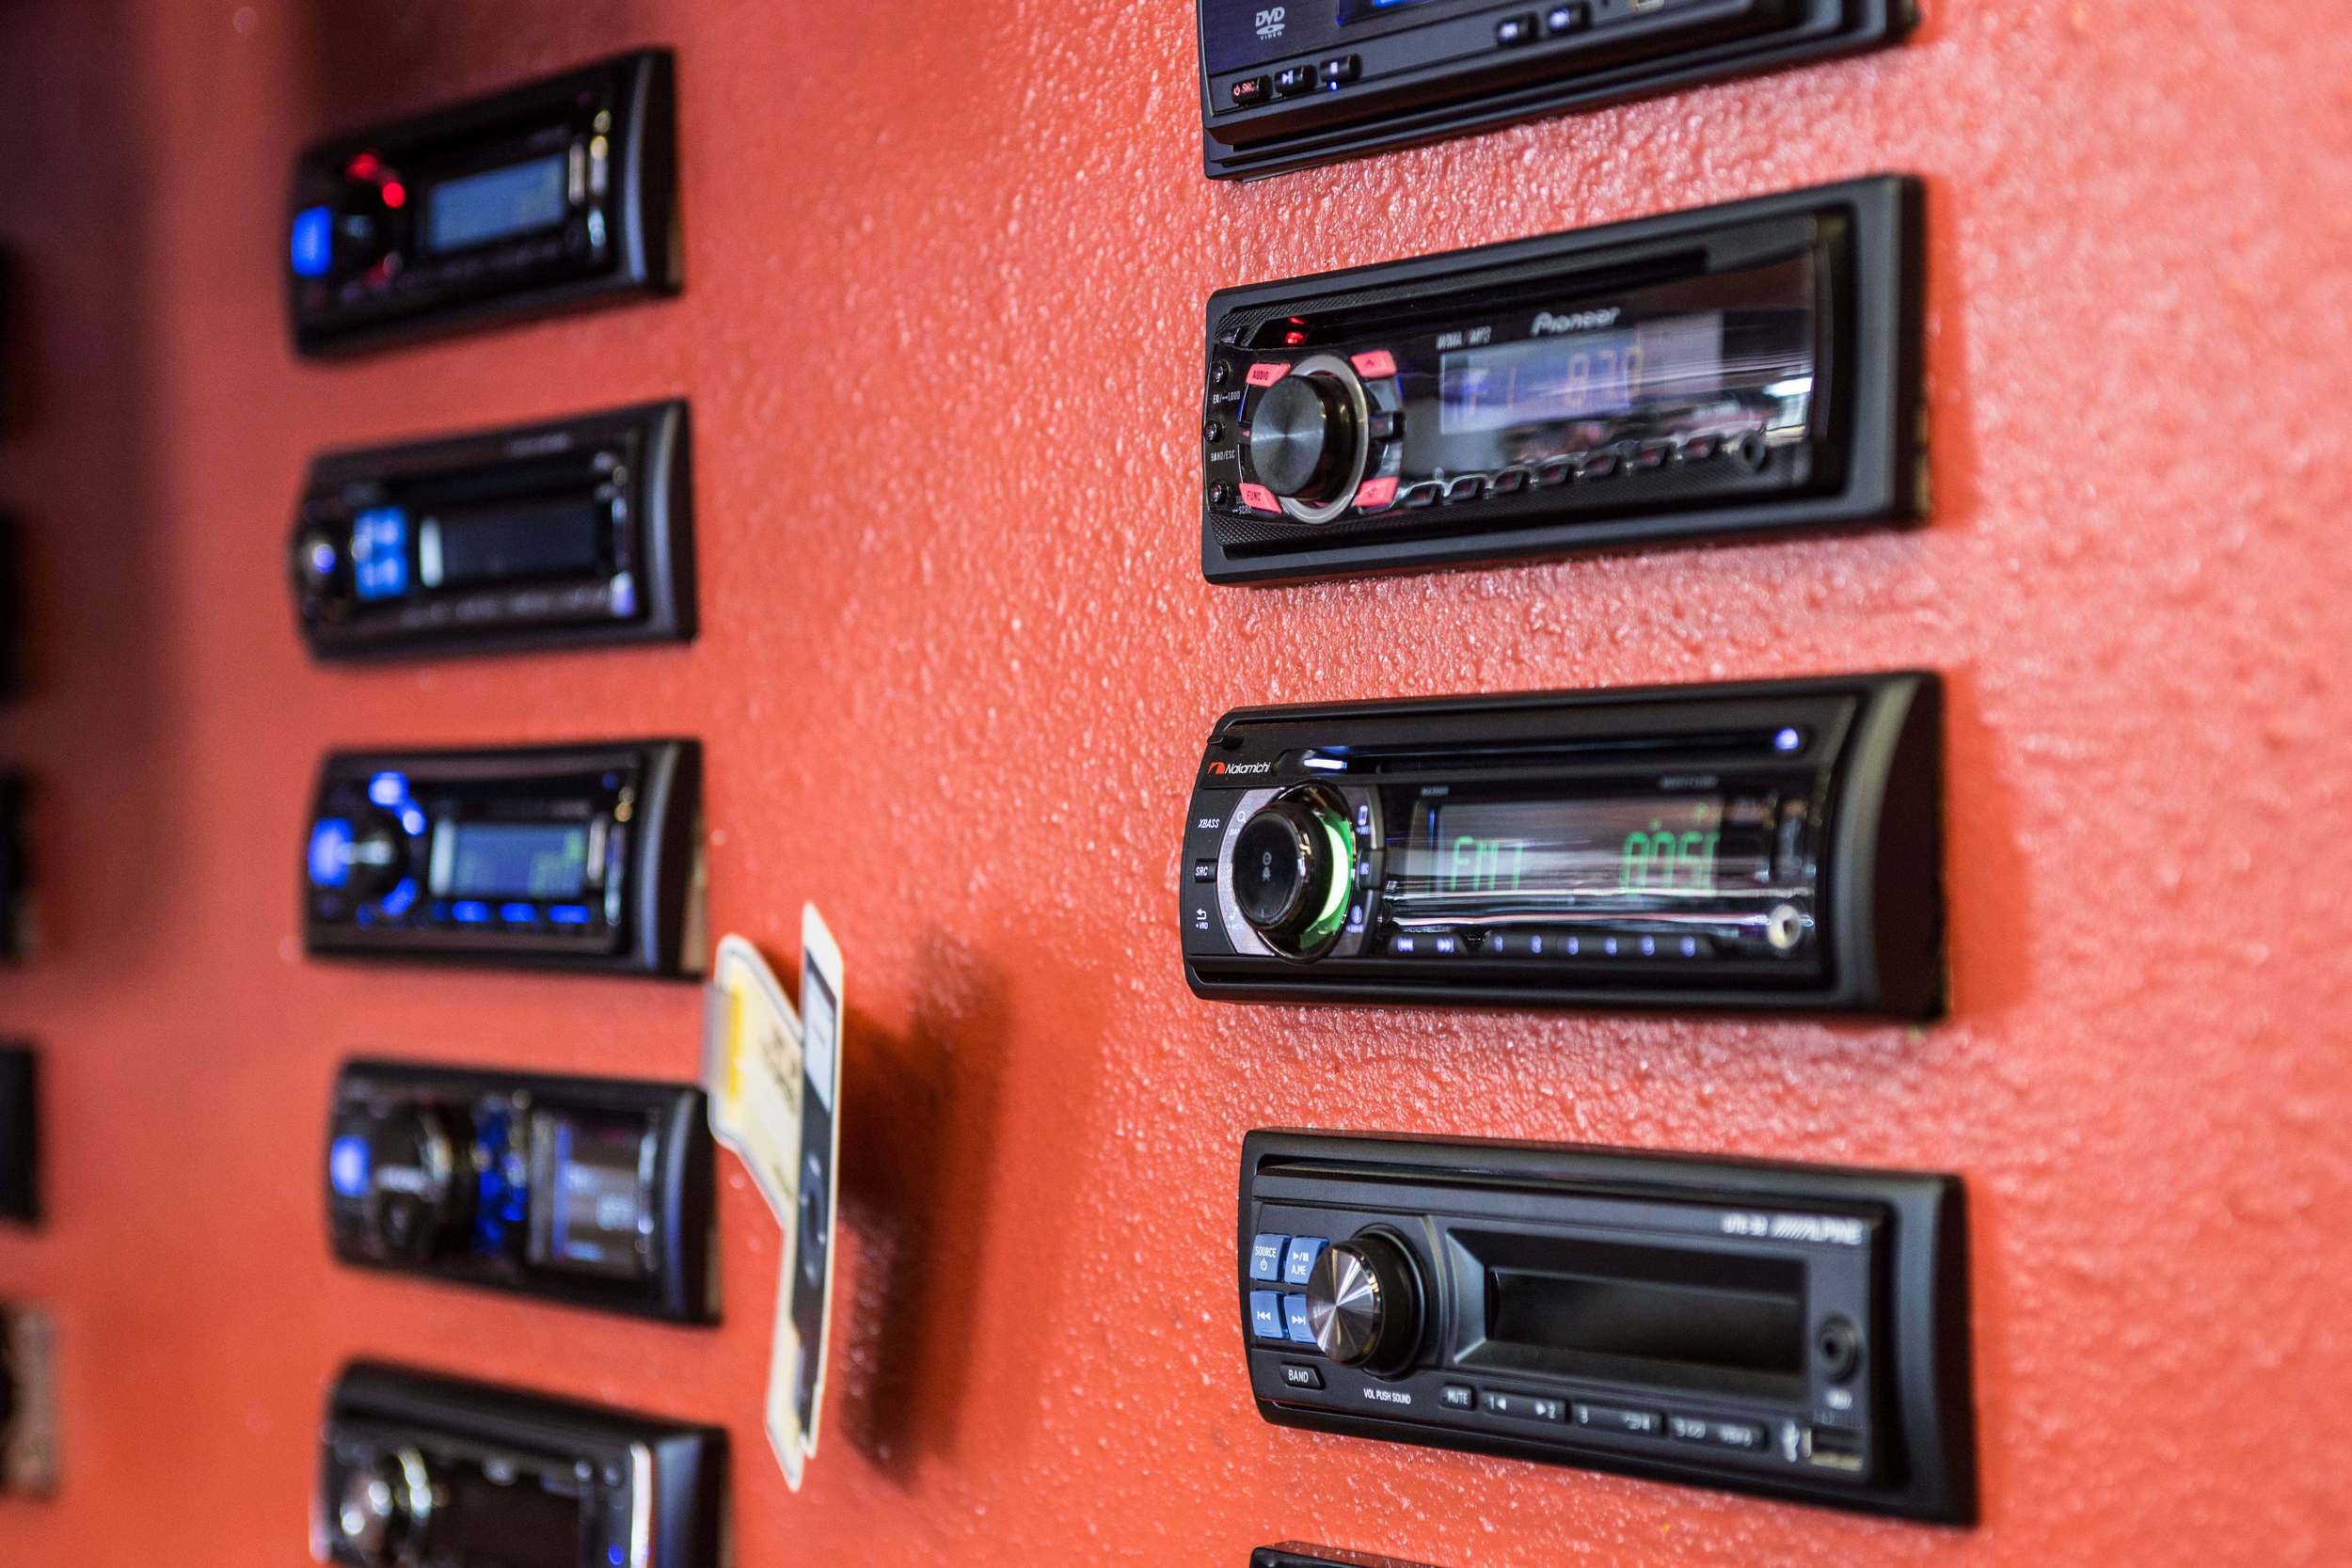
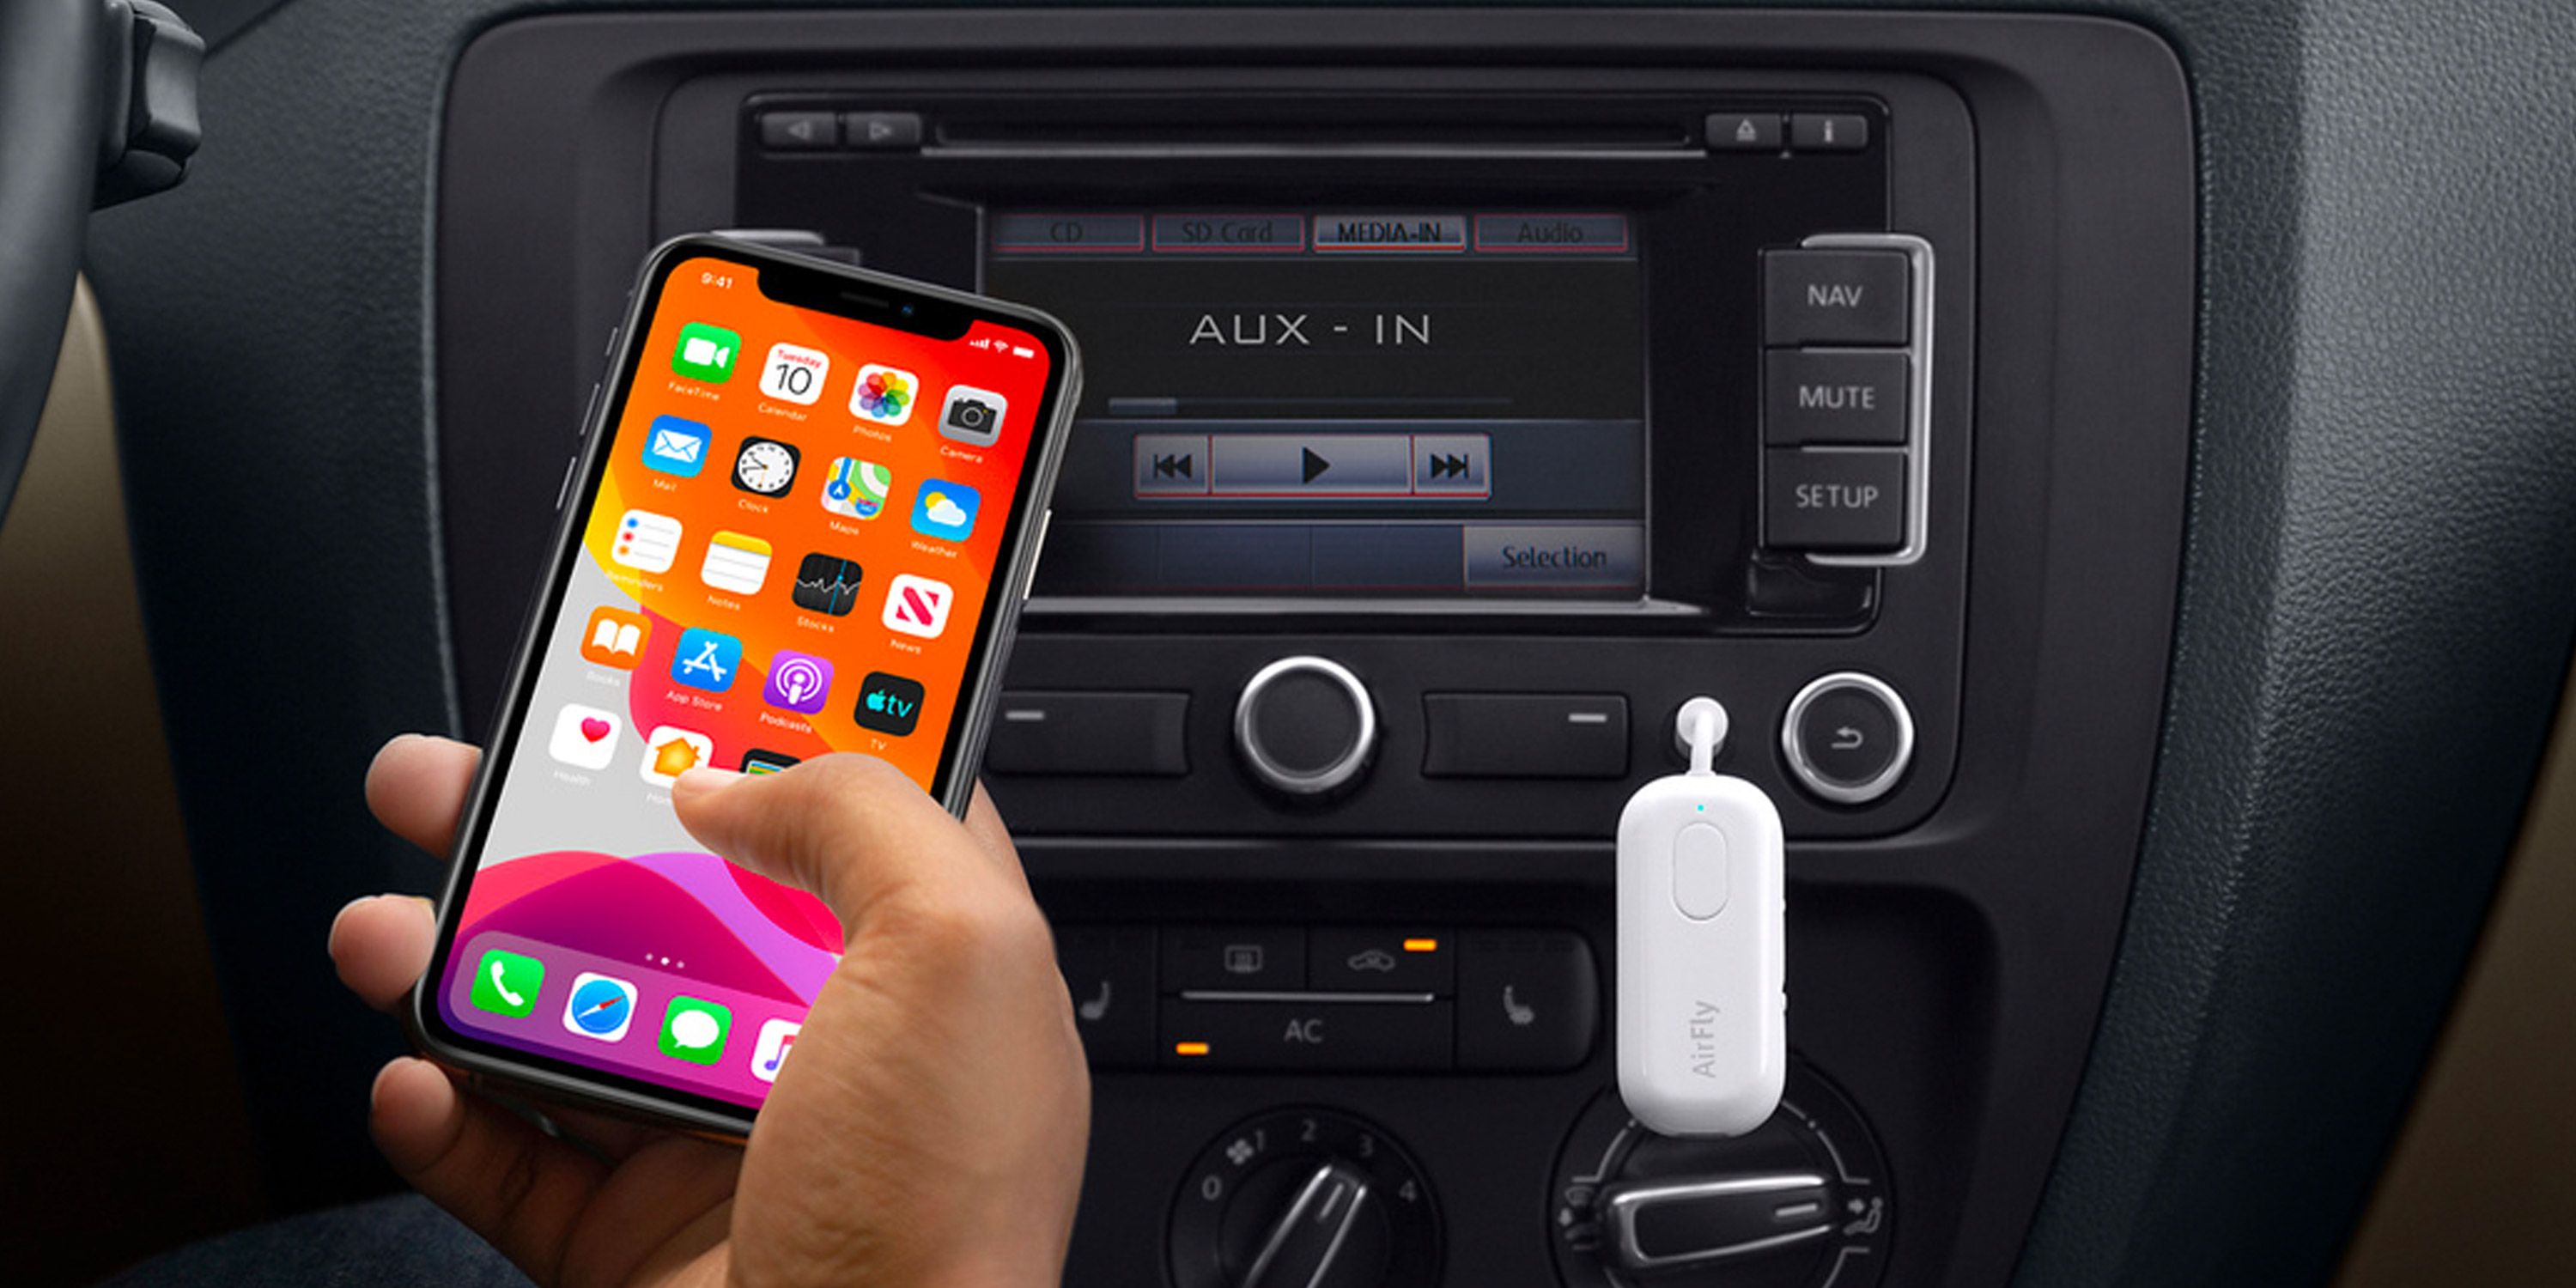
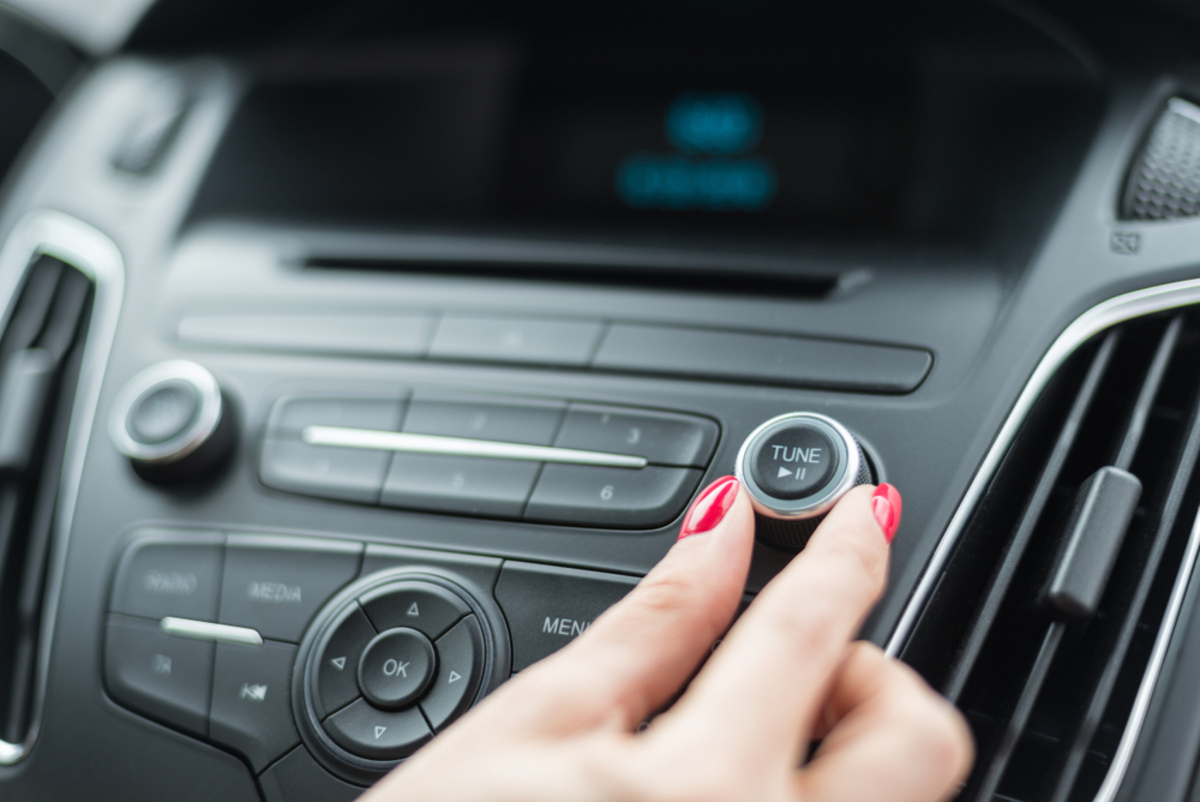
1. Head Unit: The head unit, also known as the stereo or receiver, is the control center of the car audio system. It typically includes features such as AM/FM radio, CD player, Bluetooth connectivity, and auxiliary inputs. The head unit allows you to select audio sources and control various settings.
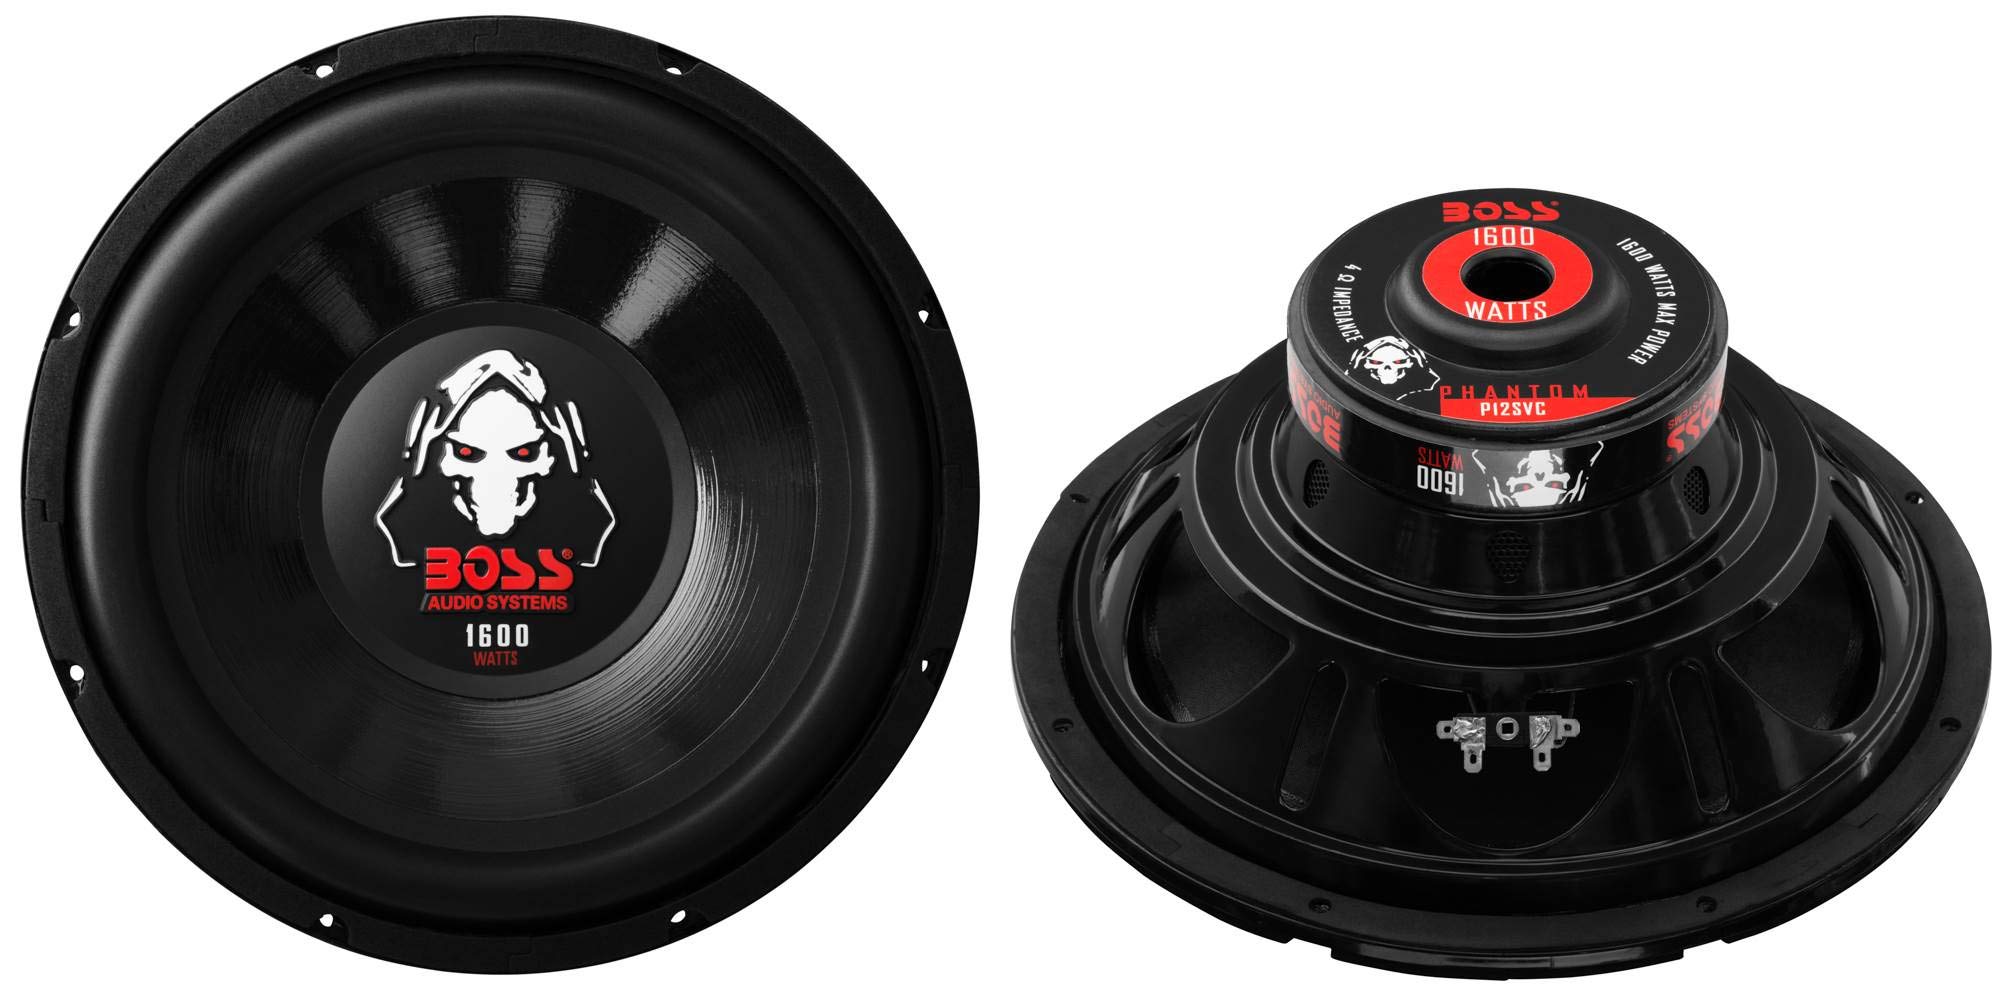
2. Speakers: Speakers are responsible for delivering sound to your ears. They come in different sizes and configurations, including coaxial (full-range) speakers and component speakers. Coaxial speakers have multiple drivers, such as woofers and tweeters, built into one unit, while component speakers have separate drivers for better sound separation and imaging.
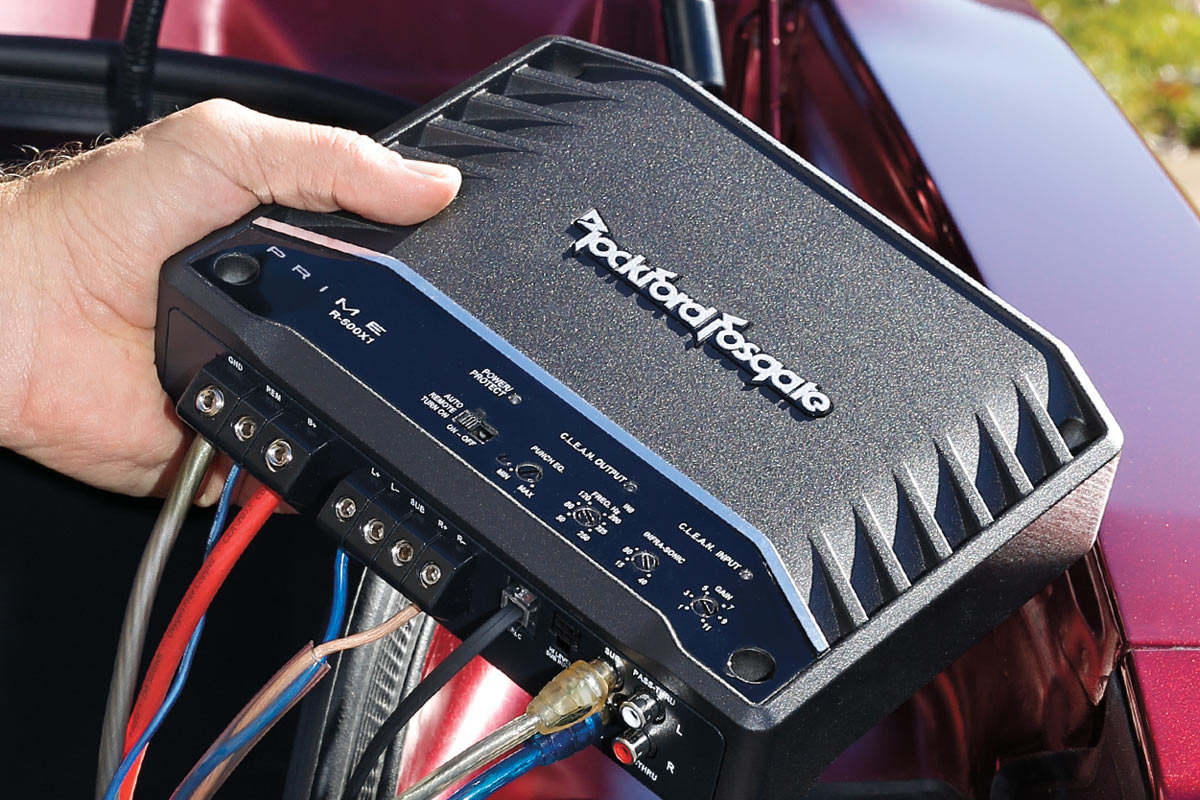
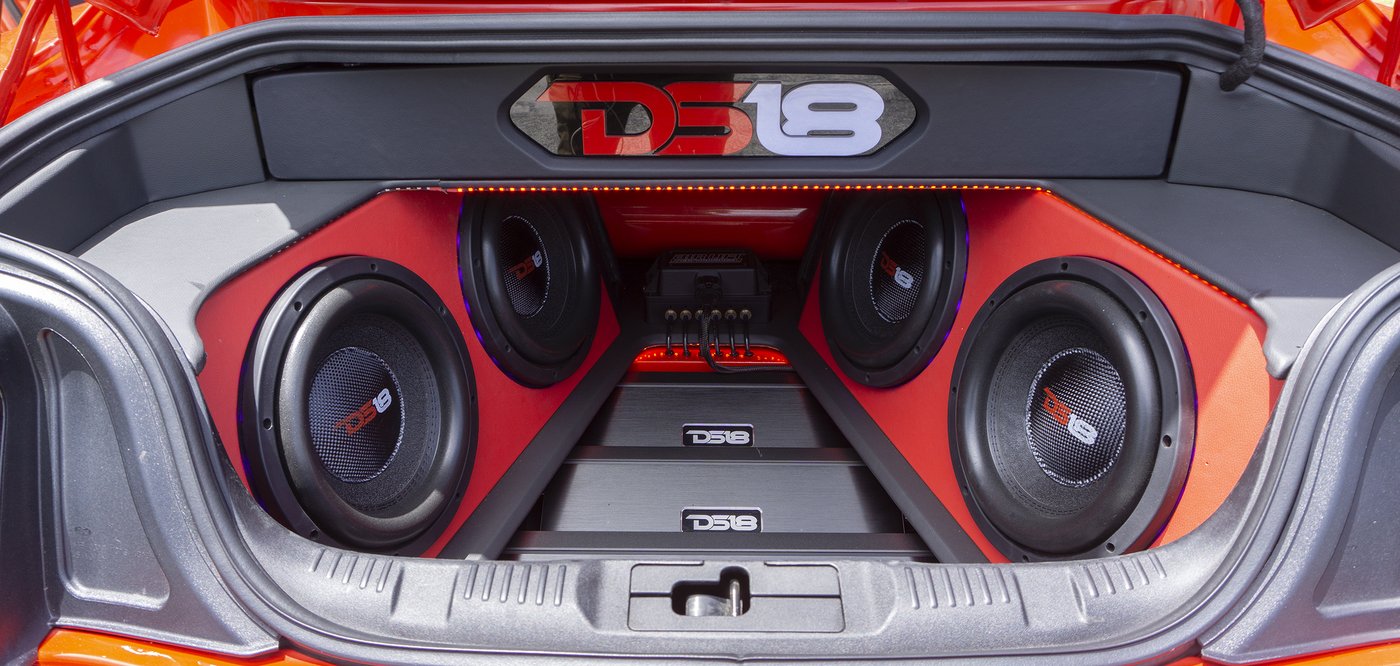
3. Amplifier: An amplifier is essential for enhancing the power of the audio signal and driving the speakers. It takes the low-level signal from the head unit and boosts it to a higher level, resulting in louder and clearer sound. Amplifiers come in various sizes and power ratings, so it’s important to choose one that matches your speakers’ requirements.
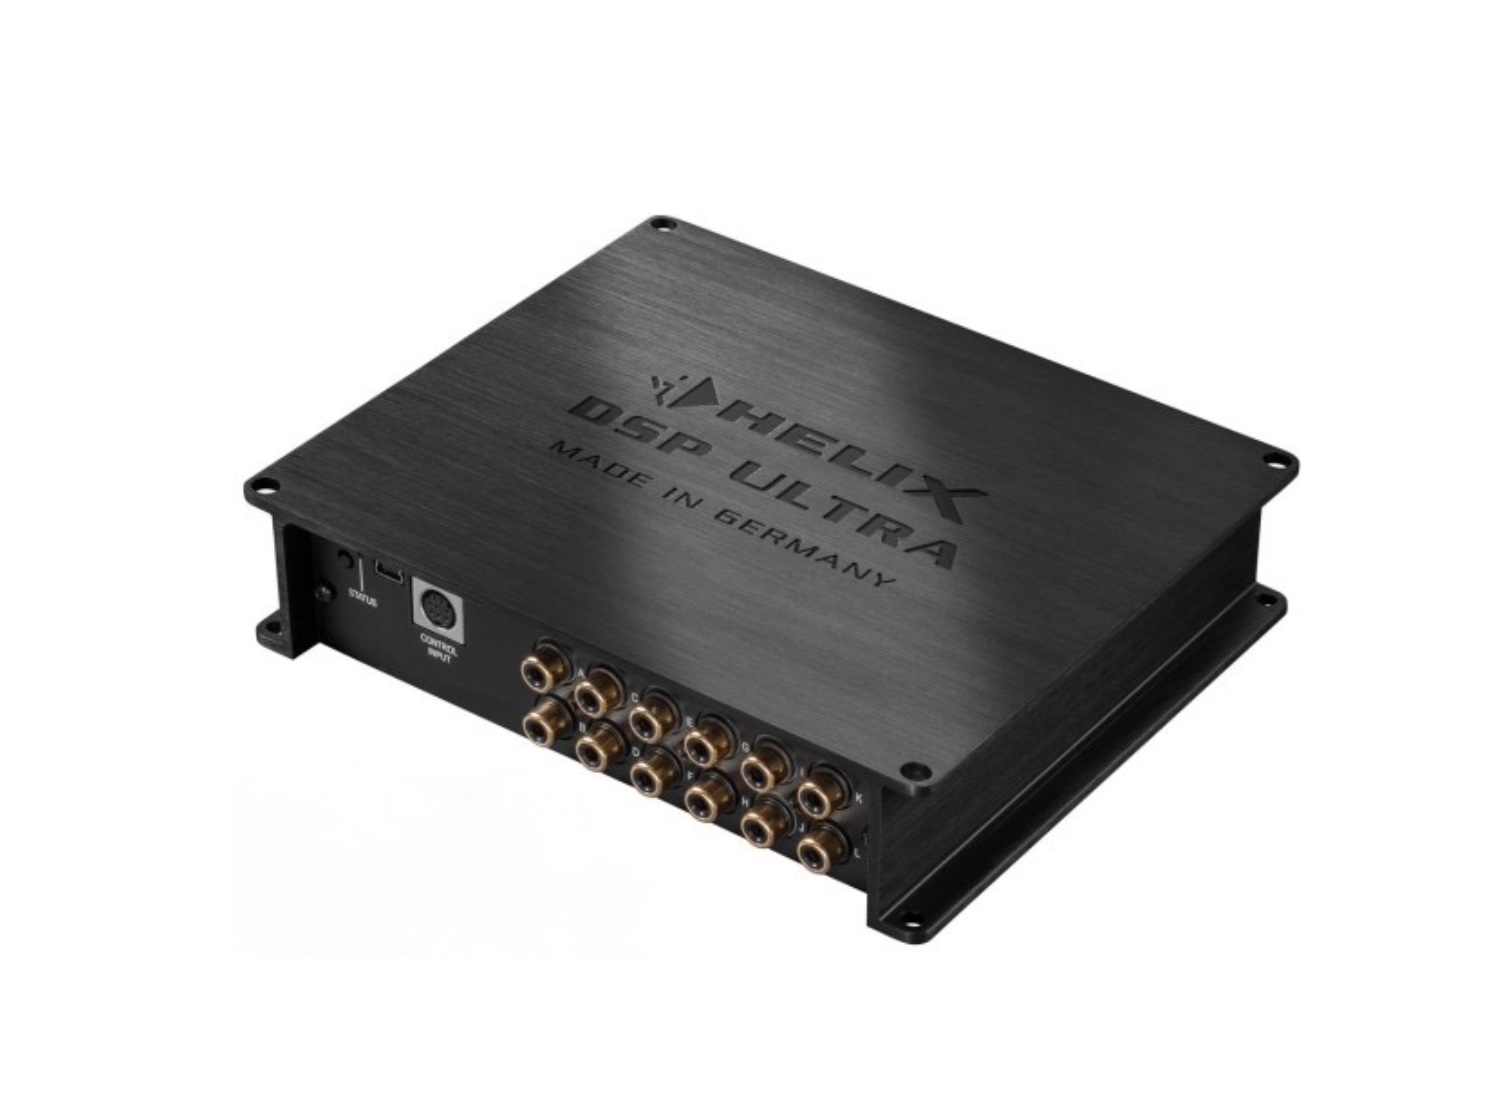
4. Equalizer: An equalizer allows you to adjust the frequency response of your audio system. It consists of sliders or knobs that control the levels of different frequency bands, such as bass, midrange, and treble. Equalizers are used to fine-tune the sound and compensate for any deficiencies in the audio system or the vehicle’s acoustics.
5. Crossover: A crossover is used to divide the audio signal into different frequency ranges and direct them to the appropriate speakers. It ensures that the right frequencies go to the right drivers, improving sound clarity and preventing distortion. Crossovers can be active (built into the amplifier or head unit) or passive (separate units connected between the amplifier and speakers).
6. Wiring and Connections: Proper wiring and connections are crucial for achieving optimal sound quality. High-quality cables, connectors, and proper installation techniques help minimize signal loss and interference, ensuring clean and accurate audio reproduction.
Understanding these basic components will help you make informed decisions when it comes to upgrading or tuning your car audio system. Now that you have a grasp of the fundamentals, let’s move on to selecting the right speakers for your car.
Choosing the Right Speakers for Your Car
When it comes to upgrading your car’s audio system, selecting the right speakers is crucial for achieving the desired sound quality. With so many options available, it’s important to consider a few key factors before making your decision.
1. Speaker Size: The first consideration is the size of the speakers. Car speakers come in different sizes, typically ranging from 3.5 inches to 6×9 inches. The size of your car’s factory speaker locations will determine the maximum size speakers you can install. It’s important to check the specifications and dimensions of your car’s speakers to ensure a proper fit.
2. Speaker Type: There are two main types of car speakers: coaxial (full-range) speakers and component speakers. Coaxial speakers combine the woofer and tweeter into a single unit, making them easier to install and more budget-friendly. Component speakers, on the other hand, have separate woofers, tweeters, and crossovers, offering better sound separation and imaging. If sound quality is your priority, component speakers are a better choice.
3. Power Handling: The power handling capability of the speakers is an important consideration. It refers to the amount of power (in watts) that a speaker can handle without distorting the sound. It’s crucial to match the power handling of the speakers with the output power of your amplifier to avoid damaging the speakers or getting subpar sound quality.
4. Sensitivity: Speaker sensitivity indicates how efficiently the speakers convert power into sound. Higher sensitivity ratings mean the speakers require less power to produce the same volume levels compared to speakers with lower sensitivity. If you have a low-powered amplifier, choosing speakers with higher sensitivity can help maximize the volume output.
5. Frequency Response: The frequency response range of the speakers indicates the range of frequencies they can reproduce. It’s important to choose speakers that can cover the entire audio spectrum, from deep bass to high treble, for a well-balanced sound. Look for speakers with a wide frequency response range for accurate and detailed sound reproduction.
6. Brand and Reputation: Lastly, consider the brand reputation and customer reviews when choosing speakers. Established brands often have a track record of producing high-quality speakers and offering good customer support. Reading reviews and seeking recommendations can help you make an informed decision.
By considering these factors and conducting thorough research, you can choose speakers that are well-suited for your car and audio preferences. Once you have selected the speakers, it’s time to install them properly to ensure optimal performance, which we will explore in the next section.
Installing the Speakers Properly
Installing car speakers properly is crucial for achieving optimal sound quality and performance. Here are some steps to follow when installing speakers in your car:
1. Gather the Necessary Tools: Before you begin, make sure you have all the necessary tools for the installation. This may include screwdrivers, wire cutters, wire strippers, crimp connectors, and panel removal tools.
2. Remove Door Panels or Speaker Grilles: Depending on the location of your speakers, you may need to remove the door panels or speaker grilles to access the installation area. Refer to your car’s user manual or online guides for specific instructions on removing these components.
3. Disconnect the Factory Speakers: Once you have access to the speakers, disconnect the wiring harness and remove the factory speakers. Pay attention to the polarity of the connections as you’ll need to connect the new speakers correctly.
4. Install the New Speakers: Position the new speakers in the speaker openings and use the appropriate mounting hardware to secure them. Ensure a tight and secure fit to prevent any vibrations or rattling. Follow the manufacturer’s instructions for the specific mounting method of your speakers.
5. Connect the Wiring: Cut and strip the speaker wire, exposing a small section of bare wire on each end. Connect one end of the wire to the positive terminal of the new speaker and the other end to the positive wire from your car’s wiring harness. Repeat this process for the negative terminals. Use crimp connectors or solder the connections for a secure and reliable connection.
6. Test the Speakers: Before reassembling the door panels or speaker grilles, test the new speakers to ensure they are functioning properly. Connect the wiring harness to the head unit, turn on the system, and play some audio to verify the sound quality and ensure all connections are correct.
7. Reassemble the Interior Components: Once you are satisfied with the speaker installation and testing, reassemble the interior components in the reverse order of their removal. Make sure all screws and clips are securely fastened.
It’s worth noting that speaker installation can vary depending on the make and model of your car. If you’re unsure about the installation process or if you want to ensure professional installation, it’s recommended to consult a car audio specialist or professional installer.
Proper speaker installation is essential for maximizing the performance of your new speakers. With the speakers installed correctly, it’s time to enhance their power with an amplifier, which we will explore in the next section.
Selecting and Installing an Amplifier
An amplifier is a crucial component in a car audio system as it boosts the audio signal and provides the power needed to drive the speakers effectively. Here are some steps to follow when selecting and installing an amplifier for your car audio system:
1. Determine Your Power Needs: Before selecting an amplifier, it’s important to determine your power requirements. Consider the power handling capabilities of your speakers and the desired volume levels. Ensure that the amplifier can deliver enough power to match your speaker’s specifications.
2. Choose the Class of Amplifier: There are different classes of amplifiers available, including Class A, Class AB, Class D, and Class H. Each class has its own advantages and disadvantages in terms of power efficiency, heat generation, and sound quality. Do thorough research or consult with an audio professional to determine the best amplifier class for your needs.
3. Consider the Number of Channels: Amplifiers come in various configurations, such as mono (1 channel), 2-channel, 4-channel, and more. The number of channels you need depends on the number of speakers you plan to connect. For example, if you want to power both your front and rear speakers, a 4-channel amplifier would be suitable.
4. Pay Attention to Impedance: The impedance compatibility between the amplifier and speakers is crucial for optimal performance. Ensure that the amplifier’s impedance matches or is compatible with the speakers’ impedance. Mismatched impedance can result in poor sound quality or damage to the amplifier or speakers.
5. Install the Amplifier: Once you have selected the amplifier, it’s time to install it properly. Choose a suitable location in your car, such as the trunk or under a seat, where the amplifier can be securely mounted and properly ventilated to avoid overheating. Use mounting brackets or amplifier racks, and make sure to secure the wiring properly to prevent any interference or rattling.
6. Connect the Wiring: Connect the power cable from the battery to the amplifier’s power input terminal, making sure to use the appropriate fuse near the battery connection. Connect the amplifier’s ground wire to a solid metal grounding point in the car’s chassis. Run RCA cables from the head unit’s preamp outputs to the amplifier’s RCA inputs. Finally, connect the speaker wires from the amplifier to the respective speakers, ensuring proper polarity.
7. Set the Gain and Crossover Settings: Once the amplifier is installed and the wiring connections are secure, it’s important to set the gain and crossover settings properly. The gain controls the input level of the amplifier, while the crossover determines the frequency range of the signals sent to the speakers. Adjust these settings carefully to optimize the sound quality and prevent distortion.
By following these steps, you can select and install an amplifier that matches your power needs and enhances the performance of your car audio system. With the amplifier in place, it’s time to fine-tune the sound to your preferences using equalizer settings, which we will explore in the next section.
Adjusting the Equalizer Settings
One of the key tools for tuning your car audio system is the equalizer. An equalizer allows you to adjust the frequency response of your audio system to achieve the desired sound characteristics. Here are some steps to follow when adjusting the equalizer settings:
1. Identify the Equalizer Controls: Familiarize yourself with the equalizer controls on your head unit or digital signal processor (DSP). Most equalizers have sliders or knobs that control the levels of different frequency bands, such as bass, midrange, and treble. Some advanced systems may even have parametric equalizers that allow precise adjustment of specific frequencies.
2. Start with Flat (Neutral) Settings: Set all the equalizer controls to their neutral or flat positions. This ensures that the audio signal is not exaggerated or suppressed in any frequency range, providing a baseline for adjustments.
3. Listen to Reference Tracks: To accurately adjust the equalizer settings, listen to a few reference tracks that cover a wide range of frequencies and instrumentation. Choose tracks that you are familiar with and that represent the type of music you usually listen to. Pay attention to the balance of bass, midrange, and treble, and any areas that may sound too boomy or harsh.
4. Tweak the Bass Frequencies: Start by adjusting the bass frequencies. If you feel that the bass is lacking, gently boost the low frequencies to add more depth and impact. Be cautious not to excessively boost the bass, as it can lead to distortion or an imbalanced sound. On the other hand, if the bass is overpowering, cut or reduce the lower frequencies to achieve a more balanced and controlled bass response.
5. Adjust the Midrange: The midrange frequencies determine the presence and clarity of vocals and instruments. If the midrange sounds recessed or weak, gently boost the mid frequencies to bring them forward. Conversely, if the midrange is overwhelming or muffled, reduce or cut the mid frequencies to achieve a smoother and more balanced sound.
6. Fine-tune the Treble: The treble frequencies control the detail and clarity of high-frequency sounds. If the treble sounds dull or lacking, gently boost the high frequencies to add more sparkle and definition. However, be careful not to overdo it, as excessive treble boost can lead to harsh or sibilant sounds. If the treble is too bright or harsh, cut or reduce the high frequencies to achieve a smoother and more pleasing sound.
7. Listen and Adjust as Needed: After making initial adjustments, listen to a variety of music tracks and genres to evaluate the overall sound quality. Pay attention to any areas that may still require fine-tuning, such as specific frequency ranges that are overpowering or lacking in presence. Make further adjustments as needed to achieve a well-balanced and enjoyable sound.
Remember, adjusting the equalizer settings is subjective and depends on personal preferences and the characteristics of your car audio system. Take your time to experiment and find the settings that suit your taste and the music you listen to most frequently.
With the equalizer settings dialed in, the next step is to adjust the balance and fade controls to achieve the ideal soundstage, which we will explore in the next section.
Adjusting the Balance and Fade Controls
Balance and fade controls are important features in a car audio system that allow you to adjust the sound distribution and create an immersive listening experience. Here are some steps to follow when adjusting the balance and fade controls:
1. Understand the Balance and Fade Controls: Familiarize yourself with the balance and fade controls on your head unit or audio system. The balance control adjusts the distribution of sound between the left and right speakers, while the fade control adjusts the distribution between the front and rear speakers.
2. Start with a Balanced Setting: Begin by setting both the balance and fade controls to the center or equal position. This ensures that the sound is evenly distributed between all speakers, providing a starting point for adjustments.
3. Adjusting the Balance: While seated in the driver’s position, adjust the balance control to find the optimal balance between the left and right speakers. Gradually move the balance control towards the left and right to evaluate the soundstage and ensure that each speaker is producing sound clearly and accurately. Find the setting where the stereo image feels centered and balanced.
4. Fine-tune the Fade: Once you have set the balance, move on to adjusting the fade control. This control allows you to adjust the sound distribution between the front and rear speakers. Start by adjusting the fade towards the front speakers and evaluate the soundstage. Then slowly adjust it towards the rear speakers to find the optimal position where the sound feels well-balanced and enveloping.
5. Consider Seating Position: Keep in mind that the ideal balance and fade settings may vary depending on your seating position in the car. If you frequently have passengers in the rear seats, you may need to adjust the fade to accommodate for their listening experience.
6. Fine-tune with Reference Tracks: As with adjusting the equalizer settings, use reference tracks that cover a wide range of frequencies and instrumentation to evaluate the balance and fade adjustments. Listen to the stereo imaging, instrument separation, and overall coherence of the sound to ensure a well-balanced and immersive experience.
7. Make Adjustments as Needed: Remember that balance and fade control settings are subjective and depend on personal preferences and the acoustics of your car. Take your time to fine-tune the settings according to your taste and to compensate for any unevenness in sound reproduction due to the car’s interior or speaker placement.
By adjusting the balance and fade controls, you can create a well-balanced soundstage that enhances the listening experience. The next step in fine-tuning your car audio system is utilizing time alignment to optimize the audio imaging, which we will explore in the next section.
Tweaking the Sound with Time Alignment
Time alignment is a crucial step in fine-tuning your car audio system to achieve optimal sound imaging and stage presentation. It involves adjusting the timing of the audio signals to compensate for the varying distances between the listeners and the speakers. Follow these steps to optimize the sound with time alignment:
1. Understand Time Delay and Arrival Times: Time delay refers to the time it takes for sound to travel from the speakers to the listeners’ ears. Time alignment compensates for the difference in the arrival times of the sound from different speakers, ensuring that the audio arrives at the listener’s ears simultaneously.
2. Determine the Listening Position: Identify the primary listening position in your car, which is typically the driver’s seat. This will serve as the reference point for time alignment adjustments.
3. Measure Speaker Distances: Measure the distances between each speaker and the listener’s position. Take into account any time delays introduced by the position and installation of each speaker. These distances will be used to set the appropriate time delays for each speaker.
4. Access the Time Alignment Settings: Depending on your car audio system, time alignment adjustments can be made through the head unit or a digital signal processor (DSP). Locate the time alignment settings and access the menu to make the necessary adjustments.
5. Set Time Delays: Enter the measured speaker distances into the time alignment settings. The system will use these distances to calculate the appropriate time delays for each speaker. Adjust the time delay for each speaker until the arrival times align with the listener’s position.
6. Evaluate and Fine-Tune: Once the initial time alignment settings are applied, evaluate the soundstage imaging by listening to various tracks. Pay attention to the positioning and separation of instruments and vocals. If necessary, fine-tune the time alignment settings by making small adjustments to further improve the sound imaging and stage presentation.
7. Consider Pre-Configured Settings: Some car audio systems or digital signal processors may offer pre-configured time alignment settings for specific car models or speaker setups. These settings are designed to provide a good starting point for time alignment adjustments. If available, explore these pre-configured settings and fine-tune them as needed.
Time alignment can significantly enhance the listening experience in your car by creating a more realistic and immersive soundstage. The precise adjustments will depend on your specific car audio system and speaker setup, so take the time to experiment and find the optimal settings for your preference.
Next, let’s explore the importance of crossover settings and how they can further refine the sound in your car audio system.
Fine-tuning the System with Crossover Settings
Crossover settings play a crucial role in fine-tuning your car audio system by dividing the audio signal into different frequency ranges and directing them to the appropriate speakers. This helps ensure that each speaker reproduces the frequencies it is designed to handle, resulting in a more balanced and accurate sound reproduction. Follow these steps to fine-tune your system with crossover settings:
1. Understand Crossover Types: There are two main types of crossovers: active and passive. Active crossovers are typically built into the amplifier or head unit and allow for independent control of the frequency ranges sent to each speaker. Passive crossovers, on the other hand, are separate units that are typically included with component speaker systems and are installed between the amplifier and speakers.
2. Determine Speaker Specifications: Check the specifications of your speakers to determine their recommended frequency ranges. This information will help you set the crossover points effectively.
3. Set High-Pass Filters: High-pass filters are used to block low frequencies and only allow higher frequencies to pass through. Apply a high-pass filter to your tweeters and midrange speakers to protect them from receiving frequencies they cannot handle. Set the crossover point slightly above the lower range of these speakers’ specifications.
4. Set Low-Pass Filters: Low-pass filters are used to block higher frequencies and only allow lower frequencies to reach the subwoofer or woofers. Apply a low-pass filter to your subwoofer or woofers to ensure they only reproduce the lower frequency range that they are designed for. Set the crossover point slightly below the upper range of these speakers’ specifications.
5. Adjust Crossover Slopes: Crossover slopes determine how quickly the frequencies outside the crossover point are attenuated. Common slope options include 12dB/octave, 24dB/octave, and 48dB/octave. Higher slope values result in steeper rolloffs and better separation between frequency ranges. Experiment with different slope settings to find the optimal balance between smooth transitions and avoiding frequency overlap.
6. Listen and Refine: After setting the crossover points and slopes, listen to a variety of music tracks to evaluate the impact of the adjustments. Pay attention to the blending and transition between different frequency ranges. Fine-tune the crossover settings as necessary to achieve a balanced sound where each speaker seamlessly integrates with the others.
7. Consider Time Alignment: Keep in mind that adjusting crossover settings may also have an impact on the time alignment of your audio system. As you make changes to the crossover points, re-evaluate the time alignment settings and make any necessary adjustments to maintain optimal sound imaging.
Fine-tuning your car audio system with crossover settings allows you to optimize the sound reproduction of each speaker and create a cohesive and well-balanced audio experience. Take your time to experiment and refine the settings until you achieve the desired sound quality.
Next, let’s explore how to evaluate and test your car audio system to ensure that everything is working optimally.
Evaluating and Testing the Audio System
Once you have completed the installation and fine-tuning of your car audio system, it’s important to evaluate and test its performance to ensure that everything is working optimally. Here are some steps to follow when evaluating and testing your audio system:
1. Test Different Music Tracks: Use a variety of music tracks that cover a wide range of genres and instrumentation to evaluate the performance of your audio system. Listen for detail, clarity, and accuracy in various elements such as vocals, instruments, and sound effects.
2. Pay Attention to Imaging and Soundstage: Focus on the imaging and soundstage of the music. Ideally, the sound should appear to come from a wide and balanced stage with instruments and vocals clearly positioned within the soundfield. Ensure that the soundstage is well-defined and accurately reproduced.
3. Check for Distortion: Listen for any signs of distortion, such as harshness, muffled sounds, or crackling. If you notice any distortion, it may indicate an issue with the speaker installation, amplifier settings, or improper gain staging. Make adjustments as necessary to eliminate distortion.
4. Evaluate Dynamic Range: Pay attention to the dynamic range of the audio system. The dynamic range represents the difference between the softest and loudest sounds reproduced. Ensure that the system can accurately reproduce both soft and loud passages without any compression or distortion.
5. Test System Resonance: Check for any system resonance or vibrations that may affect the sound quality. Play tracks with powerful bass and listen for any unwanted rattles or vibrations from panels, trims, or other components. If resonance is present, consider adding sound deadening material to reduce it.
6. Check for Balanced Frequencies: Evaluate the overall balance of frequencies in the system. Ensure that there is a smooth transition between the low, mid, and high frequencies. None of the frequency ranges should overpower or mask the others. Make accurate adjustments to the equalizer and crossover settings as needed.
7. Consult with an Audio Professional: If you are unsure about the evaluation or if you notice persistent issues, it’s a good idea to consult with a car audio professional. They can provide expertise and perform more advanced tests to fine-tune your system and address any potential problems.
Regularly evaluating and testing your car audio system ensures that it is functioning optimally and delivering the intended sound quality. It also allows you to make adjustments and improvements to further enhance your audio experience on the road.
Finally, let’s discuss some common issues that may arise during the tuning process and how to troubleshoot them effectively.
Troubleshooting Common Issues
During the process of tuning your car audio system, you may encounter some common issues that can affect the sound quality and performance. Here are a few common issues and troubleshooting steps to help you address them:
1. Distortion or Clipping: If you notice distortion or clipping in your audio system, it may be an indication of excessive gain or improperly set amplifier settings. Reduce the gain level on the amplifier or head unit to avoid overdriving the speakers. Additionally, ensure that the amplifier and speakers are compatible and properly matched in terms of power handling.
2. Imbalanced Soundstage: If you experience an imbalanced soundstage, where one side or speaker is louder than the other, it may indicate an issue with the balance control settings or speaker wiring. Double-check the balance control and ensure it is set to the center position. Verify the speaker wiring connections for any loose or incorrect connections that may be causing the imbalance.
3. Lack of Bass or Low-End Response: If you feel that your system is lacking bass or low-end response, check the settings on the equalizer, crossover, and subwoofer. Ensure that the subwoofer is properly connected and powered, and the low-pass filter is set correctly. Adjust the equalizer settings to boost the bass frequencies, and make sure the crossover settings are appropriate for your subwoofer and speakers.
4. Excessive Vibrations or Rattling: If you experience excessive vibrations or rattling noises when playing music with heavy bass, it may be due to loose panels or components in your car. Check your car’s interior for any loose trims, panels, or speaker grilles, and secure them properly. Consider adding sound deadening materials to reduce resonances and vibrations.
5. Inconsistent Sound Quality: If you notice inconsistency in sound quality across different tracks or genres, it may indicate a problem with the equalizer settings or audio source. Check the equalizer settings to ensure they are appropriate for the music you’re listening to, and consider adjusting them for different genres if needed. Also, ensure that the audio files or streaming sources you’re using are of high quality and not heavily compressed.
6. Ignition Noise or Electrical Interference: If you hear a whining or buzzing noise that changes with the engine speed, it may be caused by electrical interference. To address this issue, check the grounding of your audio system, ensure that all connections are secure and properly shielded, and use high-quality cables. Consider using a ground loop isolator to eliminate any interference caused by electrical circuits in your car.
7. Uneven Frequency Response: If you notice an uneven frequency response, with certain frequencies overpowering others, it may be a result of improper equalizer or crossover settings. Make sure the equalizer settings are balanced, adjust the crossover points and slopes to ensure a smooth transition between frequencies, and re-evaluate the speaker placement and positioning for optimal sound dispersion.
By troubleshooting and addressing common issues, you can ensure that your car audio system performs at its best and delivers the desired sound quality. If you encounter persistent problems or need further assistance, don’t hesitate to consult with a car audio professional or seek guidance from online communities specializing in car audio.
With troubleshooting covered, you are well-equipped to tune and optimize your car audio system for an exceptional sound experience on the road.
Conclusion
Congratulations! You have completed the journey of tuning your car audio system for the best possible sound experience on the road. By understanding the basic components, selecting the right speakers, and installing them properly, you have laid a strong foundation for great sound quality. Adjusting the equalizer settings, balance and fade controls, time alignment, and crossover settings allowed you to fine-tune the system to your preferences and create an immersive soundstage.
Throughout the process, you learned how to evaluate and test your audio system, troubleshoot common issues, and seek professional help when needed. Remember, tuning a car audio system is an ongoing process, and your preferences may change over time. Take the opportunity to regularly re-evaluate and refine your settings to keep your system performing at its best.
Now, as you hit the road, your car audio system will transport you to a world of premium sound quality, where every note, beat, and lyric resonates with utmost clarity and power. Whether it’s a long road trip or a quick city drive, you can enjoy a concert-like experience on wheels.
So turn up the volume, feel the bass pulsating through your body, and let the music take you on a journey. Enjoy the incredible sound and immerse yourself in the joy of driving with your perfectly tuned car audio system.