Home>Production & Technology>Stereo>How To Set Clock On Pioneer Car Stereo
Stereo
How To Set Clock On Pioneer Car Stereo
Published: November 25, 2023
Learn how to set the clock on your Pioneer car stereo and enjoy accurate timekeeping in just a few simple steps. Upgrade your stereo experience with this easy tutorial.
(Many of the links in this article redirect to a specific reviewed product. Your purchase of these products through affiliate links helps to generate commission for AudioLover.com, at no extra cost. Learn more)
Table of Contents
Introduction
Welcome to the guide on how to set the clock on your Pioneer car stereo. The clock function on your car stereo is not only convenient for keeping track of time during your drives, but it also adds a neat aesthetic touch to your vehicle’s dashboard. So, if you find that the clock on your Pioneer car stereo is incorrect or needs to be adjusted for daylight saving time, this article will walk you through the steps to set it.
Pioneer is a reputable brand known for producing high-quality car audio systems, and their car stereos are packed with advanced features and user-friendly interfaces. While the clock setting process may slightly vary depending on the specific model of your Pioneer car stereo, the general steps outlined in this guide should apply to most models.
Setting the clock on your Pioneer car stereo is a simple task that can be done in just a few minutes. You will need to access the clock settings menu, adjust the hours and minutes using the stereo’s controls, and save the changes. So, without further ado, let’s dive into the step-by-step process of setting the clock on your Pioneer car stereo.
Step 1: Locate the clock setting option
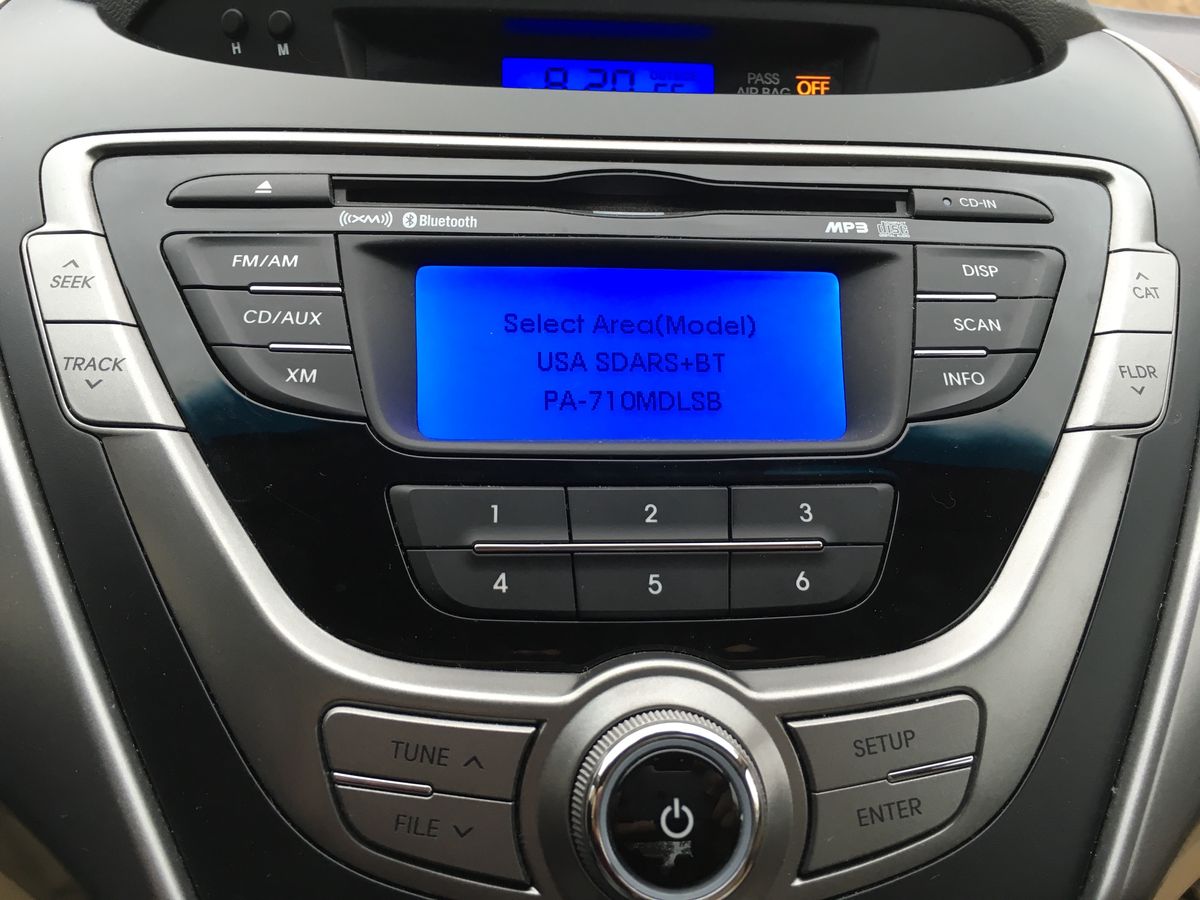
The first step in setting the clock on your Pioneer car stereo is to locate the clock setting option. This may differ slightly depending on the model of your stereo. However, the clock setting option is usually found in the main menu or settings menu of the stereo.
To access the clock settings, you will typically need to press the “Menu” button on the stereo or look for a specific clock icon on the display screen. Some Pioneer car stereos also have dedicated buttons for accessing the clock settings.
If you are unsure about how to locate the clock setting option on your specific model, it is best to consult the user manual that came with your Pioneer car stereo. The manual will provide specific instructions and illustrations to help you find the clock setting option with ease.
Once you have successfully located the clock setting option, you are ready to move on to the next step of the process.
Step 2: Access the clock settings menu
After locating the clock setting option on your Pioneer car stereo, the next step is to access the clock settings menu. This is where you will be able to make adjustments to the hours and minutes of the clock.
To access the clock settings menu, use the controls on your Pioneer car stereo. Depending on the model, you may need to navigate through the menu using buttons, a touchscreen, or a combination of both.
Using the menu or arrow buttons, scroll through the options until you find the clock settings. It could be labeled as “Clock”, “Time”, or a similar term. Once you have highlighted the clock settings option, press the appropriate button to access the menu.
On some Pioneer car stereos, you may need to enter a code or unlock the menu before you can access the clock settings. Refer to your user manual for any specific instructions related to this step.
Once you have successfully entered the clock settings menu, you are ready to proceed to the next step of adjusting the hours.
Step 3: Adjust the hours
Now that you have accessed the clock settings menu on your Pioneer car stereo, it’s time to adjust the hours of the clock. This step allows you to set the correct hour for your specific time zone or adjust for daylight saving time.
Using the controls on your car stereo, navigate to the option that allows you to change the hours. This is typically labeled as “Hours” or “Hour.” Once you have located the hours option, you can then make the necessary adjustments.
You can usually increase or decrease the hours by pressing the corresponding buttons or using the touchscreen controls. Pay attention to any visual cues on the display screen that indicate the changes you are making. For example, some Pioneer car stereos may display a digital clock or highlight the numbers as you adjust them.
Depending on your stereo model, you may have the option to choose between a 12-hour or 24-hour format for the clock. Select the appropriate format for your preference or regional standards.
Take note that some Pioneer car stereos may have additional options for adjusting the hours, such as indicating whether the clock should display morning or afternoon hours. Refer to your user manual for any specific instructions regarding these additional features.
Once you have set the correct hours on the clock, you can proceed to the next step of adjusting the minutes.
Step 4: Adjust the minutes
Now that you have successfully adjusted the hours on your Pioneer car stereo’s clock, it’s time to move on to adjusting the minutes. This step allows you to set the precise minutes on the clock, ensuring accurate time display during your drives.
Using the controls on your car stereo, navigate to the option that allows you to change the minutes. This is typically labeled as “Minutes” or “Minute.” Once you have located the minutes option, you can then make the necessary adjustments.
Similar to adjusting the hours, you can usually increase or decrease the minutes either through buttons or touchscreen controls. Pay attention to any visual cues on the display screen indicating the changes you are making, such as highlighted numbers or a moving digital clock.
Take note that some Pioneer car stereos may provide additional options for adjusting the minutes, such as adjusting the seconds or specifying the time format (e.g., 12-hour or 24-hour). Follow the instructions provided in your user manual to make any further adjustments if desired.
Once you have set the correct minutes on the clock, you are ready to move on to the final step of saving the changes.
Step 5: Save the changes
After adjusting the hours and minutes on your Pioneer car stereo’s clock, the final step is to save the changes you have made. This ensures that the clock will display the accurate time whenever you use your car stereo.
To save the changes, look for a “Save” or “OK” button on your car stereo’s interface. Press the button to confirm and save the adjustments you have made to the clock settings.
Depending on your stereo model, you may need to exit the clock settings menu after saving the changes. Look for an “Exit” or “Back” button to navigate away from the clock settings and return to the main menu.
Once you have saved the changes and exited the clock settings menu, take a moment to double-check the clock display on your Pioneer car stereo. Ensure that the hours and minutes are correctly set according to your desired time.
If you realize any discrepancies or need to make further adjustments, repeat the steps outlined in this guide to access the clock settings menu and make the necessary changes. Remember, it’s essential to have an accurate clock display for your convenience and time management while driving.
Congratulations! You have now successfully set the clock on your Pioneer car stereo. Enjoy the benefits of having an accurate and stylish clock display as you hit the road.
Conclusion
Setting the clock on your Pioneer car stereo is a straightforward process that adds both functionality and visual appeal to your vehicle’s dashboard. By following the steps outlined in this guide, you can easily adjust the hours and minutes on your car stereo’s clock, ensuring that it displays the correct time during your drives.
Pioneer car stereos are known for their user-friendly interfaces, and accessing the clock settings menu is typically a simple task. By navigating through the menu using the controls provided on your stereo, you can make quick adjustments to the hours and minutes, accommodating different time zones or daylight saving time changes.
Remember to consult your user manual if you encounter any specific instructions or features unique to your Pioneer car stereo model. It’s always a good idea to double-check the accuracy of the clock display after saving the changes.
Having a properly set clock on your car stereo not only helps you stay on schedule but also enhances the overall driving experience. With your Pioneer car stereo’s clock displaying the correct time, you can confidently plan your journeys and stay aware of the time passing while enjoying your favorite music and features.
So, take a few minutes to set the clock on your Pioneer car stereo using the steps provided in this guide. Keep track of time with ease, and enjoy the seamless integration of style and functionality that Pioneer car stereos offer.