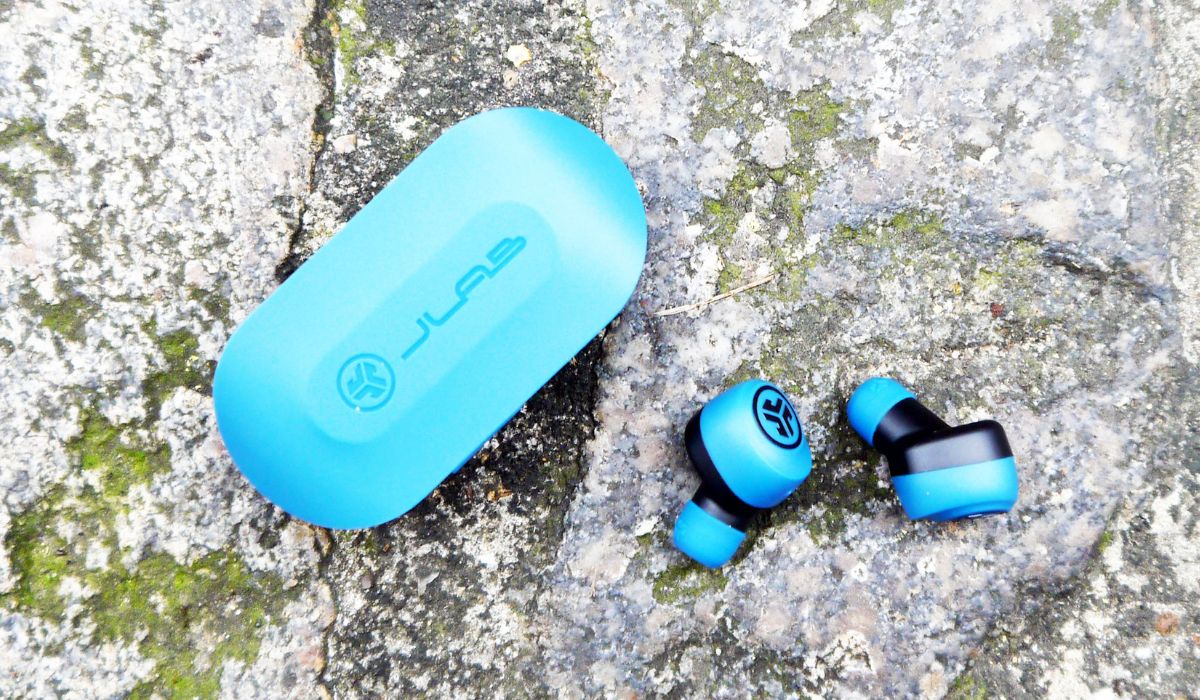
Home>Devices & Equipment>Earbuds>How To Pair JLab Go Air Earbuds
Earbuds
How To Pair JLab Go Air Earbuds
Published: December 20, 2023
Learn how to pair JLab Go Air earbuds effortlessly and enjoy a seamless listening experience. Get step-by-step instructions and make the most out of your earbuds!
(Many of the links in this article redirect to a specific reviewed product. Your purchase of these products through affiliate links helps to generate commission for AudioLover.com, at no extra cost. Learn more)
Table of Contents
Introduction
Welcome to the world of JLab Go Air Earbuds! Whether you’re a music lover looking for a seamless audio experience or a busy professional needing a hands-free solution for calls, these earbuds are designed to enhance your daily life. With their compact size, superior sound quality, and advanced features, JLab Go Air Earbuds have become a popular choice for many.
In this comprehensive guide, we will walk you through the process of pairing your Go Air Earbuds with your device step by step. No matter if you’re using an iPhone, Android phone, or any other Bluetooth-enabled device, the pairing process remains relatively straightforward.
Before we dive into the pairing process, make sure you have fully charged your JLab Go Air Earbuds, as this will ensure optimal performance and a seamless connection. Once you’ve completed this preparatory step, you’re ready to begin the pairing process.
So, let’s get started and discover how to pair your JLab Go Air Earbuds!
Step 1: Preparing your JLab Go Air Earbuds
Before you can start pairing your JLab Go Air Earbuds with your device, it’s important to ensure that they are properly prepared and ready for use. Here are the steps to follow:
- Charge the earbuds: Connect the charging case to a power source using the provided USB cable. Place the earbuds in the case and make sure they are properly aligned with the charging contacts. Allow them to charge until the LED indicators on the case turn solid, indicating a full charge.
- Remove the earbuds from the case: Once the earbuds are fully charged, remove them from the charging case. Take note of the left and right earbuds to ensure you wear them correctly.
- Power on the earbuds: Press and hold the multifunction button on each earbud for about three seconds to power them on. You will hear a voice prompt indicating that the earbuds are turned on and ready for pairing.
- Check the battery level: To check the battery level of the earbuds, simply open the Bluetooth settings on your device and look for the battery indicator next to the JLab Go Air Earbuds. This will give you an idea of how much battery life is remaining.
By following these steps, you can ensure that your JLab Go Air Earbuds are fully charged, powered on, and ready to be paired with your device. Once you have completed these preparations, you can move on to the next step of the pairing process.
Step 2: Activating pairing mode
In order to pair your JLab Go Air Earbuds with your device, you need to activate the pairing mode. The pairing mode allows your earbuds to be discoverable by your device’s Bluetooth settings. Here’s how you can activate the pairing mode:
- Ensure the earbuds are powered on: Make sure your JLab Go Air Earbuds are powered on by pressing and holding the multifunction button on each earbud for about three seconds. You will hear a voice prompt confirming that they are turned on.
- Activate pairing mode: Once the earbuds are powered on, press and hold the multifunction button on either earbud for about five seconds. You will hear a voice prompt indicating that the earbuds are now in pairing mode.
- Check the LED indicator: The LED indicators on the earbuds will start flashing rapidly, indicating that they are in pairing mode and ready to be connected to a device.
It’s important to note that the pairing mode will remain active for a certain period of time, typically a few minutes. If you are unable to connect your earbuds to your device within this timeframe, the pairing mode will automatically deactivate. In such cases, you can simply repeat the steps mentioned above to reactivate the pairing mode.
Once you have successfully activated the pairing mode on your JLab Go Air Earbuds, you can proceed to the next step to pair them with your device.
Step 3: Pairing the JLab Go Air Earbuds with your device
After activating the pairing mode on your JLab Go Air Earbuds, you’re now ready to pair them with your device. The pairing process may slightly vary depending on the device you are using, but the general steps remain the same:
- Open the Bluetooth settings: On your device, navigate to the Bluetooth settings. This can usually be found in the Settings menu or by swiping down on the notification panel and tapping the Bluetooth icon.
- Scan for devices: In the Bluetooth settings, enable the option to scan for devices. This will allow your device to discover and display the available Bluetooth devices nearby.
- Select the JLab Go Air Earbuds: Look for the JLab Go Air Earbuds in the list of available devices. Once you find them, tap on their name to initiate the pairing process.
- Confirm the pairing: Depending on your device, you may be prompted to confirm the pairing request. Confirm the pairing by tapping on the appropriate option on your device’s screen.
Once the pairing is successful, you will hear a voice prompt in your earbuds confirming the connection. Additionally, the LED indicators on the earbuds will stop flashing and remain solid, indicating that they are now successfully paired with your device.
It’s important to note that some devices may require a passkey or PIN to complete the pairing process. If prompted, refer to the user manual or documentation for your device to find the correct passkey or PIN.
Now that your JLab Go Air Earbuds are paired with your device, you can proceed to the next step to test the connection and enjoy your audio experience.
Step 4: Testing the connection
Now that you have successfully paired your JLab Go Air Earbuds with your device, it’s time to test the connection and ensure everything is working seamlessly. Follow these steps to test the connection:
- Play audio: Open a music streaming app or any other media source on your device that plays audio. Start playing a song or a podcast to test the sound output.
- Check audio quality: Pay attention to the audio quality coming from the earbuds. JLab Go Air Earbuds are known for their impressive sound quality, so make sure the audio is clear, crisp, and well-balanced.
- Test the controls: Use the touch controls or buttons on the earbuds to pause, play, skip tracks, and adjust the volume. Ensure that the controls are responsive and working as expected.
- Take a call: If your JLab Go Air Earbuds have a built-in microphone, use them to make or receive calls. Check if the microphone captures your voice clearly, and if you can hear the other person on the call without any issues.
During the testing process, it’s important to use the earbuds in different scenarios and environments to ensure they perform well in various conditions. Walk around the room, go outside, or move between different rooms to evaluate the stability of the connection and the range of the Bluetooth signal.
If you experience any issues during the testing phase, such as audio dropouts, connectivity problems, or poor sound quality, refer to the troubleshooting section in the user manual or contact JLab customer support for assistance.
Once you have confirmed that the connection and performance of your JLab Go Air Earbuds are satisfactory, you can move on to enjoying your favorite audio content with a truly wireless and immersive experience.
Step 5: Troubleshooting common pairing issues
While pairing your JLab Go Air Earbuds with your device is usually a straightforward process, there might be instances where you encounter some common pairing issues. Here are some troubleshooting tips to help you resolve these problems:
- Ensure the earbuds are in pairing mode: Double-check that the earbuds are in pairing mode by following the steps mentioned in Step 2. If the LED indicators on the earbuds are not flashing rapidly, you may need to reactivate the pairing mode.
- Reset the earbuds: If you’re having trouble pairing the earbuds, you can try resetting them. To do this, place the earbuds back into the charging case and leave the lid open. Then, press and hold the button on the back of the case for about 15 seconds. Afterward, take the earbuds out and repeat the pairing process.
- Remove previous pairings: If you’ve previously paired your JLab Go Air Earbuds with another device, make sure to remove that pairing from both the earbuds and the device’s Bluetooth settings. This will prevent any conflicts when trying to pair with a new device.
- Check device compatibility: Ensure that your device is compatible with Bluetooth 4.2 or higher. If your device has an older version of Bluetooth, it may not be able to establish a stable connection with the earbuds.
- Update software: Check for any available software updates for both your device and the JLab Go Air Earbuds. Keeping the software up to date can often resolve compatibility issues and improve overall performance.
- Move closer to the device: If you’re having trouble establishing a stable connection, try moving closer to your device. Bluetooth signals can be weakened by obstacles such as walls or interference from other devices, so minimizing the distance between the earbuds and the device may improve connectivity.
If you’ve tried these troubleshooting tips and are still unable to resolve the pairing issues, it is recommended to consult the user manual or reach out to JLab customer support for further assistance. They will be able to provide more specific guidance based on the specific issue you are facing.
By following these troubleshooting steps, you can overcome common pairing issues and ensure a smooth and hassle-free experience with your JLab Go Air Earbuds.
Conclusion
Congratulations! You have successfully learned how to pair your JLab Go Air Earbuds with your device. By following the step-by-step instructions in this guide, you have unlocked the freedom of wireless audio and the convenience of hands-free calling.
From preparing your earbuds and activating the pairing mode to connecting them to your device and testing the connection, you now have the knowledge to enjoy a seamless and immersive audio experience anytime, anywhere.
Remember, if you encounter any issues during the pairing process or experience connectivity problems, refer to the troubleshooting tips provided to resolve common pairing issues. JLab Go Air Earbuds are designed to provide exceptional sound quality and a reliable wireless connection, but occasional troubleshooting may be required.
Now, it’s time to sit back, relax, and enjoy your favorite music, podcasts, or calls with the JLab Go Air Earbuds. Whether you’re commuting, working out, or simply relaxing at home, these earbuds will enhance your audio experience and keep you connected throughout the day.
Thank you for choosing JLab Go Air Earbuds, and happy listening!