Home>Devices & Equipment>Earbuds>How To Connect JLab Earbuds Together
Earbuds
How To Connect JLab Earbuds Together
Modified: January 22, 2024
Learn how to connect JLab earbuds together effortlessly. Discover step-by-step instructions for connecting your earbuds and enhancing your audio experience.
(Many of the links in this article redirect to a specific reviewed product. Your purchase of these products through affiliate links helps to generate commission for AudioLover.com, at no extra cost. Learn more)
Table of Contents
Introduction
Welcome to the wonderful world of JLab Earbuds! These sleek and stylish wireless earbuds provide the ultimate convenience for music lovers and tech enthusiasts alike. Whether you’re jogging in the park, commuting to work, or just relaxing at home, JLab Earbuds offer an immersive audio experience without the hassle of tangled wires.
But that’s not all – JLab Earbuds are not only designed to deliver outstanding sound quality, but they also come with a unique feature that allows you to connect both earbuds together for an even more enjoyable listening experience. This feature enables you to experience true stereo sound, where each earbud functions as a separate audio channel, providing a rich and immersive soundstage.
In this article, we will guide you through the step-by-step process of connecting your JLab Earbuds together. Whether you’re a first-time user or just need a quick refresher, we’ve got you covered!
So, without further ado, let’s dive into the wonderful world of JLab Earbuds and learn how to connect them together!
Step 1: Power on the JLab Earbuds
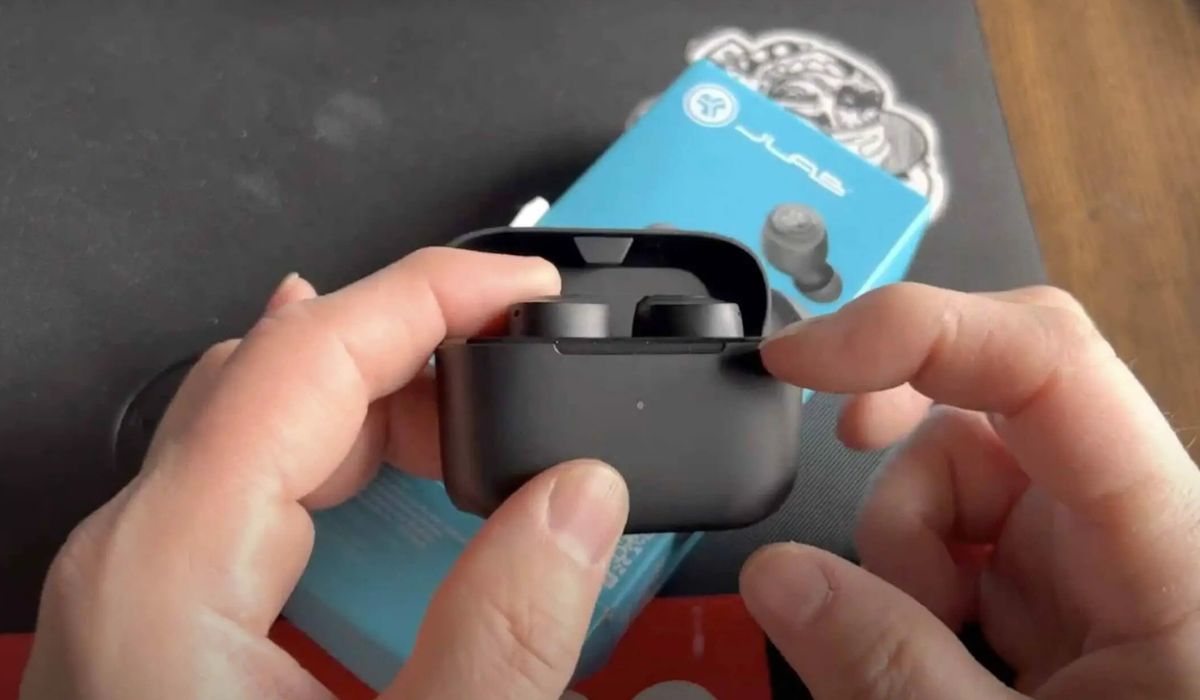
The first step in connecting your JLab Earbuds together is to ensure that they’re powered on. To do this, locate the power button on each earbud. The location of the power button may vary depending on the specific model of your JLab Earbuds.
Once you’ve located the power button, press and hold it for a few seconds until you see the LED indicator light on the earbuds turn on. This indicates that the earbuds are now powered on and ready to be connected.
If you’re unsure about the location of the power button or need more detailed instructions, refer to the user manual that came with your JLab Earbuds. The user manual provides comprehensive information on the specific features and functions of your earbuds.
It’s important to ensure that both earbuds are powered on before proceeding to the next step. This ensures a successful connection and allows you to enjoy the full stereo sound experience.
Once you’ve powered on your JLab Earbuds, you’re ready to move on to the next step: activating the pairing mode.
Step 2: Activate the Pairing Mode
Now that your JLab Earbuds are powered on, it’s time to activate the pairing mode. This mode allows your earbuds to search for and connect to nearby Bluetooth devices, such as your smartphone, tablet, or computer.
The process of activating the pairing mode may vary slightly depending on the model of your JLab Earbuds. However, the general method remains the same.
To activate the pairing mode, follow these steps:
- Ensure that both earbuds are powered on.
- Locate the pairing button on either of the earbuds. The pairing button is typically located on the side or bottom of the earbud.
- Press and hold the pairing button for a few seconds until the LED indicator light starts flashing rapidly. This indicates that the earbuds are now in pairing mode.
It’s important to note that the pairing mode may have a time limit, usually around 60 seconds. If you don’t connect your Bluetooth device within the specified time, the earbuds will exit the pairing mode and you’ll need to repeat this step.
Once the pairing mode is activated and the LED indicator light is flashing rapidly, you’re ready to move on to the next step: connecting the left and right earbuds.
Step 3: Connect the Left and Right Earbuds
Now that you have activated the pairing mode, it’s time to connect the left and right earbuds together. This step is crucial to ensure that both earbuds work in harmony and provide a seamless stereo audio experience.
To connect the left and right earbuds, follow these steps:
- Ensure that both earbuds are within close proximity of each other, ideally no more than a few inches apart. This proximity is essential for a successful connection.
- Wait for a few seconds after activating the pairing mode for the earbuds to detect and connect with each other. During this time, the LED indicator lights on both earbuds may flash or change color, indicating that they are in the process of establishing a connection.
- Once the left and right earbuds have successfully connected, you will hear a notification sound or see a steady LED indicator light on both earbuds. This signifies that they are now connected and ready to pair with your Bluetooth device.
If you encounter any difficulties in connecting the left and right earbuds, try the following troubleshooting steps:
- Reset the earbuds by placing them back in the charging case and then taking them out again.
- Ensure that both earbuds are fully charged to avoid any connectivity issues.
- Refer to the user manual for your specific JLab Earbuds model for any additional troubleshooting steps.
Once you have successfully connected the left and right earbuds, you’re now ready to pair them with your Bluetooth device. Read on to learn how to do this in the next step.
Step 4: Pair with a Bluetooth Device
Now that your JLab Earbuds are connected to each other, it’s time to pair them with a Bluetooth device of your choice. This could be your smartphone, tablet, laptop, or any other device that supports Bluetooth connectivity.
To pair your JLab Earbuds with a Bluetooth device, follow these steps:
- Make sure that your Bluetooth device is in pairing mode. Consult the user manual or settings of your specific device to enable the pairing mode.
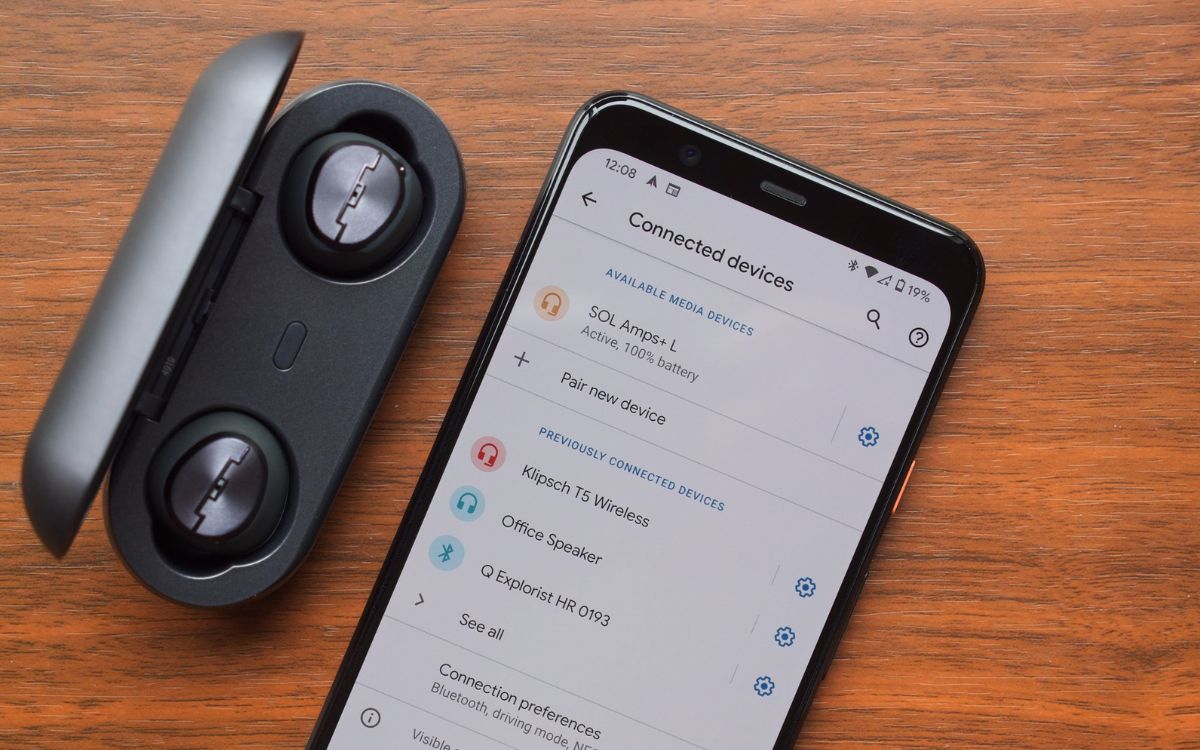
- On your Bluetooth device, open the Bluetooth settings menu and scan for available devices.
- Look for the name of your JLab Earbuds in the list of available devices and select it to initiate the pairing process.
- Follow any on-screen instructions or prompts that appear on your Bluetooth device to complete the pairing process. This may include entering a passcode or confirming the connection.
- Once the pairing is successful, you will hear a confirmation sound or see a notification on both your JLab Earbuds and Bluetooth device.
If you encounter any issues during the pairing process, try these troubleshooting steps:
- Ensure that your JLab Earbuds are within range of your Bluetooth device, typically within 33 feet or 10 meters.
- Restart both your JLab Earbuds and the Bluetooth device and try pairing again.
- Verify that your Bluetooth device supports the Bluetooth version compatible with your JLab Earbuds.
Once you have successfully paired your JLab Earbuds with a Bluetooth device, you’re all set to enjoy your favorite music, podcasts, or any other audio content through your wireless earbuds!
Now, it’s time for the final step: testing the connection.
Step 5: Test the Connection
After successfully pairing your JLab Earbuds with a Bluetooth device, it’s important to test the connection to ensure that everything is working as expected. Testing the connection allows you to verify the audio quality, range, and stability of your wireless earbuds.
To test the connection of your JLab Earbuds, follow these steps:
- Play a piece of audio on your Bluetooth device, such as a song or podcast.
- Adjust the volume to a comfortable level.
- Listen carefully to the audio coming from both earbuds. Ensure that the sound is balanced, clear, and free from any distortion or interference.
- Move around in different areas to test the range of your JLab Earbuds. Pay attention to any drop in connection or audio quality.
- If you have any additional features on your JLab Earbuds, such as touch controls or active noise cancellation, test them to ensure they are functioning correctly.
If you encounter any issues during the testing phase, try the following troubleshooting steps:
- Ensure that your JLab Earbuds are within the recommended range of your Bluetooth device.
- Check if there are any obstructions or interference between the earbuds and the Bluetooth device, such as walls or other electronic devices.
- Ensure that your JLab Earbuds are fully charged, as low battery levels can affect the audio quality and stability of the connection.
- Try disconnecting and reconnecting your JLab Earbuds to the Bluetooth device to reset the connection.
By testing the connection of your JLab Earbuds, you can ensure that you’re getting the best audio experience possible. If you’re satisfied with the connection, then congratulations – you’ve successfully connected and tested your JLab Earbuds!
Now you can enjoy your favorite audio content without the hassle of wires, all while experiencing the high-quality sound that JLab Earbuds are known for.
With your JLab Earbuds connected and ready to go, you’re now all set to embark on a wireless audio journey wherever you go!
Enjoy the freedom and convenience of your JLab Earbuds and immerse yourself in a world of exceptional sound.
Conclusion
Congratulations! You have successfully learned how to connect your JLab Earbuds together for an enhanced stereo audio experience. By following the simple steps outlined in this guide, you can now enjoy the convenience and freedom of wireless audio without compromising on sound quality.
Remember, the key steps to connect your JLab Earbuds together include powering them on, activating the pairing mode, connecting the left and right earbuds, pairing them with a Bluetooth device, and testing the connection to ensure optimal performance.
With your JLab Earbuds connected, you can now enjoy your favorite music, podcasts, and more with immersive stereo sound. Whether you’re working out, commuting, or simply relaxing at home, your wireless earbuds will provide a seamless and enjoyable audio experience.
Keep in mind that every model of JLab Earbuds may have slightly different features and connectivity options. Therefore, it’s always a good idea to refer to the specific user manual that came with your JLab Earbuds for detailed instructions.
Now that you’re familiar with the process of connecting your JLab Earbuds, go ahead and explore the world of wireless audio. Immerse yourself in your favorite tunes and embrace the freedom of movement that wireless earbuds provide.
Thank you for joining us on this journey to connect your JLab Earbuds together. We hope this guide has been helpful in enhancing your audio experience and simplifying the connection process.
Remember to keep your JLab Earbuds charged, updated, and properly maintained to maximize their lifespan and performance. With proper care, your JLab Earbuds will continue to deliver exceptional sound for many music-filled adventures to come!
Enjoy the freedom, convenience, and incredible sound quality of your JLab Earbuds – happy listening!