Home>Devices & Equipment>Earbuds>Why Is My JBL Earbuds Not Connecting
Earbuds
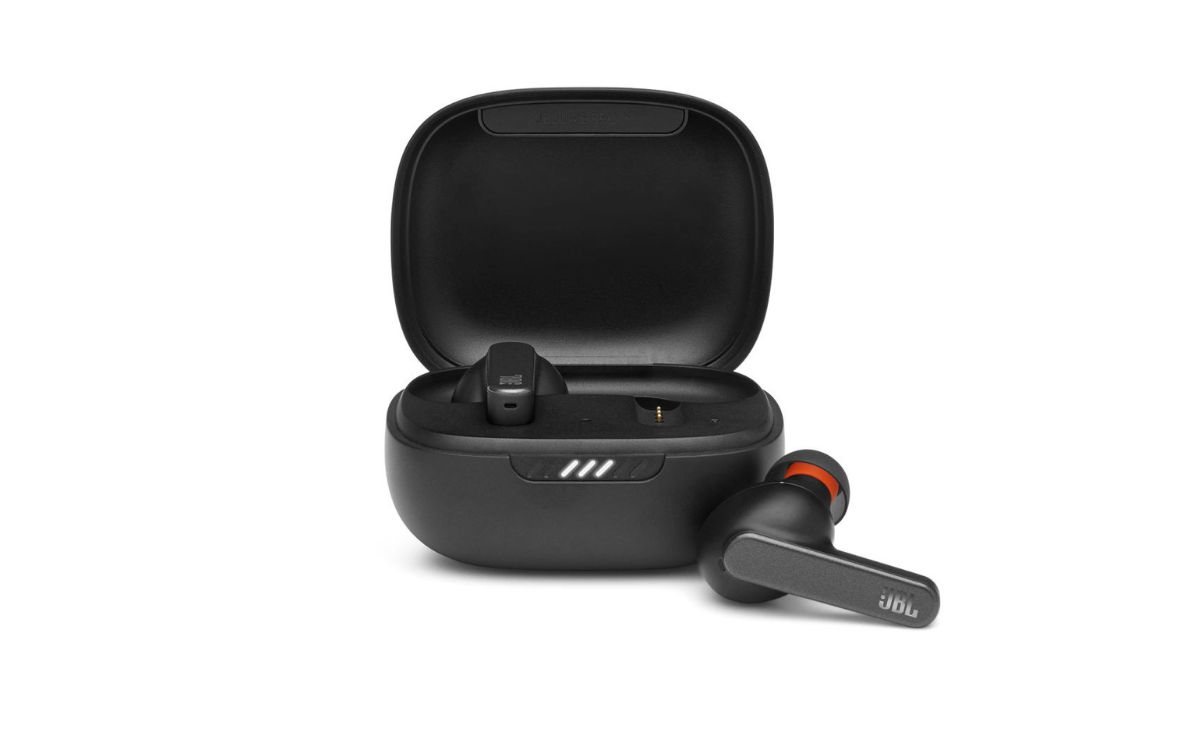
Why Is My JBL Earbuds Not Connecting
Modified: January 22, 2024
Discover why your JBL earbuds are not connecting and find the solution to fix the issue. Troubleshoot earbud connection problems with expert tips and troubleshooting steps.
(Many of the links in this article redirect to a specific reviewed product. Your purchase of these products through affiliate links helps to generate commission for AudioLover.com, at no extra cost. Learn more)
Table of Contents
Introduction
Are you frustrated because your JBL earbuds are not connecting to your device? Don’t worry, you’re not alone. Many JBL earbud users encounter this issue at some point, and it can be quite frustrating when you’re unable to enjoy your favorite music or take calls on the go.
JBL is a renowned brand known for its quality audio devices, and their earbuds are no exception. However, like any electronic device, they can sometimes experience connectivity issues. The good news is that there are several reasons why your JBL earbuds may not be connecting, and most of them can be resolved with a few simple troubleshooting steps.
In this article, we will explore some common reasons why your JBL earbuds may not be connecting and provide you with practical solutions to get them back up and running. So, let’s dive in and discover how to resolve this issue and enjoy uninterrupted audio with your JBL earbuds.
Common Reasons for JBL Earbuds Not Connecting
There are several common reasons why your JBL earbuds may not be connecting to your device. Understanding these reasons can help you troubleshoot and resolve the issue quickly. Here are some of the most frequent causes:
1. Bluetooth Pairing Issues: One of the primary reasons for earbuds not connecting is a problem with Bluetooth pairing. This can occur if the earbuds are not in pairing mode, or if they are already connected to another device. It’s essential to ensure that your earbuds are discoverable and in pairing mode before attempting to connect them to your device.
2. Battery Level: Another common culprit is low battery levels. If your earbuds have insufficient charge, they may not be able to establish a stable connection with your device. Always make sure that your earbuds are sufficiently charged before attempting to connect them.
3. Resetting Earbuds: Sometimes, a simple reset can fix connectivity issues. Resetting your JBL earbuds will clear any stored connections and bring them back to the default factory settings. This can help resolve any underlying software glitches that may be causing connection problems.
4. Clearing Bluetooth Pairing History: Your device may have a history of multiple Bluetooth connections, some of which may be interfering with the connection to your JBL earbuds. Clearing the Bluetooth pairing history on your device can help eliminate any conflicting connections and allow your earbuds to connect seamlessly.
5. Firmware Updates: Outdated firmware can lead to compatibility issues, resulting in connectivity problems. It’s advisable to check for any available firmware updates for your JBL earbuds and install them if necessary. Firmware updates often address bugs and improve the performance and stability of the earbuds.
6. Interference: Environmental factors can interfere with Bluetooth connectivity. Other electronic devices, Wi-Fi signals, or physical barriers may cause interference and weaken the connection between your earbuds and your device. Keeping your earbuds and device in close proximity and minimizing obstructions can help resolve this issue.
7. Device Compatibility: Lastly, it’s essential to ensure that your device is compatible with the JBL earbuds you are trying to connect. Check the compatibility requirements and specifications of both your device and the earbuds to ensure they are compatible with each other.
By identifying these common reasons for JBL earbuds not connecting, you can now take the necessary steps to troubleshoot and resolve the issue. In the following section, we will discuss practical troubleshooting steps to get your earbuds connected again.
Troubleshooting Steps
If you’re facing connectivity issues with your JBL earbuds, don’t worry. We’ve outlined some practical troubleshooting steps that can help you get your earbuds connected again. Follow these steps in order, and hopefully, you’ll be able to resolve the problem:
1. Ensure Proper Bluetooth Pairing: Make sure that your JBL earbuds are in pairing mode and discoverable. Refer to your earbuds’ user manual for instructions on how to enable pairing mode. Once in pairing mode, go to the Bluetooth settings on your device and select your earbuds from the available devices list.
2. Check Battery Levels: Low battery levels can prevent your earbuds from establishing a stable connection. Ensure that your earbuds are adequately charged before attempting to connect them to your device. If the battery is low, charge them for a sufficient amount of time and try connecting again.
3. Resetting Earbuds: If the above steps didn’t resolve the issue, try resetting your JBL earbuds. The process for resetting may vary depending on the model you have, so refer to the user manual for specific instructions. Once reset, try connecting them to your device again.
4. Clear Bluetooth Pairing History: Clearing the Bluetooth pairing history on your device can help eliminate any conflicting connections. Go to the Bluetooth settings on your device, locate the list of paired devices, and delete any entries related to your JBL earbuds. Then, put your earbuds in pairing mode and attempt to connect them again.
5. Update Firmware: Check if there are any firmware updates available for your JBL earbuds. Manufacturers often release firmware updates to address bugs and improve connectivity. Visit the JBL website or use their mobile app (if available) to check for updates and follow the instructions to install them.
6. Check for Interference: Ensure that there are no other electronic devices or physical barriers causing interference between your earbuds and your device. Move closer to your device and minimize obstructions to establish a stronger Bluetooth connection.
7. Use the Correct Device Compatibility: Double-check the compatibility requirements and specifications of both your device and the JBL earbuds. Ensure that they are compatible with each other. If your device is not compatible, you may need to consider using a different device or pair of earbuds.
By following these troubleshooting steps, you should be able to resolve connectivity issues with your JBL earbuds. If you continue to experience problems, it may be helpful to reach out to JBL’s customer support for further assistance. Now, let’s wrap up the article in the concluding section.
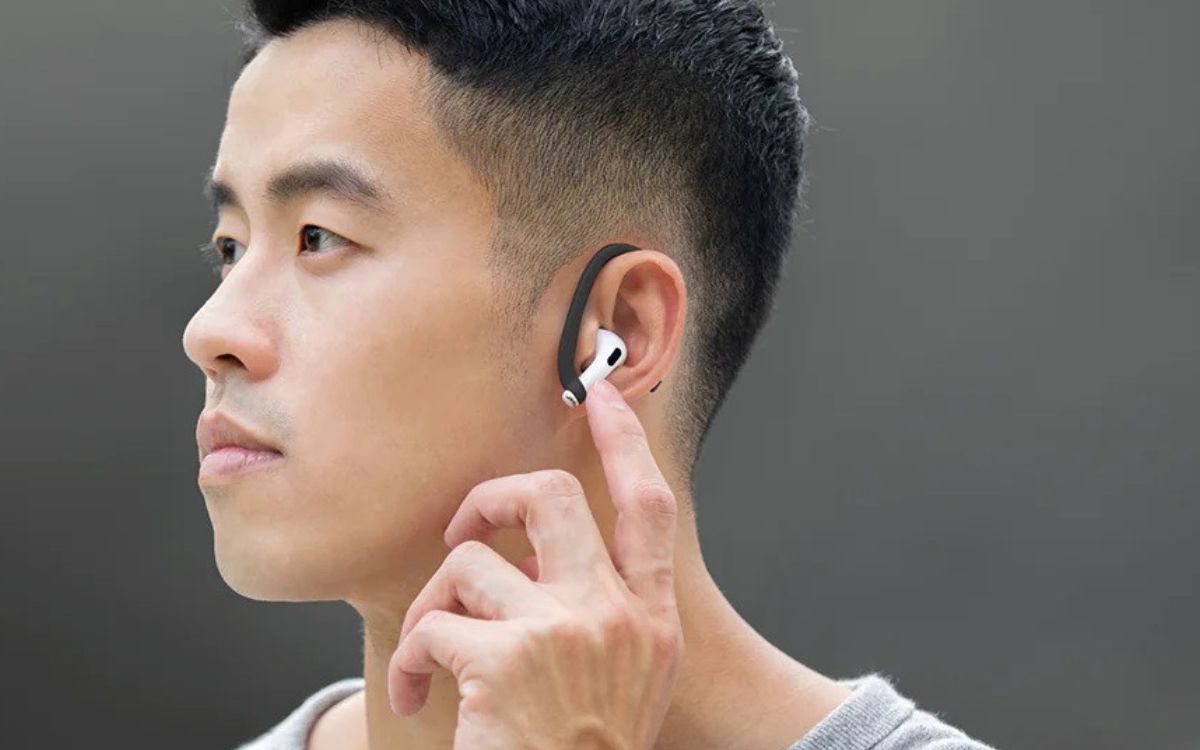
Ensure Proper Bluetooth Pairing
Proper Bluetooth pairing is crucial for the successful connection of your JBL earbuds to your device. Here are the steps to ensure a proper Bluetooth pairing:
1. Put your JBL earbuds into pairing mode: Each model of JBL earbuds may have a slightly different process to enter pairing mode. Refer to the user manual for specific instructions. In general, you may need to press and hold the power or Bluetooth button for a few seconds until you see the LED indicator flashing.
2. Open the Bluetooth settings on your device: Go to the Bluetooth settings on your device. This can usually be found in the settings menu or the quick settings panel.
3. Enable Bluetooth: If Bluetooth is not already enabled on your device, toggle it on.
4. Search for available devices: Your device will search for available Bluetooth devices. Wait for your JBL earbuds to appear in the list of available devices. It may be listed as “JBL [model name]” or a similar name.
5. Select your JBL earbuds: Tap on the name of your JBL earbuds in the list to initiate the pairing process.
6. Accept the pairing request: If prompted, accept the pairing request on both your device and your JBL earbuds. A successful pairing will be indicated by the LED light turning solid or a notification on your device.
7. Confirm the connection: Once successfully connected, you should see a “Connected” or “Paired” status next to your JBL earbuds in the Bluetooth settings on your device.
8. Test the connection: Play audio or make a phone call to ensure that the audio is coming through your JBL earbuds. If the connection is working properly, you have successfully paired your JBL earbuds to your device.
If the pairing process fails or your JBL earbuds do not appear in the list of available devices, try the following troubleshooting steps:
– Ensure that your JBL earbuds are in pairing mode.
– Turn off Bluetooth on your device and then turn it back on.
– Restart your device and try the pairing process again.
– Move your JBL earbuds closer to your device to ensure a stronger Bluetooth signal.
By following these steps, you can ensure proper Bluetooth pairing between your JBL earbuds and your device, allowing you to enjoy your audio wirelessly. If you continue to experience connectivity issues, proceed to the next troubleshooting step.
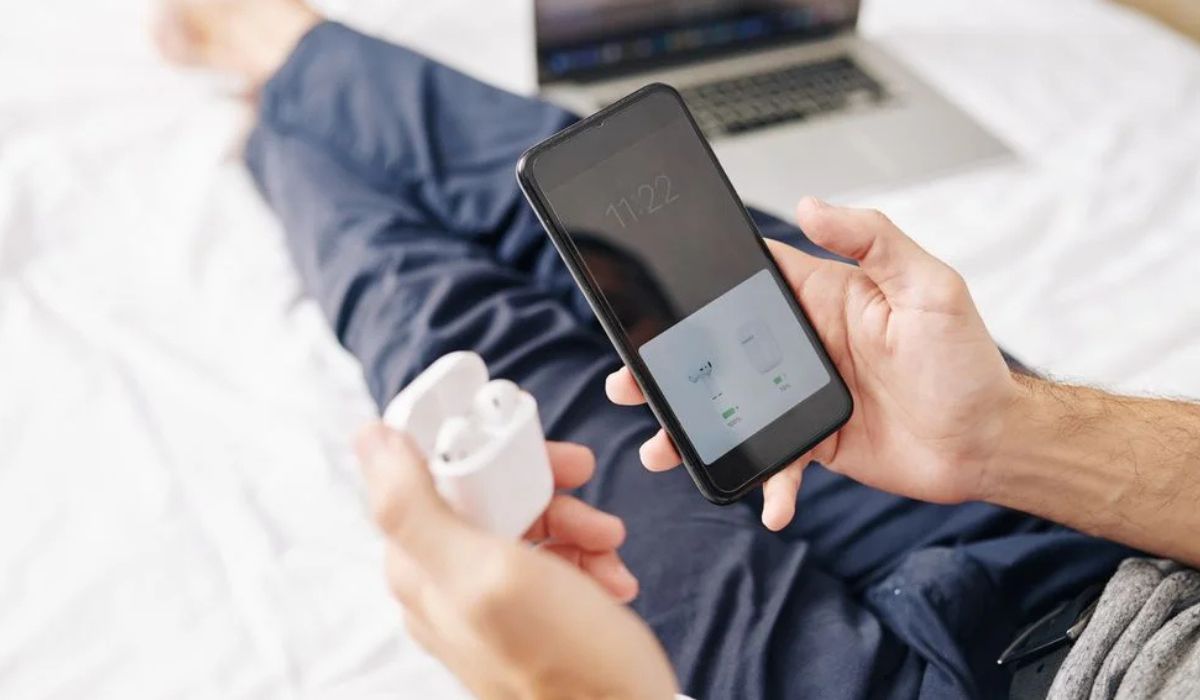
Check Battery Levels
One of the common reasons for JBL earbuds not connecting is low battery levels. Insufficient charge can prevent the earbuds from establishing a stable connection with your device. To check the battery levels and ensure a proper connection, follow these steps:
1. Charge your JBL earbuds: Connect the USB cable to the charging port on your earbuds and the other end to a power source such as a wall adapter or a computer. Make sure the connection is secure. The LED indicator on the earbuds should illuminate to indicate that they are charging. Leave the earbuds connected to the power source for the recommended charging time, as specified in the user manual.
2. Check the battery status: Depending on the model of your JBL earbuds, there may be different ways to check the battery status. Some models have LED indicators that show the remaining battery level, while others may have a companion mobile app that displays the battery status. Refer to the user manual or the manufacturer’s website for specific instructions on how to check the battery levels for your JBL earbuds.
3. Ensure sufficient charge: Ideally, your JBL earbuds should have a minimum of 50% battery charge for a stable connection. If the battery level is below this threshold, charge the earbuds until they reach an adequate level of charge. While charging, ensure that the LED indicator on the earbuds is lit, indicating that they are being charged.
4. Disconnect and reconnect: After charging the earbuds, disconnect them from the charging cable. Turn off the earbuds if they have a power button. Then, turn them back on and follow the proper Bluetooth pairing steps outlined previously.
5. Test the connection: Play audio or make a phone call to verify that the connection between your JBL earbuds and your device is now stable. If the connection is successful, you have resolved the issue related to low battery levels.
If your JBL earbuds still do not connect, despite sufficient battery charge, you may need to explore the next troubleshooting step.
Resetting Earbuds
If you are experiencing connectivity issues with your JBL earbuds, performing a reset can often help resolve the problem. Resetting your earbuds will clear any stored connections and reset them to their default factory settings. To reset your JBL earbuds, follow these steps:
1. Put your earbuds in their charging case, if applicable. Ensure that the charging case has sufficient charge or connect it to a power source to avoid running out of battery during the reset process.
2. Check the user manual: Different models of JBL earbuds may have different reset procedures. Consult the user manual for your specific model to find the correct method of resetting.
3. Perform a soft reset: In many cases, a soft reset can resolve connectivity issues. To perform a soft reset, remove the earbuds from the charging case and turn them on if there is a power button. Then, press and hold the power button or the designated reset button for a few seconds until you see the LED indicator flash or hear a sound indicating that the reset is complete. Once the soft reset is done, proceed to reconnect the earbuds to your device following the proper Bluetooth pairing steps.
4. Perform a hard reset: If a soft reset did not resolve the issue, you may need to perform a hard reset. Depending on your JBL earbud model, this process may involve different steps. Typically, it involves putting the earbuds in pairing mode and then pressing and holding a specific combination of buttons for a certain period of time. Refer to the user manual or the manufacturer’s website for detailed instructions on how to perform a hard reset for your specific model. After performing a hard reset, follow the Bluetooth pairing steps to reconnect your earbuds to your device.
5. Test the connection: After resetting and reconnecting the earbuds, test the connection by playing audio or making a phone call. If the connection is established and stable, the reset process was successful.
If resetting your JBL earbuds did not resolve the connectivity issue, there might be another factor causing the problem. Let’s move on to the next troubleshooting step to further troubleshoot and resolve the issue.
Clear Bluetooth Pairing History
If you’re still facing connectivity issues with your JBL earbuds, clearing the Bluetooth pairing history on your device might help resolve the problem. Sometimes, your device may have stored multiple Bluetooth connections, and these conflicting connections can interfere with the connection to your earbuds. To clear the Bluetooth pairing history and establish a clean connection, follow these steps:
1. Open the Bluetooth settings on your device: Navigate to the settings menu on your device and locate the Bluetooth settings. The exact location of the Bluetooth settings may vary depending on your device and operating system.
2. Access the list of paired devices: In the Bluetooth settings, you will see a list of devices that have been previously paired with your device. This list may include your JBL earbuds as well as other devices.
3. Delete the paired devices: Locate your JBL earbuds in the list of paired devices and select the option to delete or forget the device. This action will remove the earbuds from your device’s Bluetooth memory.
4. Reset the JBL earbuds: Perform a reset on your JBL earbuds following the instructions mentioned in the previous section. Resetting the earbuds will clear any stored connections on their end as well.
5. Put the earbuds in pairing mode: After resetting the earbuds, put them in pairing mode by following the instructions provided in the user manual. This will enable the earbuds to be recognized as a new device by your device.
6. Pair the earbuds again: In the Bluetooth settings on your device, search for available devices. When you see your JBL earbuds appear in the list, select them to initiate the pairing process. Follow the prompts on your device to complete the pairing process.
7. Test the connection: After pairing the earbuds, play audio or make a phone call to ensure that the connection is stable and the sound is coming through your JBL earbuds. If the connection is successful, you have cleared the Bluetooth pairing history and established a fresh connection.
Clearing the Bluetooth pairing history can often resolve connectivity issues by eliminating conflicting connections. If this step did not resolve the issue, there may be other factors causing the problem. Let’s move on to the next troubleshooting step to further troubleshoot and resolve the issue.
Update Firmware
Outdated firmware can sometimes cause compatibility issues and result in connectivity problems with your JBL earbuds. It’s essential to check for any available firmware updates and install them to ensure optimal performance. Follow the steps below to update the firmware for your JBL earbuds:
1. Check JBL’s official website or app: Visit the official JBL website or check if there is a dedicated app available for your JBL earbuds. Look for firmware update notifications or a designated section where you can download the latest firmware.
2. Connect your earbuds to your device: Ensure that your JBL earbuds are connected to your device via Bluetooth. Make sure they are fully charged to avoid any interruptions during the firmware update process.
3. Download the firmware update: If available, download the latest firmware update for your JBL earbuds from the official website or app. Follow the provided instructions for downloading the firmware file.
4. Install the firmware update: Once the firmware update file is downloaded, follow the instructions provided by JBL to install the update. The installation process may involve connecting your earbuds to your computer or using the JBL app.
5. Wait for the update to complete: During the update process, it’s important to wait patiently and avoid disconnecting your earbuds. The update may take several minutes, depending on the size of the firmware file and the speed of your internet connection.
6. Restart your earbuds: After the firmware update is complete, restart your JBL earbuds. Refer to your earbuds’ user manual for specific instructions on how to restart.
7. Test the connection: After restarting, reconnect your earbuds to your device and test the connection by playing audio or making a call. If the connection is stable and the sound quality is satisfactory, the firmware update was successful.
Updating the firmware of your JBL earbuds ensures that you have the latest bug fixes and improvements, which can contribute to resolving connectivity issues. If updating the firmware did not resolve the issue, there may be other factors at play. Let’s proceed to the next troubleshooting step to further troubleshoot and resolve the issue.
Check for Interference
Interference from other electronic devices or physical barriers can disrupt the Bluetooth connection between your JBL earbuds and your device. To ensure a strong and stable connection, it’s important to check for potential sources of interference and minimize their impact. Follow these steps to check for interference:
1. Remove any physical barriers: Clear any obstructions between your JBL earbuds and your device. Objects like walls, furniture, or other electronic devices can weaken the Bluetooth signal. Maintain a clear line of sight between your earbuds and your device to reduce the likelihood of interference.
2. Distance matters: Bluetooth signals have a limited range. Make sure your JBL earbuds and the device they are paired with are within the recommended range. Ideally, the two devices should be within 10 meters (approximately 33 feet) of each other for the best connection.
3. Avoid overcrowded Wi-Fi channels: If you are in an area with multiple Wi-Fi networks, try changing the Wi-Fi channel on your router to minimize interference. Several mobile devices share the same 2.4 GHz frequency band as Bluetooth, which can cause interference. By using a less crowded Wi-Fi channel, you can potentially reduce the interference and improve the Bluetooth connection.
4. Power off other devices: Other electronic devices operating in close proximity to your JBL earbuds and your device might cause interference. Power off or move away from devices such as wireless routers, cordless phones, microwaves, and baby monitors, as they can all interfere with the Bluetooth signal.
5. Move away from crowded areas: In crowded areas such as airports, shopping malls, or gyms, numerous Bluetooth devices may be in use simultaneously. This heavy usage can create interference. Try to move away from densely populated areas to establish a more reliable Bluetooth connection.
6. Reset your network settings: On your device, you can try resetting your network settings to default. This action can eliminate any software-based issues that may be causing interference and hindering the Bluetooth connection.
7. Reconnect your earbuds: After taking the necessary steps to minimize interference, reconnect your JBL earbuds to your device following the proper Bluetooth pairing steps outlined earlier.
By checking for interference and optimizing your environment, you can improve the Bluetooth connection between your JBL earbuds and your device. However, if you continue to experience connectivity issues, proceed to the next troubleshooting step to further troubleshoot and resolve the issue.
Use the Correct Device Compatibility
Using the correct device compatibility is essential for a seamless and reliable connection between your JBL earbuds and your device. Incompatibility issues can lead to connectivity problems. To ensure proper device compatibility, follow these steps:
1. Check the specifications: Review the specifications of both your JBL earbuds and your device. Look for compatibility information such as Bluetooth version, operating system requirements, and device compatibility. This information can usually be found in the user manual or on the manufacturer’s website.
2. Verify Bluetooth version: Ensure that your device supports the same Bluetooth version or a compatible version with your JBL earbuds. For example, if your earbuds support Bluetooth 5.0, make sure your device also has Bluetooth 5.0 or is backward compatible with the earbuds’ Bluetooth version.
3. Check operating system requirements: Verify that your device’s operating system is compatible with your JBL earbuds. Some earbuds may require specific operating system versions to establish a proper connection. Ensure that your device is running the required operating system version or a more recent one.
4. Confirm device compatibility: JBL earbuds may have specific compatibility requirements with certain devices. For instance, they may be optimized for iOS or Android devices. Make sure your device is listed as compatible with your earbuds to ensure a seamless connection.
5. Update device software: Ensure that your device’s software is up to date. Manufacturers often release software updates to address compatibility issues and improve overall performance. Check for any available software updates for your device and install them if necessary.
6. Consider firmware updates: As mentioned earlier, keeping your JBL earbuds up to date with the latest firmware can resolve compatibility issues. Ensure that you have installed any available firmware updates for your earbuds to enhance compatibility with your device.
7. Try pairing with another device: If you have access to another device that meets the compatibility requirements of your JBL earbuds, try pairing them. This step can help determine whether the connectivity issue is specific to your device or if it’s a compatibility problem.
By ensuring the correct device compatibility, you increase the chances of establishing a stable and reliable connection between your JBL earbuds and your device. If you have followed all the troubleshooting steps and are still experiencing connectivity issues, it’s recommended to contact JBL’s customer support for further assistance.
Conclusion
Experiencing connectivity issues with your JBL earbuds can be frustrating, but with the right troubleshooting steps, it’s possible to resolve the problem and enjoy uninterrupted audio on the go. In this article, we’ve explored some common reasons why JBL earbuds may not be connecting and provided practical solutions to troubleshoot and resolve the issue.
We started by ensuring proper Bluetooth pairing, going through the steps of putting the earbuds in pairing mode and connecting them to your device. We then moved on to checking battery levels and resetting the earbuds as potential solutions if the initial pairing process did not work.
If those steps did not resolve the issue, we discussed the importance of clearing the Bluetooth pairing history on your device and updating the firmware for your JBL earbuds. Additionally, we explored the impact of interference from other electronic devices or physical barriers and provided ways to minimize the interference.
Lastly, we emphasized the significance of using the correct device compatibility by checking specifications, Bluetooth versions, operating system requirements, and device compatibility. Ensuring compatibility between your JBL earbuds and your device can significantly improve the connection.
Remember, if you’ve followed all the troubleshooting steps and are still experiencing connectivity issues, it’s always advisable to reach out to JBL’s customer support for further assistance. They can provide specific guidance based on your earbud model and help you resolve the problem.
By following these troubleshooting steps and utilizing the solutions provided, you can overcome connectivity issues with your JBL earbuds and enjoy a seamless audio experience. Whether you use your earbuds for music, podcasts, or taking important calls, a reliable connection is essential. Get back to enjoying your favorite tunes with your JBL earbuds and let the music play!