Home>Devices & Equipment>Music Box>How To Punch Holes For Music Box
Music Box
How To Punch Holes For Music Box
Published: January 11, 2024
Learn how to punch holes for your music box and create beautiful melodies. Discover the secrets to crafting perfect tunes with our step-by-step guide.
(Many of the links in this article redirect to a specific reviewed product. Your purchase of these products through affiliate links helps to generate commission for AudioLover.com, at no extra cost. Learn more)
Table of Contents
Introduction
Welcome to the fascinating world of music boxes! These enchanting little instruments have been delighting people for centuries with their melodic tunes. If you’re a music box enthusiast or looking to create your own custom music box, you may find yourself needing to punch holes in the music box paper strips. Whether it’s to recreate a classic tune or compose your original melodies, knowing how to punch holes for a music box is an essential skill.
In this article, we will guide you through the step-by-step process of effectively punching holes for your music box. From marking the hole positions to selecting the appropriate punch tool, we will cover all the necessary details to ensure you achieve the desired outcome. So, let’s dive in and discover the art of hole punching for music boxes!
Before we begin, it’s important to note that different music boxes may have variations in the punching mechanism. Therefore, the techniques described here may not be applicable to every type of music box. It is always best to consult the specific instructions provided with your music box or seek expert advice if you are unsure.
Materials Needed
Before we get started with punching holes for your music box, let’s gather all the materials and tools you’ll need:
- Music Box Paper Strips: These are the pre-cut strips of paper that contain the pattern of holes to produce different musical notes. You can find them at music stores or purchase them online.
- Punch Tool: You will need a punch tool to create the holes in the paper strips. There are different types of punch tools available, such as handheld punches or manual punch machines.
- Blank Music Box Paper: In case you want to create your own custom music, you’ll need blank music box paper to draw or print your own hole patterns.
- Marker or Pencil: A marker or pencil will be handy for marking the positions of the holes on your music box paper strips.
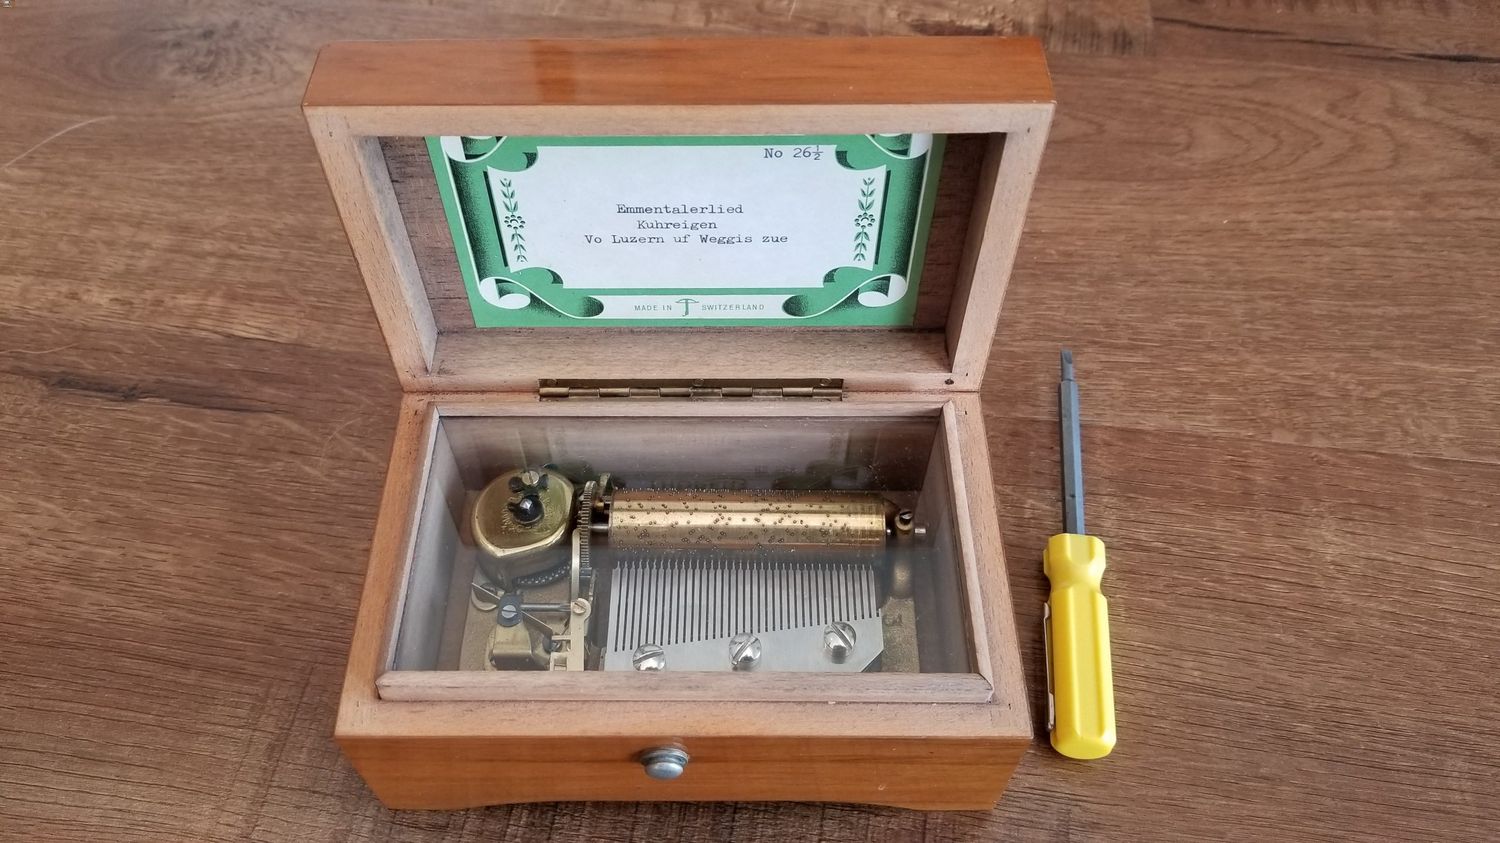
- Music Box: Of course, you will need a music box to insert the punched paper strips and play the music. You can use an existing music box or consider purchasing one specifically designed for customization.
Once you have gathered these materials, you’re ready to move on to the next step: marking the hole positions on your music box paper strips.
Step 1: Marking the Hole Positions
Before you start punching holes in your music box paper strips, it’s crucial to mark the exact positions where you want the holes to be. This step ensures precision and accuracy in punching, resulting in the desired melody.
Here’s a step-by-step guide on how to mark the hole positions:
- Select a reference note: Determine the starting note that will serve as your reference point for marking the rest of the notes on the paper strip. This could be any note that you want to be the first sound in your melody.
- Refer to a musical notation guide: Use a musical notation guide or reference sheet to map out the positions of the notes on the paper strip. Each note corresponds to a specific hole position.
- Mark the hole positions: Using a marker or pencil, carefully mark the corresponding positions on the music box paper strip where you want the holes to be punched. You can use graph paper or rulers for precise measurements.
- Label the notes: On the music box paper strip, label each marked position with the corresponding note name. This will help you keep track of the melody and make any necessary adjustments later.
By following these steps, you will have clearly marked the positions for the holes on your music box paper strip. This will serve as a guide when it comes time to punching the holes using the appropriate tool. Next, let’s move on to selecting the punch tool for the job.
Step 2: Selecting the Punch Tool
Now that you have marked the hole positions on your music box paper strip, it’s time to select the right punch tool for the job. The punch tool is what you will use to create the holes in the paper strip, translating your musical notes into playable melodies on the music box.
Here are some factors to consider when choosing a punch tool:
- Type of Punch: There are different types of punch tools available, such as handheld punches, manual punch machines, or digital punch machines. Consider which type would work best for your needs and preferences.
- Hole Size: Depending on your music box, you might need different hole sizes. Ensure that the punch tool allows for adjustable hole sizes or offers hole punch sizes that match the requirements of your music box.
- Quality and Durability: Opt for a punch tool that is well-made and durable. Look for customer reviews and recommendations to ensure that the tool will last and provide accurate hole punching without any issues.
- Ease of Use: Consider the ease of use of the punch tool. Does it require a lot of strength or technical skill to operate? Choose a tool that you feel comfortable using and can produce consistent results.
Take your time to research and explore different punch tools available in the market. Consider your budget, the complexity of your music box project, and any specific features you may require. By selecting the right punch tool, you will have better control over the hole punching process and ensure the highest quality sound from your music box.
Once you have chosen your punch tool, it’s time to move on to the next step – preparing the punch tool for hole punching.
Step 3: Preparing the Punch Tool
Before you start punching holes in the music box paper strip, it’s essential to prepare the punch tool to ensure optimal performance and accurate hole punching. Proper preparation will help you achieve clean, crisp holes that produce the desired musical tones when played on your music box.
Follow these steps to prepare your punch tool:
- Clean the Punch: If you are using a punch tool that you have used before, make sure to clean it thoroughly. Dust, debris, or residual paper can affect the functionality and precision of the punch tool. Use a small brush or compressed air to remove any unwanted particles from the punch.
- Adjust the Hole Size: If your punch tool offers adjustable hole sizes, determine the appropriate hole size for your music box paper strip. Refer to the marks you made on the paper strip and choose the corresponding hole size on your punch tool. Adjust the tool accordingly to ensure that it creates holes of the correct diameter.
- Test Punch: Before you begin punching the actual music box paper strip, it’s a good practice to perform a test punch on a scrap piece of paper. This allows you to verify that the punch tool is functioning correctly, and the hole size is appropriate. Make any necessary adjustments if the holes are too small or too large.
- Secure the Paper: When using handheld punches, ensure that the music box paper strip is secured firmly in place. This will prevent any movement or slippage during the punching process, resulting in accurate hole placement.
By following these steps, you will have properly prepared your punch tool for hole punching. This preparation will help you achieve consistent and precise holes, ensuring that your music box plays the desired melodies flawlessly. Now that the punch tool is ready, it’s time to move on to the most exciting part – punching the holes in the music box paper strip!
Step 4: Punching the Holes
Now that you have prepared your punch tool and music box paper strip, it’s time to start punching the holes. This step is where you bring your musical notes to life on the paper strip, creating a melody that will be played on your music box.
Follow these steps to punch the holes in the music box paper strip:
- Align the Punch: Position the punch tool over the first marked hole on the paper strip. Ensure that the hole is perfectly aligned with the punch tool’s opening.
- Apply Pressure: Apply steady and even pressure on the punch tool to create the hole. The amount of pressure required may vary depending on the specific punch tool you are using. Be careful not to apply too much force, as it may damage the paper or create a larger hole than intended.
- Release the Punch: Once the hole is punched, carefully release the punch tool from the paper strip, ensuring that the hole remains intact and clean.
- Repeat the Process: Continue aligning the punch tool with the marked hole positions on the paper strip and repeat the process of applying pressure and releasing the punch until all the necessary holes have been created.
Take your time and be patient during this process to ensure accuracy and precision. Double-check each hole after punching to ensure that it is clean and properly aligned. Mistakes can be corrected by using adhesive tape to cover unwanted holes or re-punching in the correct position.
Once you have punched all the holes in the music box paper strip, you’re almost ready to enjoy the melodic result. However, before testing your music box, there’s one more important step to complete – testing the music box with the punched paper strip.
Step 5: Testing the Music Box
After successfully punching the holes in the music box paper strip, it’s time to test your work and see how well your music box performs. Testing the music box will allow you to check if the punched paper strip plays the desired melody and if any adjustments or refinements are needed.
Follow these steps to test your music box:
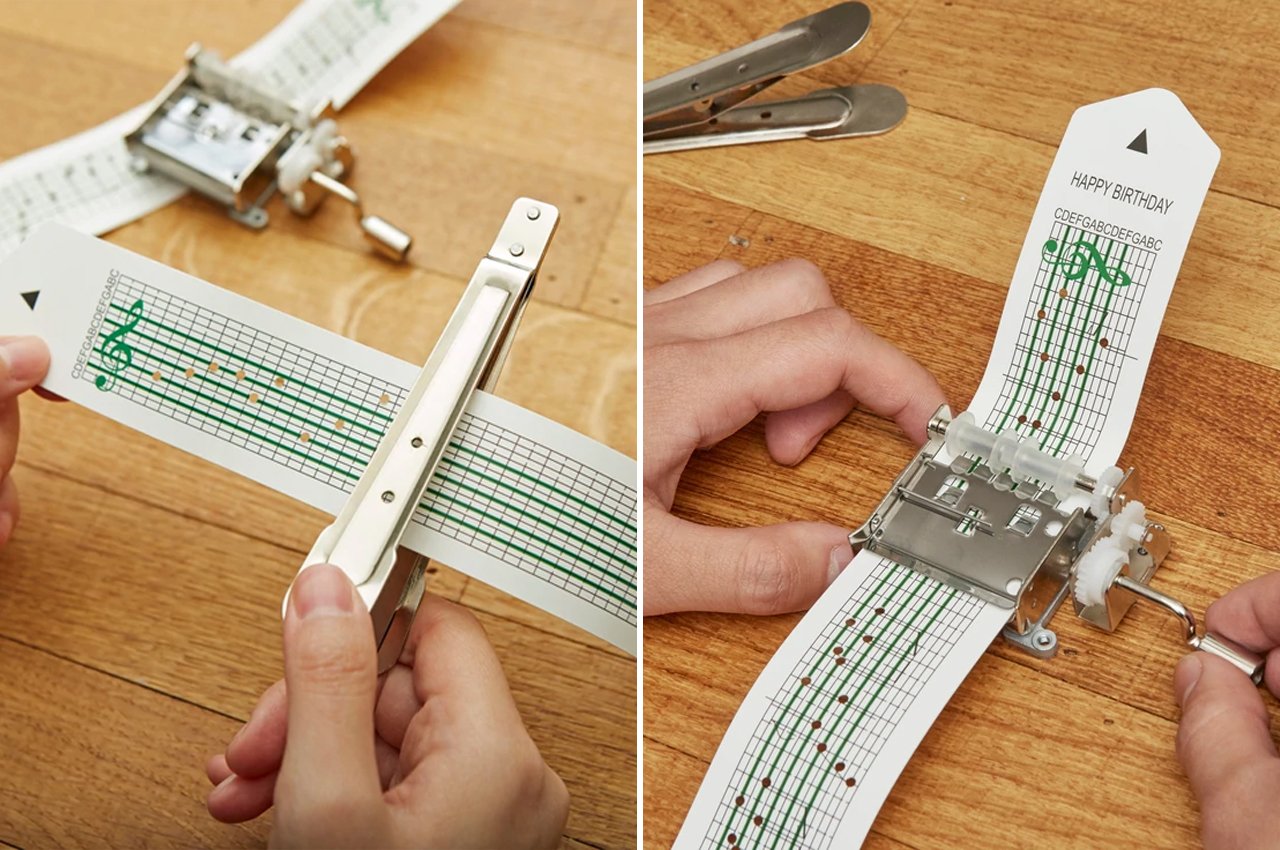
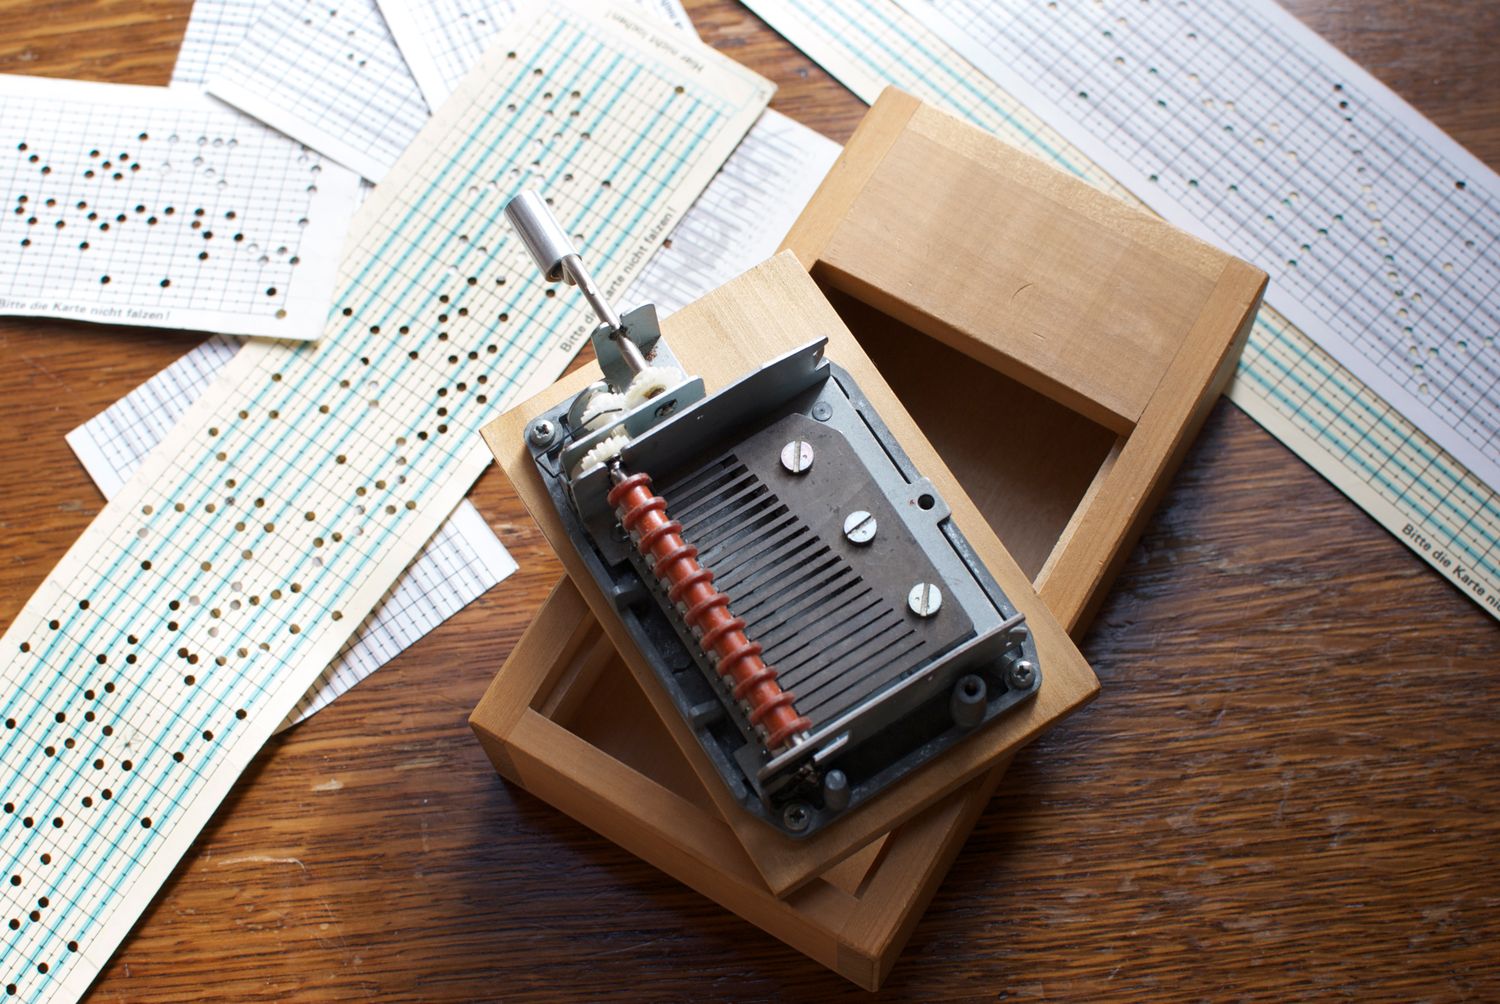
- Insert the Paper Strip: Gently insert the punched music box paper strip into the music box. Ensure that the holes align with the mechanism that reads and plays the notes. The paper strip should slide in smoothly without any obstructions.
- Crank the Music Box: Begin cranking the music box’s handle or activating the mechanism that plays the notes. As you do so, listen carefully to the melody that is produced. Pay attention to the timing, pitch, and overall sound quality.
- Observe the Performance: Observe how the music box plays the melody. Are the notes clear and distinct? Does the timing of the notes match your expectations? Listen for any discrepancies or issues that may need to be addressed.
- Adjustments and Refinements: If you notice any issues during the testing phase, such as incorrect notes or timing, make note of them. You may need to make adjustments to the hole positions or refine the punched paper strip to achieve the desired musical outcome. This can be done by covering unwanted holes with adhesive tape or carefully re-punching new holes.
- Repeat the Process: As you make adjustments, continue testing the music box with the modified paper strip. Repeat the process until you are satisfied with the performance and the melody is playing as intended.
Remember, the testing phase is crucial for refining and perfecting the musical outcome. Be patient and persistent in ensuring that your punched paper strip produces the desired melody on your music box.
With the testing completed and any necessary adjustments made, you can now fully enjoy the delightful tunes produced by your customized music box. Play your favorite songs, compose original melodies, and let the enchanting sounds fill your space with joy and melodies.
So, grab your music box paper strips, punch tool, and let your creativity soar as you create beautiful melodies with your personalized music box!
Conclusion
Congratulations! You have successfully learned how to punch holes for a music box. By following the steps outlined in this guide, you have gained the knowledge and skills needed to create custom melodies on your music box.
From marking the hole positions and selecting the right punch tool to preparing the tool and punching the holes, you have taken each step with care and precision. By testing the music box with the punched paper strip, you have ensured that the melody plays correctly and made any necessary adjustments for optimal performance.
Remember, creating melodies on a music box is a creative and enjoyable process. Experiment with different notes and patterns to compose unique tunes that bring joy to your ears and those around you. The possibilities are endless!
Keep in mind that while this guide provides a general overview of the hole punching process, different music boxes may have specific requirements or variations. It’s always a good idea to consult the instructions provided with your music box or seek expert advice if needed.
So, go ahead and have fun exploring the world of music box customization. Whether you’re recreating classic tunes or composing your original melodies, the art of hole punching for a music box allows you to create beautiful, enchanting music that will captivate anyone who listens.
Enjoy the process, let your creativity flow, and embrace the magic that music boxes bring to our lives. Happy hole punching and melodious adventures!