Home>Devices & Equipment>Music Box>How To Make Music Box Scroll
Music Box
How To Make Music Box Scroll
Modified: January 22, 2024
Learn how to make a music box scroll easily and create beautiful melodies with our step-by-step guide. Discover the magic of music boxes today!
(Many of the links in this article redirect to a specific reviewed product. Your purchase of these products through affiliate links helps to generate commission for AudioLover.com, at no extra cost. Learn more)
Table of Contents
Introduction
Welcome to the enchanting world of music boxes! These small, intricate objects have been captivating people for centuries, filling their surroundings with delightful melodies and nostalgic charm. But what if you want to add a personal touch to your music box? What if you want to create your own unique scroll that plays a melody of your choice? In this guide, we will explore the art of making a music box scroll.
A music box scroll is a long strip of paper or cardboard that is fed through the music box mechanism, producing the musical notes as it unfolds. By designing and creating your own scroll, you have the opportunity to bring a personalized touch to your music box, making it truly one-of-a-kind.
From choosing the right music box to designing and cutting the scroll, we will take you through each step of the process. Whether you are a seasoned crafter or a hobbyist looking for a new project, this guide will provide you with all the information you need to create a mesmerizing music box scroll.
So, let’s dive in and discover the magical world of music box scrolls! Join us on this journey as we unleash our creativity and transform a simple music box into a cherished treasure that will bring joy for years to come.
Supplies Needed
Before you embark on your music box scroll-making adventure, make sure you have the following supplies ready:
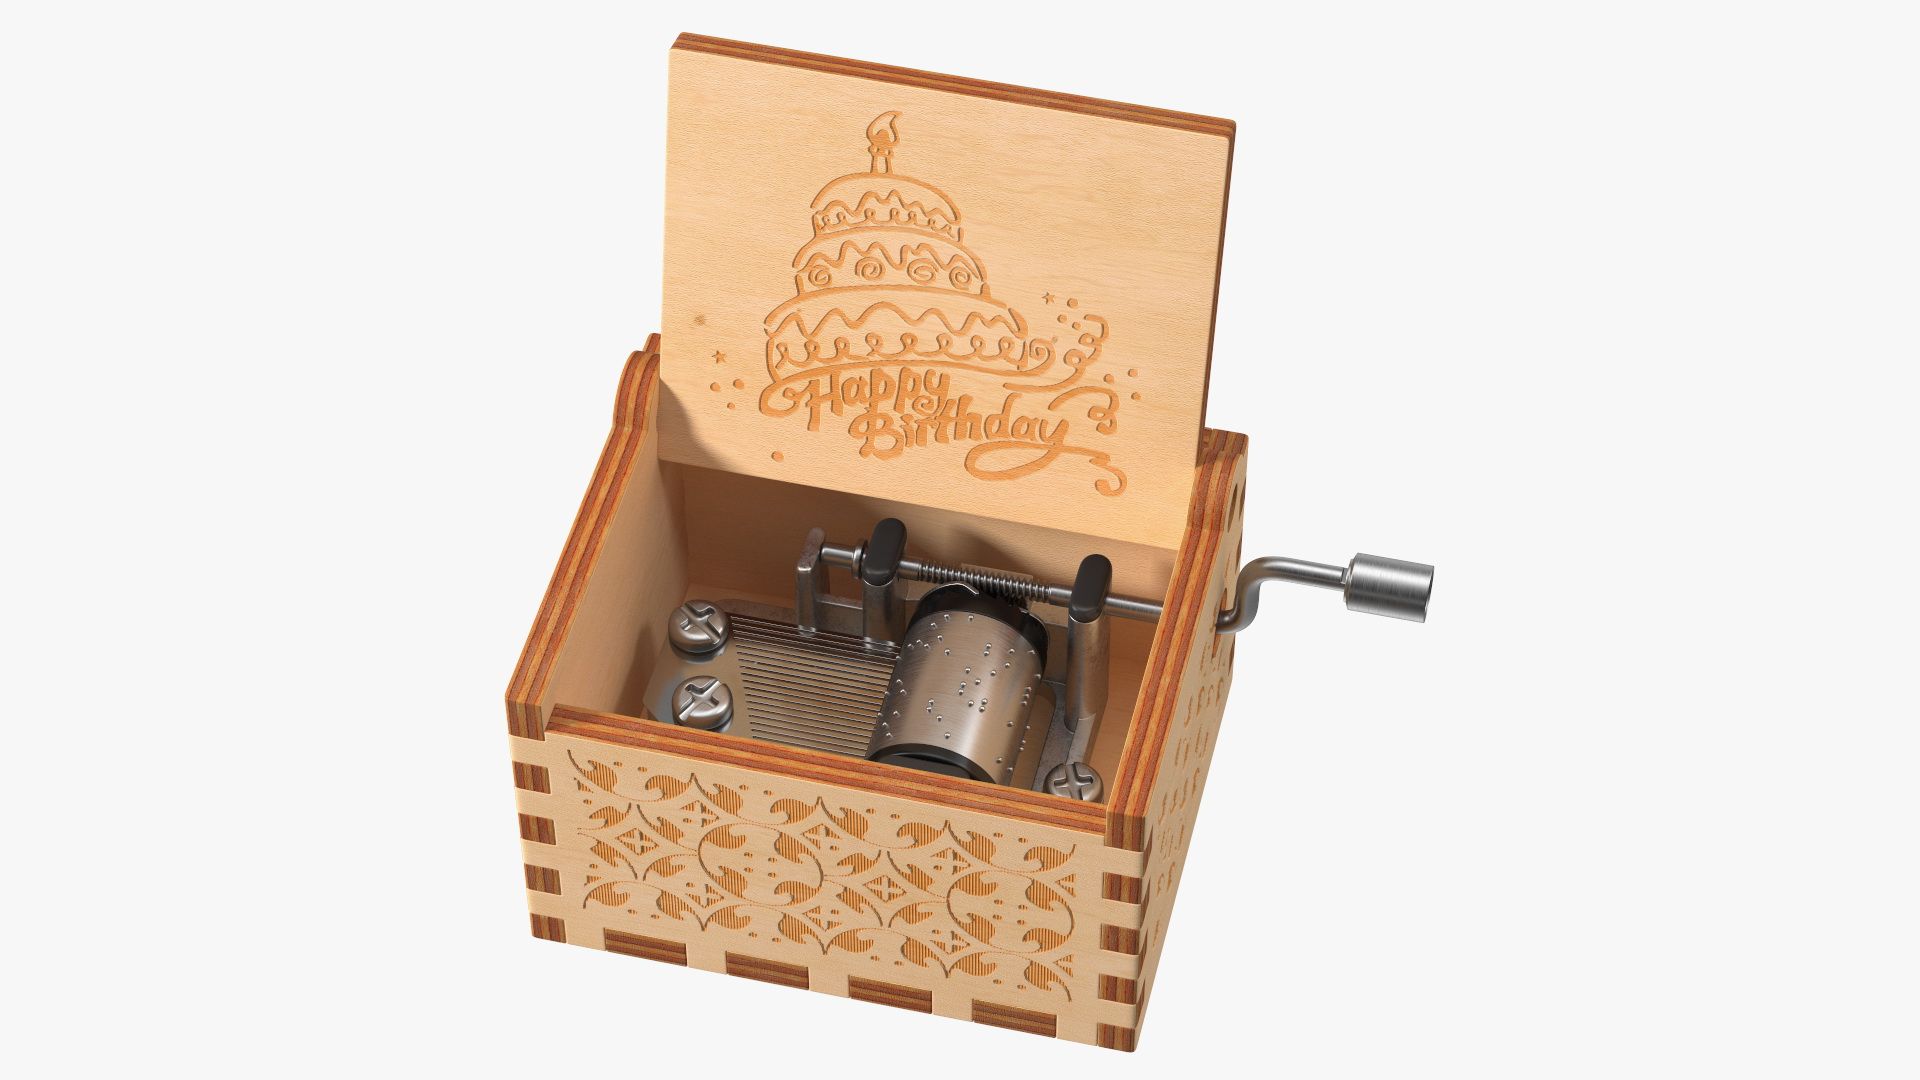
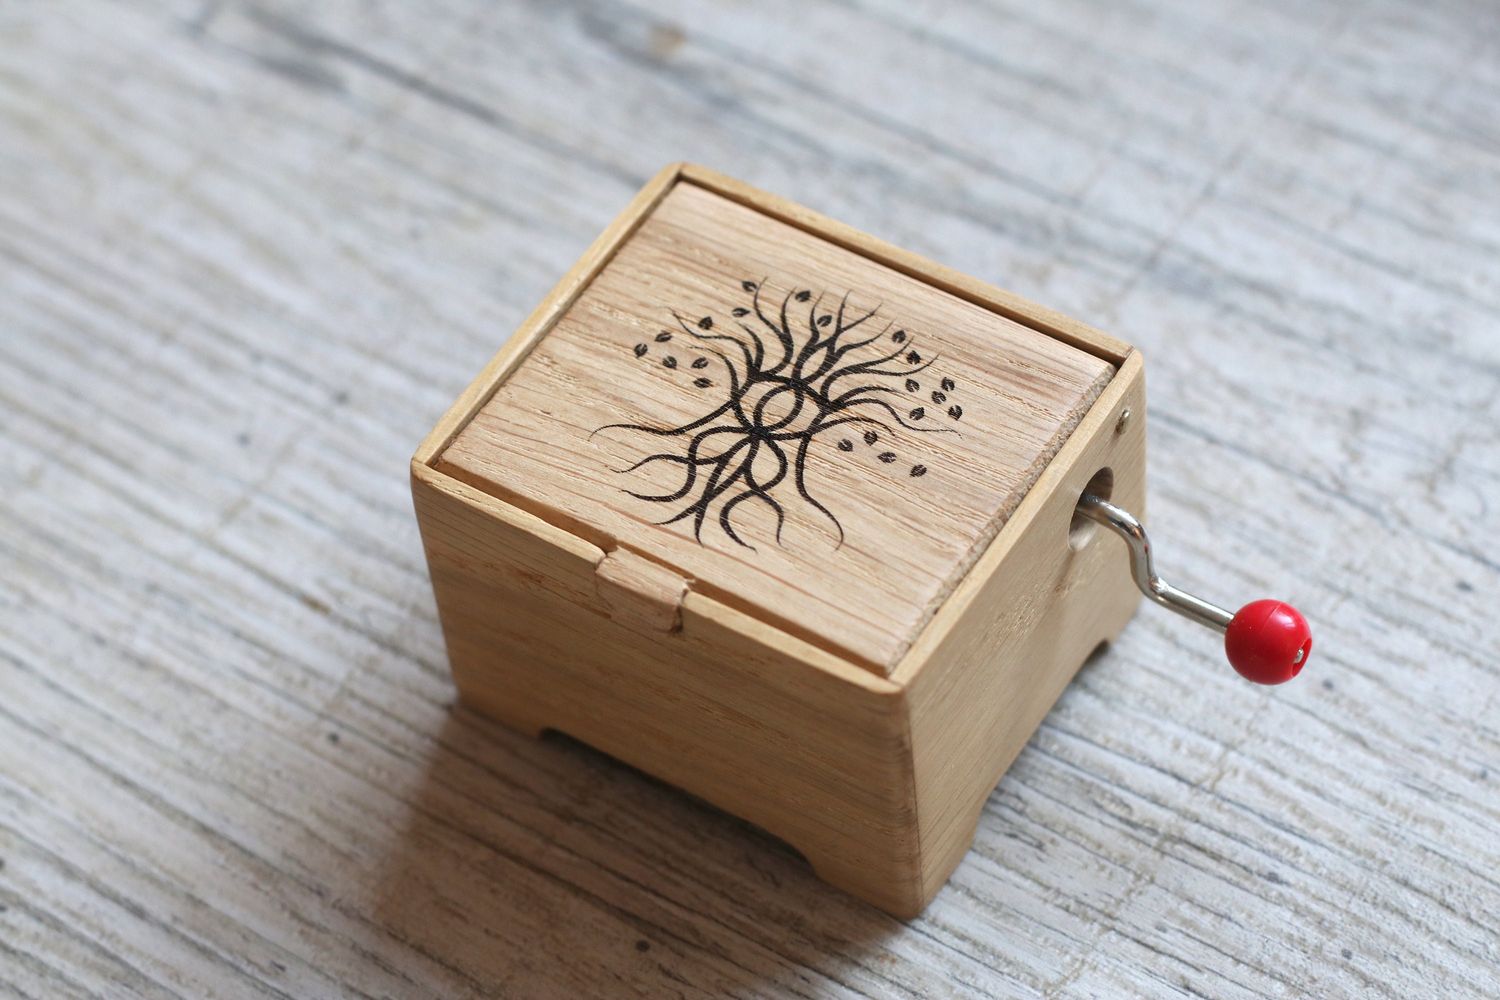
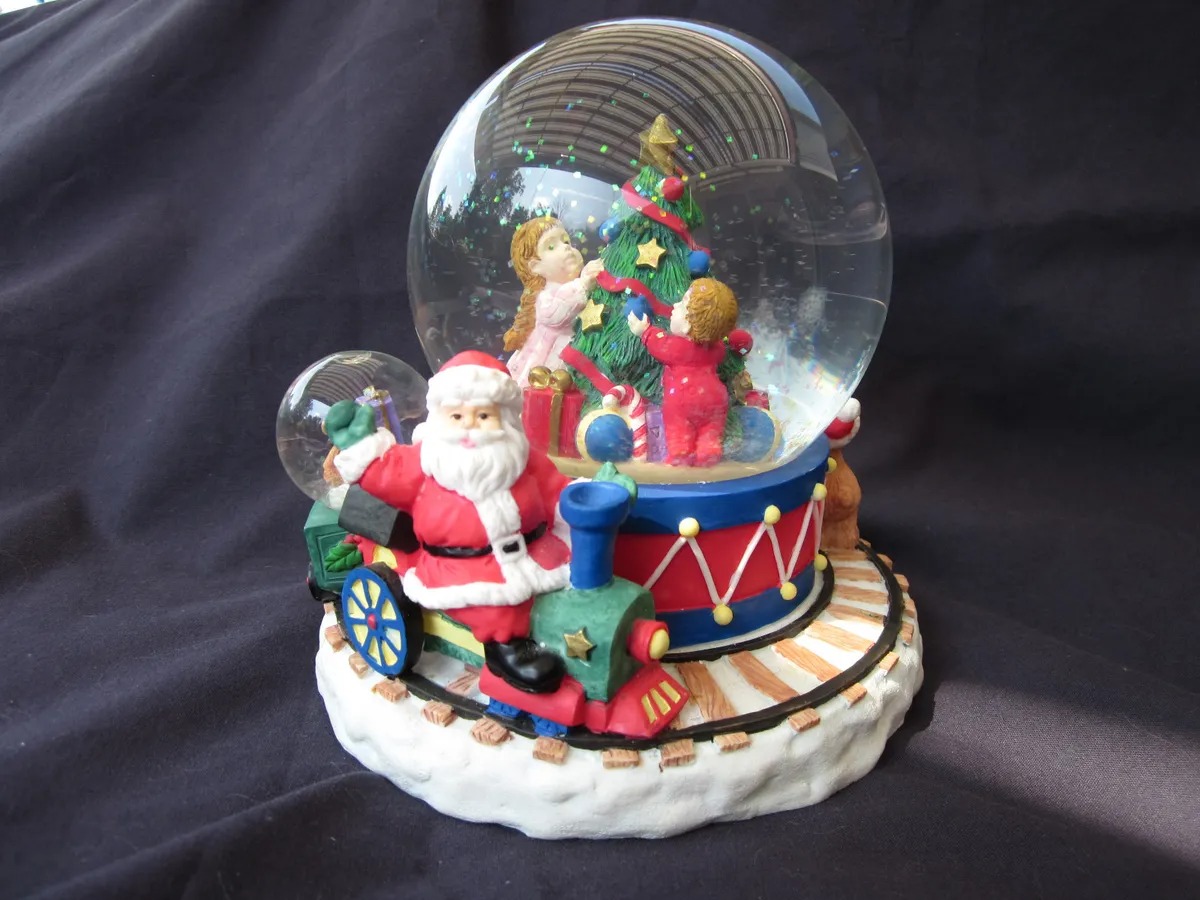
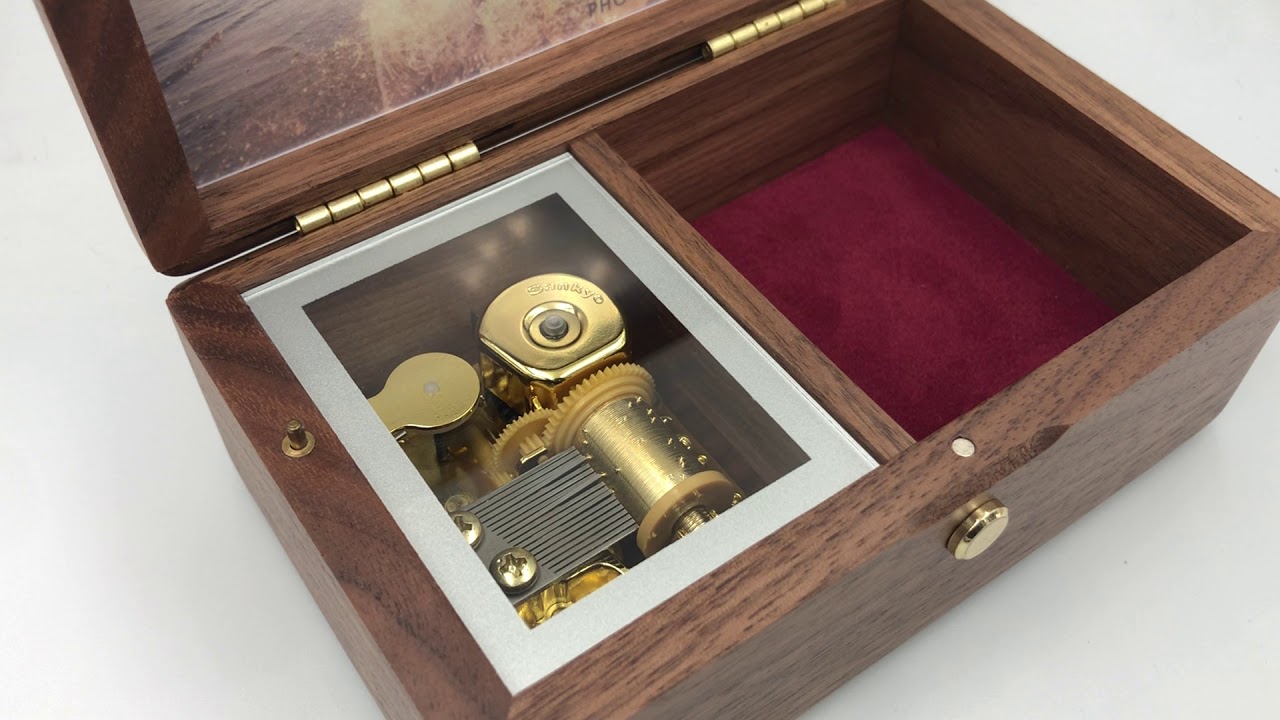
- Music Box – Choose a music box that suits your taste and desired melody. Opt for one with a removable cylinder or a disc mechanism, as it will make the scroll installation process easier.
- Scroll Paper or Cardboard – Select a durable yet flexible material for your scroll. You can use specialized music box scroll paper, or cut your own strip from cardboard.
- Scissors or Paper Cutter – A sharp pair of scissors or a paper cutter will be essential for cutting the scroll to the desired length.
- Ruler – Use a ruler to ensure your scroll strip is straight and even.
- Pencil or Pen – You’ll need a writing utensil to design your musical notes and patterns on the scroll.
- Music Notes Template – If you’re not confident in your ability to draw musical notes freehand, consider printing or creating a template to guide you.
- Decorative Materials (Optional) – If you want to add a decorative touch to your scroll, gather materials such as stickers, washi tape, or colorful markers.
Having these supplies on hand will ensure a smooth and enjoyable music box scroll-making experience. Now that you know what you need, let’s move on to the next step: choosing the perfect music box for your scroll.
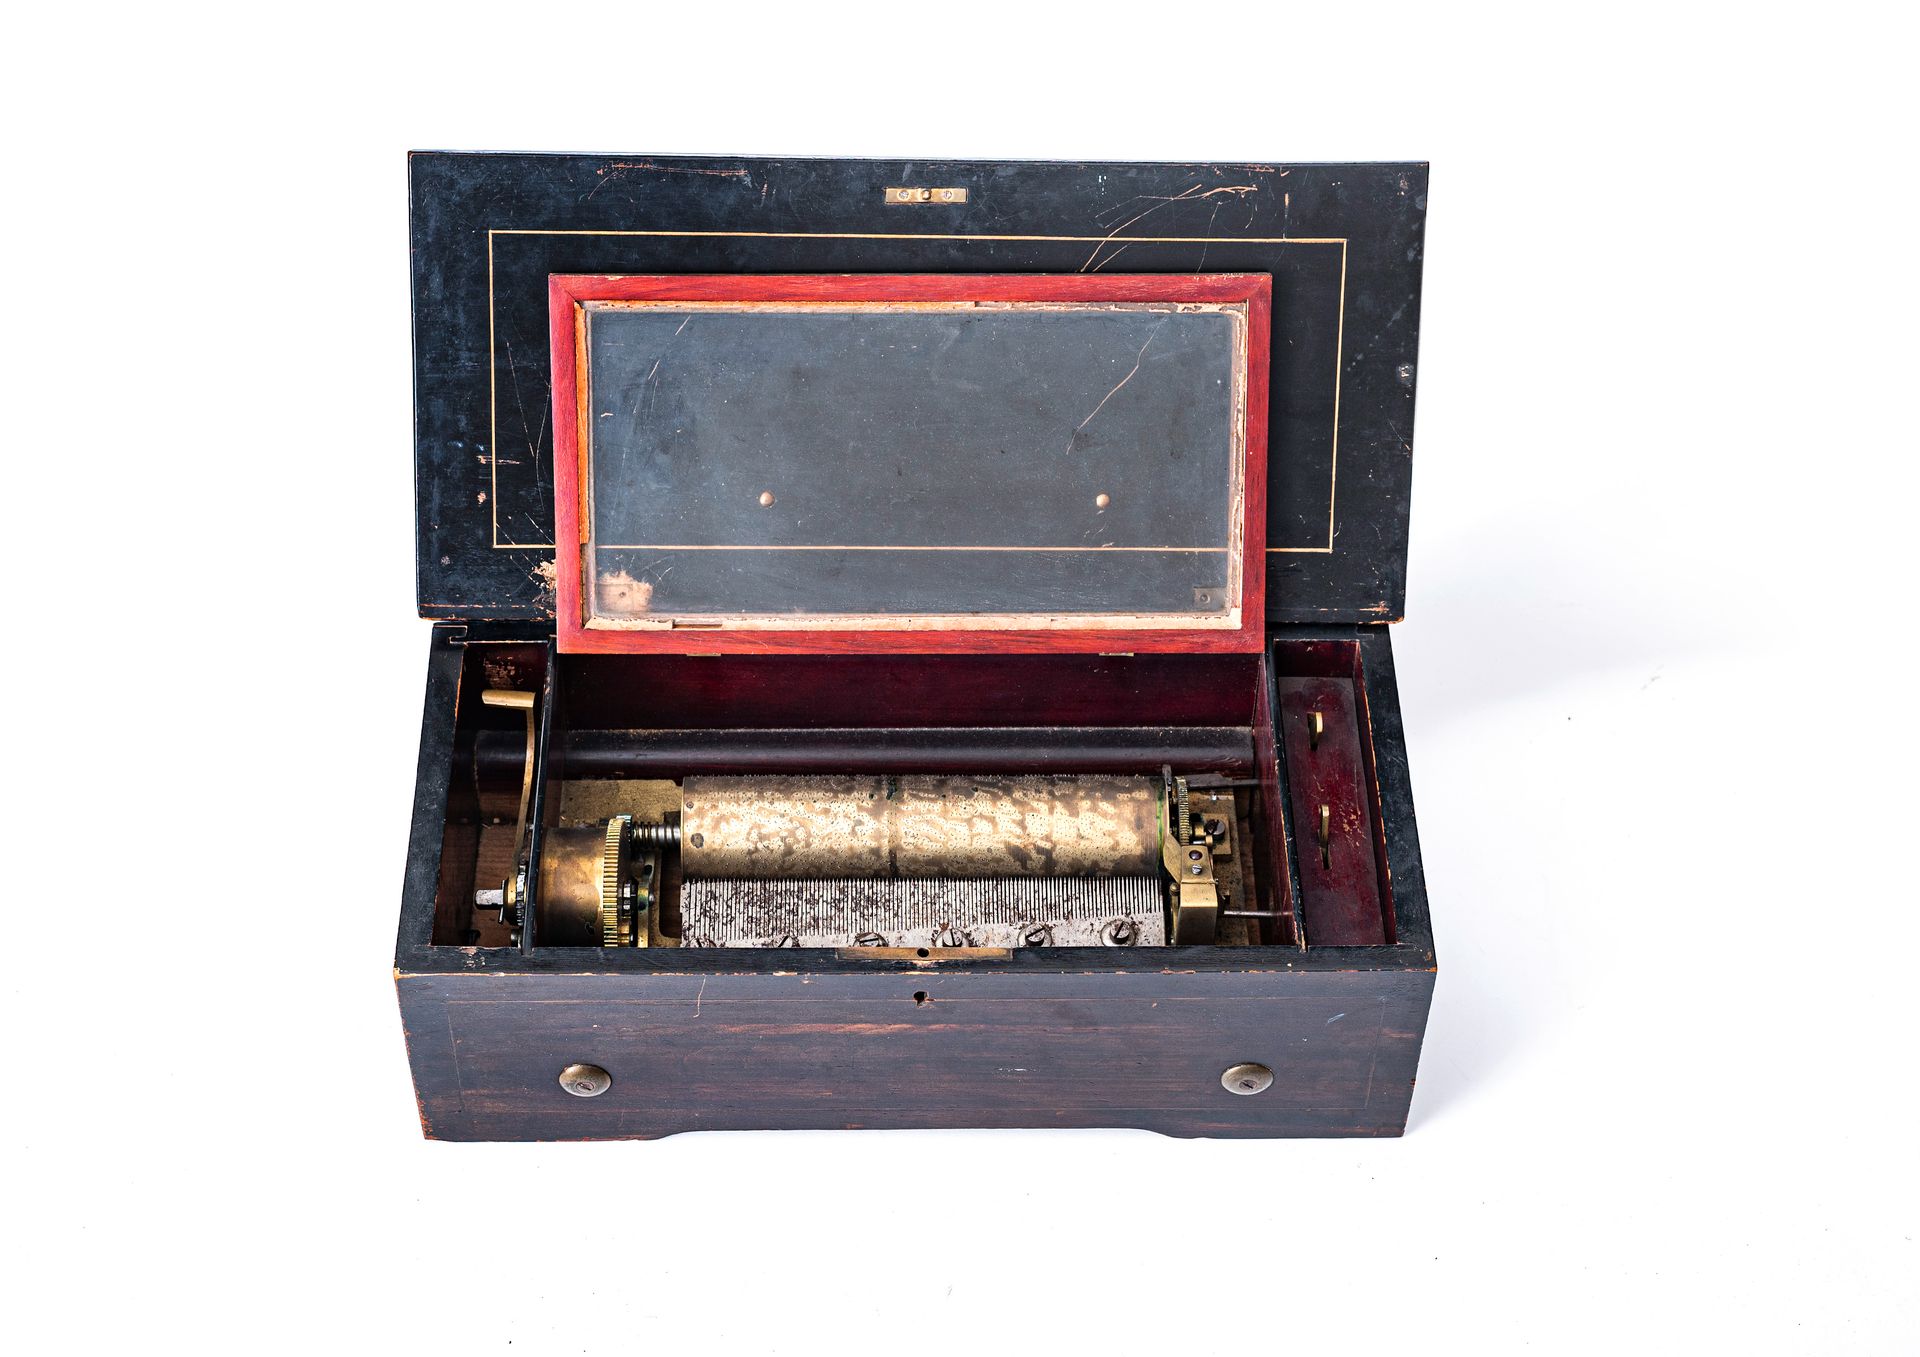
Step 1: Choosing the Music Box
The first and most crucial step in creating your music box scroll is choosing the right music box. Consider the following factors when making your selection:
- Melody: Think about the melody you want your music box to play. Some music boxes come with pre-set tunes, while others allow you to customize the melody by swapping out the cylinder or disc. Make sure the music box you choose has the flexibility to play the desired melody.
- Size and Shape: Consider the size and shape of the music box, as it will determine the length and width of your scroll. Ensure that the box can accommodate a scroll that is long enough to play the desired melody comfortably.
- Removability: Opt for a music box with a removable cylinder or disc mechanism. This will simplify the scroll installation process, allowing you to easily insert and replace the scroll as needed.
- Quality: Ensure that the music box is of good quality and in proper working condition. Check for smooth winding, clear sound, and sturdy construction.
- Aesthetic Appeal: Choose a music box that resonates with your personal style and preferences. Consider the design, color, and overall aesthetic of the box, as it will be a treasured decorative piece along with your custom scroll.
Take your time to explore different options and shop around for the perfect music box. Online marketplaces, antique stores, and specialty music box shops are great places to start your search. Once you have chosen your music box, you are ready to embark on the next step: preparing the scroll.
Step 2: Preparing the Scroll
Now that you have chosen your music box, it’s time to prepare the scroll that will bring your melody to life. Follow these steps to get started:
- Measure and Cut: Measure the length of the scroll paper or cardboard needed to fit your music box mechanism. Use a ruler to ensure precise measurements and a straight line. Cut the material to the desired length using sharp scissors or a paper cutter. Remember to leave some extra length for attaching the scroll to the music box.
- Prep the Scroll Material: If you are using scroll paper, dampen it slightly with a damp cloth or sponge. This will make the paper more pliable and reduce curling. If you are using cardboard, ensure that it is flexible enough to roll and feed through the music box.
- Plan Your Design: Before drawing your musical notes, plan the layout of your scroll. Decide on the spacing and arrangement of the notes, ensuring that they will align with the music box’s mechanism. Consider using a pencil to lightly sketch out your design before making it permanent.
- Draw the Musical Notes: Using a pen or a marker, carefully draw the musical notes on the scroll. If you’re not confident in your ability to draw freehand, you can use a music note template or stencil as a guide. Pay attention to the size and spacing of the notes to ensure they will match the music box’s mechanism. Don’t forget to include any necessary rests or pauses in the music.
- Decorate (Optional): If you want to add a decorative touch to your scroll, now is the time to get creative. Consider using stickers, washi tape, or colored markers to make your scroll visually appealing.
Once you have completed these steps, your scroll is ready to be cut and installed in the music box. But before we move on to the next step, take a moment to admire your design and envision the beautiful melodies it will produce. Now, let’s delve into the exciting world of designing the scroll.
Step 3: Designing the Scroll
Designing the scroll is where you can let your creativity soar and add a personal touch to your music box. Follow these steps to design a scroll that reflects your unique style:
- Choose a Theme: Begin by deciding on a theme or concept for your scroll. It could be based on a favorite song, a cherished memory, or simply something that inspires you. Having a theme in mind will help guide your design process.
- Select a Color Palette: Determine the color palette that will enhance your chosen theme. Consider using colors that evoke the mood or feeling you want to convey through your music box scroll. Harmonious color combinations can create a visually appealing and cohesive design.
- Plan the Layout: Before starting your design, plan the layout of your scroll. Decide how you want the musical notes and any accompanying visuals to be arranged. Consider using a grid or draft paper to sketch out your design before transferring it onto the scroll.
- Draw or Print Visuals: If you want to include visuals alongside the musical notes, either draw them directly on the scroll or print them out and position them where desired. These visuals could be simple illustrations, meaningful symbols, or even photographs that complement your theme.
- Add Calligraphy or Typography: Consider incorporating calligraphy or typography into your design to enhance the aesthetic appeal. You can write the song title, meaningful lyrics, or quotes related to your theme using decorative fonts. Experiment with different styles and sizes until you find the perfect fit.
- Consider Additional Embellishments: If you desire a more elaborate design, think about incorporating additional embellishments such as glitter, sequins, or small decorative elements. These touches can add a bit of sparkle and dimension to your scroll.
Remember, the design process is all about self-expression and creating something that resonates with you. Don’t be afraid to experiment and let your imagination guide you. Once you are satisfied with your design, it’s time to bring it to life by cutting the scroll to the desired length.
Step 4: Cutting the Scroll
Now that you have designed your music box scroll, it’s time to carefully cut it to the desired length. Follow these steps to ensure a precise and clean cut:
- Measure and Mark: Measure the length needed to fit your music box and mark the spot where you will cut the scroll. Use a ruler to ensure accuracy and straight lines. Double-check the measurements before proceeding.
- Prepare the Cutting Tool: Use a sharp pair of scissors or a paper cutter to cut the scroll. Ensure that your cutting tool is clean and in good condition to achieve clean and precise cuts.
- Cut Along the Marked Line: Position the scroll material securely on a flat surface. Take your scissors or paper cutter and carefully cut along the marked line. Use a steady hand and apply even pressure to ensure a straight and accurate cut.
- Trim Any Excess: Once you have cut the scroll to the desired length, check for any excess material that needs to be trimmed. Use your cutting tool to remove any excess parts and tidy up the edges, if necessary.
- Smooth the Cut Edges: After cutting, check the edges of the scroll for any rough or jagged edges. Use sandpaper or a sanding block to smooth out any imperfections and create a clean, polished finish.
It’s important to take your time during the cutting process to ensure precise results. A clean and well-cut scroll will fit smoothly into the music box and produce the desired melody when turned.
Now that your scroll is ready, it’s time to move on to the next step: preparing the music box for the scroll installation.
Step 5: Preparing the Music Box
Before installing the scroll, it is important to properly prepare the music box to ensure smooth operation and optimal performance. Follow these steps to prepare your music box:
- Remove the Cover: If your music box has a removable cover, gently lift or unscrew it to expose the inner mechanism. Place the cover in a safe location where it won’t get damaged.
- Inspect and Clean: Take a close look at the music box mechanism to check for any dust, debris, or obstructions. Use a soft brush or a can of compressed air to gently remove any particles that may affect the mechanism’s movement.
- Apply Lubrication (if necessary): If your music box’s mechanism feels stiff or doesn’t move smoothly, consider applying a small amount of clock oil or sewing machine oil to the rotating parts. Be careful to apply only a tiny drop and avoid getting oil on the scroll or other sensitive parts.
- Prepare the Scroll Channel: Locate the channel or slot where the scroll will be inserted. Use a soft cloth or a small brush to remove any dirt or residue in the channel, ensuring a clean surface for the scroll to glide through.
- Test the Music Box: Before proceeding with scroll installation, wind up the music box and test the mechanism to make sure it plays correctly. Listen for any irregularities or unexpected sounds. If everything sounds as it should, you’re ready to move on to the next step.
By properly preparing your music box, you are ensuring smooth operation and extending its lifespan. Taking the time to clean, inspect, and lubricate the mechanism will contribute to the overall quality of the music produced by your scroll.
Now that your music box is prepared, it’s time to move on to the exciting step of installing the scroll and bringing your custom melody to life!
Step 6: Installing the Scroll
With your music box prepared, it’s time to install the scroll and witness the magic of your customized melody. Follow these steps to properly install the scroll:
- Locate the Scroll Insertion Point: Find the entry point where the scroll will be inserted into the music box mechanism. It is typically a narrow slot or channel located near the rotating cylinder or disc.
- Align the Scroll: Take your prepared scroll and align it with the entry point. Make sure the musical notes on the scroll are facing the proper direction, matching the orientation of the music box’s mechanism.
- Thread the Scroll: Carefully insert the beginning of the scroll into the entry point, gently guiding it through the designated channel. Use a thin tool or your fingers to help feed the scroll into the mechanism, ensuring it moves smoothly without catching or jamming.
- Continue Feeding the Scroll: Slowly continue feeding the scroll into the mechanism, keeping a steady and gentle motion. Make sure the scroll remains aligned and straight as it travels through the channel. Avoid forcing or bending it, as this could damage the scroll or mechanism.
- Tension the Scroll (if applicable): If your music box mechanism has a tensioning mechanism, follow the manufacturer’s instructions to properly tension the scroll. This step is important for maintaining the correct tension between the scroll and the music box mechanism.
- Secure the Scroll: Once the scroll is fully inserted and properly tensioned, secure the end of the scroll in place. Use an adhesive or small piece of tape to affix the end of the scroll to the music box mechanism, ensuring it stays securely in place while playing.
- Replace the Cover: If your music box has a removable cover, carefully put it back in place, ensuring it fits securely and doesn’t obstruct the movement of the scroll.
Take your time and be gentle during the scroll installation process to avoid any damage or misalignment. Once the scroll is securely in place, you’re ready for the exciting moment of testing your handcrafted music box!
But before that, let’s move on to the final step: testing and adding the finishing touches to your music box scroll.
Step 7: Testing and Final Touches
Now that your scroll is installed, it’s time to test your customized music box and add any final touches to make it even more special. Follow these steps to complete the process:
- Wind Up the Music Box: Give the music box a few gentle winds to activate the mechanism. Listen attentively as the scroll begins to play the melody you have chosen.
- Test the Melody: Pay close attention to the melody produced by the scroll. Check for correct timing, clear notes, and proper transitions between musical phrases. If any adjustments are needed, you may need to reposition or reconfigure the scroll to ensure optimal performance.
- Make Any Necessary Adjustments: If you are not satisfied with the sound or performance of the music box, consider making small adjustments to the scroll. You may need to reposition it slightly or trim the edges to improve sound quality.
- Add Decorative Elements (Optional): If desired, you can enhance the aesthetics of your music box scroll by adding decorative elements. Consider adding ribbons, bows, or other embellishments that complement your design and add a touch of elegance.
- Showcase Your Creation: Display your beautifully customized music box in a prominent place where it can be admired and enjoyed. Share it with friends and loved ones, and let them experience the unique melody that you’ve made.
Remember to appreciate the effort and creativity that went into making your own music box scroll. Cherish the joy it brings and the personal connection it represents. With your final adjustments made and any additional touches added, your music box is now complete!
Congratulations on creating a one-of-a-kind music box scroll that will fill your space with personalized melodies and cherished memories. Enjoy the enchanting music it produces, and let it be a unique expression of your creativity and love for music.
Conclusion
Creating a music box scroll is a rewarding and creative process that allows you to add a personal touch to your music box. By following the steps outlined in this guide, you have learned how to choose the right music box, prepare and design your scroll, cut it to the appropriate length, and install it into the music box mechanism. With a little patience, precision, and creativity, you have transformed a simple music box into a unique and enchanting treasure that plays a melody of your choice.
Remember, the journey of making a music box scroll is not just about the end result, but also about the joy and fulfillment derived from the creative process itself. Each step, from designing the scroll to testing the melody, offers an opportunity for self-expression and connection to the music.
Now that you have completed your music box scroll, take the time to cherish and enjoy its melodious tunes. Whether it’s a beloved song, a special memory, or an original composition, your custom scroll will fill your environment with beautiful melodies and evoke emotions that are unique to you.
Share your creation with others and let them experience the magic of your personalized music box. Whether it’s a gift for a loved one or a cherished keepsake for yourself, your music box scroll is sure to be treasured for years to come.
So, go ahead and let your creativity soar as you embark on the enchanting journey of making your own music box scroll. May it bring joy, inspiration, and a touch of magic to your life.