Home>Devices & Equipment>Music Box>How To Make Music Box Mechanism
Music Box
How To Make Music Box Mechanism
Published: January 12, 2024
Learn how to make a music box mechanism with our step-by-step guide. Create beautiful melodies with the help of our Music Box tutorial.
(Many of the links in this article redirect to a specific reviewed product. Your purchase of these products through affiliate links helps to generate commission for AudioLover.com, at no extra cost. Learn more)
Table of Contents
Introduction
Welcome to the enchanting world of music boxes! These delicate and intricately crafted instruments have been captivating people for centuries with their melodic tunes and mesmerizing movements. Whether you’re a music enthusiast, a DIY enthusiast, or simply someone with a love for charming and nostalgic objects, making your own music box mechanism can be a fulfilling and rewarding experience.
In this article, we will guide you through the process of making a music box mechanism from scratch. We will provide you with step-by-step instructions, along with a list of materials you’ll need to get started. So, get ready to unleash your creativity and bring a touch of whimsy and magic into your life!
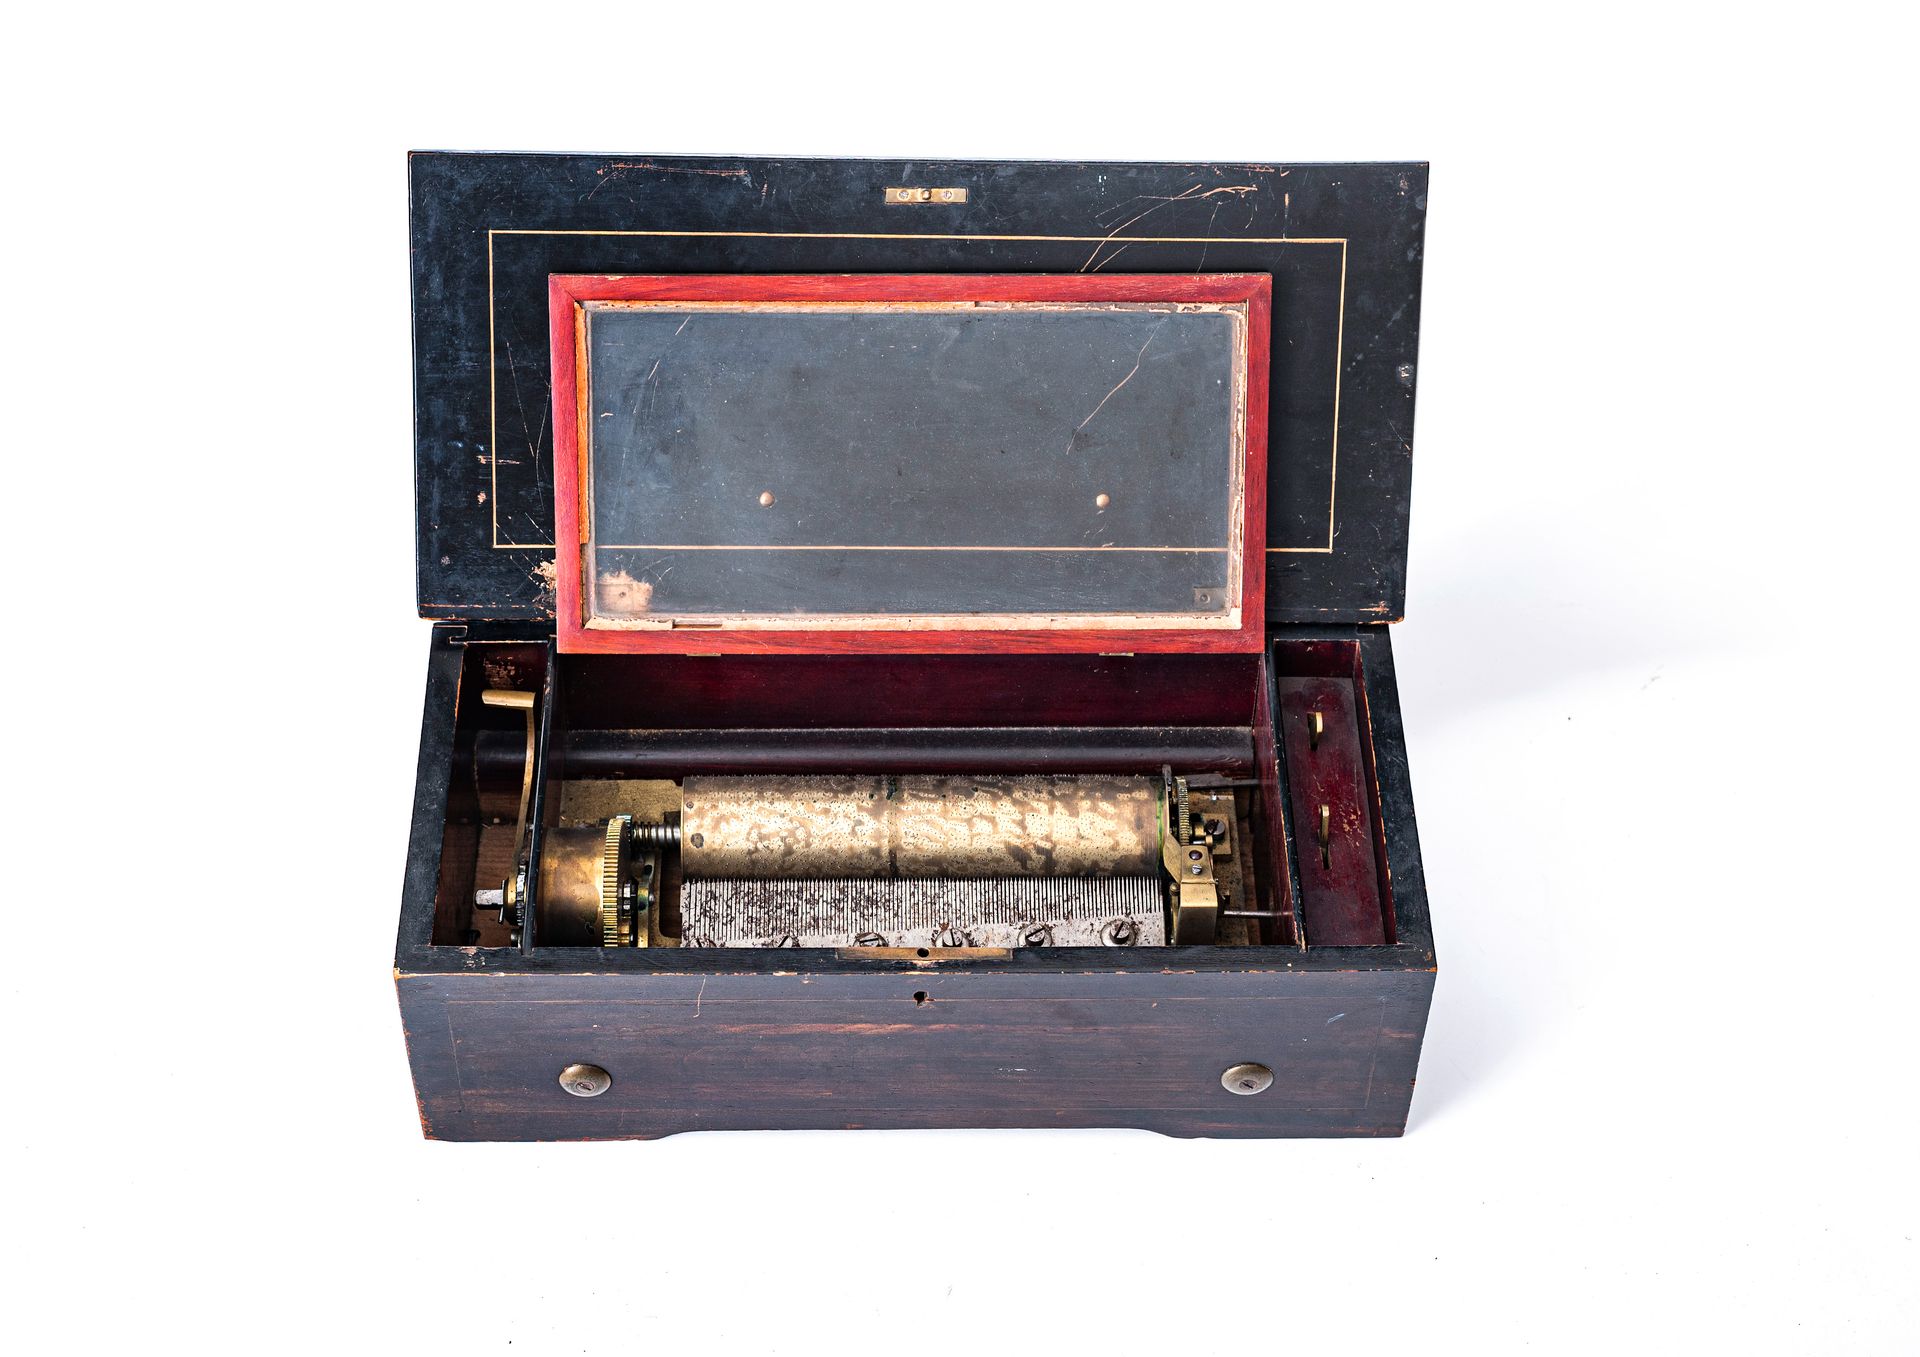
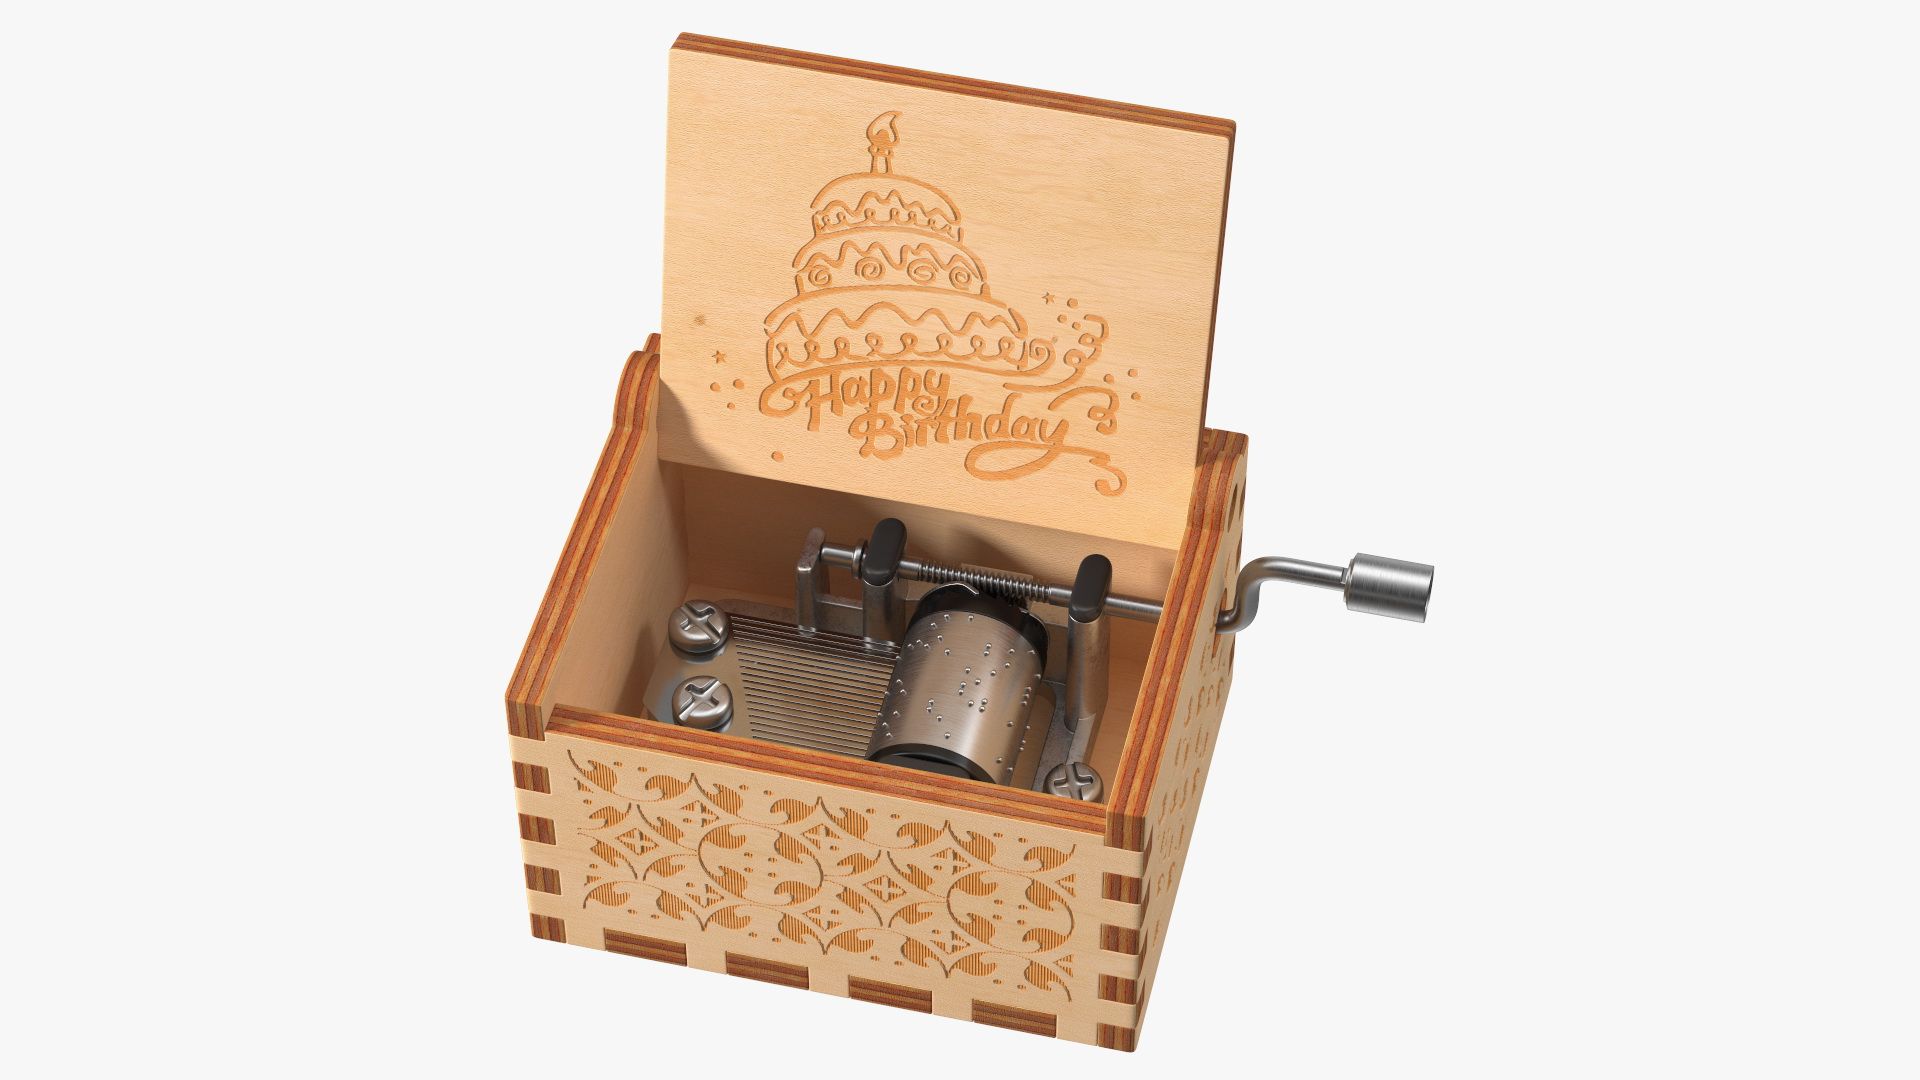
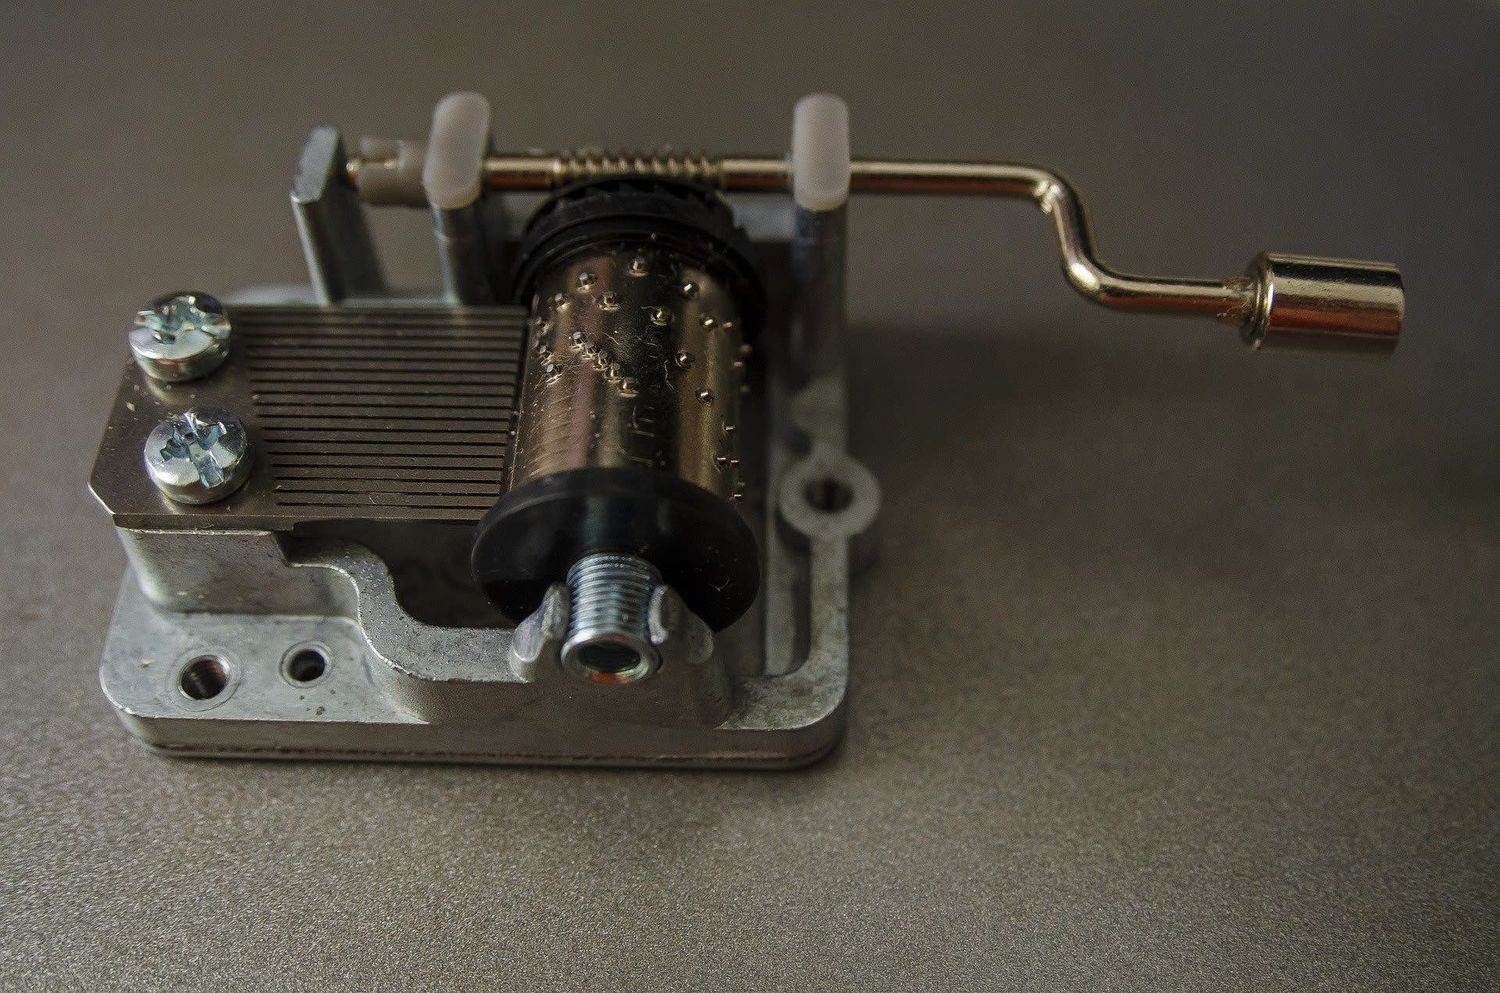
A music box mechanism consists of several key components, including a rotating cylinder or disc with strategically placed pins, a comb with tuned teeth, and a winding mechanism to keep the music playing. By selecting the right materials and following the proper techniques, you can create a custom music box that reflects your personal style and preferences.
Before we dive into the details, it’s important to note that making a music box mechanism requires a certain level of precision and patience. But fear not, as we will explain the process in a simplified manner, making it accessible to beginners and seasoned DIYers alike.
So, if you’re ready to embark on this musical journey, gather your tools and let’s get started on creating a one-of-a-kind music box mechanism that will not only fill your space with beautiful melodies but also leave you with a sense of accomplishment and joy.
Materials Needed
Before you can begin making your own music box mechanism, you will need to gather a few essential materials and tools. Here is a list of what you will need:
- Wood or acrylic sheet for the base
- Music box mechanism kit
- Drill
- Saw
- Sanding paper or sanding block
- Wood glue or adhesive
- Decorative elements (optional)
- Paint or varnish (optional)
- Brushes or applicators (if using paint)
- Craft knife
- Measuring tools (ruler, square, or calipers)
- Screwdriver
The wood or acrylic sheet will serve as the base for your music box mechanism. You can choose the size and thickness based on your preference and the size of the music box mechanism kit you have selected.
The music box mechanism kit is the heart of your music box. It typically includes the rotating cylinder or disc, the comb with teeth, and the winding mechanism. You can find music box mechanism kits in various themes and tunes, so choose one that resonates with your personal taste.
A drill will be necessary to create holes in the base to accommodate the music box mechanism and other components. Make sure to use the appropriate drill bit size for the pins and winding mechanism.
A saw will come in handy if you need to resize the base or make any adjustments to fit the music box mechanism. You can use a handheld saw or a table saw depending on your comfort and skill level.
Sanding paper or a sanding block is essential for smoothing the edges and surfaces of the base and any other wooden elements you may be using. This will give your music box a polished and professional finish.
Wood glue or adhesive will be needed to securely attach the music box mechanism to the base. Make sure to use a strong and durable adhesive that is suitable for the materials you are working with.
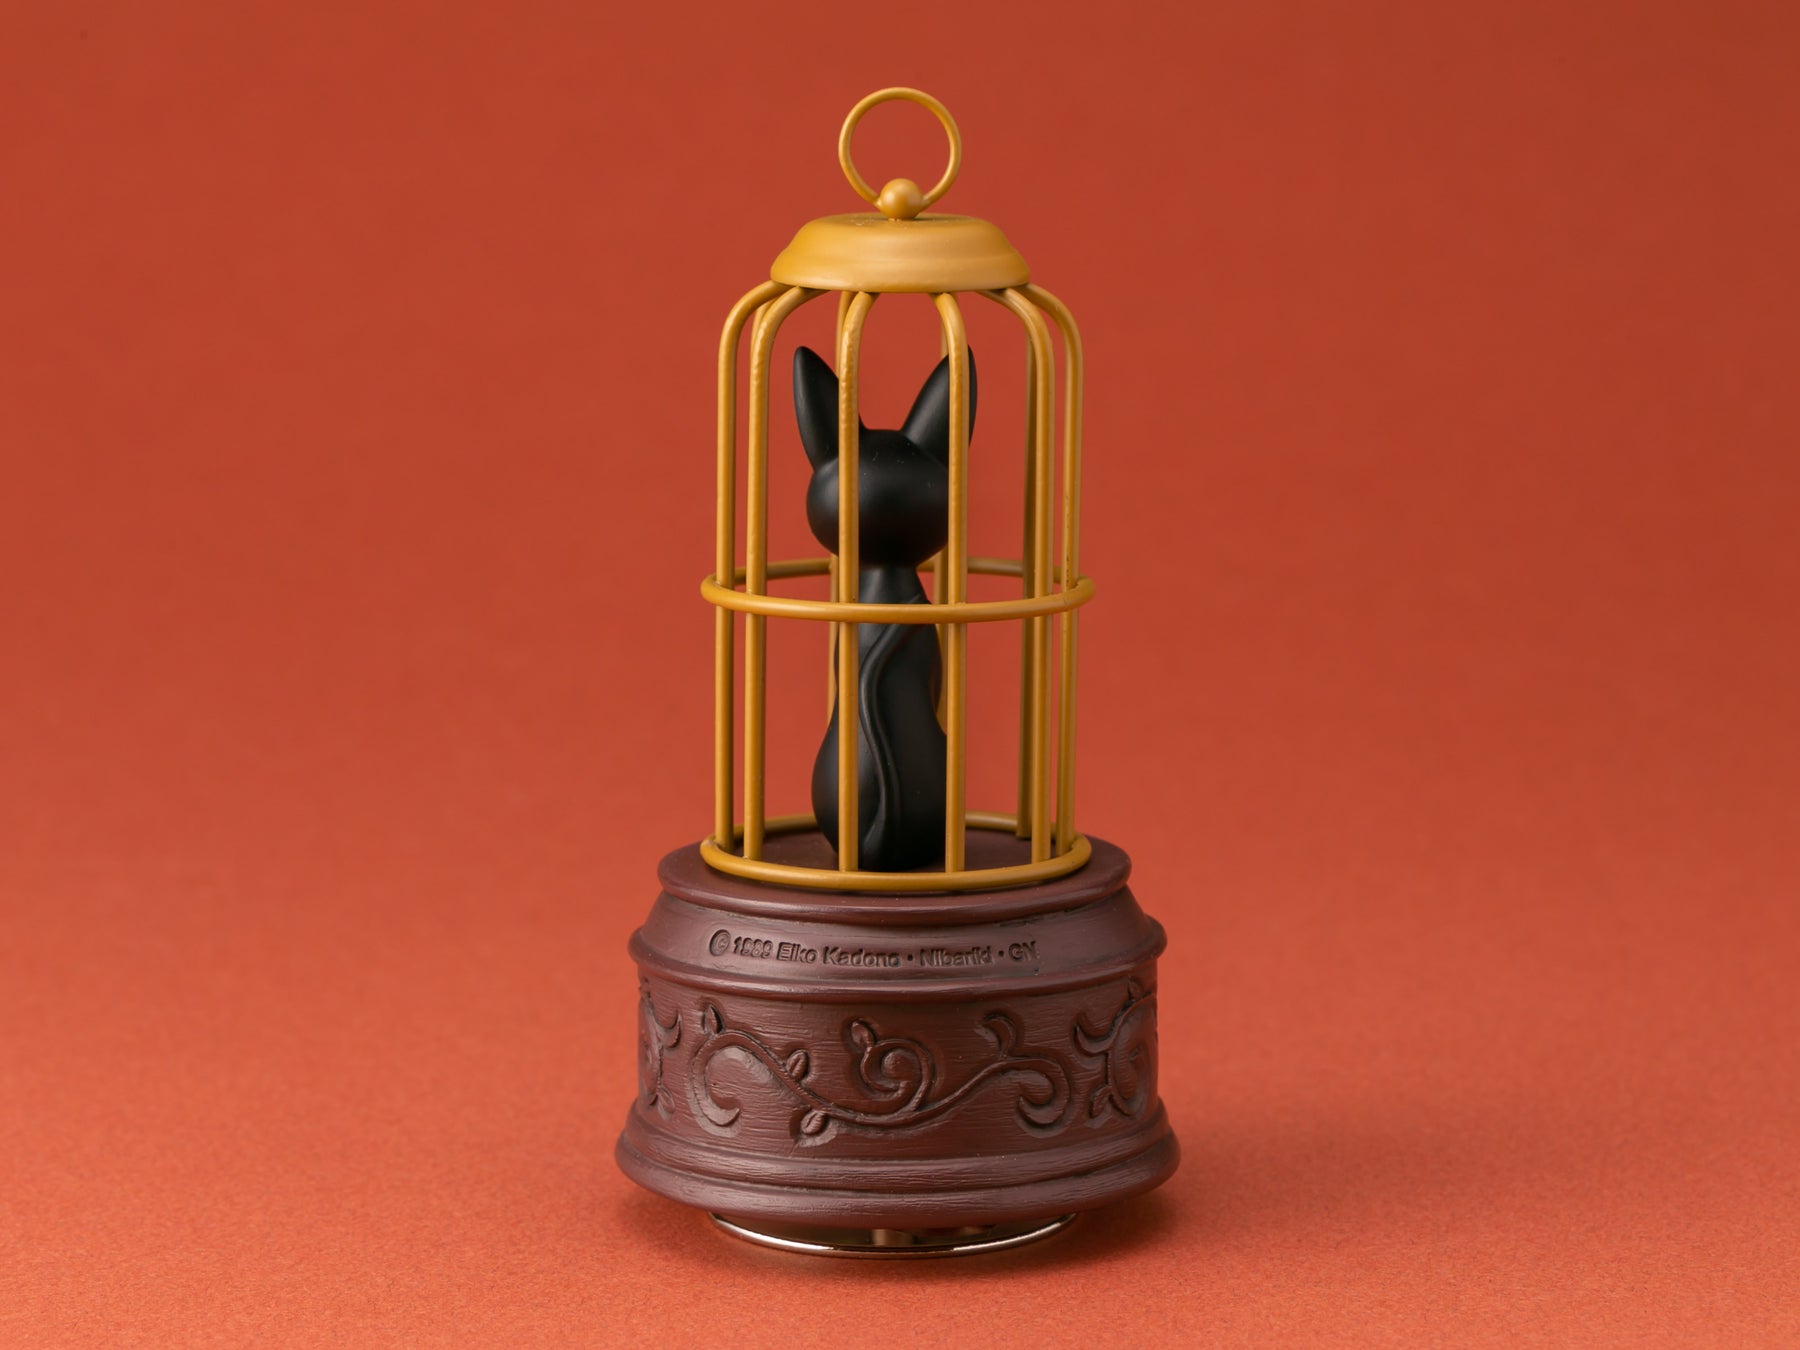
If you wish to add a personal touch to your music box, you can incorporate decorative elements such as figurines, small trinkets, or even paint. Paint or varnish can be used to add color and protection to the wooden base. Brushes or applicators will be necessary for applying the paint or varnish evenly.
A craft knife will be useful for precision cutting, especially if you need to make intricate designs or adjustments to the base or decorative elements.
Measuring tools such as a ruler, square, or calipers will ensure accuracy and precision when measuring and cutting the base and other components.
A screwdriver may be needed to assemble or disassemble certain parts of the music box mechanism kit or to make any adjustments during the process.
With these materials in hand, you are now equipped to create your very own music box mechanism. Let’s move on to the next steps and bring your musical masterpiece to life!
Step 1: Selecting a Music Box Mechanism
The first step in making your own music box mechanism is selecting the right music box mechanism kit. This is an important decision as it will determine the theme, tune, and overall aesthetic of your music box.
When choosing a music box mechanism kit, consider the following factors:
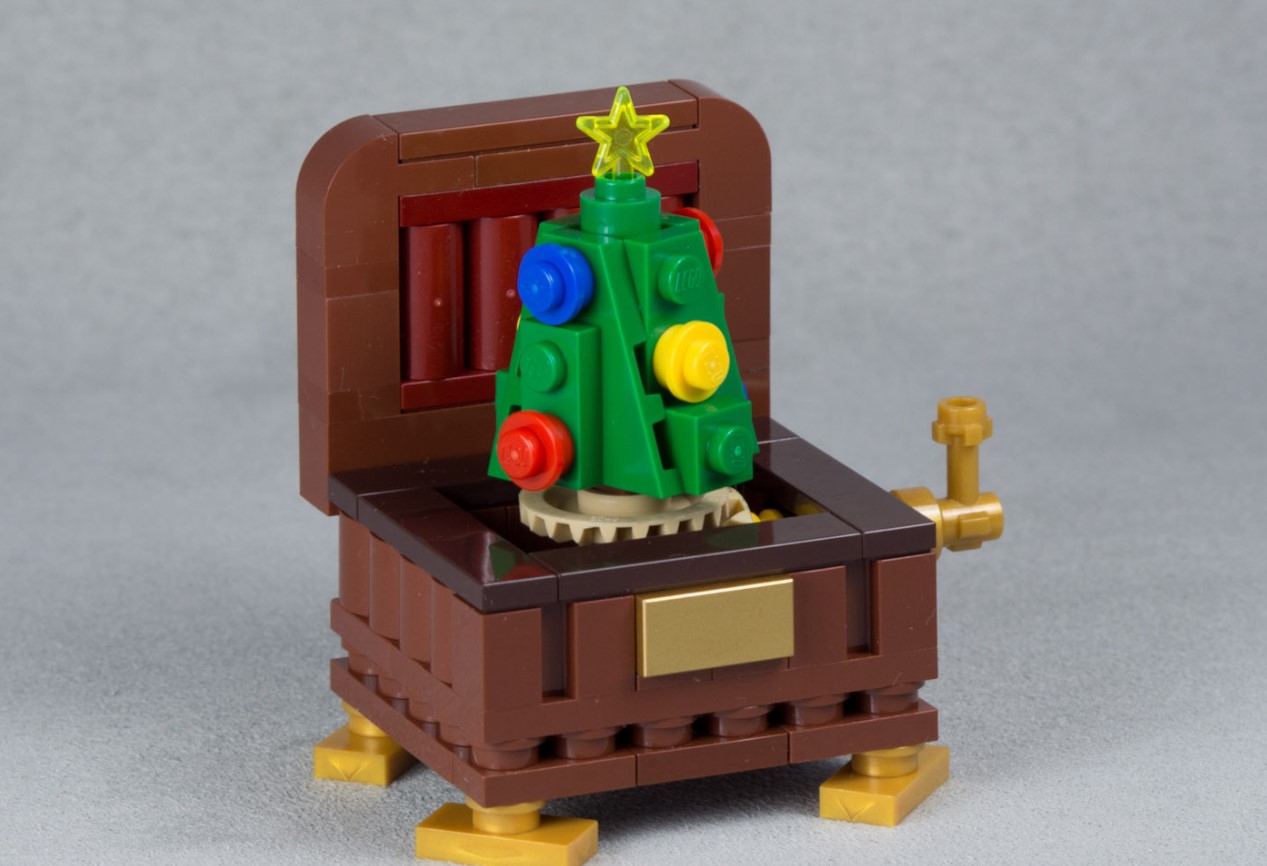
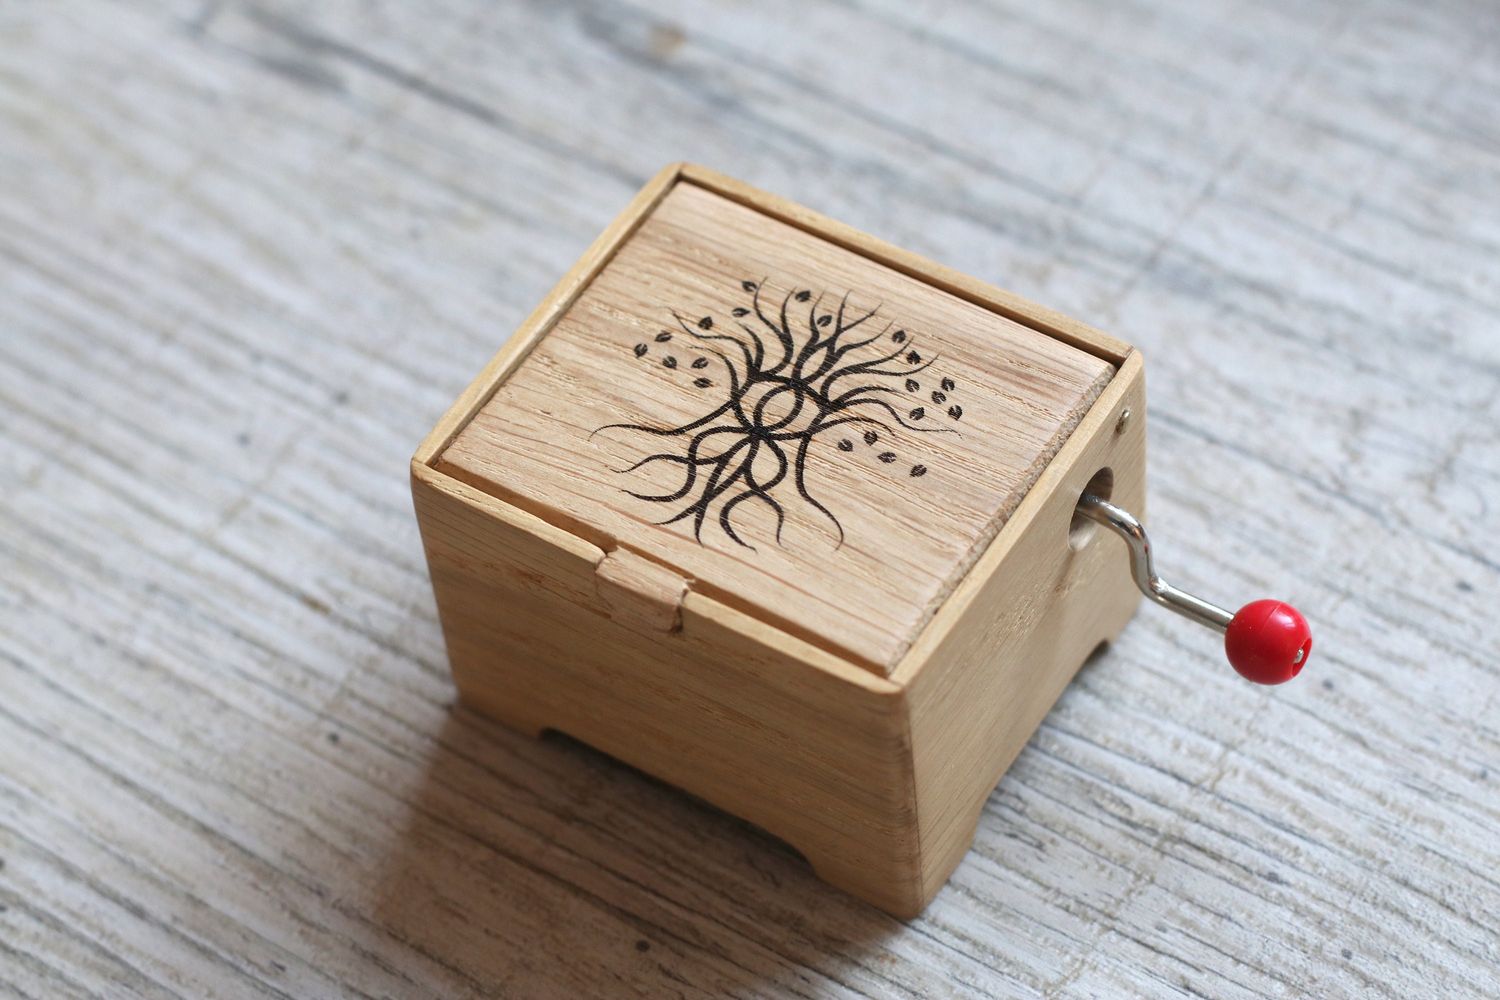
- Theme: Decide on the theme or style you want for your music box. Do you want something whimsical and playful, or elegant and sophisticated? Music box kits come in a variety of themes such as nature, fairy tales, animals, and more.
- Tune: Consider the tune you want your music box to play. Music box kits usually come with a pre-programmed tune, so choose one that resonates with you.
- Size: Determine the size of the music box mechanism kit based on the dimensions of the base you will be using. Make sure the kit fits comfortably within the space you have available.
- Complexity: Consider your skill level and the level of complexity you want for your project. Some music box kits may require more intricate assembly or have additional features such as animated figurines or dancing mechanisms.
Research various music box mechanism kits and read reviews to ensure quality and reliability. Look for kits that provide clear instructions and include all the necessary components for assembly.
Once you have selected the music box mechanism kit that best suits your preferences, make the purchase and gather all the components included in the kit. Familiarize yourself with the different parts, such as the rotating cylinder or disc with pins, the comb with tuned teeth, and the winding mechanism.
Remember that the music box mechanism will be the focal point of your creation, so take your time to choose a kit that resonates with your personal style and brings you joy.
With the music box mechanism kit in hand, you are now ready to move on to the next step: designing the base for the mechanism.
Step 2: Designing the Base for the Mechanism
Now that you have chosen a music box mechanism kit, it’s time to design the base for the mechanism. The base provides stability and acts as a foundation for the music box.
Here are the steps to design the base:
- Select the Material: Choose a suitable material for the base, such as wood or acrylic. Consider the durability, aesthetics, and ease of working with the chosen material.
- Measurements: Measure the dimensions of the music box mechanism kit. Take note of the size and shape of the mechanism, making sure to leave enough space for the pins and the winding mechanism.
- Sketch the Design: Create a rough sketch of the base, indicating the layout of the music box mechanism and any additional decorative elements you plan to incorporate.
- Cut the Base: Using a saw or other cutting tools, cut the material according to your measurements and design. Ensure that the base is smooth and free of rough edges.
- Drill Holes: Using a drill and the appropriate drill bit, create holes in the base where the music box mechanism and other components will be attached. Take care to align the holes with the pins and the winding mechanism to ensure proper functioning.
Remember to wear appropriate safety gear, such as safety glasses, when working with tools and materials.
During the design process, you can also consider adding additional elements to enhance the aesthetics of the base. This could include carving intricate patterns, adding inlays or marquetry, or even painting the base to match your desired theme or style.
Once you have designed and prepared the base, it’s time to move on to the next step: assembling the base and the music box mechanism.
Step 3: Assembling the Base and Mechanism
With the base of the music box designed and prepared, it’s time to move on to assembling the base and the music box mechanism. This step is crucial as it brings together the key components that will make your music box come alive.
Follow these steps to assemble the base and the mechanism:
- Position the Mechanism: Place the music box mechanism on the base, aligning the holes you drilled with the pins and the winding mechanism. Ensure that it sits securely and upright.
- Secure the Mechanism: Using wood glue or adhesive, carefully apply a thin layer around the holes where the mechanism will be attached. Gently press the mechanism into place and hold it firmly for a few minutes to allow the adhesive to bond.
- Test the Movement: Once the adhesive has dried, test the movement of the music box mechanism. Wind up the mechanism and observe the rotation of the cylinder or disc and the movement of the comb’s teeth. Ensure that the pins on the cylinder or disc correctly engage with the comb’s teeth to produce the desired melodies.
- Make Adjustments (If Needed): If the movement is not smooth or if the music does not play correctly, you may need to make adjustments. Carefully disassemble the mechanism, examine the pins and teeth for any misalignments or obstructions, and fix any issues before reassembling.
- Reattach Decorative Elements: If you have additional decorative elements, such as figurines or trinkets, that you wish to include, now is the time to attach them to the base. Use a suitable adhesive and follow the instructions provided with the decorative elements.
Take your time during the assembly process to ensure that everything is properly aligned and securely attached. It’s important to be patient and meticulous to achieve optimal functionality and aesthetics.
Once you have assembled the music box mechanism and attached any decorative elements, your music box is almost complete. The next step is to add the finishing touches and bring out its full charm and beauty.
Step 4: Adding Decorative Elements
Adding decorative elements to your music box can elevate its visual appeal and make it truly unique. In this step, you’ll have the opportunity to personalize your creation and add those special touches that reflect your style and creativity.
Here’s how you can add decorative elements to your music box:
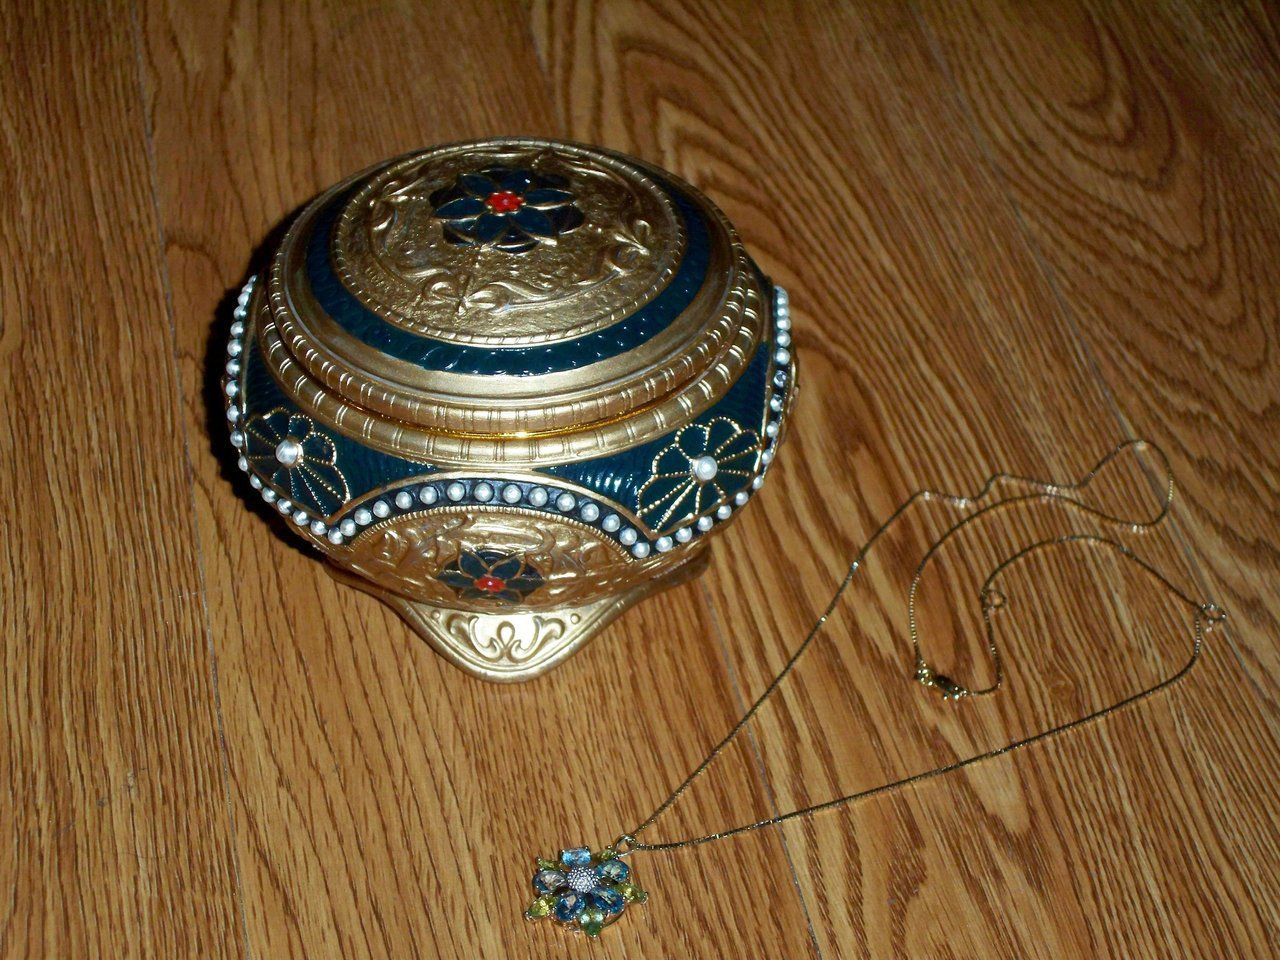
- Choose Your Decorations: Select the decorative elements that align with your vision for the music box. These can include figurines, small trinkets, flowers, or even miniature scenes.
- Plan the Placement: Consider the layout and positioning of the decorative elements on the base. Arrange them in a way that complements the theme and design of your music box.
- Secure the Decorations: Use an adhesive suitable for the materials of both the decorative elements and the base. Apply the adhesive to the bottom of the decorations and carefully attach them to the appropriate spots on the base. Ensure that they are securely and evenly attached to prevent any movement or detachment.
- Paint or Varnish (Optional): If you wish to add color or a protective layer to the base or the decorations, you can paint or varnish them. Choose colors or finishes that harmonize with the overall aesthetic of your music box. Apply the paint or varnish with brushes or applicators, following the manufacturer’s instructions.
When adding decorative elements, keep in mind the size and weight of the components. Ensure that they do not interfere with the functioning of the music box mechanism or cause any imbalance. Additionally, be mindful of the dimensions of your music box and how the added decorations may affect its overall appearance and proportions.
Remember, the decorative elements should enhance the charm of the music box without overpowering the main focus, which is the music and the mechanism.
Once you have added the desired decorative elements and applied any necessary finishes, your music box is almost complete. The final step is to conduct testing and make any adjustments to ensure its optimal performance.
Step 5: Testing and Adjustments
As you near the completion of your music box, it’s important to test its functionality and make any necessary adjustments to ensure that it operates smoothly and produces the desired melodies. This final step ensures that your music box is ready to enchant and delight.
Follow these steps to test and make any necessary adjustments to your music box:
- Winding the Mechanism: Start by winding up the mechanism. Turn the winding key or handle in a clockwise direction until it reaches its maximum tension. This will ensure that the music box plays for an adequate duration.
- Testing the Melodies: Activate the music box by gently rotating the cylinder or disc. Listen closely to the melodies produced by the comb’s teeth as they interact with the pins. Pay attention to the quality, timing, and accuracy of the tunes. If any notes sound off or do not play as intended, you may need to make adjustments.
- Making Adjustments: If you notice any issues with the melodies, carefully disassemble the music box mechanism and examine the pins and comb’s teeth for any misalignments or obstructions. Make any necessary adjustments to ensure proper engagement. You may need to file or sand down the pins or teeth. Take your time to fine-tune the mechanism until the music plays smoothly and accurately.
- Reassemble and Retest: After making adjustments, reassemble the music box mechanism onto the base. Wind up the mechanism again and test the melodies once more to confirm that the adjustments have resolved any issues.
- Final Inspection: Once you are satisfied with the performance of your music box, conduct a final inspection of all the components. Ensure that the decorative elements are securely attached, the base is stable, and the mechanism operates smoothly without any unusual noises or disruptions.
By thoroughly testing and making any necessary adjustments, you can ensure that your music box delivers a delightful and harmonious experience.
Congratulations! Your music box is now fully functional and ready to bring joy and enchantment to all who listen to its captivating melodies. Place it in a special spot where its beauty and melodies can be appreciated, or present it as a thoughtful and heartfelt gift to someone special.
Remember, each time you wind up the mechanism and listen to the melodies, you’ll be reminded of the time and effort you put into creating this treasured piece. Enjoy the magical sounds of your very own handmade music box!
Conclusion
Congratulations on successfully creating your very own music box mechanism! Through careful selection, design, assembly, and testing, you have brought to life a beautiful and melodic work of art. The process of making a music box mechanism can be fulfilling, allowing you to unleash your creativity and create a treasured piece that resonates with your personal style.
By following the steps outlined in this article, you have learned how to select a music box mechanism kit that aligns with your preferences and how to design and assemble a base that provides stability and complements the mechanism. Adding decorative elements has allowed you to infuse a touch of your personality into the music box.
Through testing and adjustments, you have fine-tuned the mechanism to ensure that it produces beautiful melodies and operates smoothly. This attention to detail ensures that your music box delivers an enchanting experience for all who listen.
As you wind up the mechanism and listen to the melodies that emanate from your creation, you can take pride in the craftsmanship and time devoted to making the music box. It is not just a functional piece; it is a testament to your dedication and creativity.
Whether you choose to display your music box in your home, give it as a gift, or simply enjoy the melodies it produces, the joy and charm it brings are sure to captivate and delight. Your music box holds the power to transport you to a world of nostalgia, beauty, and whimsy with each note played.
Now that you have completed this journey of making a music box mechanism, you may be inspired to explore further and create more intricate or customized music boxes. The possibilities are endless as you delve into this timeless craft.
Embrace the enchantment of music boxes and continue to explore the realm of creativity and craftsmanship. And remember, in the world of music boxes, each melody played is a reminder of the joy and fulfillment found in the art of handcrafted treasures.