Home>Devices & Equipment>Subwoofer>How To Fix A Hole In A Subwoofer
Subwoofer
How To Fix A Hole In A Subwoofer
Published: January 20, 2024
Learn how to fix a hole in your subwoofer with our step-by-step guide. Ensure optimal sound quality and extend the lifespan of your subwoofer.
(Many of the links in this article redirect to a specific reviewed product. Your purchase of these products through affiliate links helps to generate commission for AudioLover.com, at no extra cost. Learn more)
Table of Contents
Introduction
Subwoofers are an essential component of any sound system, providing deep bass and enhancing the overall audio experience. However, like any piece of equipment, subwoofers are susceptible to damage over time, including holes or tears in the speaker cone. A hole in the subwoofer can significantly impact its performance and sound quality, leaving you with a less-than-ideal audio output.
But don’t worry! In this article, we’ll guide you through the process of fixing a hole in your subwoofer, helping you restore its functionality and enjoy your music to the fullest. Whether your subwoofer is for your home theater system or your car audio system, we’ve got you covered.
Before diving into the repair process, it’s important to note that the method described in this article is primarily for minor damages or small holes in the subwoofer. If your subwoofer has extensive damage or a large hole, it may require professional repair or even replacement. Now, let’s get started with the step-by-step process of fixing a hole in a subwoofer.
Step 1: Assess the Damage
The first step in fixing a hole in your subwoofer is to carefully assess the extent of the damage. Take a close look at the speaker cone and identify the size and location of the hole or tear. This will help you determine the best course of action for repair.
If the hole is small and located near the edge of the cone, you may be able to fix it using DIY methods. However, if the hole is larger or located in a critical area, it’s recommended to seek professional assistance.
It’s also important to check for any additional damage that may have occurred as a result of the hole. Look for signs of moisture or corrosion around the damaged area. Additionally, gently press on the cone to ensure it moves freely without any restrictions or abnormal noises.
By thoroughly assessing the damage, you’ll have a better understanding of the repair process required and can ensure that the fix will be effective in restoring your subwoofer’s performance.
Step 2: Gather the Necessary Materials
Once you’ve assessed the damage to your subwoofer, it’s time to gather the necessary materials for the repair. Having everything prepared ensures a smooth workflow and helps you complete the repair efficiently. Here are the materials you’ll need:
- Adhesive or Patch Kit: Depending on the size and location of the hole, you’ll need an appropriate adhesive or patch kit designed for speaker cone repairs. Look for products specifically made for subwoofer cone repairs.
- Cotton Swabs or Cleaning Cloth: You’ll need these to clean the surface of the damaged area and ensure it’s free from any dirt or debris.
- Tweezers: Use tweezers to carefully remove any loose or frayed edges around the hole. This will ensure a smooth and secure patch application.
- Masking Tape: Masking tape is useful for securing the patch in place during the repair process. It holds the patch firmly while the adhesive sets and prevents any movement that could compromise the fix.
- Scissors: You’ll need scissors to cut the patch material to the appropriate size and shape. Make sure they are sharp and clean for precise cuts.
- Protective Gloves: It’s always a good idea to wear protective gloves, especially when working with adhesives or any chemicals. This protects your hands from any potential irritation or allergic reactions.
- Instructions: Some adhesive or patch kits come with specific instructions. Make sure you have these on hand to follow the recommended procedure for optimal results.
Once you have gathered all the necessary materials, you’ll be well-prepared to proceed to the next steps of repairing the hole in your subwoofer.
Step 3: Prepare the Subwoofer
Before applying the patch or adhesive, it’s crucial to properly prepare the surface of the subwoofer cone. This will ensure optimal adhesion and a successful repair. Follow these steps to prepare your subwoofer:
- Clean the Surface: Use a cotton swab or a clean, lint-free cloth to gently clean the area around the hole. Remove any dust, dirt, or debris that may hinder the patch from adhering properly.
- Trim Loose Edges: If there are any loose or frayed edges around the hole, carefully trim them using tweezers. This step helps create a smooth surface for the patch to adhere to, minimizing the risk of future damage.
- Ensure Dryness: If the subwoofer cone has come into contact with any liquids, make sure it is completely dry before proceeding with the repair. Moisture can affect the adhesion of the patch, compromising the effectiveness of the fix.
- Secure Surrounding Area: If the hole is near the edge of the cone, you can use masking tape to secure the surrounding area. This will prevent any accidental damage to the cone during the patching process.
- Follow Kit Instructions: If you are using an adhesive or patch kit, refer to the instructions provided. Some kits may have additional preparation steps or specific recommendations for the repair process. Adhering to these instructions will ensure the best possible outcome.
By properly preparing the subwoofer, you are setting the foundation for a successful repair. Taking the time to clean, trim, and ensure dryness will contribute to the longevity and effectiveness of the patch application in the next step.
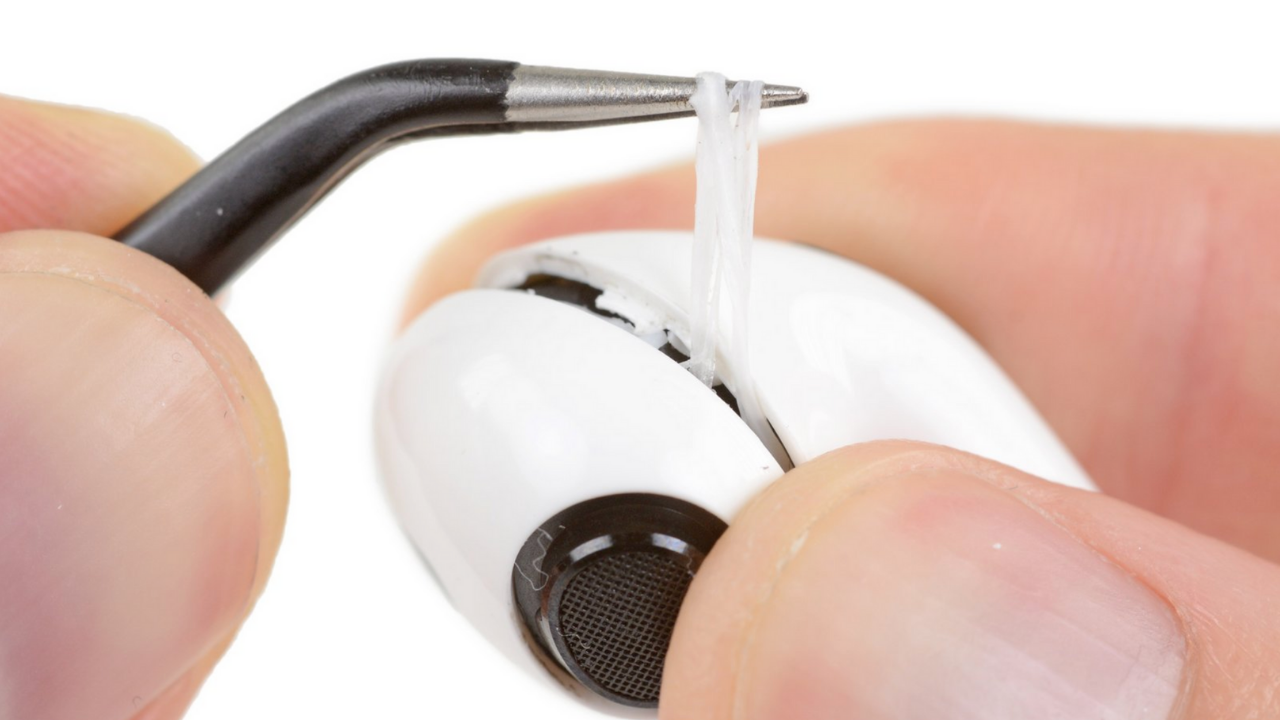
Step 4: Apply the Patch
Now that you’ve prepared the subwoofer, it’s time to apply the patch. The patch will cover the hole or tear in the cone, reinforcing it and restoring its structural integrity. Follow these steps to apply the patch:
- Cut the Patch: Using scissors, carefully cut the patch material to match the size and shape of the hole on the subwoofer cone. It’s important to cut the patch slightly larger than the hole to ensure full coverage and a secure bond.
- Apply Adhesive: If you are using an adhesive, apply a small amount directly to the damaged area on the subwoofer cone. Ensure even coverage over the entire hole, extending slightly beyond the edges.
- Place the Patch: Gently place the patch over the adhesive, aligning it with the hole. Press down firmly to create a strong bond between the patch and the cone. Smooth out any air bubbles or wrinkles to ensure a flush fit.
- Secure with Masking Tape: To hold the patch in place while the adhesive sets, use masking tape to secure the edges of the patch to the subwoofer cone. This will provide additional stability and prevent any movement that could compromise the repair.
- Follow Kit Instructions: If you are using a specific patch kit, refer to the instructions provided for any additional steps or recommendations. Some kits may require specific curing times or additional layers of adhesive for a stronger bond.
It’s important to be patient during this step. Follow the recommended drying or curing time provided by the adhesive or patch kit, allowing the bond to fully set and strengthen. Rushing the process may lead to a weaker repair or patch failure.
Remember, the goal is to create a sturdy and seamless fix that restores the functionality of your subwoofer, so take the time to apply the patch accurately and securely.
Step 5: Allow Proper Drying Time
After applying the patch and securing it in place, it’s crucial to allow sufficient drying time for the adhesive or patch material to fully cure. This ensures a strong and durable bond between the patch and the subwoofer cone. Here are some important points to consider:
- Refer to Instructions: Consult the instructions provided with the adhesive or patch kit for the recommended drying or curing time. Different products may have varying requirements, so it’s important to follow the specific guidelines for the materials you are using.
- Avoid Disturbing the Repair: During the drying period, avoid any activities or movements that could disrupt the patch. Vibrations or pressure on the subwoofer cone may compromise the bond and result in a weaker repair. Be patient and allow the adhesive to set undisturbed.
- Provide Adequate Ventilation: Ensure that the area where the subwoofer is drying has proper ventilation. Good airflow facilitates the drying process and prevents the accumulation of moisture, which could hinder the adhesive’s ability to cure properly.
- Optimal Temperature and Humidity: Pay attention to the recommended temperature and humidity levels specified by the adhesive or patch kit. Extreme temperatures or high humidity can affect the curing process. Aim for a moderate and stable environment for the best results.
- Exercise Patience: While it may be tempting to rush the drying time, it’s important to allow the recommended amount of time specified by the product. This ensures that the repair is fully set and optimizes the chances of a successful and long-lasting fix.
By allowing the proper drying time, you give the adhesive or patch material the opportunity to reach its maximum strength, ensuring a reliable repair that will stand the test of time.
Step 6: Test the Subwoofer
After the patch has fully dried and cured, it’s time to test your subwoofer to ensure that the repair has been successful. Here’s how you can test your subwoofer:
- Reconnect the Subwoofer: If you had disconnected your subwoofer during the repair process, now is the time to reconnect it to your sound system. Make sure all connections are secure and properly plugged in.
- Play Audio: Choose a piece of audio content that includes deep bass or low-frequency sounds to test your subwoofer. This can be a favorite song, a movie scene with powerful sound effects, or a dedicated subwoofer test track.
- Gradually Increase Volume: Start playing the audio at a low volume and gradually increase it. Listen carefully for any distortions, buzzing, or abnormal sounds coming from the subwoofer. These could indicate an issue with the repair or other underlying problems.
- Check Bass Performance: Pay attention to the quality and depth of the bass produced by the subwoofer. If the repaired area is affecting the overall sound quality, you may notice a difference in the bass output compared to before the repair.
- Perform Audio Tests: If available, you can perform specific audio tests designed to evaluate the performance of your subwoofer. These tests can help identify any potential issues or limitations that may have resulted from the repair.
If you are satisfied with the performance of your subwoofer and there are no noticeable issues or defects in the sound output, it indicates that the repair has been successful. However, if you encounter any problems during the testing process, it may be necessary to revisit the repair and make any necessary adjustments.
Remember, testing your subwoofer after the repair ensures that you can enjoy optimal audio performance and get the most out of your sound system.
Additional Tips and Precautions
While following the steps outlined above, keep in mind the following additional tips and precautions for a successful subwoofer repair:
- Double-check the Size: Ensure that the patch you use is not only the right material but also the appropriate size for the hole or tear in your subwoofer cone. A patch that is too small may not provide sufficient coverage and stability.
- Inspect Regularly: After the repair, periodically inspect your subwoofer to check for any signs of damage or loosening. This will allow you to address any issues promptly before they worsen.
- Avoid Overloading: Be mindful of not overwhelming your subwoofer with excessive bass or volume levels, as this can strain the newly repaired area or lead to further damage. Follow manufacturer recommendations for optimal usage.
- Consider Professional Help: If you are unsure about the repair process or if the damage is extensive, it’s recommended to seek assistance from a professional audio technician. They have the experience and expertise to handle complex repairs and ensure the best results.
- Keep Documentation: Make notes of the repair process, including the materials used, the steps followed, and any specific instructions. This documentation can be helpful for future reference or if you need to provide information to a professional for further repairs.
- Protective Measures: To prevent future damage, consider using a protective grill or cover for your subwoofer. This can help shield it from accidental bumps or tears, prolonging its lifespan.
By keeping these tips in mind and taking the necessary precautions, you can ensure a successful subwoofer repair and enjoy uninterrupted audio performance for years to come.
Conclusion
Fixing a hole in your subwoofer is a worthwhile endeavor that can save you from costly replacements and restore the optimal audio experience. By following the step-by-step process outlined in this article, you have learned how to assess the damage, gather the necessary materials, prepare the subwoofer, apply the patch, allow for proper drying time, and test the repaired subwoofer.
Remember to exercise patience throughout the repair process, allowing the adhesive or patch material to fully cure before testing the subwoofer. By following the recommended instructions and taking the necessary precautions, you can ensure a successful repair and enjoy enhanced sound quality once again.
If you encounter any challenges or if the damage is extensive, it is advisable to seek professional assistance. Professional audio technicians have the expertise and specialized tools to handle complex repairs and provide you with the best possible solutions.
With regular maintenance and care, your subwoofer will continue to deliver impressive bass and enrich your audio experience for years to come. Remember to inspect your subwoofer periodically and address any issues promptly to prevent further damage or loss of performance.
Repairing a hole in a subwoofer is a rewarding task that allows you to extend the lifespan of your equipment and enjoy high-quality sound reproduction. By acquiring the necessary materials, following the steps diligently, and applying the necessary precautions, you have now equipped yourself with the knowledge to successfully repair a hole in your subwoofer.
So, roll up your sleeves, get the tools you need, and embark on the journey of restoring your subwoofer to its full glory!