Home>Devices & Equipment>Music Box>How To Make Cylinder Music Box
Music Box
How To Make Cylinder Music Box
Modified: January 22, 2024
Learn how to make a beautiful cylinder music box at home with our easy step-by-step guide. Create your own melodies and enjoy the enchanting sound of a music box.
(Many of the links in this article redirect to a specific reviewed product. Your purchase of these products through affiliate links helps to generate commission for AudioLover.com, at no extra cost. Learn more)
Table of Contents
Introduction
Music boxes have a long and fascinating history, enchanting people of all ages with their beautiful melodies and intricate designs. While you can easily purchase a music box from a store, there’s something special about creating your own. In this article, we will guide you through the process of making a cylinder music box from scratch.
Making a cylinder music box is not only a fun and rewarding craft project, but it also allows you to customize your music box with your favorite tunes and personal touches. Whether you are a beginner or an experienced DIY enthusiast, this step-by-step guide will help you create a unique and beautiful music box that will be cherished for years to come.
Before we dive into the details, let’s talk about the basic materials you’ll need for this project. You can find most of these items at your local craft store or order them online:
Materials Needed:
- A cylinder music box mechanism
- A wooden or acrylic base
- A cylinder with pre-drilled holes
- A pinning mechanism
- Metal pins
- A music box key or winding mechanism
- A screwdriver
- Decorative elements (optional)
With these materials in hand, let’s embark on the journey of creating a one-of-a-kind cylinder music box. Get ready to unleash your creativity and enjoy the magical sounds of your homemade music box!
Materials Needed
Before you embark on creating your own cylinder music box, it’s essential to gather all the necessary materials. Here’s a breakdown of what you’ll need:
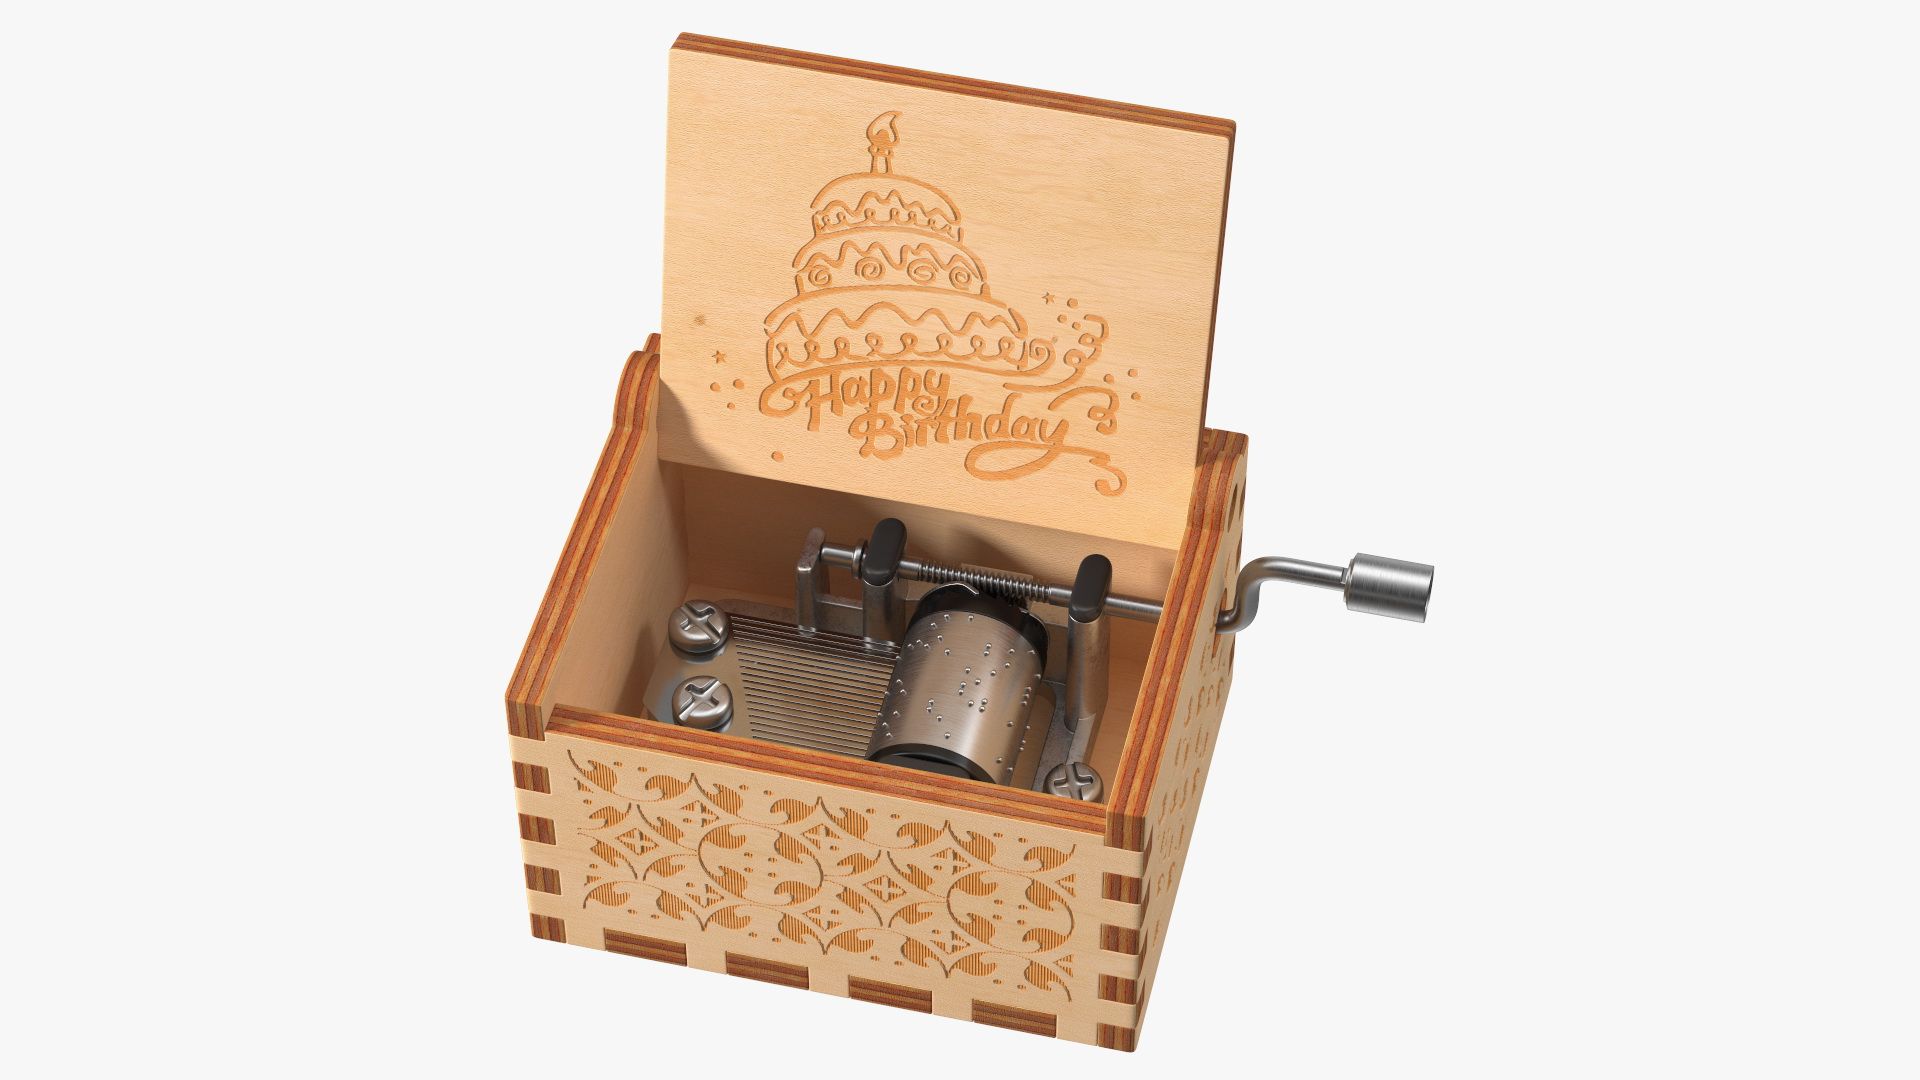
- A Cylinder Music Box Mechanism: The heart of your music box is the cylinder music box mechanism. This mechanism consists of a metal cylinder with pre-drilled holes, metal pins, and a rotating mechanism that creates the music when the pins are struck.
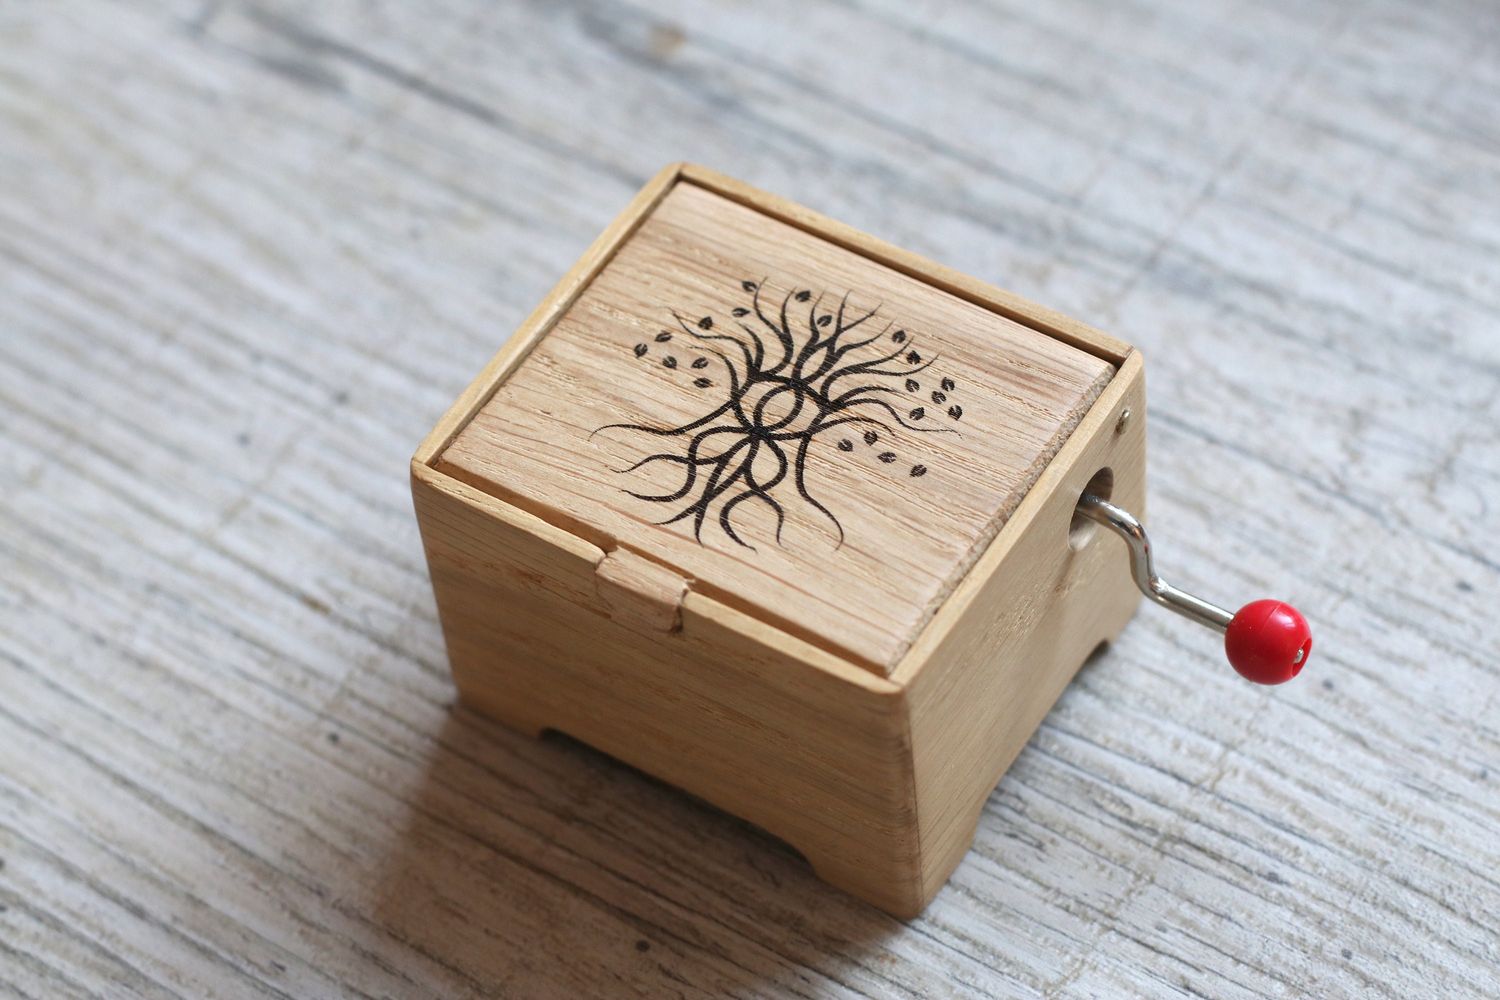
- A Wooden or Acrylic Base: The base provides stability and support for the music box. You can choose a wooden or acrylic base, depending on your preference and the aesthetic you want to achieve.
- A Cylinder with Pre-Drilled Holes: The cylinder holds the metal pins and determines the melody that your music box will play. Look for a cylinder with pre-drilled holes that corresponds to the song you want to play.
- A Pinning Mechanism: The pinning mechanism holds and positions the metal pins on the cylinder. It ensures that the pins align with the corresponding holes to produce the desired melody.
- Metal Pins: These small metal pins are placed on the pinning mechanism and strike the cylinder’s holes to create the music. Make sure to have enough pins to complete the melody of your chosen song.
- A Music Box Key or Winding Mechanism: The key or winding mechanism is used to initiate the music. It winds up the mechanism, allowing it to play the melody.
- A Screwdriver: A basic screwdriver will be needed for assembling the components of the music box.
- Decorative Elements (Optional): If you want to add a personal touch to your music box, consider incorporating decorative elements such as paint, stickers, or embellishments. This will help make your music box truly unique.
These materials are essential for creating a cylinder music box. Once you have everything on hand, you’ll be ready to move on to the next steps and start assembling your music box mechanism.
Step 1: Choosing the Cylinder
Choosing the right cylinder for your music box is crucial, as it determines the melody it will play. Here are some key factors to consider when selecting your cylinder:
- Song Selection: Think about the song you want your music box to play. Research and find a cylinder with pre-drilled holes that matches the melody of your desired song. Keep in mind that you can find cylinders with a wide range of songs available, from classical to popular tunes.
- Cylinder Size: Consider the size of the cylinder and how it will fit into your music box mechanism. Make sure the cylinder is compatible with the mechanism you have or plan to purchase. Measure the dimensions of the cylinder and compare them with the specifications of the music box mechanism.
- Cylinder Material: Cylinders can be made from various materials, such as metal or plastic. Consider the durability and quality of the material when making your choice. Metal cylinders are typically more durable but might be more expensive.
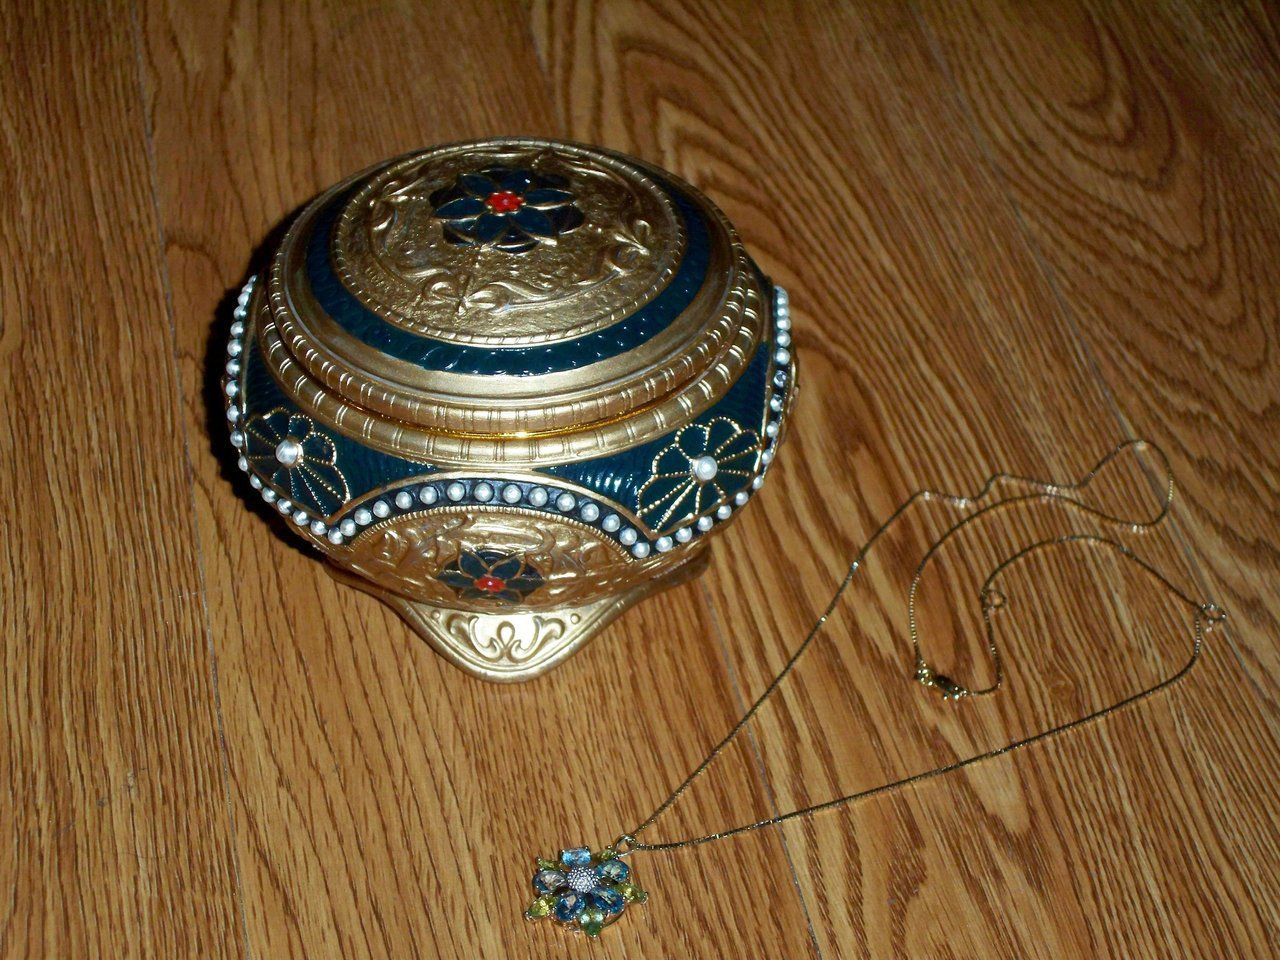
- Aesthetic Appeal: Take into account the visual appearance of the cylinder. Some cylinders come with decorative engravings or patterns that can add an extra touch of beauty to your music box.
Once you have chosen the perfect cylinder for your music box, you are ready to move on to the next step of the process. Make sure you handle the cylinder with care to avoid any damage. It’s also a good idea to double-check the compatibility of the cylinder with the other components of your music box before proceeding.
Now that you have your desired cylinder, you can move on to preparing the base for your music box in the next step.
Step 2: Preparing the Base
Before assembling the music box mechanism, you need to prepare the base that will hold all the components securely. Follow these steps to prepare the base:
- Select the Base Material: Choose a wooden or acrylic base for your music box. Consider the size and shape you want for your finished music box, as well as the aesthetic appeal of the material.
- Measure and Cut: Measure the dimensions of the music box mechanism and mark the corresponding measurements on the base material. Use a saw or a suitable cutting tool to carefully cut the base material to size.
- Smooth the Edges: Use sandpaper or a file to smooth out the rough edges of the base. This will give it a polished and professional look, and prevent any splinters or sharp edges.
- Drill Holes (If Required): Depending on the design of your music box mechanism, you may need to drill holes in the base to accommodate the screws or mounting points. Ensure that the holes are aligned properly to ensure stability.
- Apply a Finish (Optional): If desired, you can apply a finish to the base to enhance its appearance and protect the material. Choose a finish that suits your preference and the overall style of your music box.
Take your time and work carefully while preparing the base. Accurate measurements and smooth edges are essential for a well-crafted music box. Once the base is ready, you can move on to the next step of creating the cylinder pins, which are responsible for producing the beautiful melodies of your music box.
Keep in mind that the specific steps may vary depending on the design and materials you choose for your music box. Adapt the process accordingly to ensure the best outcome for your project.
Step 3: Creating the Cylinder Pins
The cylinder pins play a crucial role in producing the desired melody of your music box. In this step, we will guide you through the process of creating the cylinder pins:
- Gather the Materials: To create the cylinder pins, you will need small metal pins that fit the pre-drilled holes on your cylinder. These pins can typically be found in craft stores or online.
- Measure and Cut the Pins: Depending on the length of the pre-drilled holes on your cylinder, measure and cut the metal pins to the appropriate length. Use a pair of wire cutters or a similar tool to achieve clean and precise cuts.
- File the Cut Ends: After cutting the pins, use a file or sandpaper to smooth out any rough edges on the cut ends. This will ensure that the pins fit neatly into the pinning mechanism without any obstructions.
- Test the Fit: Place the trimmed pins into the corresponding pre-drilled holes on the cylinder. Ensure that they fit snugly and don’t protrude too far above the surface of the cylinder. Make any necessary adjustments by trimming the pins further as needed.
- Quantity: Ensure that you have enough pins to cover all the pre-drilled holes on the cylinder. The number of pins required will vary depending on the length of the melody and the complexity of the musical arrangement.
Creating the cylinder pins is a delicate process that requires precision and attention to detail. Take your time to ensure that the pins are cut to the correct length and properly filed to prevent any interference with the pinning mechanism.
Once you have completed this step, you are now ready to move on to the next exciting part of the process: assembling the music box mechanism. This is where all the components come together to create beautiful melodies.
Step 4: Assembling the Music Box Mechanism
Assembling the music box mechanism is an exciting part of the process, as you bring all the components together to create the magic of your music box. Follow these steps to assemble the mechanism:
- Prepare the Music Box Mechanism: Take your music box mechanism and ensure that it is clean and free from any dust or debris. This will ensure smooth operation and prevent any interference in the sound quality.
- Attach the Pinning Mechanism: Locate the pinning mechanism in your music box kit or assembly. It typically consists of a metal plate with holes that align with the pre-drilled holes on the cylinder. Attach the pinning mechanism securely to the designated area on the base of the music box.
- Insert the Cylinder: Carefully place the cylinder onto the pinning mechanism, aligning the holes on the cylinder with the pins on the pinning mechanism. Ensure that the cylinder is securely fastened and doesn’t wobble or move excessively.
- Test the Movement: Gently rotate the cylinder with your hand or use the music box key or winding mechanism, if included. Observe the movement of the pins as they engage with the pinning mechanism. Ensure that the pins strike the correct spots on the pinning mechanism, producing the desired melodies.
- Adjustments: If necessary, make any adjustments to the positioning of the cylinder or the pins. This may involve readjusting the pins, realigning the cylinder, or securing any loose components of the mechanism.
As you assemble the music box mechanism, be mindful of the delicate nature of the components. Take care not to force any parts together or bend the pins excessively. Gently handle the mechanism to prevent damage or misalignment.
With the music box mechanism fully assembled and functioning properly, you are ready to move on to the next step: attaching the cylinder and pinning mechanism to the base of your music box!
Step 5: Attaching the Cylinder and Pinning Mechanism to the Base
Now that you have successfully assembled the music box mechanism, it’s time to attach the cylinder and pinning mechanism to the base of your music box. Follow these steps to securely fasten the components:
- Position the Pinning Mechanism: Place the pinning mechanism in the designated area on the base of the music box. Ensure that it is aligned properly and centered on the base.
- Secure the Pinning Mechanism: Use screws or adhesive to securely fasten the pinning mechanism to the base. Take care not to over tighten the screws, as this may cause damage to the base or pinning mechanism.
- Align the Cylinder: Carefully position the cylinder on top of the pinning mechanism. Make sure that the holes on the cylinder align perfectly with the pins on the pinning mechanism. The cylinder should fit snugly and sit level on the mechanism.
- Screw or Clamp the Cylinder: Depending on the design of your music box, use screws or clamps to secure the cylinder to the pinning mechanism and base. Ensure that the screws are tightened enough to hold the cylinder in place without causing any damage.
- Test the Functionality: Gently rotate the cylinder with your hand or use the winding mechanism to test the functionality of the music box. Listen for the desired melodies and observe the movement of the pins as they strike the pinning mechanism.
- Make Adjustments: If necessary, make any final adjustments to the positioning of the cylinder or the pinning mechanism. This may involve slightly loosening or tightening screws or repositioning the pins to ensure smooth operation.
Take your time during this step to ensure that the cylinder and pinning mechanism are securely attached to the base. Double-check the alignment and functionality of the music box before proceeding to ensure optimal performance.
Now that the cylinder and pinning mechanism are successfully attached, it’s time to move on to the next step: testing the music box to hear the beautiful melodies it produces!
Step 6: Testing the Music Box
After all the hard work you’ve put into creating your own music box, it’s finally time to test it and listen to the enchanting melodies it produces. Follow these steps to test your music box:
- Prepare the Music Box: Ensure that the music box is placed on a flat and stable surface. Make sure all the components are securely attached and there are no loose parts.
- Winding the Mechanism: If your music box includes a winding mechanism, use the music box key to wind it up. Turn the key clockwise until you feel some resistance. Be careful not to overwind, as it may damage the mechanism.
- Rotating the Cylinder: Gently rotate the cylinder using your hand or the winding mechanism, depending on the design of your music box. Observe the movement of the pins as they strike the pinning mechanism.
- Listen to the Melody: Enjoy the beautiful melodies produced by your music box. Listen carefully to the notes and rhythms as the pins engage with the pinning mechanism. Immerse yourself in the magical sound of your homemade music box.
- Make Adjustments: If you notice any issues with the melody, such as incorrect notes or timing, you may need to make some minor adjustments. This could involve adjusting the position of the pins, realigning the cylinder, or fine-tuning the pinning mechanism.
Testing the music box allows you to fully experience the fruits of your labor and make any necessary adjustments for optimal performance. Take the time to savor the melodies and appreciate the craftsmanship involved in creating your own music box.
Once you are satisfied with the results of the test, you can move on to the final step: decorating your music box to add a personal touch and make it even more visually appealing.
Step 7: Decorating the Music Box
Now that your music box is complete and fully functioning, it’s time to add the final touches and give it a personalized aesthetic. Follow these steps to decorate your music box:
- Select a Theme: Determine the overall theme or style you want for your music box. Consider your personal preferences, the intended recipient, or the room where the music box will be displayed.
- Paint or Stain: If you are using a wooden base, you may choose to paint or stain it to enhance its appearance. Select colors that complement your theme and apply them evenly using a brush or sponge. Allow the paint or stain to dry completely before proceeding.
- Add Decorative Elements: Get creative by adding decorative elements to your music box. You can use stickers, decals, rhinestones, or other embellishments that adhere to your chosen theme. Arrange them in a pleasing manner and ensure they won’t interfere with the movement or operation of the music box.
- Customize the Cylinder: If the material of your cylinder allows, you can consider engraving or etching designs onto its surface. This adds a unique touch and can serve as a focal point for your music box.
- Apply a Protective Finish: Once you’re satisfied with the decoration, consider applying a protective finish to your music box. This will help preserve the colors, prevent any scratches, and add a glossy or matte look, depending on your preference. Follow the instructions on the finish product and allow it to dry fully.
The decoration process allows you to express your creativity and make your music box truly unique. Choose decorations that bring joy and reflect your personal style. Take your time during this step to ensure the decorations are applied neatly and enhance the overall appearance of the music box.
With the decoration complete, your music box is now a beautiful and personalized work of art. Enjoy the harmonious melodies it produces and proudly display it in your home or gift it to a loved one.
Congratulations on creating your very own custom music box! The time, effort, and care you put into this project are surely reflected in the final result. Now, sit back, relax, and let the music box fill your surroundings with its enchanting melodies.
Conclusion
Congratulations on successfully creating your very own cylinder music box! Through the process of selecting materials, assembling the mechanism, and adding personal touches, you have crafted a unique and beautiful musical treasure.
Building a cylinder music box allows you to unleash your creativity and create a personalized piece that reflects your taste and style. Whether you made it as a gift for someone special or as a way to express your own creativity, your music box will surely bring joy and delight to all who hear its melodies.
Remember, the journey of making a music box doesn’t end here. You can continue to experiment and explore different melodies by sourcing new cylinders or making adjustments to existing ones. Let your imagination run wild as you create a collection of music boxes with various tunes and designs.
Additionally, consider sharing your knowledge and experience with others who may be interested in the art of music box crafting. Inspire and guide fellow DIY enthusiasts to embark on their own musical journeys and create their own cherished music boxes.
Lastly, don’t forget to take a moment to appreciate the craftsmanship and the magic that comes from each turn of the cylinder. Let the melodies transport you to a world of nostalgia and wonder, capturing the essence of music’s timeless beauty.
Thank you for joining us on this exciting journey to create a cylinder music box. We hope this step-by-step guide has equipped you with the necessary knowledge and inspiration to embark on your own music box crafting adventures. Now, let the music play and enjoy the enchanting melodies of your very own handmade music box!