Home>Devices & Equipment>Subwoofer>How To Repair A Subwoofer

Subwoofer
How To Repair A Subwoofer
Modified: February 18, 2024
Discover the step-by-step process to effectively repair your subwoofer and restore its powerful bass. Trust our expert tips and tricks to get your subwoofer working like new again.
(Many of the links in this article redirect to a specific reviewed product. Your purchase of these products through affiliate links helps to generate commission for AudioLover.com, at no extra cost. Learn more)
Table of Contents
- Introduction
- Step 1: Identify the Issue
- Step 2: Gather Necessary Tools
- Step 3: Disconnect the Subwoofer
- Step 4: Check for Loose Connections
- Step 5: Inspect the Speaker Cone
- Step 6: Replace Blown Fuse
- Step 7: Test the Subwoofer
- Step 8: Reconnect the Subwoofer
- Step 9: Fine-tune the Subwoofer Settings
- Conclusion
Introduction
Welcome to the world of subwoofers, where deep bass and immersive audio experiences come to life. Whether you’re a music enthusiast or a movie buff, a well-functioning subwoofer is essential for a truly captivating audio setup. However, like any electronic device, subwoofers can encounter issues that hinder their performance.
In this article, we will guide you through the process of repairing a subwoofer. From identifying the problem to troubleshooting and fixing common issues, you’ll be equipped with the knowledge to restore your subwoofer’s functionality.
Before we dive into the repair process, it’s important to note that some issues may require professional assistance. If you’re not comfortable working with electronics or if you suspect a major problem, it’s always best to consult a qualified technician. However, for minor issues and general maintenance, following these steps can often resolve the problem.
So, grab your tools and let’s get started on bringing your subwoofer back to life!
Step 1: Identify the Issue
The first step in repairing your subwoofer is to identify the specific issue you’re facing. Subwoofers can encounter various problems, and understanding the root cause will help you choose the right solution.
Here are some common issues that subwoofers may experience:
- No sound or low sound output
- Distorted or crackling sound
- Intermittent sound
- Power or connectivity issues
If you’re experiencing a complete lack of sound, ensure that the volume settings on your audio source and amplifier are properly adjusted. It’s also important to check if the subwoofer is not on mute or in standby mode.
If the subwoofer is producing distorted or crackling sound, it may be caused by issues such as loose connections, damaged speaker cones, or a blown fuse. We will cover these troubleshooting steps in the following sections.
Intermittent sound can be frustrating, as the subwoofer may work intermittently or cut out at random intervals. This issue can be caused by loose connections or a faulty power supply. Ensuring that all connections are secure and checking the power source will help eliminate these possibilities.
Lastly, power or connectivity issues may arise when the subwoofer fails to turn on, doesn’t receive any power, or shows no connection to the audio system. This could indicate problems with the power cord, the power outlet, or faulty cables.
By accurately identifying the issue, you’ll have a clearer understanding of what needs to be fixed. So, take some time to observe your subwoofer’s behavior and narrow down the problem before moving on to the next step.
Step 2: Gather Necessary Tools
Before diving into the repair process, it’s crucial to gather the necessary tools to ensure a smooth and efficient troubleshooting experience. Here are some essential tools you’ll need:
- Screwdriver set: To open the subwoofer enclosure and access the internal components, you’ll need a set of screwdrivers with various sized heads. Make sure to have both Phillips and flathead screwdrivers on hand.
- Multimeter: A multimeter is a versatile tool that allows you to measure voltage, resistance, and continuity. It can help you diagnose electrical issues by testing the connection of wires, fuses, and components.
- Wire cutters/strippers: These tools are handy for cutting and stripping wires when necessary. They can be used to repair or replace damaged cables or connectors.
- Soldering iron and solder: If you encounter faulty solder joints or need to replace components, a soldering iron and solder will be necessary to make the repairs.
- Fuse tester/replacement fuses: In the case of a blown fuse, having a fuse tester will help you determine if the fuse is the issue. Replacement fuses should also be on hand in case a fuse needs to be exchanged.
- Contact cleaner: Contact cleaner is a useful tool for cleaning dirty or corroded electrical contacts. It can help restore proper conductivity and eliminate static or crackling sounds.
- Replacement parts: Depending on the specific issue you’re facing, you may need to have replacement parts on hand. This could include speaker cones, fuse holders, or connectors.
By having these tools readily available, you’ll be equipped to handle a wide range of possible repairs. It’s always better to be prepared and have everything you need within reach before starting the repair process.
Step 3: Disconnect the Subwoofer
Before attempting any repairs or troubleshooting, it’s important to disconnect the subwoofer from the power source and audio system. This step ensures your safety and prevents any accidental damage during the repair process.
To disconnect the subwoofer, follow these steps:
- Turn off the subwoofer’s power switch, if available. If there isn’t a power switch, unplug the subwoofer from the power outlet.
- Disconnect any audio cables connected to the subwoofer. This includes the audio cable from the audio source (such as a receiver or amplifier) and any additional speakers or devices connected to the subwoofer.
- If your subwoofer has a removable power cord, unplug it from the back of the subwoofer. If the power cord is built-in, leave it as is.
By disconnecting the subwoofer, you ensure that there is no power flowing to the unit, reducing the risk of electric shock. It also prevents any accidental damage to the subwoofer or other devices in your audio system.
Remember to exercise caution when handling the subwoofer during this process. Lift and move the subwoofer carefully to avoid dropping it or causing any physical damage.
With the subwoofer safely disconnected, you’re now ready to start troubleshooting and repairing the issue at hand. Let’s move on to the next step!
Step 4: Check for Loose Connections
Loose connections can often be the cause of subwoofer issues such as no sound, intermittent sound, or distortion. Therefore, it’s important to check all the connections inside the subwoofer to ensure they are secure.
Follow these steps to check for loose connections:
- Using the appropriate screwdriver, carefully remove the screws that secure the subwoofer enclosure. Set the screws aside in a safe place.
- Gently remove the subwoofer enclosure and expose the internal components.
- Inspect the wiring connections, making sure they are firmly connected. Pay attention to the connections between the amplifier and the subwoofer driver, as well as any other internal wiring connections.
- If you notice any loose connections, carefully reattach them. Ensure that the wires are properly inserted into the corresponding terminals or connectors. Tighten any screw terminals using the appropriate tool.
- While checking for loose connections, also examine the condition of the wires. Look for any frayed or damaged wires that may impede the proper flow of electrical signals. If you spot any damaged wires, you may need to replace them.
Once you have checked and secured all the connections inside the subwoofer, reassemble the enclosure by carefully placing it back onto the subwoofer housing and securing it with the screws.
Now that you’ve addressed any loose connections, it’s time to move on to the next troubleshooting step. Let’s find out what’s going on with the speaker cone!
Step 5: Inspect the Speaker Cone
The speaker cone is a critical component of a subwoofer, responsible for producing the low-frequency sound that gives your audio system its deep and powerful bass. If the speaker cone is damaged or misaligned, it can result in poor sound quality or even a complete lack of sound. Therefore, it’s essential to inspect the speaker cone for any issues.
Follow these steps to inspect the speaker cone:
- Remove the subwoofer enclosure by unscrewing the screws that secure the enclosure.
- Inspect the speaker cone visually. Look for any signs of damage such as tears, punctures, or sagging. These issues can significantly impact the performance of the subwoofer.
- Gently press on the speaker cone, checking for any unusual resistance. A properly functioning cone should move freely without any sticking or stiffness.
- Check the alignment of the speaker cone. It should be centered and aligned with the rest of the subwoofer components. A cone that is off-center or misaligned can cause audio distortion.
- If you notice any damage to the speaker cone, it may need to be repaired or replaced. Small tears can sometimes be repaired using speaker repair kits or adhesive patches. However, if the damage is severe or the cone is significantly misaligned, it’s best to replace the entire speaker driver.
After inspecting the speaker cone and addressing any necessary repairs or replacements, reassemble the subwoofer enclosure by carefully placing it back onto the subwoofer housing and securing it with the screws.
With the speaker cone inspected and any necessary repairs carried out, we can now move on to addressing potential electrical issues. Let’s check the fuse!
Step 6: Replace Blown Fuse
A blown fuse can be a common cause of subwoofer issues, including the subwoofer not powering on or producing any sound. The fuse acts as a safety mechanism, protecting the electronic components from power surges or short circuits. When a fuse blows, it indicates a problem within the circuit.
To replace a blown fuse in your subwoofer, follow these steps:
- Refer to your subwoofer’s manual or specifications to determine the correct fuse rating and type.
- Disconnect the subwoofer from the power source and open the subwoofer enclosure.
- Locate the fuse on the subwoofer’s circuit board or power supply board. It is a small, cylindrical component marked with the fuse rating.
- Using a pair of needle-nose pliers or fuse puller, carefully remove the blown fuse from its socket.
- Insert a replacement fuse of the same rating into the socket. Ensure it is securely seated.
- Close the subwoofer enclosure and connect it back to the power source.
It’s important to use the correct fuse rating to ensure the subwoofer’s safe operation. Using a fuse with a higher rating than recommended can lead to further damage to the subwoofer or even pose a fire hazard. If the fuse blows again after replacement, it may indicate an underlying issue that requires professional attention.
Once you have replaced the blown fuse, turn on the subwoofer and test its functionality. If the subwoofer powers on and produces sound, you have successfully resolved the issue. However, if the problem persists, it’s time to move on to the next troubleshooting step.
Now that we’ve addressed the electrical aspect, let’s proceed to the testing phase in Step 7.
Step 7: Test the Subwoofer
After completing the necessary repairs and replacements, it’s time to test the subwoofer to ensure that the issues have been resolved. Testing the subwoofer will help you determine if the repairs were successful and if the subwoofer is functioning as intended.
Follow these steps to test the subwoofer:
- Reconnect the subwoofer to the power source and the audio system.
- Turn on the subwoofer and any connected audio sources, such as a receiver or amplifier.
- Play audio content that is known to have substantial bass, such as a bass-heavy song or a movie scene with impactful low-frequency sounds.
- Listen for any distortions, crackling sounds, or abnormalities in the audio output. Pay attention to the clarity and depth of the bass.
- Adjust the subwoofer’s volume and crossover settings as required to achieve the desired level of bass integration with your audio system.
- If the subwoofer is producing clear and powerful bass without any issues or distortions, congratulations! Your repairs and troubleshooting have been successful.
- If you still encounter problems with the subwoofer’s performance, refer back to the previous repair steps or consider seeking professional assistance if the issue persists.
It’s important to be patient and meticulous during the testing process. Take the time to fine-tune the subwoofer settings to match your preferences and the acoustic properties of your listening environment.
Once you are satisfied with the performance of the subwoofer and there are no further issues, you can proceed to reconnecting the subwoofer and enjoying the immersive audio experience it provides.
Now that you’ve successfully tested the subwoofer, let’s move on to the final steps of reconnecting and fine-tuning the subwoofer settings in Step 8 and Step 9, respectively.
Step 8: Reconnect the Subwoofer
After testing the subwoofer and ensuring that it is functioning properly, it’s time to reconnect it to your audio system. Properly reconnecting the subwoofer will ensure seamless integration and allow you to enjoy the enhanced bass and immersive audio experience it provides.
Follow these steps to reconnect the subwoofer:
- Locate the audio output on your audio source, such as a receiver or amplifier.
- Using an audio cable, connect one end to the subwoofer’s input labeled “Subwoofer” or “LFE” (Low-Frequency Effects).
- Connect the other end of the audio cable to the corresponding audio output on your audio source.
- If your subwoofer has speaker-level inputs and outputs, you can also connect it to your amplifier or receiver using speaker wire. This method allows the subwoofer to receive the same audio signals as your main speakers.
- Ensure that all connections are secure by firmly attaching the cables or connecting the terminals.
- Power on the subwoofer and your audio system, and adjust the subwoofer’s volume as desired.
- Play audio content that includes substantial bass to confirm that the subwoofer is accurately reproducing low-frequency sounds.
Properly reconnecting the subwoofer will ensure that it receives the correct audio signals and can seamlessly blend with your existing audio system. It’s important to double-check the connections to avoid any loose or faulty connections that may impact the performance of the subwoofer.
With the subwoofer successfully reconnected, you’re almost ready to experience the full potential of your audio system. The final step involves fine-tuning the subwoofer settings to achieve an optimal audio balance, which we’ll cover in the next section.
Step 9: Fine-tune the Subwoofer Settings
Now that you have successfully reconnected the subwoofer, it’s time to fine-tune its settings to achieve the desired audio balance and integration with your existing audio system. Fine-tuning the subwoofer settings will allow you to optimize its performance and ensure the bass response is tailored to your preferences and listening environment.
Follow these steps to fine-tune the subwoofer settings:
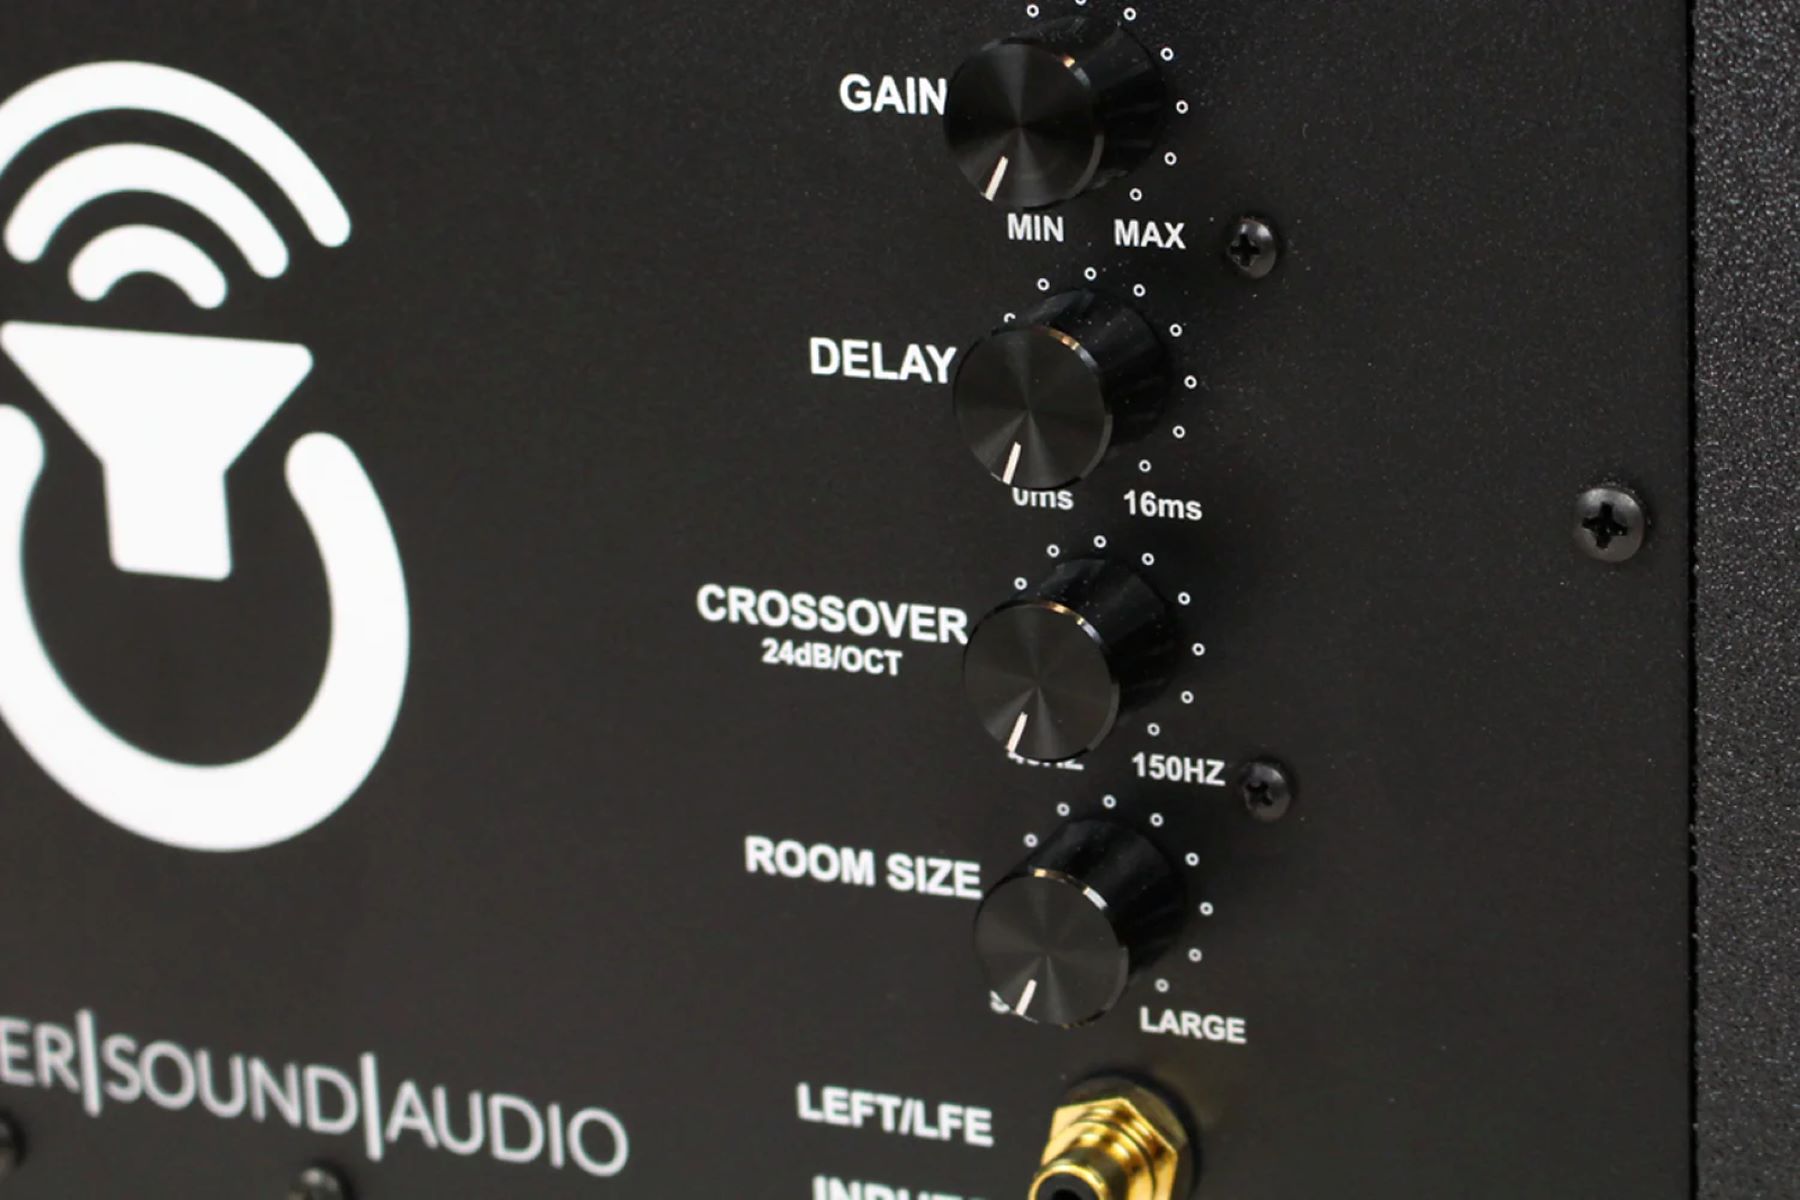
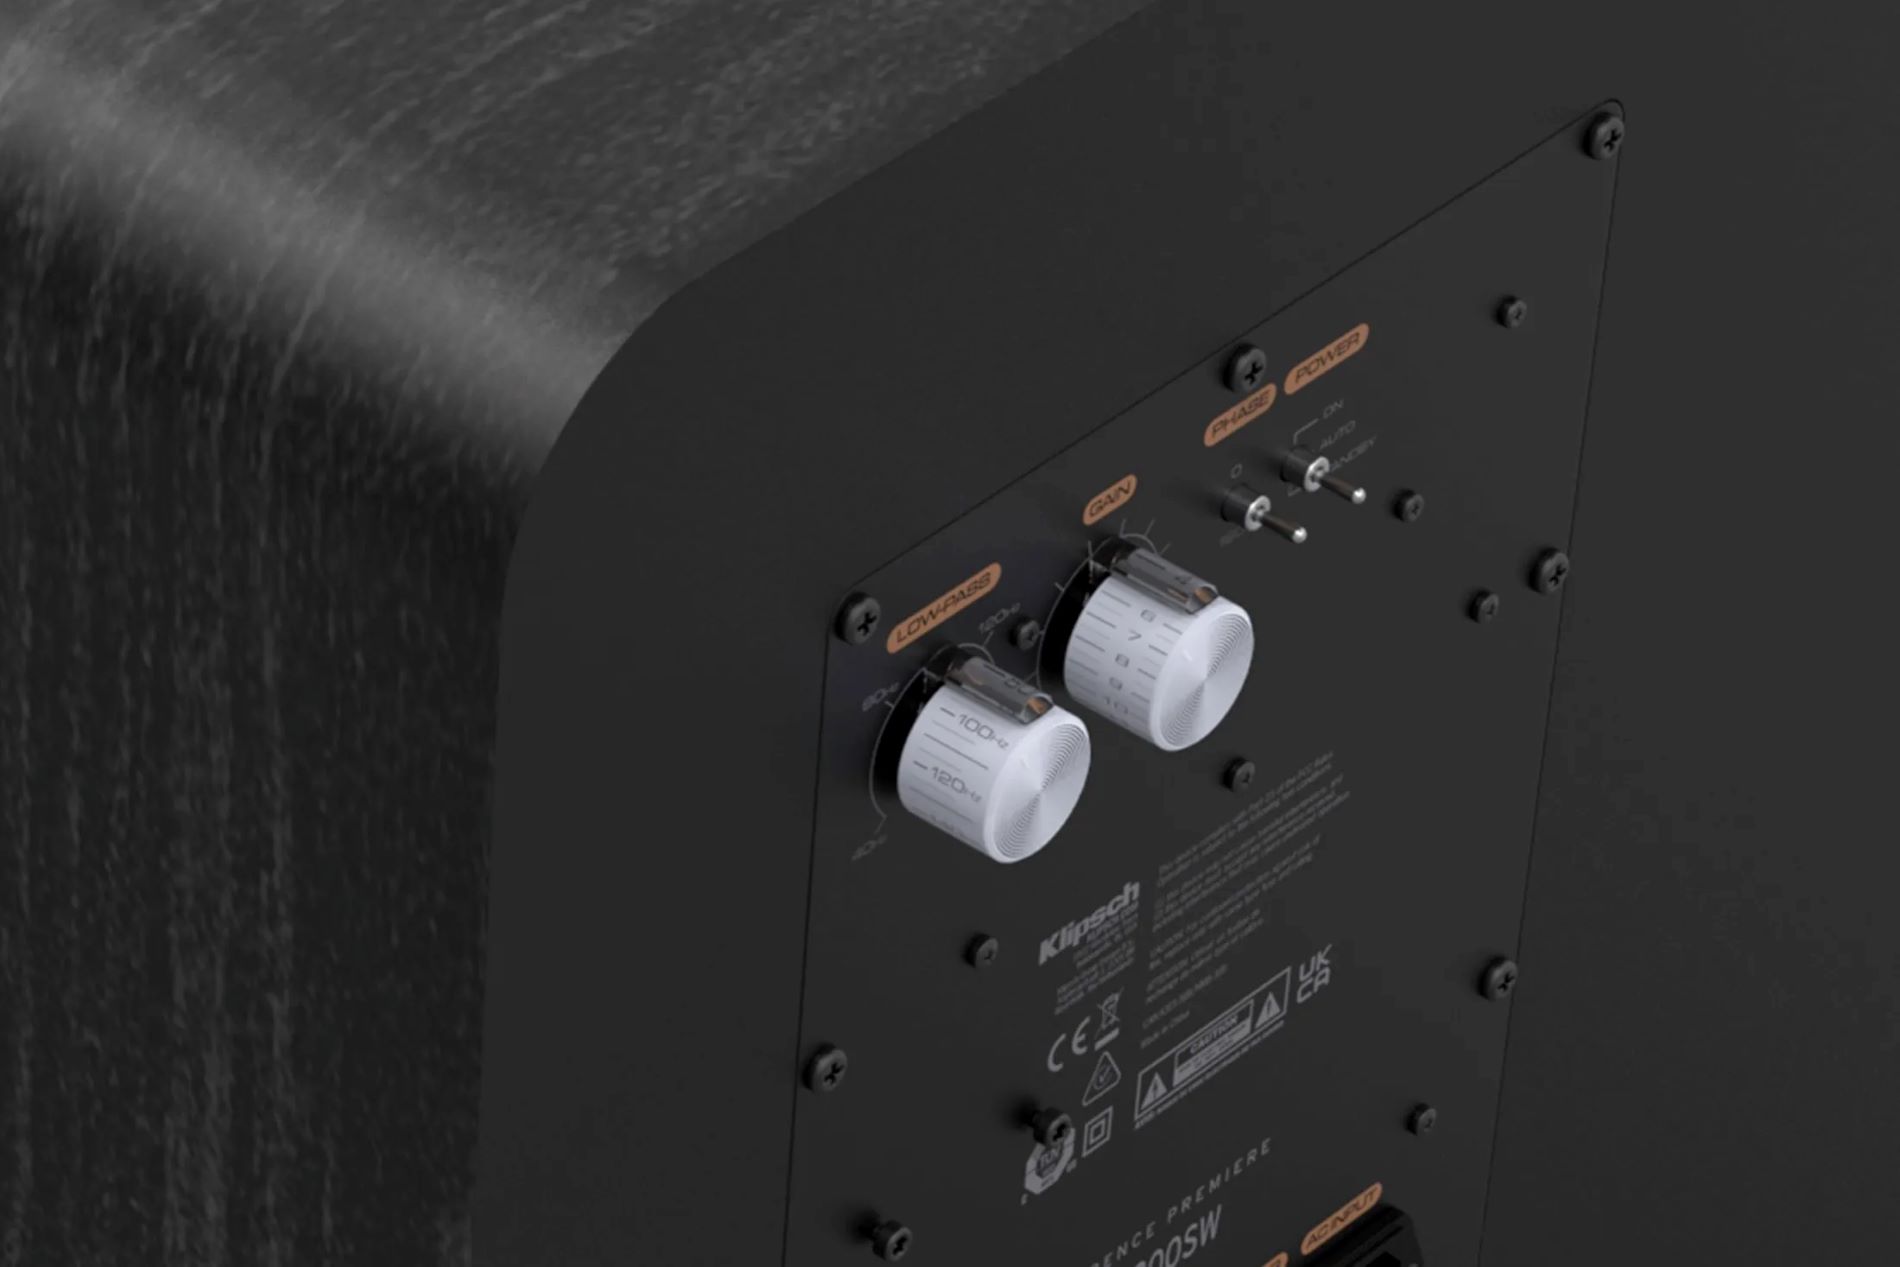
- Refer to your subwoofer’s manual for specific instructions on accessing the settings and controls. Typically, subwoofers have controls for volume, crossover frequency, phase, and sometimes equalization.
- Start by adjusting the volume control of the subwoofer. Gradually increase the volume until you achieve the desired level of bass without overpowering the rest of the audio system.
- Next, adjust the crossover frequency control. This setting determines the point at which the subwoofer starts reproducing the lower frequencies. Ideally, the crossover frequency should be set to complement the capabilities of your main speakers, ensuring a smooth transition between the subwoofer and the main speakers.
- Experiment with the phase control. The phase setting can help optimize the timing alignment between the subwoofer and the main speakers, resulting in a more cohesive and accurate soundstage. Try different phase settings and choose the one that provides the most seamless integration.
- If your subwoofer has additional controls such as equalization, adjust them according to your preferences and the acoustic characteristics of your listening room. These controls can help compensate for room resonances and improve the overall sound quality.
- Take the time to listen to various audio content, including music, movies, and other media that showcase a wide range of bass frequencies. Make subtle adjustments to the subwoofer settings to achieve the best balance and impact according to your taste.
Remember that the optimal subwoofer settings can vary depending on personal preferences, room acoustics, and the capabilities of your main speakers. It may take some trial and error to find the ideal settings that suit your listening environment and audio preferences.
Once you have fine-tuned the subwoofer settings to your satisfaction, sit back, relax, and enjoy the enhanced audio experience that your well-functioning and precisely adjusted subwoofer now provides.
Congratulations! By following these steps, you have successfully repaired and optimized your subwoofer. Now you can immerse yourself in the deep bass and dynamic sound that will elevate your audio enjoyment!
Conclusion
Repairing a subwoofer can seem like a daunting task, but with the right knowledge and guidance, it’s a rewarding process that can save you money and restore the performance of your audio system. By following the step-by-step instructions outlined in this article, you have learned how to identify issues, gather the necessary tools, and troubleshoot common subwoofer problems.
Remember, it’s crucial to approach subwoofer repair with caution and safety in mind. If you encounter any issues that you’re unsure how to handle or if the problem persists after troubleshooting, it’s always best to seek professional assistance.
By inspecting for loose connections, assessing the condition of the speaker cone, replacing blown fuses, and testing the subwoofer’s functionality, you have taken the necessary steps to restore your subwoofer’s performance. Additionally, fine-tuning the subwoofer settings allows you to achieve the optimal bass response that suits your preferences and listening environment.
Now that your subwoofer is repaired and fine-tuned, you can fully enjoy the immersive experience of deep, powerful bass in your music, movies, and entertainment. It’s time to sit back, relax, and let the captivating audio transport you into the world of rich, enveloping sound.
Remember to share your newfound knowledge with fellow audio enthusiasts and help them with their subwoofer-related issues. With your expertise, you can make a positive impact in the audio community.
Thank you for joining us on this subwoofer repair journey. We hope this guide has been helpful and that your subwoofer now delivers exceptional performance for years to come. Happy listening!