Home>Devices & Equipment>Music Box>How To Transfer Songs From Music Box To Computer
Music Box
How To Transfer Songs From Music Box To Computer
Published: January 11, 2024
Learn how to easily transfer songs from your Music Box to your computer and enjoy your favorite tunes anytime, anywhere. Discover step-by-step instructions for a seamless transfer process.
(Many of the links in this article redirect to a specific reviewed product. Your purchase of these products through affiliate links helps to generate commission for AudioLover.com, at no extra cost. Learn more)
Table of Contents
Introduction
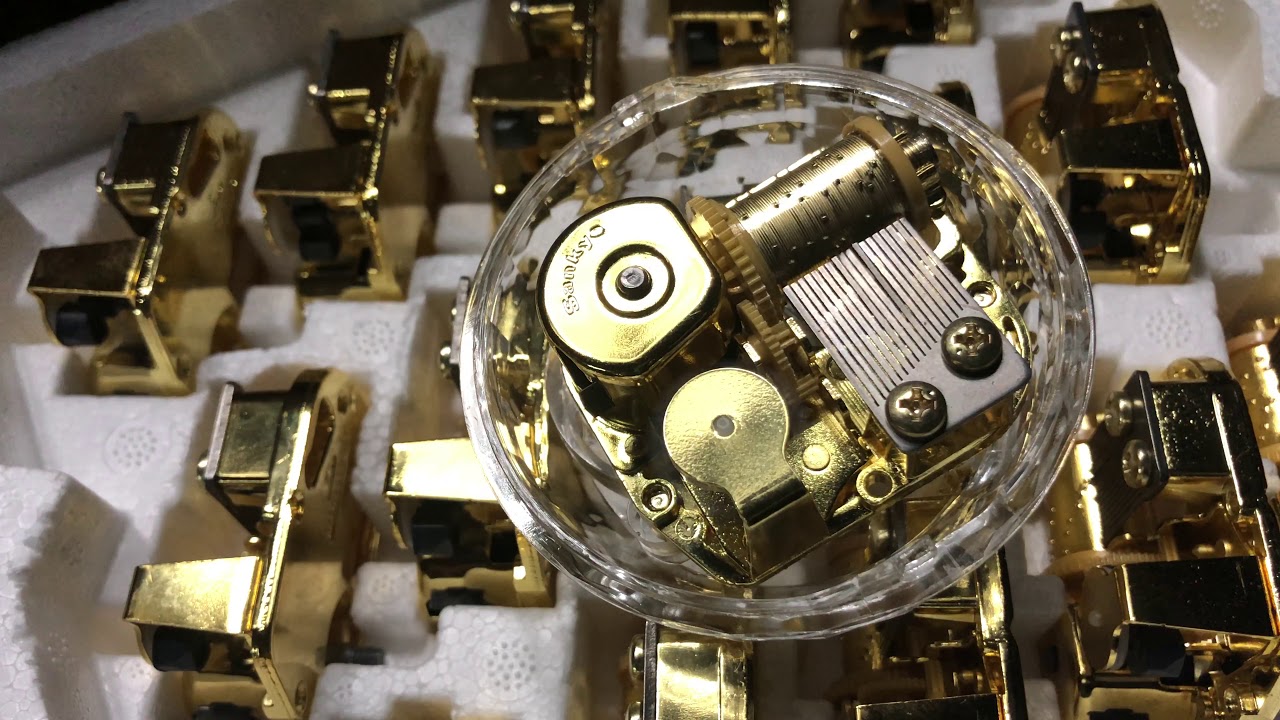
Music boxes have been enchanting people for centuries with their beautiful melodies and intricately designed boxes. These charming instruments have evolved over time, and modern music boxes often come equipped with digital capabilities to store and play a wide variety of songs. While it’s delightful to listen to the melodies directly from the music box, there may come a time when you want to transfer these songs to your computer for various reasons. Whether you want to create a backup of your music or simply want to share your favorite tunes with friends, knowing how to transfer songs from a music box to a computer can be quite handy.
In this article, we will guide you through the process of transferring songs from a music box to your computer, step by step. Before we begin, it’s essential to note that the steps may vary depending on the type of music box and its digital capabilities. However, the basic procedure remains similar for most modern music boxes.
So, if you’re ready to embark on this musical journey, let’s dive into the world of music boxes and learn how to transfer songs to your computer!
Step 1: Connecting the Music Box to the Computer
Before you can transfer songs from your music box to your computer, you need to establish a connection between the two devices. The method of connection may vary depending on the type of music box you have. Here are a few common ways to connect a music box to a computer:
- USB Cable: Some modern music boxes come with a USB port that allows for direct connection to a computer. Simply plug one end of the USB cable into the music box and the other end into an available USB port on your computer.
- Bluetooth: If your music box supports Bluetooth connectivity, you can pair it with your computer. Make sure your computer’s Bluetooth is turned on and search for available devices. Select your music box from the list and follow the on-screen instructions to pair the devices.
- Auxiliary Cable: If your music box has an auxiliary output (such as a headphone jack), you can connect it to your computer using an auxiliary cable. Plug one end of the cable into the music box’s auxiliary output and the other end into your computer’s audio input or microphone jack.
Once you have established the connection between your music box and computer, you are ready to proceed to the next step.
Step 2: Accessing the Music Files on the Music Box
After successfully connecting your music box to the computer, the next step is to access the music files stored on the device. The method of accessing these files may vary depending on the operating system of your computer. Here are a few common ways to access the music files on your music box:
- File Explorer (Windows): On a Windows computer, you can use File Explorer to access the music files on your music box. Open File Explorer by pressing the Windows key + E. Look for your music box under the “Devices and drives” section. Double-click on the music box to view its contents.
- Finder (Mac): If you are using a Mac, you can use Finder to access the music files on your music box. Open Finder by clicking on the Finder icon on your dock or by pressing Command + Space and typing “Finder” in the Spotlight search. Look for your music box in the sidebar under the “Devices” section. Click on the music box to view its contents.
- Media Player (Software): Some music boxes come with dedicated software or media player applications that allow you to access and manage the music files. If your music box has such software, install it on your computer and open the application to access the music files.
Once you have accessed the music files on your music box, you can proceed to the next step to transfer them to your computer.
Step 3: Transferring Songs from Music Box to Computer
Now that you have accessed the music files on your music box, it’s time to transfer the songs to your computer. The process of transferring may vary depending on the type of music box and the software or operating system you are using. Here are a few general methods to transfer songs from a music box to a computer:
- Drag and Drop: In File Explorer (Windows) or Finder (Mac), select the songs you want to transfer from the music box’s folder and drag them to a destination folder on your computer. The files will be copied from the music box to your computer.
- Copy and Paste: Similar to the drag and drop method, you can also use the copy and paste function to transfer songs. Select the songs on the music box, right-click and choose “Copy.” Then navigate to the destination folder on your computer and right-click again, this time choosing “Paste.”
- Exporting/Importing: Some music box software or media player applications have specific options to export or transfer songs to a computer. Look for an “Export” or “Transfer” function within the software and follow the on-screen instructions to complete the process.
During the transfer process, it’s important to ensure that there is enough storage space on your computer to accommodate the transferred songs. Also, consider organizing the songs into folders or creating playlists on your computer to keep them organized and easily accessible.
Once the transfer is complete, you can proceed to the final step of organizing the songs on your computer.
Step 4: Organizing Transferred Songs on the Computer
After successfully transferring the songs from your music box to your computer, it’s a good idea to organize them for easier access and enjoyment. Here are some tips for organizing your transferred songs:
- Create Folders: Consider creating folders to categorize your songs. For example, you can create folders based on genre, artist, or album. This will help you quickly locate specific songs or browse through your music collection more efficiently.
- Add Metadata: Take the time to add metadata to your songs, such as artist name, album title, genre, and track number. This information will make it easier to search for specific songs and ensure proper organization within music player applications.
- Create Playlists: If you enjoy listening to curated playlists, create playlists on your computer. Group songs based on specific themes, moods, or occasions to enhance your listening experience.
- Edit Song Information: If the transferred songs have incorrect or missing information, you can edit the song details using music player applications or dedicated music management software. This will ensure accurate sorting and easier navigation of your music library.
- Backup Your Songs: It’s always a good practice to create a backup of your transferred songs. Consider storing them on an external hard drive, cloud storage service, or other reliable backup solutions to safeguard your music collection against any potential data loss.
By organizing your transferred songs, you can create a well-structured and personalized digital music library that is easy to navigate and enjoy. Take the time to explore different organizational methods and find the one that suits your preferences and music listening habits.
Congratulations! You have successfully transferred and organized songs from your music box to your computer. Now you can enjoy your favorite tunes on your computer, share them with friends, or create personalized playlists for any occasion.
Conclusion
Transferring songs from a music box to a computer is a convenient way to backup your music collection, share your favorite tunes, or create personalized playlists. With the right connections and software, you can easily transfer and organize your songs for an enhanced music listening experience.
In this article, we discussed the step-by-step process of transferring songs from a music box to a computer. We covered topics such as connecting the music box to the computer, accessing the music files on the music box, transferring songs to the computer, and organizing the transferred songs. By following these steps, you can successfully transfer, organize, and enjoy your music collection on your computer.
Remember, the process may vary based on the type of music box and the software or operating system you are using. Always refer to the user manual or consult the manufacturer’s website for specific instructions related to your music box model.
Now that you have learned how to transfer songs from a music box to a computer, you can conveniently manage your music collection, create personalized playlists, and enjoy your favorite tunes wherever you go. So, dive into the world of music boxes and unleash the magic of music on your computer!