Home>Production & Technology>Sound>How To Record Sound From Computer

Sound
How To Record Sound From Computer
Modified: February 18, 2024
Learn how to record sound from your computer with our step-by-step guide. Capture high-quality audio easily and enhance your multimedia experience.
(Many of the links in this article redirect to a specific reviewed product. Your purchase of these products through affiliate links helps to generate commission for AudioLover.com, at no extra cost. Learn more)
Table of Contents
Introduction
Recording sound from your computer can be incredibly useful in various situations, whether you want to capture audio from a webinar, record a podcast interview, or save streaming music for offline listening. However, many people are unsure of how to go about this process. That’s where this article comes in. In this guide, we will explore different methods and tools you can use to record sound from your computer.
Before we dive into the various methods, it’s important to note that the process of recording sound from a computer may vary depending on the operating system you are using (e.g., Windows, macOS, or Linux) and the specific hardware and software configurations of your computer. Nonetheless, the following methods should work on most systems, with slight variations in the steps involved.
Whether you are a seasoned audio professional or a complete beginner, this article will provide you with the necessary information to record sound from your computer in a simple and effective manner. So, let’s get started!
Required Tools
Before we delve into the methods of recording sound from your computer, let’s take a look at the essential tools you will need:
- Computer: This one may seem obvious, but it’s worth mentioning. You’ll need a computer with a functioning sound card to capture the audio.
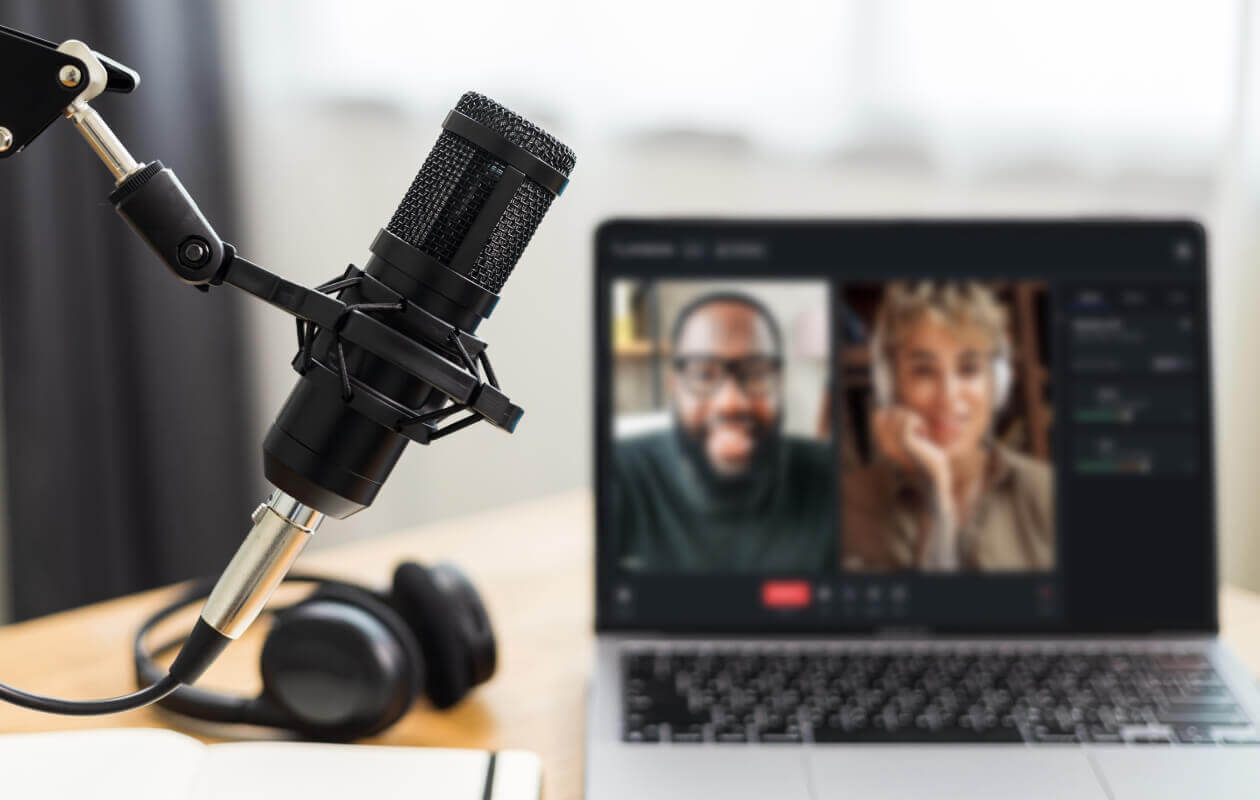
- Microphone: If you plan on recording any external sounds or your voice, you will need a microphone. There are many different types of microphones available, ranging from USB microphones to XLR microphones, so choose one that suits your needs and budget.
- Headphones: While not strictly necessary for recording sound, a good pair of headphones will help you monitor the audio and ensure its quality. It’s always a good idea to listen to what you’re recording in real-time to identify any issues or unwanted background noise.
- Audio Cables: If you’re planning on recording audio from external sources like musical instruments or mixers, you’ll need the appropriate audio cables to connect them to your computer. This could include XLR cables, RCA cables, or quarter-inch cables, depending on your equipment.
- Audio Recording Software: To actually record the sound from your computer, you’ll need audio recording software. There are a variety of options available, ranging from simple, free applications to professional-grade digital audio workstations (DAWs). We’ll discuss some popular software choices later in this article.
With these essential tools in place, you’re ready to start recording sound from your computer. Now, let’s explore the different methods you can use to accomplish this task.
Method 1: Using Built-in Software
If you’re looking for a simple and straightforward way to record sound from your computer, using the built-in software on your operating system is a great option. Both Windows and macOS offer native tools that allow you to capture audio without the need for any additional software.
Windows:
On Windows, you can use the built-in “Sound Recorder” application to record sound from your computer. Here’s how:
- Open the Start menu and search for “Sound Recorder”.
- Click on the “Sound Recorder” app to open it.
- Ensure that your desired audio source is selected under the “Input” or “Recording” settings. This could be your microphone or the audio output from your computer.
- Click on the “Record” button to start recording.
- When you’re finished recording, click on the “Stop” button.
- Save your recorded audio file in a location of your choice.
macOS:
On macOS, you can use the built-in “QuickTime Player” application to record sound from your computer. Here’s how:
- Open the “QuickTime Player” application from your Applications folder.
- Click on “File” in the menu bar and select “New Audio Recording”.
- Click on the red “Record” button to start recording.
- When you’re finished recording, click on the “Stop” button.
- Save your recorded audio file in a location of your choice.
Using the built-in software is a convenient option, especially if you only need to record simple audio. However, if you require more advanced features or want to have more control over your recordings, consider exploring alternative methods discussed in the following sections.
Method 2: Using Audio Recording Software
If you’re looking for more flexibility and advanced features for recording sound from your computer, using dedicated audio recording software is a great option. There are numerous software options available, ranging from free to premium, depending on your needs and budget. Here are a few popular choices:
Audacity:
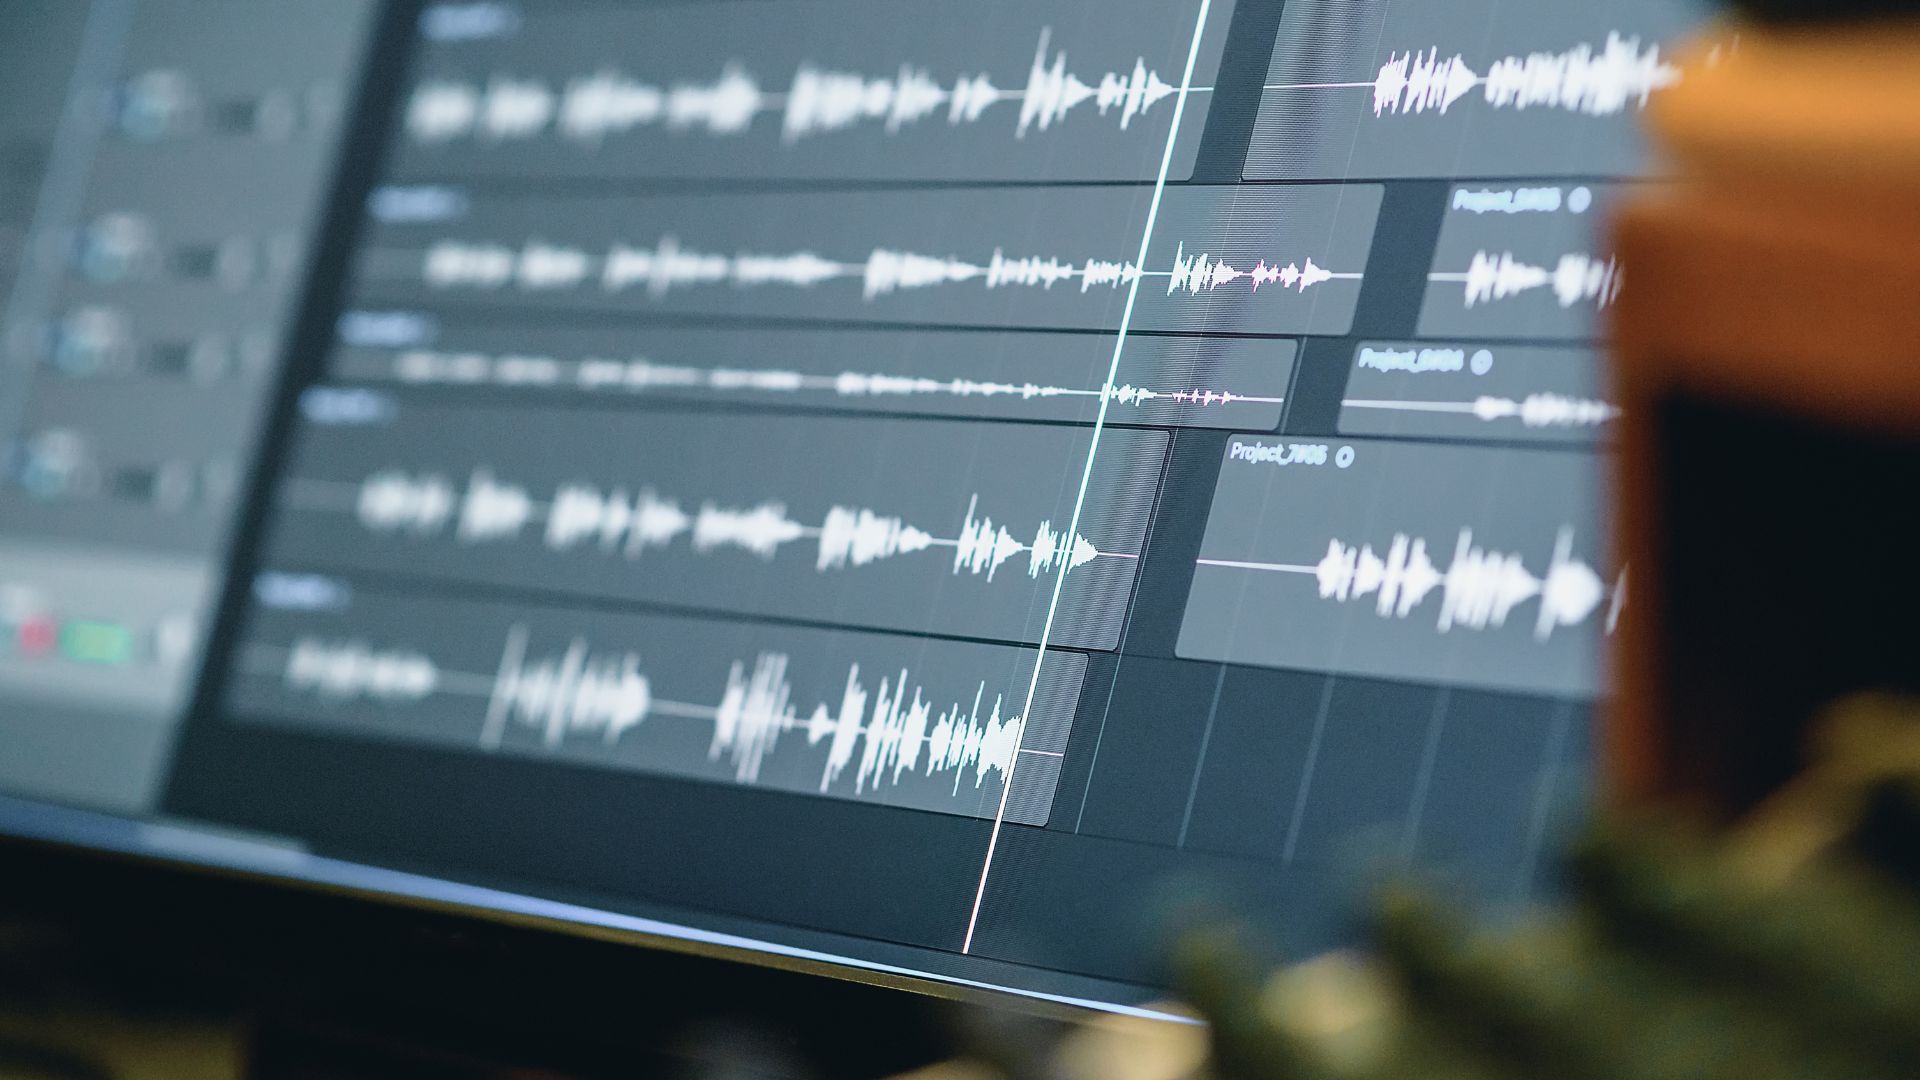
Audacity is a well-known and powerful open-source audio editing and recording software. It’s available for Windows, macOS, and Linux, making it accessible to a wide range of users. With Audacity, you can record, edit, and mix audio with ease. It supports multiple audio formats and offers features like noise removal, effects, and multi-track recording.
Adobe Audition:
Adobe Audition is a professional-grade audio editing and recording software available for Windows and macOS. It provides a comprehensive set of tools for recording, editing, and mixing audio. With its intuitive interface and powerful features, Adobe Audition is a popular choice for professionals in the audio industry.
GarageBand:
GarageBand is a free audio recording and editing software exclusive to macOS and iOS. It’s a great option for beginners and users who want a user-friendly interface without sacrificing advanced features. GarageBand offers a wide range of virtual instruments, audio effects, and pre-recorded loops to enhance your recordings.
To use audio recording software, follow these general steps:
- Download and install the chosen software on your computer.
- Launch the software and configure the audio input settings, such as selecting your microphone or audio source.
- Click on the “Record” button to start capturing audio.
- Once you’re done recording, click on the “Stop” or “Finish” button.
- Save your recorded audio file in a location of your choice.
Using audio recording software provides you with more control over your recordings and access to advanced features for editing and enhancing the audio. Experiment with different software options to find the one that best suits your needs and workflow.
Method 3: Using Online Recording Tools
If you don’t want to install any software on your computer or prefer a more convenient and accessible method, using online recording tools is a great option. These web-based tools allow you to capture audio directly from your computer without the need for any downloads or installations. Here are a few popular online recording tools:
Online Voice Recorder:
Online Voice Recorder is a free web-based tool that lets you record audio directly from your browser. It supports multiple audio formats and offers features like noise reduction and trimming. Simply visit the website, grant permission for the tool to access your microphone, and click on the “Record” button to start the recording. Once you’re done, you can save the recorded audio file to your computer.
Apowersoft Free Online Audio Recorder:
Apowersoft Free Online Audio Recorder is another web-based tool that allows you to record audio with ease. It offers various recording options, including system sound, microphone, or both. The tool also provides options for recording timer and audio quality settings. Once the recording is finished, you can preview and download the recorded audio file.
Vocaroo:
Vocaroo is a simple and user-friendly online recording tool. It allows you to record audio directly from your browser and generates a unique URL for sharing or downloading the recording. Vocaroo is an ideal option for quick recordings or sharing audio messages.
To use online recording tools, follow these general steps:
- Visit the website of the chosen online recording tool.
- Grant the necessary permissions for the tool to access your microphone.
- Click on the “Record” button to start capturing audio.
- Once you’re done recording, click on the “Stop” or “Finish” button.
- Save or download the recorded audio file as prompted by the tool.
Online recording tools provide a convenient and hassle-free way to capture audio directly from your computer without the need for any software installations. Explore different options to find the online tool that best fits your requirements.
Method 4: Using External Audio Interfaces
If you want to achieve professional-quality recordings or need to connect external audio sources to your computer for recording, using an external audio interface is the way to go. An audio interface acts as a bridge between your computer and audio equipment, allowing you to capture high-quality sound. Here’s how you can use an external audio interface:
Choose an Audio Interface:
First, you’ll need to choose an audio interface that suits your needs. Consider factors like the number of inputs and outputs, connectivity options (such as USB or Thunderbolt), and the audio quality supported. Common audio interface brands include Focusrite, PreSonus, Universal Audio, and Behringer.
Connect the Audio Interface:
Connect the audio interface to your computer using the supplied cables. Most audio interfaces connect via USB or Thunderbolt, so make sure you have the appropriate ports on your computer. Follow the manufacturer’s instructions for proper connection.
Configure Audio Settings:
Once connected, you’ll need to configure the audio settings on your computer. This usually involves selecting the audio interface as the input and output device in your computer’s audio settings. Consult the manufacturer’s documentation for specific instructions on configuring the audio interface with your operating system.
Recording with External Sources:
If you want to record audio from external sources like microphones or instruments, connect them to the audio interface using the appropriate cables (e.g., XLR or instrument cables). Ensure that the correct input is selected on your audio interface and adjust the input levels as needed.
Recording Software:
Once the audio interface is properly connected and configured, you can use any audio recording software (discussed in Method 2) to record the sound from your computer. Simply select the audio interface as the input device in the recording software settings and start capturing audio.
Using an external audio interface provides you with professional-quality audio recordings and the flexibility to connect a wide range of audio sources to your computer. However, it does require an investment in the audio interface itself and may involve a steeper learning curve compared to other methods.
Tips and Tricks for Better Sound Recording
Recording high-quality sound from your computer requires attention to detail and a few techniques to ensure the best possible results. Here are some tips and tricks to help you improve your sound recording:
Use a Good Quality Microphone:
The microphone plays a crucial role in capturing clear and accurate sound. Invest in a good quality microphone that suits your recording needs. Consider factors like microphone type (condenser, dynamic, ribbon), polar pattern (cardioid, omnidirectional), and frequency response to ensure optimal sound capture.
Find a Quiet Recording Environment:
Avoid recording in noisy environments as background noise can significantly affect the quality of your recordings. Choose a quiet space with minimal background noise and try to reduce any external sounds by closing windows, turning off fans, or using soundproofing techniques.
Position the Microphone Properly:
Position the microphone correctly to achieve the best sound capture. Experiment with microphone placement, distance, and angle to find the sweet spot. For vocals, position the microphone slightly off-axis and at a distance of 6-12 inches for optimal results.
Set the Recording Levels Properly:
Avoid recording with levels that are too low or too high, as it can result in poor audio quality. Monitor the input levels and adjust accordingly to ensure a healthy signal without any clipping or distortion. Aim for a recording level that peaks around -12 dB to -6 dB for optimal dynamic range.
Control Room Acoustics:
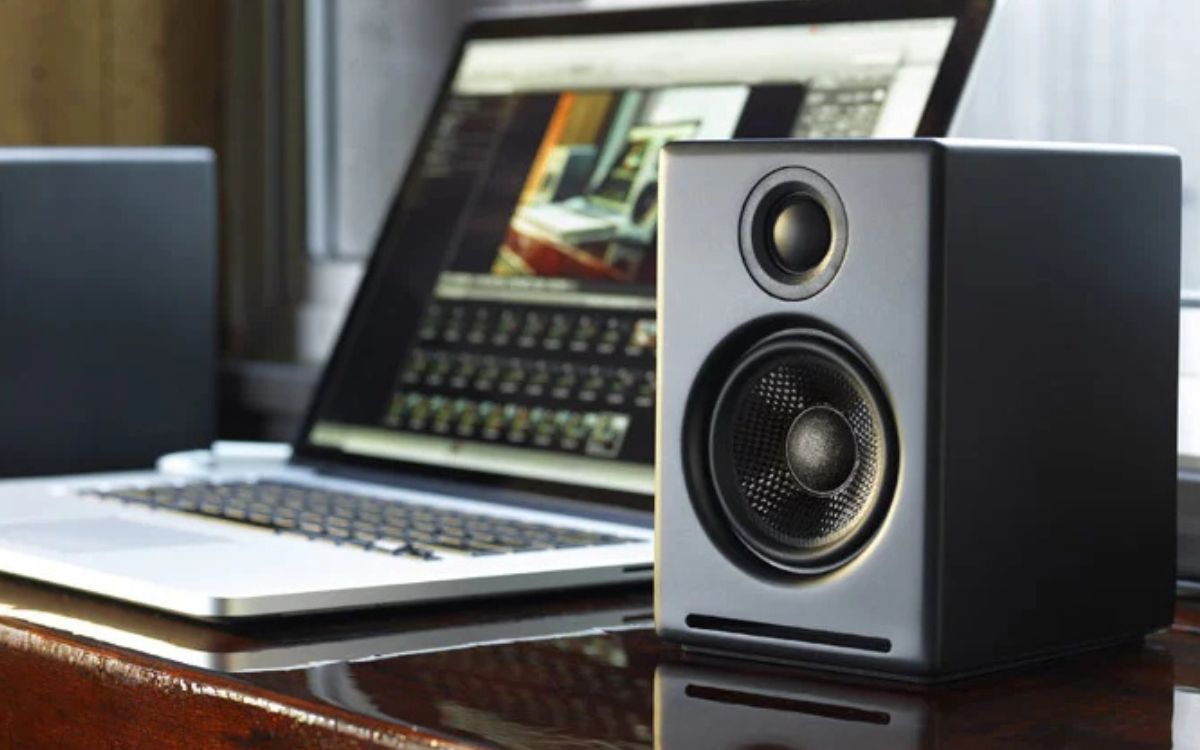
If you’re using monitors or headphones for monitoring, ensure that your room acoustics are properly treated. A well-treated room with proper acoustic treatment (such as bass traps, diffusers, and absorbers) can help in accurate sound monitoring and prevent unwanted reflections or resonances.
Consider using a Pop Filter and Shock Mount:
To reduce plosive sounds (such as ‘p’ and ‘b’ sounds) and unwanted vibrations, use a pop filter in front of the microphone. Additionally, using a shock mount or a microphone stand with shock absorption can minimize handling noise and vibrations that can affect the recording.
Experiment with Room Mic Techniques:
For recording ambient sounds or capturing a more natural room sound, consider using room microphone techniques. This involves placing a microphone farther away from the sound source to capture the ambience and natural reverberation of the room. Experiment with different microphone placements and techniques to find the desired effect.
Edit and Enhance the Recording:
After recording, use audio editing software to clean up the recording. Remove any background noise, normalize the volume levels, and apply equalization, compression, and other effects to enhance the overall sound. Take care not to over-process the audio, as it can result in an unnatural and distorted sound.
By following these tips and techniques, you can significantly improve the quality of your sound recordings and achieve professional-level results. Don’t be afraid to experiment and try different approaches to find what works best for your specific recording needs.
Conclusion
Recording sound from your computer doesn’t have to be a complex or daunting task. With the right tools and methods, you can easily capture high-quality audio for various purposes. In this article, we explored different methods of recording sound from your computer, including using built-in software, audio recording software, online recording tools, and external audio interfaces.
If you’re looking for a simple and no-frills approach, using the built-in software on your operating system can be a quick solution. However, for more advanced features and control over your recordings, using dedicated audio recording software is recommended. Online recording tools offer convenience and accessibility, while external audio interfaces provide professional-grade quality and versatility.
Regardless of the method you choose, implementing a few tips and tricks can make a significant difference in the quality of your recordings. Using a good quality microphone, finding a quiet recording environment, setting proper recording levels, and experimenting with microphone placement can greatly improve the sound captured.
Remember to take advantage of audio editing software to enhance and refine your recordings after the initial capture. Remove any unwanted noise, normalize the volume levels, and apply appropriate effects to achieve the desired sound quality.
By following these guidelines and exploring the different methods and tools discussed in this article, you’ll be well-equipped to record sound from your computer with confidence and achieve professional results. So, go ahead and start capturing those audio moments and unleash your creativity!

