Home>Devices & Equipment>Radio>How To Change Time On Kenwood Radio

Radio
How To Change Time On Kenwood Radio
Published: November 10, 2023
Learn how to easily change the time on your Kenwood radio. Follow our step-by-step guide to ensure accurate time settings. Get your radio running smoothly today!
(Many of the links in this article redirect to a specific reviewed product. Your purchase of these products through affiliate links helps to generate commission for AudioLover.com, at no extra cost. Learn more)
Table of Contents
Introduction
When it comes to radio systems, one of the essential features is the ability to accurately display the time. Whether you are using a Kenwood radio in your car, at home, or in the office, it is important to ensure that the time is set correctly. Not only does it provide convenience, but it also ensures that you are on schedule and can rely on accurate time notifications.
In this article, we will guide you through the step-by-step process of changing the time on a Kenwood radio. Whether you have a Kenwood car stereo or a Kenwood home radio system, the process is relatively similar. By following these simple instructions, you will be able to adjust the time settings on your Kenwood radio in no time.
Before we dive into the steps, it’s important to note that the process may vary slightly depending on the specific model and firmware version of your Kenwood radio. However, the basic principles and navigation should remain the same, allowing you to easily make the necessary adjustments.
So without further ado, let’s get started and learn how to change the time on your Kenwood radio!
Step 1: Accessing the settings menu
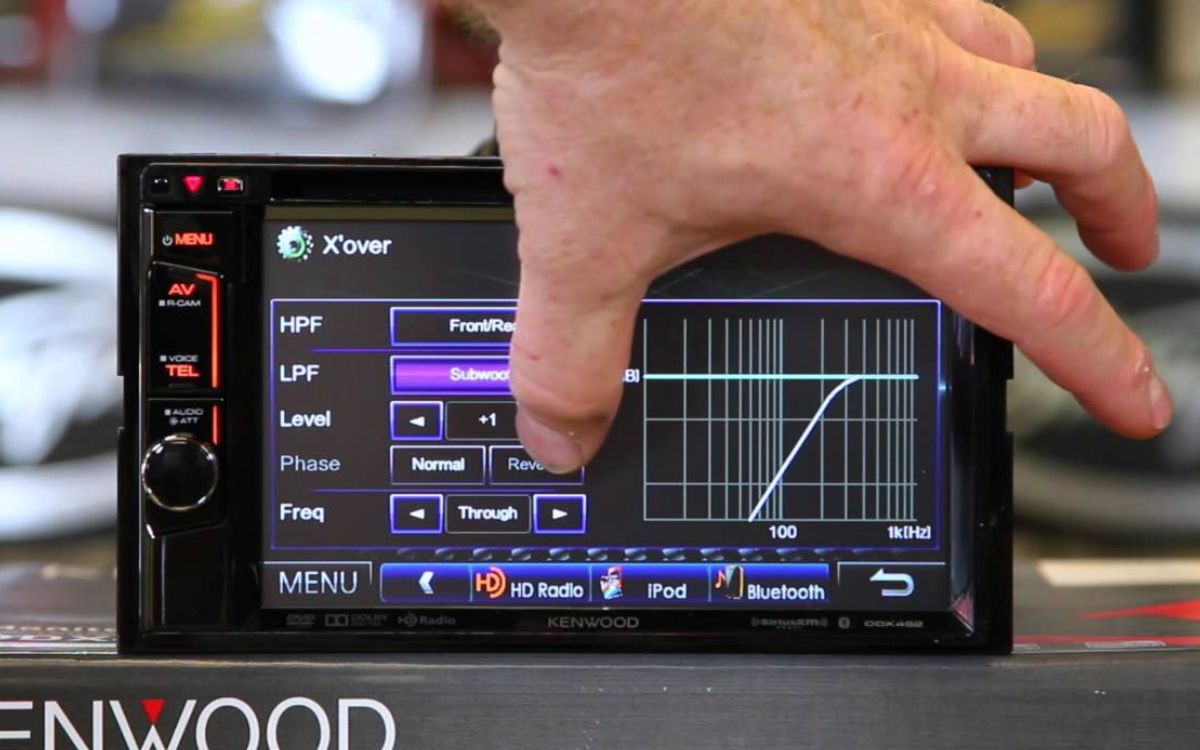
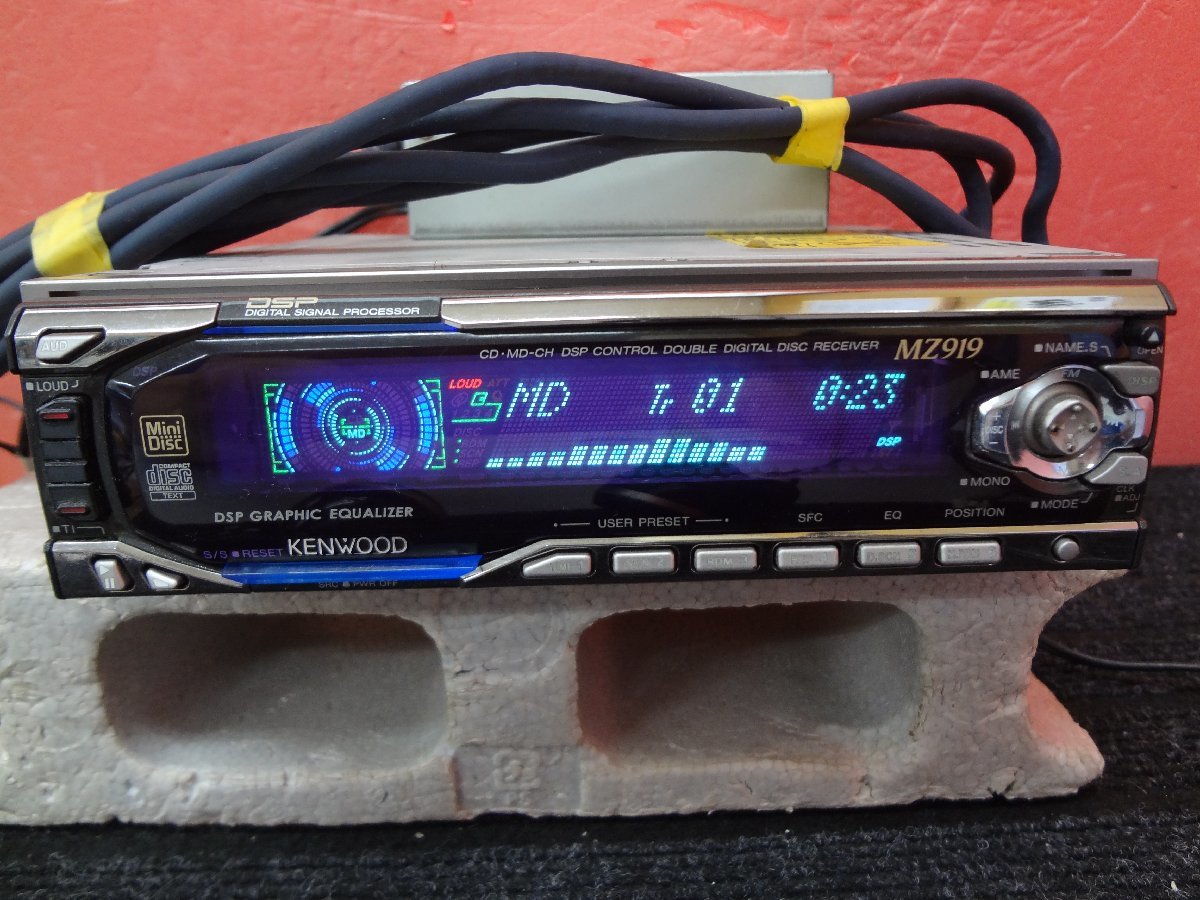
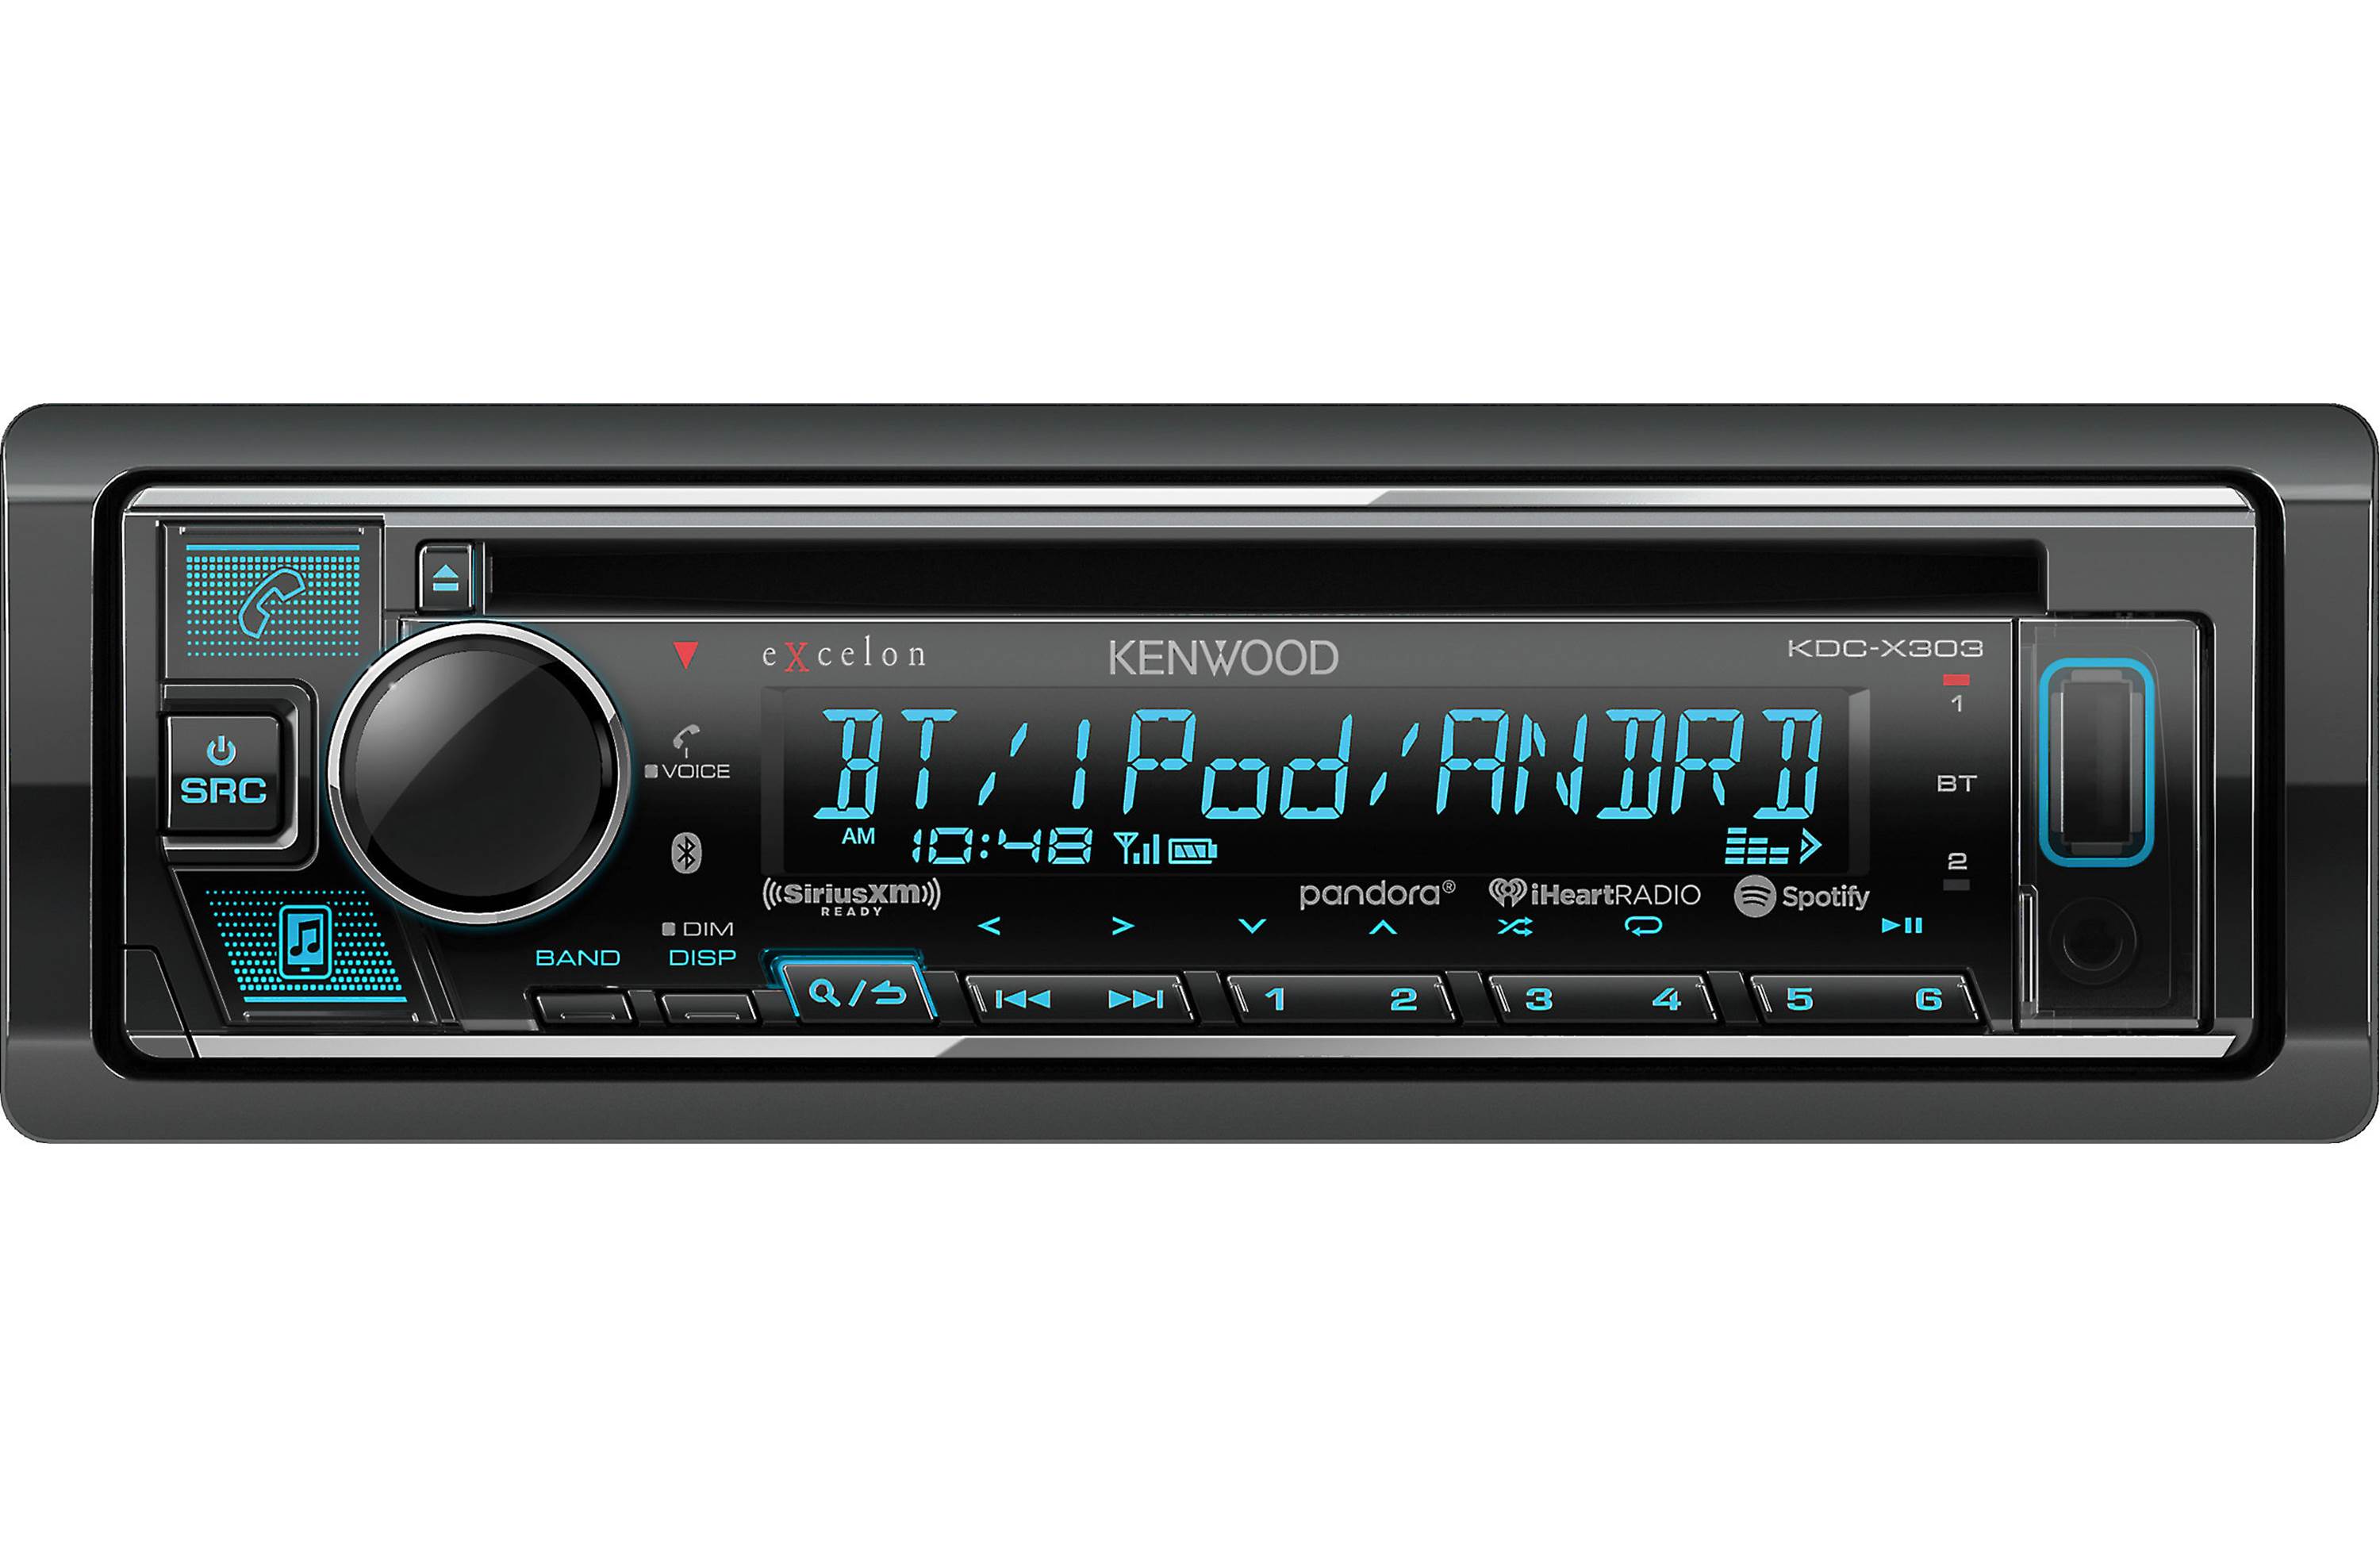
The first step in changing the time on your Kenwood radio is to access the settings menu. To do this, you will need to locate and press the “Menu” button on your Kenwood radio. This button is usually located on the front panel or control face of the radio.
Once you have located the “Menu” button, press it to access the main menu of your Kenwood radio. This menu will provide you with various options and settings that you can adjust.
Depending on the model of your Kenwood radio, you may need to use the arrow keys or a rotary knob to navigate through the menu options. Look for an option such as “Settings,” “Setup,” or “System” in the menu list.
Use the arrow keys or rotary knob to highlight the “Settings” option, and then press the corresponding button or knob to enter the settings menu. This will allow you to access the different settings available on your Kenwood radio.
Once you have successfully accessed the settings menu, you are now ready to proceed to the next step of adjusting the time on your Kenwood radio.
Step 2: Navigating to the time settings
After accessing the settings menu on your Kenwood radio, the next step is to navigate to the time settings. These settings will allow you to make adjustments to the current time displayed on your radio.
Using the arrow keys or rotary knob, scroll through the options in the settings menu until you find an option related to time or clock settings. The exact name and location of this option may vary depending on the model of your Kenwood radio.
Look for options such as “Time,” “Clock,” or “Time Settings.” Once you have located the appropriate option, press the corresponding button or knob to enter the time settings menu.
Within the time settings menu, you may find various sub-options such as setting the time format (12-hour or 24-hour), selecting the time zone, or adjusting daylight saving settings. Navigate through these sub-options using the arrow keys or rotary knob to find the option to change the current time.
If your Kenwood radio offers multiple clock display options, such as analog or digital, you can choose your preferred display format as well.
Once you have found the time settings option and any desired sub-options, you are now ready to move on to the next step of adjusting the hours and minutes on your Kenwood radio.
Step 3: Adjusting the hours and minutes
Now that you have navigated to the time settings menu on your Kenwood radio, it’s time to adjust the hours and minutes to reflect the correct time.
First, locate the options for adjusting the hours and minutes within the time settings menu. Depending on your Kenwood radio model, you may be able to adjust both the hours and minutes separately, or you may have a single option to set the time in one step.
Using the arrow keys or rotary knob, select the hours field and adjust it to the current hour. Some Kenwood radios may use a 12-hour format, in which case you will need to select the appropriate AM or PM option as well.
After setting the hours, move on to adjusting the minutes field. Use the arrow keys or rotary knob to select the minutes and adjust them to the correct minute value.
If your Kenwood radio supports more advanced time features, such as synchronization with GPS or automatic time updates, you may have additional options to explore.
Once you have adjusted the hours and minutes to the correct values, double-check to ensure that the displayed time is accurate.
Now that you have set the correct time on your Kenwood radio, it’s important to save the changes to ensure that the new time settings are retained.
Let’s move on to the next step to learn how to save the changes made to the time settings on your Kenwood radio.
Step 4: Saving the changes
After adjusting the hours and minutes to the correct values on your Kenwood radio, it is important to save the changes to ensure that the new time settings are retained.
To save the changes, look for a “Save” or “Apply” option within the time settings menu. This option is usually located at the bottom or top of the menu, or it may appear as a confirmation prompt when you exit the settings menu.
Use the arrow keys or rotary knob to highlight the “Save” or “Apply” option. Once it is selected, press the corresponding button or knob to save the changes made to the time settings.
After saving the changes, your Kenwood radio will update the displayed time to reflect the new settings. Take a moment to verify that the time shown on the radio is now accurate.
It is worth noting that some Kenwood radio models may automatically save the changes as soon as you adjust the time without the need for a separate save option. In that case, simply exit the time settings menu to ensure that the changes are saved.
Now that you have successfully saved the changes, it’s time to move on to the final step to verify the new time settings on your Kenwood radio.
Step 5: Verifying the new time settings
After saving the changes made to the time settings on your Kenwood radio, it is important to verify that the new time settings are accurately reflected on the display. This step ensures that you have successfully adjusted the time and that your Kenwood radio is now displaying the correct time.
Take a moment to glance at the display of your Kenwood radio and verify that the time shown aligns with the current time. Pay attention to both the hours and minutes to ensure that they are accurate.
If the displayed time is correct, congratulations! You have successfully changed the time on your Kenwood radio. You can now enjoy using your radio with confidence in its accurate timekeeping.
However, if the displayed time is still incorrect, double-check the adjustments you made in the previous steps. Go back into the time settings menu and ensure that you have set the correct hours and minutes.
If needed, repeat the process of adjusting the time, saving the changes, and verifying the new time settings until the displayed time is accurate.
Additionally, if you encounter any difficulties or have questions specific to your Kenwood radio model, consult the user manual for further guidance. The manual will provide detailed instructions and troubleshooting tips to assist you in setting the time correctly.
Once you have verified the new time settings on your Kenwood radio, you can rest assured knowing that your radio will accurately display the time moving forward.
With the time now set correctly, you can fully enjoy the features and functionality of your Kenwood radio without worrying about inaccurate time notifications.
That concludes our step-by-step guide on how to change the time on a Kenwood radio. We hope that this article has been helpful and that you can now confidently adjust the time on your Kenwood radio whenever necessary.
Remember, accurate timekeeping is vital for staying on schedule and ensuring a seamless radio experience. So, go ahead and enjoy your Kenwood radio with the correct time display!
Conclusion
In conclusion, adjusting the time on your Kenwood radio is a simple and straightforward process. By following the step-by-step guide outlined in this article, you can easily navigate through the settings menu, adjust the hours and minutes, save the changes, and verify the new time settings on your Kenwood radio.
Having the correct time displayed on your Kenwood radio is not only convenient but also ensures that you can rely on accurate time notifications. Whether you’re using a Kenwood car stereo or a Kenwood home radio system, being able to set the time accurately allows for better time management and organization in your daily activities.
Remember, while the specific steps may vary slightly depending on your Kenwood radio model, the basic principles outlined in this guide should remain the same. If you encounter any difficulties or have questions specific to your Kenwood radio, consult the user manual for further guidance.
We hope that this article has been informative and helpful in guiding you through the process of changing the time on your Kenwood radio. With the correct time set, you can now enjoy using your Kenwood radio with confidence in its accurate timekeeping.
Thank you for reading, and we wish you many enjoyable hours of listening to your favorite radio stations on your Kenwood radio!


