Home>Production & Technology>Stereo>How To Remove A Kenwood Stereo
Stereo
How To Remove A Kenwood Stereo
Published: November 25, 2023
Learn how to remove a Kenwood stereo with ease. Follow our step-by-step guide and say goodbye to your old stereo quickly and effortlessly.
(Many of the links in this article redirect to a specific reviewed product. Your purchase of these products through affiliate links helps to generate commission for AudioLover.com, at no extra cost. Learn more)
Table of Contents
- Introduction
- Safety Precautions
- Tools Needed
- Step 1: Turn off the Car Power
- Step 2: Locate the Release Keys
- Step 3: Insert the Release Keys
- Step 4: Remove the Stereo from the Dashboard
- Step 5: Disconnect the Wiring Harness and Antenna
- Step 6: Install the New Stereo
- Step 7: Reconnect the Wiring Harness and Antenna
- Step 8: Secure the Stereo in the Dashboard
- Step 9: Test the New Stereo
- Conclusion
Introduction
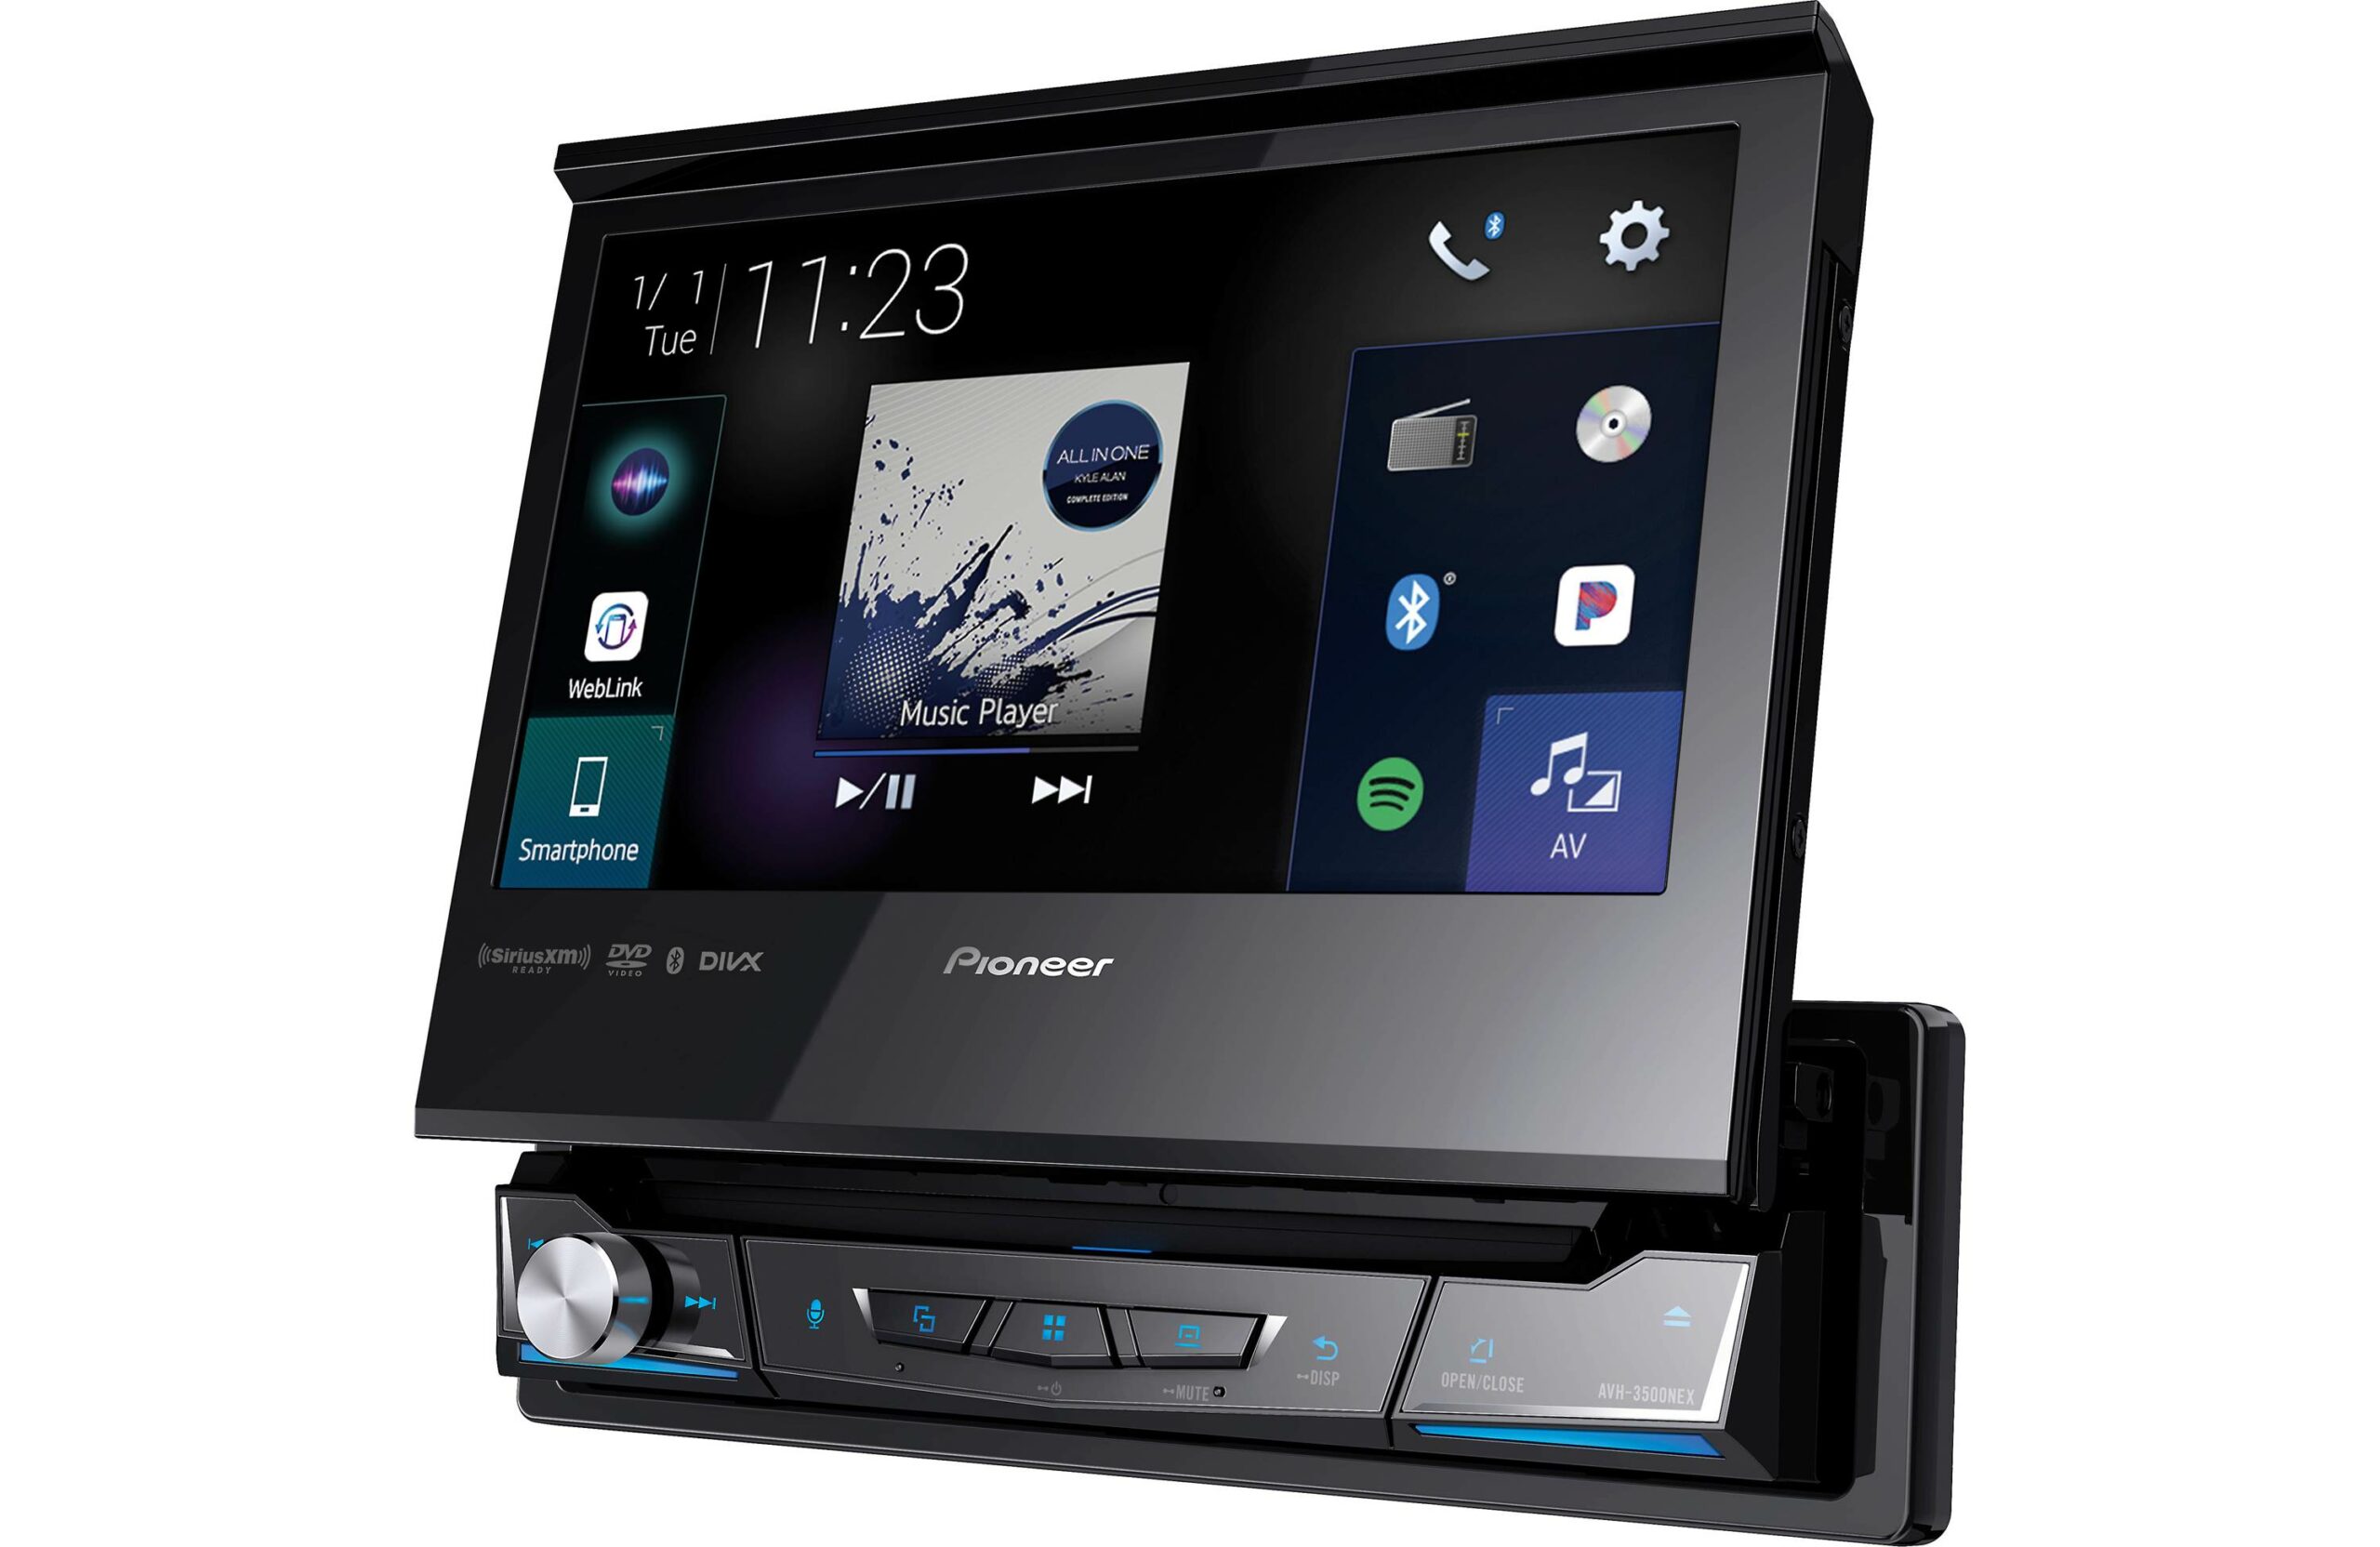
Removing a Kenwood stereo from your car might seem like a daunting task, but with the right tools and a little patience, you can do it yourself. Whether you want to upgrade your stereo or troubleshoot a technical issue, knowing how to remove and install a Kenwood stereo can save you time and money.
Kenwood is a well-known brand in the car stereo industry, known for its superior sound quality and advanced features. However, over time, you may need to replace or upgrade your stereo for various reasons. It could be due to a desire for more modern features like Bluetooth connectivity or a touchscreen interface, or it could be because the current stereo is malfunctioning. Whatever the reason may be, removing a Kenwood stereo is a straightforward process that can be accomplished with a few simple steps.
In this article, we will guide you through the process of removing a Kenwood stereo from your car. We will provide you with step-by-step instructions and safety precautions to ensure a smooth and successful removal. So, let’s get started and learn how to remove a Kenwood stereo!
Safety Precautions
Before you begin the process of removing a Kenwood stereo, it’s important to prioritize safety. Follow these precautions to ensure your well-being and protect your vehicle:
- Turn off the car power: Before starting any work on your car’s electrical system, make sure to turn off the car’s power completely. This will prevent any potential electric shocks and damage to the stereo or other components.
- Wear protective gloves: It is advisable to wear protective gloves while working with the stereo. This will help prevent any injury from sharp edges or small parts.
- Disconnect the battery: To be extra cautious, disconnect the car’s battery to eliminate any risk of electric shock. This step is particularly important for newer cars equipped with airbags, as disconnecting the battery will prevent accidental deployment.
- Refer to the vehicle manual: Each car model may have specific instructions or precautions for removing the stereo. Consult your vehicle manual to ensure you are following the correct procedures and avoiding any potential damage.
- Use proper tools: To avoid damaging the stereo or surrounding components, use the recommended tools for the job. This may include release keys, screwdrivers, or panel removal tools. Using improper tools can result in scratches or broken parts.
- Take note of the wiring connections: Before disconnecting any wiring, take a picture or make a note of the connections. This will help you reassemble everything correctly when installing the new stereo.
By following these safety precautions, you can ensure a smooth and incident-free removal of your Kenwood stereo. Remember to proceed with caution and take your time to prevent any potential damage to yourself or your vehicle.
Tools Needed
Before you start removing your Kenwood stereo, it’s essential to gather the necessary tools. Having the right tools on hand will make the process easier and help you avoid damaging any components. Here are the tools you will need:
- Release keys: These are special tools designed to remove the stereo from the dashboard. They are usually included with the stereo or can be purchased separately from an electronics store.
- Trim removal tool: This tool is used to safely remove any decorative trim or panels surrounding the stereo. It prevents scratching or damaging the interior of your car.
- Screwdriver (if needed): Depending on your car model, you may need a screwdriver to remove any screws holding the stereo in place. Check your car manual to determine if a screwdriver is required.
- Protective gloves: It’s always a good idea to wear protective gloves while working on your car’s stereo. Gloves will protect your hands from any sharp edges or potential injuries.
- Pen and paper or camera: To assist with reinstallation, have a pen and paper or a camera ready to document the wiring connections before disconnecting them. This will ensure that you can easily reconnect the new stereo without any confusion.
Having these tools readily available before you start can save you time and frustration during the removal process. Make sure to check that the tools are in good condition and that you have a firm grip on them while working on your car’s stereo. Remember, using the right tools will help you complete the task smoothly and without causing any unnecessary damage.
Step 1: Turn off the Car Power
Before you begin removing the Kenwood stereo from your car, ensure that the car’s power is completely turned off. This is crucial to avoid any electrical accidents or damage during the removal process. Follow these steps:
- Turn off the ignition: Make sure the car is in park and engage the parking brake for additional safety. Turn off the ignition by removing the keys from the ignition switch.
- Disconnect the negative battery cable: Open the car’s hood and locate the negative battery terminal. Loosen the nut using a wrench and disconnect the negative battery cable. This will cut off the power supply to the stereo and eliminate the risk of electrical shock.
- Secure the cable: Once the negative battery cable is disconnected, ensure that it is secured away from any metal surfaces. This will prevent accidental reconnection and ensure your safety throughout the removal process.
By taking these precautions and turning off the car’s power, you can safely proceed with the rest of the removal process without any electrical hazards. Remember, always double-check that the car’s power is off before starting any work on the stereo.
Step 2: Locate the Release Keys
After ensuring the car’s power is turned off, the next step is to locate the release keys for your Kenwood stereo. These keys are essential for safely removing the stereo from the dashboard. Here’s how to locate them:
- Refer to the Kenwood stereo manual: The first place to look for information on the release keys is the manual that came with your Kenwood stereo. It may provide specific instructions or illustrations on where to find and use the release keys.
- Check the stereo manufacturer’s website: If you no longer have the manual or need more guidance, visit the Kenwood website. Look for the support or product information section and search for your specific stereo model. You may find detailed instructions or a video tutorial on the removal process and where to locate the release keys.
- Consult your vehicle manual: In some cases, the release keys may be specific to your car model rather than the stereo. Check the vehicle manual for any information on locating and using these keys.
- Search online or ask for assistance: If you are still unsure about the location of the release keys, you can search online forums or car enthusiast communities for discussions on your specific car model or Kenwood stereo. Alternatively, consult with a car audio professional who can provide guidance or demonstrate how to locate the release keys.
Once you have located the release keys, you are one step closer to removing the Kenwood stereo from your car’s dashboard. Remember to handle the release keys with care and follow the specific instructions provided by the manufacturer or in the manual. This will ensure a smooth and successful removal process.
Step 3: Insert the Release Keys
Now that you have located the release keys, it’s time to insert them into the stereo to unlock and release it from the dashboard. Follow these steps to insert the release keys properly:
- Identify the insertion points: Examine the stereo and look for the small holes or slots on either side. These are the insertion points where you will be inserting the release keys.
- Insert the release keys: Take the release keys and insert them into the corresponding insertion points until they click into place. Make sure to push the keys in all the way, as this helps release the stereo’s locking mechanism.
- Apply gentle pressure: Once the release keys are securely inserted, apply gentle pressure outward or inward depending on the specific instructions provided by the manufacturer. This will help disengage the locking tabs inside the stereo and loosen its grip on the dashboard.
- Keep the keys in position: To maintain the proper positioning of the release keys, hold them firmly while proceeding to the next step. This will ensure that the stereo remains unlocked and ready for removal.
Note that the specific insertion and pressure application steps may vary depending on the Kenwood stereo model and the release key design. It’s important to refer to the manual or any provided instructions to ensure you are following the correct procedure for your particular stereo.
By inserting the release keys properly, you have successfully unlocked the Kenwood stereo from the dashboard. In the next step, we will move on to removing the stereo from the dashboard.
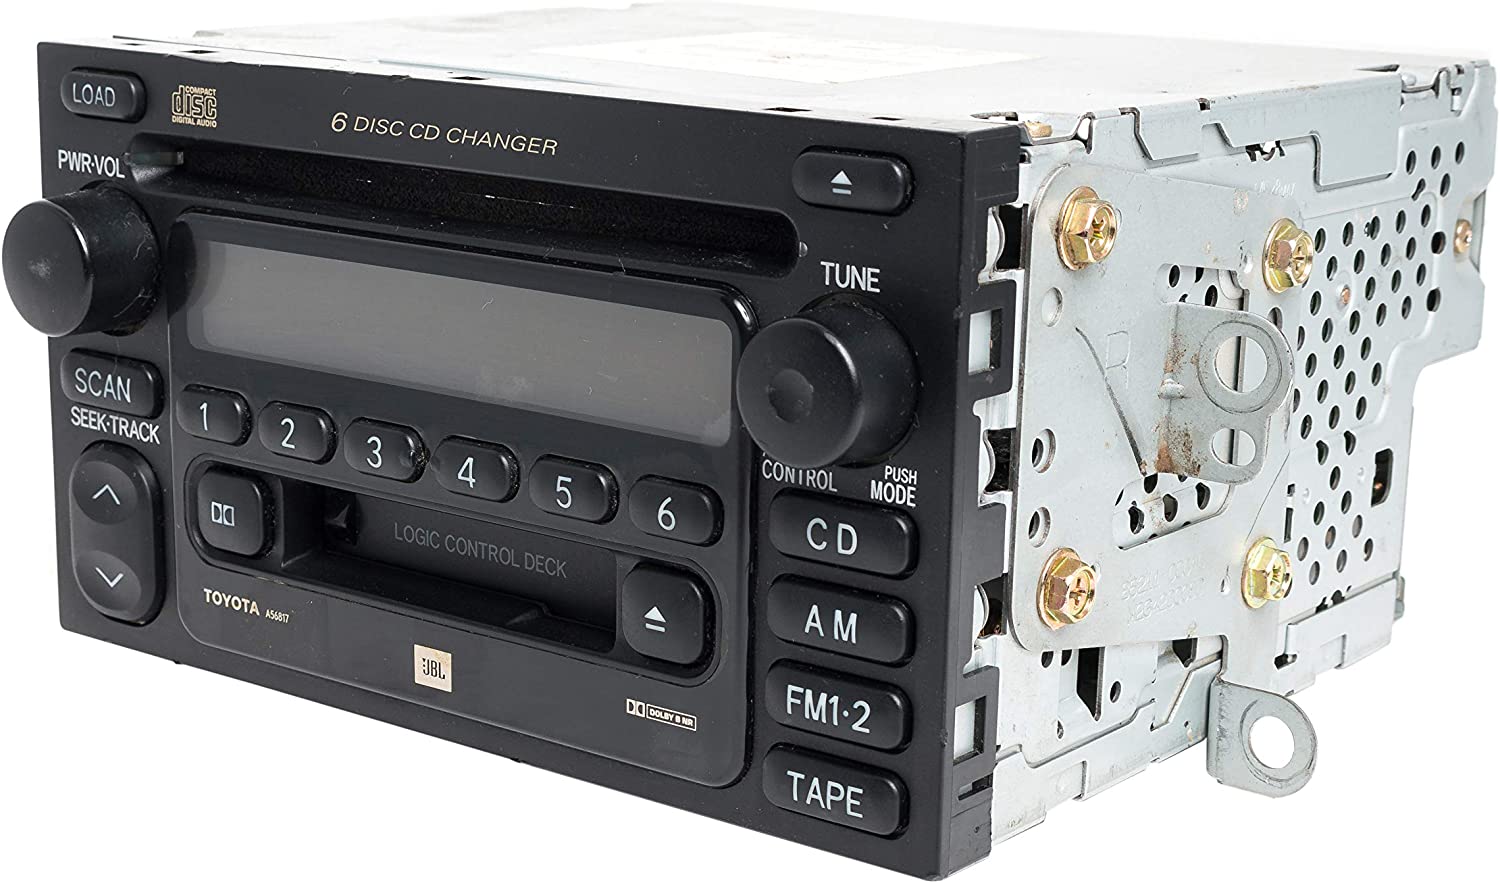
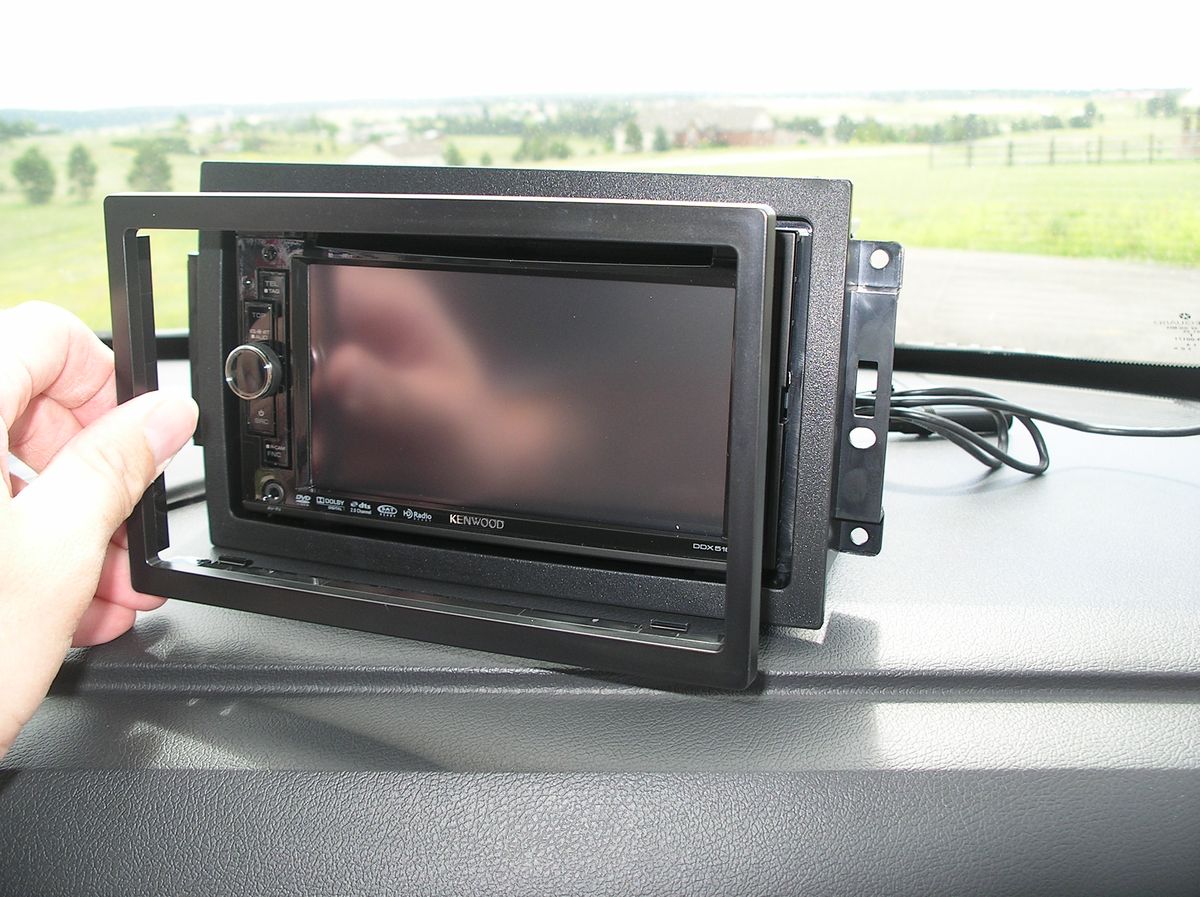
Step 4: Remove the Stereo from the Dashboard
With the release keys properly inserted and engaged, it’s time to remove the Kenwood stereo from the dashboard. Follow these steps to safely detach the stereo:
- Apply even pressure: With one hand holding the release keys in place, use the other hand to apply even pressure on both sides of the stereo. Gently pull the stereo outward, ensuring an equal amount of pressure is applied on each side.
- Be mindful of connections: As you pull the stereo outward, be cautious of any wiring harnesses that may still be connected. You want to ensure a smooth removal without damaging any wires or connectors.
- Use the trim removal tool (if necessary): In some cases, the stereo may be secured with additional screws or clips. If you encounter resistance, gently use a trim removal tool to release any hidden fasteners or clips.
- Keep a steady grip: As you continue to pull the stereo outward, it should gradually loosen from the dashboard. Ensure you have a firm grip on the stereo to prevent it from slipping out of your hand and potentially causing damage.
- Set the stereo aside: Once the stereo is completely detached from the dashboard, carefully set it aside in a secure location. Place it on a soft surface to prevent scratches or other damage.
By following these steps, you have successfully removed the Kenwood stereo from the dashboard. However, remember that there may still be wiring connections that need to be detached before fully removing the stereo. In the next step, we will explore how to disconnect the wiring harness and antenna.
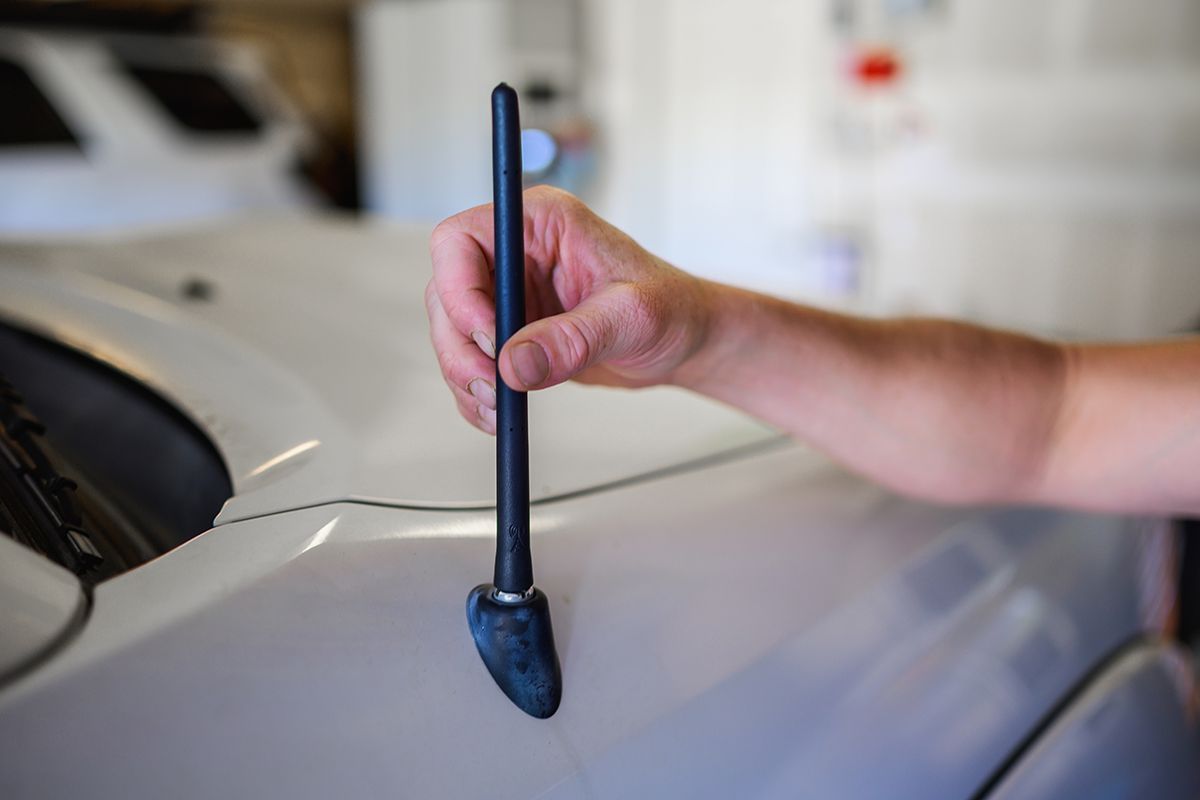
Step 5: Disconnect the Wiring Harness and Antenna
Now that the Kenwood stereo is detached from the dashboard, the next step is to disconnect the wiring harness and antenna. These connections allow the stereo to power on and receive signals. Follow these steps to properly disconnect them:
- Locate the wiring harness: Look for a bundle of wires connected to the back of the stereo. This is the wiring harness, which delivers power and audio signals to the stereo.
- Identify the wiring harness connector: The wiring harness connector is a plastic plug that connects the stereo to the car’s electrical system. It typically has multiple wires protruding from it.
- Release the wiring harness connector: To disconnect the wiring harness, locate the release tab or clip on the connector. Push or slide the release mechanism, and while holding it down, gently pull the connector away from the stereo until it detaches.
- Disconnect the antenna: Look for a thin wire connected to the back of the stereo. This is the antenna cable, which receives radio signals. Gently pull the antenna connector from the back of the stereo to disconnect it.
- Keep connectors separate: As you disconnect the wiring harness and antenna, be mindful of keeping the connectors separate. This will help ensure an easier installation of the new stereo without confusion or mix-ups.
Once the wiring harness and antenna are disconnected, the Kenwood stereo is now completely free from the car’s electrical system. Set them aside in a safe place, ensuring that the wires and connectors are not damaged or tangled.
In the next step, we will cover how to install the new stereo and reconnect the wiring harness and antenna.
Step 6: Install the New Stereo
With the old Kenwood stereo removed and the wiring harness and antenna disconnected, it’s time to install the new stereo. Follow these steps to properly install the new stereo:
- Prepare the new stereo: Before installation, ensure that the new stereo is compatible with your car make and model. Read the instruction manual provided with the stereo to familiarize yourself with its features and installation requirements.
- Connect the wiring harness: Take the wiring harness that was disconnected from the old stereo and connect it to the corresponding connector on the new stereo. Match the wire colors and use the appropriate connectors or crimp them together securely. Ensure that the connection is tight and secure.
- Connect the antenna: Take the antenna cable that was disconnected from the old stereo and connect it to the antenna jack on the new stereo. Push it in until you hear a click or feel it lock into place.
- Position the new stereo: Carefully position the new stereo in the same location where the old stereo was removed. Make sure it aligns properly with the dashboard opening and sits flush against the surface.
- Secure the new stereo: Depending on your car model and the new stereo, use the appropriate mounting kit or brackets to secure the new stereo in place. Follow the manufacturer’s instructions for proper installation and use any screws or clips provided.
As you install the new stereo, be mindful not to pinch or damage any wires and ensure that all connections are secure. Double-check that the stereo is properly aligned and securely fastened to prevent any rattling or movement while driving.
Once the new stereo is installed securely, you’re ready to move on to the next step and reconnect the wiring harness and antenna.
Step 7: Reconnect the Wiring Harness and Antenna
Now that the new stereo is securely installed, it’s time to reconnect the wiring harness and antenna to ensure proper functionality. Follow these steps to reconnect them:
- Locate the wiring harness: Find the wiring harness connector on the back of the new stereo, which should match the one you disconnected earlier.
- Align and connect the wiring harness: Take the wiring harness connector and align it with the corresponding port on the back of the new stereo. Gently push the connector into place until it clicks or locks securely.
- Connect the antenna: Take the antenna connector that you disconnected earlier and locate the antenna jack on the back of the new stereo. Align the connector and push it in until you feel it click into place.
While reconnecting the wiring harness and antenna, ensure that the connectors are inserted fully and securely. Double-check that there are no loose wires or connections that may cause issues with audio or power.
After reconnecting the wiring harness and antenna, take a moment to organize and secure any excess wiring to prevent it from interfering with the stereo or other components. Use zip ties or clips to secure the wires neatly away from any moving parts or heat sources.
With the wiring harness and antenna reconnected, you’re ready to move on to the next step and secure the stereo in the dashboard.
Step 8: Secure the Stereo in the Dashboard
With the new stereo reconnected to the wiring harness and antenna, the next step is to secure it back into the dashboard. Follow these steps to ensure a secure installation:
- Position the stereo: Carefully slide the new stereo back into the dashboard opening, aligning it with the mounting holes or brackets.
- Use the mounting kit (if required): Depending on your car model and the new stereo, you may need to use a mounting kit or brackets to secure the stereo properly. Follow the manufacturer’s instructions to install the mounting kit or brackets securely.
- Use screws or clips: If necessary, use the provided screws or clips to secure the stereo to the mounting kit or brackets. Ensure that they are tightened appropriately, but be mindful not to overtighten as it may damage the stereo or the dashboard.
- Test the stability: After securing the stereo, gently give it a slight wiggle to ensure it is stable and properly attached to the dashboard. If there is excessive movement or looseness, double-check the installation and tighten any screws or clips as needed.
It’s important to ensure that the stereo is securely fastened to avoid any rattling or movement while driving. A stable installation will also prevent damage to the stereo or the dashboard over time.
Once you are satisfied that the stereo is securely installed, you can move on to the final step – testing the new stereo.
Step 9: Test the New Stereo
After successfully installing and securing the new stereo in your car’s dashboard, it’s time to test its functionality and ensure everything is working properly. Follow these steps to test the new stereo:
- Reconnect the car battery: If you disconnected the car battery earlier, reconnect the negative battery cable to restore power to the electrical system.
- Turn on the car: Start the car and power on the stereo. Check that it powers on smoothly without any issues or error messages.
- Test audio functionality: Play different audio sources, such as FM/AM radio, CDs, or external devices connected via Bluetooth or auxiliary input. Ensure that the sound is clear and all speakers are working correctly.
- Navigate the stereo’s features: Explore the different features of the new stereo, such as adjusting the volume, changing radio stations, or accessing any additional functions or modes. Verify that all buttons and controls are responsive and functioning as expected.
- Check for any errors or issues: Keep an eye out for any error messages, unusual noises, or other issues that may indicate a problem with the new stereo. If you notice any abnormalities, consult the stereo’s user manual for troubleshooting tips or seek professional assistance if needed.
By thoroughly testing the new stereo, you can ensure that it is installed correctly and functioning properly. Make any necessary adjustments or address any issues promptly to enjoy the full functionality and benefits of your new Kenwood stereo.
With the new stereo successfully tested, you have completed the process of removing and replacing the Kenwood stereo in your car. Congratulations! You can now enjoy your upgraded audio system and the enhanced features it offers.
Remember to keep the old stereo, release keys, and any other removed components in a safe place in case you ever need them in the future. Happy listening!
Conclusion
Removing and replacing a Kenwood stereo in your car may seem like a daunting task, but with the right tools and proper guidance, it can be a straightforward process. By following the step-by-step instructions outlined in this article, you can confidently remove the old stereo and install a new Kenwood stereo in your car’s dashboard.
It is important to prioritize safety by turning off the car power, wearing protective gloves, and disconnecting the battery before starting any work. Additionally, locating the release keys and inserting them correctly is crucial for unlocking and removing the stereo from the dashboard.
Throughout the process, pay attention to the wiring harness and antenna connections, ensuring they are properly detached from the old stereo and securely reconnected to the new one. The new stereo should be installed securely in the dashboard using the appropriate mounting kit or brackets.
Once the installation is complete, don’t forget to test the functionality of the new stereo, including audio playback, navigation of features, and checking for any errors or issues. This will ensure that your new Kenwood stereo is working properly and providing you with an enhanced audio experience.
With the old stereo successfully removed and the new one seamlessly installed, you can now enjoy the benefits of improved sound quality, modern features, and a more enjoyable driving experience. Remember to refer to the user manual of your specific Kenwood stereo for any additional instructions or troubleshooting tips.
Thank you for following this guide on how to remove a Kenwood stereo. We hope this article has been informative and helpful in assisting you with your stereo replacement project.