Home>Devices & Equipment>Radio>How To Turn On Kenwood Radio
Radio
How To Turn On Kenwood Radio
Modified: January 22, 2024
Learn how to turn on your Kenwood radio with our easy step-by-step guide. Perfect for anyone looking to enjoy their favorite radio stations hassle-free.
(Many of the links in this article redirect to a specific reviewed product. Your purchase of these products through affiliate links helps to generate commission for AudioLover.com, at no extra cost. Learn more)
Table of Contents
Introduction
Welcome to the world of Kenwood radios! Whether you’re a radio enthusiast, a music lover, or someone who simply enjoys tuning in to your favorite stations, learning how to turn on and operate a Kenwood radio is an essential skill.
Kenwood is a reputable brand known for its high-quality radios that deliver crystal-clear sound and a wide range of features. With their sleek designs and user-friendly interfaces, Kenwood radios are a popular choice for both professionals and casual users alike.
In this article, we will guide you through the steps of turning on your Kenwood radio, adjusting the volume settings, selecting a radio station, fine-tuning the radio reception, and exploring additional features.
Whether you have a portable Kenwood radio for on-the-go use or a car stereo system with Kenwood radio capabilities, this article will provide you with the necessary knowledge to enjoy your listening experience to the fullest.
So, let’s dive in and learn how to turn on your Kenwood radio!
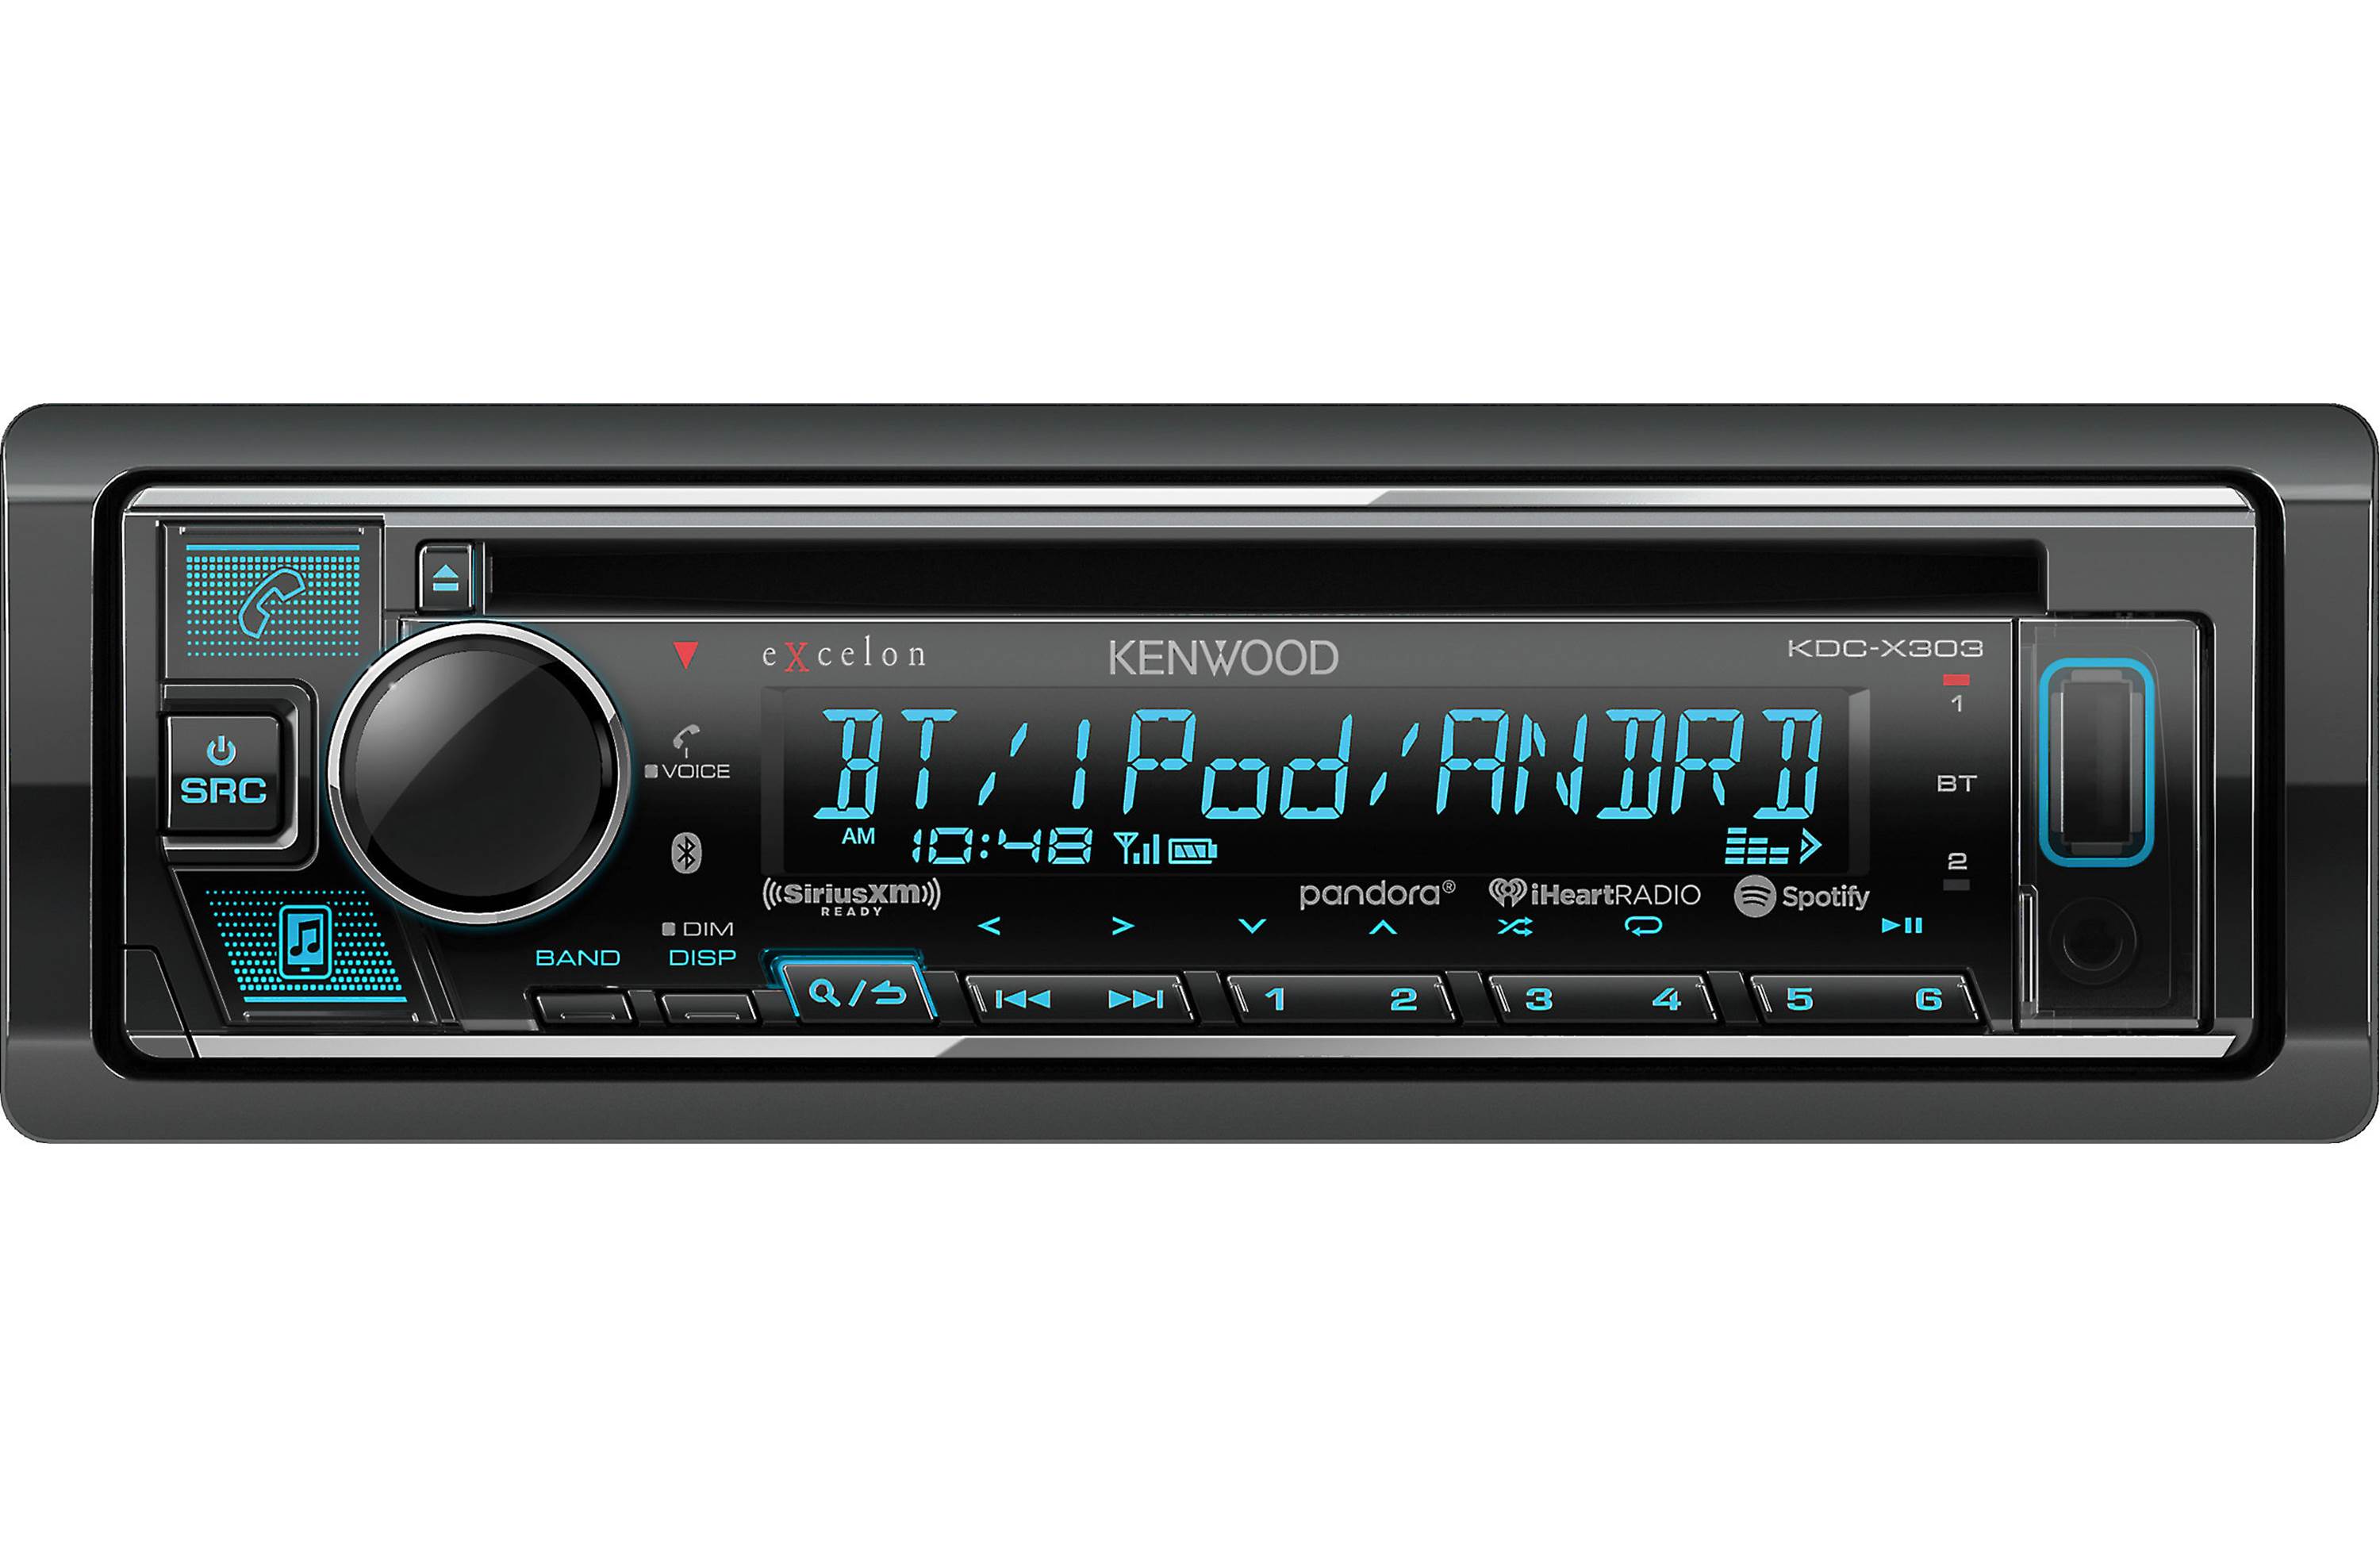
Step 1: Powering On the Kenwood Radio
The first step in using your Kenwood radio is to power it on. The process may vary slightly depending on the specific model, but the general steps remain the same.
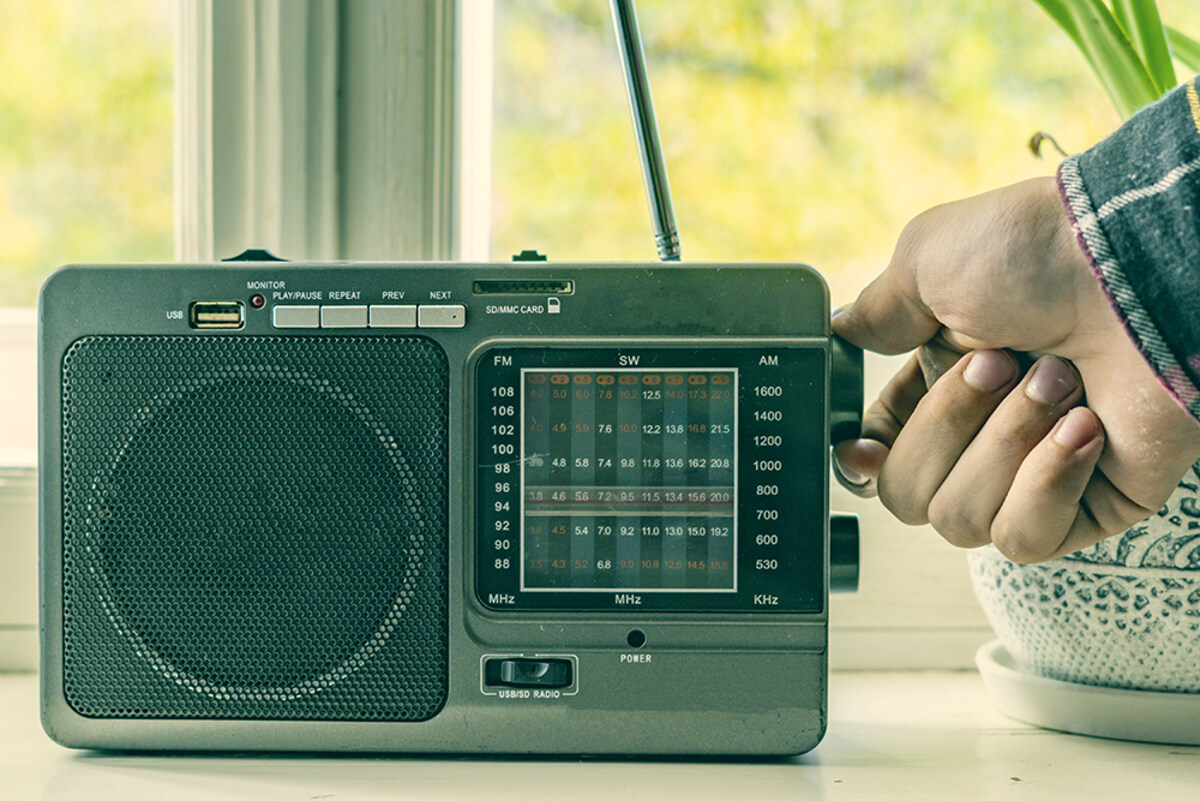
If you have a portable Kenwood radio, locate the power button on the device. It is usually indicated by a small icon that resembles a power symbol. Press and hold the power button until the radio powers on. You may see a small LED light or display light up, indicating that the radio is now on.
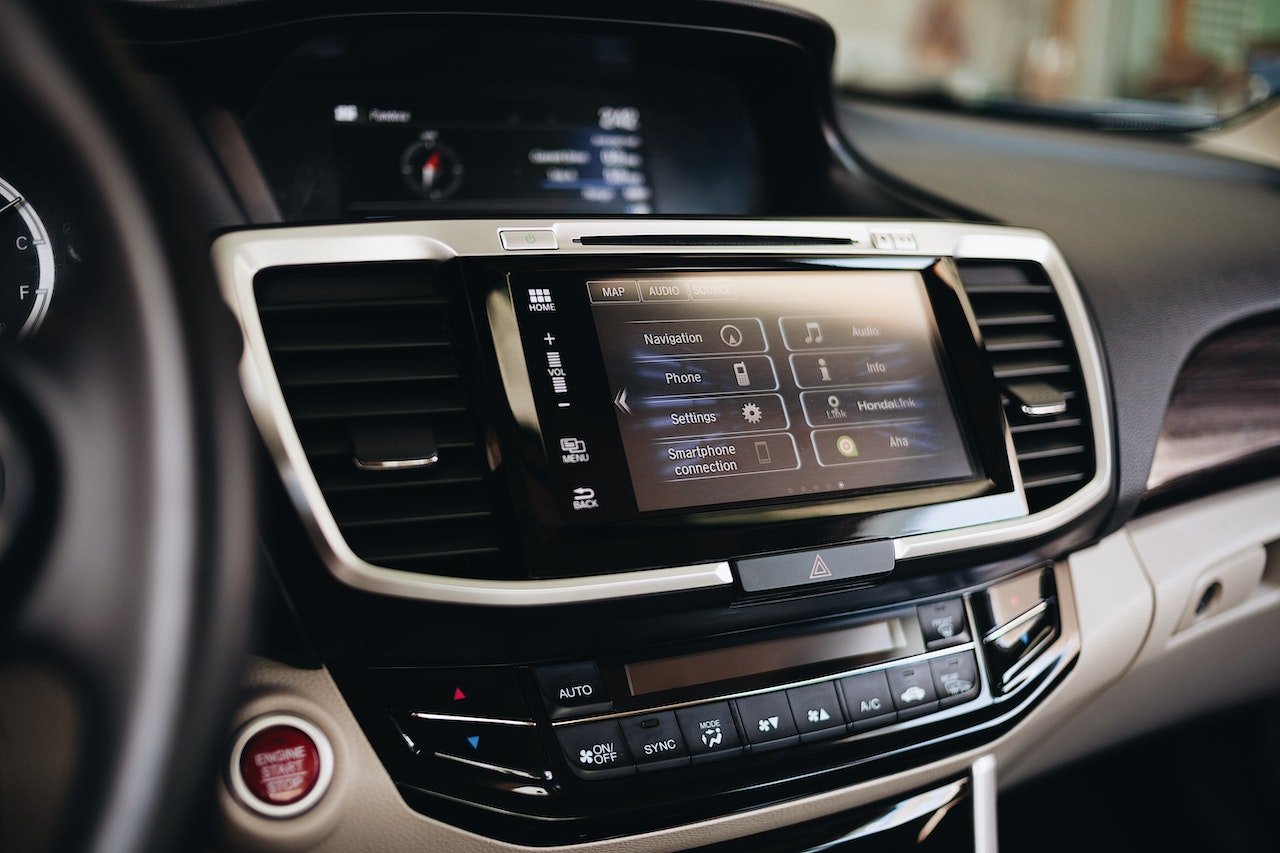
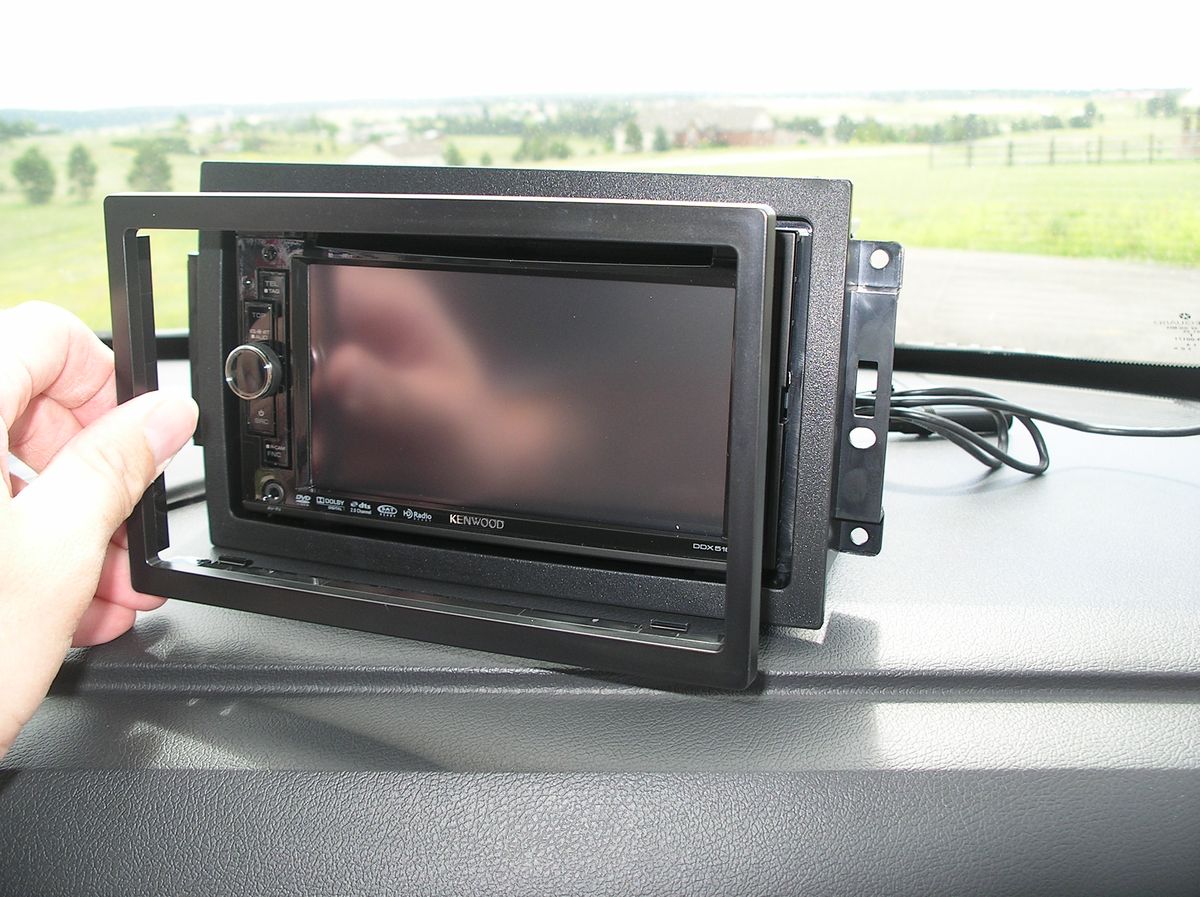
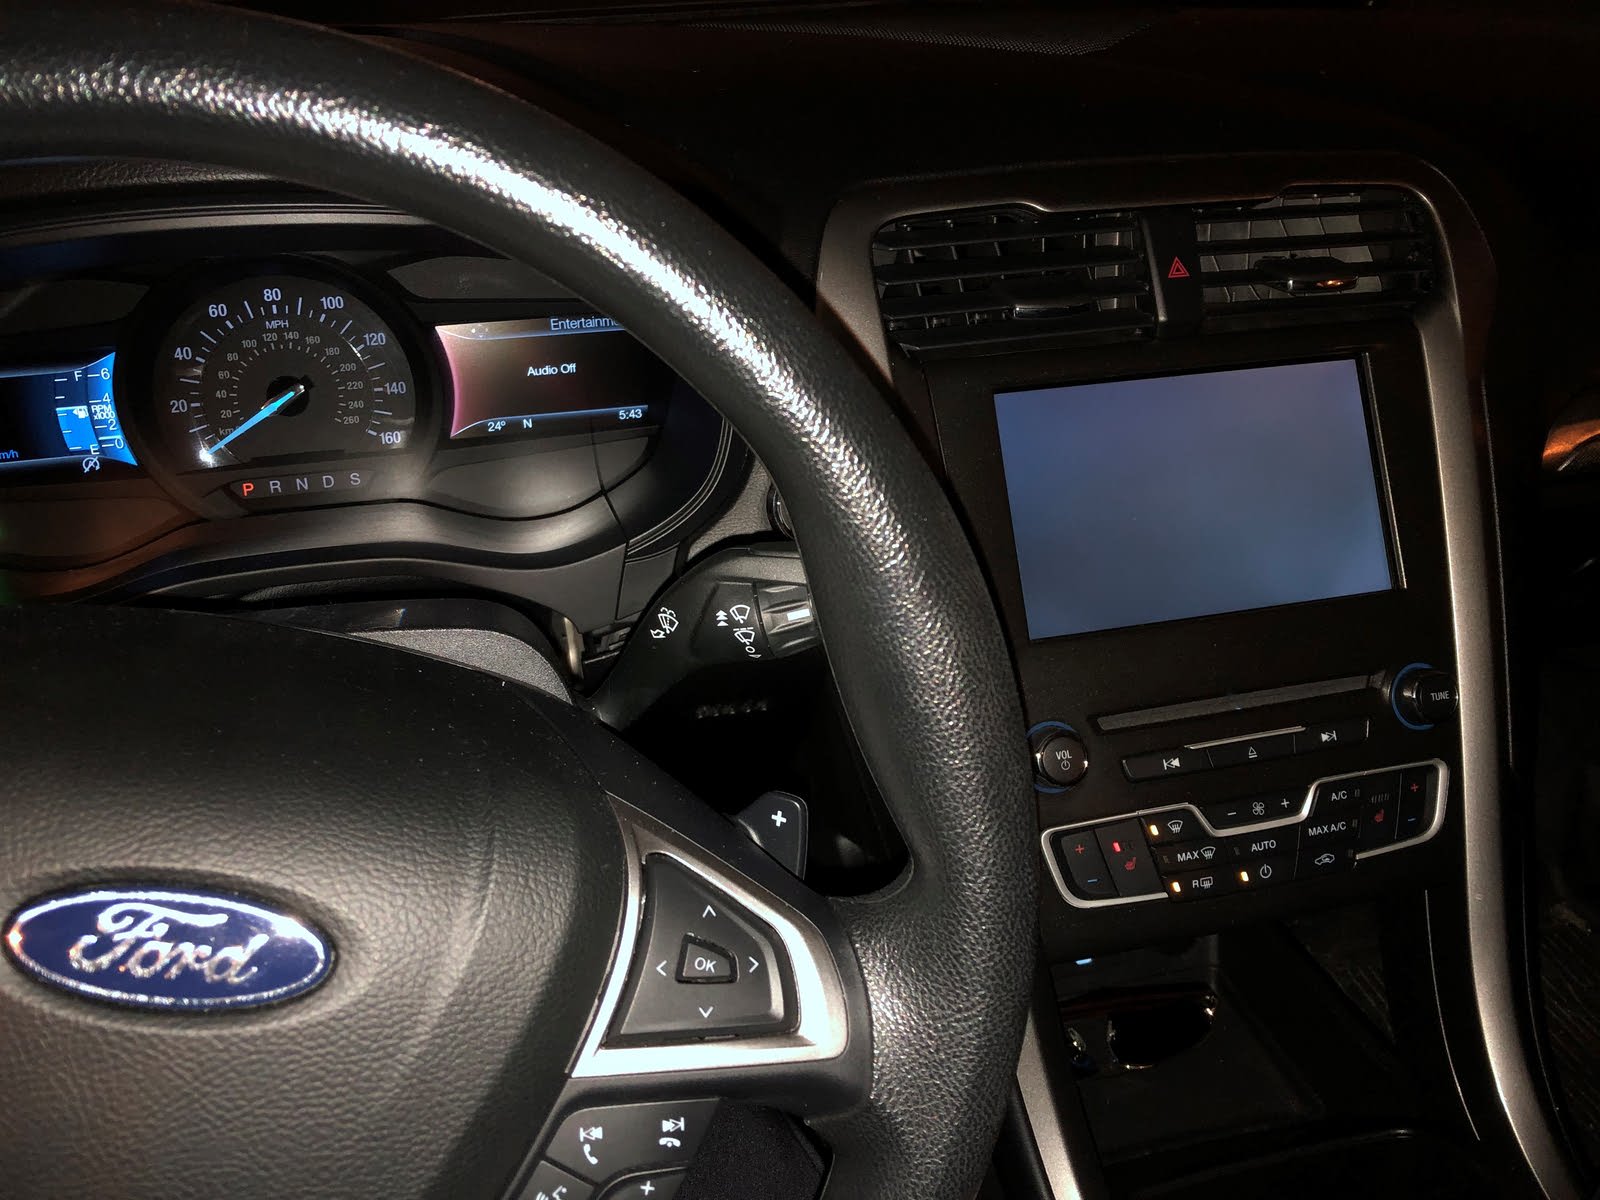
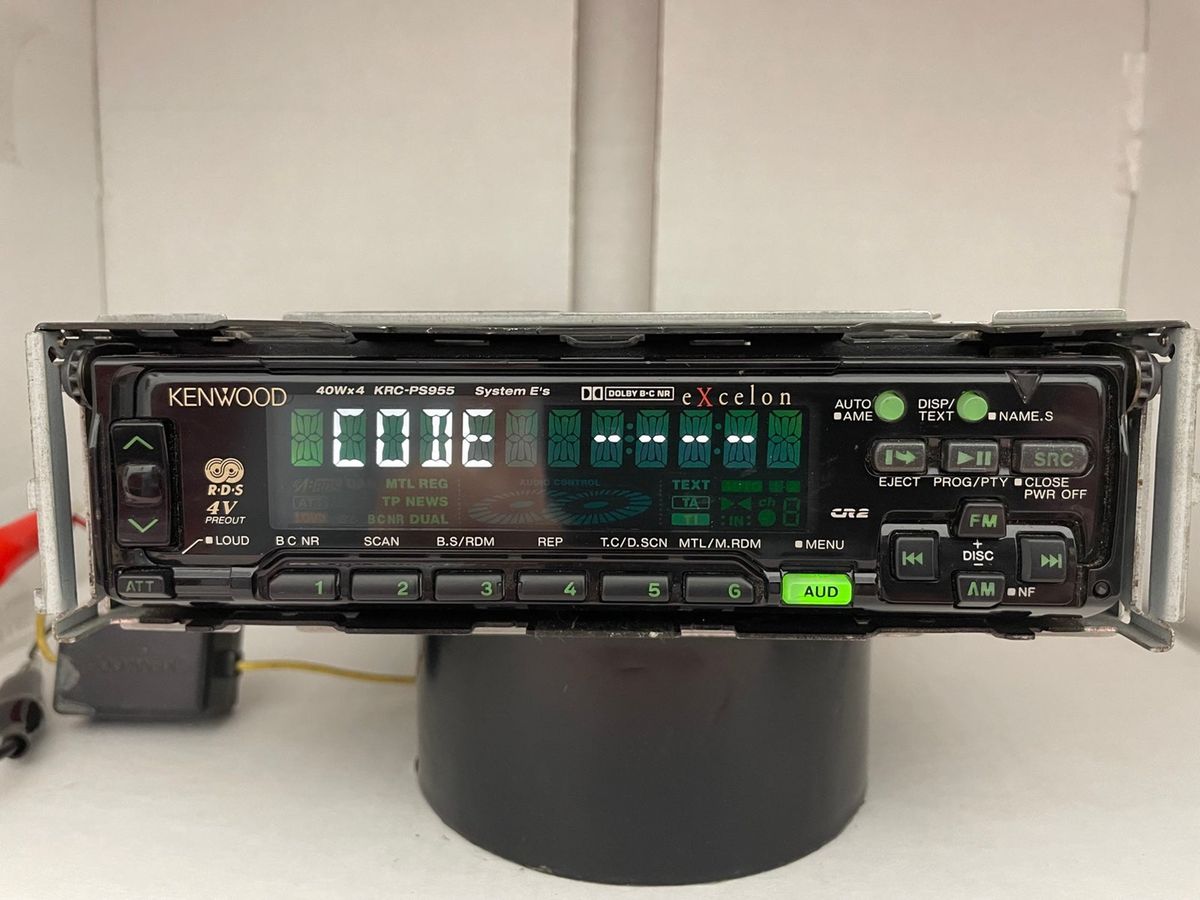
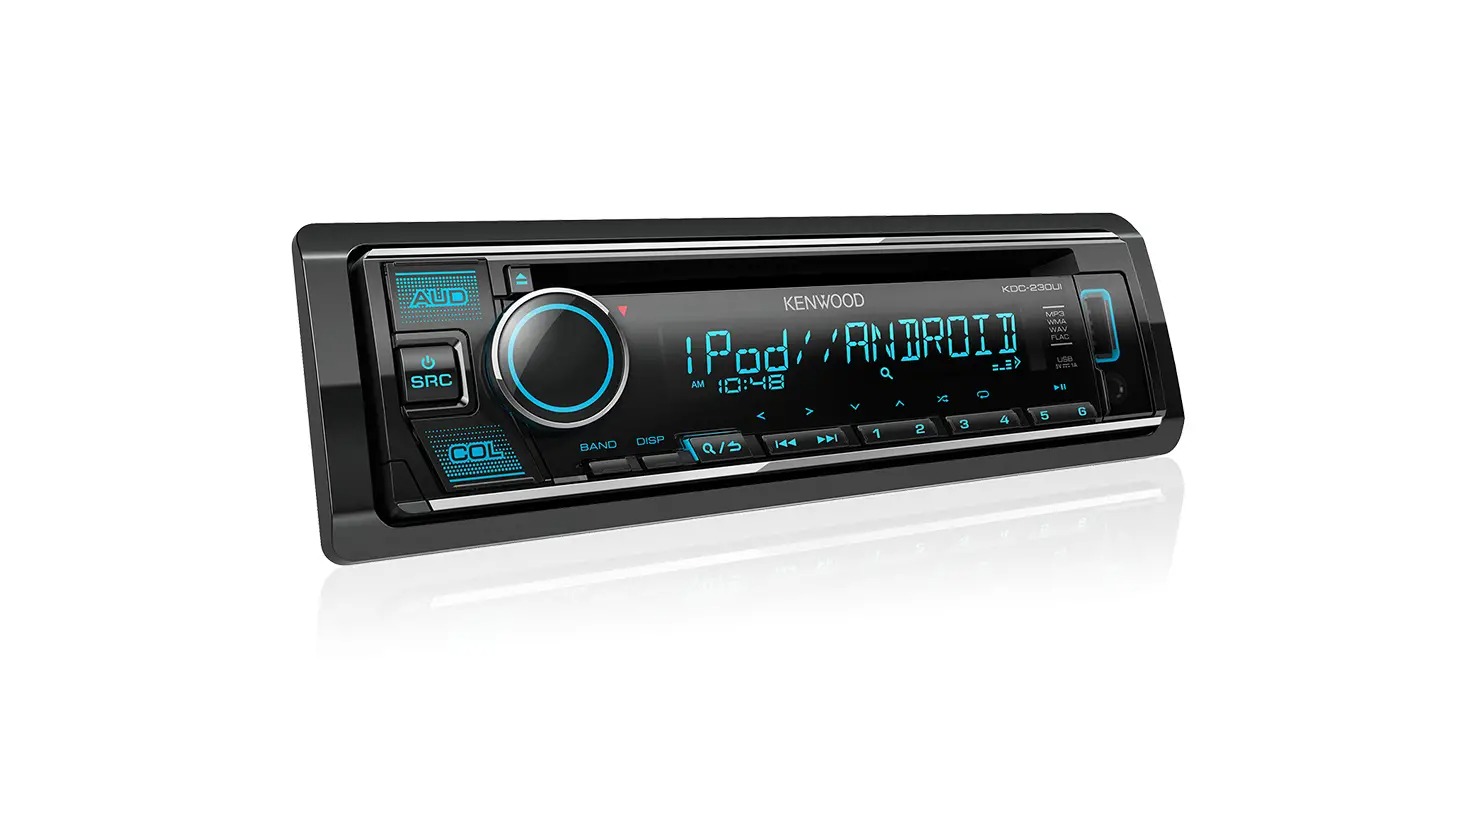
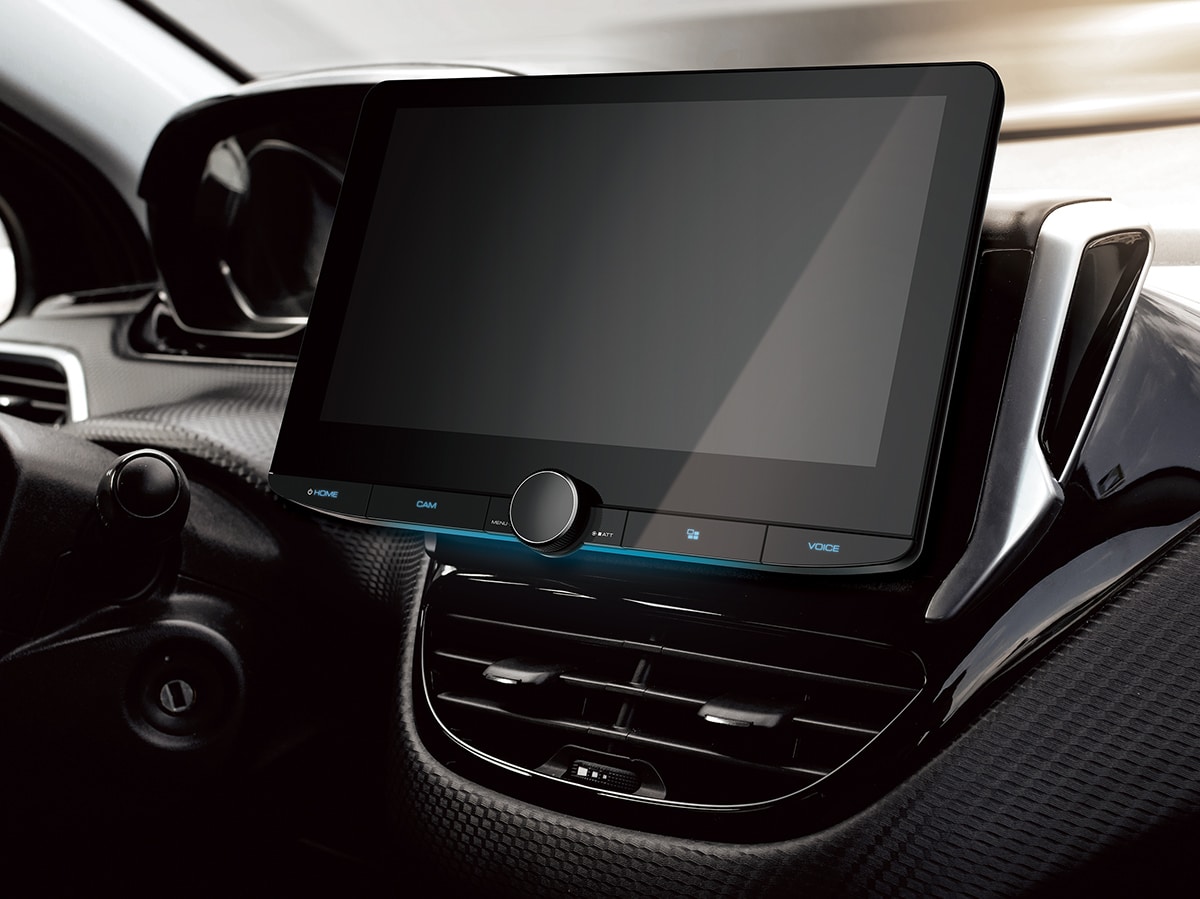
If you have a Kenwood car stereo system, the power button is typically located on the main unit or on the control panel. Press the power button to turn on the radio. In some models, the radio may automatically power on when you start your vehicle. Keep in mind that if your car battery has recently been disconnected, you may need to enter a security code to unlock the radio before it can be powered on.
Once your Kenwood radio is turned on, you will be ready to adjust the volume settings, select a radio station, and explore the various features it has to offer.
Remember to refer to the user manual specific to your Kenwood radio model for any additional instructions or troubleshooting tips related to powering on the device.
Step 2: Adjusting the Volume Settings
After powering on your Kenwood radio, the next step is to adjust the volume settings to your desired level. Having the right volume is crucial for a pleasant and comfortable listening experience.
Most Kenwood radios have dedicated volume control buttons or knobs that allow you to increase or decrease the volume. On portable radios, these buttons are typically located on the sides or top of the device, while on car stereo systems, they are often found on the control panel or steering wheel.
To adjust the volume, simply press the volume up or down buttons or rotate the volume knob clockwise or counterclockwise. As you do so, you will hear the volume level change, indicating that the adjustments are being made.
It’s important to find a volume level that suits your preference while ensuring that it is not too high to cause discomfort or distortion. Start with a moderate volume and gradually adjust it to your liking while being mindful of your surroundings, especially when using a car stereo system.
Some Kenwood radios may also offer additional options for fine-tuning the sound, such as bass and treble adjustments or equalizer settings. These features can further enhance the audio quality and allow you to personalize the sound output to your preference.
Experiment with the different volume levels and sound settings to find the perfect balance that enhances your listening experience.
Remember to refer to your Kenwood radio’s user manual for specific instructions on adjusting the volume settings and utilizing any additional sound-enhancing features.
Step 3: Selecting a Radio Station
Once you have powered on your Kenwood radio and adjusted the volume settings, it’s time to select a radio station to tune in to. Kenwood radios provide various ways to browse and choose from a wide range of stations available.
If your Kenwood radio has a digital display, it may have a dedicated tuning knob or buttons that allow you to navigate through available stations. In this case, you can rotate the tuning knob or press the up and down buttons to scroll through the frequency spectrum.
As you navigate through the frequencies, the radio will automatically stop at each station it detects. You may also see the station’s frequency or name displayed on the screen. Once you find a station that interests you, stop scrolling and let the radio settle on that frequency.
For Kenwood radios with a preset feature, you can save your favorite stations for easy access. Look for the “Preset” button or any designated buttons labeled with numbers. Tune in to the desired station and press and hold the preset button until you hear a confirmation sound or see a visual indicator that the station has been saved.
To access the preset stations, simply press the corresponding preset button, and the radio will automatically tune in to that saved station.
In addition to manual tuning and presets, some Kenwood radios feature seek or scan functions. Seek mode allows the radio to automatically search for and stop at the strongest signals, making it convenient for finding stations on the go. Scan mode, on the other hand, allows the radio to quickly scan through available stations, giving you a preview of each one before settling on a specific station.
Experiment with the different tuning methods and explore the stations available to find your go-to favorites.
Remember to consult your Kenwood radio’s user manual for specific instructions on selecting and saving stations, as the process may vary depending on the model.
Step 4: Fine-Tuning the Radio Reception
After selecting a radio station on your Kenwood radio, you may find that the reception is not optimal. This can lead to weak or distorted sound, hindering your listening experience. Fortunately, Kenwood radios provide options for fine-tuning the reception to improve the quality of the signal.
If you are using a portable Kenwood radio, adjusting the antenna can significantly impact the reception. Extend or position the antenna to its fullest length and experiment with different angles to find the position that yields the best signal strength. In some cases, rotating the radio itself may also help improve the reception.
For car stereo systems with Kenwood radios, the antenna is typically built-in. However, you can still adjust the reception by using the seek or scan functions. These features allow the radio to search for the strongest signals and automatically fine-tune the reception.
If you are experiencing poor reception in a particular area, such as when driving through tunnels or remote areas, consider using external antennas or digital signal boosters to enhance the radio signal. These accessories can help overcome obstacles and extend the range of your radio reception.
It’s also worth noting that moving objects within your surroundings, such as tall buildings or dense foliage, can affect the radio signal. In such cases, adjusting your position or moving to an open area may improve the reception.
Remember that weather conditions can also impact radio reception. During inclement weather, the signal may weaken, resulting in lower audio quality. In these situations, it’s best to be patient and wait for the weather to clear.
By fine-tuning the radio reception, you can ensure a clearer and more enjoyable listening experience on your Kenwood radio.
Refer to your Kenwood radio’s user manual for specific guidance on optimizing the reception and utilizing any additional features related to signal enhancement.
Step 5: Utilizing Additional Features
Kenwood radios are equipped with a plethora of additional features that can enhance your listening experience and provide convenience during daily use. Let’s explore some of these features and how you can make the most of them.
1. Bluetooth Connectivity: Many Kenwood radios come with built-in Bluetooth capabilities, allowing you to connect your smartphone or other Bluetooth-enabled devices. This feature enables you to stream music wirelessly, make hands-free calls, and even access your phone’s voice assistant directly from the radio.
2. Auxiliary Input and USB Port: If you prefer to play music from external devices, look for Kenwood radios that offer an auxiliary input or a USB port. These connections allow you to plug in your MP3 player, smartphone, or USB drive and enjoy your favorite music through the radio’s speakers.
3. CD and DVD Playback: Some Kenwood car stereo systems offer CD and DVD playback capabilities. This feature allows you to enjoy your CD collection or watch movies while on the go. Check whether your Kenwood radio supports this feature and familiarize yourself with the controls for easy navigation.
4. Equalizer and Sound Settings: Fine-tune the audio output on your Kenwood radio by exploring the built-in equalizer settings. Adjust the bass, treble, and other sound parameters to customize the sound according to your preferences and the genre of music you’re listening to.
5. Navigation Systems: In some Kenwood car stereo systems, you may find integrated navigation features. These systems provide real-time directions, turn-by-turn guidance, and points of interest to help you navigate unfamiliar roads with ease.
6. App Integration: Kenwood radios may also offer integration with popular music streaming apps such as Spotify and Pandora. With app integration, you can control and enjoy your favorite music directly from the radio interface, eliminating the need to switch between different devices.
Remember to consult the user manual specific to your Kenwood radio model for detailed instructions on how to utilize these additional features. Experiment with them to discover the functionalities that enhance your listening experience and make your day-to-day usage more convenient.
By exploring and utilizing these features, you can unlock the full potential of your Kenwood radio and enjoy a fully immersive and customizable audio experience.
Conclusion
Congratulations! You have now learned how to turn on and operate your Kenwood radio like a pro. From powering on the radio to adjusting volume settings, selecting radio stations, fine-tuning reception, and utilizing additional features, you have gained valuable knowledge to enhance your listening experience.
Kenwood radios offer a wide range of features and options to cater to different preferences and needs. Whether you have a portable radio or a car stereo system, the steps outlined in this article can be applied to most Kenwood models.
Remember to refer to your specific Kenwood radio model’s user manual for any additional instructions and troubleshooting tips. The manual will provide specific details for your particular radio, ensuring you get the most out of its features.
Now that you have mastered the basics of operating your Kenwood radio, feel free to explore further. Experiment with different radio stations, fine-tune the reception, and dive into the various audio settings to create a personalized listening experience.
Music, news, talk shows, and podcasts are just a few of the things you can enjoy with your Kenwood radio. Whether you’re at home, on the road, or out exploring, your Kenwood radio will be a reliable companion for entertainment and information.
So, grab your Kenwood radio, power it on, find your favorite station, and let the waves of sound transport you to a world of audio delight!