Home>Devices & Equipment>Radio>How To Reset JVC Radio
Radio
How To Reset JVC Radio
Published: November 10, 2023
Learn how to reset your JVC radio quickly and easily. Whether you're experiencing technical issues or want to clear previous settings, our step-by-step guide will help you get your radio back to its default state.
(Many of the links in this article redirect to a specific reviewed product. Your purchase of these products through affiliate links helps to generate commission for AudioLover.com, at no extra cost. Learn more)
Table of Contents
Introduction
Welcome to this guide on how to reset your JVC radio. Whether you’re experiencing technical difficulties or simply want to start fresh with your radio settings, a reset can often solve the problem. JVC radios are known for their reliable performance and user-friendly interface, and resetting them is a straightforward process.
Resetting your JVC radio can help resolve issues such as freezing screens, unresponsive buttons, or connectivity problems. It’s also a useful step if you’ve recently purchased a used car with a JVC radio and want to start from scratch with personalized settings.
Before we dive into the steps, it’s important to note that a reset will erase all saved settings and presets, including radio stations, custom audio configurations, and Bluetooth pairings. So, make sure to take note of any important information before proceeding with the reset.
In this guide, we’ll walk you through the step-by-step process of resetting your JVC radio. You’ll learn exactly what tools you’ll need and how to properly execute each step.
So, let’s get started with gathering the necessary tools!
Step 1: Gather the necessary tools
Before you begin the reset process, it’s important to gather the necessary tools to ensure a smooth and efficient procedure. Fortunately, you won’t need a long list of tools – just a few simple items.
Here’s what you’ll need:
- A set of screwdrivers: Depending on your specific JVC radio model, you may need a small Phillips or flathead screwdriver to remove any panels or covers.
- An anti-static wrist strap (optional): This is an optional tool, but it can be helpful in preventing static discharge that could potentially damage the electronic components of the radio.
- A soft cloth or microfiber towel: This will come in handy when cleaning the surface of the radio, removing any dust or fingerprints.
- Patience and attention to detail: While not physical tools, these attributes are essential for a successful reset. Take your time and follow each step carefully.
Once you have gathered these tools, you’ll be well-prepared to proceed with the reset process. Having everything ready before you begin will save you time and ensure that you can complete the reset without any unnecessary interruptions.
Now that you have your tools ready, let’s move on to the next step: disconnecting the negative battery terminal.
Step 2: Disconnect the negative battery terminal
Before you can reset your JVC radio, you’ll need to disconnect the negative battery terminal of your vehicle’s battery. This step ensures that there is no power flowing to the radio, allowing for a safe and effective reset.
Here’s how to disconnect the negative battery terminal:
- Locate the negative battery terminal: Open the hood of your car and locate the battery. Look for the negative terminal, which is usually marked with a “-” symbol.
- Use the appropriate tool: Depending on the type of battery terminal, you will either need a wrench or pliers to loosen the nut or clip holding the negative terminal in place.
- Disconnect the negative terminal: Once you have the necessary tool, loosen the nut or unclip the negative terminal. Carefully remove the cable from the terminal and set it aside, making sure it doesn’t come into contact with any metal surfaces.
By disconnecting the negative battery terminal, you are effectively cutting off power to the JVC radio. This step is essential to ensure a complete reset and prevent any potential damage to the radio or vehicle’s electrical system.
Once you have successfully disconnected the negative battery terminal, you can proceed to the next step, which involves locating the “RESET” button on the JVC radio.
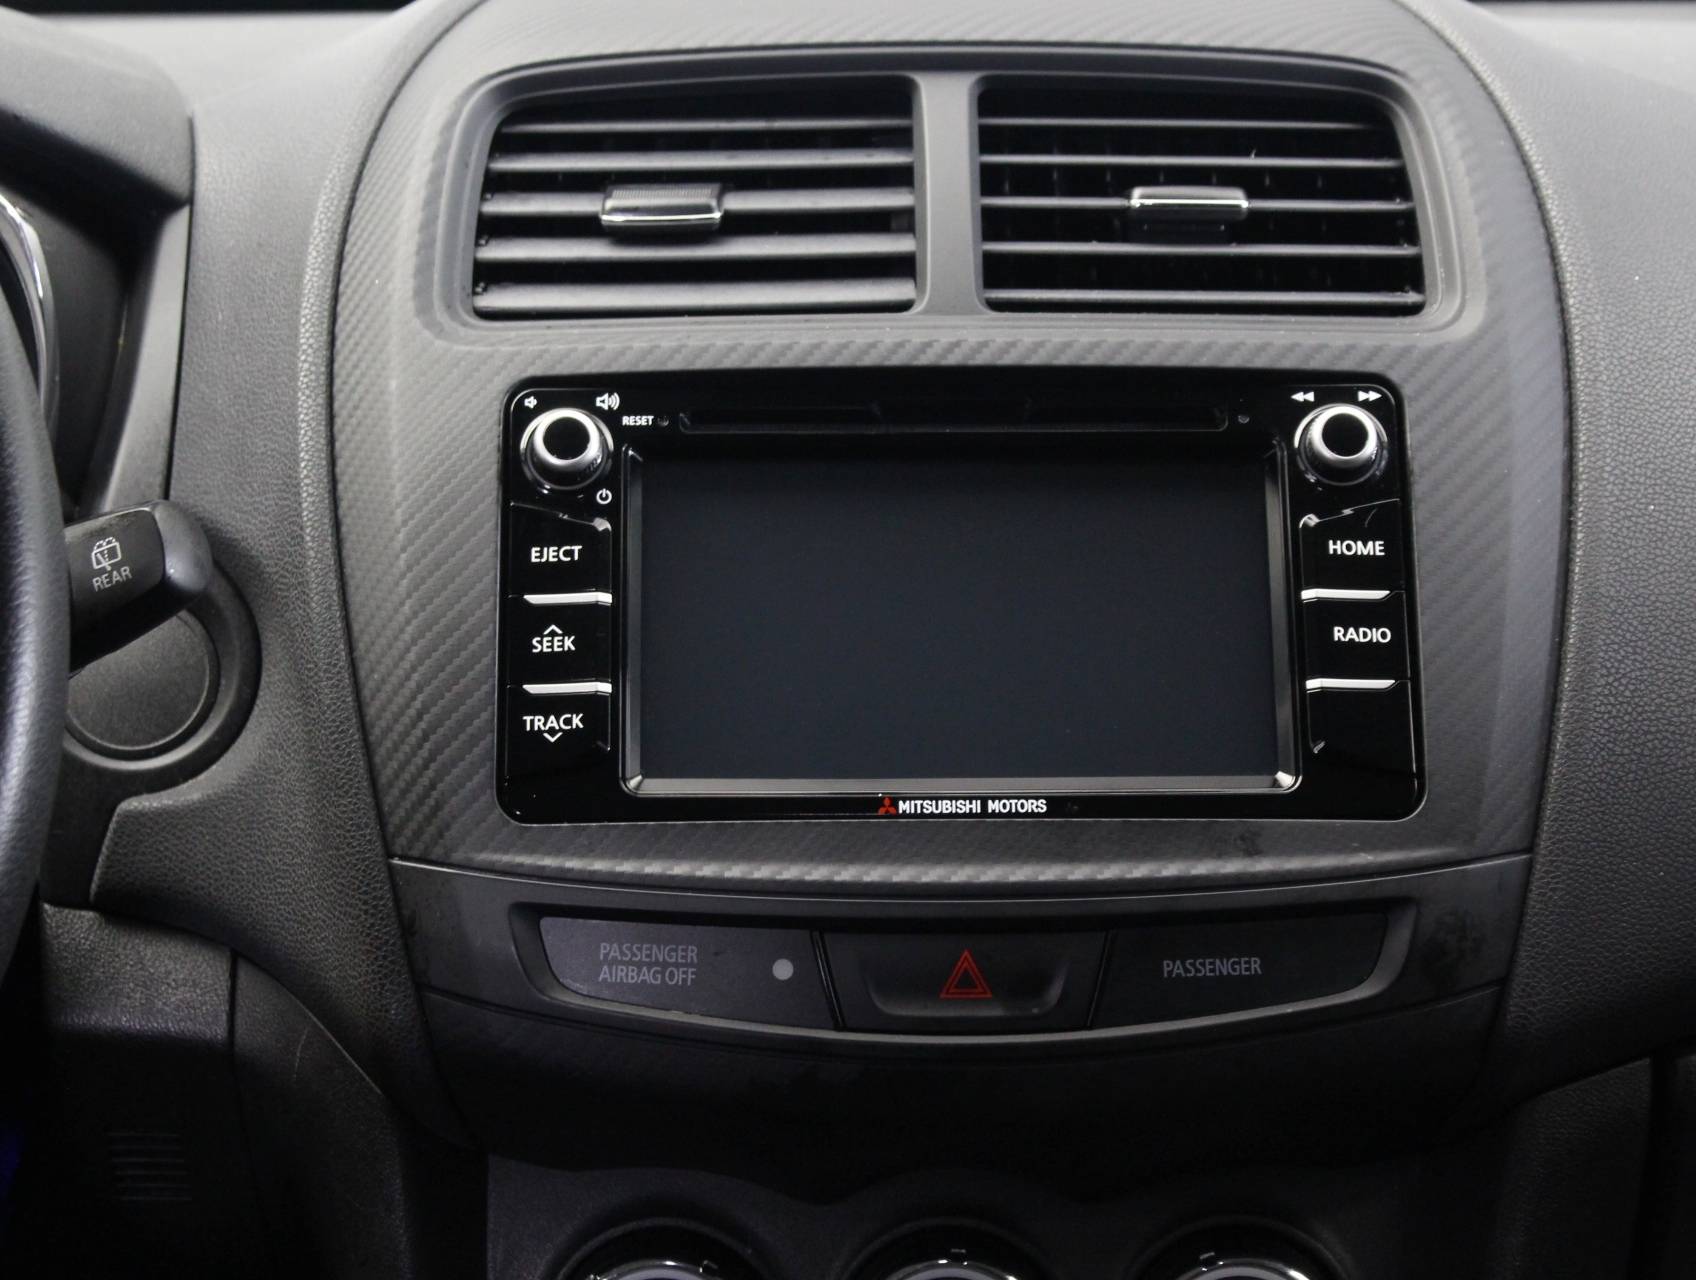
Step 3: Locate the “RESET” button on the JVC radio
In order to reset your JVC radio, you’ll need to locate the “RESET” button. This button is usually located on the front panel of the radio, but the exact placement may vary depending on your specific JVC model.
Here’s how to locate the “RESET” button:
- Inspect the front panel: Take a close look at the front panel of your JVC radio. Look for a small, recessed button labeled “RESET”. This button may be located on the top, bottom, or side of the front panel.
- Check the user manual: If you’re having trouble locating the “RESET” button, consult the user manual that came with your JVC radio. The manual will provide detailed instructions and illustrations to help you locate the button.
- Online resources: If you can’t find the user manual or still have trouble locating the “RESET” button, try searching for your specific JVC radio model online. There are often user forums or support websites that provide helpful information and diagrams.
Once you have successfully located the “RESET” button, you’re ready to move on to the next step: pressing and holding the “RESET” button to initiate the reset process.
It’s crucial to find the “RESET” button before proceeding to ensure that you perform the reset correctly. Taking the time to locate this button will save you from unnecessary frustration and potential damage to your JVC radio.
Step 4: Press and hold the “RESET” button
Now that you have located the “RESET” button on your JVC radio, it’s time to initiate the reset process. Pressing and holding the “RESET” button will restore the radio to its factory settings, erasing any custom configurations or presets.
Here are the steps to press and hold the “RESET” button:
- Ensure the radio is off: Before pressing the “RESET” button, make sure the radio is turned off. This is typically done by pressing the power button or simply turning off the ignition if the radio is connected to your car’s electrical system.
- Use a pointed object: To press the “RESET” button, you’ll need a small, pointed object such as a pen, paperclip, or a toothpick. Gently press and hold the “RESET” button with the pointed object.
- Hold for several seconds: Keep the button pressed for about 10 to 15 seconds. This duration may vary depending on your JVC radio model, so consult your user manual if you’re unsure.
- Release the button: After holding the button for the specified duration, release it. You should notice the radio powering back on or display a message indicating that the reset was successful.
By pressing and holding the “RESET” button, you are initiating the reset process, allowing the JVC radio to revert to its original factory settings. This step is essential to eliminate any previous configurations and start fresh.
Once you have released the “RESET” button, proceed to the next step: reconnecting the negative battery terminal.
Step 5: Reconnect the negative battery terminal
After successfully resetting your JVC radio by pressing and holding the “RESET” button, it’s time to reconnect the negative battery terminal. This step will restore power to the radio and allow you to test if the reset was effective.
Follow these steps to reconnect the negative battery terminal:
- Retrieve the negative battery cable: Locate the negative battery cable that you disconnected earlier. Ensure that it’s clean and free from any corrosion or debris.
- Align and connect the cable: Align the negative battery cable with the negative battery terminal. Gently slide the cable onto the terminal and tighten it using the appropriate tool. Make sure it is securely fastened.
- Double-check the connection: After tightening the negative battery cable, give it a slight tug to ensure that it is firmly connected. A secure connection is vital for proper functioning of the JVC radio.
Reconnecting the negative battery terminal restores power to the JVC radio, allowing you to test if the reset was successful. Once connected, turn on the radio and observe if it powers up without any issues.
If the radio powers up normally and no error messages appear, the reset was likely successful. However, if you encounter any unexpected behavior or continue to experience problems, you may need to repeat the reset process or seek professional assistance.
Now that you have reconnected the negative battery terminal, proceed to the final step: Testing the JVC radio after resetting it.
Step 6: Test the JVC radio after resetting
After completing the reset process and reconnecting the negative battery terminal, it’s time to test your JVC radio to ensure that the reset was successful and that it is functioning properly.
Follow these steps to test your JVC radio after resetting:
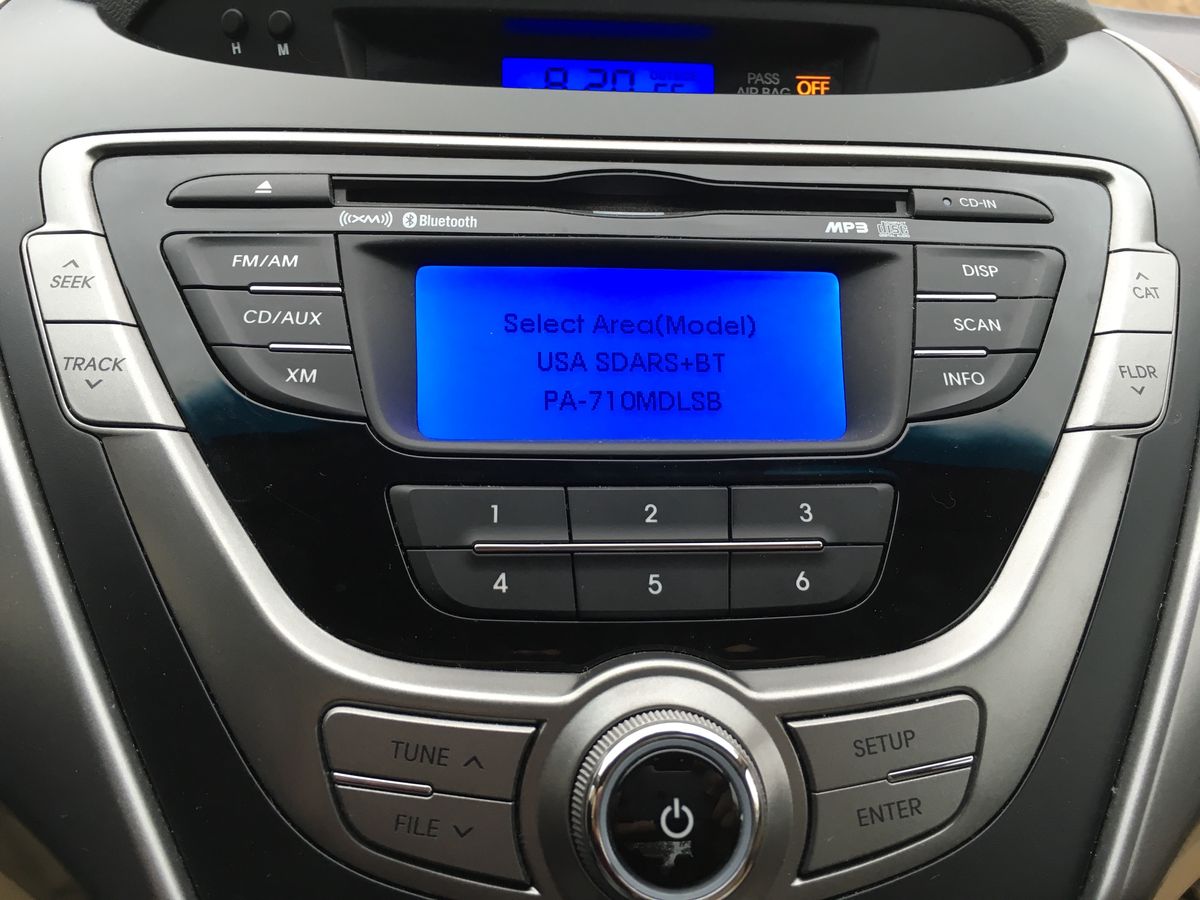
- Turn on the radio: Power on the JVC radio and check if it starts up without any issues. It should display the default screen or prompt you to set up the radio settings.
- Tune in to a radio station: Use the radio tuner to scan for stations and see if the radio is able to pick up signals clearly. If you had any favorite stations saved before the reset, you might need to reprogram them.
- Check audio functionality: Test the audio functionality of the radio by playing music from various sources such as CDs, USBs, or Bluetooth connections. Ensure that the sound is clear and that all speakers are functioning correctly.
- Verify Bluetooth connectivity: If your JVC radio has Bluetooth capability, pair it with a compatible device and test the audio streaming and call functionality. Make sure that the pairing process is smooth and that the connection remains stable.
By performing these tests, you can confirm that the reset has resolved any previous issues and that your JVC radio is now functioning properly. If you encounter any problems during this testing phase, consult the user manual, reach out to JVC customer support, or consider seeking professional assistance.
Congratulations! You have successfully completed the process of resetting and testing your JVC radio. Enjoy its refreshed settings and features as you continue to use it for your listening pleasure.
Remember, in the future, if you need to reset your JVC radio again, you can always refer back to this guide to ensure a smooth and efficient process.
Now that you’ve completed the necessary steps, you can enjoy your JVC radio with a fresh start!
Conclusion
Resetting your JVC radio can be a valuable troubleshooting step to resolve technical issues or start anew with personalized settings. By following the step-by-step guide provided in this article, you can easily reset your JVC radio and enjoy a fresh start.
We began by gathering the necessary tools, including screwdrivers, an anti-static wrist strap (optional), and a soft cloth. These tools help ensure a smooth and safe reset process.
Next, we disconnected the negative battery terminal to cut off power to the radio. This step is crucial for a complete reset and prevents any potential damage to the radio or vehicle’s electrical system.
Afterwards, we located the “RESET” button on the JVC radio. By carefully locating this button, we ensured that the reset process is executed correctly.
Then, we pressed and held the “RESET” button to initiate the reset process, restoring the radio to its factory settings. This step eliminated any previous configurations or presets.
Once the “RESET” button was released, we reconnected the negative battery terminal, restoring power to the JVC radio. This allowed us to test if the reset was successful and if the radio functioned properly.
Finally, we tested the JVC radio by turning it on, tuning in to radio stations, checking audio functionality, and verifying Bluetooth connectivity. These tests ensured that the reset resolved any issues and confirmed the proper functioning of the radio.
By following this guide, you have successfully reset your JVC radio and can now enjoy its refreshed settings and features. Remember to keep this guide handy for future reference should you need to reset your JVC radio again.
Thank you for reading, and we hope this guide has been helpful in resetting your JVC radio. Enjoy your listening experience!