Home>Devices & Equipment>Radio>How To Reset F150 Radio
Radio
How To Reset F150 Radio
Published: November 16, 2023
Learn how to reset your F150 radio with our easy step-by-step guide. Fix any issues and enjoy uninterrupted tunes.
(Many of the links in this article redirect to a specific reviewed product. Your purchase of these products through affiliate links helps to generate commission for AudioLover.com, at no extra cost. Learn more)
Table of Contents
Introduction
Welcome to our guide on how to reset the radio in your F150. Whether you’re experiencing technical issues, want to clear the settings, or simply need to perform a factory reset, this step-by-step tutorial will walk you through the process.
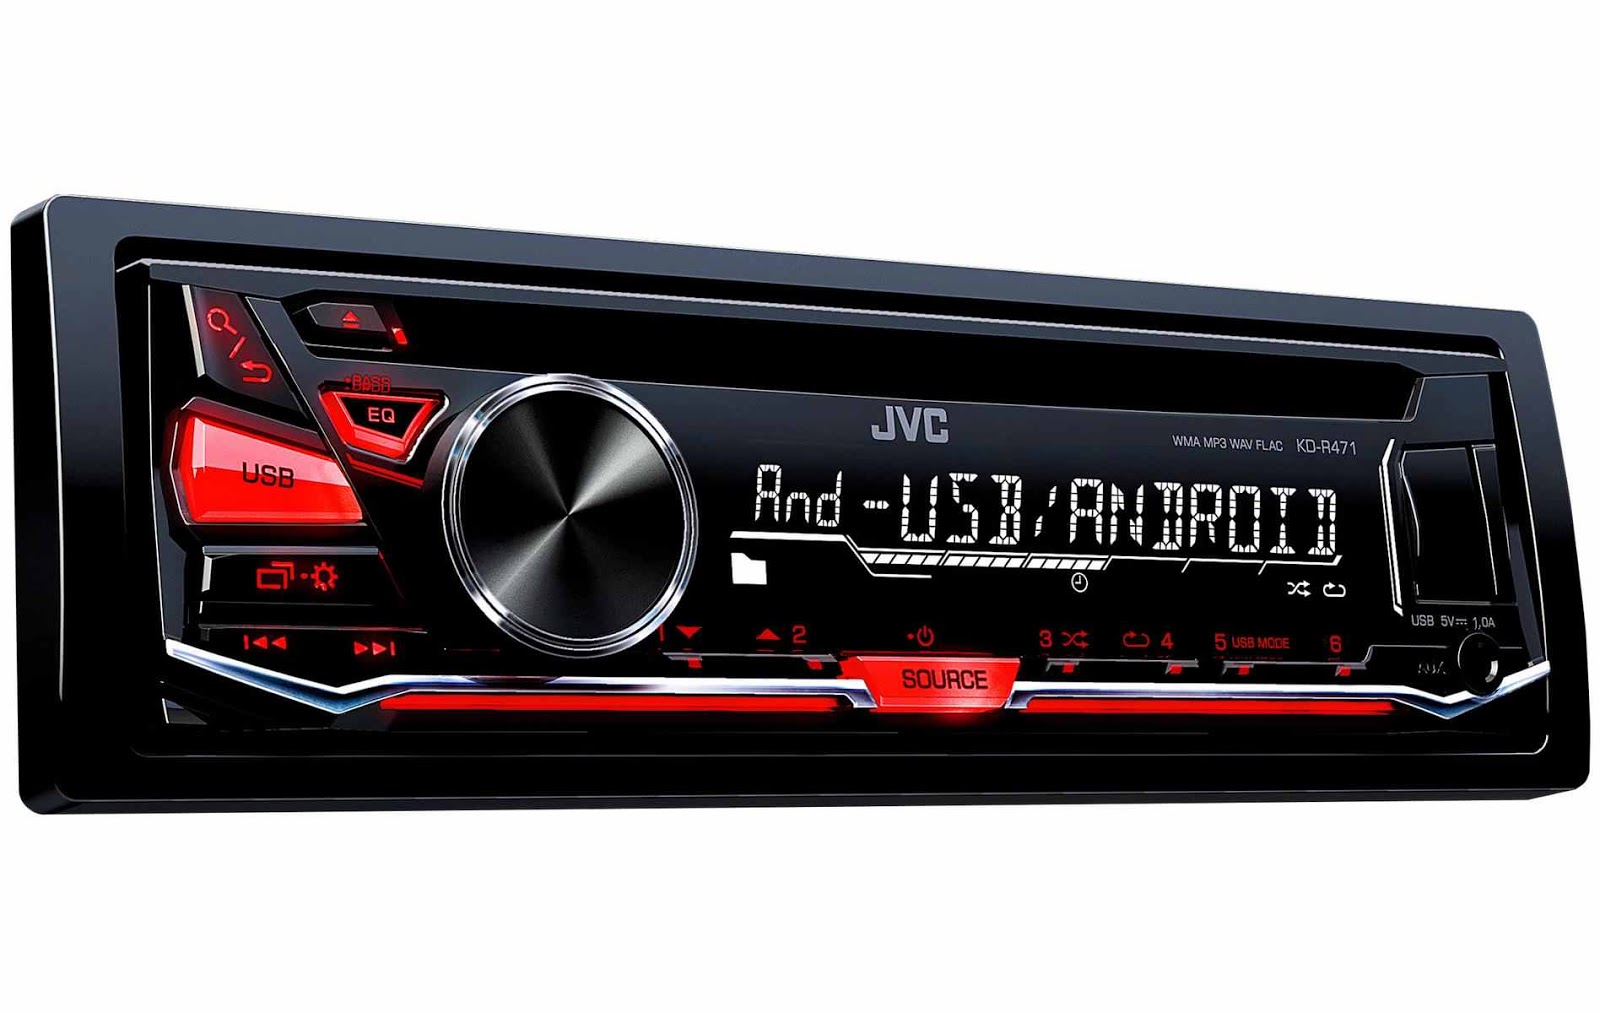
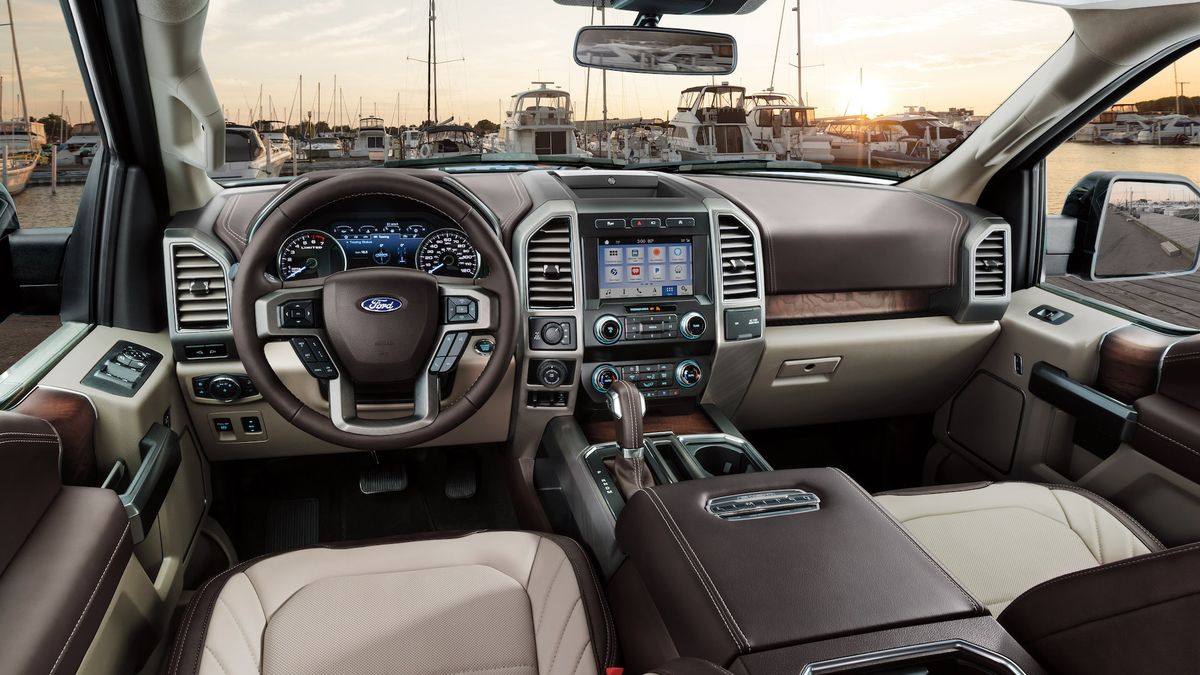
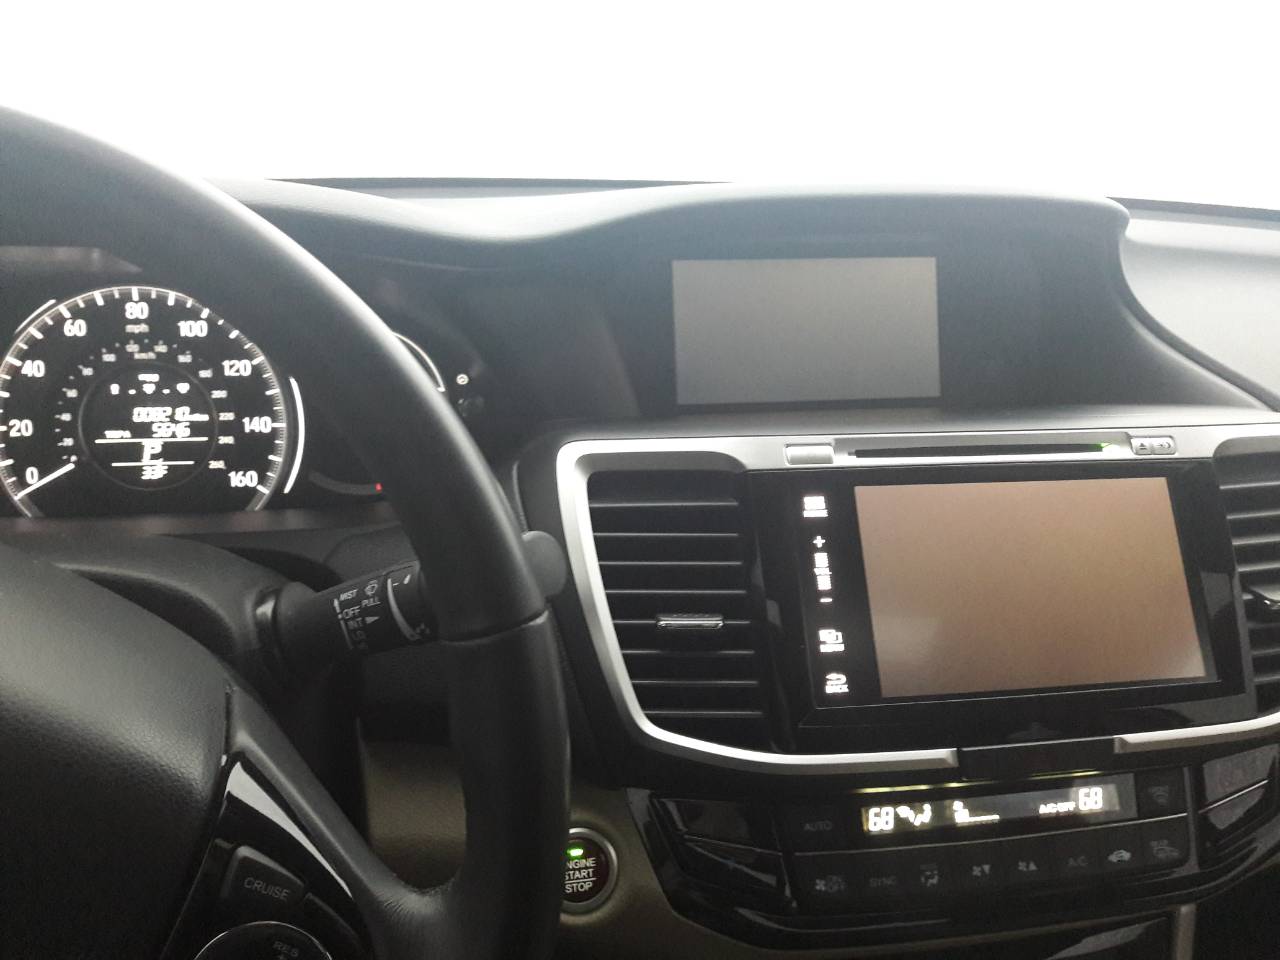
The radio in your Ford F150 is an essential component of your vehicle’s entertainment system, providing you with access to AM/FM radio stations, satellite radio, CD players, and even Bluetooth and USB connectivity. However, like any electronic device, it may encounter glitches or require a reset from time to time.
Resetting the radio can help resolve issues such as frozen screens, unresponsive buttons, or audio problems. It can also be useful if you’ve recently purchased a used F150 and want to start with a clean slate, or if you simply want to reset the radio settings to their default values.
Before we dive into the steps, it’s important to note that resetting the radio will erase any customized settings and stored presets you have. Make sure to jot down any important information or preferences before proceeding, so you can easily reconfigure them after the reset.
Now, let’s get started with the process of resetting the radio in your F150.
Step 1: Gather the Necessary Tools
Before you begin the process of resetting the radio in your F150, you’ll need to gather a few essential tools to ensure a smooth and hassle-free experience. Here’s what you’ll need:
- A pair of gloves: Wearing gloves will help protect your hands and prevent any accidental injuries while working with the car battery.
- A wrench or socket set: You’ll need a wrench or socket set to loosen and remove the negative cable connection from the car battery.
- A piece of cloth or towel: Having a cloth or towel handy will be useful for wiping any dirt or grime off the car battery terminals.
It’s important to note that safety should always be your top priority when working with car batteries. Make sure to wear gloves to protect yourself from any potential electrical shocks or acid leakage. Additionally, ensure that all electrical components, including the radio, are turned off before proceeding with the reset process.
Once you have gathered all the necessary tools, you’re ready to move on to the next step: disconnecting the car battery.
Step 2: Disconnect the Car Battery
Now that you have your tools ready, it’s time to disconnect the car battery as the first step in resetting the radio. Follow these steps carefully:
- Locate the car battery: In most Ford F150 models, the car battery is located in the engine compartment, usually on the passenger side. Refer to your vehicle’s manual if you’re having trouble finding it.
- Put on the gloves: Before handling the car battery, put on your gloves to protect your hands from any potential harm.
- Find the negative terminal: Look for the negative terminal, which is typically marked with a “-” symbol. It is usually black in color and connected to a black cable.
- Disconnect the negative cable: Using a wrench or a socket set, loosen the nut or bolt securing the negative cable to the negative terminal. Once loosened, carefully remove the cable from the terminal.
By disconnecting the car battery, you are cutting off the power supply to the radio, allowing it to reset and clear any temporary glitches or settings. It’s important to remember that you should only disconnect the negative cable and not the positive cable.
Once you have successfully disconnected the car battery, you can proceed to the next step: waiting for a few minutes.
Step 3: Wait for a Few Minutes
After disconnecting the car battery in the previous step, it’s important to allow the system to fully reset by waiting for a few minutes. This waiting period gives the radio and its internal components enough time to power down completely, effectively clearing any temporary data or settings that may be causing issues.
During this wait time, you can take the opportunity to clean the car battery terminals using a piece of cloth or towel to remove any dirt or corrosion that may have accumulated over time. This will help ensure a better connection when you reconnect the battery.
It’s worth noting that the exact duration of the waiting period may vary depending on the specific F150 model and the condition of the radio. In general, waiting for approximately 5 to 10 minutes should be sufficient.
While waiting, you may want to consider double-checking any documentation or notes you made about your radio settings or presets. This will make it easier for you to reconfigure those settings once the reset is complete.
Once enough time has passed and you’re confident that the radio has had ample time to reset, you can proceed to the next step: reconnecting the car battery.
Step 4: Reconnect the Car Battery
Now that you have allowed enough time for the radio to reset, it’s time to reconnect the car battery. Follow these steps to ensure a secure and proper reconnection:
- Put on your gloves: As always, it’s important to protect your hands by wearing gloves when working with the car battery.
- Locate the negative terminal: Find the negative terminal on the car battery, which is typically marked with a “-” symbol. This terminal is usually black and connected to a black cable.
- Clean the terminal: Before reconnecting, take a moment to inspect the terminal for any dirt or corrosion. If needed, use a cloth or towel to clean the terminal and ensure a good connection.
- Reconnect the negative cable: Align the negative cable with the negative terminal and tighten the nut or bolt securely. Ensure that the connection is tight, but be careful not to overtighten.
By reconnecting the car battery, you are restoring power to the radio system. This will allow it to boot up and initialize with the default settings. Make sure that the negative cable is securely attached to the negative terminal before proceeding to the next step.
With the car battery reconnected, you’re one step closer to resetting the radio. The next step involves turning on the F150 radio, so let’s continue to the next section.
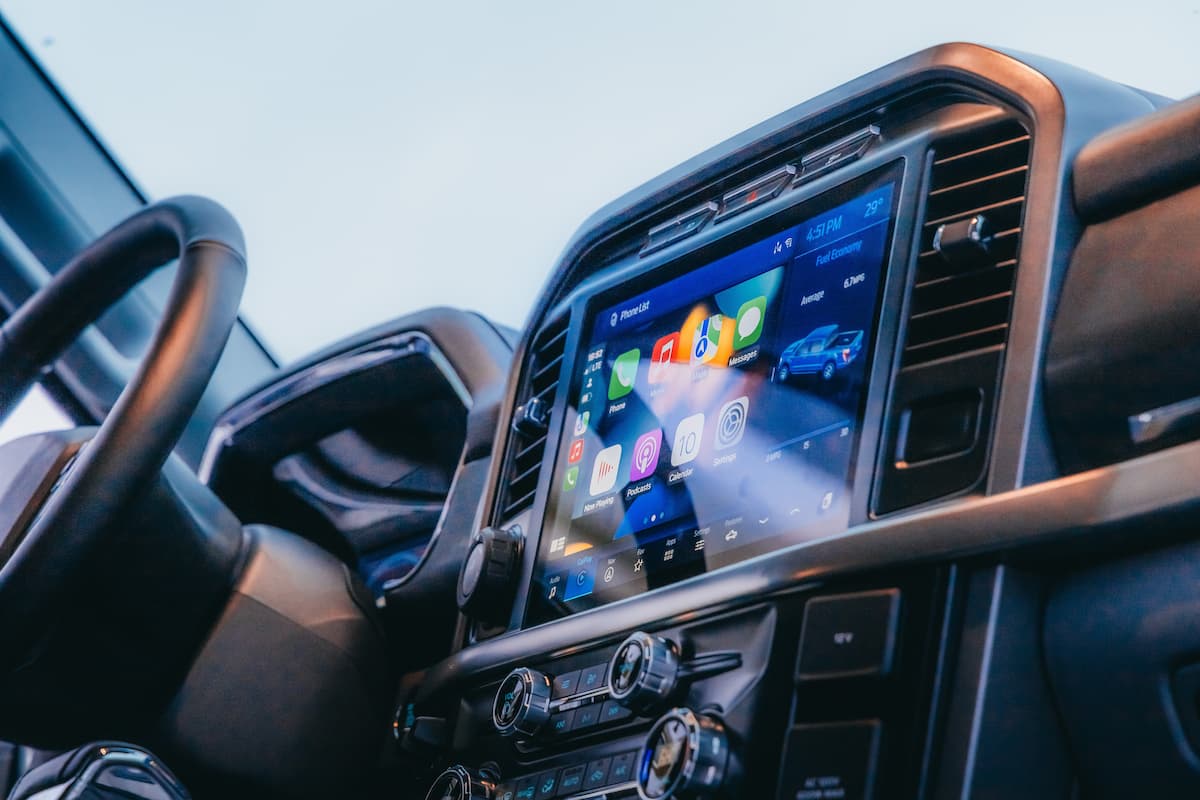
Step 5: Turn on the F150 Radio
Now that you have successfully reconnected the car battery, it’s time to turn on the F150 radio. Follow these steps to power up the radio:
- Enter the vehicle and sit in the driver’s seat.
- Insert the key into the ignition and turn it to the “accessory” position. This will activate the vehicle’s electrical system.
- Locate the radio power button or dial. It may be labeled as “Power,” “On/Off,” or have a radio icon.
- Press the power button or turn the dial clockwise to power on the F150 radio.
After pressing the power button, you should see the radio display light up and hear a sound indicating that it is turning on. It may take a few moments for the radio to fully boot up and become operational. During this time, avoid pressing any other buttons or making adjustments until the radio is fully powered up and ready for use.
Once the radio is turned on and operational, you’re ready to proceed to the next step: resetting the radio settings.
Please note that the steps to turn on the radio may vary slightly depending on the specific F150 model and the type of radio installed in your vehicle. Refer to the owner’s manual if you encounter any difficulties or confusion during this step.
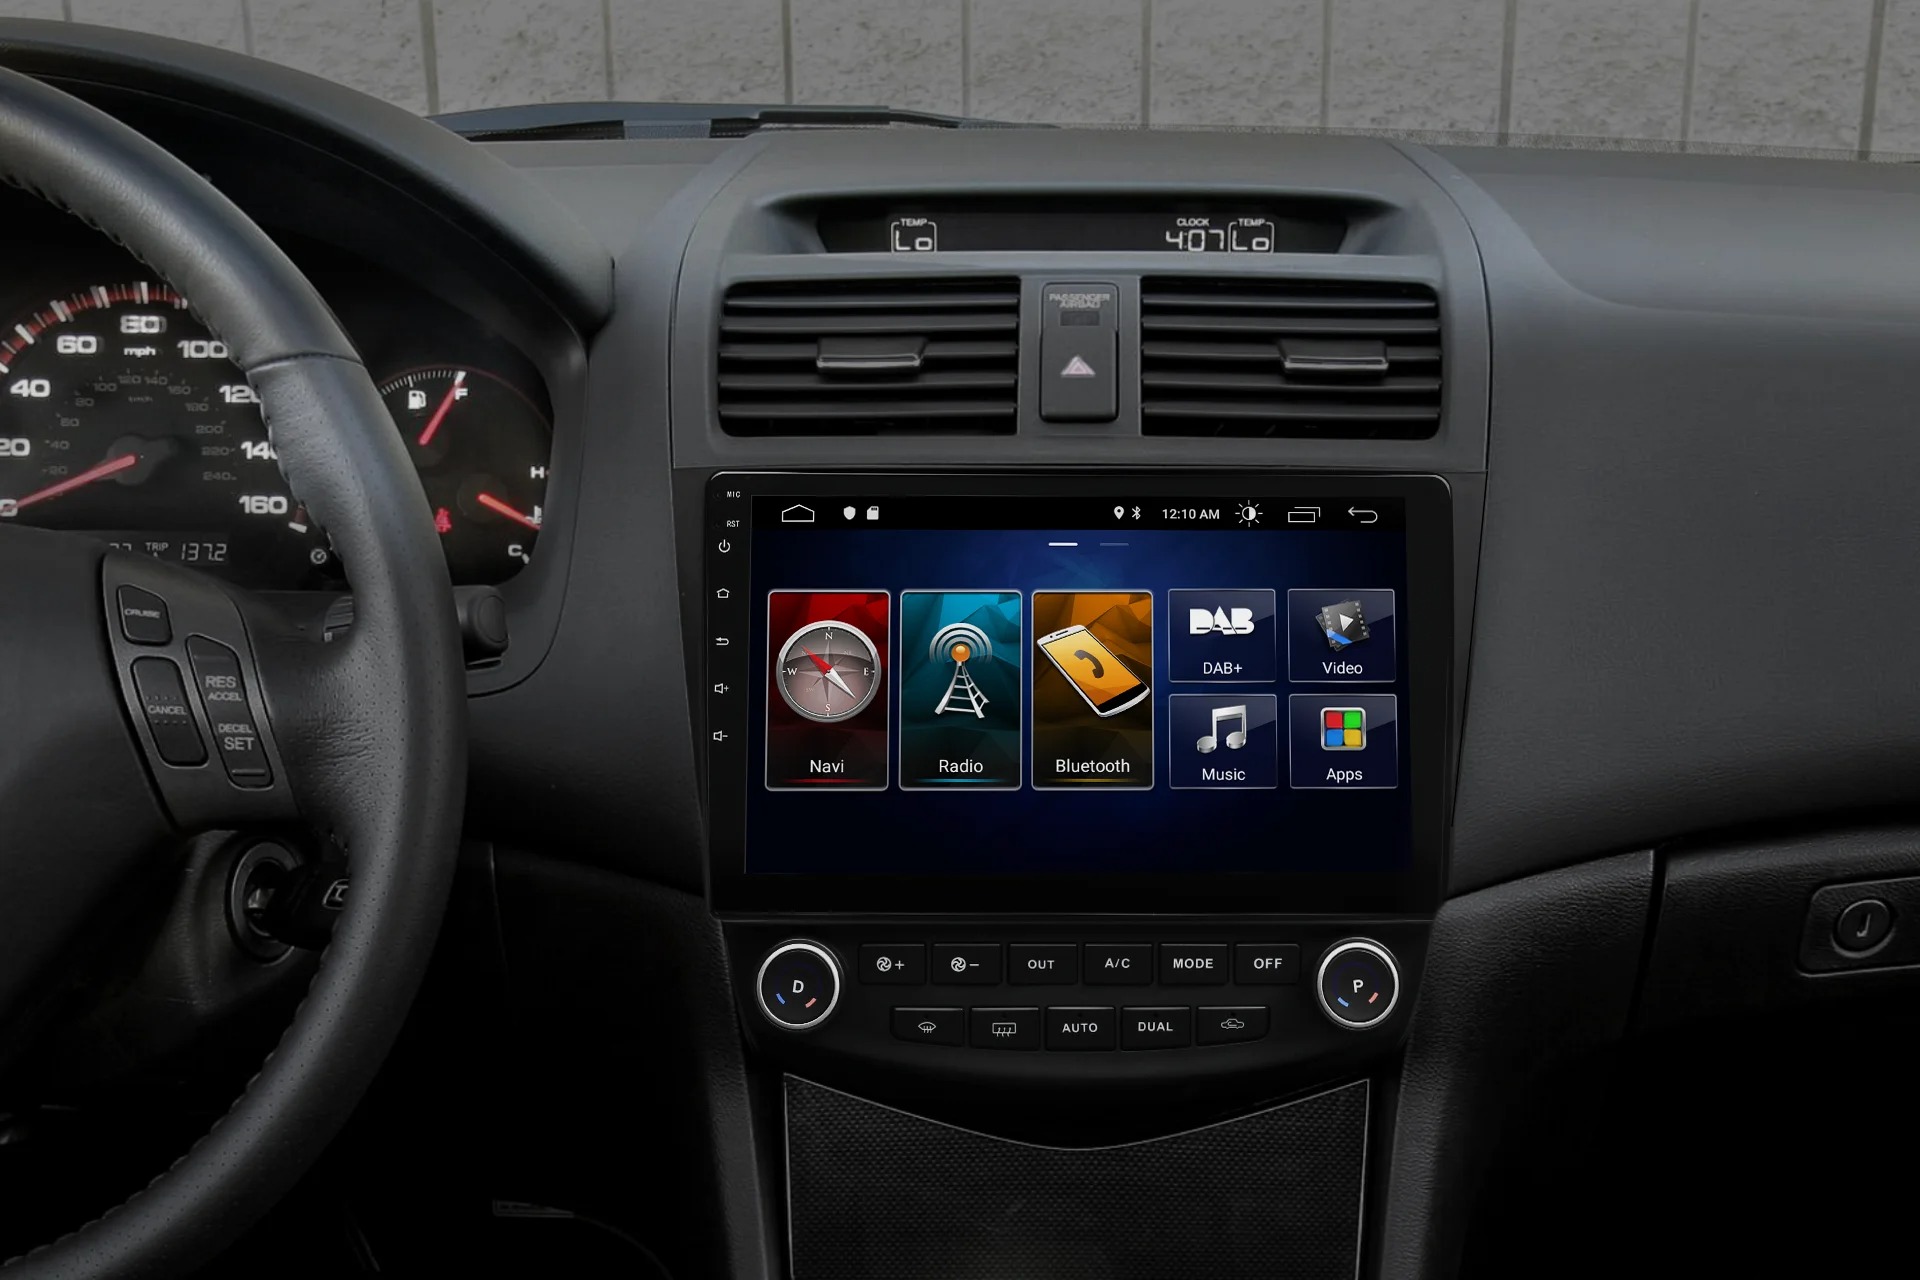
Step 6: Reset the Radio Settings
With the F150 radio powered on, it’s time to reset the radio settings to their default values. Follow these steps to initiate the reset process:
- Locate the “Settings” or “Menu” button on the radio control panel. It is typically represented by a gear or wrench icon.
- Press the “Settings” or “Menu” button to access the radio settings menu.
- Using the corresponding buttons or knobs, navigate through the settings menu to find the “Factory Reset” or “Reset” option.
- Select the “Factory Reset” or “Reset” option to initiate the resetting process.
Once you have initiated the factory reset process, the radio will begin to reset all settings to their default values. This includes audio settings, equalizer settings, radio presets, Bluetooth pairings, and any other personalized configurations.
During the resetting process, it’s important to wait patiently and avoid pressing any buttons or interrupting the reset. The radio may display a progress bar or show a message indicating that it is resetting.
After the reset is complete, the radio will typically restart automatically. It may take a few moments for it to fully boot up and become operational again. Once it’s ready, you can proceed to the final step: testing the radio functionality.
Please note that the steps to reset the radio settings may vary slightly depending on the specific F150 model and the type of radio installed in your vehicle. Refer to the owner’s manual if you encounter any difficulties or confusion during this step.
Step 7: Test the Radio Functionality
After the F150 radio has finished resetting and rebooting, it’s time to test its functionality to ensure that everything is working smoothly. Follow these steps to test the radio:
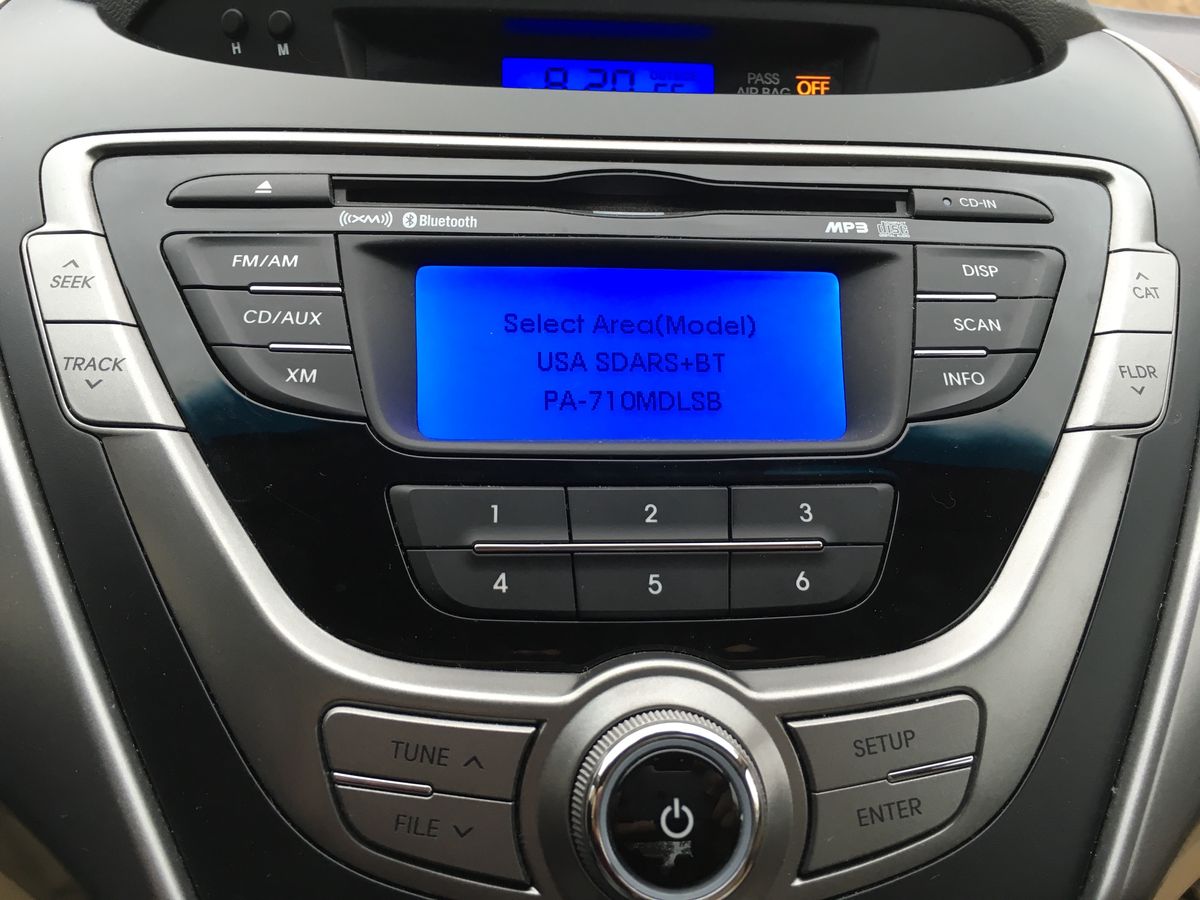
- Tune in to an AM/FM radio station: Use the radio controls to tune in to a local AM or FM radio station. Verify that the radio is picking up the station clearly without any distortion or static.
- Check CD player functionality: If your F150 is equipped with a CD player, insert a CD and ensure that it plays properly. Test the playback controls, such as play, pause, skip, and track selection, to ensure they are functioning correctly.
- Test satellite radio (if applicable): If your F150 is equipped with satellite radio, access the satellite radio feature, and make sure you can receive a signal. Check the ability to browse different channels and listen to your favorite satellite radio stations.
- Test Bluetooth and USB connectivity (if applicable): If your F150 has Bluetooth or USB connectivity, try connecting your phone or USB device to the radio. Test the playback of audio files and ensure that you can make and receive phone calls using the Bluetooth hands-free feature.
- Adjust audio settings: Use the radio controls to adjust the audio settings, such as volume, bass, treble, and balance/fade. Ensure that these adjustments are reflected in the audio output and that they are functioning as expected.
- Set radio presets: If you had any favorite radio stations before the reset, set them as presets again. Save the stations you listen to frequently for easy access in the future.
By going through these steps, you can thoroughly test the functionality of your F150 radio after the reset. If you encounter any issues or abnormalities, refer to your vehicle’s manual for troubleshooting steps or consider seeking professional assistance.
Once you are satisfied that the radio is working properly, you can enjoy your favorite music, radio stations, and other audio sources once again.
Congratulations! You have successfully reset the radio in your F150 and ensured that it is functioning as expected.
Conclusion
Resetting the radio in your Ford F150 is a straightforward process that can help resolve technical issues, clear settings, and restore the radio to its default configuration. We have provided you with a comprehensive step-by-step guide on how to reset the radio in your F150, from gathering the necessary tools to testing the radio’s functionality.
Remember to exercise caution and follow safety guidelines when working with the car battery. Always wear gloves to protect yourself from any potential harm.
By disconnecting the car battery, waiting for a few minutes, reconnecting the battery, turning on the F150 radio, resetting the radio settings, and testing its functionality, you can ensure that your radio is operating smoothly and ready to provide you with hours of entertainment.
Should you encounter any difficulties or issues with the radio even after the reset, consult the owner’s manual or consider seeking assistance from a professional technician.
Enjoy your driving experience with a fully functional radio in your F150, listening to your favorite music, radio stations, and audio sources.
Thank you for choosing our guide on how to reset the radio in your F150. Safe travels!