Home>Devices & Equipment>Radio>How To Reset My Car Radio


Radio
How To Reset My Car Radio
Modified: January 22, 2024
Learn how to reset your car radio and regain access to all your favorite stations. Get step-by-step instructions and troubleshooting tips for a seamless radio reset process.
(Many of the links in this article redirect to a specific reviewed product. Your purchase of these products through affiliate links helps to generate commission for AudioLover.com, at no extra cost. Learn more)
Table of Contents
Introduction
Welcome to the world of car radios! Whether you’re a music enthusiast or enjoy catching up on news and podcasts during your commute, a functioning car radio is essential for an enjoyable driving experience. However, there may come a time when you need to reset your car radio. This could be due to a battery replacement, a software glitch, or simply forgetting the radio code. Resetting your car radio can seem like a daunting task, especially if you’re not familiar with the process.
In this article, we will guide you through the step-by-step process of resetting your car radio. From gathering the necessary information to entering the radio code, we’ve got you covered. So, let’s dive in and bring that radio back to life!
Before we begin, it’s important to note that the specific steps may vary depending on the make and model of your car. It’s always a good idea to consult your car’s manual or reach out to the manufacturer for detailed instructions tailored to your vehicle. With that said, the following general steps should give you a good starting point.
Step 1: Gather the Necessary Information
Before you can reset your car radio, you need to gather some important information. This includes the radio code and any user manuals or documentation that came with your vehicle.
The radio code is a unique set of numbers and/or letters that is required to unlock your car radio after it has been reset. This code is typically provided by the manufacturer or dealership when you purchase the vehicle. If you can’t locate the code, don’t worry. We’ll walk you through how to find it in the next steps.
It’s also helpful to have any user manuals or documentation that came with your car. These can provide valuable information about the specific radio model and guide you through the reset process. If you don’t have the physical manuals, you may be able to find electronic versions online or contact the manufacturer for assistance.
In addition to the radio code and manuals, you’ll need a pen, paper, and a small flashlight or headlamp. Having these tools on hand will make it easier to write down the radio code and navigate any dark areas of your car during the reset process.
Once you have gathered all the necessary information and tools, you’re ready to move on to the next step of resetting your car radio.
Step 2: Disconnect the Car Battery
Now that you have the necessary information gathered, the next step is to disconnect the car battery. This step is crucial as it will cut the power supply to the radio, allowing it to reset.
First, make sure your car is parked in a safe and well-ventilated area. Open the hood of your car and locate the battery. You may need to consult your car’s manual or do a quick online search to find the exact location of the battery in your specific vehicle model.
Before proceeding, it’s important to take safety precautions. Ensure that the ignition is turned off and remove the key from the ignition. Put on a pair of safety gloves and protective eyewear to protect yourself from any potential hazards.
Using a wrench or a socket set, loosen the nut or bolt that secures the negative terminal of the battery. The negative terminal is usually marked with a minus (-) sign and is typically black in color. Once the nut or bolt is loosened, carefully remove the negative cable from the battery terminal. Place the cable away from the battery to prevent it from accidentally making contact.
Take a moment to ensure that the negative cable is securely disconnected and will not come into contact with the battery. It is essential to disconnect the negative terminal of the battery, as this will disconnect the power supply to the car radio.
Now that the car battery is disconnected, you can proceed to the next step of locating the radio code.
Step 3: Locate the Radio Code
With the car battery safely disconnected, the next step is to locate the radio code. The radio code is unique to your car radio and is necessary to unlock it after it has been reset.
There are several methods you can use to find the radio code, depending on your car’s make and model. Here are a few common ways:
- Check the car’s user manual: The radio code is sometimes printed in the user manual or in a separate radio manual that comes with the car. Locate these documents and search for the radio code section.
- Search for a sticker or card: Some manufacturers place a sticker or card in the glove compartment, inside the car’s console, or in the trunk. Look for any labels that mention the radio code, as this may be where it is written.
- Look for an online database: Some car manufacturers have online databases or customer support portals where you can enter your vehicle identification number (VIN) to obtain the radio code. Check the manufacturer’s website or contact their customer support for more information on accessing the database.
- Contact the dealership: If you are unable to find the radio code using the above methods, reach out to your car dealership. They will have access to your car’s information and can provide you with the radio code.
Once you have located the radio code, take a moment to write it down on a piece of paper or input it into your phone for easy access. Having the code readily available will make it simpler to enter it into the car radio later on.
With the radio code in hand, you’re now ready to proceed to the next step of entering the code into your car radio.
Step 4: Enter the Radio Code
Now that you have the radio code, it’s time to enter it into your car radio. Follow these steps to complete the process:
- Turn on the ignition: Insert your car key into the ignition and turn it to the “on” position. This will power on the car radio.
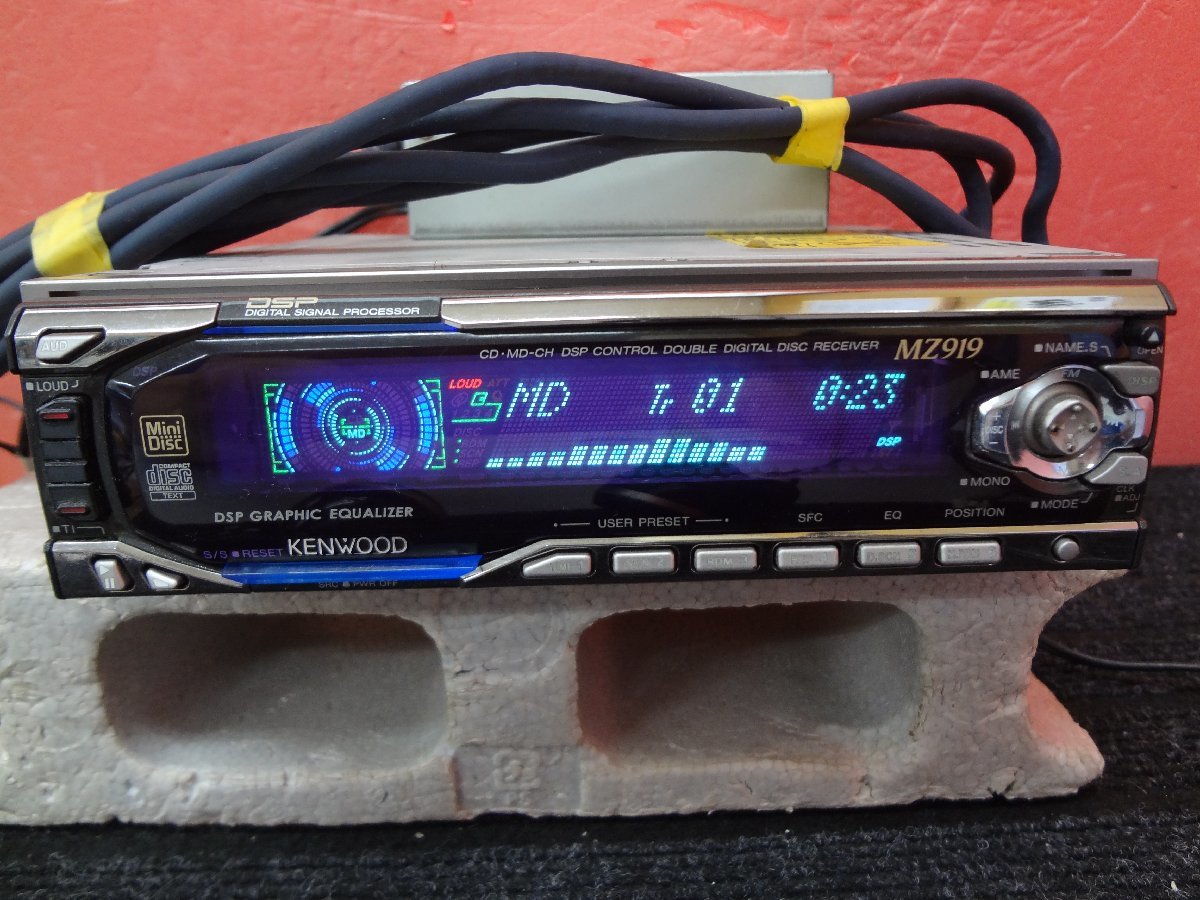
- Input the radio code: Using the buttons on your car radio, enter the radio code one digit at a time. Pay careful attention to the display on the radio to ensure that each digit is entered correctly.
- If you make a mistake: If you accidentally enter the wrong digit, press the appropriate button to delete the incorrect digit and re-enter the correct one. Be patient and take your time to avoid any further mistakes.
- Complete the radio code entry: Once you have entered the entire radio code, double-check to make sure it is correct. Then, press the “enter” or “confirm” button on your car radio to complete the code entry process.
After entering the radio code, your car radio should unlock and return to normal operation. You may hear a click or beep, indicating that the radio has been successfully reset. Take a moment to test the radio by tuning into a station or playing a CD, USB drive, or auxiliary input.
If the radio does not unlock or you encounter any issues during the code entry process, refer to your car’s user manual or contact the manufacturer for further assistance. They may be able to provide additional guidance or troubleshooting steps specific to your vehicle.
Once you have confirmed that the radio is working correctly and the code has been entered successfully, it’s time to move on to the next step of testing the radio.
Step 5: Test the Radio
With the radio code entered and the radio unlocked, it’s important to test the functionality of your car radio. Here’s how you can do it:
- Turn on the radio: Start by turning on the car radio and ensuring that it powers up without any issues. You should see the display come to life and the radio buttons become responsive.
- Tune into a station: Use the radio controls to tune into a local FM or AM station. Listen for clear and crisp audio without any distortion or static. If you have a digital radio, ensure that the signal strength indicator is strong.
- Test different audio sources: If your car radio supports multiple audio sources such as CDs, USB drives, or auxiliary inputs, test each of them to ensure they are working properly. Insert a CD or connect a USB drive to verify that the radio can read and play the content. If using an auxiliary input, connect a compatible device and check for audio output.
- Check other radio features: Explore the various features of your car radio, such as preset stations, equalizer settings, and volume control. Make sure these functions are working as expected.
During the testing phase, if you notice any issues or abnormalities with the radio’s operation, refer to your car’s user manual or contact the manufacturer for further assistance. They can provide troubleshooting steps or advice tailored to your specific car radio model.
Once you have confirmed that the radio is functioning correctly and meeting your expectations, you’re ready to move on to the final step of reconnecting the car battery.
Step 6: Reconnect the Car Battery
In the final step, you will reconnect the car battery to restore power to your vehicle. Follow these steps to reconnect the car battery safely:
- Ensure the ignition is turned off: Double-check that the key is removed from the ignition and that the car is in the “off” position.
- Reattach the negative cable: Take the negative cable that you disconnected earlier and position it back onto the negative terminal of the car battery. Make sure the cable is securely fastened and tightened by using a wrench or socket set.
- Double-check the connection: Give the negative cable a gentle tug to ensure it is properly connected and won’t accidentally come loose while driving.
- Turn on the ignition: Insert the key into the ignition and turn it to the “on” position. This will restore power to the car and reactivate the car radio.
- Test the radio: Once the power is restored, test the radio once again. Ensure that it powers on and functions as expected.
If the car radio is working properly after reconnecting the car battery, congratulations! You have successfully reset your car radio. Enjoy your favorite music and radio stations during your drives.
However, if you encounter any issues with the radio after reconnecting the car battery, it’s recommended to consult your car’s user manual or reach out to the manufacturer for further assistance. They will be able to provide guidance and troubleshooting steps tailored to your specific vehicle model.
Remember, if you ever need to reset your car radio in the future or perform any maintenance on your vehicle’s electrical system, it’s important to follow proper safety precautions and consult the appropriate resources for guidance.
With the car radio reset and the car battery reconnected, you’re all set to enjoy your favorite tunes on the road once again!
Conclusion
Resetting your car radio may seem like a daunting task, but with the right information and guidance, it can be a straightforward process. By following the steps outlined in this article, you can successfully reset your car radio and restore its functionality.
Remember, it’s essential to gather the necessary information, such as the radio code, before starting the reset process. Disconnecting the car battery and locating the radio code are crucial steps in this process. Once you have the radio code, enter it into the car radio accurately and test its functionality by tuning into stations and trying different audio sources.
If you encounter any issues during the reset process, consult your car’s user manual or contact the manufacturer for assistance. They can provide specific instructions based on your car’s make and model.
After completing the reset and ensuring that the car radio is working correctly, reconnect the car battery to restore power. Test the radio once more to confirm that everything is functioning as expected.
Remember, safety is paramount when working with your vehicle’s electrical system. Always follow proper precautions and consult professional advice if needed.
Now that you have successfully reset your car radio, you can enjoy your favorite music, news, and podcasts during your drives. Happy listening!

