Home>Devices & Equipment>Subwoofer>How To Build A Ported Subwoofer Box For 2/12

Subwoofer
How To Build A Ported Subwoofer Box For 2/12
Modified: January 22, 2024
Learn how to build a ported subwoofer box for 2/12 speakers and enhance your audio experience with powerful bass. Discover the step-by-step process and unleash the full potential of your subwoofer.
(Many of the links in this article redirect to a specific reviewed product. Your purchase of these products through affiliate links helps to generate commission for AudioLover.com, at no extra cost. Learn more)
Table of Contents
Introduction
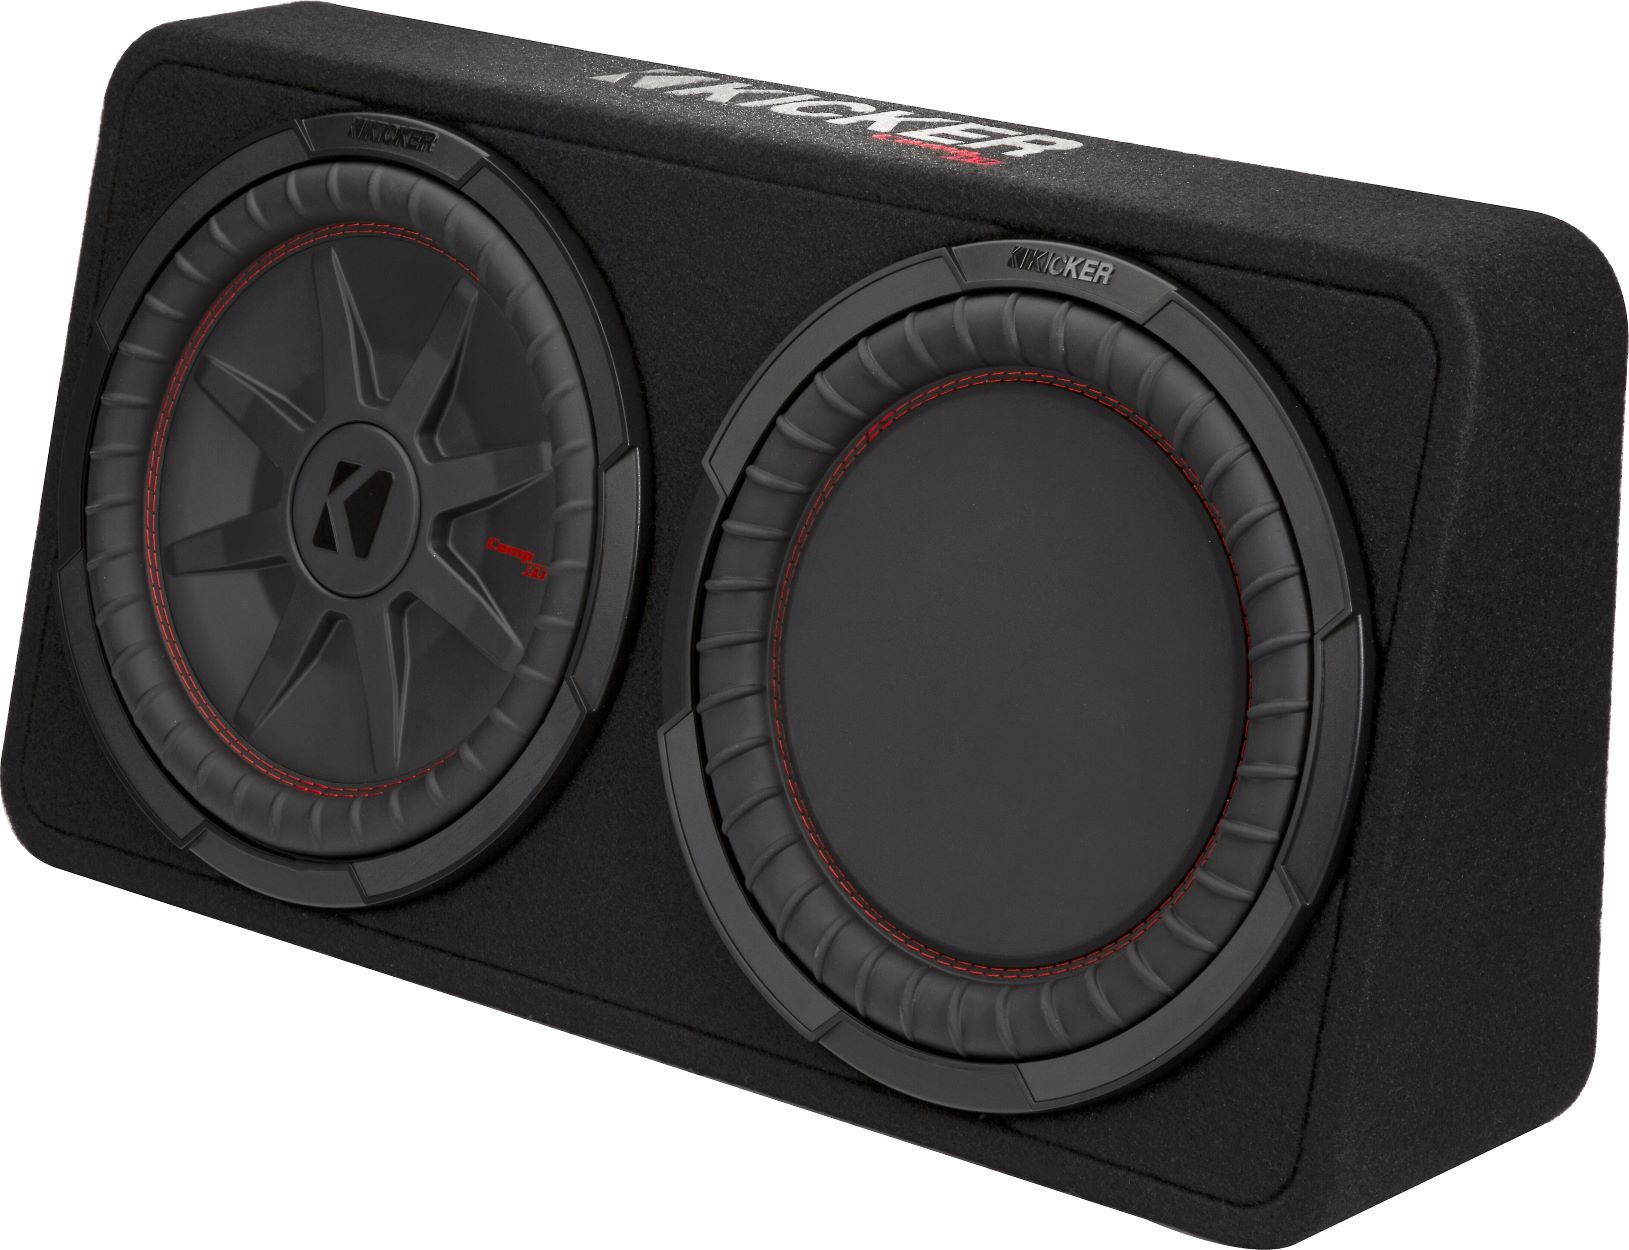
Welcome to the world of powerful and immersive sound. If you’re a true audiophile, you understand the importance of having a robust and capable subwoofer system. And when it comes to getting the most out of your subwoofers, building a custom ported subwoofer box can make a world of difference. Not only does it allow you to optimize the performance of your subwoofers, but it also gives you the freedom to personalize the design and size of the enclosure.
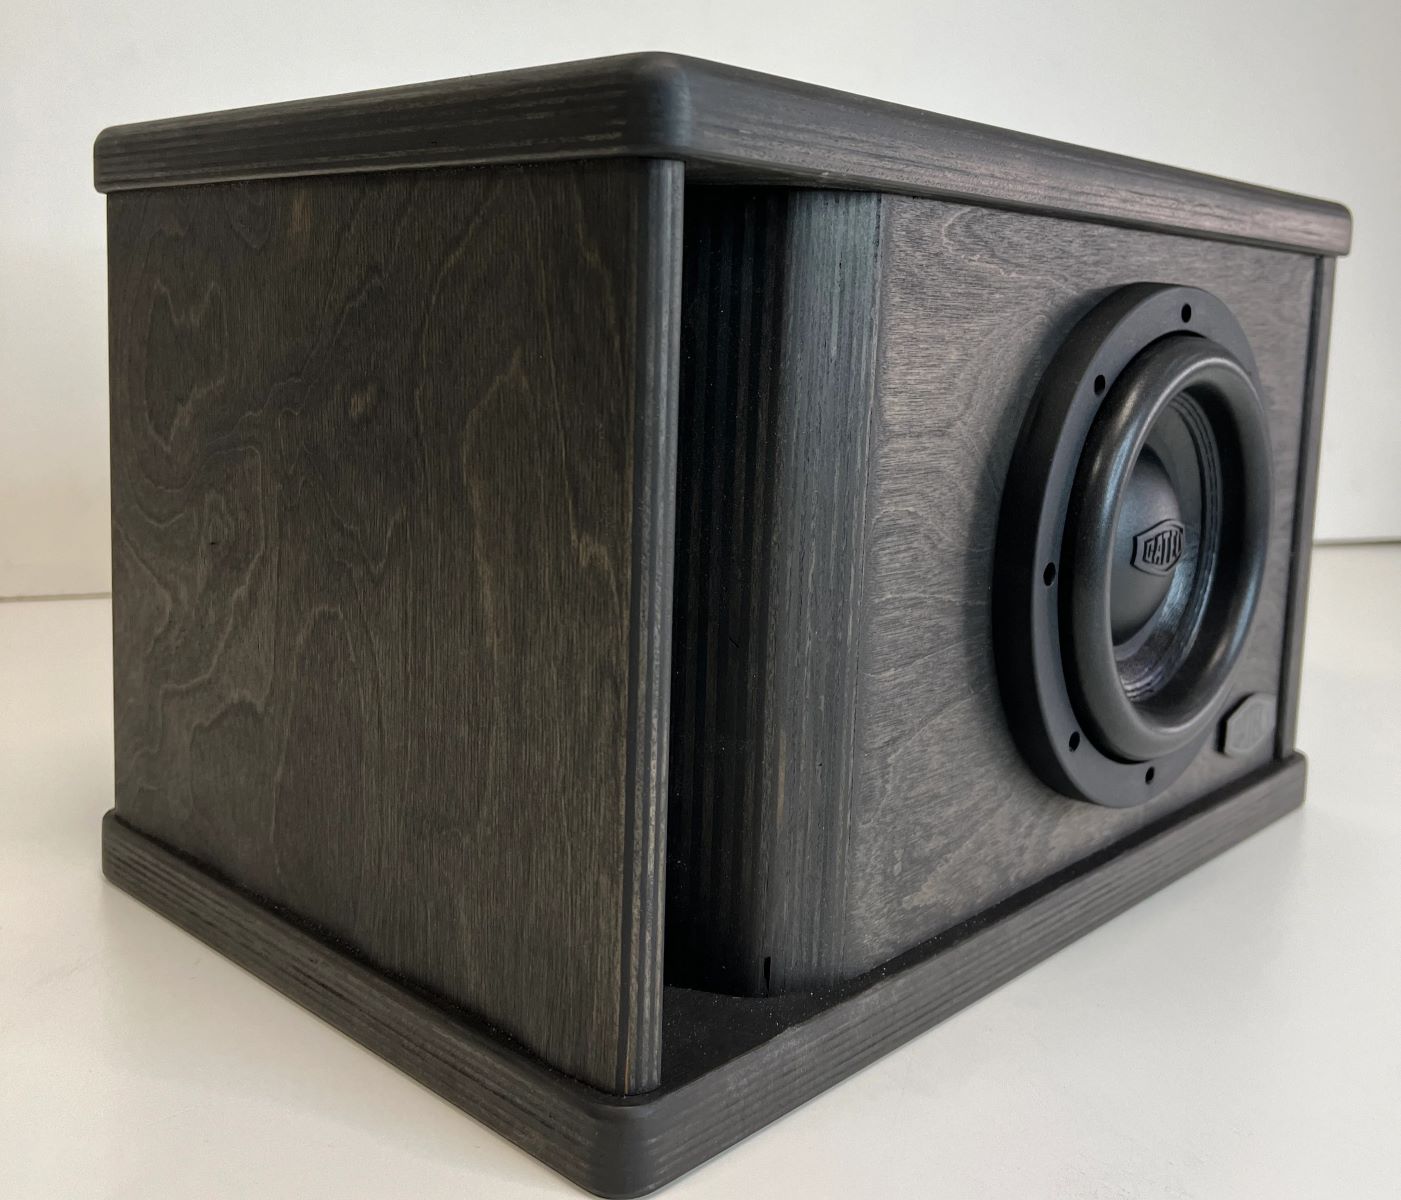
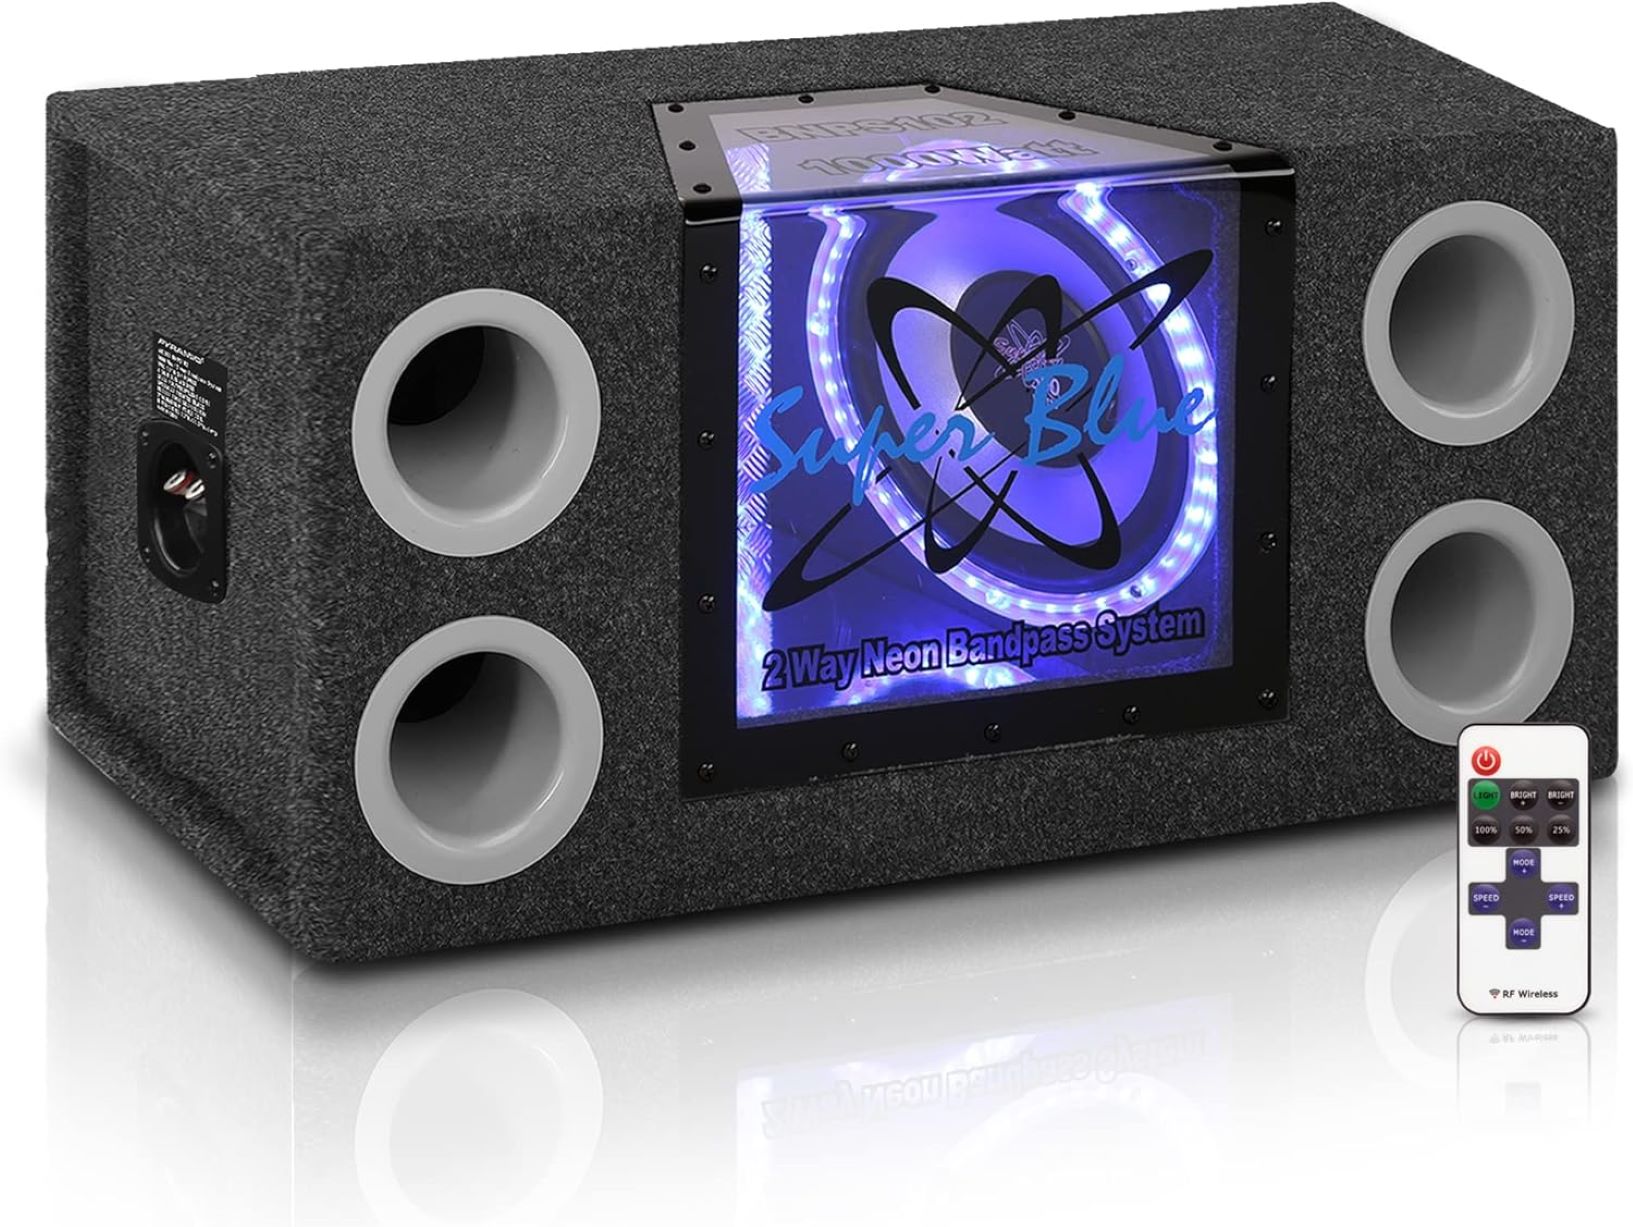
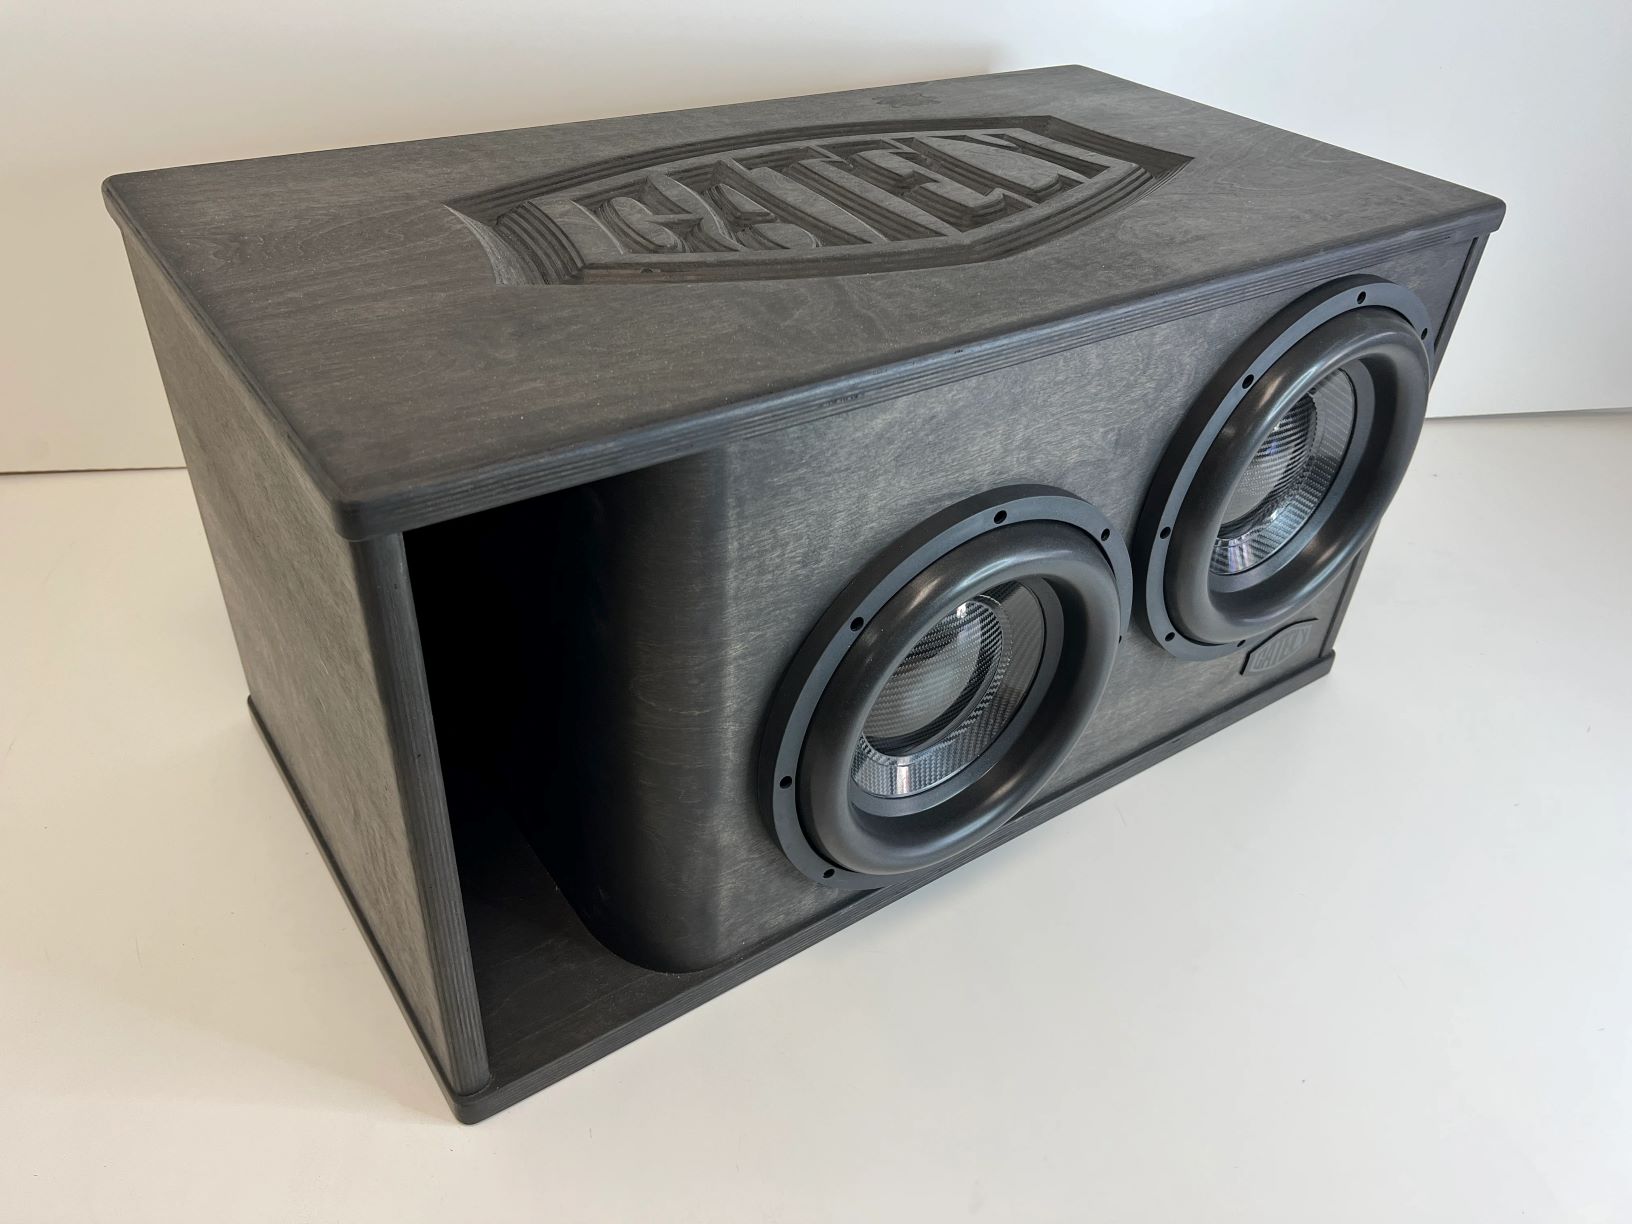
A ported subwoofer box, also known as a bass reflex enclosure, is designed to enhance low-frequency response and improve overall bass output. By incorporating a tuned port, this type of enclosure allows the sound from the rear of the subwoofer to interact with sound waves generated from the front, resulting in a more efficient and extended bass response.
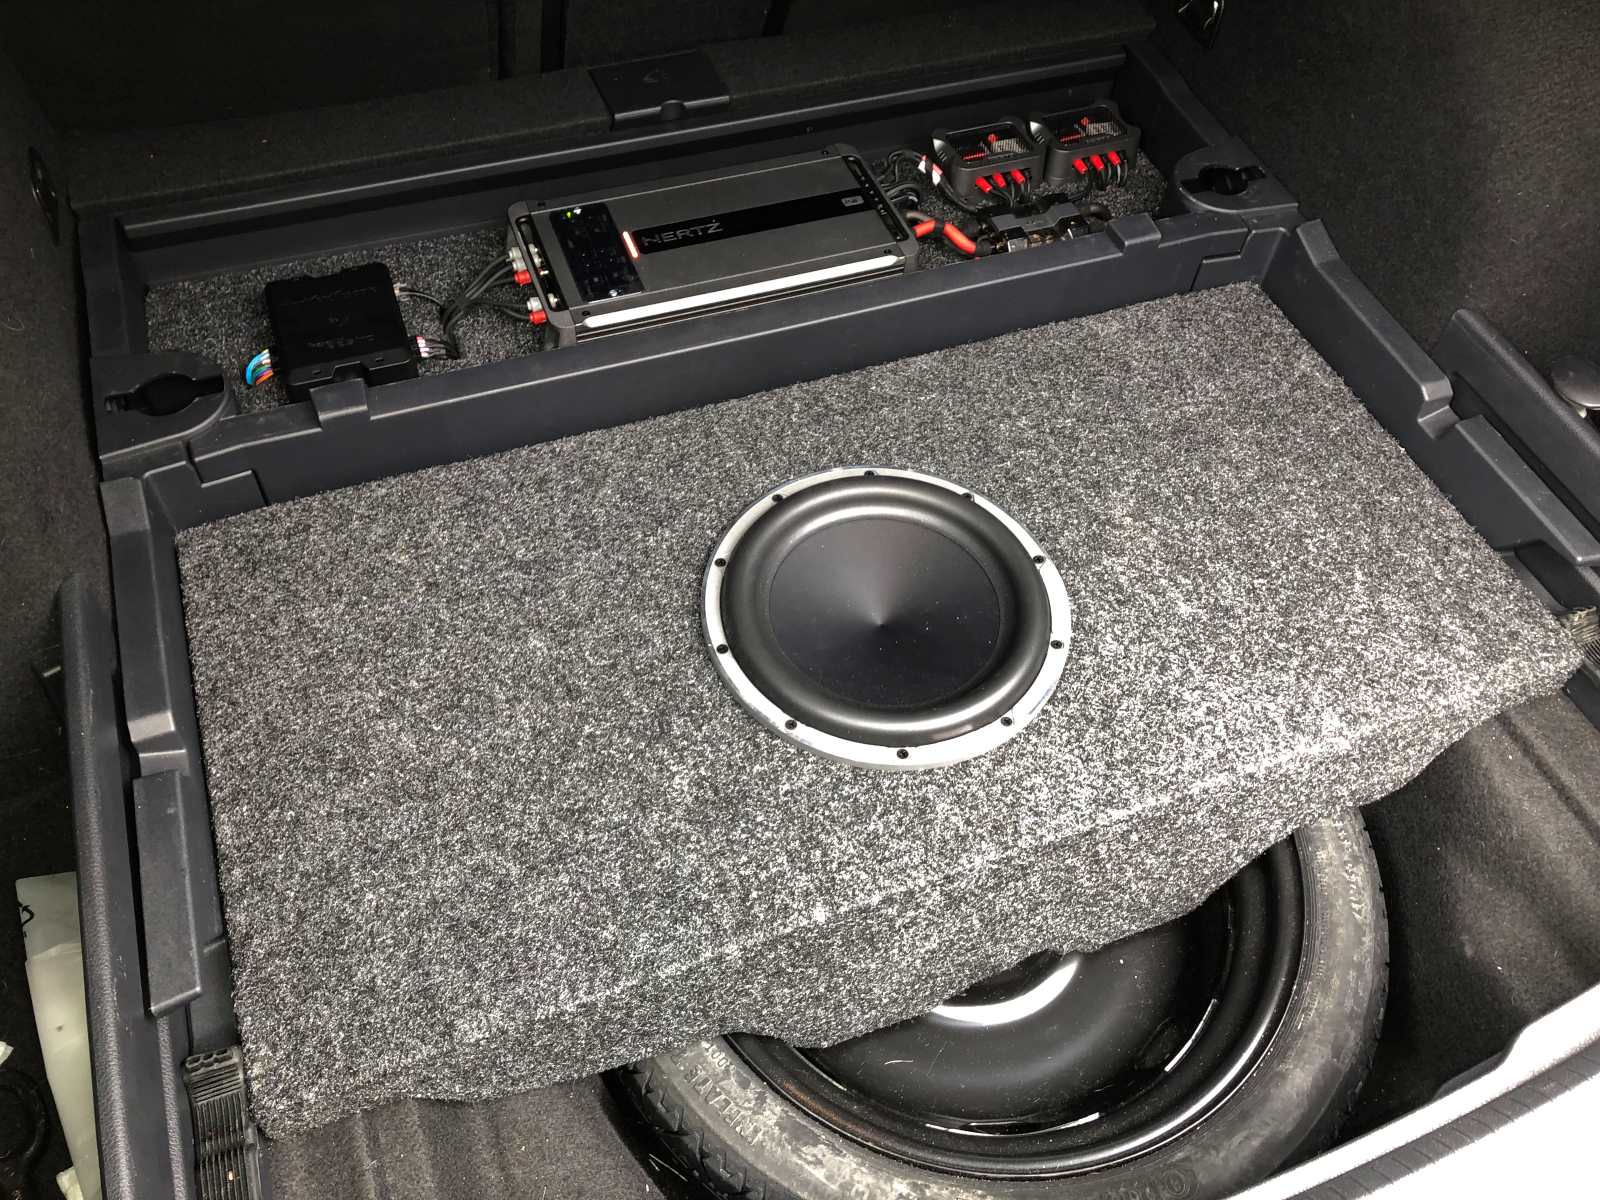
Building your own ported subwoofer box may seem like a daunting task, but with the right tools, materials, and guidance, it can be a rewarding and fulfilling experience. In this article, we will guide you through the process of building a ported subwoofer box for two 12-inch subwoofers. So, gather your tools and let’s dive into the world of DIY subwoofer enclosures!
Materials Needed
Before beginning the construction of your ported subwoofer box, it is essential to gather all the necessary materials and tools. Here is a comprehensive list of items you will need:
- 1/2-inch thick medium-density fiberboard (MDF) – This will be used to construct the box panels.
- Screws – Choose screws that are appropriate in length for the thickness of the MDF.
- Wood glue – Used to reinforce the joints and create a sturdy box.
- Subwoofer terminals – These will be used to connect the subwoofers to the amplifier.
- T-nuts – Required to attach the subwoofers securely to the box.
- Silicone sealant – Used to seal any gaps and ensure an airtight enclosure.
- Screwdriver or power drill – Necessary for driving the screws into the MDF.
- Table saw or circular saw – Used for cutting the MDF panels to the required dimensions.
- Router – Needed to create the port opening in the box.
- Pencil or marker – Used for marking the measurements on the MDF.
- Tape measure – Essential for accurately measuring the dimensions of the box.
- Sanding block or sandpaper – Used to smooth the edges and surfaces of the MDF.
- Speaker wire – Required for connecting the subwoofers to the amplifier.
- Dampening material – Optional, but recommended for reducing internal vibrations and improving sound quality.
Ensure that you have all the necessary materials and tools before proceeding. This will make the construction process much smoother and more efficient. With these items in hand, you are now ready to move on to the next step: calculating the box dimensions.
Step 1: Calculating the Box Dimensions
Calculating the box dimensions is a crucial step in building a ported subwoofer box. The dimensions determine the internal volume of the enclosure, which directly affects the performance and sound quality of the subwoofers. Here’s how you can calculate the box dimensions:
- Determine the specifications of your subwoofers – You need to know the recommended enclosure volume and the port tuning frequency for your specific subwoofers. This information can usually be found in the manufacturer’s manual or on their website.
- Choose the desired tuning frequency – The tuning frequency determines the bass response of the subwoofers. It is typically recommended to tune the box to the lower end of the subwoofers’ frequency range for a deeper and more extended bass.
- Calculate the net volume of the box – The net volume is the internal volume of the box without accounting for the space occupied by the subwoofers, port, and bracing. To calculate this, use the following formula: net volume = (Vb – Vp) / (1 + K), where Vb is the desired box volume, Vp is the volume of the port, and K is the port displacement factor (usually between 0.02 and 0.05).
- Calculate the dimensions of the box – Once you have the net volume, you can calculate the dimensions of the box. Remember to account for the thickness of the MDF when calculating the internal dimensions.
It is important to note that these calculations provide a starting point, and some adjustments may be needed to fine-tune the box to your specific subwoofers and preferences. Additionally, various online calculators and software programs are available to assist you in the calculation process. Taking the time to accurately calculate the box dimensions will help you achieve optimal performance from your subwoofers.
Now that you have determined the box dimensions, it’s time to move on to the next step: cutting the panels.
Step 2: Cutting the Panels
With the box dimensions calculated, it’s time to start cutting the panels for your ported subwoofer box. Make sure you have your MDF board, tape measure, pencil or marker, and a cutting tool such as a table saw or circular saw ready. Follow these steps:
- Measure and mark the dimensions – Refer to your calculated box dimensions and mark the measurements on the MDF board. Use a tape measure to ensure accurate markings.
- Cut the front and back panels – These panels will usually have the same dimensions. Use a table saw or circular saw to cut the MDF board according to your markings. Remember to factor in the thickness of the blade when cutting.
- Cut the top and bottom panels – Again, these panels will typically have the same dimensions. Measure and mark the dimensions on the MDF board, and cut them using the appropriate cutting tool.
- Cut the side panels – Measure and mark the dimensions for the side panels on the MDF board. These panels will usually have the same height as the front and back panels but will be narrower to accommodate the thickness of the top and bottom panels.
- Cut the port and brace panels – If your design includes a separate port and internal bracing, measure and cut these panels accordingly. The port panel will have the dimensions needed for the port opening, while the bracing panels will add stability to the box.
- Sand the edges – After cutting all the panels, use a sanding block or sandpaper to smooth out the edges. This will prevent splintering and provide a neater finish.
Remember to take necessary safety precautions while cutting the panels, such as wearing goggles and using appropriate saw blades for MDF. Double-check your measurements before cutting to ensure accuracy and avoid any mistakes.
Once you have cut all the panels, you are ready to move on to the next step: assembling the box.
Step 3: Assembling the Box
Now that you have cut all the panels for your ported subwoofer box, it’s time to start assembling them. Follow these steps to ensure a solid and sturdy construction:
- Apply wood glue – Apply a thin layer of wood glue along the edges of each panel that will be joined together. This will provide extra strength and prevent air leaks.
- Align the panels – Align the panels according to your design and carefully join them together. Use clamps to hold the panels in place while the glue dries. Make sure the corners are square and the edges are flush.
- Secure with screws – Once the glue has dried, reinforce the joints by driving screws into the panels. Pre-drill pilot holes to prevent splitting of the MDF, and then insert the screws. Space them evenly along the joint for maximum stability.
- Attach bracing panels – If your design includes internal bracing, attach them to the appropriate locations inside the box. This will add rigidity and reduce unwanted vibrations.
- Check for any gaps – Inspect the box for any gaps or openings between the panels. Apply wood glue or silicone sealant to seal these gaps and ensure an airtight enclosure.
Take your time during the assembly process to ensure accuracy and precision. This will contribute to the overall quality and performance of your subwoofer box. Allow sufficient time for the glue to dry completely before moving on to the next step.
With the box assembled, it’s time to move on to the next step: building the port.
Step 4: Building the Port
The port is a crucial component of a ported subwoofer box as it enhances the bass response and helps achieve the desired tuning frequency. Follow these steps to build the port for your subwoofer box:
- Determine the port dimensions – The port dimensions will depend on the desired tuning frequency and the internal volume of the box. You can use online port calculators or refer to manufacturer specifications to determine the appropriate port dimensions.
- Choose a port material – The most common materials used for ports are PVC pipes or flared ports. PVC pipes are widely available and relatively easy to work with, while flared ports offer better performance and minimize port noise.
- Cut the port to size – Using a saw or pipe cutter, cut the port to the calculated length. Make sure the edges are clean and smooth to minimize air turbulence.
- Create the port opening – Measure and mark the location for the port on the box panel. Use a router with an appropriate bit to cut a hole for the port opening. Pay attention to the size and shape of the opening to match the port material.
Building the port requires precision and attention to detail, as it directly affects the performance and tuning of your subwoofer box. Take your time to ensure proper installation and airtight sealing for optimal results.
Now that the port is built and installed, it’s time to move on to the next step: securing the subwoofers.
Step 5: Securing the Subwoofers
Securing the subwoofers properly within the ported subwoofer box is crucial to prevent any movement or vibration that may affect the sound quality. Here’s how you can securely mount the subwoofers:
- Measure and mark the location of the subwoofers – Determine the desired placement of the subwoofers inside the box. Take into consideration the clearance required for the subwoofers to operate, as well as any additional bracing or internal components.
By following these steps, you can effectively secure the subwoofers in your ported subwoofer box, minimizing any unwanted vibrations or movement. Double-check that the subwoofers are tightly fastened to ensure optimal performance and sound quality.
With the subwoofers securely mounted, it’s time to move on to the next step: sealing the box for optimal performance and sound quality.
Step 6: Sealing the Box
An airtight seal is crucial for optimal performance and sound quality in a ported subwoofer box. By sealing the box, you prevent any air leakage that can affect the bass response. Here are the steps to seal the box:
- Inspect for gaps – Carefully inspect the box for any gaps or openings between the panels. Pay close attention to the joints, corners, and the area around the port. Use your fingers or a flashlight to identify any potential leakage points.
- Apply silicone sealant – Once you have identified the gaps, use a silicone sealant specifically designed for use with MDF. Apply the sealant along the joints and corners, ensuring a complete seal. Use a caulk gun or a small brush for precision application.
Sealing the box is a crucial step that should not be overlooked. It helps maintain proper air pressure inside the enclosure and maximizes the bass response. By taking the time to seal any gaps and openings, you can optimize the performance of your subwoofer system.
With the box fully sealed, it’s time to move on to the final step: testing the subwoofer box.
Step 7: Testing the Subwoofer Box
After completing the construction and sealing of your ported subwoofer box, it’s time to test the performance and ensure everything is working as intended. Follow these steps to properly test your subwoofer box:
- Connect the subwoofers – Attach the speaker wires from the subwoofers to the amplifier or receiver. Make sure the connections are secure and correct, matching the positive and negative terminals.
During the testing phase, it is important to be patient and attentive. Take the time to listen for any anomalies and make the necessary adjustments to achieve the desired sound quality. This will help you fine-tune the performance of your ported subwoofer box.
Congratulations! You have successfully built and tested your ported subwoofer box. Enjoy the deep, powerful bass and immersive audio experience that your custom-made enclosure provides.
As a final note, remember that experimentation and personalization are key in the world of subwoofer systems. You may want to try different tuning frequencies, port lengths, or even experiment with different materials for the enclosure or port. Keep exploring and refining your setup to discover the sound signature that best suits your preferences.
Happy listening!
Conclusion
Building a custom ported subwoofer box for your audio system is a rewarding and fulfilling project that allows you to enhance the bass performance and optimize your listening experience. By following the step-by-step guide outlined in this article, you now have the knowledge and guidance to construct a ported subwoofer box for your 2/12 subwoofers.
Throughout the construction process, we covered important steps such as calculating the box dimensions, cutting the panels, assembling the box, building the port, securing the subwoofers, sealing the box, and testing the performance. Each of these steps contributes to the overall quality and functionality of your subwoofer enclosure.
Remember to take your time during each stage, ensuring accuracy and precision. Be mindful of safety precautions when working with tools and materials. Additionally, don’t be afraid to experiment and make adjustments along the way. Fine-tuning your subwoofer box to suit your unique preferences and room acoustics can greatly enhance your audio listening experience.
With your ported subwoofer box completed and successfully tested, sit back, relax, and enjoy the deep, powerful bass that your custom creation brings to your favorite music, movies, and games. Be prepared to immerse yourself in a whole new level of audio enjoyment.
Lastly, don’t forget to share your experiences and knowledge with others who are interested in building their own subwoofer boxes. By spreading your expertise, you can inspire and empower fellow audio enthusiasts to create their personalized subwoofer systems.
Happy building and enjoy the incredible sound from your custom ported subwoofer box!

