Home>Production & Technology>Soundproofing>How To Build A Framed Box For Soundproofing

Soundproofing
How To Build A Framed Box For Soundproofing
Published: January 27, 2024
Learn how to build a framed box for soundproofing and create a peaceful space with our step-by-step guide. Enhance your soundproofing techniques with expert tips and advice.
(Many of the links in this article redirect to a specific reviewed product. Your purchase of these products through affiliate links helps to generate commission for AudioLover.com, at no extra cost. Learn more)
Table of Contents
Introduction
Soundproofing is a crucial aspect when it comes to creating a peaceful and quiet environment, whether it’s in your home, office, or any other space. Unwanted noise can be extremely disruptive and can affect our ability to concentrate, relax, or even sleep. Building a framed box for soundproofing is an effective solution that can significantly reduce noise transmission and improve the overall acoustic performance of a room.
In this article, we will guide you through the step-by-step process of building a framed box for soundproofing. This method involves constructing a sturdy wooden frame and filling it with sound-absorbing material. The box can then be installed in walls, floors, or ceilings to create a soundproof barrier, effectively minimizing the transfer of noise.
Before we dive into the construction process, it’s essential to understand the importance of soundproofing. In addition to creating a peaceful environment, soundproofing has various benefits. It can enhance privacy, especially in open-concept spaces where noise travels easily. Soundproofing also helps in noise reduction between rooms, such as between a home theater and adjacent living areas, or between a home office and bedrooms.
With that in mind, let’s begin our journey of building a framed box for soundproofing. With the right tools and materials, along with a little bit of DIY know-how, you can create a more tranquil and enjoyable space.
Step 1: Planning and Measurements
Before you start building a framed box for soundproofing, it’s crucial to plan and take accurate measurements. This step will ensure that your box fits properly and effectively reduces noise transmission.
Here are a few key considerations when it comes to planning and taking measurements:
- Identify the problem areas: Determine which walls, floors, or ceilings need soundproofing. Take note of the source of noise and analyze the best way to block it.
- Measure the dimensions: Use a measuring tape to measure the length, width, and height of the area where you plan to install the framed box. Take precise measurements to ensure a proper fit.
- Account for insulation: Consider the thickness of the soundproofing material you intend to use and factor that into the measurements. This will ensure that the framed box fits snugly and effectively blocks noise.
- Consider ventilation: If your soundproofing project involves enclosing a space entirely, such as a home theater or music studio, you need to plan for proper ventilation to prevent overheating. Install vents or fans to maintain airflow without compromising soundproofing effectiveness.
By carefully planning and taking accurate measurements, you’ll lay the foundation for a successful soundproofing project. This step sets the stage for gathering the necessary materials and constructing the framed box to effectively block unwanted noise.
Step 2: Gather Materials and Tools
Once you have completed the planning and measurements phase, it’s time to gather all the materials and tools that you will need to build your framed box for soundproofing. Having everything prepared beforehand will make the construction process smoother and more efficient.
Here’s a list of the materials and tools you’ll need:
Materials:
- 2×4 lumber or another sturdy wood material for the frame
- Soundproofing material, such as acoustic foam or mass-loaded vinyl
- Screws or nails
- Wood glue
- Corner brackets or metal braces for added stability
- Tape measure
- Saw for cutting the lumber to your desired dimensions
- Drywall or plywood for covering the inner side of the framed box
- Sealant or caulk to fill any gaps or cracks in the box
Tools:
- Power drill or hammer for assembling the frame
- Saw for cutting the wood
- Screwdriver
- Tape measure
- Safety goggles and gloves for protection
- Pencil or marker for marking the measurements on the wood
- Sanding block or sandpaper for smoothing the edges of the wood
- Level for ensuring the frame is straight and even
It’s essential to use high-quality materials to ensure the durability and effectiveness of your soundproofing box. Consider the size and specific requirements of your project when purchasing materials, so you have enough to complete the construction process seamlessly.
Now that you have all the necessary materials and tools, you are ready to move on to the next step: building the frame for your soundproofing box.
Step 3: Build the Frame
Building the frame is a crucial step in constructing your soundproofing box. The frame provides the structure and support for the box and holds the soundproofing materials in place. Follow these steps to build a sturdy and stable frame:
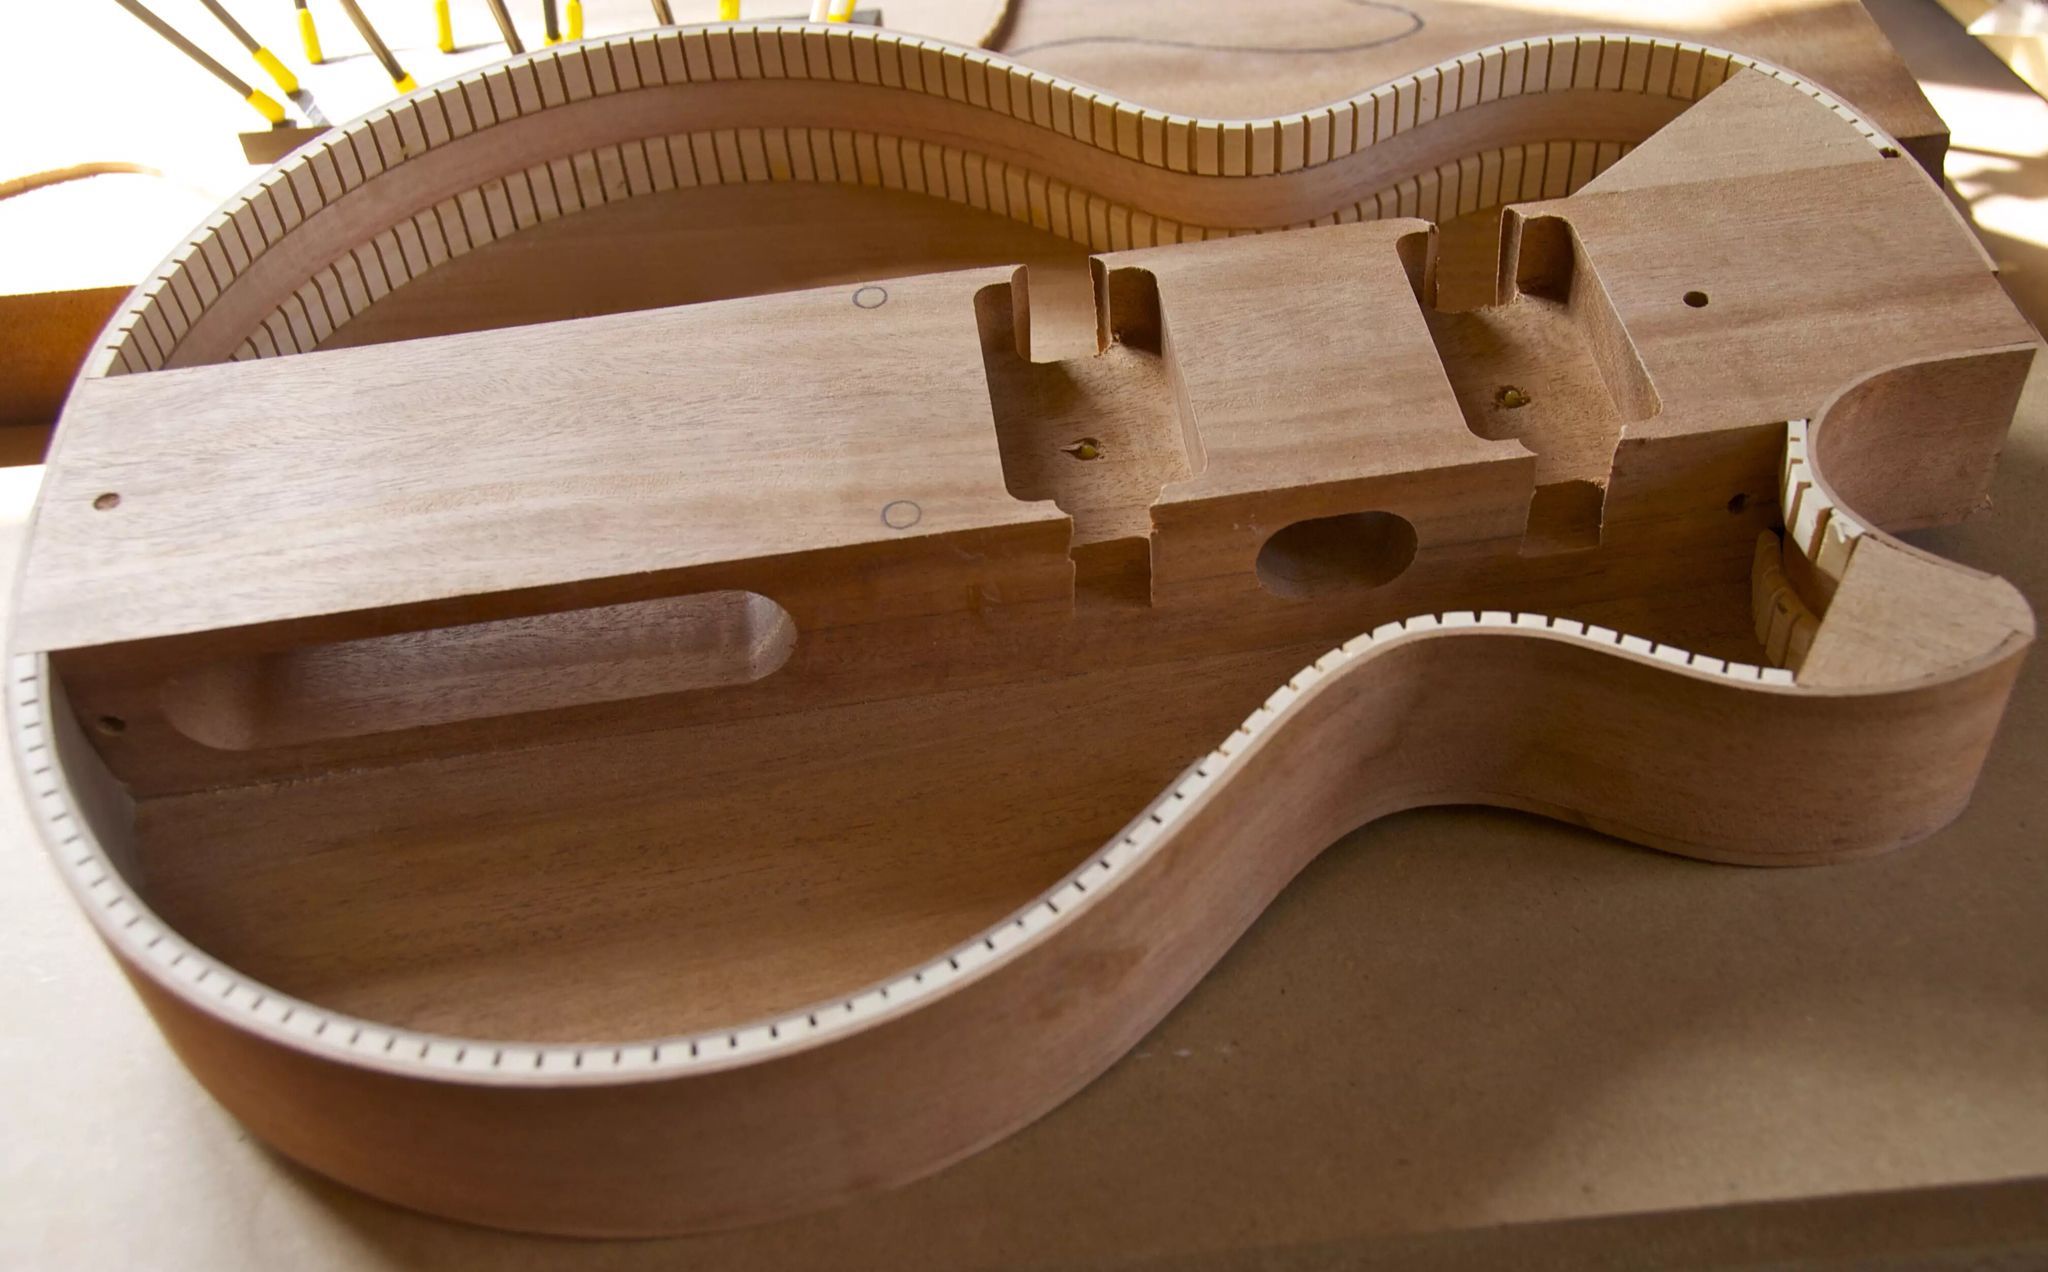
- Measure and cut the lumber: Use your tape measure and saw to cut the 2×4 lumber or another sturdy wood material to the desired dimensions. Make sure to cut pieces for the top, bottom, sides, and any additional support beams based on the measurements from your planning phase.
- Assemble the frame: Lay out the cut pieces on a flat surface and begin assembling the frame. Use screws or nails to attach the pieces together securely. Consider reinforcing the corners with corner brackets or metal braces for added stability.
- Check for squareness: Use a level or a carpenter’s square to ensure that the frame is square and that all angles are 90 degrees. Making adjustments at this stage will prevent any issues during installation.
- Apply wood glue: Apply wood glue to the joints of the frame before securing them with screws or nails. This will provide additional strength and stability to the frame.
- Sand the edges: Use a sanding block or sandpaper to smooth out any rough edges or splinters on the frame. This step will help prevent injuries during installation and ensure a clean finish.
Remember to follow safety precautions while building the frame, such as wearing protective goggles and gloves. Take your time to ensure the frame is sturdy and well-constructed before moving on to the next step.
With the frame constructed, you are ready to move on to Step 4: adding soundproofing material to the box. This will enhance the soundproofing capabilities of the framed box and create a barrier against unwanted noise.
Step 4: Add Soundproofing Material
Now that you have built the frame for your soundproofing box, it’s time to add the soundproofing material. The soundproofing material plays a crucial role in absorbing and blocking sound waves, enhancing the overall effectiveness of the box.
Here’s how you can add soundproofing material to your framed box:
- Cut the soundproofing material: Measure and cut the soundproofing material, such as acoustic foam or mass-loaded vinyl, to fit the interior dimensions of your frame. Ensure a precise fit to maximize its effectiveness.
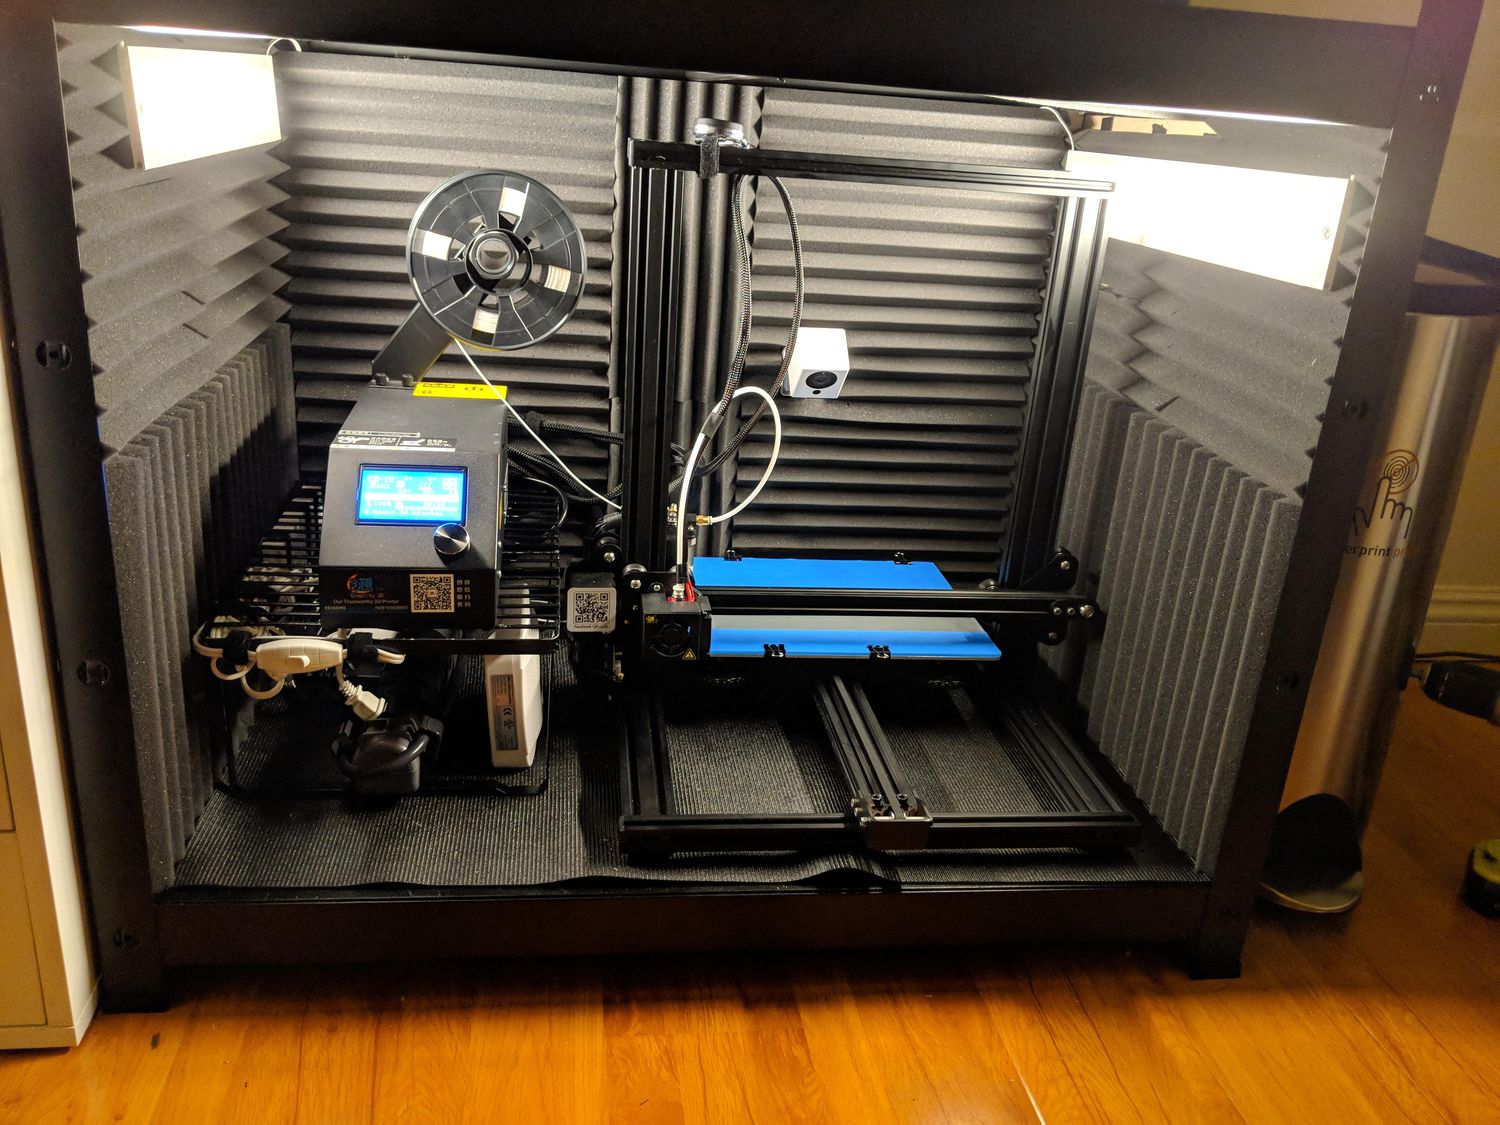
- Attach the soundproofing material to the frame: Use adhesive or double-sided tape to securely attach the soundproofing material to the inner surface of the frame. Ensure that the material covers all sides and corners of the frame, leaving no gaps.
- Add multiple layers (optional): For extra soundproofing capabilities, consider adding multiple layers of soundproofing material. This can help further absorb and block noise, especially in areas with high sound transmission.
- Cover the inner side: Depending on your aesthetic preferences, you may choose to cover the inner side of the frame with drywall or plywood. This step provides a clean and finished look to the soundproofing box.
Adding soundproofing material is essential in creating a barrier against unwanted noise. Ensure a proper and secure attachment to the frame to maximize its effectiveness.
Once the soundproofing material is in place, proceed to Step 5: sealing the box. This step is crucial in preventing any sound leaks and ensuring optimal soundproofing performance.
Step 5: Seal the Box
To optimize the soundproofing capabilities of your framed box, it’s important to seal any gaps or cracks in the structure. Proper sealing will prevent sound leaks and ensure that the box effectively blocks unwanted noise. Follow these steps to seal the box:
- Inspect for gaps: Carefully examine the frame of the box and identify any gaps or openings that may allow sound to pass through. Common areas to check include the corners, joints, and where the frame meets the walls, floors, or ceilings.
- Use sealant or caulk: Use a high-quality sealant or caulk to fill in the identified gaps. Apply the sealant generously along the edges and corners, ensuring a complete and airtight seal. Smooth out the sealant with a caulk gun or a putty knife for a neat finish.
- Focus on electrical outlets and fixtures: Pay special attention to sealing around electrical outlets and fixtures that are located within or near the framed box. Use electrical silicone sealant or outlet gaskets to prevent sound leakage through these areas.
- Allow the sealant to dry: Follow the manufacturer’s instructions for drying time. It’s important to allow the sealant to fully dry and cure before moving on to the installation phase.
Sealing the box is a critical step in achieving optimal soundproofing. Taking the time to identify and seal any gaps will ensure that your framed box effectively blocks unwanted noise and provides a peaceful and quiet environment.
With the box sealed, it’s time to move on to the final step: installing the box for soundproofing. Proper installation will ensure that the framed box is securely in place and serves its purpose effectively.
Step 6: Install the Box for Soundproofing
Installation is the final step in creating your soundproofing box. Proper placement and secure installation will ensure that the box effectively reduces noise transmission and creates a more peaceful environment. Follow these steps to install the box:
- Locate the installation area: Identify the specific area where you will install the soundproofing box. This can be a wall, floor, or ceiling, depending on your project and the source of the noise you want to block.
- Prepare the installation surface: Clean and prepare the installation surface, ensuring it is free from dust, debris, and any obstructions that could affect the installation or the effectiveness of the soundproofing box.
- Position the box: Hold the framed box against the installation surface and align it according to your planned measurements. Ensure that the box is level and plumb, using a level to guide you. Make any necessary adjustments before proceeding.
- Secure the box: Use screws or nails to secure the box to the installation surface. Place them at regular intervals around the frame to ensure a secure attachment. Be cautious not to over tighten and damage the box or the surface.
- Check for gaps: Once the box is installed, inspect the perimeter for any gaps or openings. If you notice any, use sealant or caulk to fill them in, ensuring a complete soundproofing barrier.
- Test the soundproofing: Once the box is securely installed, test its effectiveness by producing sound from the source you aimed to block. Evaluate the level of noise reduction and adjust as needed.
Proper installation is vital in achieving the desired soundproofing results. Take your time to ensure that the box is securely attached and there are no gaps that could compromise its effectiveness.
With the box successfully installed, you have completed the process of building and installing your framed box for soundproofing. Enjoy the improved acoustic performance and the quieter space that you have created!
Concluding the Process:
Conclusion
Building a framed box for soundproofing is a valuable solution to reduce unwanted noise and create a more peaceful and quiet environment. By following the steps outlined in this guide, you can construct an effective soundproofing box that minimizes noise transmission and enhances the acoustic performance of a room.
From planning and measurements to gathering materials and tools, each step serves a crucial role in ensuring the success of your soundproofing project. Taking accurate measurements, using quality materials, and assembling a sturdy frame are essential components of building a reliable soundproofing box.
Adding soundproofing material, such as acoustic foam or mass-loaded vinyl, enhances the box’s ability to absorb and block sound waves. Properly sealing the box with sealant or caulk prevents any sound leakage, maximizing its soundproofing capabilities.
Finally, installing the box securely in the desired area completes the process. Take care to position and attach the box accurately, ensuring a tight fit and minimizing any gaps that could compromise its effectiveness.
Remember to test the soundproofing after installation to ensure that your framed box is effectively reducing noise and providing the desired level of sound insulation.
By following these steps and investing the time and effort required, you can create a more peaceful and enjoyable environment free from unwanted noise.
So, whether you’re looking to soundproof a home office, a recording studio, or any other space, building a framed box for soundproofing is a cost-effective and efficient solution. Enjoy the benefits of reduced noise and improved acoustic performance in your space!

