Home>Devices & Equipment>Subwoofer>How To Build A Subwoofer Driver
Subwoofer
How To Build A Subwoofer Driver
Published: January 21, 2024
Learn how to build a powerful subwoofer driver with our comprehensive guide. Enhance your audio system's bass performance with our expert tips.
(Many of the links in this article redirect to a specific reviewed product. Your purchase of these products through affiliate links helps to generate commission for AudioLover.com, at no extra cost. Learn more)
Table of Contents
Introduction
Welcome to the world of deep bass and immersive sound! If you’re a music enthusiast or an audiophile, you know that a subwoofer is an essential component of any audio system. A subwoofer driver is the heart and soul of a subwoofer, responsible for reproducing low-frequency sounds with precision and power.
In this article, we will explore the fascinating world of subwoofer drivers and guide you through the process of building your very own subwoofer driver. Whether you’re looking to upgrade your existing system or embark on a DIY audio project, building a subwoofer driver can be a rewarding and fulfilling experience.
Understanding the principles behind subwoofer drivers is essential before diving into the building process. We will discuss the key components that make up a subwoofer driver and how they work together to produce deep, impactful bass. Additionally, we’ll help you choose the right subwoofer driver based on your specific requirements and preferences.
Once you have a solid grasp of the basics, we’ll provide a detailed list of the tools and materials you’ll need to build your subwoofer driver. From amplifiers to woofer cones, we’ll ensure you have everything necessary for the project.
Next, we’ll guide you through the step-by-step process of constructing the subwoofer enclosure. The enclosure plays a crucial role in optimizing the sound produced by the driver, so we’ll share valuable tips and techniques for building a sturdy and acoustically efficient enclosure.
With the enclosure complete, we’ll move on to installing the subwoofer driver itself. This step involves careful wiring and mounting to ensure proper functionality and performance. We’ll provide clear instructions and ensure that you have a thorough understanding of the process.
Once everything is set up, we’ll help you test and adjust the subwoofer to achieve optimal sound quality. From fine-tuning the crossover settings to finding the right position in your listening space, we’ll explore the various factors that can affect the performance of your subwoofer.
By the end of this article, you’ll have gained the necessary knowledge and skills to build your own subwoofer driver and enjoy deep, rumbling bass in your audio setup. So let’s get started and dive into the exciting world of subwoofer driver construction!
Understanding Subwoofer Drivers
Before we can dive into building a subwoofer driver, it’s important to understand the key components and functions of this essential audio device. A subwoofer driver is responsible for producing low-frequency sounds, commonly referred to as bass, in an audio system.
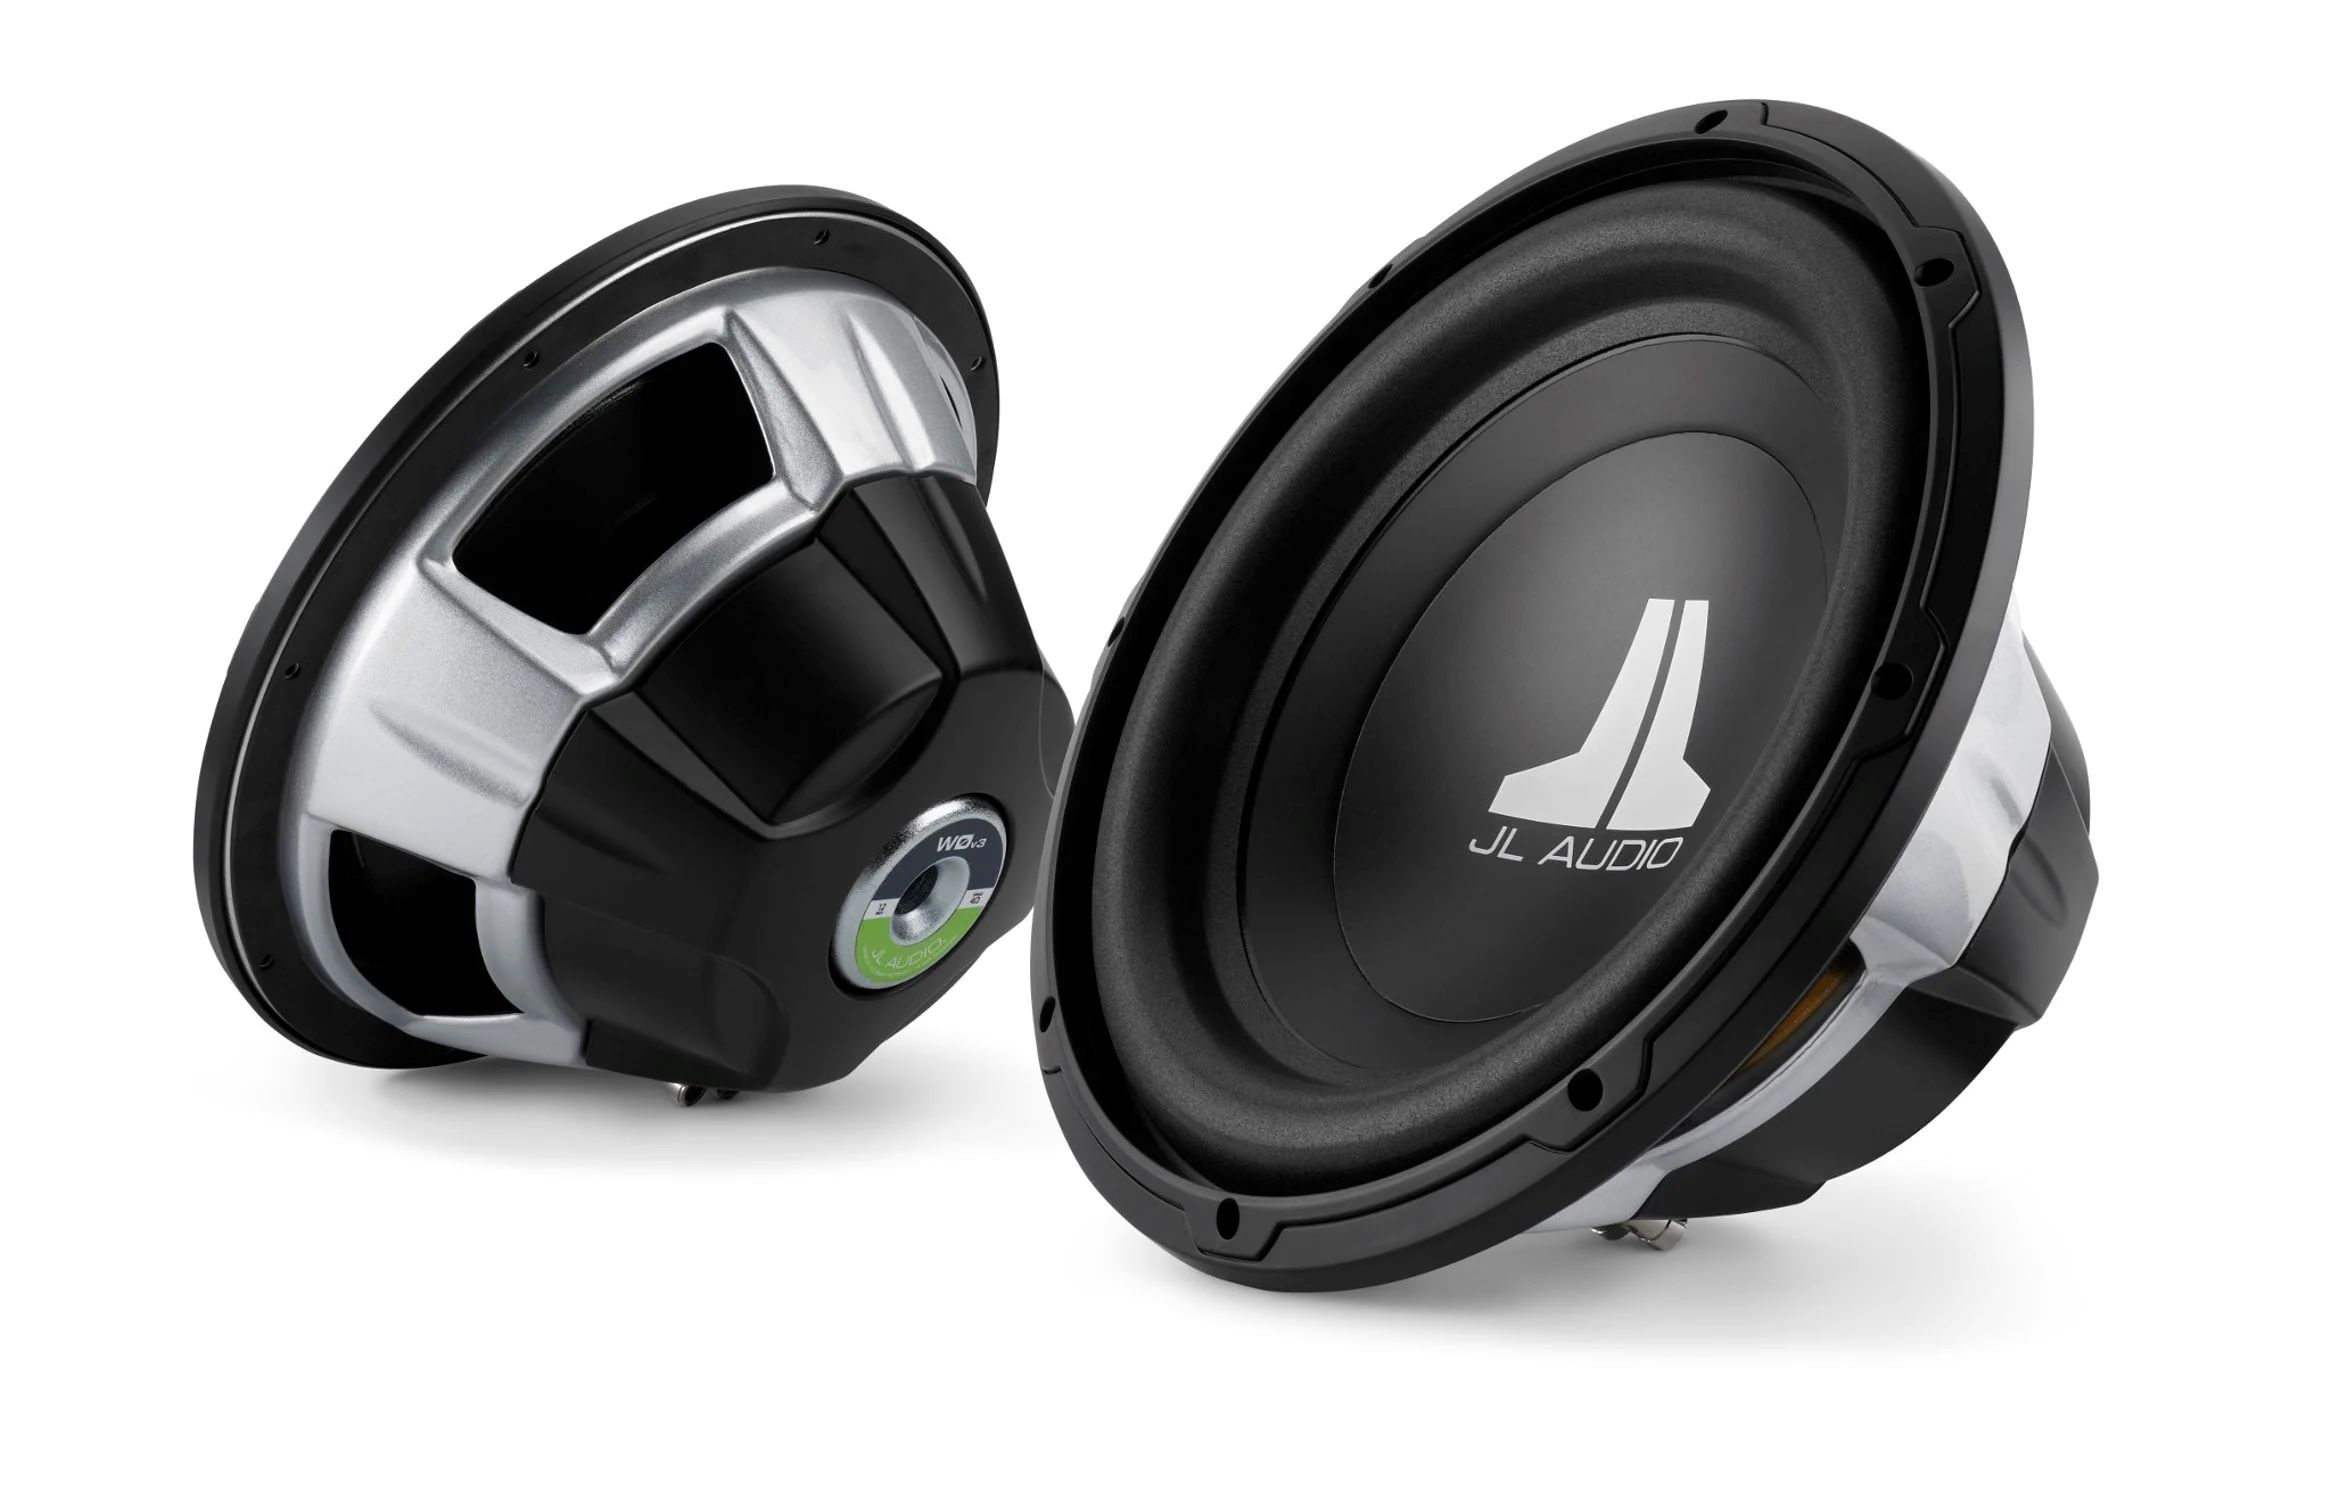
The main component of a subwoofer driver is the woofer cone. This cone is typically made of stiff material such as paper, plastic, or a combination of both, and is designed to push and pull air to create sound waves. The size and flexibility of the cone determine the frequencies that the subwoofer can reproduce.
In addition to the cone, a subwoofer driver also consists of a voice coil, magnet, and suspension system. The voice coil is a coil of wire that is attached to the cone. When an electrical current is passed through the coil, it interacts with the magnetic field created by the magnet, causing the coil and the cone to move back and forth rapidly, producing sound waves.
The magnet plays a crucial role in this process by providing a strong magnetic field that interacts with the voice coil. The size and strength of the magnet impact the subwoofer’s ability to produce deep, powerful bass. Additionally, the suspension system, typically comprised of a surround and spider, helps to control the movement of the cone and ensure optimal performance.
One important specification to consider when selecting a subwoofer driver is its power handling capability. This refers to the amount of power or wattage that the subwoofer can handle without distortion or damage. It is crucial to match the power handling of the subwoofer driver with the amplifier or receiver that you will be using to power it.
Another important aspect to consider is the subwoofer driver’s impedance. Impedance is the measure of opposition to an alternating current. It is typically represented in ohms and determines the compatibility of the subwoofer with the amplifier. It’s important to choose a driver with an impedance that is compatible with your amplifier to avoid any potential issues.
Lastly, the frequency response range is a critical factor to consider when selecting a subwoofer driver. It defines the range of frequencies that the driver can reproduce accurately. Subwoofer drivers with a lower frequency response are capable of producing deeper bass, while those with a higher frequency response excel in reproducing mid-bass frequencies.
By understanding these essential components and specifications of subwoofer drivers, you’ll be equipped with the knowledge to choose the right driver for your audio needs. Whether you’re aiming for thunderous bass or accurate low-end reproduction, the right subwoofer driver is key to achieving the desired sound signature in your audio system.
Choosing the Right Subwoofer Driver
When it comes to selecting a subwoofer driver, there are a few key factors to consider to ensure optimal performance and compatibility with your audio system. Let’s explore these factors to help you make an informed decision.
One of the first considerations is the size of the driver. Subwoofer drivers come in various sizes, typically ranging from 8 inches to 18 inches in diameter. Larger drivers tend to produce deeper bass and can handle more power, while smaller drivers are suitable for compact setups or when space is limited. Assess your audio needs and the available space in your listening area to determine the optimal size for your subwoofer driver.
Power handling is another crucial factor to take into account. Ensure that the power handling capabilities of the subwoofer driver align with the power output of your amplifier or receiver. If the power handling is mismatched, it can result in distortion, inefficiency, or even damage to the driver or amplifier. It’s advisable to choose a driver with power handling capabilities that meet or slightly exceed the power output of your amplifier for optimal performance.
Next, consider the impedance of the subwoofer driver. The impedance rating should match the output impedance of your amplifier to avoid any potential issues. Common impedance ratings for subwoofer drivers are 2, 4, or 8 ohms. Consult the specifications of your amplifier and choose a driver with a matching impedance rating for seamless compatibility and efficient power transfer.
The frequency response range is another important consideration. It determines the range of frequencies that the subwoofer driver is capable of reproducing accurately. For deep, rumbling bass, look for a driver with a lower frequency response. However, if you’re interested in a more balanced sound, a driver with a wider frequency response that covers both sub-bass and mid-bass frequencies might be preferable. Evaluate your audio preferences and choose a driver with a frequency response range that suits your listening needs.
Lastly, consider the overall build quality and design of the subwoofer driver. Look for drivers constructed with high-quality materials, such as sturdy cones, durable voice coils, and robust suspension systems. A well-built driver will not only deliver better sound quality but also ensure longevity and reliability over time.
Keep in mind that the selection of a subwoofer driver should depend on your personal audio preferences, system requirements, and budget. Taking the time to research and compare different options will help you make an informed decision and ensure that you choose a driver that delivers the deep, powerful bass you desire.
Gathering the Necessary Tools and Materials
Before you embark on building a subwoofer driver, it’s important to make sure you have all the necessary tools and materials at hand. Having everything ready before you begin will streamline the construction process and ensure a smooth build. Here’s a list of essential tools and materials you’ll need:
1. Subwoofer driver: This is, of course, the heart of your subwoofer. Choose a driver that suits your requirements and preferences, taking into consideration factors such as size, power handling, impedance, and frequency response range.
2. Subwoofer enclosure: You’ll need to construct an enclosure to house the subwoofer driver. The size and design of the enclosure will depend on the driver’s specifications and your desired bass response. You’ll need materials such as MDF (medium-density fiberboard) or plywood, screws, and wood glue to build the enclosure.
3. Amplifier: An amplifier is necessary to power the subwoofer driver and provide the necessary electrical signal. Make sure you choose an amplifier that matches the power handling capabilities of your subwoofer driver and has the appropriate audio inputs and outputs.
4. Speaker wire: High-quality speaker wire is needed to connect the subwoofer driver to the amplifier. Choose wire with adequate gauge thickness based on the length of the cable run and the power requirements of your system.
5. Terminal cup: A terminal cup is used to connect the speaker wire to the subwoofer driver. It provides a secure and convenient connection point. Make sure to choose a terminal cup that is compatible with your subwoofer driver and enclosure design.
6. Tools: You’ll need a variety of tools to construct the subwoofer enclosure and assemble the components. These may include a saw (circular saw or jigsaw), drill, screwdriver, measuring tape, sandpaper, and clamps. Having these tools on hand will ensure that you can complete the project efficiently and accurately.
7. Safety equipment: It’s essential to prioritize safety during the construction process. Wear safety goggles, gloves, and a dust mask to protect yourself from any potential hazards, such as flying debris or dust particles.
Remember to double-check the specifications of your subwoofer driver and consult any instruction manuals provided by the manufacturer. This will ensure that you have all the necessary tools and materials required for the specific subwoofer driver and enclosure you’re working with.
By gathering these tools and materials ahead of time, you’ll be well-prepared to start building your subwoofer driver and enjoy the rewarding experience of creating your own audio masterpiece.
Building the Subwoofer Enclosure
Once you have gathered all the necessary tools and materials, it’s time to start building the subwoofer enclosure. The enclosure plays a crucial role in optimizing the sound produced by the subwoofer driver. Here’s a step-by-step guide to help you construct the enclosure:
1. Determine the enclosure type: There are various types of subwoofer enclosures, including sealed, ported, and bandpass enclosures. Research the pros and cons of each type and choose the one that best suits your desired bass response and listening preferences.
2. Acquire the necessary materials: Depending on the type of enclosure you’ve chosen, you’ll need to purchase the appropriate materials. For a sealed enclosure, MDF or plywood is commonly used. For a ported enclosure, you’ll need additional materials such as a port tube. Make sure to have the required screws, wood glue, and other fasteners on hand as well.
3. Calculate the dimensions: Utilize a subwoofer enclosure calculator to determine the optimal internal volume and dimensions of the enclosure for your specific subwoofer driver. Input the driver’s Thiele-Small parameters to obtain accurate calculations. These dimensions are critical for achieving the best bass response and overall performance.
4. Cut the panels: Use a saw (circular saw or jigsaw) to cut the panels of the enclosure according to the calculated dimensions. Make sure to measure and mark the panels accurately to ensure a precise fit. Safety goggles and gloves are essential during this process to protect against any potential injuries.
5. Assemble the panels: Apply wood glue to the edges of the panels and secure them together using screws. Use clamps to hold the panels in place while the glue dries. Ensure that the panels are aligned properly to avoid any gaps or unevenness in the enclosure.
6. Reinforce the enclosure: To increase the structural integrity of the enclosure, add internal bracing. Cut additional pieces of MDF or plywood and secure them with glue and screws, strategically placed to provide extra support and reduce vibrations.
7. Create openings: Depending on the enclosure type, you’ll need to create openings for the subwoofer driver and any additional ports or vents. Use a jigsaw or router to carefully cut out these openings, following the specifications provided by the driver’s manufacturer.
8. Sand and finish: Once the construction is complete, sand the edges and surfaces of the enclosure to achieve a smooth finish. This will not only enhance the aesthetics but also prevent any rough edges from affecting the sound quality. Optionally, you can apply paint, veneer, or a sealant to protect and customize the appearance of the enclosure.
Building a subwoofer enclosure requires precision and attention to detail. Take your time during each step to ensure accuracy and structural integrity. Following this guide will help you construct a sturdy and acoustically optimized enclosure for your subwoofer driver.
Remember to refer to any specific instructions provided by the subwoofer driver manufacturer, as they may have additional recommendations or requirements for the enclosure. With the enclosure complete, you’ll be one step closer to enjoying powerful and immersive bass from your DIY subwoofer system.
Installing the Subwoofer Driver
With the subwoofer enclosure constructed, it’s time to install the subwoofer driver, which will bring your audio system to life. Follow these steps to ensure a proper and secure installation:
1. Position the enclosure: Decide on the ideal location for the subwoofer enclosure in your listening space. Consider factors such as room acoustics and the overall aesthetics of your setup. It’s typically recommended to place the subwoofer near a corner or against a wall for better bass response.
2. Prepare the driver: Before installing the subwoofer driver, inspect it to ensure it’s in good condition and free from any defects. Make sure the speaker terminals or leads are accessible and ready for wiring.
3. Wiring the driver: Connect the speaker wire to the subwoofer driver’s terminals. If the driver has spring-loaded terminals, strip the wire ends and insert them into the appropriate terminals, making sure to maintain polarity for both positive and negative connections. If the driver has soldering terminals, solder the wire to the respective terminals securely.
4. Mount the driver: Carefully position the subwoofer driver over the opening in the enclosure, aligning it with the mounting holes. Using screws provided by the manufacturer, fasten the driver to the enclosure, ensuring a firm and stable attachment. Be cautious not to overtighten the screws, as it may damage the driver or the enclosure.
5. Test the connection: Before sealing up the enclosure, it’s essential to test the connectivity and functionality of the subwoofer driver. Connect the other end of the speaker wire to the corresponding terminals on your amplifier or receiver. Apply a low-level audio signal to the subwoofer channel and listen for any distortion or irregularities. Ensure that the driver responds and produces sound as expected.
6. Secure the driver and seal the enclosure: Once you have confirmed that the subwoofer driver is functioning correctly, secure it further by checking the screws and tightening any that may have loosened during testing. Finally, seal the enclosure by applying a bead of silicone sealant or gasket tape around the edges of the driver to prevent air leaks and maximize the efficiency of the subwoofer.
7. Fine-tune the subwoofer settings: After installing the subwoofer driver, it’s crucial to fine-tune the settings on your amplifier or receiver to optimize the performance. Adjust the crossover frequency, phase, and volume levels to integrate the subwoofer seamlessly with your main speakers and achieve a balanced, cohesive soundstage.
By following these steps, you’ll install the subwoofer driver securely and ensure proper functionality within your audio system. Remember to refer to the instruction manual provided by the driver manufacturer for any specific guidelines or recommendations.
Once the subwoofer driver is installed, you can sit back and enjoy the deep, impactful bass that it adds to your audio experience. With a well-integrated and optimized subwoofer, you’ll be able to enhance your favorite music, movies, and games with a rich, immersive sound that truly captivates.
Testing and Adjusting the Subwoofer
Now that you have installed your subwoofer driver, it’s time to test and fine-tune its performance to ensure optimal sound quality and integration with your audio system. Following these steps will help you achieve the best possible bass response:
1. Set the crossover frequency: The crossover frequency determines which frequencies are sent to the subwoofer and which are sent to the main speakers. Start by setting the crossover frequency to around 80Hz, as this is a common starting point for most audio systems. Adjust the frequency up or down based on your listening preferences and the capabilities of your main speakers and subwoofer driver. Experiment with different settings until you achieve a smooth transition between the subwoofer and the main speakers.
2. Adjust the phase: The phase of the subwoofer driver refers to the timing relationship between its output and the main speakers. To optimize bass response and avoid any cancellation or reinforcement issues, set the phase to 0 degrees initially. Then, listen to some bass-heavy tracks and test the sound. If you notice any dips or peaks in the bass response, try flipping the phase switch to 180 degrees and listen again. Choose the phase setting that provides the smoothest and most cohesive bass output.
3. Fine-tune the volume level: Adjusting the volume level of the subwoofer is essential for achieving a balanced soundstage. Start by setting the subwoofer volume to its lowest point and gradually increase it until the bass blends well with the main speakers. Avoid overpowering the main speakers or drowning out other frequencies. Use your ears and listen carefully to find the sweet spot where the subwoofer adds depth and impact without overwhelming the rest of the audio.
4. Placement and room acoustics: Experiment with different subwoofer placements in your listening space to find the optimal position for the best bass response. Placing the subwoofer near a corner or against a wall can enhance bass output, but make sure to avoid placing it too close to boundaries to prevent excessive boomy bass. Additionally, consider room acoustics and use bass traps or acoustic treatments to minimize any unwanted reflections or resonances that may negatively impact the subwoofer’s performance.
5. Test with various audio content: To fully assess the performance of your subwoofer, listen to a variety of audio content, including music, movies, and games. Pay attention to the depth, impact, and accuracy of the bass. Does it sound natural? Is it well-balanced with the rest of the audio? Make any necessary adjustments to the crossover frequency, phase, and volume level based on your observations and personal preferences.
Remember that the ideal subwoofer settings may vary depending on your room size, speaker configuration, and personal preferences. Continuously fine-tuning and experimenting with different settings will help you achieve the best possible bass performance and integration within your audio system.
By dedicating time to testing and adjusting your subwoofer, you’ll be able to enjoy a well-crafted audio experience with deep, immersive bass that complements your favorite content.
Conclusion
Congratulations! You’ve completed the journey of building and optimizing your own subwoofer driver. Through understanding the components, choosing the right driver, gathering the necessary tools and materials, constructing the enclosure, installing the driver, and testing and adjusting its performance, you’ve taken charge of creating a powerful and immersive audio experience.
Building a subwoofer driver allows you to tailor the bass response to your specific preferences and audio setup. By selecting the right driver, enclosure, and optimizing the settings, you have the opportunity to fine-tune the bass impact and integration with your main speakers, resulting in a well-balanced and engaging soundstage.
This DIY project not only offers the satisfaction of building something with your own hands, but it also allows you to unleash the full potential of your audio system. You can now enjoy music, movies, and games with deep, rumbling bass that adds depth and realism to your audio experience.
Remember, as you continue to enjoy your subwoofer driver, don’t be afraid to tweak the settings and experiment with different placements or acoustical treatments to further optimize performance. The beauty of having a DIY subwoofer driver is the flexibility it provides to adapt to your evolving preferences and listening environment.
Now that you have the knowledge and skills to build your own subwoofer driver, you may even consider exploring more advanced techniques or adjustments to further enhance your audio system. Whether it’s delving into advanced equalization methods or implementing specialized subwoofer configurations, the possibilities for audio customization are endless.
Enjoy the deep, resonant bass that your homemade subwoofer driver brings to your audio setup. Embrace the immersive sound experience and share your newfound knowledge with others who are passionate about audio. Get ready to embark on a journey of sonic exploration and elevate your audio enjoyment to new heights.
So, go ahead and unleash the power of your DIY subwoofer driver. Immerse yourself in the world of deep bass and let the music move you, the movies come to life, and the games be more captivating than ever before!