Home>Devices & Equipment>Subwoofer>How To Make A Subwoofer At Home
Subwoofer
How To Make A Subwoofer At Home
Published: January 21, 2024
Looking to add some bass to your audio setup? Learn how to make a subwoofer at home and elevate your sound experience.
(Many of the links in this article redirect to a specific reviewed product. Your purchase of these products through affiliate links helps to generate commission for AudioLover.com, at no extra cost. Learn more)
Table of Contents
- Introduction
- Required Materials
- Step 1: Choose the Speaker Driver
- Step 2: Design the Enclosure
- Step 3: Calculate the Box Dimensions
- Step 4: Construct the Subwoofer Enclosure
- Step 5: Install the Speaker Driver
- Step 6: Wire the Subwoofer
- Step 7: Connect the Subwoofer to Audio System
- Step 8: Test and Fine-tune the Subwoofer
- Conclusion
Introduction
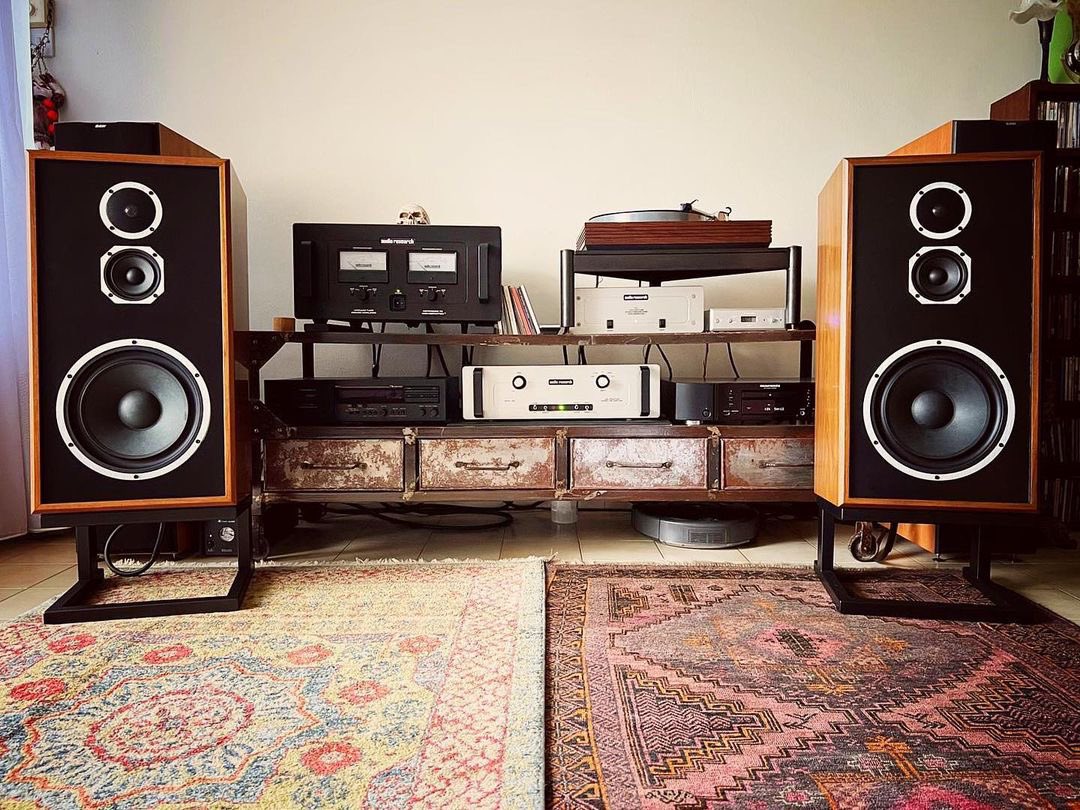
Welcome to the world of subwoofers! If you’re a music lover or a home theater enthusiast, you know that a good subwoofer is essential for enhancing the bass and low-frequency impact of your audio experience. Subwoofers are specialized speakers that are designed to reproduce low-frequency sounds with clarity and power.
While you can easily purchase a subwoofer from a store, making your own subwoofer at home can be a rewarding and cost-effective project. Not only do you get to customize it according to your preferences, but you also get the satisfaction of building something with your own hands.
In this article, we’ll guide you through the process of making a subwoofer at home, from choosing the right components to assembling and fine-tuning the final product. Whether you’re a DIY enthusiast looking for a new project or simply want to upgrade your audio setup, this guide will provide you with the necessary information to create a high-quality subwoofer.
Before we dive into the technical aspects, it’s important to understand how a subwoofer works. Essentially, a subwoofer is designed to reproduce low-frequency sounds, typically below 100Hz. These low-frequency sounds, such as deep bass notes in music or rumbling explosions in movies, add depth and impact to your audio experience.
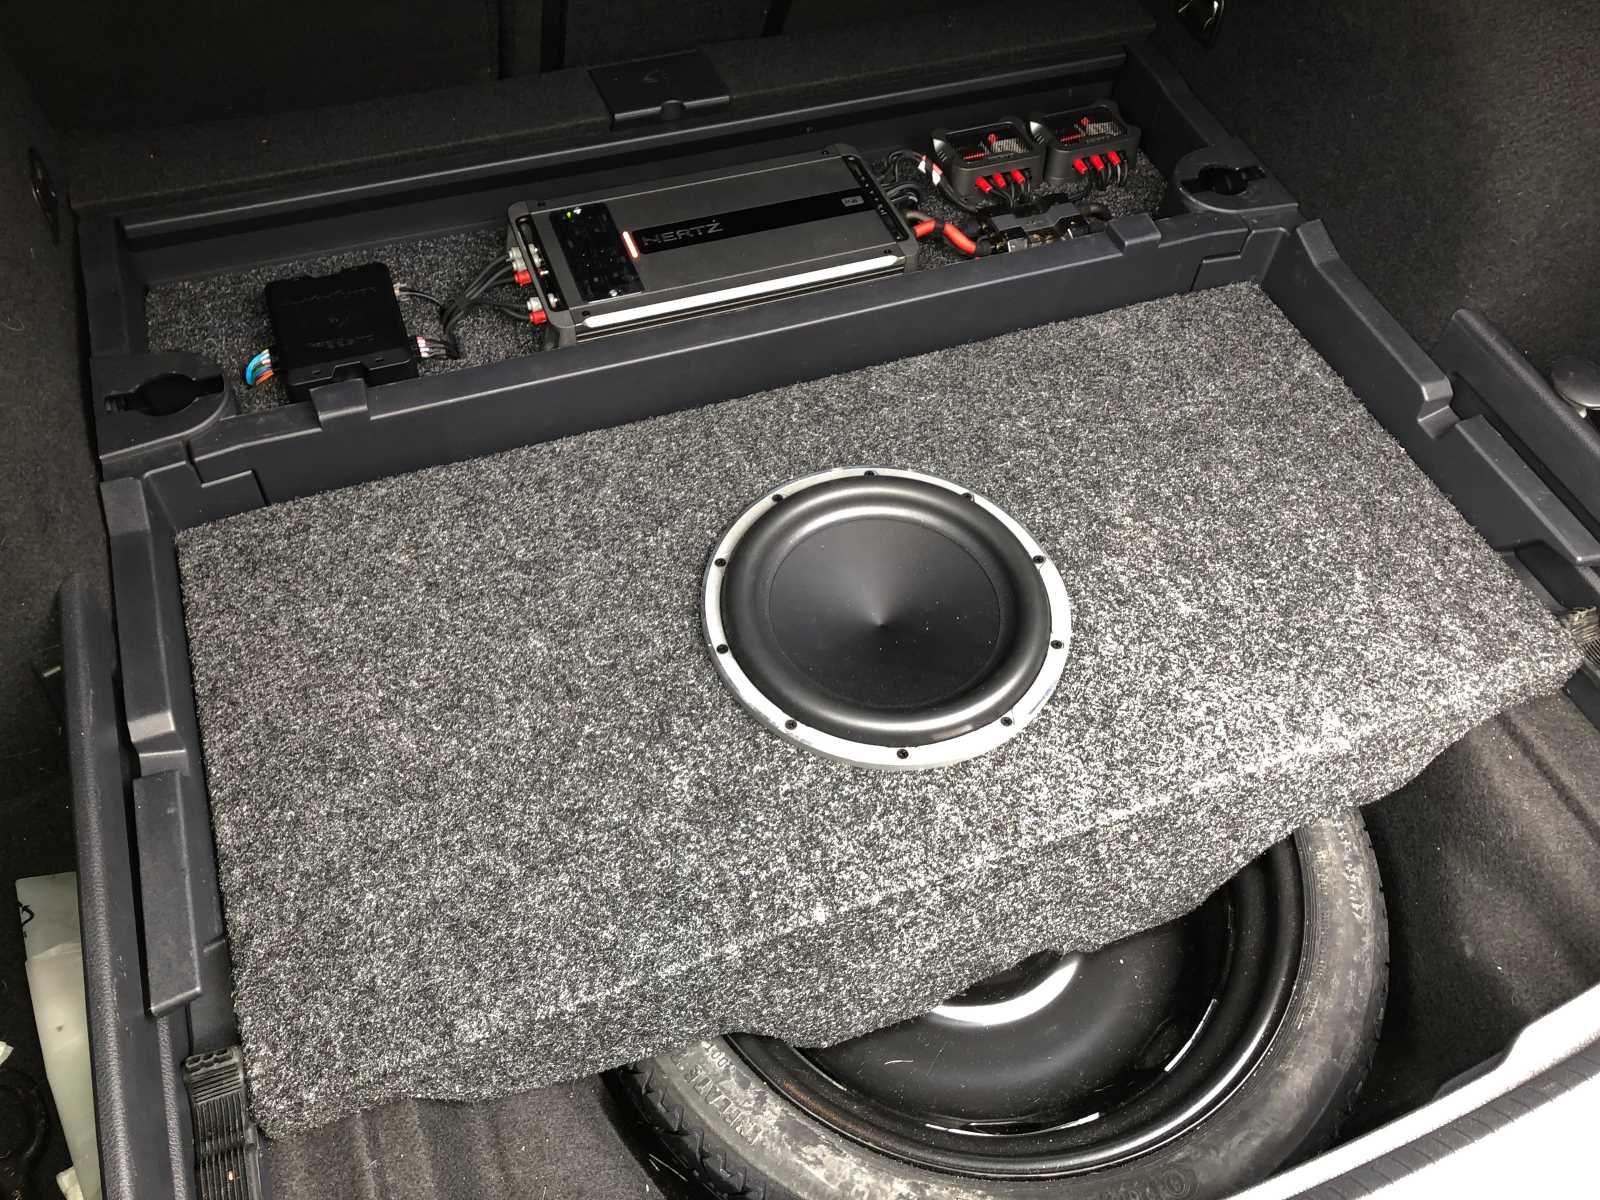
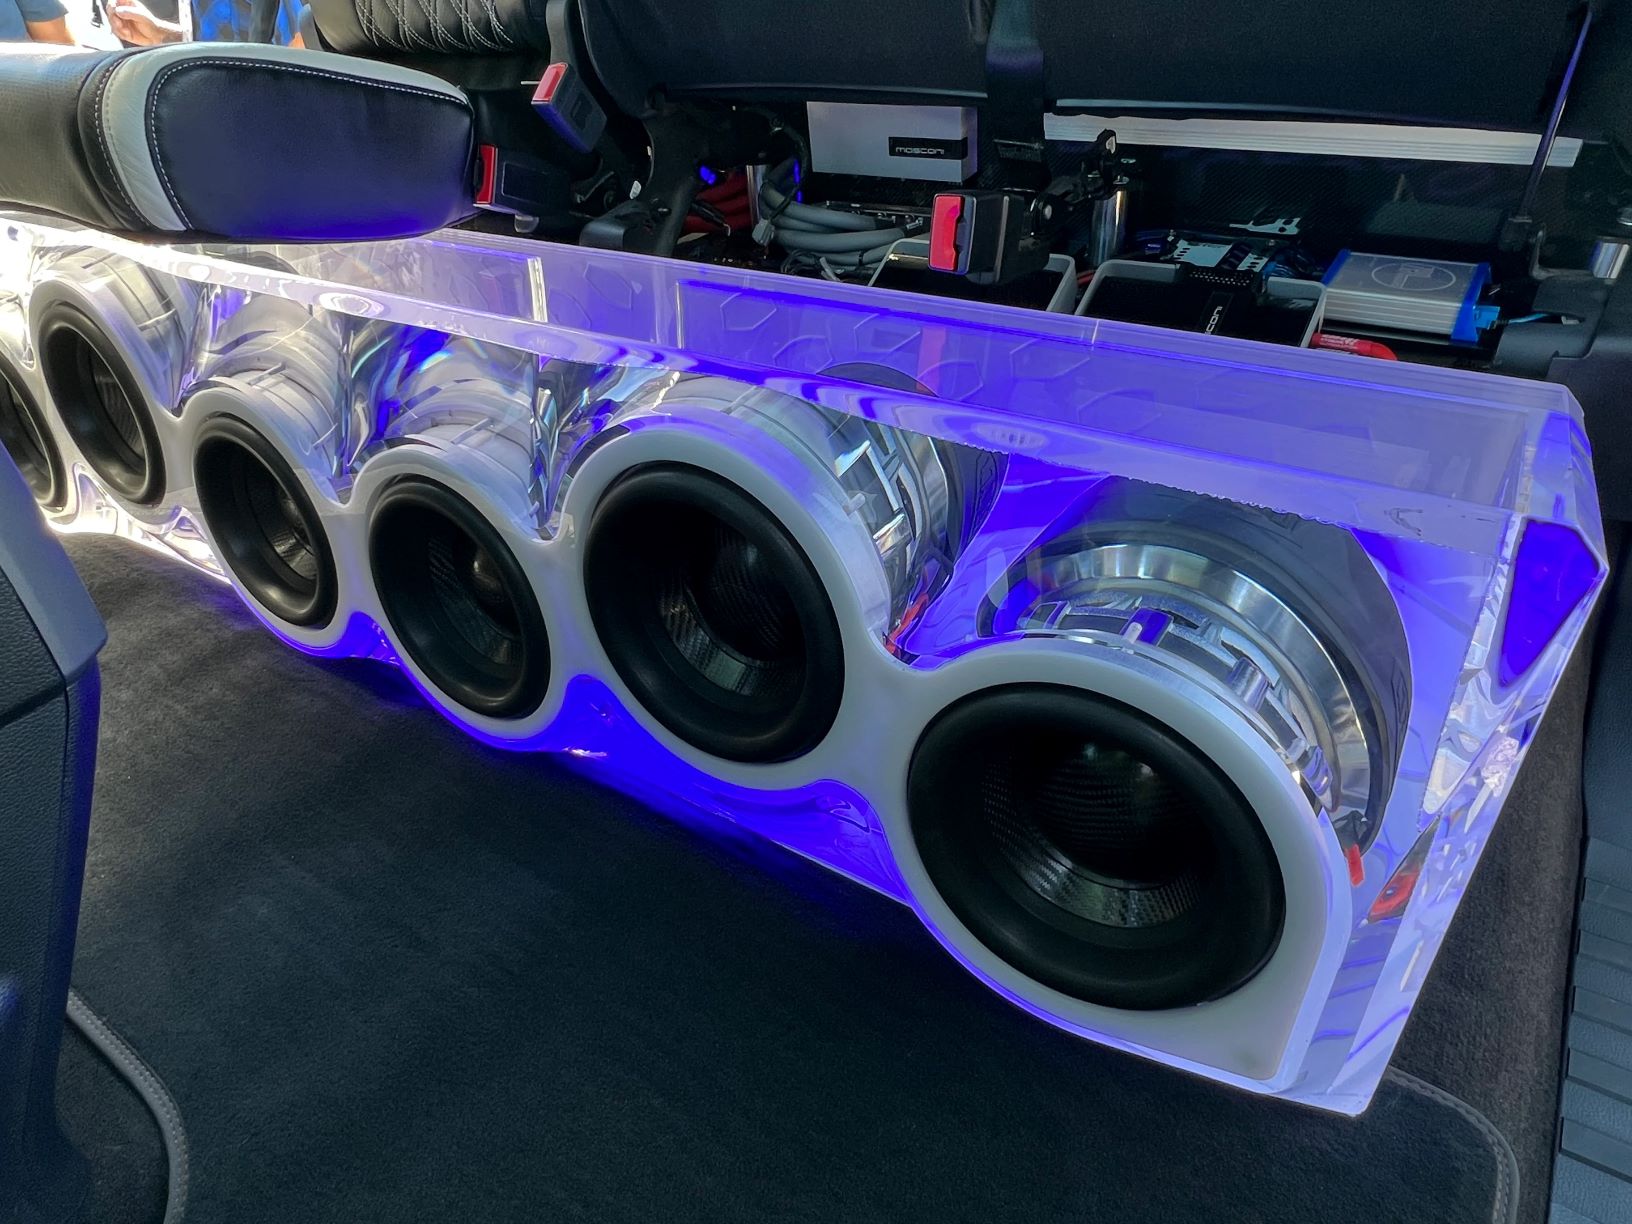
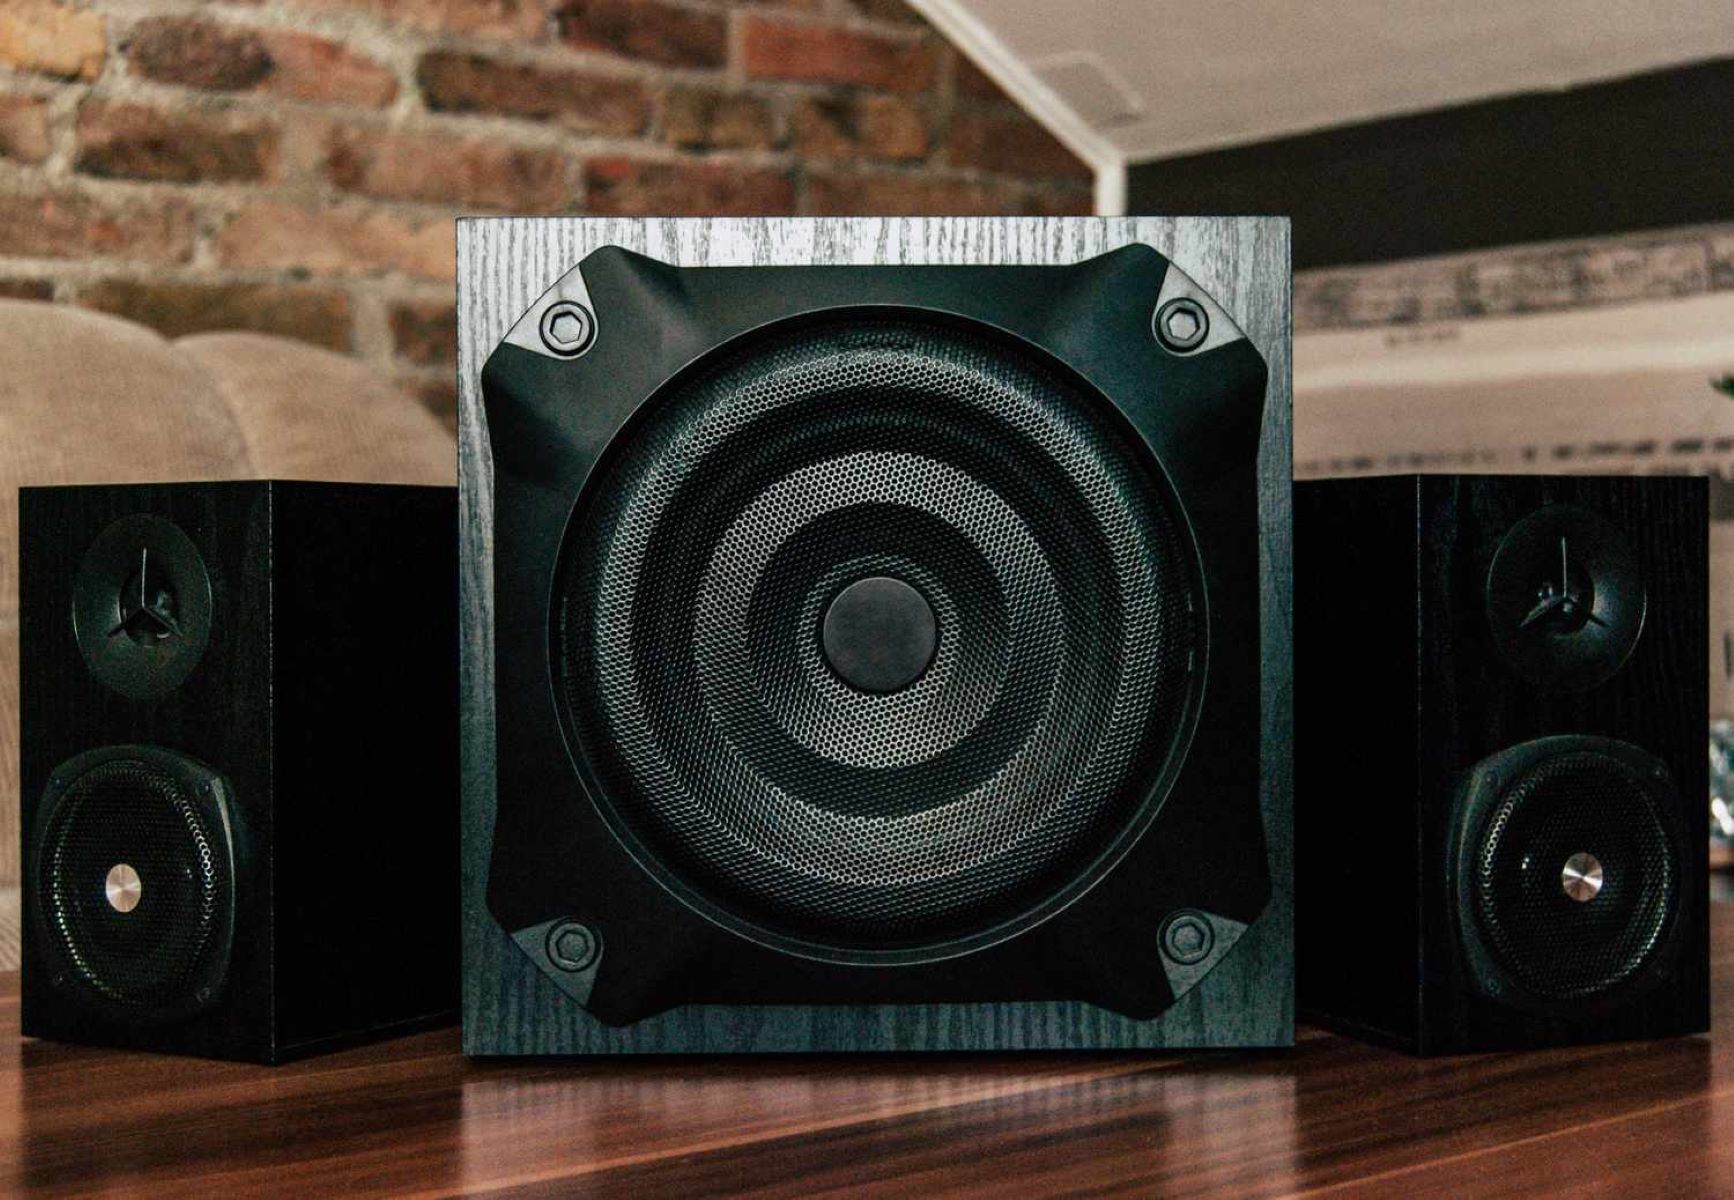
A subwoofer consists of two main components: the speaker driver and the enclosure. The speaker driver is responsible for converting electrical signals into sound waves, while the enclosure plays a crucial role in optimizing the performance and efficiency of the subwoofer.
In the following sections, we’ll discuss the necessary materials, step-by-step instructions, and tips for each stage of building a subwoofer. So, put on your DIY hat and let’s get started on creating your very own subwoofer!
Required Materials
Before you begin building your own subwoofer, it’s essential to gather all the necessary materials. Having everything at hand will make the construction process smoother and more efficient. Here’s a list of the primary materials you’ll need:
- Speaker Driver: The heart of your subwoofer, the speaker driver is responsible for producing the low-frequency sounds. Choose a high-quality driver that matches your desired specifications and budget. Some popular options include the Dayton Audio RSS265HO-4 or the Pioneer TS-WX130DA.
- Enclosure Material: The enclosure provides a housing for the speaker driver and plays a crucial role in sound reproduction. Common materials include medium-density fiberboard (MDF), plywood, or even plastic for smaller subwoofers.
- Amplifier: A dedicated amplifier is required to power the subwoofer and control its output. Ensure that the amplifier can handle the power requirements and impedance of your chosen speaker driver. Popular amplifier options include the Dayton Audio SA1000 or the Behringer NU3000DSP.
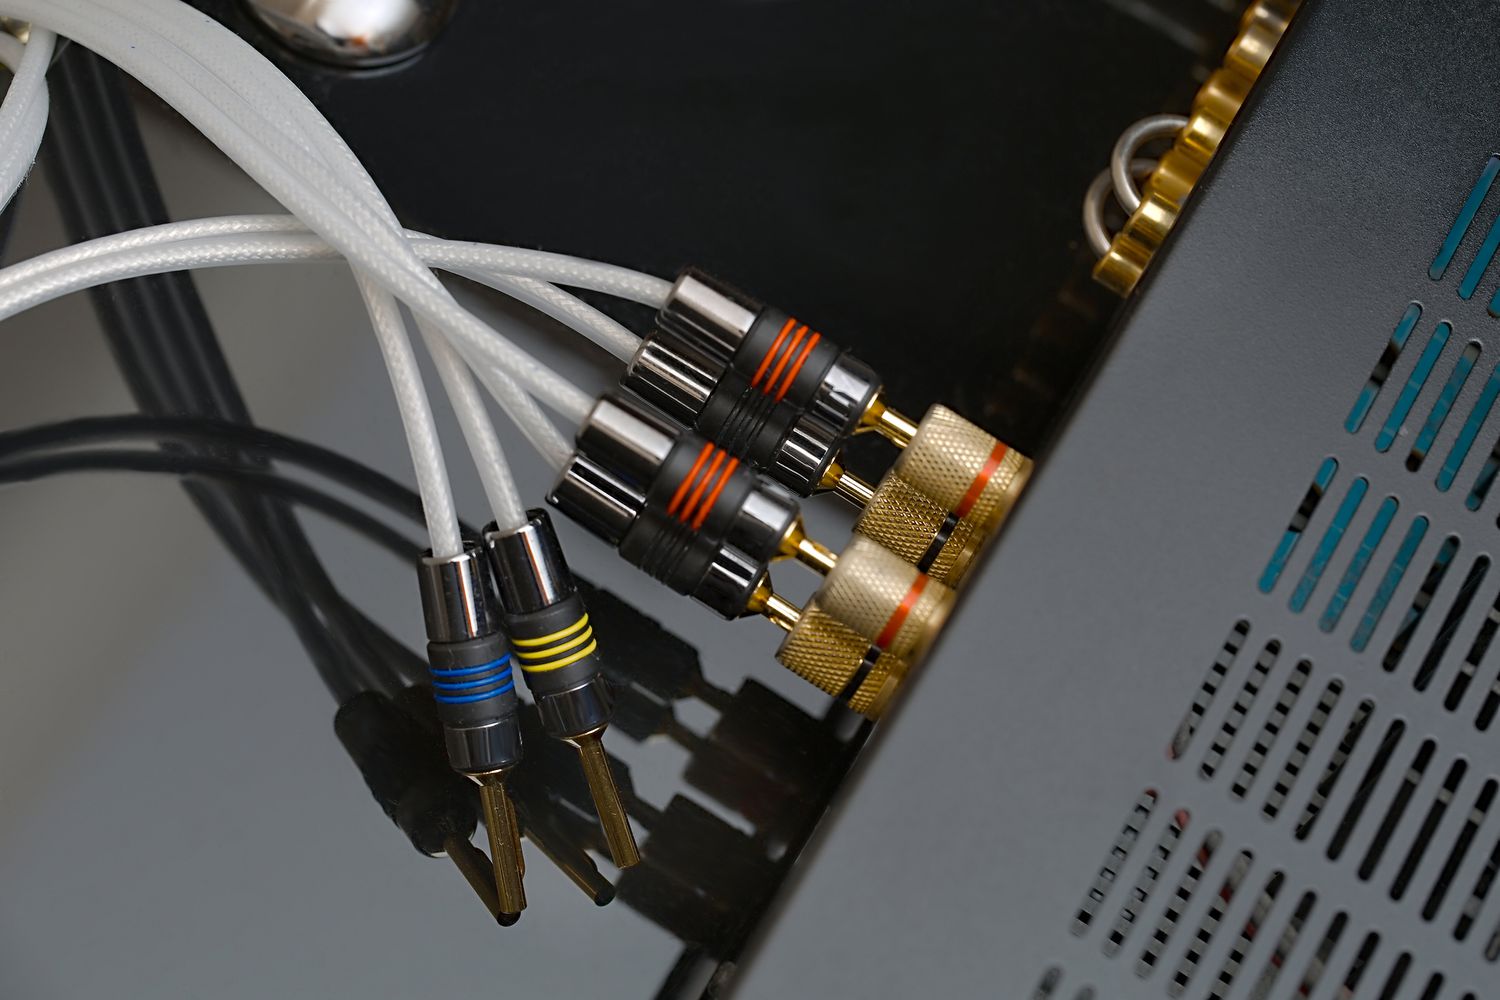
- Wires and Cables: You’ll need speaker wire to connect the amplifier to the subwoofer. Additionally, gather RCA cables, power cables, and suitable connectors to complete the wiring process.
- Damping Material: Damping material is used to reduce resonances and vibrations within the subwoofer enclosure. Materials like polyfill, fiberglass insulation, or specialized damping products can be used for this purpose.
- Fasteners and Tools: Gather screws, nuts, bolts, and other necessary fasteners for assembling the enclosure. Additionally, have a set of basic tools handy, including a measuring tape, screwdriver, saw, drill, and clamps.
- Safety Equipment: Despite being a fun project, it’s essential to prioritize safety. Ensure you have safety glasses, gloves, and ear protection to keep yourself protected during the construction process.
While these are the primary materials, you may also need additional components based on your specific design and preferences. It’s crucial to carefully research and plan your subwoofer build to ensure you have all the necessary materials at hand.
Once you have gathered all the materials, you’re ready to start building your own subwoofer. In the next sections, we’ll guide you through the step-by-step process, from designing the enclosure to connecting the subwoofer to your audio system.
Step 1: Choose the Speaker Driver
The first step in building a subwoofer is choosing the right speaker driver. The speaker driver is the key component responsible for producing the low-frequency sounds that give your subwoofer its punch. When selecting a speaker driver, consider the following factors:
Power Handling and Sensitivity: The power handling of the speaker driver determines how much power it can handle without distortion. Ensure that the power handling capacity matches your amplifier’s output. Additionally, pay attention to the sensitivity rating, which indicates how efficient the driver is in converting power into sound. Higher sensitivity drivers require less power to produce the same volume.
Frequency Response: The frequency response range of the speaker driver tells you the range of frequencies it can accurately reproduce. Look for a driver that can reach low frequencies, ideally below 40Hz, for deep and impactful bass.
Impedance: The impedance of the speaker driver should match that of your amplifier to ensure compatibility. Common impedance values for subwoofers include 4 ohms and 8 ohms.
Budget: Consider your budget when selecting a speaker driver as they can vary significantly in price. Determine how much you are willing to spend and look for options within your budget that meet your requirements.
Brand and Reviews: Research different brands and read reviews to find reputable and reliable speaker driver options. Look for drivers that have positive feedback regarding their performance, durability, and overall quality.
Once you have considered these factors, browse through online stores or visit local audio equipment shops to find the perfect speaker driver for your subwoofer project. Don’t be afraid to ask for advice or recommendations from audio enthusiasts or professionals to ensure you make an informed decision.
Remember, the speaker driver you choose will play a significant role in defining the sound quality and performance of your subwoofer. So take your time in picking the right driver that suits your preferences and audio requirements.
In the next step, we’ll delve into designing the enclosure, which will greatly influence the overall performance of your subwoofer.
Step 2: Design the Enclosure
Designing the enclosure is a critical step in building a subwoofer. The enclosure plays a crucial role in optimizing the performance and efficiency of the speaker driver. It helps in controlling vibrations, reducing unwanted resonances, and enhancing the overall sound quality. Here are the key considerations for designing the enclosure:
Enclosure Type: There are various enclosure types to choose from, each with its own advantages and trade-offs. Some common types include sealed enclosures, ported enclosures, and bandpass enclosures. Sealed enclosures offer precise and tight bass response, while ported enclosures provide more output at the expense of some control. Bandpass enclosures offer a combination of both, with a trade-off in size and complexity. Research and understand the characteristics of each type to determine which one suits your needs best.
Enclosure Size: The size of the enclosure will depend on the speaker driver’s specifications and the desired frequency response. Smaller enclosures will generally have a limited low-frequency extension, while larger enclosures offer deeper bass. Determine the available space and your desired balance between size and performance.
Enclosure Material: Common materials for building enclosures include medium-density fiberboard (MDF), plywood, or even plastic for smaller subwoofers. MDF is generally preferred for its density and ability to reduce resonances. Choose a material that is sturdy, easy to work with, and suits your budget.
Internal Bracing: Internal bracing involves adding crossbars or braces inside the enclosure to strengthen its structure and minimize undesirable vibrations. Proper internal bracing can significantly improve the overall performance and durability of the subwoofer. Plan and implement bracing based on the size and design of your enclosure.
Port Design (If applicable): If you decide to build a ported enclosure, careful consideration of the port design is important. The length, diameter, and position of the port affect the tuning and overall sound of the subwoofer. Refer to online port calculators or consult design guides to ensure optimal port dimensions for your desired frequency response.
Once you have considered these factors and made your design choices, it’s time to move on to calculating the box dimensions in the next step. Proper calculation will ensure that your subwoofer performs optimally and delivers the desired bass response.
Step 3: Calculate the Box Dimensions
Calculating the box dimensions is a crucial step in building a subwoofer. The dimensions of the enclosure directly impact the performance and sound quality of the subwoofer. Here’s how you can calculate the box dimensions:
1. Determine the Desired Box Type: Based on your design preferences and the characteristics of your speaker driver, decide on the type of enclosure – sealed, ported, or bandpass.
2. Research the Thiele/Small Parameters: The Thiele/Small parameters are a set of measurements that describe the behavior of a speaker driver in an enclosure. You can find these parameters in the specifications of the driver or from manufacturers’ websites. The key parameters for designing the enclosure include Vas (equivalent volume of air compliance), Fs (resonant frequency), and Qts (total Q-factor).
3. Use an Enclosure Calculator: Online enclosure calculators are available to simplify the calculation process. These calculators allow you to input the Thiele/Small parameters and desired box type, and they provide the recommended box volume, dimensions, and port dimensions (if applicable) for optimal performance. Some popular enclosure calculators include WinISD, BassBox Pro, and Torres Box Tuning Calculator.
4. Adjust for Available Space: After obtaining the recommended dimensions from the enclosure calculator, you may need to make adjustments based on the available space or practical considerations. Ensure that the final dimensions still fall within an acceptable range for the selected enclosure type.
5. Consider Internal Volume Displacement: Take into account the space occupied by the speaker driver, internal bracing, and any other components inside the enclosure. Subtract this volume from the total recommended box volume to calculate the net internal volume.
6. Finalize the Box Dimensions: With the adjusted internal volume, you can now determine the actual dimensions of your enclosure, including height, width, and depth. Make sure to accurately measure and mark these dimensions on your chosen enclosure material.
Calculating the box dimensions ensures that your subwoofer operates optimally in the intended enclosure type and delivers the desired bass response. Once you have the dimensions finalized, you’re ready to move on to the construction phase and start building your subwoofer enclosure.
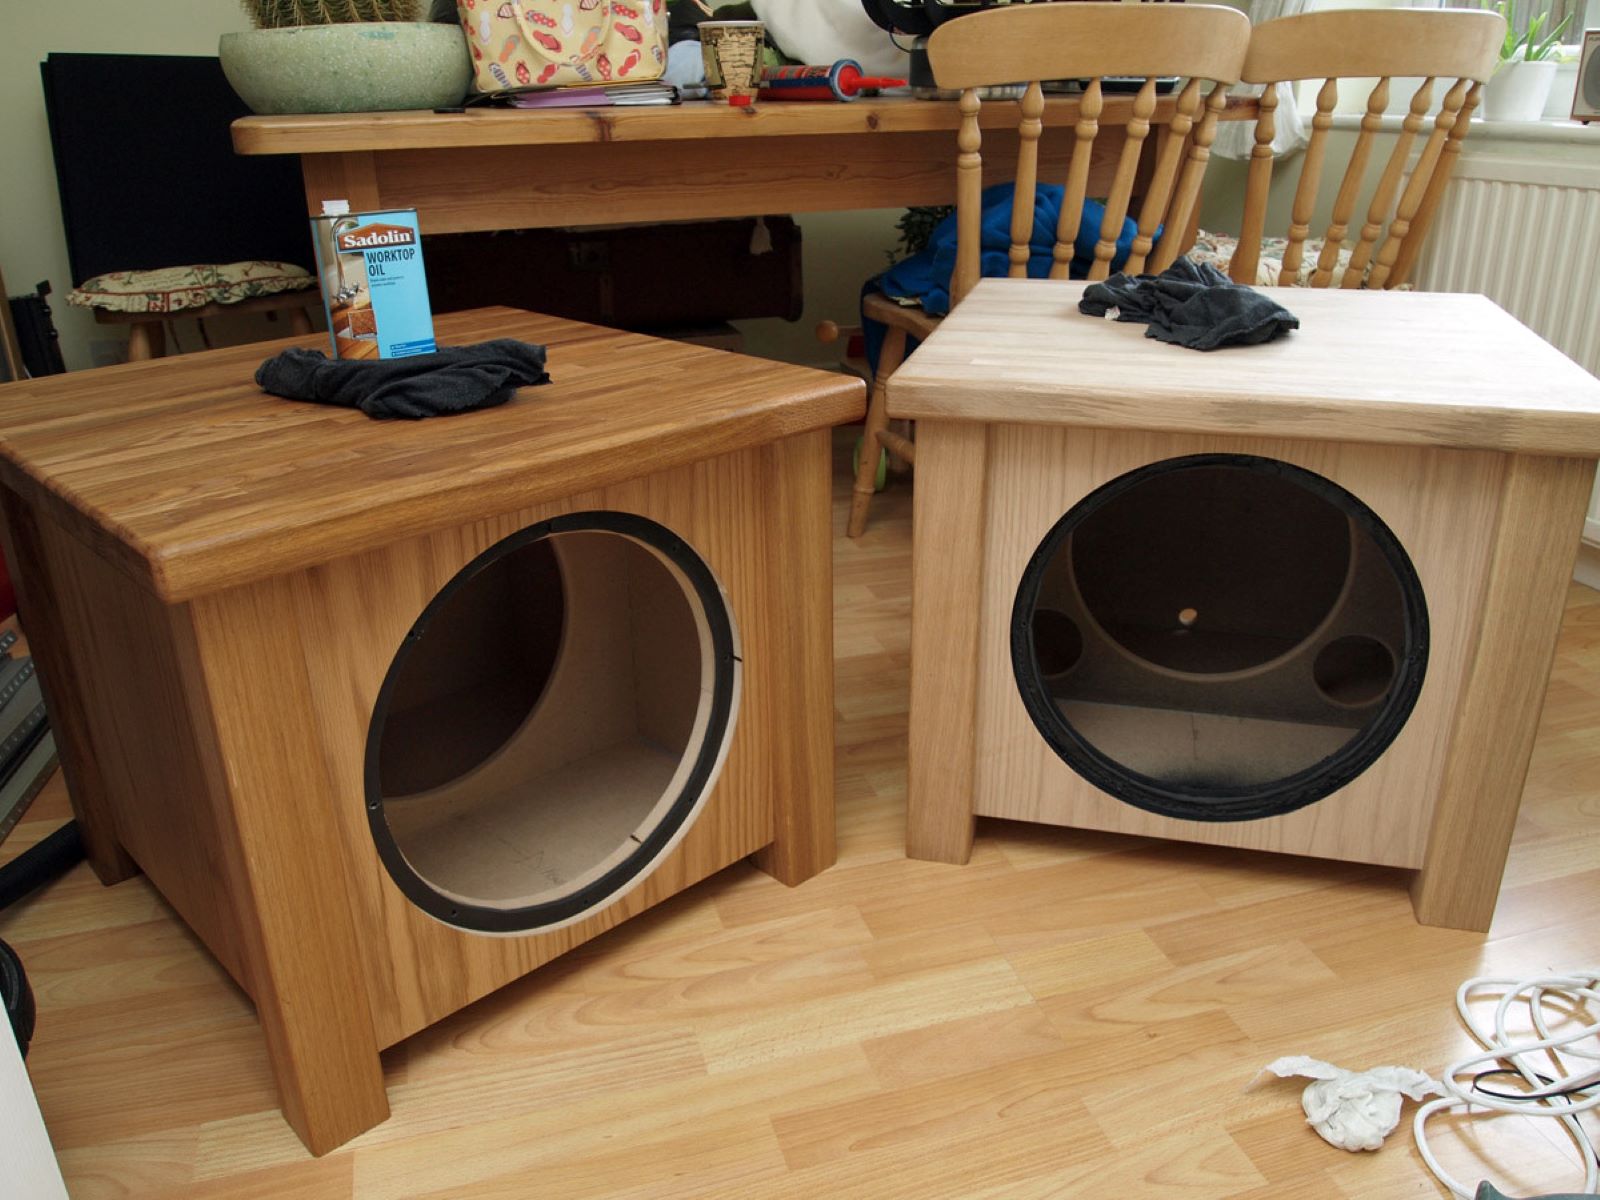
Step 4: Construct the Subwoofer Enclosure
With the calculations done and the dimensions finalized, it’s time to start constructing the subwoofer enclosure. Building a sturdy and well-constructed enclosure is crucial for optimal sound performance and durability. Here are the steps to construct the subwoofer enclosure:
1. Gather the Materials and Tools: Collect all the necessary materials and tools required for constructing the enclosure, including the chosen enclosure material (e.g., MDF or plywood), screws, clamps, measuring tape, drill, saw, and sandpaper.
2. Cut the Enclosure Panels: Using the measured dimensions, accurately cut the panels for the top, bottom, sides, and front/back of the enclosure. Use a saw or a router to ensure clean and precise cuts.
3. Assemble the Panels: Begin by attaching the back panel to one of the side panels using screws and wood glue. Use clamps to hold the panels in place while the glue dries. Repeat the process to attach the other side panel, ensuring they are parallel and properly aligned.
4. Add Bracing (if applicable): If your design includes internal bracing, cut and insert the bracing pieces inside the enclosure following your design plans. Use screws and wood glue to secure them in place, reinforcing the structure and reducing vibrations.
5. Attach the Top and Bottom Panels: Once the side panels and bracing are in place, attach the top and bottom panels to complete the enclosure. Apply wood glue along the edges before screwing the panels into position. Ensure all corners are square and the enclosure is level.
6. Sand and Finish: Use sandpaper to smooth out any rough edges or surfaces. Pay attention to corners and joints to ensure a seamless finish. If desired, you can stain or paint the enclosure to give it a professional look and protect the wood.
7. Install Damping Material: To further enhance the sound quality and reduce internal resonances, line the interior of the enclosure with damping material such as polyfill or fiberglass insulation. This helps absorb sound waves and minimizes unwanted vibrations.
8. Test for Air Leaks: Before proceeding, check for any air leaks in the enclosure. Apply a small amount of smoke inside the enclosure and observe if any smoke escapes. Seal any gaps or leaks with silicone or wood filler to ensure an airtight enclosure.
By following these steps, you’ll construct a solid and well-built subwoofer enclosure. Remember to take your time and ensure accuracy at each stage. Once the enclosure is complete, you can move on to installing the speaker driver and wiring it up in the next steps of the subwoofer building process.
Step 5: Install the Speaker Driver
Now that you have constructed the subwoofer enclosure, it’s time to install the speaker driver. The proper installation of the driver is crucial for optimal sound performance and integration with the enclosure. Follow these steps to install the speaker driver in your subwoofer:
1. Prepare the Enclosure: Ensure that the interior of the subwoofer enclosure is clean and free from any dust or debris. Remove the damping material if necessary, making sure to maintain an airtight seal around the edges.
2. Locate the Mounting Area: Identify the desired location for mounting the speaker driver inside the enclosure. This is typically on one of the panels, such as the front or top, depending on the design of your subwoofer.
3. Mark and Cut the Hole: Measure the diameter of the speaker driver and mark the appropriate size on the chosen mounting panel. Use a jigsaw or hole saw to carefully cut out the hole, following the marked outline. Take your time to ensure a clean and precise cut.
4. Create a Gasket: To ensure an airtight seal between the speaker driver and the enclosure, create a gasket using foam or rubber material. Trace the outline of the speaker driver onto the gasket material and cut it out carefully. Place the gasket around the mounting hole, ensuring a snug fit.
5. Mount the Speaker Driver: Carefully align the speaker driver with the mounting hole and gently insert it into place. Make sure that the driver is centered and level within the enclosure. Depending on your specific driver and enclosure, you may need to use screws, clamp rings, or brackets to secure the driver in place.
6. Secure the Speaker Wires: Connect the speaker wires to the speaker terminals on the back of the driver. Ensure that the positive (+) and negative (-) wire connections are correctly matched. Use terminals or connectors recommended by the speaker driver manufacturer for a secure and reliable connection.
7. Test the Speaker Driver: Before closing the subwoofer enclosure, connect the wires from the speaker driver to your amplifier or audio system. Power on the system and play some test audio or music to ensure that the speaker driver is functioning properly and producing the desired sound.
8. Adjust the Position: Once you have tested the speaker driver, listen to the sound and make any necessary adjustments to its position or orientation within the enclosure. Sometimes, minor adjustments can optimize the sound reproduction and integration with the enclosure.
By following these steps, you will successfully install the speaker driver in your subwoofer enclosure. With the driver installed, you’re now ready to wire the subwoofer and connect it to your audio system in the next step of the building process.
Step 6: Wire the Subwoofer
Wiring the subwoofer is a crucial step in the building process, as it connects the speaker driver to your amplifier or audio system. Proper wiring ensures that the subwoofer receives the correct signals and power for optimal performance. Follow these steps to wire your subwoofer:
1. Prepare the Speaker Wire: Measure and cut the appropriate length of speaker wire to connect the subwoofer to your amplifier. Strip the ends of the wire to expose the bare copper.
2. Identify the Speaker Terminals: Locate the speaker terminals on the back of your subwoofer enclosure. These terminals will typically be labeled as positive (+) and negative (-).
3. Connect the Speaker Wire: Attach the positive (+) wire from the amplifier to the positive terminal of the subwoofer and the negative (-) wire to the negative terminal. Ensure that the wires are securely connected and that there is no loose connection that may cause sound distortion or interruptions.
4. Manage Excess Wire: If there is excess speaker wire, consider using wire management techniques to keep it tidy and prevent any interference. You can loop and secure the excess wire using cable ties or wire clips to maintain a clean and organized setup.
5. Connect to Amplifier: Depending on your audio setup, connect the other end of the speaker wire to the appropriate output terminals on your amplifier. Ensure that you match the positive (+) and negative (-) connections correctly to the corresponding terminals on the amplifier.
6. Double-Check Connections: Before powering on the system, double-check all the connections to ensure that they are secure and properly matched. A loose connection can result in poor sound quality or damage to the subwoofer or amplifier.
7. Power On and Test: Once you have completed the wiring, power on your audio system and play audio through the subwoofer. Test the subwoofer at different volume levels and frequencies to ensure it is functioning correctly and producing the desired bass response.
8. Fine-tune Settings: Depending on your system and personal preferences, you may need to make adjustments to the settings on your amplifier or audio system. This includes adjusting the crossover frequency, volume level, and phase control to achieve the best integration and sound balance with your main speakers.
By following these steps, you will successfully wire your subwoofer and connect it to your audio system. Take some time to fine-tune the settings and enjoy the enhanced bass performance that your DIY subwoofer brings to your audio setup.
Step 7: Connect the Subwoofer to Audio System
Once you have wired the subwoofer, the next step is to connect it to your audio system. This step ensures that the subwoofer integrates seamlessly with your existing setup and enhances the overall audio experience. Follow these steps to connect your subwoofer to the audio system:
1. Identify the Audio Inputs: Locate the audio inputs on your subwoofer and the corresponding outputs on your audio system or amplifier. The subwoofer may have dedicated RCA inputs or speaker level inputs, depending on its design.
2. Choose the Connection Type: Select the appropriate connection type based on the available options on both the subwoofer and audio system. The most common connection methods are RCA cables for line-level inputs and speaker wire connections for speaker-level inputs.
3. Connect with RCA Cables: If using RCA cables, connect one end of the cable to the subwoofer’s RCA input and the other end to the corresponding RCA output on your audio system or amplifier. Ensure a secure and snug connection.
4. Connect with Speaker Wire: If using speaker wire connections, you need to configure the subwoofer for speaker-level input. Connect the positive (+) wire from the amplifier or receiver to the positive (+) terminal on the subwoofer, and the negative (-) wire to the negative (-) terminal.
5. Set the Crossover Frequency: Access the crossover settings on your audio system or amplifier. Adjust the crossover frequency to determine the range of frequencies that will be sent to the subwoofer. This allows the subwoofer to handle low-frequency sounds, while the main speakers handle the higher frequencies.
6. Choose the Phase: The phase control on the subwoofer allows you to align the timing of the subwoofer’s output with the main speakers. Experiment with different phase settings to find the best integration and avoid phase cancellation.
7. Test and Fine-Tune: Power on your audio system and play a variety of audio content to test the subwoofer’s performance. Adjust the volume level, crossover frequency, and phase control as needed to achieve a balanced and immersive audio experience.
8. Enjoy the Enhanced Audio: With the subwoofer properly connected and fine-tuned, sit back and enjoy the enhanced bass response and depth that it brings to your audio system. Whether it’s music, movies, or games, the subwoofer will add a new level of impact and realism.
By following these steps, you will successfully connect your subwoofer to your audio system and optimize its performance. Take the time to experiment with settings and ensure that the subwoofer integrates seamlessly with your existing speakers for a well-balanced audio experience.
Step 8: Test and Fine-tune the Subwoofer
The final step in building and integrating your subwoofer is to test and fine-tune its performance. This step ensures that the subwoofer is optimized and delivers the desired bass response in your audio setup. Follow these steps to test and fine-tune the subwoofer:
1. Test with Various Content: Play a variety of audio content that represents the range of frequencies and dynamics you typically listen to. This can include music tracks, movies, or even dedicated subwoofer test tones. Listen carefully to the bass response and overall sound quality produced by the subwoofer.
2. Adjust the Volume Level: Use the subwoofer level control on your amplifier or audio system to adjust the volume level of the subwoofer. Aim for a balanced and integrated sound where the subwoofer neither overpowers nor gets drowned out by the main speakers. Listen to find the sweet spot that complements your listening preferences.
3. Fine-tune the Crossover Frequency: If the subwoofer and main speakers overlap in their frequency response, adjust the crossover frequency accordingly. This helps to ensure that the subwoofer handles the low-frequency sounds, while the main speakers focus on the mid and high frequencies. Experiment with different settings to achieve a seamless blend between the subwoofer and the main speakers.
4. Experiment with Phase Control: The phase control on the subwoofer allows you to align the timing of the subwoofer’s output with that of the main speakers. Try different phase settings and listen for any changes in bass response and impact. Select the phase setting that provides the most coherent and impactful bass reproduction without any cancellation or distortions.
5. Fine-tune Room Placement: The placement of your subwoofer in your room can significantly impact its performance. Experiment with different positions to find the optimal placement that produces the best bass response and minimizes any room resonances. Try placing the subwoofer in different corners, along walls, or using dedicated subwoofer positioning guides to find the sweet spot.
6. Consider Room Acoustic Treatments: If you’re facing issues with excessive bass reflections or room resonances, consider using room acoustic treatments to improve the overall sound quality. This can include using bass traps, diffusers, or absorbers strategically placed in the room to minimize unwanted reflections and improve bass clarity.
7. Iterate and Repeat: Fine-tuning the subwoofer is an iterative process. Listen to different audio content, make small adjustments, and then listen again to evaluate the impact of those changes. Gradually refine the settings until you achieve the desired bass response and integration with your audio system.
8. Enjoy the Enhanced Audio Experience: Once you have fine-tuned your subwoofer to your satisfaction, sit back and enjoy the enhanced audio experience. The properly calibrated subwoofer will add depth, impact, and realism to your music, movies, games, and overall audio enjoyment.
By following these steps and taking the time to test and fine-tune your subwoofer, you can achieve the best possible performance and seamlessly integrate it into your audio system. Enjoy the rich and immersive bass that your DIY subwoofer brings to your home entertainment setup!
Conclusion
Congratulations! You have successfully completed the process of building your own subwoofer. By following the step-by-step guide and putting your DIY skills to work, you have created a customized subwoofer that enhances the bass and low-frequency impact of your audio experience.
Throughout this journey, you have learned about the essential components of a subwoofer, including the speaker driver and the enclosure. You have carefully chosen the right materials and calculated the box dimensions to ensure optimal performance. With your skills, you have constructed a sturdy and well-designed subwoofer enclosure.
You have also wired the subwoofer, connecting it to your audio system or amplifier, and fine-tuned its settings to achieve the best possible integration with your existing speakers. The result is a subwoofer that delivers a balanced and immersive audio experience, enriching your music, movies, and gaming sessions.
Building your own subwoofer not only saves you money but also allows you to customize the specifications according to your preferences. The satisfaction of creating something with your own hands and the enjoyment of the enhanced bass response make the DIY endeavor well worth it.
Remember, fine-tuning your subwoofer is an ongoing process. As you experiment with different audio content, room placements, and settings, you can continue to refine and optimize its performance to suit your evolving needs and tastes.
Whether you’re a DIY enthusiast or a passionate audio lover, building a subwoofer at home is a fulfilling and rewarding experience. It enables you to experience audio in a whole new way, with deeper bass and a greater sense of immersion.
So, gather your materials, follow the steps, and embark on the journey of building your own subwoofer. Let the power of bass transform your audio experience and take your music, movies, and games to a whole new level.