Home>Production & Technology>Stereo>How To Hook Up Car Subwoofer To Home Stereo

Stereo
How To Hook Up Car Subwoofer To Home Stereo
Modified: February 18, 2024
Learn how to connect a car subwoofer to your home stereo system and enjoy powerful bass with your favorite music. Upgrade your home audio with this step-by-step guide.
(Many of the links in this article redirect to a specific reviewed product. Your purchase of these products through affiliate links helps to generate commission for AudioLover.com, at no extra cost. Learn more)
Table of Contents
Introduction
Are you a music enthusiast looking to enhance your home stereo system with some booming bass? If so, you might be wondering how to connect a car subwoofer to your home stereo. While this may seem like a complicated task, it is actually quite simple with the right equipment and know-how.
A car subwoofer is designed to deliver deep low-frequency sounds, providing a more immersive audio experience. By connecting a car subwoofer to your home stereo, you can enjoy the thumping basslines and powerful sound that you typically find in cars. Whether you want to add some extra oomph to your movie nights or take your music listening sessions to the next level, hooking up a car subwoofer to your home stereo is a great way to achieve that.
In this guide, we will walk you through the step-by-step process of connecting a car subwoofer to your home stereo. We will cover the equipment needed, the different types of subwoofer connections, and the necessary adjustments to ensure optimum performance. So get ready to bring the thunder to your living room as we dive into the world of hooking up car subwoofers to home stereos!
Equipment Needed
Before you can start connecting your car subwoofer to your home stereo, you will need a few essential pieces of equipment. Make sure you have the following items on hand:
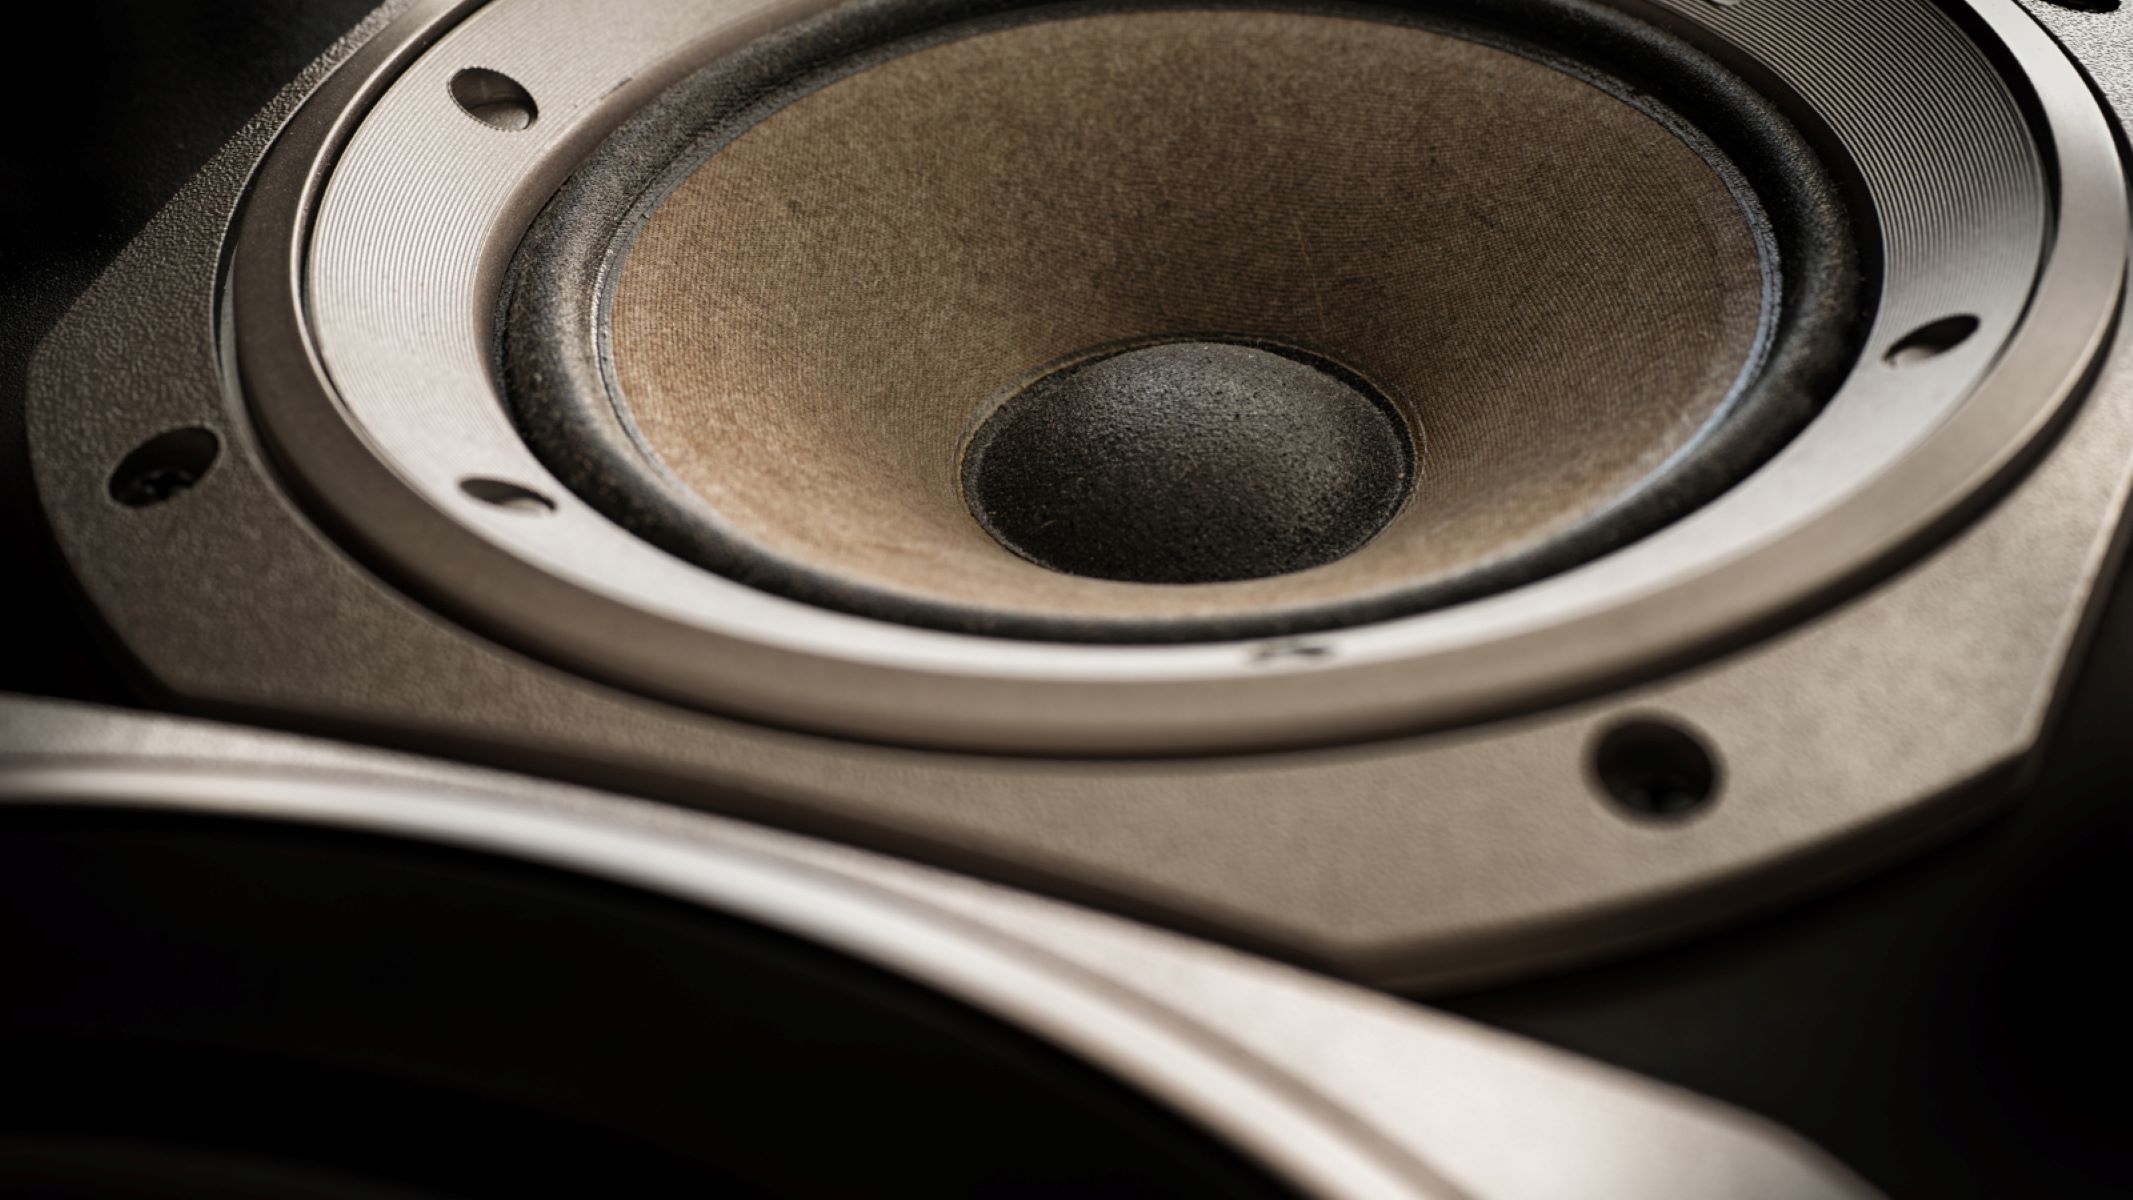
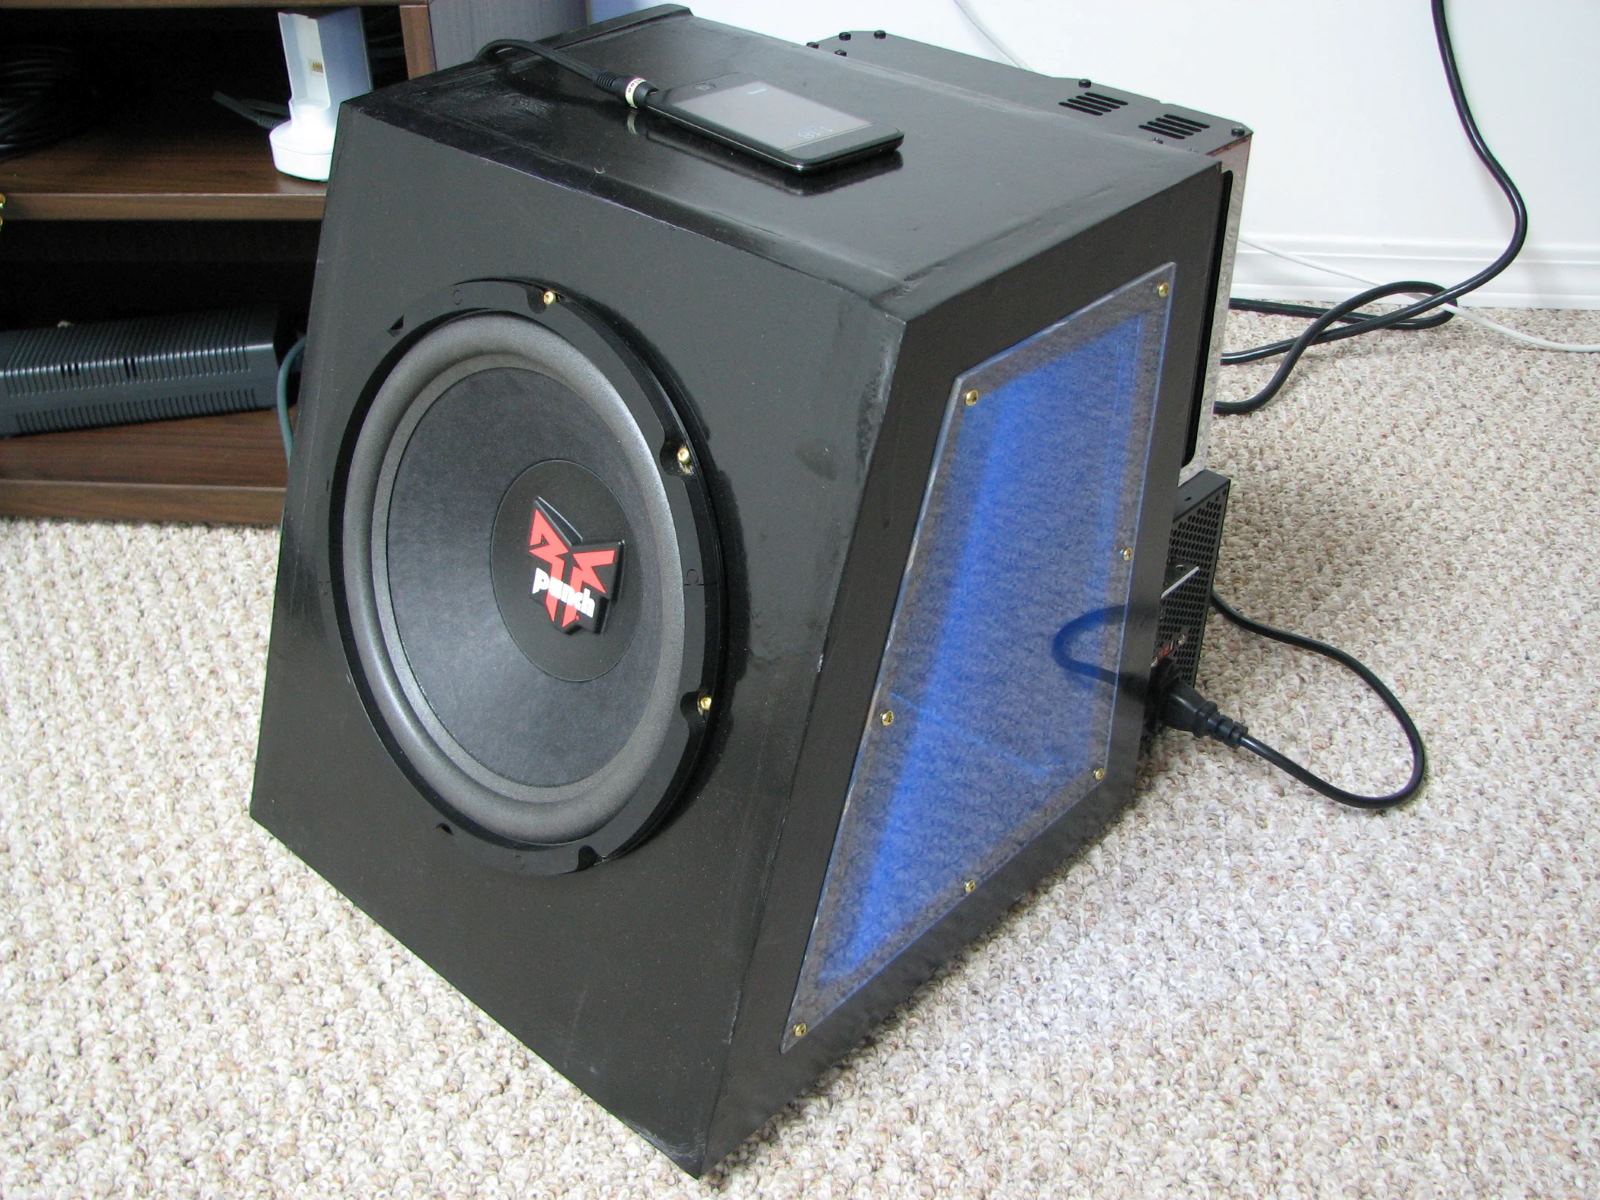
- Car Subwoofer: Choose a car subwoofer that suits your bass preferences and fits well with your home stereo setup. Look for a subwoofer that has speaker-level inputs. This will allow you to connect it directly to your home stereo system.
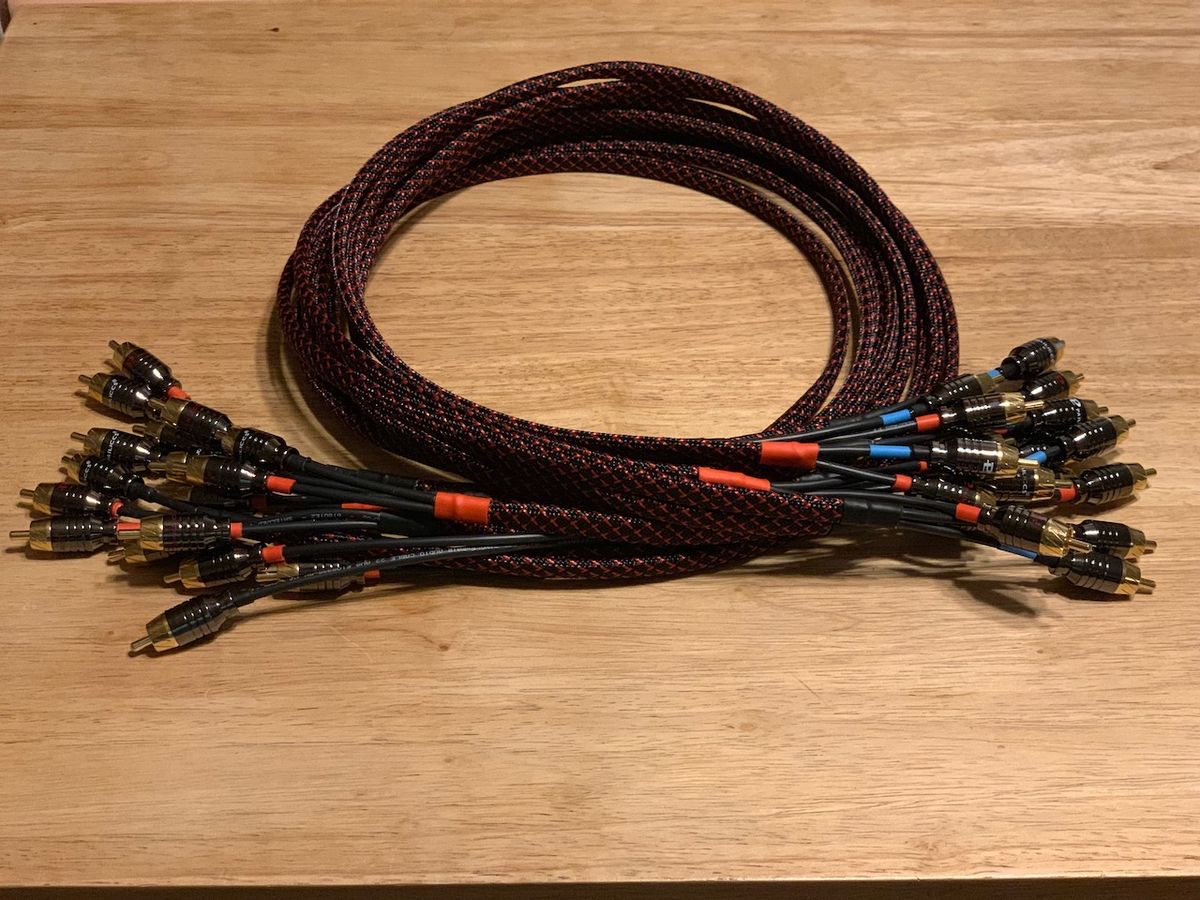
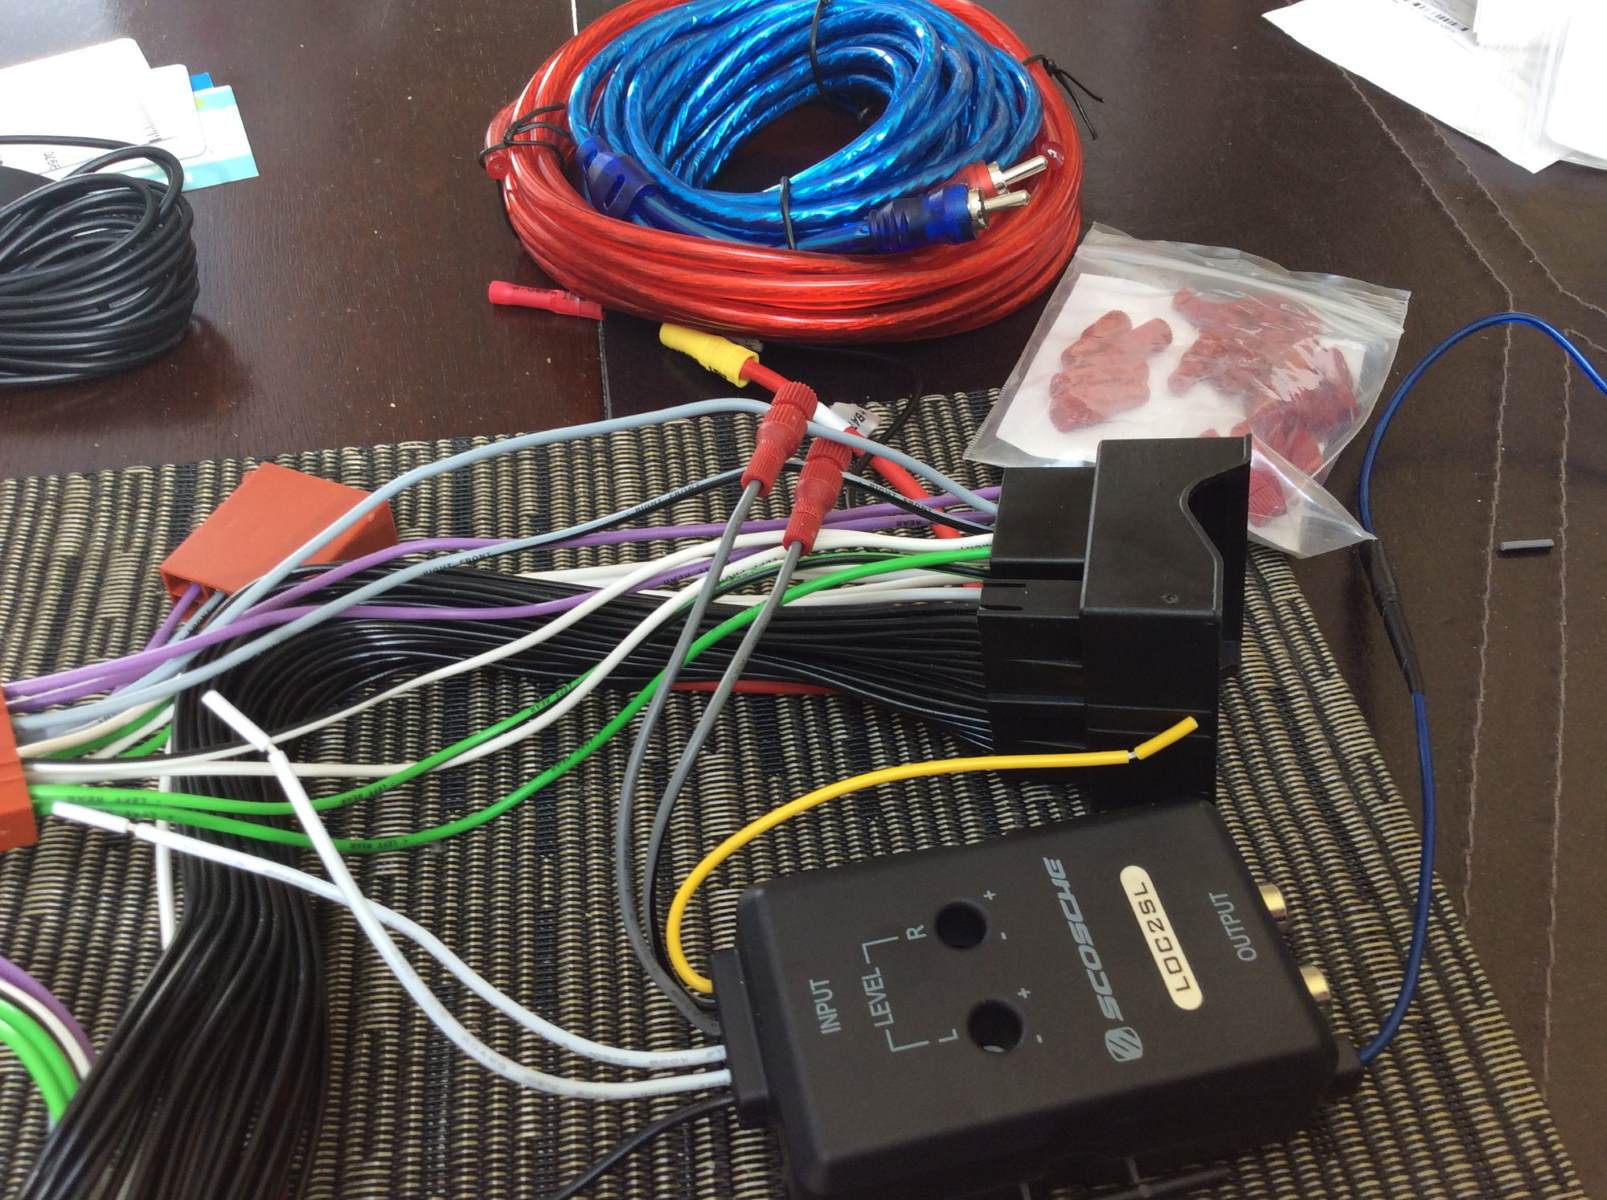
- Audio Cables: You will need audio cables to make the necessary connections. The specific cables you need will depend on the type of subwoofer connections and your home stereo setup. Commonly used cables include RCA cables, speaker wires, and Y-adapters.
- Power Cable: In order to power your car subwoofer, you will need a power cable. This cable connects the subwoofer to a power source. Ensure that the power cable is compatible with your subwoofer’s power requirements.
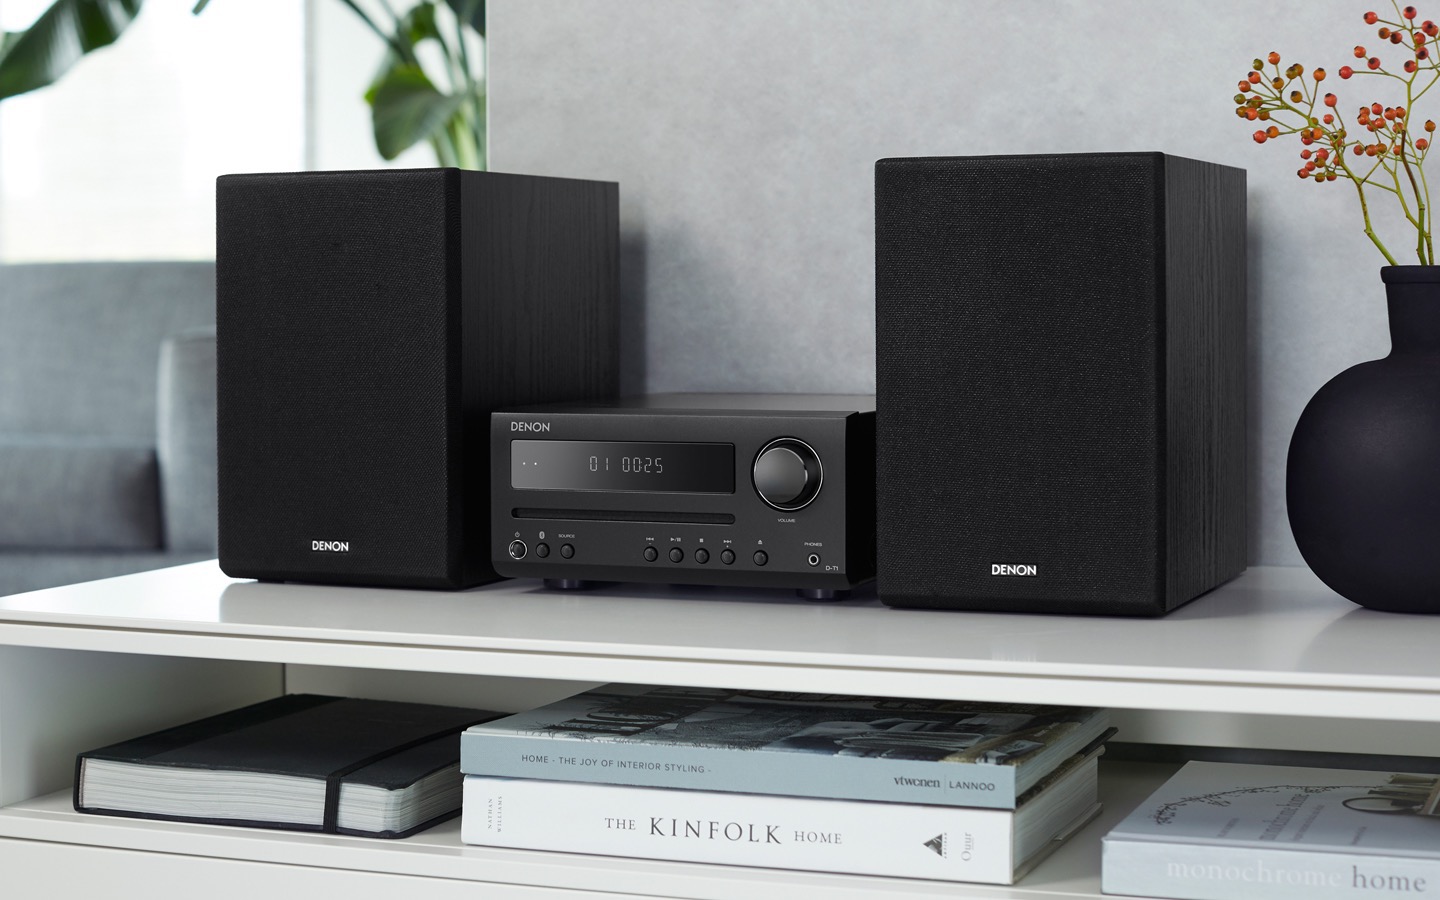
- Audio Source: You will need an audio source to play your music or movies through the home stereo system. This can be a CD player, a DVD player, a streaming device, or any other device that can output audio.
- Tools: Depending on the specific connections you need to make, you may require basic tools such as wire strippers, a screwdriver, and wire cutters. These tools will help you make clean and secure connections.
Once you have gathered all the necessary equipment, you are ready to proceed with the process of connecting your car subwoofer to your home stereo. Make sure to have a clear workspace and sufficient lighting for ease of installation. With everything in place, let’s move on to the next step to determine the subwoofer connection types.
Step 1: Determine the Subwoofer Connection Types
The first step in connecting your car subwoofer to your home stereo is to determine the type of connections available on your subwoofer. There are a few common types of connections you may come across. Let’s take a closer look at each one:
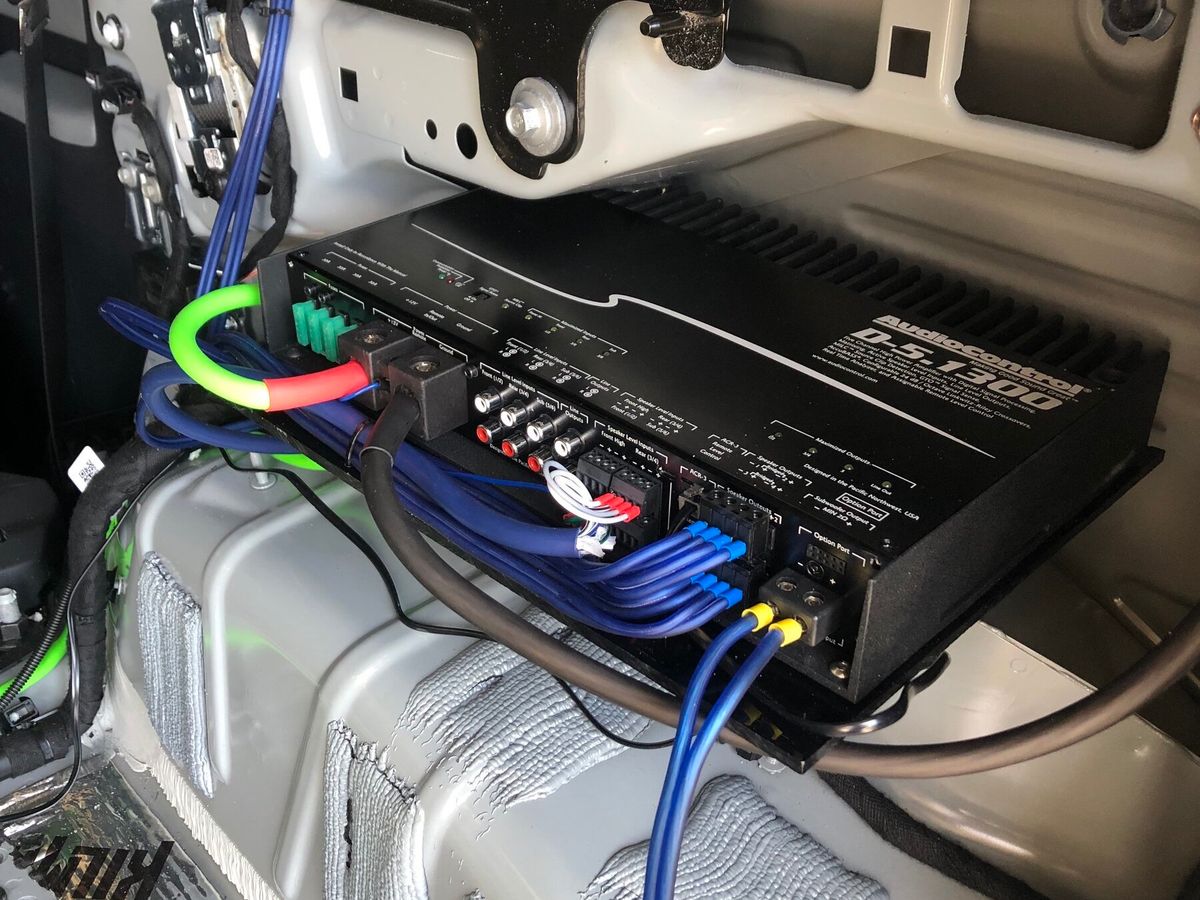
- RCA Line-Level Inputs: Many car subwoofers have RCA line-level inputs. These inputs use RCA cables to connect the subwoofer to the audio source. If your subwoofer has RCA line-level inputs, you will need an RCA cable to make the connection. Simply plug one end of the RCA cable into the subwoofer’s input and the other end into the corresponding output on your home stereo system.
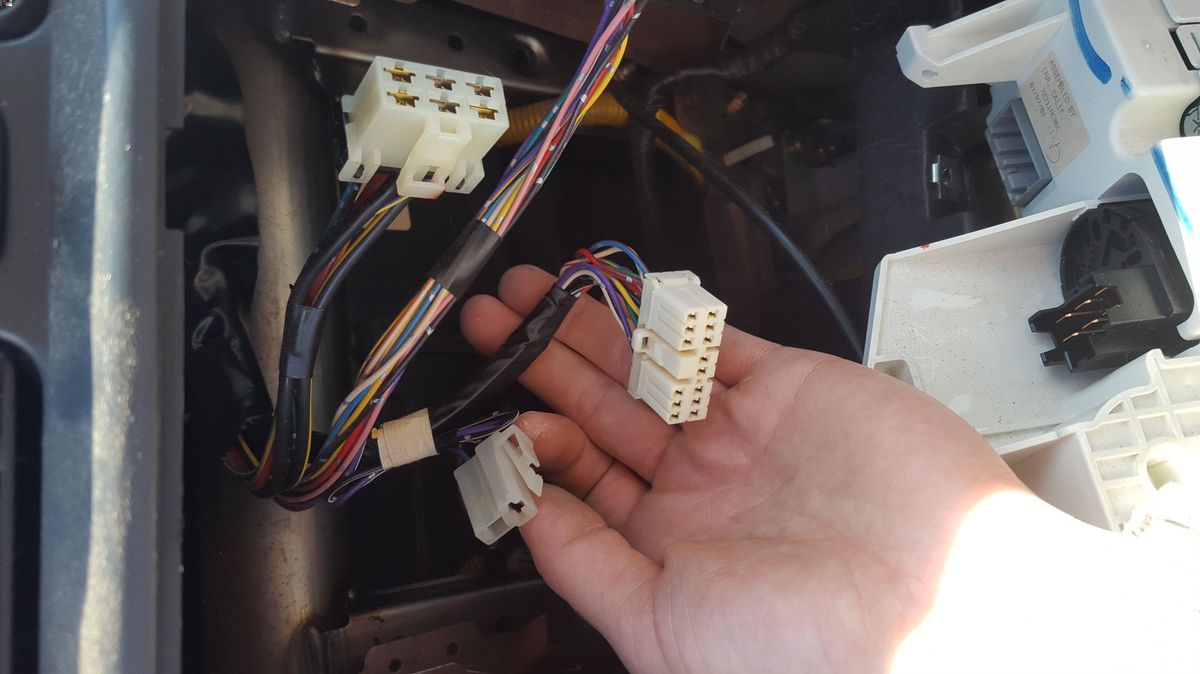
- Speaker-Level Inputs: Some car subwoofers have speaker-level inputs. These inputs are designed to work with the speaker wires of your home stereo system. To connect your subwoofer with speaker-level inputs, you will need to strip a small portion of the insulation from the speaker wire and connect it to the appropriate terminals on the subwoofer.
- High-Level Inputs: High-level inputs are another type of connection that can be found on certain car subwoofers. Similar to speaker-level inputs, high-level inputs also require speaker wire connections. However, instead of connecting directly to the subwoofer’s terminals, high-level inputs often have a separate connector that plugs into the subwoofer.
- Wireless Connections: Some modern car subwoofers offer wireless connectivity options. With wireless connections, you can connect your subwoofer to your home stereo system without the need for cables. This type of connection typically involves a wireless transmitter and receiver, which need to be paired for proper operation.
It’s important to identify the connection types available on your car subwoofer before proceeding with the installation. This will ensure that you have the appropriate cables and connectors on hand. Now that you have determined the subwoofer connection types, we can move on to the next step: connecting the subwoofer to the audio source.
Step 2: Connect the Subwoofer to the Audio Source
Now that you have identified the subwoofer connection types, it’s time to connect your car subwoofer to the audio source. Depending on the type of connections available on your subwoofer, follow the corresponding steps below:
- RCA Line-Level Inputs: If your subwoofer has RCA line-level inputs, start by connecting one end of an RCA cable to the corresponding output on your home stereo system. The output may be labeled as “subwoofer out” or “preamp out.” Then, plug the other end of the RCA cable into the RCA input on the subwoofer. Ensure a secure connection by firmly pushing in the cables.
- Speaker-Level Inputs: For subwoofers with speaker-level inputs, strip a small portion of insulation from the speaker wire leading from your home stereo system. Identify the positive (+) and negative (-) terminals on the subwoofer and connect the corresponding speaker wire terminals. Twist the wire strands together and secure them with a screw or by tightening the connectors, ensuring a solid connection.
- High-Level Inputs: Connect the speaker wire from your home stereo system to the appropriate terminals on the subwoofer. Follow the same steps as for speaker-level inputs, ensuring the positive and negative terminals are correctly aligned.
- Wireless Connections: For wireless connections, follow the manufacturer’s instructions to pair the wireless transmitter and receiver. This typically involves placing them in close proximity to each other and following a specific sequence to establish a connection. Once paired, the wireless connection will allow you to transmit audio wirelessly from your home stereo system to the subwoofer.
Make sure to double-check all the connections and ensure they are secure. Loose connections can result in poor audio quality or no sound at all. Once you have successfully connected the subwoofer to the audio source, move on to the next step: adjusting the audio settings.
Step 3: Adjust the Audio Settings
After connecting your car subwoofer to the audio source, it’s important to adjust the audio settings to optimize the performance and ensure a balanced sound. Follow these steps to adjust the audio settings:
- Subwoofer Level: Adjust the subwoofer level to achieve the desired bass intensity. Most subwoofers have a dedicated control knob or setting for adjusting the bass output. Start by setting the subwoofer level to a neutral position and gradually increase or decrease it based on your preference. Take into consideration the size of your room and the type of audio content you’ll be playing. It may require some trial and error to find the perfect balance.
- Crossover Frequency: The crossover frequency determines the point at which the subwoofer takes over the low-frequency sounds from the main speakers. This prevents overlap and ensures a smooth transition between the speakers and the subwoofer. Consult your subwoofer’s manual to determine the recommended crossover frequency, and adjust accordingly using the control knob or settings on your subwoofer.
- Phase Adjustment: The phase adjustment allows you to fine-tune the synchronization between the subwoofer and the main speakers. Start by setting the phase to 0 degrees and listen to the audio. If you notice any cancellation or lack of bass, try flipping the phase switch or adjusting the phase control to 180 degrees. The goal is to find the setting that provides the fullest and most cohesive sound.
- Equalizer Settings: If your home stereo system or audio source has an equalizer, experiment with different settings to achieve the desired tonal balance. You can boost or cut specific frequency ranges to tailor the sound to your liking. Consider adjusting the low frequencies to enhance the subwoofer’s performance, but be careful not to overpower the other frequencies.
- Volume Balancing: Ensure that the volume levels between the subwoofer and the main speakers are balanced. Play some audio content with a mix of low, mid, and high frequencies and listen for any inconsistencies. Make adjustments to the volume levels of the subwoofer and main speakers until they blend well together without any overpowering or muffled sounds.
Take your time to fine-tune the audio settings based on your personal preferences and the characteristics of your room. Keep in mind that adjusting the audio settings is a subjective process and may require some experimentation. Once you have optimized the audio settings, you are ready to move on to the final step: testing the subwoofer.
Step 4: Test the Subwoofer
After connecting and adjusting the audio settings, it’s time to test your newly hooked up car subwoofer with your home stereo system. Follow these steps to ensure that everything is working as intended:
- Choose Test Content: Select audio or video content that features a wide range of frequencies, including deep bass. This could be a movie with explosive sound effects or a music track with low-frequency beats.
- Play the Content: Start playing the chosen content through your home stereo system and pay close attention to the performance of the subwoofer. Listen for clear and powerful bass notes without distortion or excessive vibrating.
- Adjust as Needed: While testing, fine-tune the audio settings and make small adjustments to the subwoofer level, crossover frequency, phase, and equalizer settings if necessary. Continuously listen for a balanced and immersive sound experience.
- Observe Different Genres: Test the subwoofer’s performance across different genres of music and movie scenes. This will help you gauge its versatility and ensure it complements a variety of content.
- Seek Assistance (if required): If you encounter any issues, such as distorted bass or no sound from the subwoofer, double-check all connections and settings. You can also consult the user manual for troubleshooting tips. If problems persist, seek assistance from a professional technician or customer support from the subwoofer manufacturer.
By thoroughly testing your car subwoofer with your home stereo system, you can ensure that it is properly integrated and functioning optimally. Take the time to fine-tune the settings and experiment with different audio content to achieve the desired audio experience. Once you are satisfied with the performance, you can sit back, relax, and enjoy the immersive and powerful bass that your car subwoofer brings to your home stereo system.
Conclusion
Connecting a car subwoofer to your home stereo system can greatly enhance your audio experience by adding deep and powerful bass. While the process may seem daunting at first, following the steps outlined in this guide makes it a straightforward task. By determining the subwoofer connection types, connecting the subwoofer to the audio source, adjusting the audio settings, and testing the subwoofer, you can ensure a seamless integration and optimal performance.
Remember to gather the necessary equipment, such as the car subwoofer, audio cables, power cable, and tools, before beginning the installation process. Take the time to understand the various subwoofer connection types and choose the appropriate method for your specific subwoofer model.
Once connected, adjusting the audio settings, including the subwoofer level, crossover frequency, phase, and equalizer settings, allows you to customize the audio output to your personal preference. Testing the subwoofer with a variety of content ensures that it performs well across different genres and provides a balanced and immersive sound experience.
If you encounter any issues or obstacles along the way, don’t hesitate to consult the user manual or seek assistance from professionals or the manufacturer’s customer support. They can provide guidance and troubleshooting tips to help you overcome any challenges.
With your car subwoofer successfully hooked up to your home stereo system, you can now enjoy the deep, rumbling bass that adds depth and richness to your favorite movies, music, and audio content. Sit back, relax, and let the power of your subwoofer elevate your audio experience to new heights.