Home>Production & Technology>Stereo>How To Connect A Kenwood Home Stereo

Stereo
How To Connect A Kenwood Home Stereo
Modified: January 22, 2024
Learn how to easily connect a Kenwood home stereo system to enhance your audio experience. Explore step-by-step instructions and troubleshooting tips for a seamless stereo setup.
(Many of the links in this article redirect to a specific reviewed product. Your purchase of these products through affiliate links helps to generate commission for AudioLover.com, at no extra cost. Learn more)
Table of Contents
- Introduction
- Step 1: Gather the necessary equipment
- Step 2: Position the Kenwood Home Stereo
- Step 3: Identify the audio input/output ports
- Step 4: Connect the audio source to the Kenwood Home Stereo
- Step 5: Check the connection and adjust settings if necessary
- Step 6: Test the audio playback
- Step 7: Troubleshooting common issues
- Conclusion
Introduction
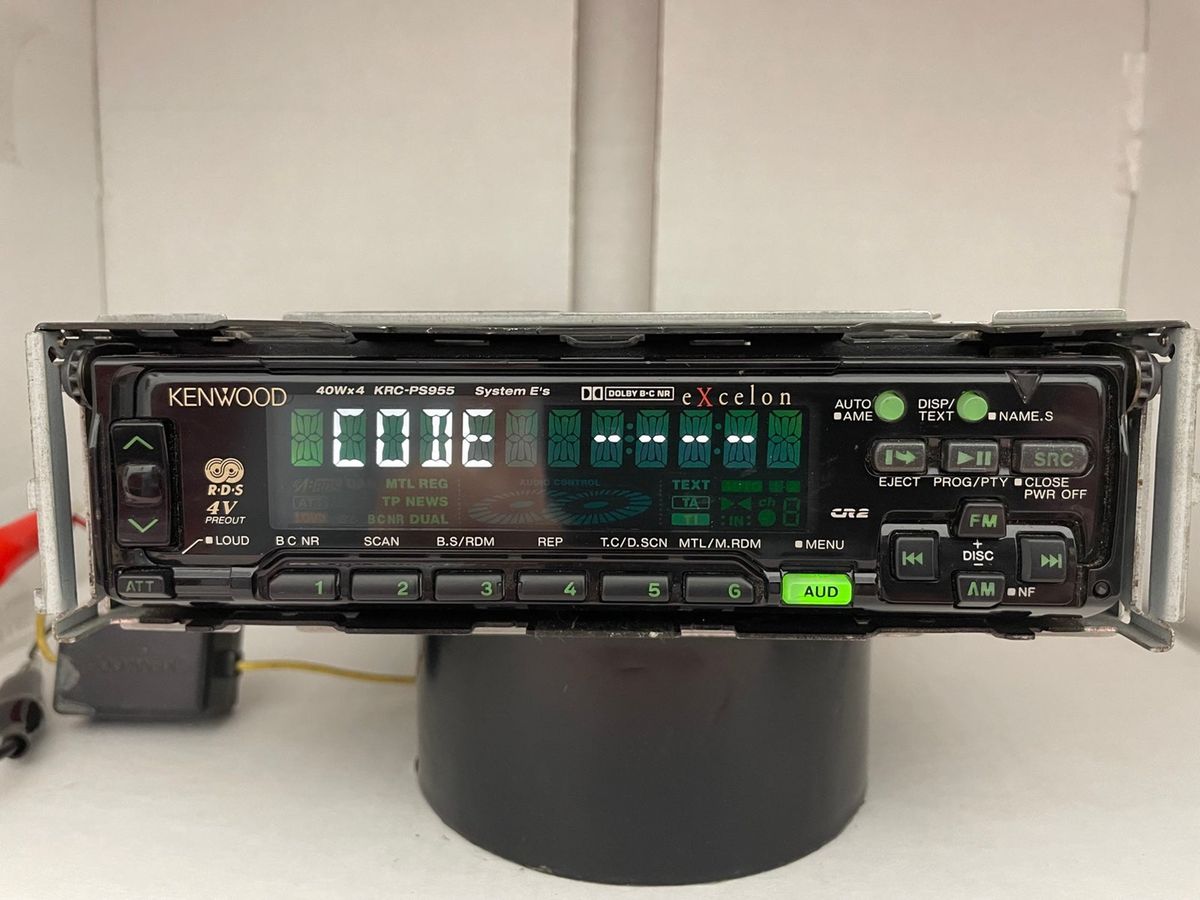
Welcome to our comprehensive guide on how to connect a Kenwood Home Stereo. Whether you’re a music enthusiast or simply want to enhance your home audio experience, connecting a Kenwood Home Stereo can help you achieve that. Kenwood is a well-known brand in the audio industry, offering high-quality and reliable stereo systems.
Setting up your Kenwood Home Stereo may seem daunting at first, especially if you’re not familiar with audio equipment. However, with the right guidance, you’ll be able to connect your stereo system and enjoy your favorite music in no time.
In this article, we will take you through a step-by-step process to connect your Kenwood Home Stereo. We’ll cover everything from gathering the necessary equipment to troubleshooting common issues. By following these steps, you’ll be able to enjoy immersive sound and elevate your audio experience.
Before we dive into the technical aspects, it’s important to ensure that you have all the necessary equipment. This includes your Kenwood Home Stereo system, audio cables, and the audio source (such as a CD player, smartphone, or turntable). It’s also a good idea to have the user manual of your Kenwood Home Stereo handy, as it may provide specific instructions for your model.
Now that we have the basics covered, let’s move on to the step-by-step process of connecting your Kenwood Home Stereo. Get ready to uncover the potential of your sound system and enjoy crystal-clear audio throughout your home.
Step 1: Gather the necessary equipment
Before you can connect your Kenwood Home Stereo, it’s important to gather all the necessary equipment. Here’s what you’ll need:
- Kenwood Home Stereo: Make sure you have your Kenwood stereo system ready. This typically includes a receiver or amplifier, speakers, and any additional components you may have.
- Audio Cables: You’ll need the appropriate audio cables to connect your audio source to the Kenwood Home Stereo. The type of cable will depend on the audio source you’re using. For example, if you’re connecting a CD player or smartphone, you’ll need a RCA cable (also known as phono cables). If you’re connecting a turntable, you may require a specific type of cable, such as a phono cable with a grounding wire.
- Audio Source: This refers to the device from which you’ll be playing your audio. It can be a CD player, smartphone, turntable, or any other audio playback device. Make sure your audio source is in working condition and has the necessary output ports to connect to the Kenwood Home Stereo.
- User Manual: Although not necessary, having the user manual for your Kenwood Home Stereo can be helpful. It may provide specific instructions tailored to your model, making the setup process easier.
Once you have gathered all the necessary equipment, you’re ready to move on to the next step. Having everything prepared will ensure a smooth and efficient setup process, allowing you to start enjoying your favorite music without any delays.
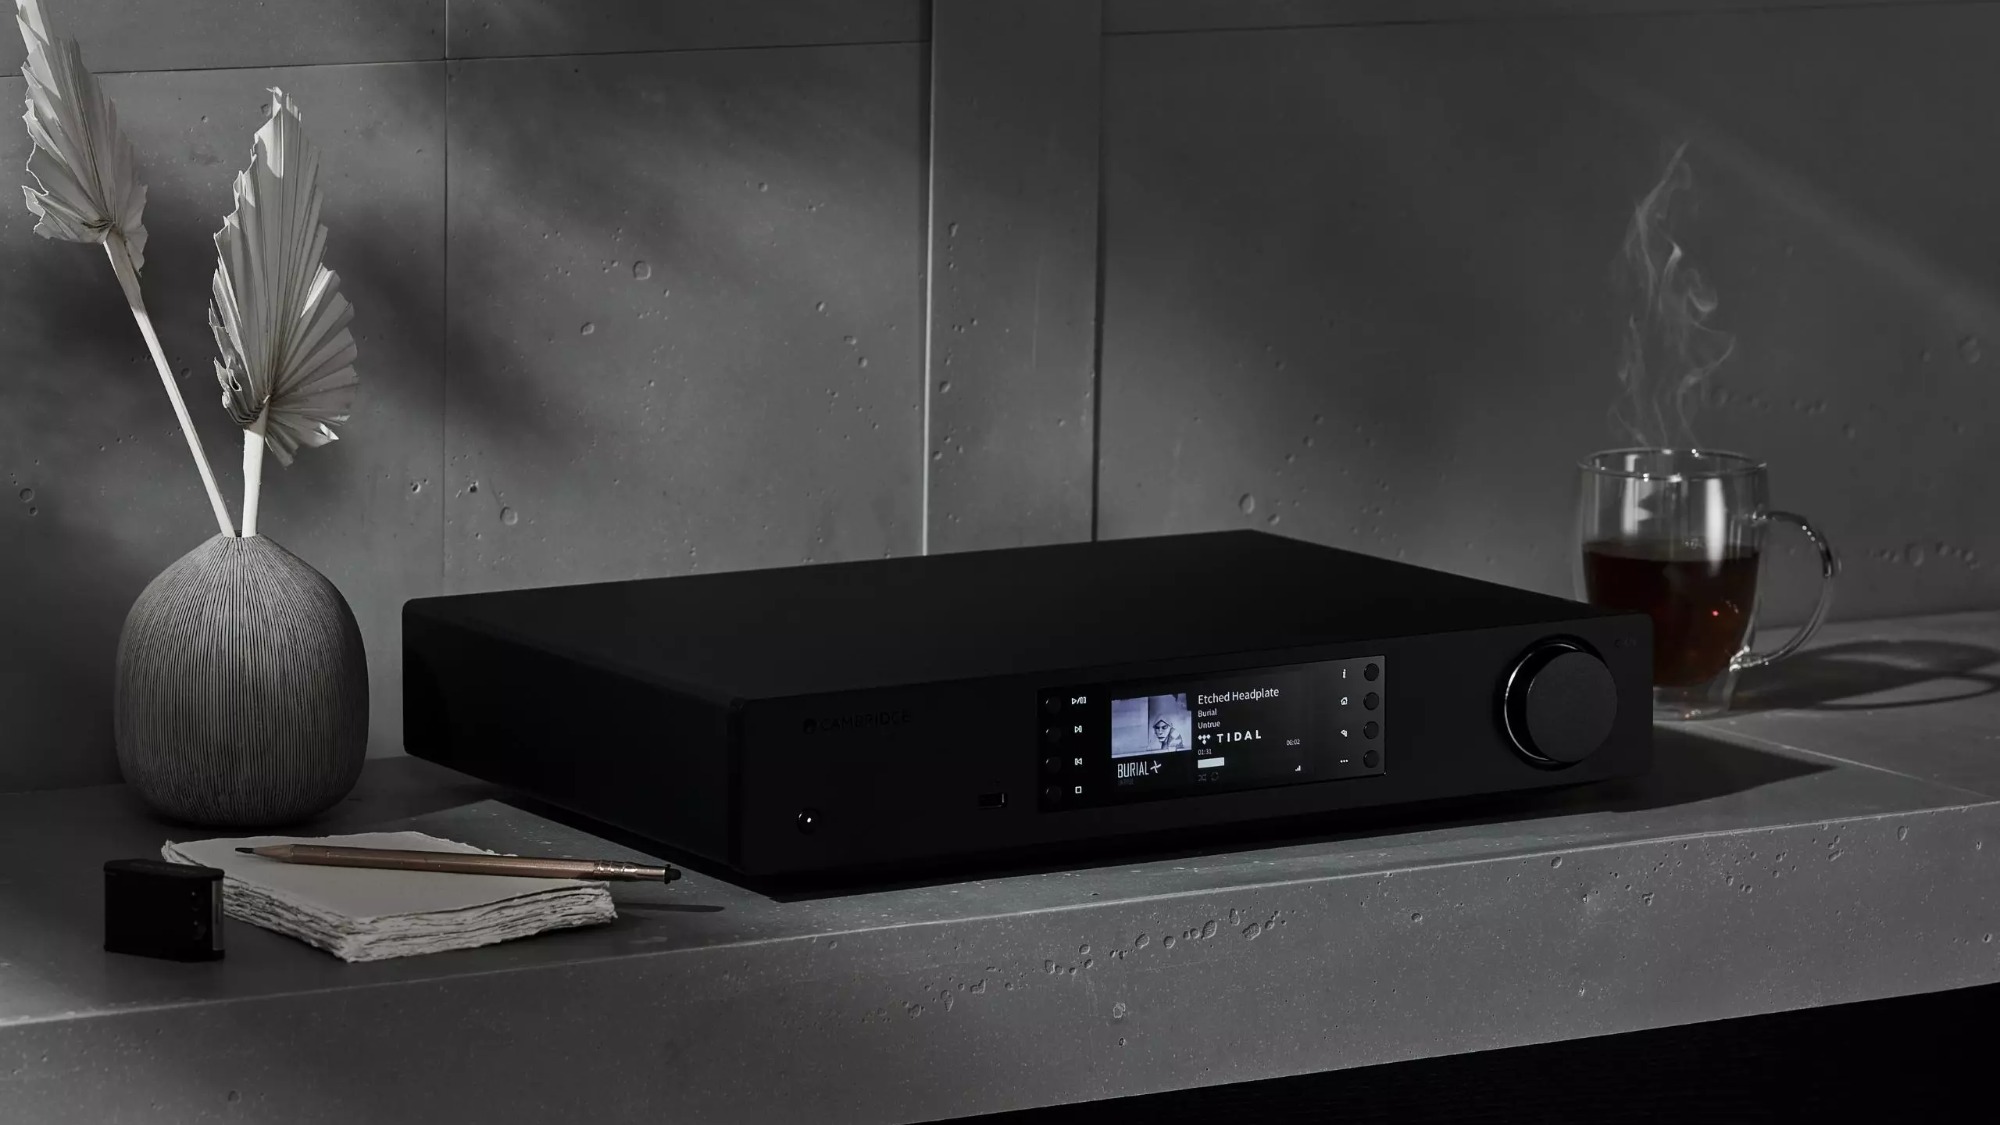
Step 2: Position the Kenwood Home Stereo
Now that you have all the necessary equipment, the next step is to position your Kenwood Home Stereo in an optimal location. The placement of your stereo system can greatly impact the sound quality and overall listening experience. Here are a few considerations to keep in mind:
1. Stability:
Ensure that the surface where you place your Kenwood Home Stereo is stable and secure. It should be able to support the weight of the stereo components and any additional equipment or speakers.
2. Ventilation:
Allow for proper ventilation to prevent overheating of your Kenwood Home Stereo. Avoid placing it in enclosed spaces or covering the ventilation holes, as this can lead to reduced performance and potential damage to the system.
3. Accessibility:
Consider the ease of accessing the Kenwood Home Stereo. You’ll want to ensure that you can easily reach the controls and inputs on the front and back of the system. This will make it convenient to adjust settings and make connections.
4. Speaker Placement:
If you have separate speakers, consider their placement as well. Ideally, the speakers should be positioned at ear level and placed equidistant from your listening area. Experiment with different speaker placements to find the position that provides the best sound quality.
5. Cable Management:
Keep cable management in mind to avoid a cluttered and tangled setup. Use cable clips or ties to secure and organize the cables connecting the Kenwood Home Stereo to the speakers and audio source.
Taking these considerations into account will help optimize the performance of your Kenwood Home Stereo and provide an immersive audio experience. Once you have positioned the stereo system to your satisfaction, you’re ready to move on to the next step of connecting the audio source.
Step 3: Identify the audio input/output ports
Before making any connections, it’s important to identify the audio input and output ports on your Kenwood Home Stereo. Different models may have slight variations in their port configurations, so referring to the user manual can help you locate the specific ports for your system. Here are some common audio ports to look out for:
1. Audio Inputs:
These ports are used to connect external audio sources to your Kenwood Home Stereo. The most common types of audio inputs include:
- RCA Inputs: These are typically color-coded red and white. They are used for connecting analog audio devices like CD players, smartphones, and media players.
- Optical Inputs: These ports use fiber optic cables to transmit digital audio signals. They are commonly found on newer Kenwood Home Stereo models and are used for devices like Blu-ray players, game consoles, and TVs.
- USB Input: Some Kenwood Home Stereo systems may feature a USB port, allowing you to directly connect USB storage devices or even your computer.
2. Audio Outputs:
These ports are used to connect your Kenwood Home Stereo to external speakers or other audio devices. The most common types of audio outputs include:
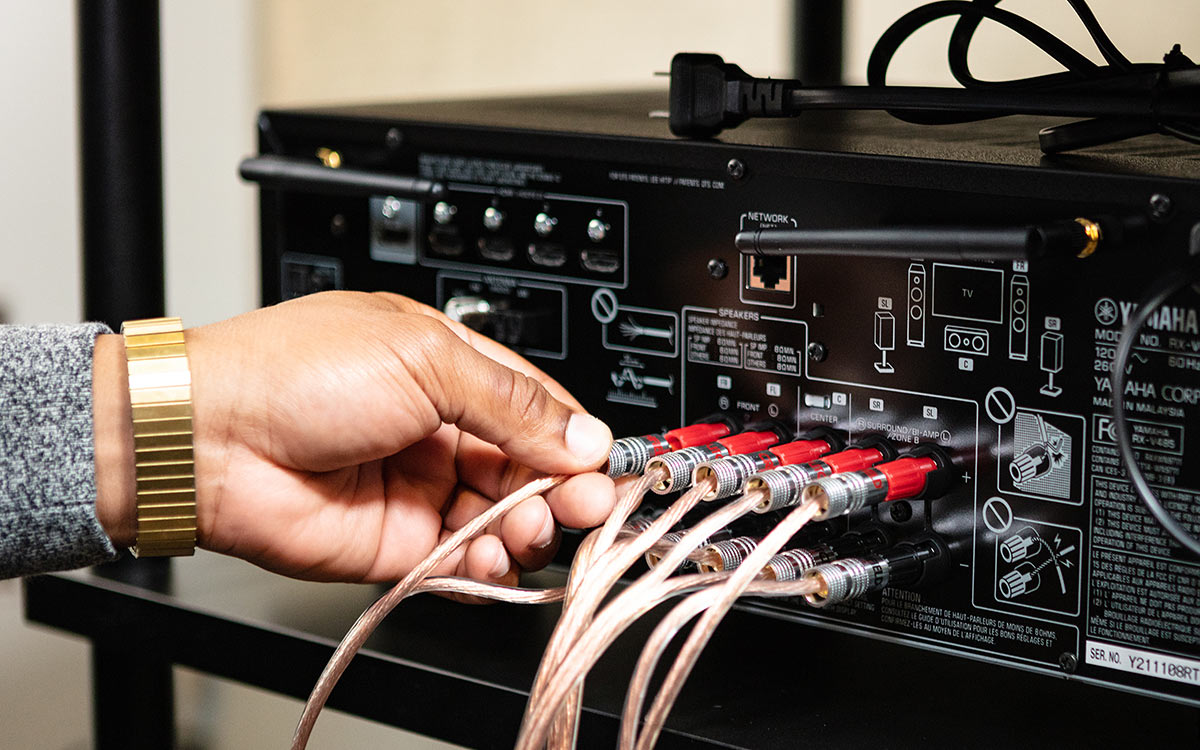
- RCA Outputs: These ports are used to connect external speakers or audio receivers. They are also color-coded red and white.
- Headphone Output: Some Kenwood Home Stereo models may have a headphone output for private listening.
By identifying these audio input and output ports, you will have a better understanding of where to make the necessary connections. Remember to carefully examine your Kenwood Home Stereo and make note of the types and locations of the ports for future reference.
Now that you have identified the ports, you’re ready to move on to the next step of connecting the audio source to your Kenwood Home Stereo.
Step 4: Connect the audio source to the Kenwood Home Stereo
With your audio input and output ports identified, it’s time to connect your audio source to the Kenwood Home Stereo. The type of connection you’ll use will depend on the audio source you’re using and the available ports on your Kenwood system. Here are the steps to follow:
1. RCA Connection:
If you’re using a device with RCA outputs, such as a CD player or smartphone, you’ll need RCA cables (also known as phono cables). Here’s how to make the connection:
- Locate the RCA outputs on your audio source. They are usually color-coded red (right channel) and white (left channel).
- Take one end of the RCA cables and insert the red plug into the red RCA output and the white plug into the white RCA output of your audio source.
- Locate the RCA inputs on your Kenwood Home Stereo. They should be color-coded to match the RCA cables.
- Take the other end of the RCA cables and connect the red plug into the red RCA input and the white plug into the white RCA input on your Kenwood Home Stereo.
2. Optical Connection:
If your audio source has an optical output, such as a Blu-ray player or game console, you’ll need an optical cable to make the connection. Follow these steps:
- Locate the optical output on your audio source.
- Take one end of the optical cable and insert it into the optical output of your audio source.
- Locate the optical input on your Kenwood Home Stereo.
- Take the other end of the optical cable and connect it to the optical input on your Kenwood Home Stereo.
3. USB Connection:
If your Kenwood Home Stereo has a USB input and you want to connect a USB storage device or computer, follow these steps:
- Locate the USB port on your Kenwood Home Stereo system.
- Plug in the USB storage device directly into the USB port or connect your computer to the USB port using a USB cable.
Once you have made the appropriate audio source to Kenwood Home Stereo connection, ensure that the cables are securely plugged in on both ends. This will prevent any loose connections and ensure proper audio transmission.
Now that the audio source is connected, you’re ready to proceed to the next step to check the connection and adjust settings if necessary.
Step 5: Check the connection and adjust settings if necessary
Now that you have successfully connected the audio source to your Kenwood Home Stereo, it’s time to check the connection and make any necessary adjustments to the settings. This will ensure that the audio is properly routed and optimized for the best sound quality. Follow these steps:
1. Power on the Kenwood Home Stereo:
Make sure your Kenwood Home Stereo is powered on using the designated power button on the receiver or amplifier. Check that the power indicator light is illuminated.
2. Select the appropriate input source:
Using the input/source selector button on your Kenwood system, choose the input source that corresponds to the connected audio device. For example, if you connected a CD player to the RCA input, select the “CD” or “Line In” input on the Kenwood Home Stereo.
3. Adjust the volume levels:
Set the volume levels on both the Kenwood Home Stereo and the audio source to a moderate level. Gradually increase the volume to a comfortable listening level while playing some audio. This will help you find the right balance without overwhelming the speakers or distorting the sound.
4. Check the balance and tone controls:
Explore the balance and tone controls on your Kenwood Home Stereo to fine-tune the sound. Adjust the left and right balance to ensure equal sound distribution between the speakers. You can also modify the bass, treble, and mid-range frequencies to suit your preferences.
5. Test different audio sources:
If you have multiple audio sources connected, such as a CD player and a turntable, test each source to verify that the audio is playing correctly. Switch between the different input sources using the input selector on your Kenwood system. Adjust the volume levels and tone settings accordingly for each source.
By checking the connection and adjusting the settings, you can ensure that the audio is properly routed from the audio source to your Kenwood Home Stereo, and that the sound is optimized for an enjoyable listening experience.
Now that you have checked the connection and made any necessary adjustments, it’s time to move on to the next step and test the audio playback.
Step 6: Test the audio playback
After connecting your audio source to the Kenwood Home Stereo and adjusting the settings, it’s important to test the audio playback to ensure everything is working correctly. This step allows you to confirm that the sound is coming through the speakers as intended. Here’s what you need to do:
1. Select an audio track:
If you connected a CD player, choose a CD with your favorite music. If you connected a smartphone or other audio device, select a song or audio file to play. Make sure the volume on the audio source is set to an audible level.
2. Press play:
On the connected audio device, press play to start the audio playback. You should hear the sound coming through the speakers of your Kenwood Home Stereo. Pay attention to the clarity, volume, and overall quality of the audio.
3. Test different audio sources:
If you have multiple audio sources connected, test each one to ensure they are working correctly. Switch between the different input sources on your Kenwood system and play audio from each source. This will help you verify that all the connections are functioning properly.
4. Verify sound distribution:
Listen to the sound coming from the speakers and ensure that it is evenly distributed. Adjust the balance controls on your Kenwood Home Stereo if needed to achieve the desired sound balance between the left and right speakers.
5. Fine-tune the settings:
Take this opportunity to fine-tune the audio settings on your Kenwood Home Stereo. Adjust the bass, treble, and other tone controls to suit your personal preference and optimize the sound quality.
By testing the audio playback, you can confirm that the connections are working properly and that your Kenwood Home Stereo is delivering the desired sound quality. If you encounter any issues, refer back to the previous steps to ensure that all connections are secure and settings are correct.
Now that you have successfully tested the audio playback, you can proceed to the final step: troubleshooting common issues, which will be covered in the next section.
Step 7: Troubleshooting common issues
While connecting and setting up your Kenwood Home Stereo, you may encounter some common issues that can affect the audio performance. Here are a few troubleshooting tips to help you resolve these issues:
1. No sound:
If you’re not hearing any sound from your Kenwood Home Stereo, check the following:
- Make sure all connections are secure and properly plugged in.
- Confirm that the audio input source is selected correctly on your Kenwood system.
- Check the volume levels on both the Kenwood Home Stereo and the connected audio source.
- If using RCA cables, ensure that the red and white plugs are connected to the respective RCA input and output ports.
- Test the audio source with another device or try a different audio source to pinpoint the issue.
- Inspect the speaker wires for any damage or loose connections.
2. Distorted or low-quality sound:
If you’re experiencing distorted or poor-quality sound, try the following:
- Adjust the tone controls on your Kenwood Home Stereo to fine-tune the bass, treble, and mid-range frequencies.
- Check the balance controls to ensure the sound is evenly distributed between the left and right speakers.
- Make sure the audio source is not producing a low-quality or low-bitrate signal.
- If using Bluetooth connection, ensure that the audio source is within range and no obstructions are interfering with the signal.
3. Grounding issues:
If you’re experiencing humming or buzzing noises, it may be due to grounding issues. Try these steps:
- Ensure that the turntable or other audio devices with grounding wires are properly grounded to your Kenwood Home Stereo.
- Check that all components are securely connected and grounded.
- Minimize the distance between the turntable and the Kenwood system to reduce the effects of electromagnetic interference.
If you’ve followed the troubleshooting steps and the issue persists, it may be worth consulting the user manual for specific troubleshooting instructions for your Kenwood Home Stereo model. Additionally, you can reach out to Kenwood customer support for further assistance.
By troubleshooting common issues, you can overcome any obstacles you may encounter during the setup process and ensure that your Kenwood Home Stereo delivers optimal audio performance.
With the troubleshooting complete, you’re now ready to enjoy exceptional audio quality and immerse yourself in a world of music with your Kenwood Home Stereo.
Conclusion
Congratulations! You have successfully connected and set up your Kenwood Home Stereo, allowing you to enjoy high-quality sound and elevate your audio experience. By following the step-by-step guide outlined in this article, you have learned how to gather the necessary equipment, position the stereo system, identify audio ports, connect the audio source, check the connection and settings, test the audio playback, and troubleshoot common issues.
Throughout the process, it’s important to remember the key factors for optimal performance. Position your Kenwood Home Stereo in a stable and well-ventilated area, ensure the audio connections are secure, and adjust the settings to suit your personal preferences. By fine-tuning the balance, tone controls, and volume levels, you can create an immersive audio experience tailored to your liking.
Keep in mind that every Kenwood Home Stereo model may have slight variations in terms of ports and features. Refer to the user manual specific to your model to ensure you’re following the manufacturer’s instructions for the best results.
Now that you have successfully set up your Kenwood Home Stereo, it’s time to sit back, relax, and enjoy your favorite music, movies, or games with enhanced sound quality. Immerse yourself in a world of rich audio and experience the true potential of your Kenwood Home Stereo system.
If you ever encounter any issues or need further assistance, don’t hesitate to consult the user manual or reach out to Kenwood customer support for professional help. They will be able to provide specific guidance tailored to your particular model.
Thank you for choosing Kenwood and taking the time to follow this comprehensive guide. We hope you have an exceptional audio experience and enjoy the immersive sound that your Kenwood Home Stereo brings to your home.