Home>Devices & Equipment>Subwoofer>How To Hook Up Subwoofer To Home Stereo
Subwoofer
How To Hook Up Subwoofer To Home Stereo
Modified: February 18, 2024
Learn how to easily hook up a subwoofer to your home stereo system. Enhance your sound quality and experience deep bass with this step-by-step guide.
(Many of the links in this article redirect to a specific reviewed product. Your purchase of these products through affiliate links helps to generate commission for AudioLover.com, at no extra cost. Learn more)
Table of Contents
Introduction
Welcome to our comprehensive guide on how to hook up a subwoofer to your home stereo system. If you’re a music enthusiast or a movie lover who craves that deep, rumbling bass, a subwoofer is an essential component of your audio setup. A subwoofer is a specialized speaker designed to reproduce low-frequency sound, adding depth and impact to your listening experience.
While the thought of connecting a subwoofer to your stereo system may seem daunting, fear not! In this article, we will walk you through each step of the process, making it easy and hassle-free. Whether you are a beginner or have some experience with audio equipment, our guide is here to help you.
Before we dive in, let’s briefly discuss the benefits of adding a subwoofer to your home stereo. First and foremost, a subwoofer completes the audio spectrum by reproducing those deep bass notes that other speakers struggle to handle. This enhances the overall audio quality, providing a richer and more immersive sound experience.
In addition, a subwoofer can greatly enhance your movie-watching experience. Explosions, crashes, and intense action scenes come to life with the powerful low-frequency effects that a subwoofer delivers.
Now that we understand the importance and advantages of a subwoofer, let’s get started on how to hook it up to your home stereo system. Grab your equipment, and let’s begin!
Step 1: Gather the necessary equipment
Before you can hook up a subwoofer to your home stereo system, make sure you have all the necessary equipment. Here’s a list of what you’ll need:
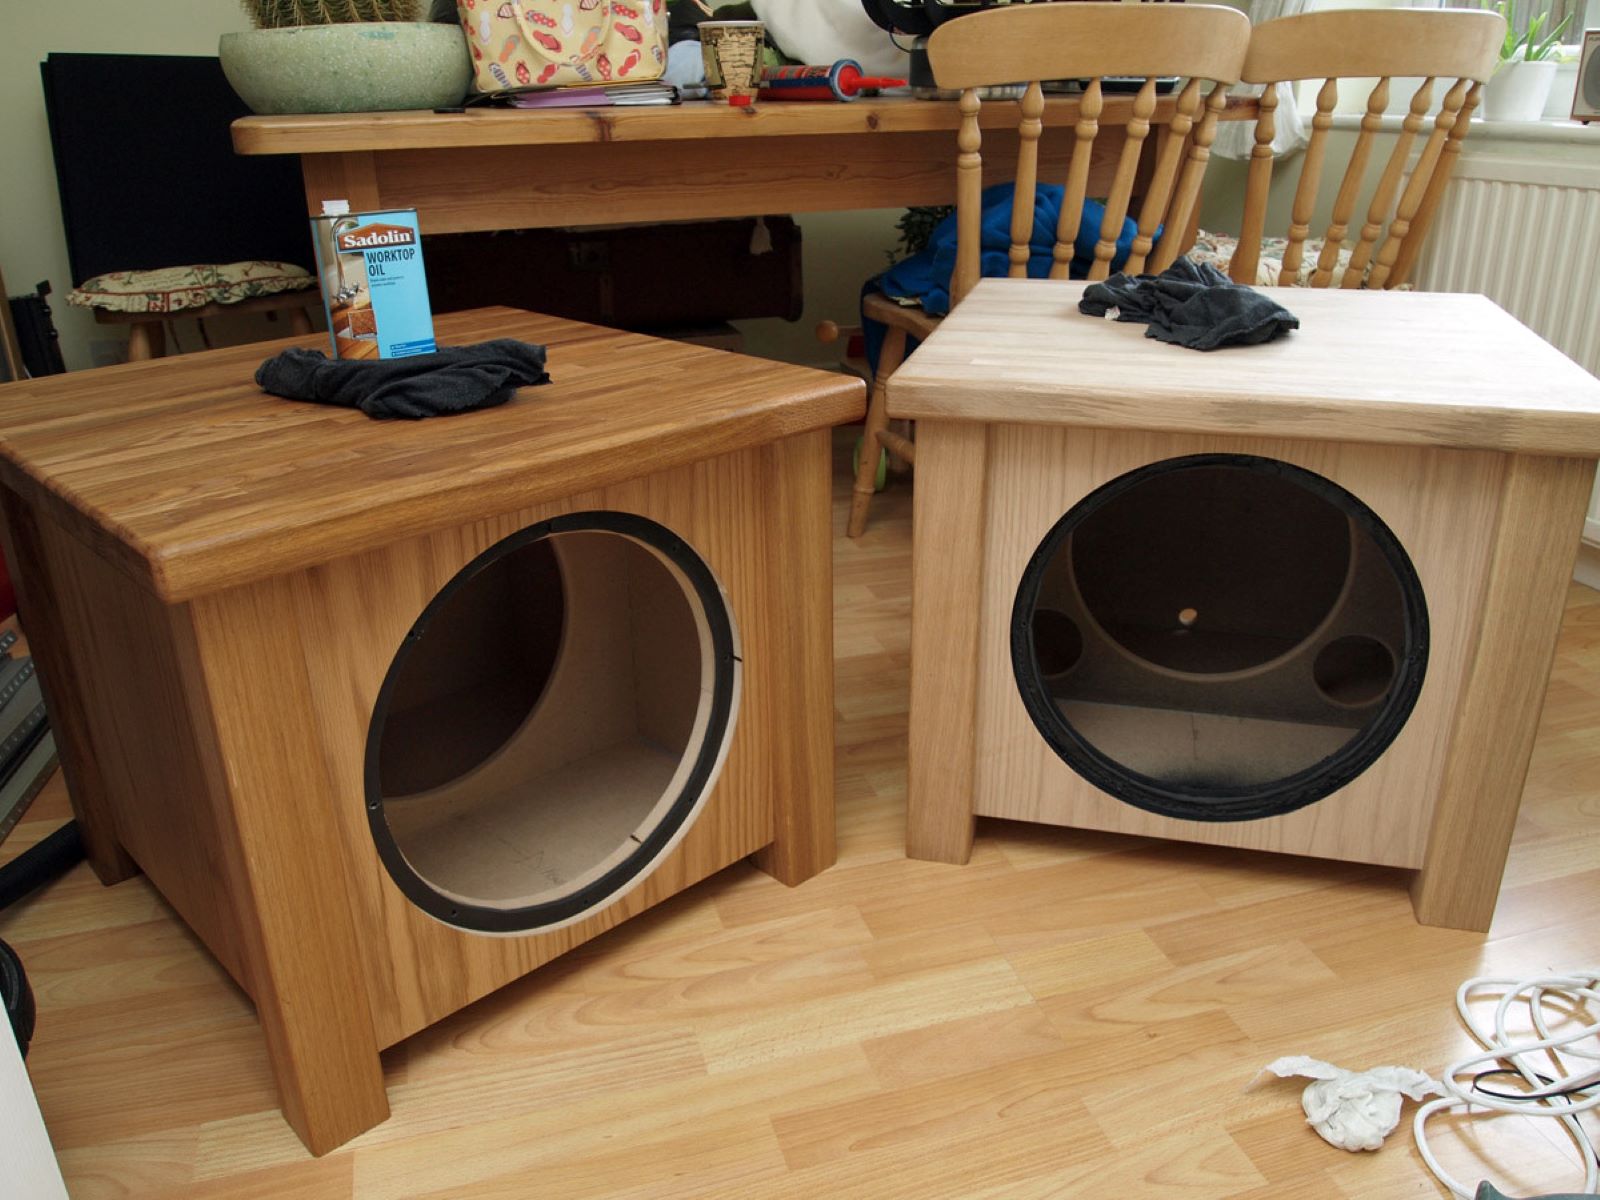
- Subwoofer: You’ll need a subwoofer that is compatible with your stereo system. Make sure to choose a subwoofer that matches your audio needs and the size of your room. There are different types of subwoofers available, including powered and passive options.
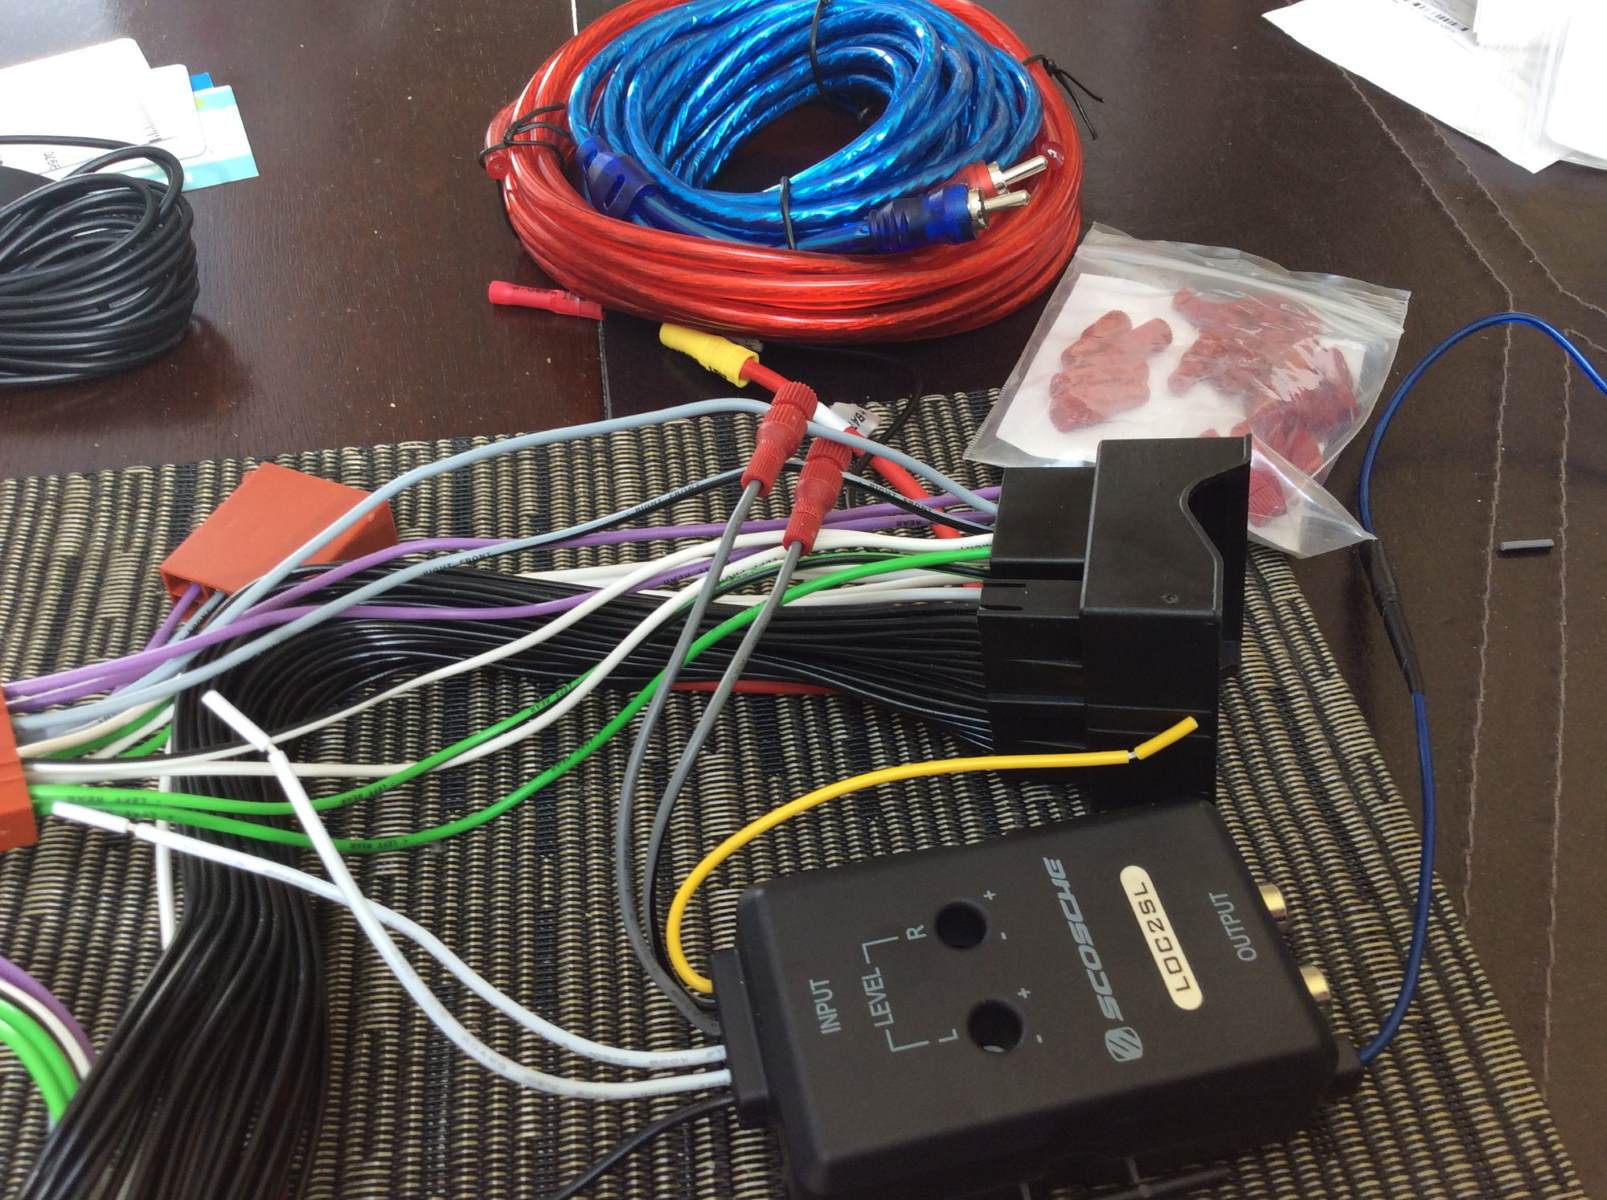
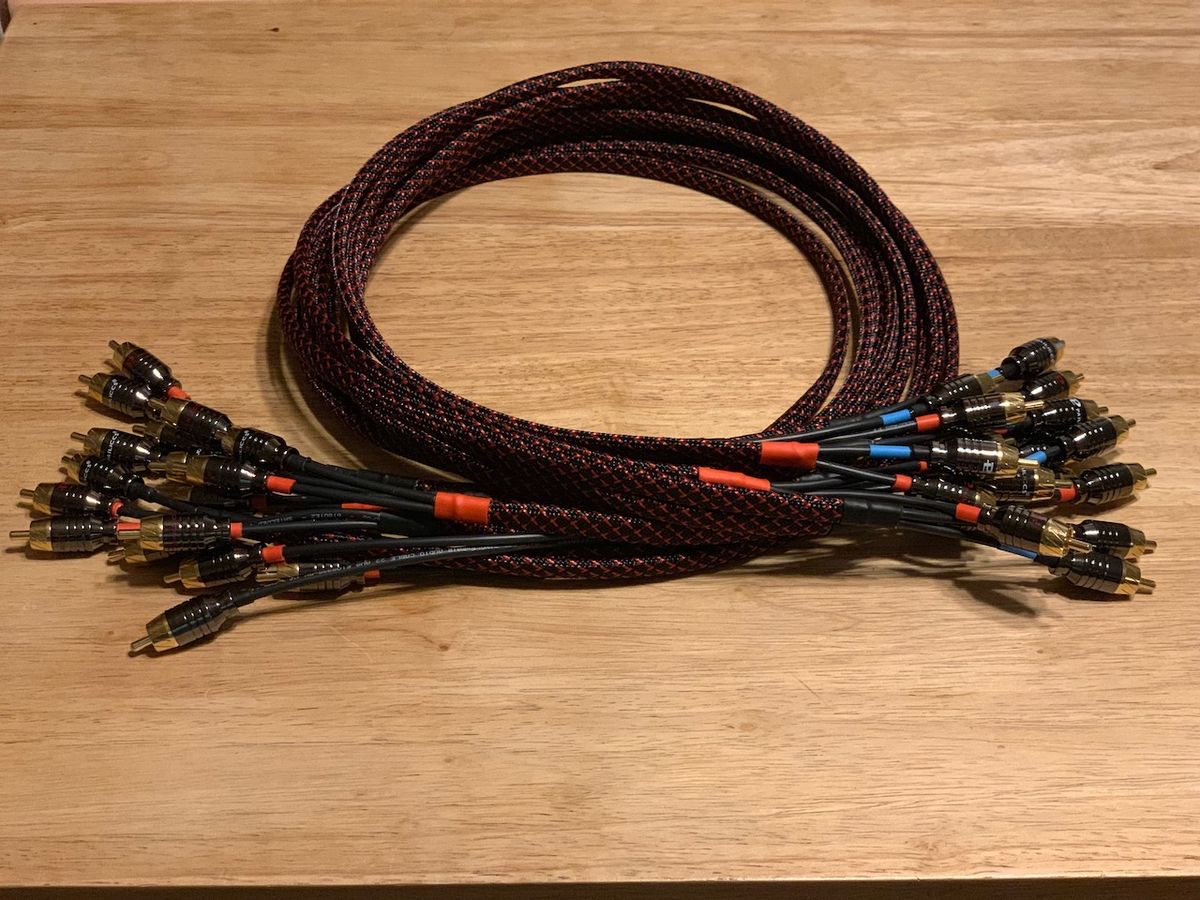
- Speaker cables: You’ll need speaker cables to connect your subwoofer to your receiver or amplifier. Depending on your setup, you may need RCA cables or audio cables with bare wire ends.
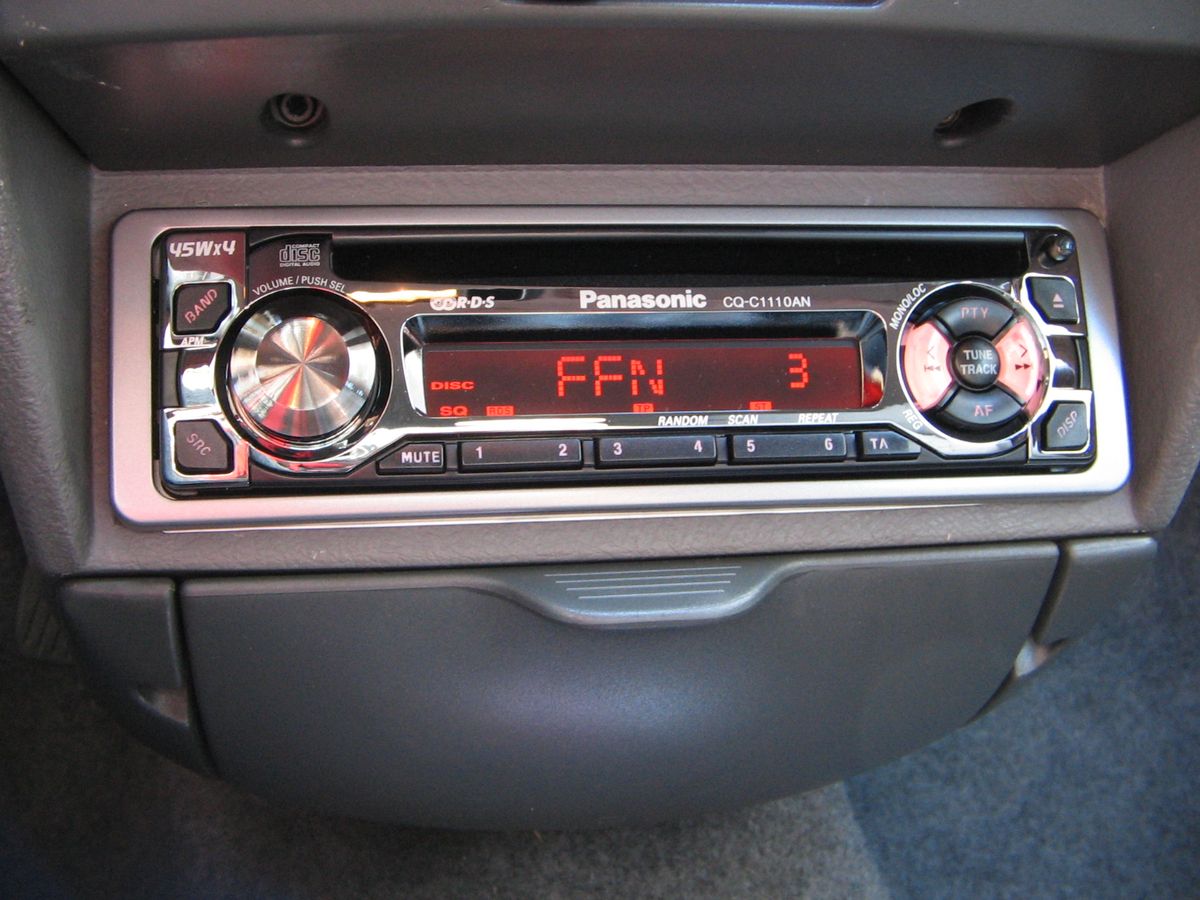
- Receiver or amplifier: Your home stereo system should have a receiver or amplifier that allows you to connect and control the subwoofer. Make sure your receiver has a dedicated subwoofer output or a preamp output.
- Power cable: To power your subwoofer, you’ll need a power cable that is compatible with your specific model.
- Owner’s manual: Each component of your stereo system may have its own specific requirements and instructions. It’s essential to have the owner’s manual handy for reference.
Once you have gathered all the necessary equipment, you’re ready to move on to the next step: determining the best location for your subwoofer.
Step 2: Determine the best location for the subwoofer
Choosing the right location for your subwoofer is crucial for achieving optimal sound quality. Here are some factors to consider when determining the placement of your subwoofer:
- Room size and layout: Take into account the dimensions and layout of your room. The position of furniture and the shape of the room can impact how sound waves interact and affect the bass response. Experiment with different locations to find the spot that provides the best bass distribution.
- Speaker positioning: The position of your main speakers can affect where you place your subwoofer. It’s generally recommended to position your subwoofer near the front speakers or in the center, as this can help create a more cohesive and balanced soundstage.
- Avoiding corners: Placing your subwoofer in a corner can sometimes result in excessive bass buildup, leading to a boomy or muddy sound. If possible, try to position your subwoofer away from corners and experiment with different locations to achieve a more even bass response.
- Experimentation: Don’t be afraid to experiment with different placement options. Moving the subwoofer even a few inches can sometimes make a noticeable difference in sound quality. Use your ears and adjust the position until you find the sweet spot where the bass sounds balanced and well-integrated with the rest of the audio.
Keep in mind that the optimal subwoofer location may vary depending on the specific characteristics of your room and personal preferences. It’s a good idea to test the sound from different listening positions to ensure that the bass response is consistent throughout the room.
Now that you’ve determined the ideal location for your subwoofer, it’s time to move on to the next step: connecting the subwoofer to your receiver or amplifier.
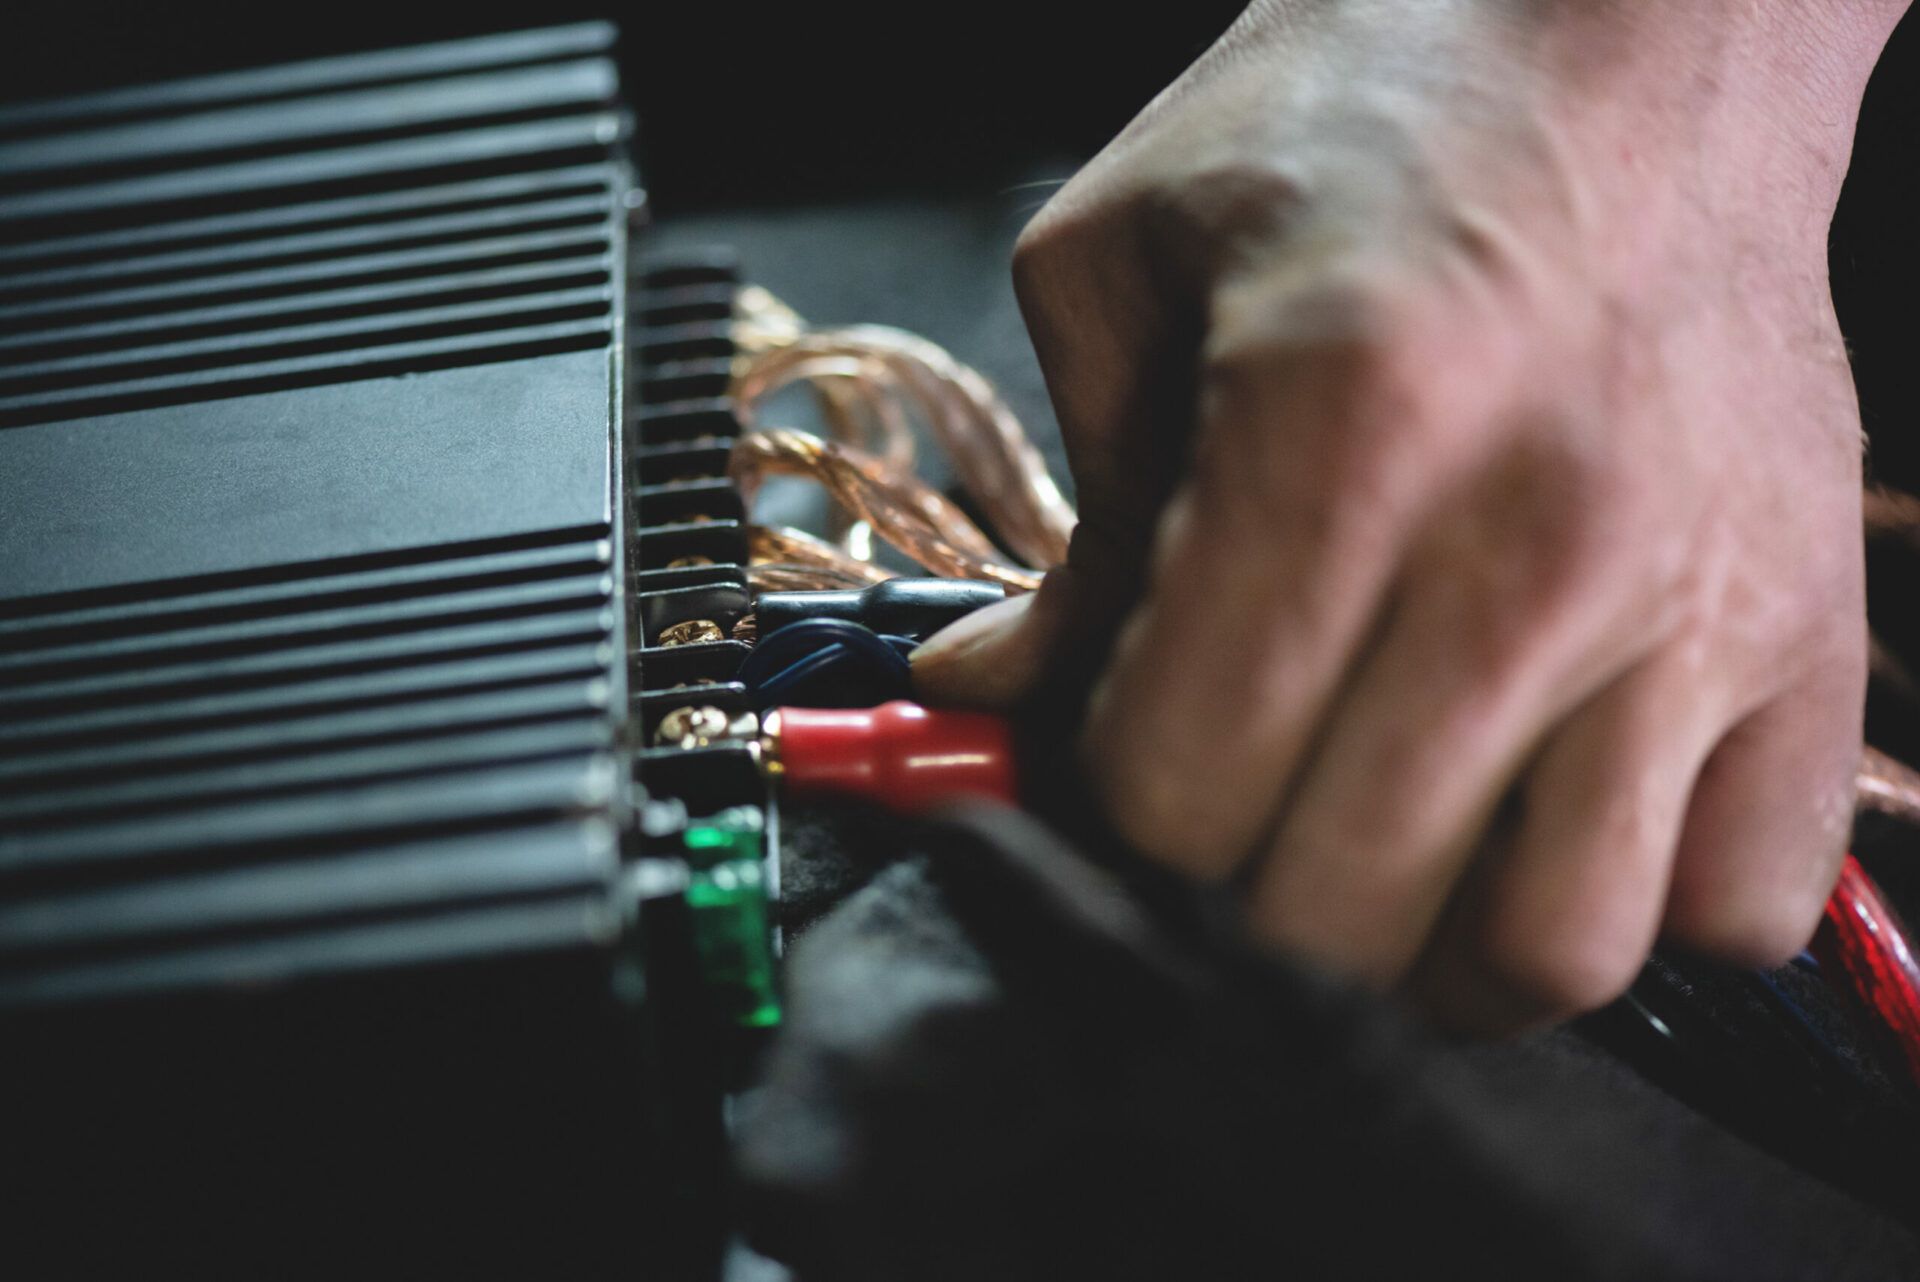
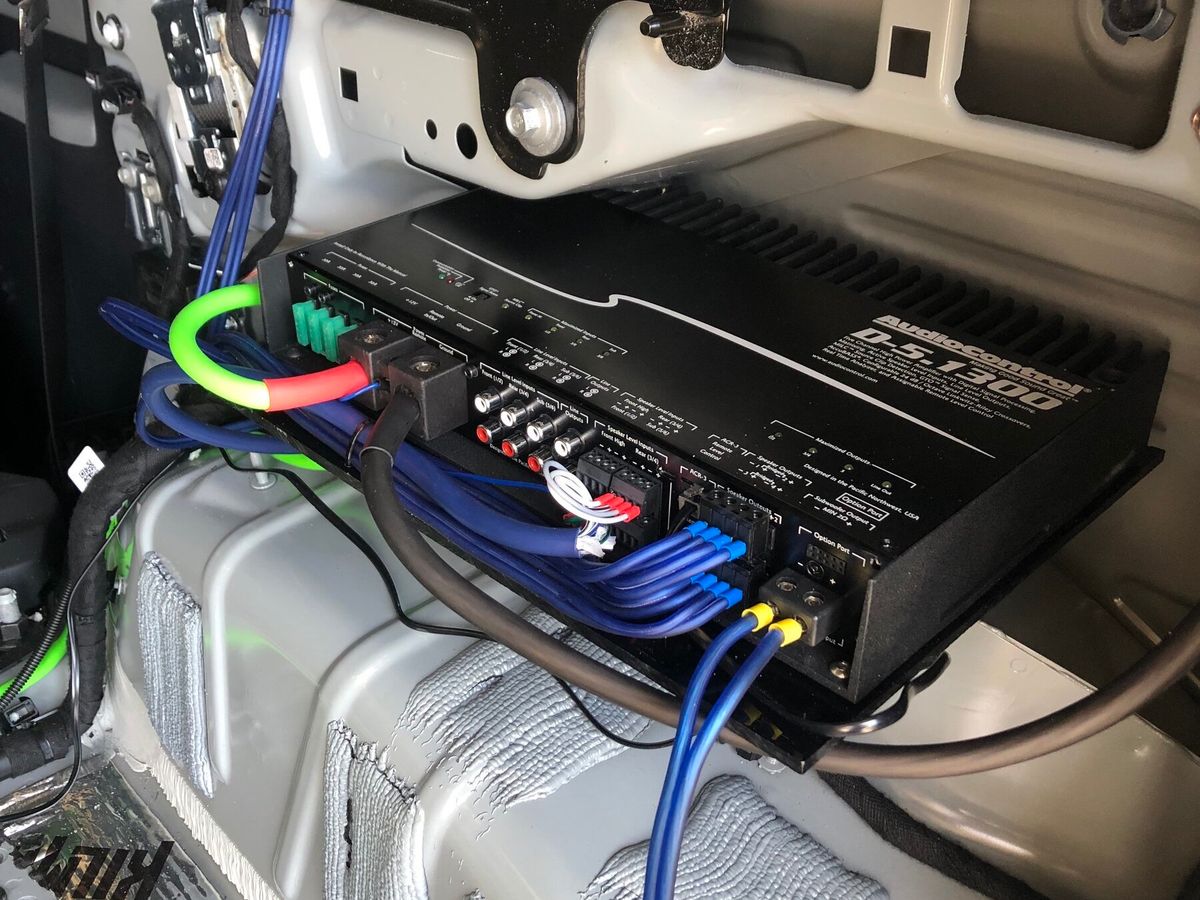
Step 3: Connect the subwoofer to the receiver
Now that you have chosen the best location for your subwoofer, it’s time to connect it to the receiver or amplifier. Follow these steps to ensure a proper connection:
- Identify the subwoofer output: Check your receiver or amplifier for a dedicated subwoofer output. It is usually labeled as “Sub Out” or “LFE Out” (Low Frequency Effects). If you don’t have a dedicated subwoofer output, look for a preamp output or a speaker wire output.
- Ensure the receiver is turned off: Before making any connections, turn off the power to your receiver or amplifier. This prevents any electrical damage and ensures your safety during the setup process.
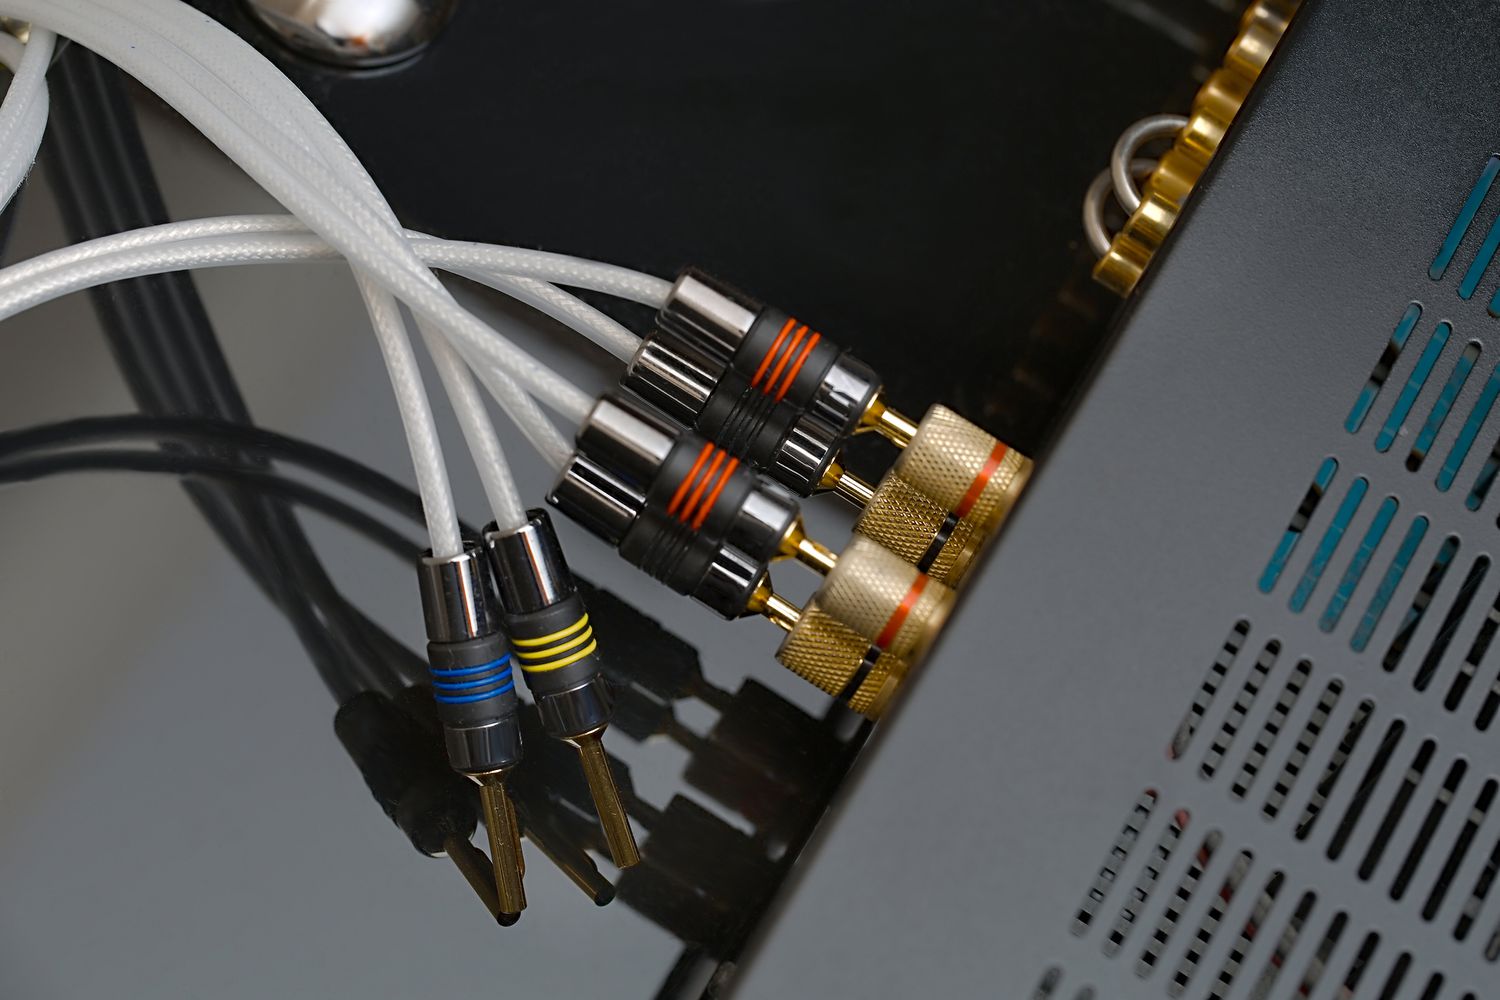
- Connect the cables: Depending on the type of subwoofer and receiver you have, you will need to use either an RCA cable or speaker wire to establish the connection. If your subwoofer has a line-level input, use an RCA cable to connect the subwoofer output on the receiver to the corresponding input on the subwoofer. If your subwoofer has speaker wire inputs, use speaker cables to connect the subwoofer output on the receiver to the inputs on the subwoofer.
- Secure the connections: Ensure that the connections are secure and tight. Loose connections can result in poor sound quality or intermittent connections. Double-check that the cables are inserted correctly and secured in their respective ports.
- Power up and configure: Once you have made the necessary connections, power on your receiver or amplifier and your subwoofer. Refer to the owner’s manual for your specific equipment to configure any settings related to the subwoofer output. You may need to adjust the crossover frequency, volume level, and phase settings to achieve the desired sound balance.
After following these steps, your subwoofer should now be properly connected to your home stereo system. It’s time to move on to the next step: adjusting the subwoofer settings for optimal performance.
Step 4: Adjust the subwoofer settings
Once you have connected your subwoofer to your receiver, it’s important to fine-tune the settings to achieve the best possible sound quality. Here are some key settings to consider:
- Crossover frequency: The crossover frequency determines the point at which the subwoofer takes over from the main speakers in reproducing low-frequency sounds. Typically, you’ll want to set the crossover frequency to around 80 Hz, but this can vary depending on your specific speakers and room acoustics. Adjust the crossover frequency to find the optimal balance between the subwoofer and the main speakers.
- Volume level: Adjust the volume level of the subwoofer to blend seamlessly with your main speakers. It should not overpower the rest of the audio but rather provide a solid foundation of bass. Experiment with different volume levels and listen to a variety of music or movies to find the ideal balance.
- Phase adjustment: The phase control allows you to adjust the timing of the subwoofer’s sound waves relative to the main speakers. It helps ensure that the subwoofer’s output is synchronized with the rest of the audio. Start by setting the phase control to 0 degrees and then experiment with different settings to find the position that provides the most accurate and cohesive sound.
- Room acoustics: Take into consideration the acoustics of your room when adjusting the subwoofer settings. Large or open spaces may require different settings than smaller, enclosed rooms. You may need to make minor tweaks to achieve the best sound quality in your specific environment.
Remember, adjusting the subwoofer settings can be a subjective process. Trust your ears and make small adjustments until you’re satisfied with the sound balance. Don’t be afraid to experiment and revisit these settings as you continue to listen to different types of audio content.
Now that you’ve fine-tuned the subwoofer settings, it’s time for the final step: testing the subwoofer to ensure everything is working correctly.
Step 5: Test the subwoofer
After connecting and adjusting the settings of your subwoofer, it’s important to thoroughly test its performance to ensure everything is working as expected. Follow these steps to test your subwoofer:
- Play a variety of audio content: Test your subwoofer by playing various types of audio content, including music, movies, and TV shows. Choose materials that are known to have a good mix of low-frequency sounds. This will help you assess the performance and overall impact of the subwoofer on different types of audio.
- Listen for balanced bass: Pay attention to the bass reproduction and how it integrates with the rest of the audio. The subwoofer should provide a solid and well-defined bass without overpowering or distorting the other frequencies. Make adjustments to the subwoofer settings if necessary to achieve a balanced and immersive listening experience.
- Test different volume levels: Play audio content at both low and high volume levels to ensure that the subwoofer performs consistently. It should maintain its clarity and impact regardless of the volume setting. If you notice any distortion or unevenness, make adjustments to the subwoofer volume and other settings as needed.
- Check for smooth transitions: Pay attention to the transitions between the main speakers and the subwoofer. The handoff of low-frequency sounds should be seamless, with no audible gaps or sudden shifts. Adjust the crossover frequency and phase settings if needed to achieve a smooth transition between speakers.
- Reposition if necessary: If you’re not satisfied with the overall performance or bass response, consider repositioning your subwoofer. Move it to a different location and retest to see if the changes improve the sound quality. Don’t be afraid to make small adjustments until you achieve the desired results.
By thoroughly testing your subwoofer, you can ensure that it is performing optimally and delivering the desired bass impact. Take your time during this step and make any necessary adjustments to achieve the best possible sound quality.
Congratulations! You have successfully hooked up and tested your subwoofer to your home stereo system. Now you can sit back, relax, and enjoy your favorite music and movies with enhanced bass and a more immersive audio experience.
Final Thoughts: Remember that every audio setup is unique, and it may take some time and experimentation to find the sweet spot for your subwoofer. Trust your ears and don’t hesitate to make adjustments to the settings or placement until you achieve the desired sound quality. Enjoy the power of deep, rumbling bass and let your subwoofer transform your audio experience!
Conclusion
Congratulations on successfully setting up and connecting your subwoofer to your home stereo system! By following the steps outlined in this guide, you have unlocked the power of deep, rumbling bass and enhanced your audio experience.
Remember, the key to a great subwoofer setup lies in careful consideration of the equipment, proper placement, and fine-tuning of settings. Take the time to experiment with different locations and adjustments to find the optimal sound balance for your specific room and preferences.
By adding a subwoofer to your home stereo system, you have opened the door to a new level of audio immersion, whether you’re listening to music, watching movies, or playing video games. The subwoofer’s ability to reproduce low-frequency sound adds a new dimension to your favorite content, making it more realistic and impactful.
Throughout the setup process, remember to consult the owner’s manuals for your specific equipment. These manuals provide valuable information and guidance tailored to your exact models.
Now that you’re all set up, sit back, relax, and enjoy the deep, thunderous bass that your subwoofer brings to your audio setup. Immerse yourself in the rich, full-bodied sound that will elevate your listening experience to new heights.
Thank you for choosing our guide to help you hook up your subwoofer to your home stereo system. We hope this comprehensive article has provided you with the knowledge and confidence to set up your subwoofer with ease. Enjoy your newfound audio excellence!