Home>Production & Technology>Stereo>How To Wire Home Stereo
Stereo
How To Wire Home Stereo
Modified: February 18, 2024
Learn how to wire your home stereo system with this comprehensive guide. Discover step-by-step instructions and expert tips to optimize the sound quality and enhance your audio experience.
(Many of the links in this article redirect to a specific reviewed product. Your purchase of these products through affiliate links helps to generate commission for AudioLover.com, at no extra cost. Learn more)
Table of Contents
Introduction
Welcome to our comprehensive guide on how to wire your home stereo system. Whether you’re a music enthusiast looking to set up a high-quality audio experience or simply want to enjoy the immersive sound in your living space, understanding the process of wiring your home stereo is essential.
A well-wired stereo system allows you to enjoy crystal-clear sound, rich bass, and immersive audio quality throughout your home. Whether you’re connecting speakers in individual rooms, creating a multi-room audio setup, or setting up a dedicated home theater, proper wiring ensures optimal performance and maximum enjoyment.
In this guide, we will take you step-by-step through the process of wiring your home stereo system. We will cover everything from determining speaker placement and planning the wiring path to connecting the audio source to the stereo and troubleshooting common issues. By the end of this guide, you’ll be equipped with the knowledge and skills needed to set up a professional-grade home stereo system.
Before we dive into the wiring process, it’s important to have the necessary tools and materials on hand. This ensures that you have everything you need to complete the installation without any delays. So, let’s start by going over the tools and materials required for the job.
Tools and Materials Needed
Before you begin wiring your home stereo system, it’s important to gather the necessary tools and materials. Having these items on hand will make the installation process much smoother and efficient. Here are the essential tools and materials you’ll need:
- Speaker wire: This is an integral component for connecting your speakers to the stereo. Ensure that you choose a wire with the appropriate gauge and length for your setup.
- Wire strippers: These tools are used to remove the insulation from the ends of the speaker wire, allowing for proper connection.
- Wire cutters: Useful for cutting the speaker wire to the desired length.
- Screwdriver: Required for connecting the speaker wire to the stereo and speakers, as well as any other necessary adjustments.
- Tape measure: Helps with determining the optimal speaker placement and measuring the required lengths of speaker wire.
- Level: Ensures that your speakers are properly positioned and aligned.
- Drill and bits: If you need to mount the speakers or run the wires through walls, you may require these tools.
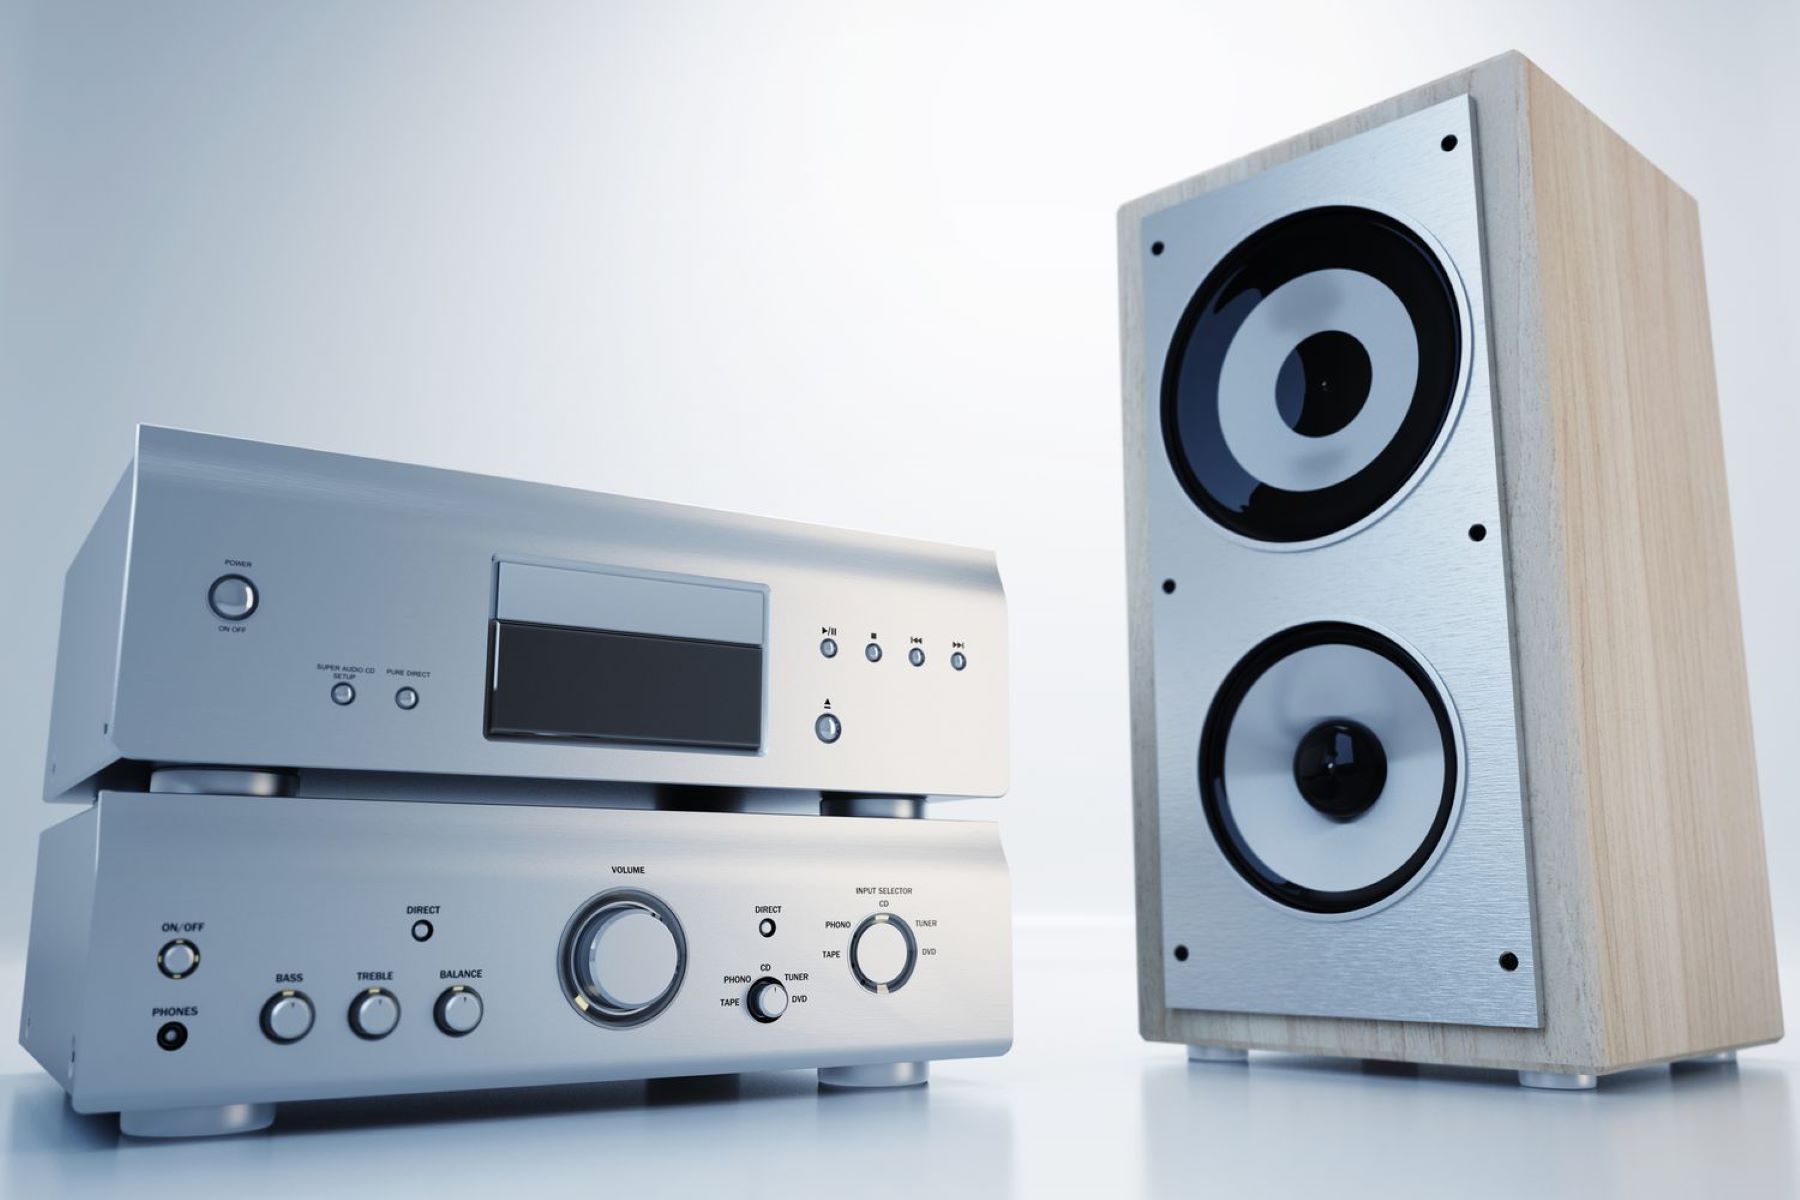
- Audio source: This could be a stereo receiver, amplifier, or any device that will connect to your speakers and provide the audio signal.
- Speakers: Choose speakers based on your preferences and room size. It’s ideal to have a set of front speakers, surround speakers, and a subwoofer for a complete home theater experience.
Make sure you have all the required tools and materials before you start the wiring process. This will save you time and frustration, allowing for a smoother installation experience.
Step 1: Determine Speaker Placement
The first step in wiring your home stereo system is to determine the optimal placement for your speakers. This step is crucial as it directly affects the audio quality and overall listening experience in your space.
When deciding on speaker placement, consider the layout and size of your room, as well as the intended purpose of the audio setup. For a traditional stereo setup, you typically have two front speakers placed on either side of the listening area. In a home theater setup, you may have additional surround speakers and a subwoofer to create a more immersive sound experience.
Here are some key considerations for speaker placement:
- Listening Position: Determine the primary listening position in the room, such as where you typically sit or watch movies. This will help you gauge the ideal placement for the front speakers.
- Stereo Separation: Position the front speakers at an equal distance from the listening position, creating a balanced stereo image. This will result in a more immersive and accurate soundstage.
- Room Acoustics: Take into account the acoustic characteristics of your room. Consider factors such as reflective surfaces, furniture, and the overall layout. Adjust the speaker placement to minimize reflections and optimize sound quality.
- Surround Sound: If you’re setting up a home theater system, position the surround speakers according to the manufacturer’s recommendations. Typically, they are placed to the side or behind the listening area to create a realistic surround sound experience.
Once you have determined the ideal speaker placement, mark the positions on the wall or floor using a pencil or tape. This will serve as a guide when running the speaker wires in the next steps.
Remember, the objective is to achieve balanced sound distribution, clarity, and an immersive listening experience. Taking the time to plan and determine the appropriate speaker placement will greatly enhance your overall enjoyment of your home stereo system.
Step 2: Plan the Wiring Path
Once you have determined the optimal speaker placement, the next step in wiring your home stereo system is to plan the wiring path. This involves identifying the most efficient and aesthetically pleasing route for your speaker wires.
Consider the following factors when planning the wiring path:
- Visibility: Determine whether you prefer the speaker wires to be hidden or if you are comfortable with them being partially visible. This will help you decide whether to run the wires through walls, along baseboards, or underneath carpets.
- Room Layout: Carefully examine the layout of your room to identify the best path for running the wires. Take into account any obstacles, such as furniture, doors, or windows, and plan accordingly.
- Safety: Ensure that your wiring path follows electrical safety guidelines. Avoid running the speaker wires near power outlets or crossing them over electrical wires to minimize the risk of interference or potential hazards.
- Future Accessibility: Consider the future accessibility of the speaker wires in case you need to make any changes or additions to your home stereo system. Plan the wiring path in a way that allows for easy access and flexibility.
Once you have considered these factors, sketch out the planned wiring path on paper or use a digital diagramming tool. This will help you visualize the path and make any necessary adjustments before proceeding with the installation.
Remember, planning the wiring path is crucial to ensure a clean and organized setup. By taking the time to thoughtfully plan the path, you can minimize visible wires and create a visually pleasing installation.
Step 3: Gather the Necessary Cables
Before you can wire your home stereo system, it’s important to gather all the necessary cables. Having the right cables ensures a proper and reliable connection between the audio source, the stereo, and the speakers.
Here are the essential cables you will need:
- Speaker Wire: This is the main cable used for connecting the speakers to the stereo. It’s important to choose the appropriate gauge and length of speaker wire based on the distance between the speakers and the stereo. Thicker wire is generally recommended for longer distances to minimize signal loss.
- Audio Source Cable: Depending on the type of audio source you are using (e.g., stereo receiver, amplifier, media player), you will need the appropriate cable to connect it to the stereo. Common audio source cables include RCA cables, optical cables, HDMI cables, or 3.5mm audio cables.
- Subwoofer Cable: If you are using a subwoofer as part of your home stereo system, you will need a cable specifically designed for subwoofer connections. These cables are typically mono (single-channel) and have RCA or XLR connectors.
- Optional Cable Management Accessories: Depending on your preferences and the desired aesthetic, you may also consider cable management accessories such as cable sleeves, clips, or wall-mounted cable management solutions. These can help keep the wires organized and minimize visual clutter.
It’s important to ensure that you have the appropriate cables for your specific setup. Consider the length, quality, and compatibility of the cables to ensure optimal performance and audio quality.
Before proceeding to the next step, double-check that you have all the necessary cables and that they are in good condition. This will help streamline the wiring process and avoid any delays or interruptions once you start connecting everything.
Step 4: Locate the Audio Source
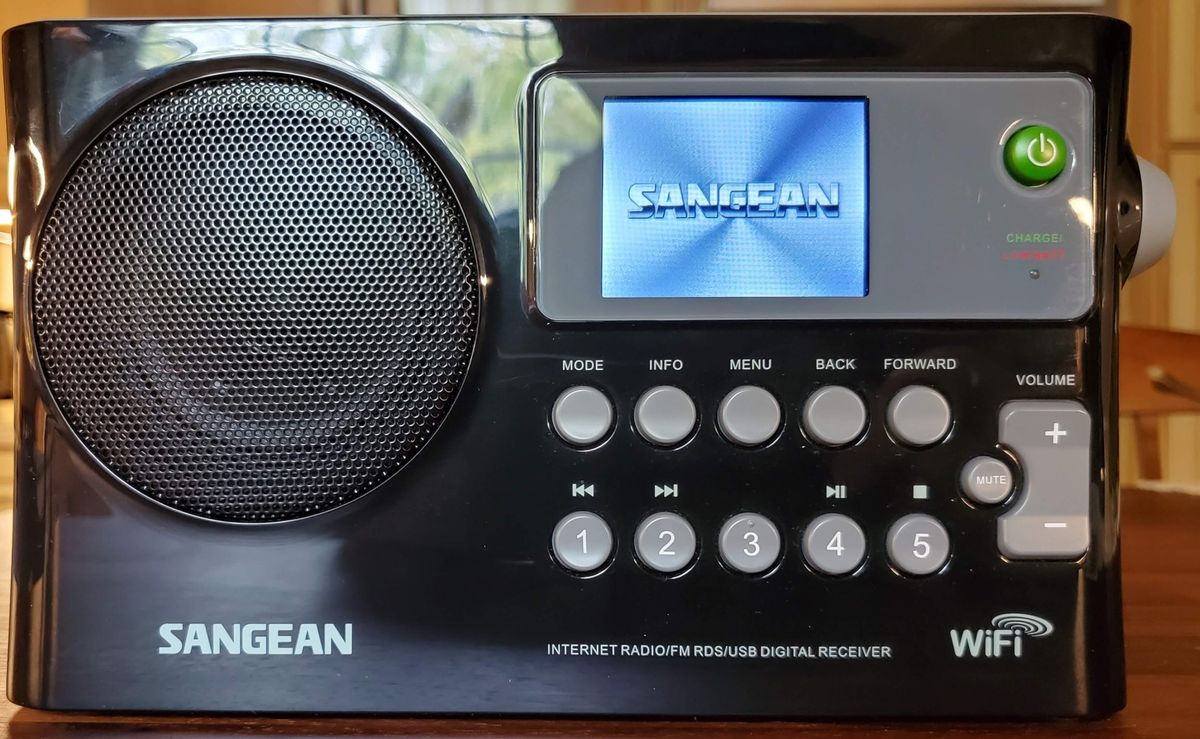
In order to wire your home stereo system properly, you need to locate the audio source. The audio source is the device that will provide the audio signal to your stereo system, such as a stereo receiver, amplifier, media player, or even a smart device.
Here are a few considerations when locating the audio source:
- Accessibility: Choose a location for the audio source that is easily accessible. It should be within reach so that you can make any necessary adjustments or changes to settings if needed.
- Ventilation: Some audio sources generate heat during operation. Make sure to place the audio source in a well-ventilated area to prevent overheating and ensure optimal performance.
- Connections: Consider the inputs and outputs available on the audio source. Ensure that there are compatible input options for connecting to your desired devices, such as RCA, HDMI, optical, or wireless connectivity.
- Remote Control: If your audio source comes with a remote control, ensure that it has a clear line of sight to the primary listening area. This will allow for convenient control and operation of the system.
Once you have identified the ideal location for the audio source, place it in the chosen spot. Ensure that it is securely positioned and properly connected to a power source if needed.
Locating the audio source in an easily accessible and suitable position will ensure convenience and efficient operation of your home stereo system. With the audio source in place, you’re ready to move on to the next step of wiring your home stereo system.
Step 5: Connect the Audio Source to the Stereo
Now that you have located the audio source, the next step in wiring your home stereo system is to connect the audio source to the stereo. This step ensures that the audio signal from the source device is properly transmitted to the stereo system.
Follow these steps to connect the audio source to the stereo:
- Identify the Output Ports: Locate the appropriate output ports on the audio source device. Common output ports include RCA, HDMI, optical, or 3.5mm audio outputs.
- Choose the Correct Cable: Select the cable that matches the output ports on the audio source device and the corresponding input ports on the stereo. For example, if the audio source has RCA outputs, use RCA cables.
- Connect the Cables: Plug one end of the chosen cable into the output ports of the audio source device and the other end into the corresponding input ports on the stereo. Ensure a secure and snug connection.
- Configure Settings: Once the audio source is connected to the stereo, configure the settings on both devices. This may involve selecting the appropriate input on the stereo or adjusting volume levels.
It’s important to refer to the user manuals of both the audio source and stereo for specific instructions on connections and settings. This will ensure accurate and optimal configuration.
After connecting the audio source to the stereo, perform a quick test to ensure that the audio signal is being properly transmitted. Play some music or a movie soundtrack from the audio source and listen for sound coming out of the stereo speakers.
If you encounter any issues during this step, double-check the connections, cables, and settings. Ensure that everything is properly connected, and consult the user manuals or contact customer support for further assistance.
Once you have successfully connected the audio source to the stereo, you’re ready to move on to the next step: connecting the stereo to the speakers.
Step 6: Connect the Stereo to the Speakers
With the audio source connected to the stereo, it’s time to move on to connecting the stereo to the speakers. This step ensures that the audio signal from the stereo is transmitted to the speakers, allowing you to enjoy the sound throughout your space.
Follow these steps to connect the stereo to the speakers:
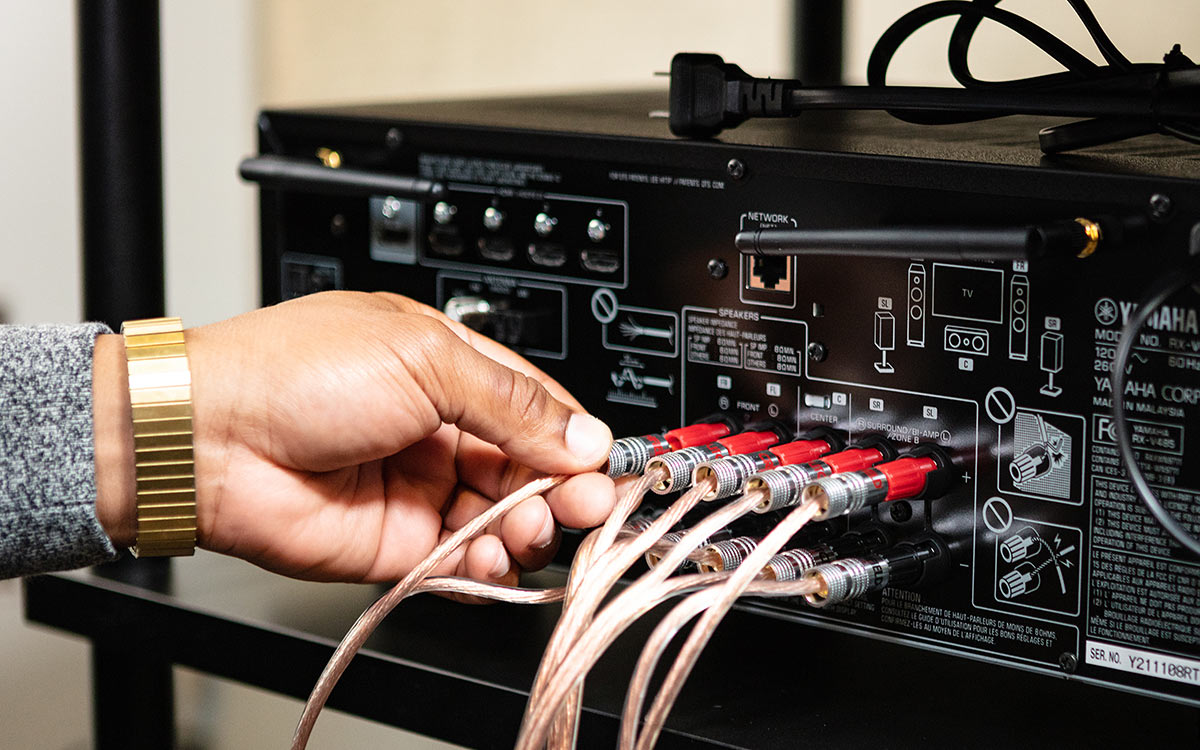
- Identify the Speaker Outputs: Locate the speaker outputs on the back of the stereo or amplifier. These outputs are usually labeled as left and right channels.
- Prepare the Speaker Wire: Cut the speaker wire to the appropriate length for each speaker, leaving some extra length for flexibility. Strip off a small section of insulation from the ends of the wire.
- Match Polarity: Note the polarity of the speaker wire. Most speaker wire has one side with a marked line or text indicating polarity. Ensure that you match the positive (+) and negative (-) markings correctly when connecting the wire.
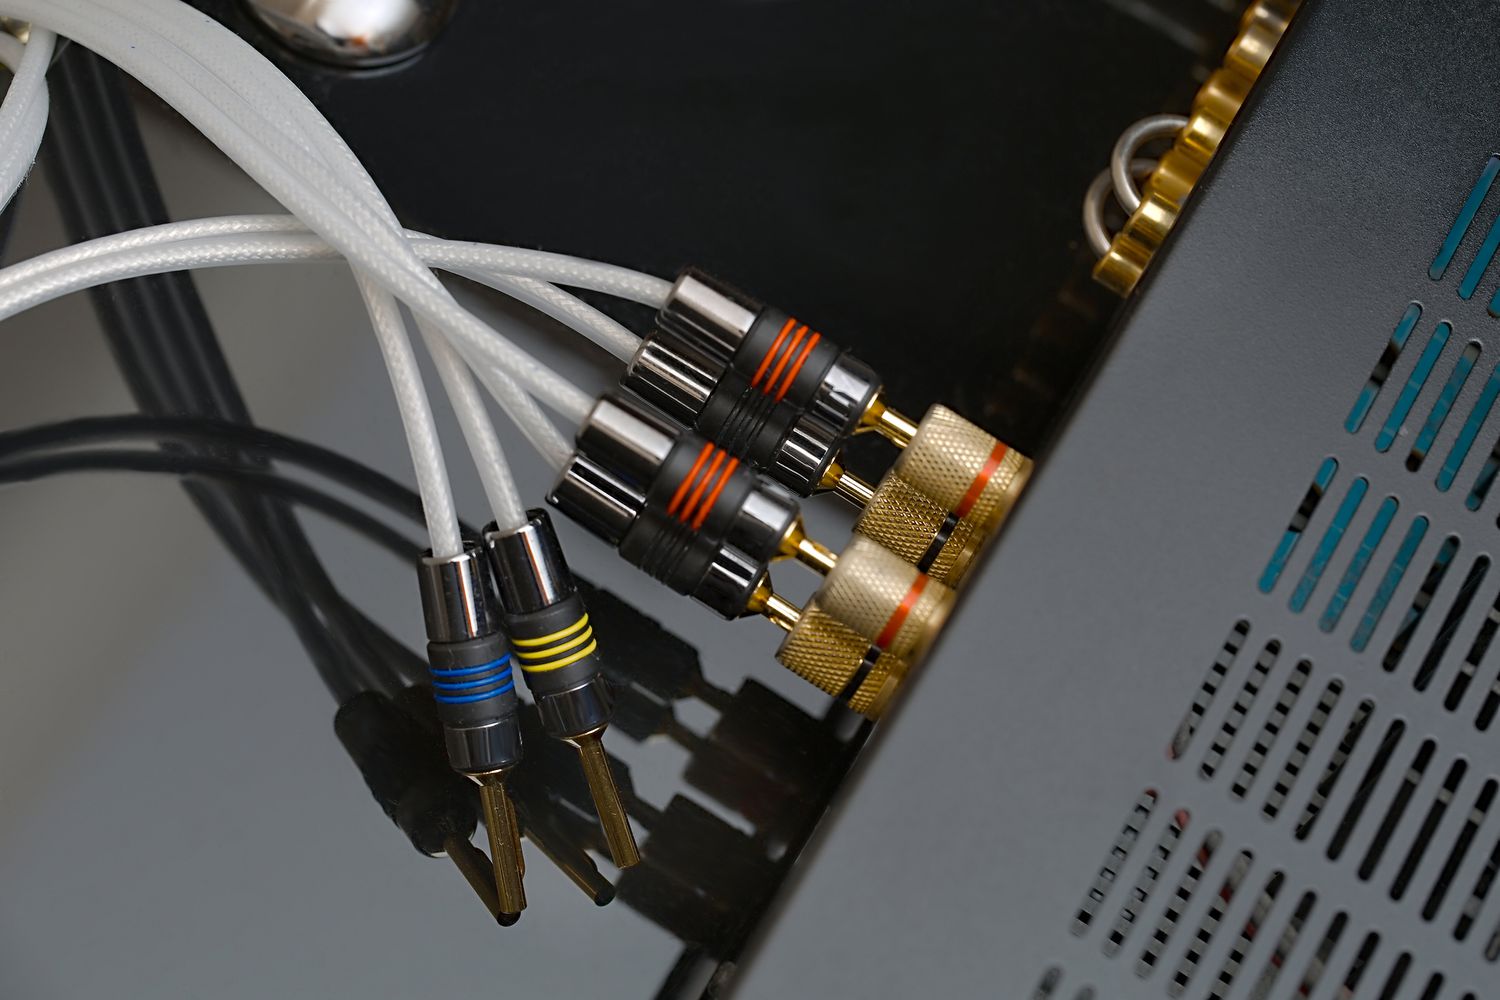
- Connect the Speaker Wire: Insert the exposed ends of the speaker wire into the corresponding speaker output terminals on the stereo. Match the polarity, with the positive (+) wire connected to the positive (+) terminal and the negative (-) wire connected to the negative (-) terminal.
- Secure the Connections: Once the wires are inserted into the terminals, tighten the terminals to secure the connections. This ensures a strong and reliable connection between the stereo and the speakers.
- Repeat for Additional Speakers: If you have multiple speakers, repeat the process for each speaker, ensuring that each speaker is connected to the appropriate output terminals on the stereo.
After connecting the stereo to the speakers, double-check all the connections to ensure they are secure. It’s important to make sure that all the positive and negative terminals are correctly matched for each speaker.
Once the connections are verified, turn on the stereo and play some audio to test if the sound is being properly transmitted to the speakers. Adjust the volume levels as needed to achieve the desired listening experience.
If you encounter any issues during this step, verify the connections, speaker wire polarity, and the stereo’s settings. Refer to the user manuals or seek assistance if necessary.
Now that the stereo is connected to the speakers, you’re one step away from enjoying your fully wired home stereo system. In the next step, we’ll cover testing and troubleshooting to ensure everything is functioning correctly.
Step 7: Test and Troubleshoot
After completing the wiring process, it’s important to test your home stereo system and troubleshoot any potential issues. This step ensures that everything is functioning as expected and allows you to fine-tune the system for optimal performance.
Here are some steps to test and troubleshoot your home stereo system:
- Power On: Turn on the stereo and audio source device, ensuring they are both receiving power.
- Select Input: On the stereo, select the appropriate input/source that corresponds to where the audio signal is coming from.
- Verify Sound: Play some audio, such as music or a movie soundtrack, and listen for sound coming out of the speakers. Ensure that sound is being evenly distributed and that all speakers are functioning correctly. Adjust volume levels as needed.
- Check Connections: Inspect all the connections, including the speaker wire connections, to ensure they are secure and properly matched. Reconnect any loose or improperly connected wires.
- Address Audio Quality Issues: If you notice any issues with audio quality, such as distortion, imbalance, or lack of clarity, consider tweaking the settings on the stereo or audio source device. Refer to the user manuals for guidance on adjusting equalization, balance, and other audio settings.
- Troubleshoot Issues: If you encounter any specific issues, such as one speaker not producing sound or audio cutting out intermittently, troubleshoot the problem by checking the connections, swapping speakers, or consulting the user manuals for assistance. Sometimes, issues can arise due to faulty cables or equipment.
It’s important to note that troubleshooting can vary depending on the specific equipment and setup. Refer to the user manuals or consult manufacturer support if you encounter persistent issues that require further assistance.
By thoroughly testing and troubleshooting your home stereo system, you can ensure that everything is working as intended and address any potential issues early on. This will help you enjoy a seamless and immersive audio experience in your home.
Conclusion
Congratulations! You have successfully wired your home stereo system. By following the steps outlined in this guide, you now have a fully functional audio setup that will elevate your music listening, movie watching, and overall entertainment experiences.
From determining speaker placement to connecting the audio source, stereo, and speakers, each step was crucial in ensuring proper wiring and optimal audio performance. Taking the time to plan, gather the necessary tools and materials, and make the necessary connections will result in a well-organized and immersive sound system.
Remember to test and troubleshoot your system to address any issues and fine-tune the audio quality to your preference. Adjusting settings and verifying connections will help you achieve the best possible sound reproduction.
Whether you’re enjoying your favorite music in the living room, creating a movie theater experience in your dedicated home theater, or spreading audio throughout multiple rooms, a properly wired home stereo system enhances every aspect.
Now that you have the knowledge and skills to wire your home stereo system, feel free to explore additional features and upgrades. Consider expanding your system with additional speakers, subwoofers, or wireless connectivity options, further enhancing your audio setup.
Remember to regularly inspect and maintain your system to ensure longevity and consistent performance. Keep cables organized, check connections, and stay up to date with any firmware updates or advancements in audio technologies.
Enjoy your new home stereo system and immerse yourself in the incredible soundscape it delivers. Sit back, relax, and let the power of your wired home stereo system transport you to a world of pure audio bliss.