Home>Devices & Equipment>Subwoofer>How To Run Speaker Wire To Rear Subwoofer In Tahoe
Subwoofer
How To Run Speaker Wire To Rear Subwoofer In Tahoe
Published: January 22, 2024
Learn how to run speaker wire to the rear subwoofer in your Tahoe and enhance your audio system for a superb subwoofer experience
(Many of the links in this article redirect to a specific reviewed product. Your purchase of these products through affiliate links helps to generate commission for AudioLover.com, at no extra cost. Learn more)
Table of Contents
Introduction
Welcome to the world of deep bass and immersive audio experiences! A subwoofer can significantly enhance the audio quality in your car, providing deep, powerful bass that adds depth and realism to your music. Whether you’re a music enthusiast or a movie lover, having a subwoofer in your vehicle can take your audio enjoyment to the next level.
However, installing a subwoofer in your car requires careful planning and knowledge. One crucial aspect of the installation process is running the speaker wire to the rear subwoofer. Properly routing the wire ensures optimal sound quality and prevents any unwanted noises or interference.
In this article, we will guide you through the step-by-step process of running speaker wire to your rear subwoofer in a Tahoe. We’ll discuss the tools and equipment you’ll need, how to prepare your vehicle, and the necessary steps to route and connect the speaker wire. By the end, you’ll be equipped with the knowledge and skills to bring deep, booming bass to your Tahoe’s audio system.
So, let’s dive in and explore the world of subwoofer installation. Get ready to feel the music like never before!
Tools and Equipment Needed
Before you begin running the speaker wire to your rear subwoofer in your Tahoe, it’s important to gather the necessary tools and equipment. Here’s a list of what you’ll need:
- Wire strippers
- Wire cutters
- Electrical tape
- Phillips-head screwdriver
- Pliers
- Panel removal tool
- Drill (if necessary)
- Fish tape or coat hanger
- Subwoofer installation kit (includes RCA cables and power cable)
Having these tools and equipment on hand will make the installation process easier and more efficient. Make sure to have them readily available before you start working on your Tahoe.
Additionally, it’s important to have a wiring diagram or guide specific to your Tahoe model. This will help you locate the necessary access points and ensure a seamless installation process. You can usually find these diagrams in your vehicle’s user manual or by doing a quick search online.
Remember, having the proper tools and equipment not only makes the installation process smoother but also ensures the longevity and functionality of your subwoofer system. So, take some time to gather everything you need before you begin.
Step 1: Preparing the Vehicle
Before you can run the speaker wire to your rear subwoofer in your Tahoe, you need to prepare the vehicle by ensuring a safe and convenient working environment. Follow these steps:
- Disconnect the negative battery terminal: Start by disconnecting the negative terminal of your car battery to prevent any electrical mishaps during the installation process. This step is crucial for your safety, so take it seriously.
- Choose the mounting location for your subwoofer: Determine where you want to install your rear subwoofer in your Tahoe. This will depend on personal preference and the available space in your vehicle. Common locations include the trunk, cargo area, or under a seat.
- Measure the speaker wire length: Take measurements from the location of your subwoofer to the head unit or amplifier where you will be connecting the wire. Make sure to leave some extra length to account for any twists or turns you might encounter while routing the wire.
- Plan the wire routing path: Once you have determined the mounting location and wire length, plan the most direct and convenient path for the speaker wire. Consider any obstacles or potential hazards, such as sharp edges or hot engine components.
- Remove any necessary panels: In some cases, you may need to remove interior panels to access the areas where you’ll be routing the wire. Refer to your vehicle’s manual or find online resources specific to your Tahoe model for guidance on panel removal.
By carefully preparing your vehicle, you’ll create a solid foundation for a successful subwoofer installation. Take the time to disconnect the battery, choose the subwoofer’s mounting location, measure the wire length, plan the routing path, and remove any needed panels. Once these steps are complete, you’ll be ready to move on to running the speaker wire and connecting your rear subwoofer.
Step 2: Removing Interior Panels
Now that you have prepared the vehicle, the next step is to remove the necessary interior panels to access the areas where you’ll be routing the speaker wire in your Tahoe. Follow these steps:
- Identify the panels to be removed: Take a look at your wiring diagram or guide to identify the specific panels that need to be removed. This will vary depending on your Tahoe model and the routing path you have planned.
- Use the appropriate tools: Depending on the panel type, you may need a panel removal tool, trim tool, or a flathead screwdriver to gently pry the panels off. Be cautious not to scratch or damage the interior surfaces.
- Start with the trim pieces: Begin by removing any trim pieces or moldings that may be covering the edges of the panels you need to remove. These trim pieces are typically held in place by clips or screws.
- Remove screws or bolts: Locate and remove any screws or bolts holding the interior panels in place. These are often found at the corners or edges of the panels. Use a Phillips-head screwdriver or the appropriate tool for the job.
- Pry the panel off: Once the screws or bolts are removed, gently pry the panel off using your panel removal tool or a flathead screwdriver. Start from one corner and work your way around, applying even pressure to avoid damaging the panel or surrounding surfaces.
Remember to keep track of the screws or bolts you remove and place them in a safe spot to avoid misplacing them. Label or take pictures if necessary to ensure a smooth reassembly process later on. Take your time and be gentle when removing the panels, as they may be fragile, especially in older vehicles.
Once you have successfully removed the necessary interior panels, you’ll have clear access to the areas where you’ll be routing the speaker wire. Stay focused and move on to the next step: routing the wire to your rear subwoofer.
Step 3: Routing the Speaker Wire
With the interior panels removed, you can now proceed to route the speaker wire from the head unit or amplifier to your rear subwoofer. Follow these steps to ensure a clean and secure wire routing:
- Locate the access points: Refer to your wiring diagram or guide to determine the ideal access points along the route of the speaker wire. These access points could include existing wiring harness openings, grommets, or other designated entry points.
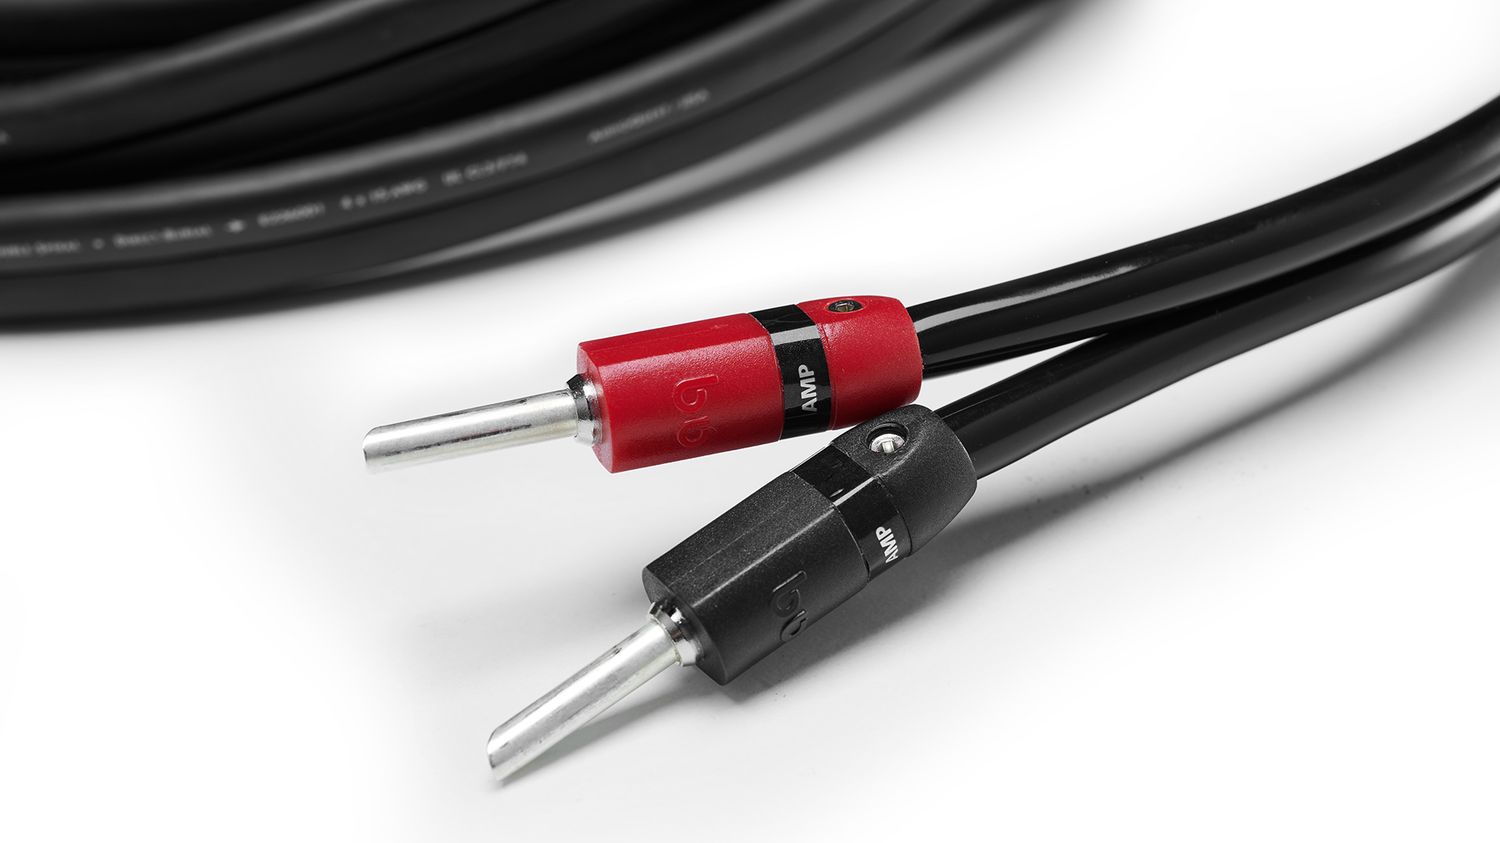
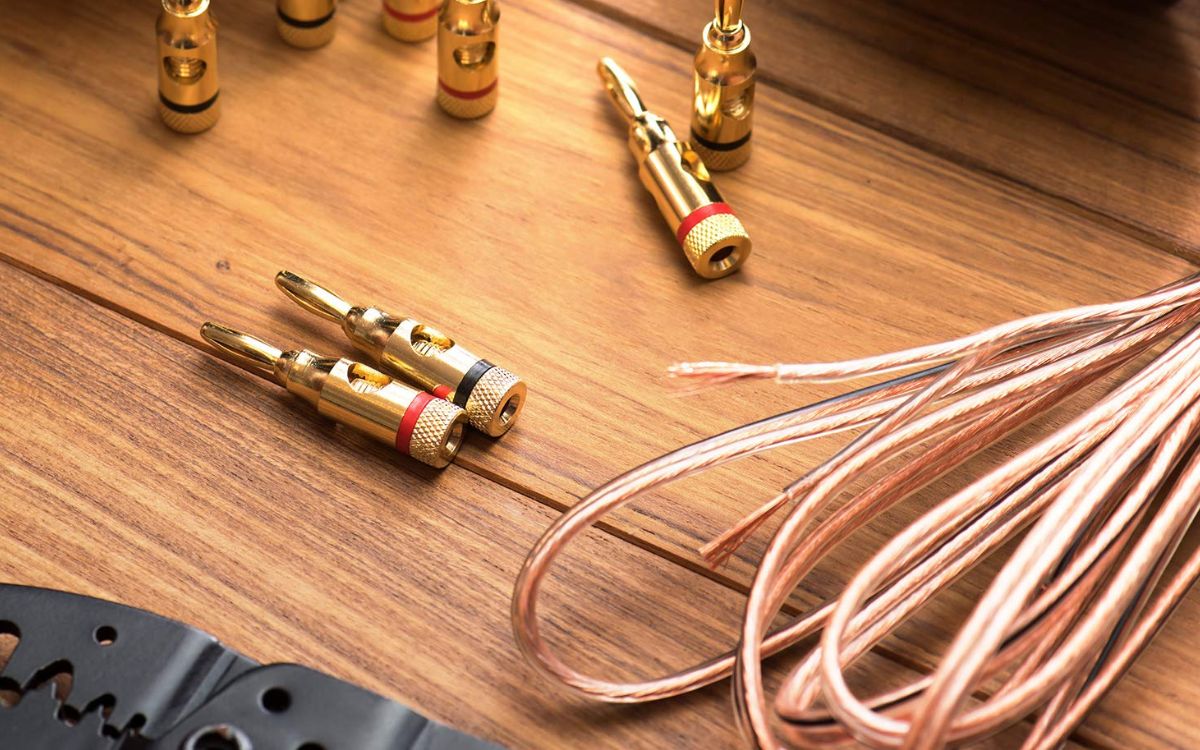
- Prepare the wire: Strip about half an inch of insulation from the ends of the speaker wire using wire strippers. This will expose the bare wire that will be connected to the head unit or amplifier and the subwoofer.
- Thread the wire: If possible, use a fish tape or a straightened coat hanger to help thread the speaker wire through the interior of your Tahoe. Start at the head unit or amplifier and carefully guide the wire along the planned routing path, being mindful of any obstacles or hazards.
- Secure the wire: As you thread the wire, use electrical tape or zip ties to secure it to existing wiring harnesses or other appropriate anchor points. This will prevent the wire from rattling or coming loose while driving.
- Avoid interference: Keep the speaker wire away from any sources of interference, such as power cables or engine components, to minimize the chance of experiencing noise or interference in your subwoofer system.
Take your time and be patient when routing the speaker wire. It’s essential to maintain a clean and organized installation. If you encounter any tight spots or difficulties, consider using a drill to create small openings in the trim panels or firewall for easier wire routing.
Once the speaker wire is successfully routed from the head unit or amplifier to your rear subwoofer, you’re ready to move on to the next step: connecting the subwoofer and completing the installation.
Step 4: Connecting the Subwoofer
Now that the speaker wire is properly routed, it’s time to connect your rear subwoofer in your Tahoe. Follow these steps to ensure a secure and reliable connection:
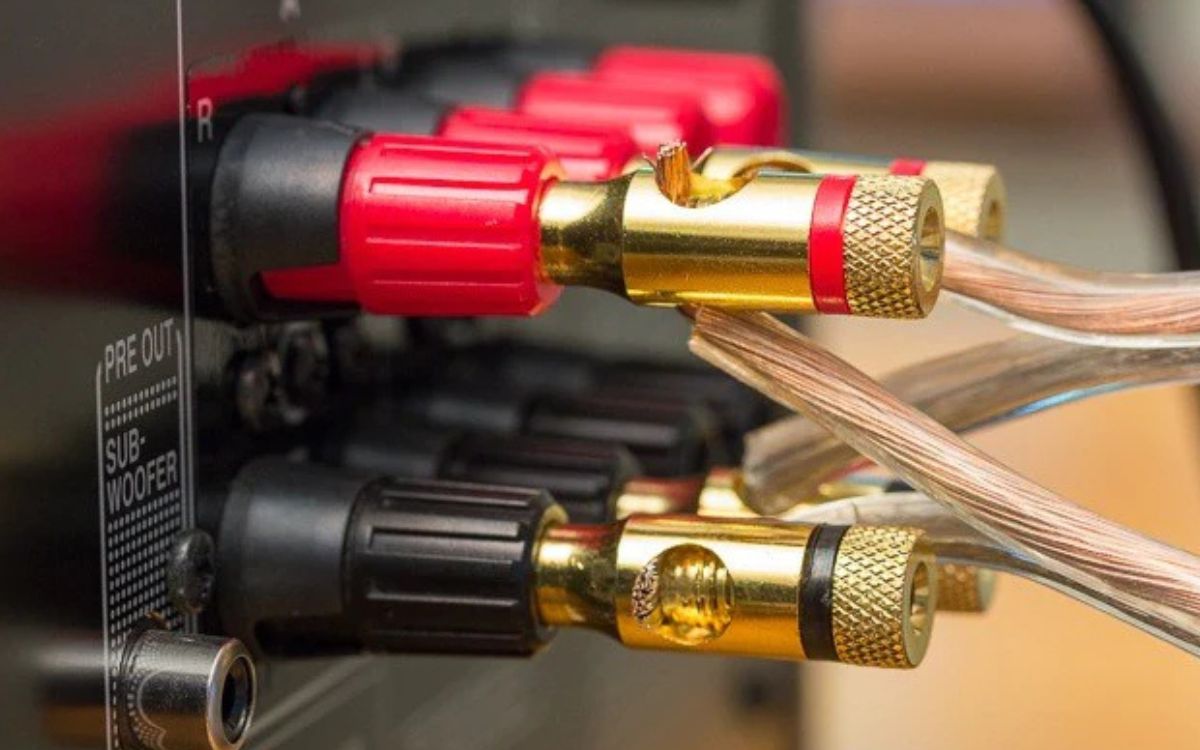
- Locate the input terminals: Identify the input terminals on your subwoofer and determine whether you need to connect the speaker wire using bare wire, connectors, or banana plugs. Refer to your subwoofer’s manual for specific instructions on the type of connection required.
- Prepare the wire ends: If necessary, strip the insulation from the ends of the speaker wire using wire strippers. Make sure to expose enough bare wire for a secure connection to the input terminals.
- Connect the wire to the subwoofer: Insert the bare wire or connectors into the appropriate input terminals on the subwoofer. Ensure a tight and secure connection to prevent any signal loss or accidental disconnection.
- Secure the connection: Use electrical tape or heat shrink tubing to secure and insulate the connections, providing extra protection against any potential short circuits or interference.
- Connect the other end of the wire: Trace the speaker wire back to the head unit or amplifier, and connect the other end to the corresponding output terminals. Again, ensure a secure and proper connection to maintain optimal audio performance.
Once the subwoofer is connected, double-check all connections to make sure they are tight and secure. Give the wire a gentle tug to ensure it doesn’t come loose. Take your time and be meticulous during this step to avoid any potential issues down the line.
With the subwoofer connected, you’re almost done! The final step is to test the installation and ensure everything is functioning correctly.
Step 5: Testing the Installation
After completing the connections, it’s crucial to test your rear subwoofer installation in your Tahoe to ensure everything is working as intended. Follow these steps to test the installation:
- Reconnect the negative battery terminal: Before testing, securely reconnect the negative terminal of your car battery.
- Power on your audio system: Turn on your car’s audio system and set the volume to a moderate level.
- Play audio with bass: Choose a song or audio track that has prominent bass frequencies. This will help you assess the performance of your subwoofer.
- Listen for clarity and balance: As the audio plays, pay attention to the clarity and balance of the bass. Make sure the subwoofer is producing deep, impactful bass without overpowering or distorting the other frequencies.
- Adjust settings if necessary: If the bass seems too weak or too overpowering, adjust the settings on your head unit or amplifier to achieve the desired balance. Consult your user manual or online resources for guidance on adjusting the bass levels and other audio settings.
During the testing phase, it’s important to listen for any unusual noises, rattles, or interference that may indicate a wiring issue or improper installation. If you notice any problems, double-check your connections and make any necessary adjustments or corrections.
Once you’re satisfied with the performance of your subwoofer, sit back and enjoy the enhanced audio experience in your Tahoe. Experience the deep, powerful bass that brings your favorite music and movies to life.
Remember, regular maintenance and occasional checks of the wiring and connections will help ensure the continued performance of your subwoofer system. Enjoy the journey of great sound!
Conclusion
Congratulations! You have successfully run speaker wire to your rear subwoofer in your Tahoe, bringing deep bass and immersive audio to your vehicle. By following the step-by-step process outlined in this article, you have enhanced your audio experience and created a more enjoyable driving or entertainment environment.
Throughout the installation process, you have learned how to prepare your vehicle, remove interior panels, route the speaker wire, connect the subwoofer, and test the installation. Each step was crucial in ensuring a clean and professional installation.
Remember, safety is paramount when working with electrical components. Always disconnect the negative battery terminal before starting any installation or wiring process. Take your time, pay attention to detail, and consult your vehicle’s user manual or online resources specific to your Tahoe model for additional guidance.
Now, sit back and enjoy the deep, booming bass that your subwoofer adds to your audio system. Feel the music and movies come alive, immersing yourself in the rich sound experience that only a quality subwoofer can provide.
Regularly check and maintain your subwoofer system to ensure optimal performance. Keep an eye out for any signs of wiring issues, loose connections, or interference. By staying proactive, you’ll continue to enjoy the enhanced audio experience for years to come.
Thank you for joining us on this subwoofer installation journey. We hope this guide has equipped you with the knowledge and confidence to run speaker wire to your rear subwoofer in your Tahoe. So, turn up the volume and enjoy the bass!