Home>Devices & Equipment>Turntable>How To Put A Turntable In A TV Stand
Turntable
How To Put A Turntable In A TV Stand
Published: January 19, 2024
Learn how to properly set up and place a turntable in a TV stand with our step-by-step guide. Create the perfect audiovisual setup with ease and convenience.
(Many of the links in this article redirect to a specific reviewed product. Your purchase of these products through affiliate links helps to generate commission for AudioLover.com, at no extra cost. Learn more)
Table of Contents
- Introduction
- Step 1: Measure the dimensions of your turntable
- Step 2: Measure the dimensions of your TV stand
- Step 3: Create a designated space for the turntable
- Step 4: Ensure proper ventilation for the turntable
- Step 5: Secure the turntable in the TV stand
- Step 6: Check for stability and adjust as necessary
- Step 7: Connect the turntable to your audio system
- Conclusion
Introduction
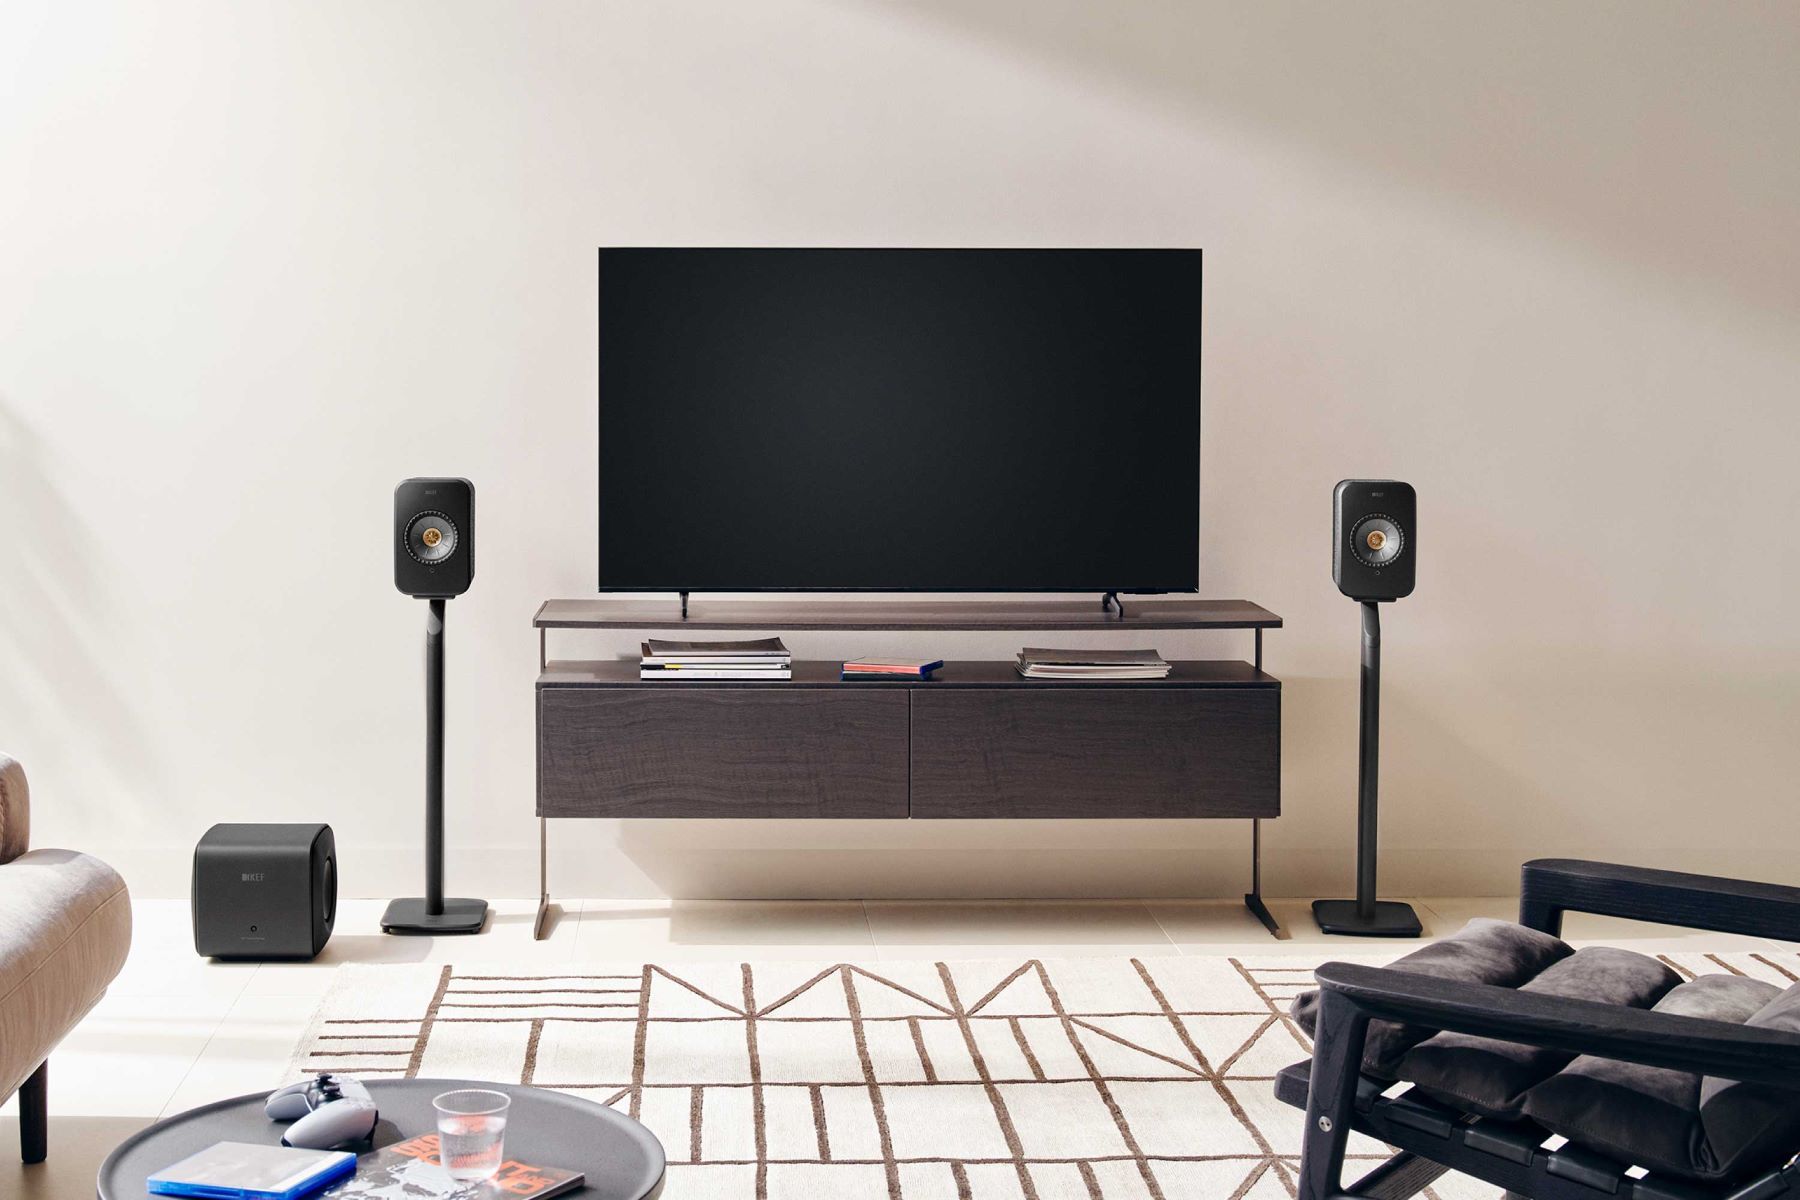
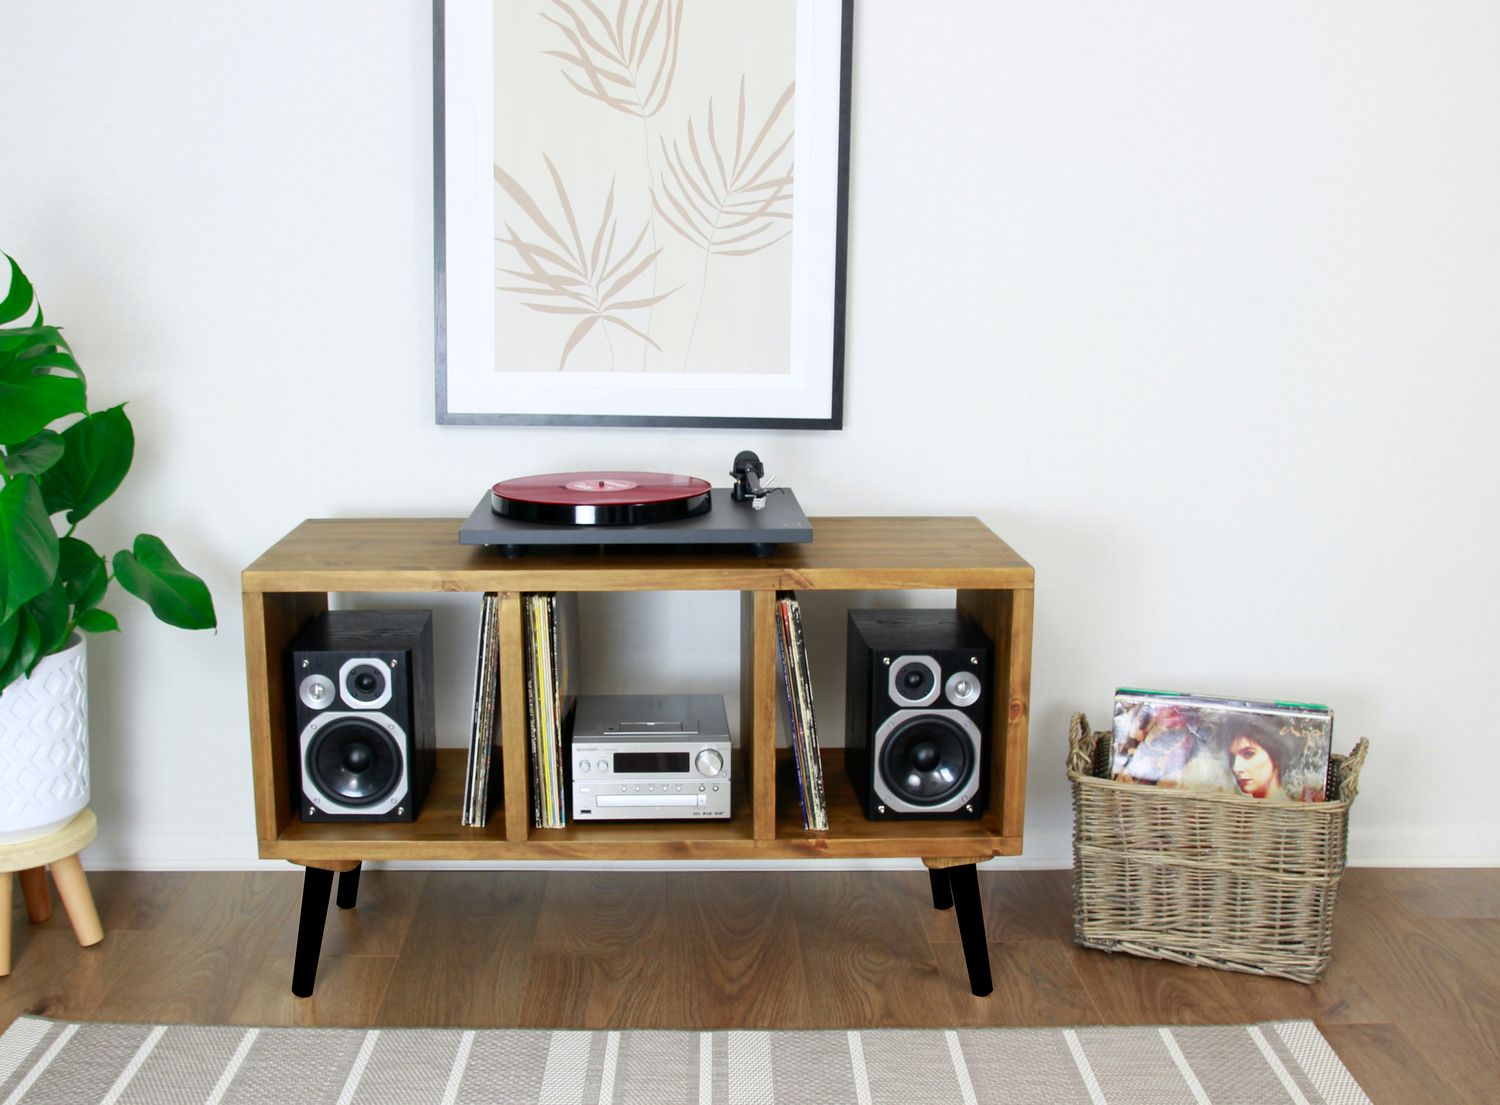
Turntables have experienced a resurgence in popularity in recent years, with vinyl enthusiasts rediscovering the warmth and authenticity of analog sound. If you’re a proud owner of a turntable and looking to integrate it seamlessly into your entertainment setup, placing it in a TV stand can be a practical and space-saving solution.
The process of putting a turntable in a TV stand may seem straightforward, but it’s essential to ensure that the turntable is properly positioned and protected to maintain optimal sound quality and prevent any damage. In this article, we’ll guide you through the steps to successfully incorporate your turntable into your TV stand.
Before embarking on this project, it’s crucial to gather a few materials: a measuring tape, a TV stand that can accommodate your turntable, and some basic tools to secure the turntable in place. Once you have these items at hand, you’ll be well equipped to tackle the process.
It’s important to note that not all TV stands are suitable for housing a turntable. Some TV stands may lack the necessary dimensions or design elements to safely accommodate the turntable’s size and weight. Therefore, before proceeding, ensure that your TV stand can adequately support your turntable.
Now, let’s dive into the step-by-step process of putting your turntable in a TV stand, ensuring it fits securely while maintaining the best audio performance possible.
Step 1: Measure the dimensions of your turntable
The first important step in placing your turntable in a TV stand is to measure the dimensions of your turntable. Each turntable model may vary in size and shape, so it’s crucial to have accurate measurements to ensure a proper fit within the TV stand.
Start by measuring the width, depth, and height of your turntable. Use a measuring tape or ruler to obtain these measurements. Make sure to measure from the outer edges of the turntable, including any protruding knobs or controls.
Write down the measurements, as you’ll need them when selecting or modifying your TV stand to accommodate the turntable’s size. Keep in mind that the dimensions should include any additional accessories or cables connected to the turntable, so that you can plan for adequate space within the TV stand.
It’s also important to consider the clearance required for the turntable’s cover or dust lid. Some turntables have a hinged lid that needs space to open, while others may require removal of the lid for operation. Ensure that your TV stand provides enough clearance for the lid if you prefer to keep it on while using the turntable.
Once you have the accurate measurements of your turntable, you can proceed to the next step of measuring your TV stand to determine if it can accommodate your turntable.
Step 2: Measure the dimensions of your TV stand
After measuring the dimensions of your turntable, the next step is to measure the dimensions of your TV stand. This will help you determine if the stand has enough space to accommodate your turntable securely.
Start by measuring the width, depth, and height of the inner space where you plan to place the turntable. Use a measuring tape or ruler to obtain accurate measurements. Ensure that you measure the actual usable space within the TV stand, accounting for any shelves, dividers, or back panels that may affect the available space.
When measuring the width, make sure to allow for some extra space on either side to ensure easy placement and access to the turntable. This will prevent any potential issues with clearance or obstruction that might occur if the turntable is too snugly fit within the TV stand.
Measure the depth of the TV stand from the front to the back to ensure that there is adequate space for the turntable, considering any cables or connections that may be protruding from the back of the turntable.
Lastly, measure the height of the TV stand to ensure that there is sufficient vertical clearance for the turntable, including any additional height required for the turntable cover or lid if you plan to keep it on during operation.
By accurately measuring the dimensions of your TV stand, you can assess whether it can comfortably house your turntable. If the measurements indicate that there won’t be enough space, you may need to consider alternative options such as finding a new TV stand or modifying the existing one.
With the turntable and TV stand dimensions in hand, you’re now ready to move on to the next step of creating a designated space for the turntable within the TV stand.
Step 3: Create a designated space for the turntable
Now that you have measured the dimensions of both your turntable and TV stand, it’s time to create a designated space within the TV stand to securely house the turntable.
First, assess the layout of your TV stand and decide on the best location to place the turntable. Consider factors such as accessibility, cable management, and airflow.
If your TV stand already has a designated shelf or compartment that is suitable for the turntable, you’re in luck! Simply adjust the existing shelves or remove any unnecessary dividers to create enough space for the turntable to fit comfortably.
On the other hand, if your TV stand doesn’t have a dedicated space, you may need to modify it. You could remove a shelf or drawer to make room for the turntable, ensuring that the space is wide enough and deep enough to accommodate it.
Before making any modifications, it’s important to ensure that the TV stand is sturdy enough to support the weight of the turntable. Consider the material of the stand and its structural integrity. If you have any doubts, seek professional advice or consult the manufacturer’s guidelines.
Once you have determined the ideal location and made any necessary modifications, carefully place your turntable into the designated space within the TV stand. Ensure that it is positioned securely and aligned properly.
Keep in mind that the turntable should be positioned on a stable surface to prevent vibrations, which can affect the sound quality and playback performance. If needed, use additional materials like vibration damping pads or isolation platforms to minimize any unwanted resonance.
By creating a dedicated space for your turntable within the TV stand, you can ensure its stability and protect it from unnecessary movement or potential damage. Now that the turntable is securely in place, let’s move on to the next step of ensuring proper ventilation.
Step 4: Ensure proper ventilation for the turntable
Proper ventilation is crucial to maintain the optimal performance and longevity of your turntable. As you integrate the turntable into your TV stand, it’s essential to ensure adequate airflow to prevent overheating and potential damage to the internal components.
Start by assessing the ventilation options available in your TV stand. Look for any gaps, openings, or vents that allow for natural airflow. If you notice that the TV stand has a back panel, consider removing it or creating ventilation holes to promote air circulation.
Additionally, check if the area where the turntable is placed has enough space around it to allow for air to flow freely. Avoid placing the turntable in a tight corner or against other heat-generating devices, such as amplifiers or game consoles, which could lead to increased temperature levels.
If your TV stand doesn’t provide sufficient ventilation, there are a few options to consider. You can use a small fan or ventilation system to improve airflow within the TV stand. Alternatively, you may need to explore other TV stand options that offer better ventilation capabilities.
It’s also important to note that some turntable models feature built-in ventilation systems or require specific clearance to ensure proper airflow. Consult the manufacturer’s guidelines or user manual for any specific requirements related to ventilation for your particular turntable.
By ensuring proper ventilation for your turntable, you help maintain its performance and prevent potential issues caused by excessive heat buildup. With ventilation taken care of, let’s proceed to the next step of securing the turntable in the TV stand.
Step 5: Secure the turntable in the TV stand
Once the turntable is properly positioned and ventilation is ensured, it’s time to secure it in the TV stand to prevent any accidental movement or damage. By securing the turntable, you can enjoy your music without the worry of it shifting or falling.
Start by checking for any existing mounting options or securing mechanisms provided by the TV stand. Some TV stands may have built-in clamps, brackets, or straps specifically designed to hold audio equipment in place. If your TV stand offers these features, use them accordingly to secure your turntable.
If your TV stand does not have any built-in mechanisms, there are other options available. You can use adhesive strips, Velcro, or cable ties to secure the turntable to the shelf or surface of the TV stand. Ensure that the chosen method is sturdy enough to keep the turntable firmly in place.
When securing the turntable, pay attention to the wiring and connection cables. Make sure they are neatly organized and secured as well. Use cable clips or ties to secure them to the TV stand, preventing any tangles or accidental disconnections during use.
Take your time to adjust the positioning and alignment of the turntable within the TV stand as needed. Ensure that it is level and centered correctly for optimal functionality and aesthetics.
Additionally, double-check that the turntable is positioned in a way that allows easy access to the controls, buttons, and ports. You want to be able to operate and connect your turntable without any obstructions or challenges.
By taking the necessary steps to secure your turntable in the TV stand, you can enjoy your vinyl collection with peace of mind, knowing that your equipment is stable and protected. With the turntable securely in place, we can move on to the next step of checking for stability and making any necessary adjustments.
Step 6: Check for stability and adjust as necessary
After securing the turntable in the TV stand, it’s crucial to check for stability to ensure that your equipment is safe from any potential accidents or damage. A stable turntable not only protects your investment but also contributes to a better listening experience.
Start by gently applying pressure to different areas of the TV stand and the turntable. Check for any wobbling or shifting. If you notice any instability, identify the source of the issue. It could be an uneven surface, inadequate support, or improperly secured components.
If the TV stand or the turntable is unstable, make the necessary adjustments. Here are a few things to consider:
- Check the leveling: Ensure that the TV stand is on a level surface. Adjust the adjustable feet or add shims if needed. Also, verify that the turntable itself is level to prevent any playback issues.
- Recheck the securing mechanisms: Double-check that any clamps, brackets, or straps used to secure the turntable are tight and secure. If using adhesive strips or Velcro, ensure they are properly attached and can withstand any movement.
- Evaluate the surface: Assess the stability and sturdiness of the surface where the turntable is placed within the TV stand. If it feels weak or flimsy, consider reinforcing it with additional support or opting for a more solid surface.
- Inspect cable management: Verify that the connection cables are properly organized and do not impede the stability of the turntable or TV stand. Ensure that they are not pulling or putting unnecessary strain on any components.
Continue testing the stability of the turntable by gently tapping on the TV stand and observing any movement or vibrations. If you notice any issues, make the necessary adjustments to eliminate any potential instability.
It’s important to note that even with proper securing and adjustment, some turntables may naturally exhibit some level of vibration. In such cases, using vibration isolation products like cork or rubber pads can help reduce vibrations.
By thoroughly checking for stability and making necessary adjustments, you can enjoy your turntable confidently, knowing that it is securely positioned within the TV stand. With stability ensured, the next step is to connect the turntable to your audio system.
Step 7: Connect the turntable to your audio system
Now that your turntable is securely placed in the TV stand, it’s time to connect it to your audio system to enjoy your vinyl collection. Follow these steps to ensure a proper and seamless connection:
- Identify the audio outputs of your turntable: Locate the audio outputs on your turntable. Most turntables will have either RCA or a combination of RCA and USB outputs. The RCA outputs are typically color-coded with red and white cables for the right and left channels.
- Identify the audio inputs on your audio system: Locate the corresponding audio inputs on your audio system. These inputs are usually labeled or color-coded to match the outputs of your turntable. Common input options include Aux, Phono, or Line In.
- Choose the appropriate cables: Select the cables that match the outputs of your turntable and the inputs of your audio system. If your turntable has RCA outputs and your audio system has RCA inputs, use a pair of RCA cables. If your turntable has a USB output and you want to connect it to your computer, use a USB cable.
- Connect the cables: Plug one end of the cables into the corresponding outputs on your turntable and the other end into the inputs on your audio system. Ensure a secure connection by firmly inserting the plugs into the jacks.
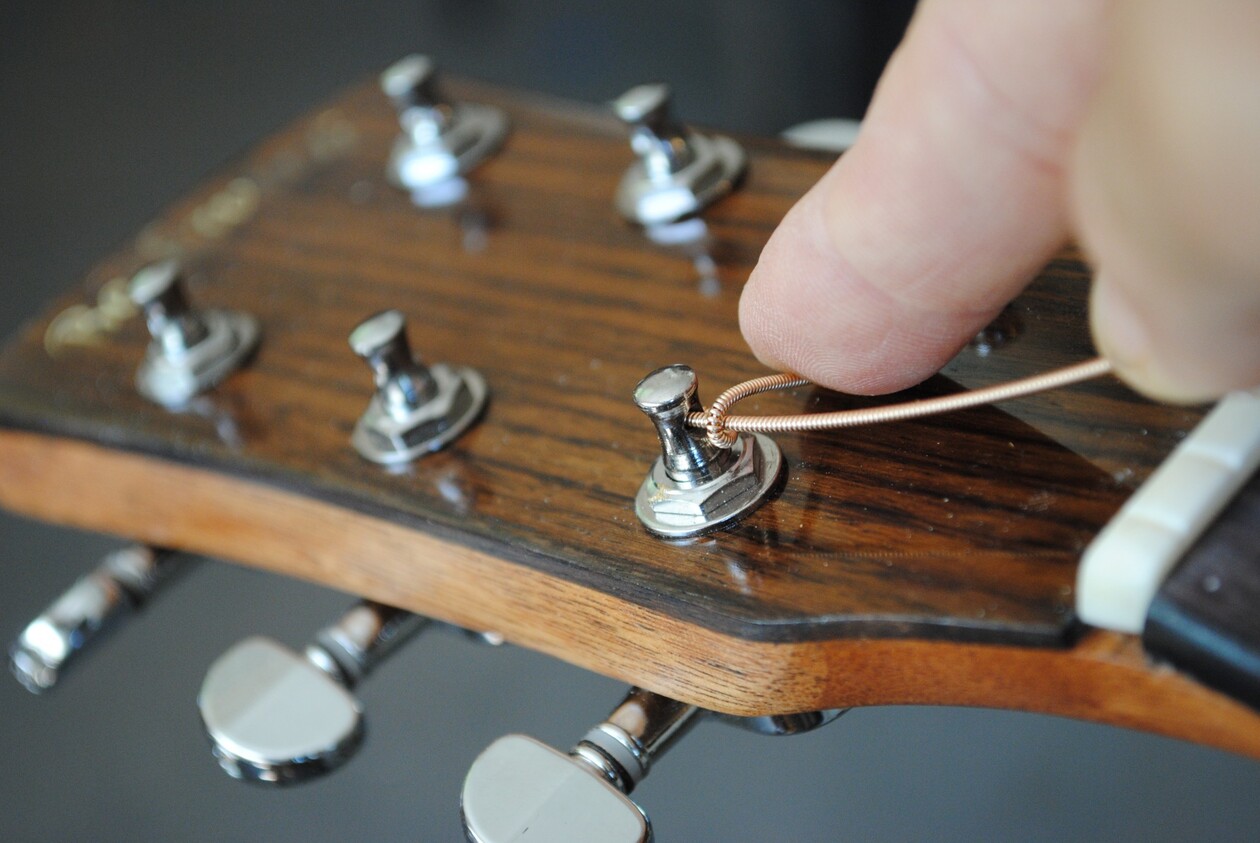
- Ground the turntable (if necessary): Some turntables require a grounding connection to reduce unwanted noise or hums. If your turntable has a grounding wire, connect it to the appropriate grounding post or terminal on your audio system.
- Set the correct input on your audio system: On your audio system, select the input that corresponds to the one you connected your turntable to. If you connected the turntable to the Phono input, select Phono. If you connected it to Aux or Line In, select the corresponding input.
- Test the connection: Start playing a record on your turntable and listen for the sound through your audio system. Make sure both channels (left and right) are working and adjust the volume to your desired level.
If you encounter any issues with the connection or sound quality, double-check the cables, ensure they are securely connected, and verify that the correct input is selected on your audio system. If problems persist, consult the user manual of your turntable or audio system for troubleshooting steps.
Once the turntable is successfully connected to your audio system, sit back, relax, and enjoy the nostalgic sound of your vinyl records, all conveniently housed within your TV stand.
Congratulations! You have successfully incorporated your turntable into your TV stand and connected it to your audio system. Now, you can immerse yourself in the rich and warm analog sound that vinyl records have to offer.
Remember to regularly maintain and clean your turntable to ensure optimal performance and longevity. Happy listening!
Conclusion
Incorporating a turntable into your TV stand can be a convenient and practical way to integrate your vinyl collection into your entertainment setup. By following the steps outlined in this guide, you can ensure that your turntable is properly positioned, secured, and connected to your audio system.
First, measure the dimensions of your turntable and TV stand to ensure compatibility and create a designated space within the TV stand for the turntable. Consider ventilation needs to maintain optimal performance and prevent overheating.
Secure the turntable in the TV stand using built-in mechanisms or alternative methods like adhesive strips or Velcro. Check for stability and make necessary adjustments to eliminate any wobbling or vibrations. Prevent cable tangling and strain by organizing and securing the wiring properly.
Finally, connect the turntable to your audio system by identifying the appropriate audio outputs and inputs, choosing the right cables, and testing the connection. Remember to set the correct input on your audio system and ground the turntable if necessary.
By successfully completing these steps, you can enjoy the beautiful sound and nostalgic experience of vinyl records while keeping your entertainment area organized and visually appealing.
Remember, it’s important to regularly clean and maintain your turntable to ensure optimal performance and longevity. Keep an eye on any manufacturer recommendations or specific guidelines for your turntable model.
Now, sit back, relax, and let the soothing sound of vinyl transport you to a musical journey like no other. Enjoy the warmth and authenticity of analog music, all housed conveniently within your TV stand and seamlessly integrated into your audio system.
Here’s to many hours of joyful listening and a newfound appreciation for the beauty of turntables!