Home>Events & Info>Acapella>How To Create An Acapella Song In Ableton
Acapella
How To Create An Acapella Song In Ableton
Modified: January 22, 2024
Learn how to create an impressive acapella song in Ableton. Master the art of isolating vocals and harmonizing melodies with our step-by-step guide.
(Many of the links in this article redirect to a specific reviewed product. Your purchase of these products through affiliate links helps to generate commission for AudioLover.com, at no extra cost. Learn more)
Table of Contents
Introduction
Creating an acapella song can be a truly rewarding experience for any musician or producer. Acapella, derived from the Italian term “a cappella,” refers to singing or performing without instrumental accompaniment. It allows the vocals to take center stage, showcasing the raw talent and emotion of the artist.
In recent years, acapella has gained popularity in various genres, from pop and R&B to hip-hop and electronic music. The ability to isolate and manipulate vocals has become more accessible with advancements in technology and digital audio workstations (DAWs) like Ableton Live.
In this article, we will guide you through the process of creating an acapella song using Ableton Live. We will cover everything from setting up the project to exporting the final product. Whether you’re a seasoned producer or a beginner, this step-by-step guide will help you unlock your creativity and produce stunning acapella tracks.
Before we dive in, it’s important to note that creating an acapella song requires a basic understanding of music production and familiarity with Ableton Live’s interface. If you’re new to Ableton, we recommend exploring some introductory tutorials to familiarize yourself with the software.
Now, let’s get started on our journey to creating an incredible acapella song!
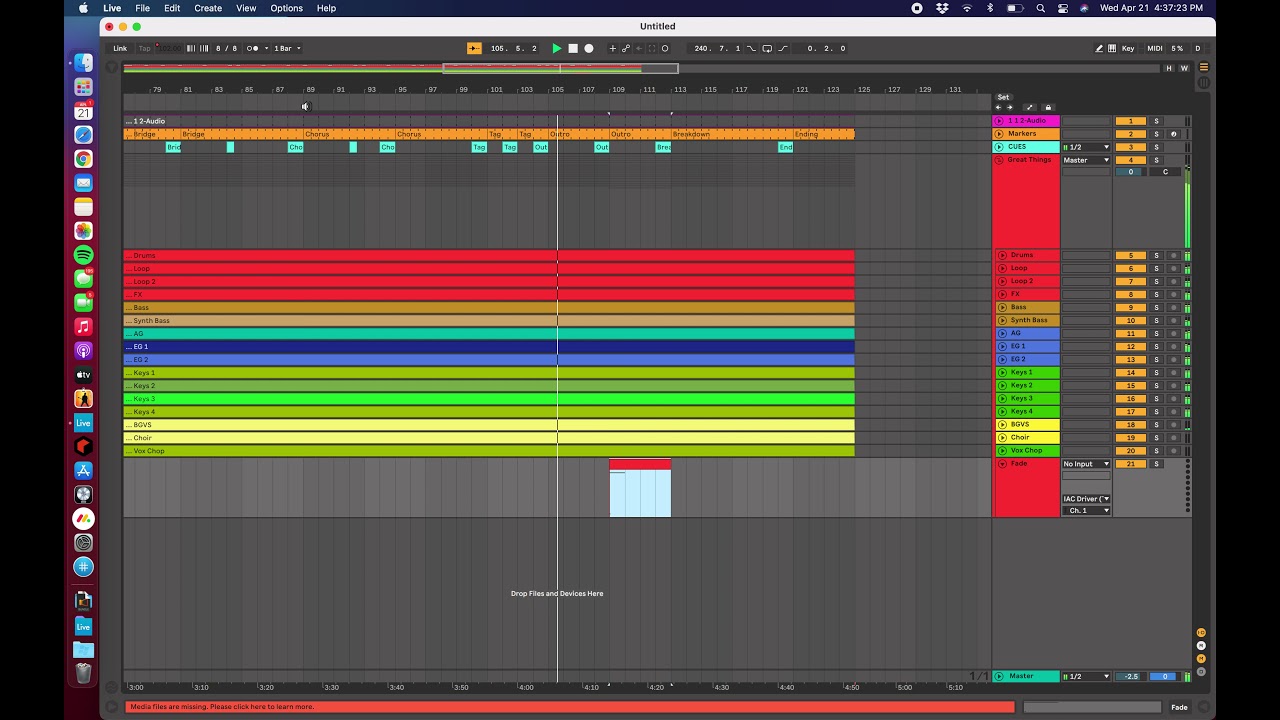
Step 1: Setting Up the Project
The first step in creating an acapella song in Ableton Live is to set up your project. This involves creating a new session, adjusting the tempo, and organizing your tracks.
1. Open Ableton Live and start a new project. You can do this by clicking on “File” in the menu bar, then selecting “New Live Set.”
2. Set the tempo of your project. You can do this by adjusting the tempo slider in the transport section at the top of the screen. Consider the genre and feel of your acapella song, as well as any specific tempo requirements.
3. Organize your tracks. It’s important to have a structured and organized project, especially when working with multiple vocal tracks. Create audio tracks for each vocal element you plan to include in your acapella song. Label them accordingly to keep everything organized and easily identifiable.
4. Consider creating a reference track. A reference track is a commercial song that you use as a reference to guide your mix and arrangement. Import a reference track into your project to help you compare and strive for professional-sounding results.
By setting up your project correctly, you create a solid foundation for your acapella song. This allows you to work efficiently and effectively as you move forward with the production process.
Step 2: Importing the Chosen Song
Once you have your project set up, the next step is to import the chosen song into Ableton Live. This song will be the source material from which you will extract the vocals to create your acapella.
Follow these steps to import the chosen song:
1. Locate the audio file of the song you wish to use. Ensure that it is in a compatible audio format, such as WAV or MP3.
2. In Ableton Live, navigate to the browser panel on the left-hand side of the screen. This is where you can access your files and samples.
3. Find the folder or location where the chosen song is stored in your computer’s file directory.
4. Drag and drop the audio file from the file directory into the arrangement view or session view of Ableton Live. You can also use the “Import File” option in the “File” menu, or right-click in the browser panel and select “Import File.”
5. Ableton Live will analyze and conform the audio file to the project’s tempo and settings. This may take a moment, especially for longer or complex audio files.
6. Once imported, the chosen song will appear as a new audio track in your project. You can see the waveform and visually navigate through the track.
7. Take a moment to audition and familiarize yourself with the chosen song. Identify the sections where the vocals are prominent or isolated, as these will be crucial for extracting the acapella.
By importing the chosen song into Ableton Live, you now have the audio source from which you will extract the vocals. This step sets the stage for isolating and manipulating the vocals to create your acapella song.
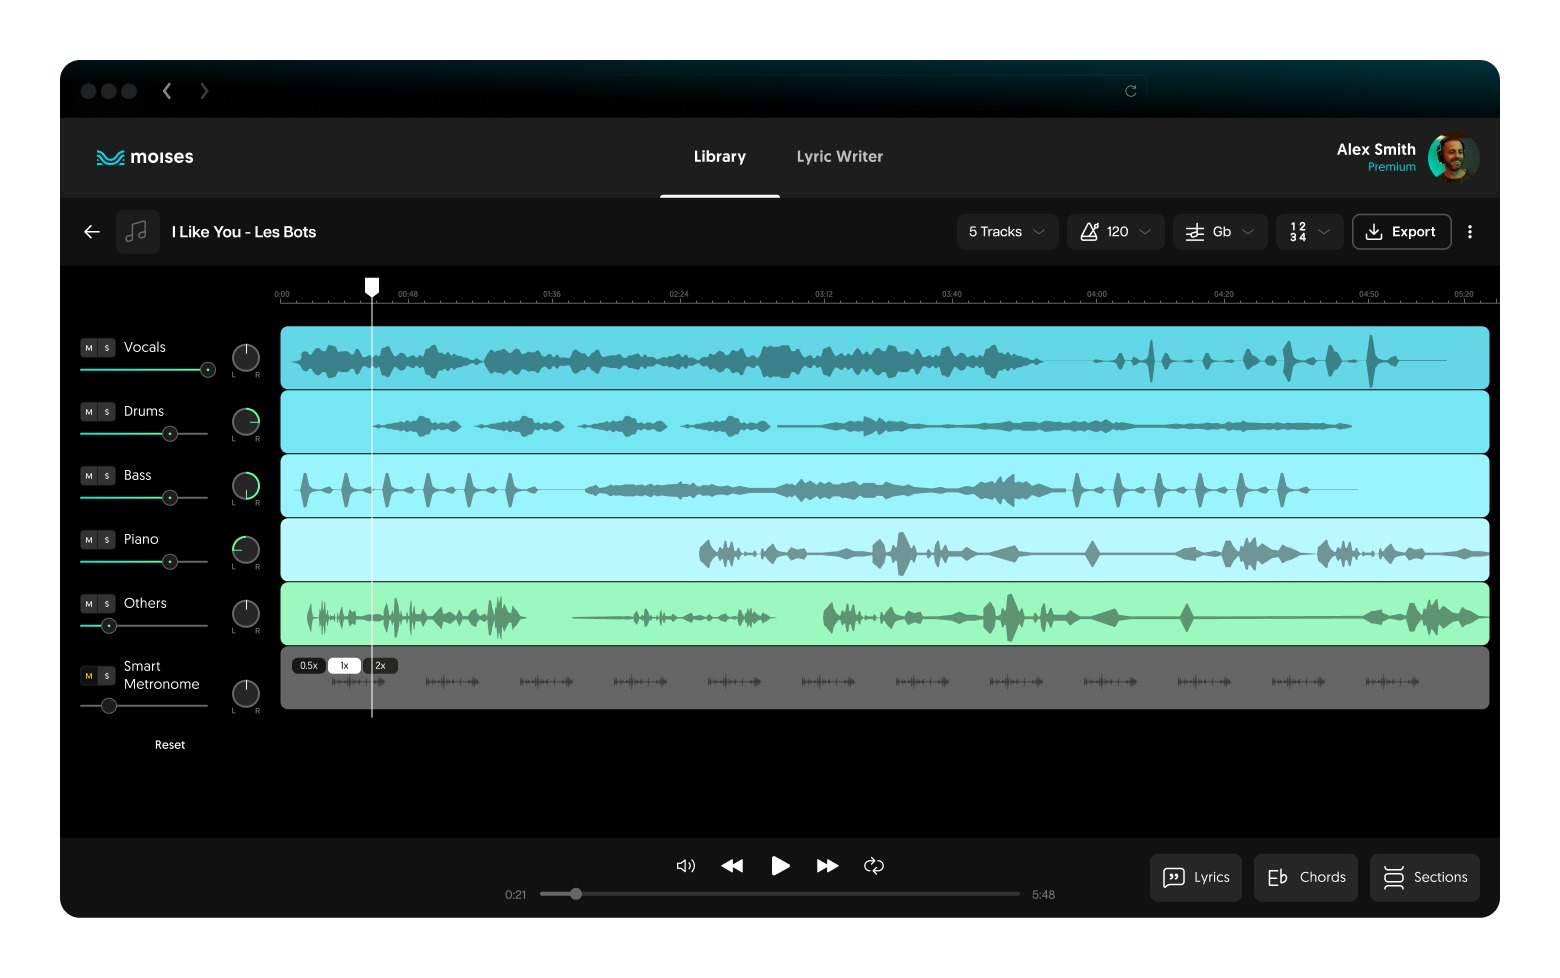
Step 3: Isolating the Vocals
Once you have imported the chosen song into Ableton Live, the next step is to isolate the vocals from the rest of the audio. This process involves using different techniques and tools to extract the vocal elements and create the foundation of your acapella.
Follow these steps to isolate the vocals:
1. Zoom in on the sections of the song where the vocals are most prominent or isolated. This will help you focus on the vocal frequencies and reduce the interference from other instruments or background sounds.
2. Use EQ (Equalization) to boost the vocal frequencies and cut any unwanted frequencies that may be masking the vocals. Insert an EQ plugin on the vocal track and experiment with adjusting the frequency bands to emphasize the vocals.
3. If necessary, use a noise gate to reduce or eliminate any background noise or bleed from other elements in the audio. A noise gate will only allow the vocals to come through when the volume reaches a certain threshold.
4. Experiment with phase cancellation. Duplicate the audio track and invert the phase of one of the tracks. Adjust the volume until you find the sweet spot where the vocal elements are canceling out, leaving only the isolated vocals.
5. Consider using spectral editing techniques. Some advanced audio editing tools, like iZotope RX, offer spectral editing capabilities that allow you to visually identify and manipulate specific frequencies in the audio. This can be helpful in isolating vocals with greater precision.
6. Listen critically and make fine adjustments as needed. Pay careful attention to any artifacts or artifacts introduced during the isolation process, and make necessary corrections to preserve the quality of the vocals.
By isolating the vocals, you now have a clearer and more focused audio track that serves as the foundation of your acapella song. This step sets the stage for further processing and manipulation of the vocals to create a polished and professional-sounding acapella track.
Step 4: Cleaning up the Vocals
After isolating the vocals, the next step in creating an acapella song is to clean up and enhance the quality of the vocal track. This involves removing any unwanted noise, clicks, pops, or other imperfections that may be present in the audio.
Follow these steps to clean up the vocals:
1. Use a de-noising plugin to reduce background noise. There are various plugins available that can analyze and attenuate unwanted noise in the vocal track. Adjust the parameters until you achieve a good balance between removing noise and preserving the natural characteristics of the vocals.
2. Listen for any clicks, pops, or mouth noises in the vocal track. These can be distracting and take away from the overall quality of the acapella. Use an audio editor or waveform display to visually identify and remove these imperfections.
3. Trim and edit any unnecessary or silent parts of the vocal track. This will help tighten the performance and remove any unnecessary pauses or gaps between phrases.
4. Apply light compression to even out the dynamic range of the vocals. Compression helps to control the volume fluctuations and create a more consistent and polished sound. Experiment with different compression settings to find the right balance for your acapella.
5. Consider using pitch correction or tuning if necessary. If the vocals are slightly out of tune, you can use pitch correction tools like Auto-Tune or Melodyne to subtly adjust the pitch and bring the vocals into alignment.
6. When cleaning up the vocals, it’s important to strike a balance between removing imperfections and maintaining the natural character of the performance. Avoid over-processing or applying excessive effects that may alter the authenticity of the acapella track.
By cleaning up the vocals, you are taking the necessary steps to ensure that the acapella track sounds polished, professional, and free from any distracting noises or imperfections. This step sets the foundation for further enhancement and manipulation of the vocals in the next steps.
Step 5: Adjusting the Timing and Pitch
Once the vocals are cleaned up, the next step in creating an acapella song is to adjust the timing and pitch of the vocal track. This process allows you to fine-tune the performance and ensure that the vocals align with the desired musical elements.
Follow these steps to adjust the timing and pitch:
1. Use the Warp feature in Ableton Live to correct any timing issues in the vocal track. This allows you to align the vocals with the beat or rhythmic elements of the song. Enable Warp mode on the vocal track, then use the Warp markers to manually adjust the timing of specific sections or phrases. Alternatively, you can let Ableton Live automatically warp the audio based on its analysis.
2. If necessary, use quantization to further tighten the timing of the vocal performance. Quantization can be applied to specific sections or the entire vocal track, ensuring that the vocals follow a consistent rhythmic pattern. However, be careful not to quantize too much, as it can remove the natural nuances and dynamics of the performance.
3. Adjust the pitch of the vocals as needed. If certain phrases or notes are slightly off-key, you can use pitch correction tools like Auto-Tune or Melodyne to subtly correct the pitch. Be mindful of preserving the natural character of the vocals and avoid excessive pitch correction that can result in an unnatural sound.
4. Experiment with vocal manipulation techniques like vocal doubling or harmonizing. Vocal doubling involves duplicating the vocal track and slightly detuning one of the duplicates to create a thicker and fuller sound. Harmonizing can be achieved by creating additional vocal tracks and recording harmonies that complement the lead vocals. These techniques add depth and richness to the acapella song.
5. Continuously listen and make adjustments to ensure that the timing and pitch changes blend seamlessly with the rest of the musical elements in the acapella song. It’s important to maintain coherence and balance between the vocals and the accompanying instrumentation.
By adjusting the timing and pitch of the vocals, you refine the performance and ensure that the vocals align with the desired musical elements. This step adds precision and cohesion to the acapella song, elevating its overall quality and impact.
Step 6: Creating Harmonies
Creating harmonies is an essential step in producing an acapella song that is rich, textured, and dynamic. Harmonies add depth and complexity to the vocals, enhancing the overall musical experience. In this step, we will explore techniques to create harmonies that complement the lead vocals.
Follow these steps to create harmonies:
1. Identify sections or phrases in the vocal track where harmonies will enhance the musicality. Harmonies are often used in choruses, pre-choruses, or specific melodic phrases. Listen to the lead vocals and envision the harmonies that would work well with them.
2. Duplicate the vocal track or create new audio tracks for each harmony part. Label them accordingly to keep track of the different harmonies.
3. Experiment with different harmony intervals. Common harmony intervals include thirds, fifths, and octaves. Start by duplicating the lead vocals and pitch shifting the duplicate to the desired interval. Listen to how the harmony interacts with the lead vocals and make adjustments accordingly.
4. Consider using plugins or effects to enhance the harmonies. Techniques such as doubling, widening, or adding subtle delay or reverb can give the harmonies a unique texture and space in the mix. Experiment with different processing techniques to achieve the desired effect.
5. Practice and record the harmonies with precision and attention to detail. Ensure that the timing and pitch of the harmonies align effectively with the lead vocals. Listen to the harmonies in isolation and alongside the lead vocals to make any necessary refinements.
6. Strive for a balanced and cohesive blend between the lead vocals and the harmonies. Adjust the volume levels, panning, and EQ to achieve a harmonious and well-integrated vocal arrangement.
7. Remember that every song and vocal performance is unique. Be open to experimentation and trust your musical instincts to create harmonies that complement and enhance the overall acapella song.
By creating harmonies, you add depth, dimension, and emotional depth to your acapella song. The harmonies work in harmony with the lead vocals, creating a captivating and memorable musical experience.
Step 7: Adding Effects
Adding effects to your acapella vocals can elevate the overall sound and create a distinctive sonic experience. In this step, we will explore different effects that can be applied to the vocals to enhance their presence, add depth, and create a unique sonic character.
Follow these steps to add effects to your acapella:
1. Start by considering the overall tone and mood of your acapella song. Are you aiming for a clean, natural sound, or do you want to experiment with more creative and experimental effects? Understanding the desired sonic direction will guide your choice of effects.
2. Experiment with EQ (Equalization) to shape the tonal balance of the vocals. Use the EQ to boost or cut specific frequency ranges to enhance clarity and remove any unwanted resonances or harshness. Consider adding a gentle high-frequency shelf boost for extra brightness and presence.
3. Explore reverb and delay effects to create ambience and space around the vocals. Reverb adds a sense of depth, while delay can create interesting echoes and repeats. Adjust the parameters of these effects to achieve the desired level of ambiance without overpowering the vocals.
4. Consider using modulation effects like chorus or flanger to add movement and dimension to the vocals. These effects can create a subtle widening or a more pronounced swirling effect. Experiment with the intensity and speed of the modulation to find the right balance for your acapella.
5. Experiment with creative effects like distortion, saturation, or vocal morphing tools to add a unique character to the vocals. These effects can be used sparingly to add grit, warmth, or transform the vocals into something entirely different. However, exercise caution to ensure that the vocal intelligibility and quality are not compromised.
6. Use compression to control the dynamic range of the vocals and add consistency to the overall performance. Compression can help to even out the levels and bring forward the subtle nuances in the vocals. Adjust the compression settings to achieve a natural and transparent result.
7. Remember that the goal of adding effects is to enhance and complement the vocals, not to overpower them. Be judicious in your use of effects and listen carefully to ensure that they enhance the emotional impact of the vocals without detracting from their clarity and authenticity.
By adding effects to your acapella vocals, you can shape their sonic character, create depth and texture, and add a unique touch to your overall production. Experiment with different effects and settings to find the perfect combination that brings your acapella to life.
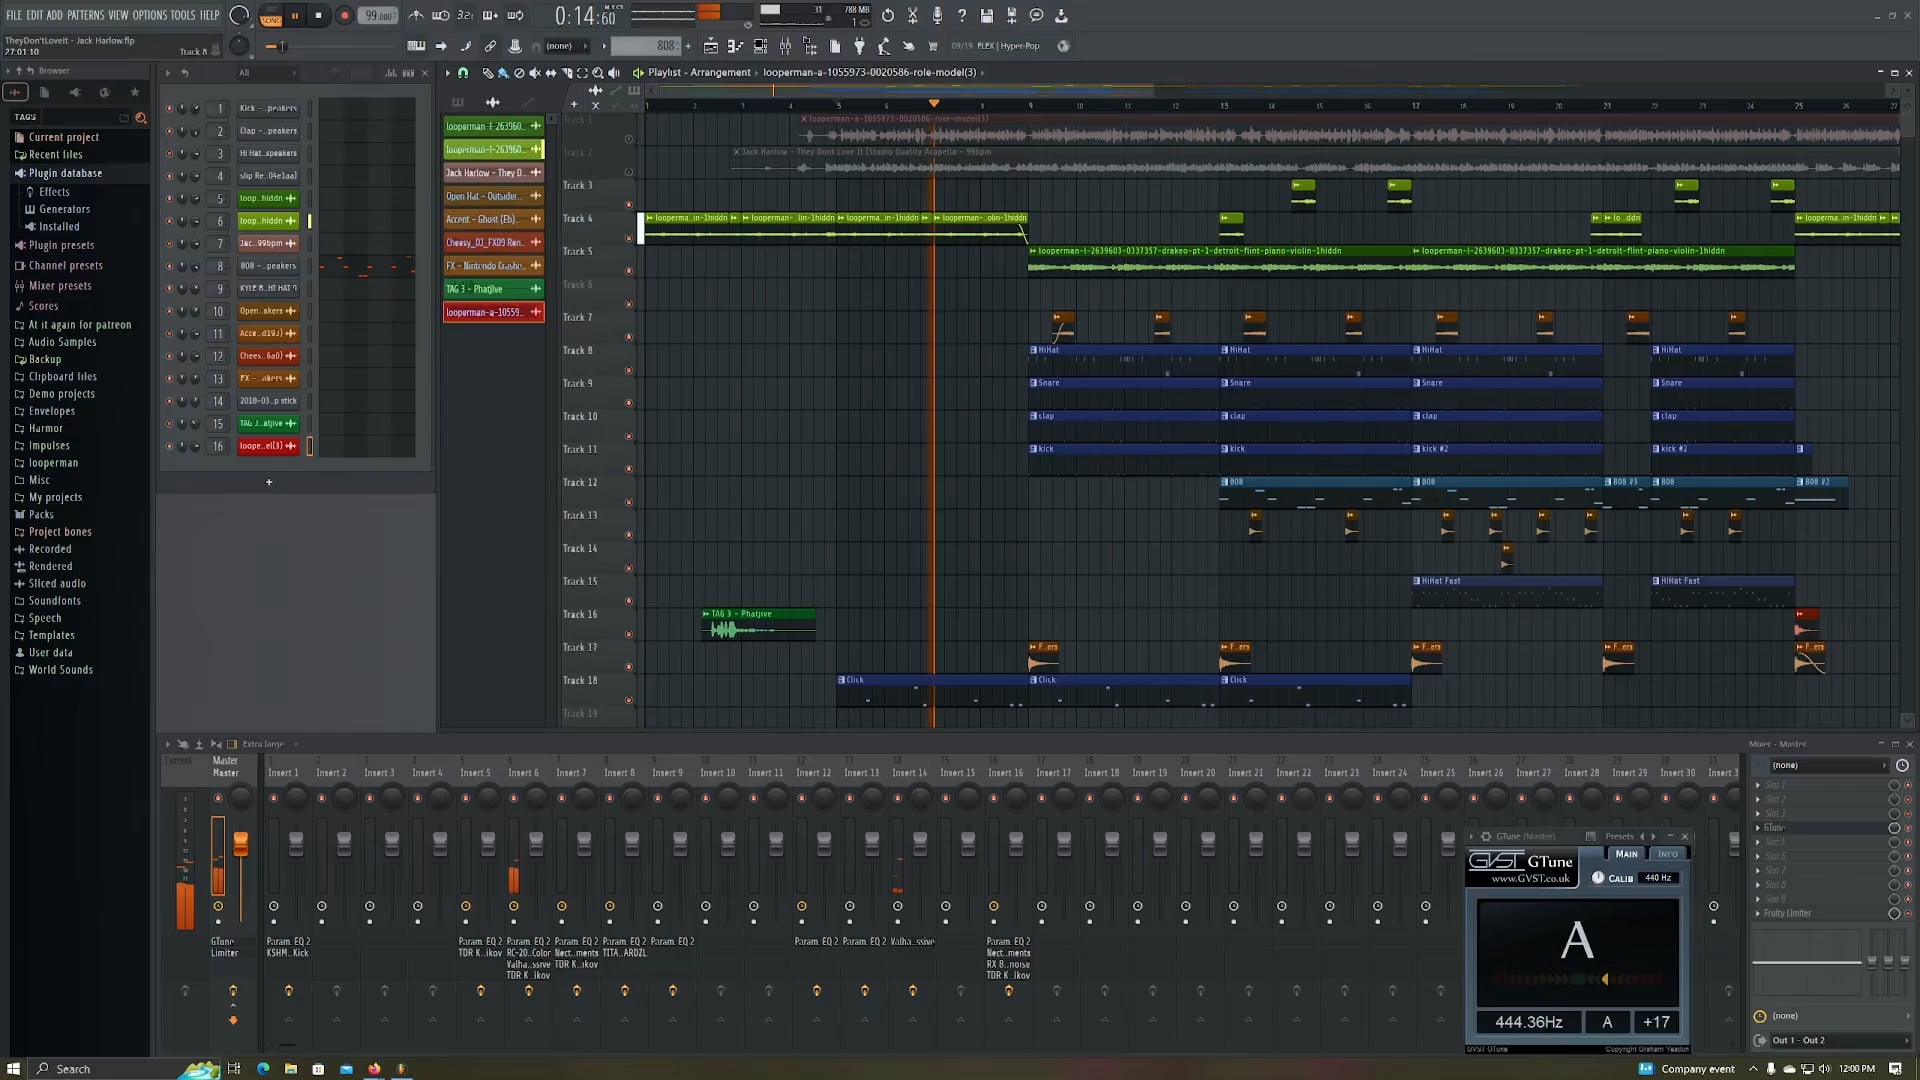
Step 8: Mixing and Mastering
Mixing and mastering are crucial steps in the production process that ensure your acapella song sounds balanced, polished, and ready for release. In this step, we will dive into the art of mixing and mastering to achieve a professional and cohesive final product.
Follow these steps to mix and master your acapella:
1. Begin by balancing the levels of the individual vocal tracks. Adjust the volume faders, panning, and automation to ensure that each vocal element sits well in the mix. Pay attention to the relationship between the lead vocals and harmonies, ensuring they blend harmoniously and are easily discernible.
2. Process each vocal track separately for clarity and impact. Apply EQ to shape the tonal balance, compression to control dynamics, and any additional effects to enhance the vocals without overwhelming them. Use automation to make precise adjustments to volume, panning, and effect parameters.
3. Consider the wider mix. Ensure that the vocals sit well alongside other instrumental elements in terms of frequency spectrum, dynamic range, and stereo imaging. Make any necessary adjustments to maintain a cohesive and balanced mix.
4. Once you are satisfied with the mix, move on to the mastering stage. Apply compression, EQ, and other mastering plugins to further refine the overall sound of the acapella song. Pay attention to the overall loudness, clarity, and stereo width of the mix.
5. Use reference tracks to compare the sound of your acapella with professionally mixed and mastered songs. This will help you gauge the overall tonal balance, dynamic range, and overall impact of your mix. Make any necessary adjustments to achieve a competitive and professional sound.
6. Pay attention to the final levels of the master output. Ensure that the overall volume is appropriate and that the acapella song doesn’t exceed the desired loudness level. Use limiters or maximizers to control peaks and create a well-balanced and polished final mix.
7. Take breaks and listen to the mix with fresh ears. This will help identify any areas that may need further tweaking or refinement. Continuously fine-tune the mix and master until you achieve the desired sonic quality.
By carefully mixing and mastering your acapella song, you ensure that it sounds professional, cohesive, and ready for sharing with the world. These steps are essential in bringing out the full potential of the vocals and creating a captivating listening experience.
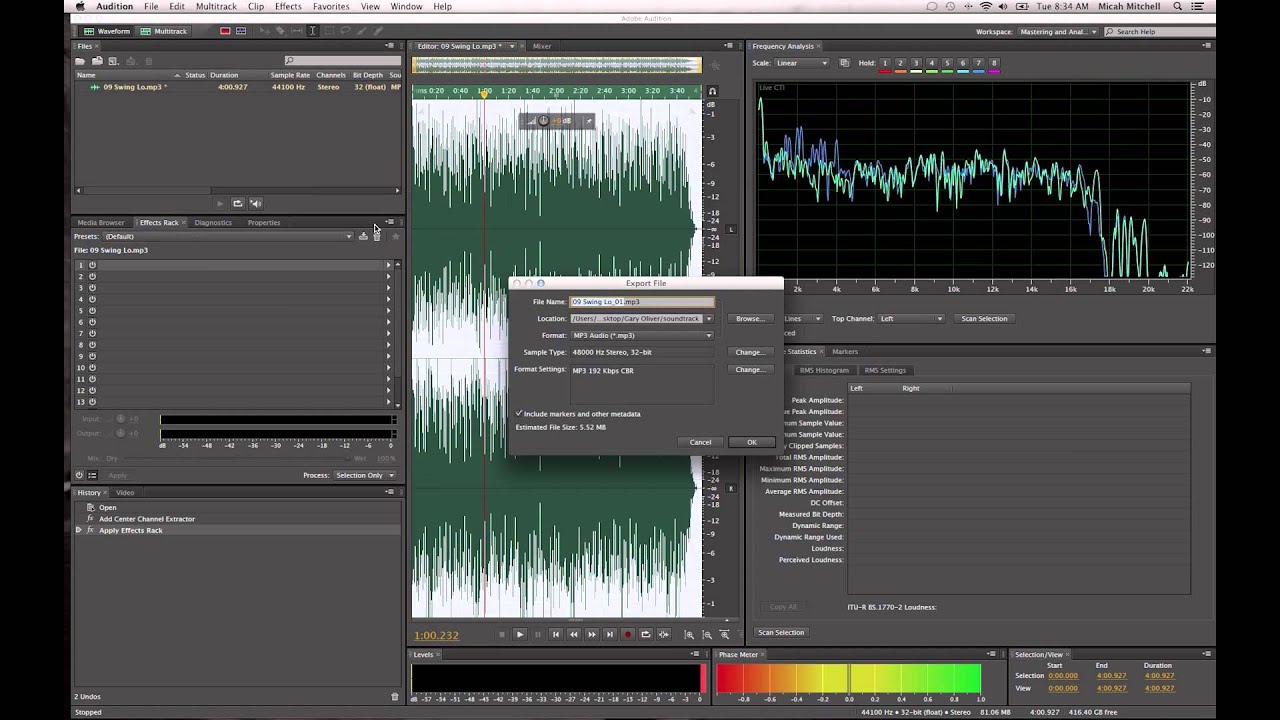
Step 9: Exporting the Acapella Song
After putting in all the hard work of creating and refining your acapella song, it’s time to export the final product. This step involves preparing and exporting the acapella in a format that can be easily shared, distributed, or incorporated into other projects.
Follow these steps to export your acapella song:
1. Finalize your mix and mastering. Before exporting, ensure that you are satisfied with the overall sound, levels, and quality of the acapella song. Take time to listen critically and make any necessary adjustments to achieve the best possible result.
2. Set the export parameters. In your digital audio workstation (DAW), navigate to the export settings. Choose a suitable file format such as WAV or AIFF, as they offer high-quality audio without compression. Select the appropriate sample rate and bit depth for your intended purpose.
3. Consider creating different versions or formats. Depending on your needs, you may want to create multiple versions of the acapella song, such as an instrumental version or different mix variations. Adjust the export settings accordingly and save each version separately.
4. Choose the export range. Decide whether you want to export the entire acapella song or specific segments. Set the export range accordingly to capture only the desired sections. This can be useful if you want to create shorter clips for presenting or sharing purposes.
5. Double-check the export settings. Review the export settings one last time to ensure that everything is configured correctly, including file format, sample rate, bit depth, and export range. Make any final adjustments as needed.
6. Begin the export process. Click on the export button or option in your DAW to initiate the exporting of the acapella song. Depending on the length and complexity of the song, this process may take some time. Be patient and let the DAW complete the export process.
7. Save and name the exported file. Choose a meaningful and descriptive name for your acapella song. Consider including relevant information such as the song title, version, and any specific details. Select the destination folder where you want to save the exported file.
8. Listen to the exported acapella song. Once the export is complete, take a moment to listen to the exported file to ensure that it sounds as intended. Check for any anomalies, clipping, or errors that may have occurred during the export process.
By following these steps, you can successfully export your acapella song and have it ready to share, release, or use in other creative endeavors. Enjoy the satisfaction of completing your acapella project and share your amazing work with others!
Conclusion
Creating an acapella song in Ableton Live can be an exciting and rewarding journey. Throughout the process, we have explored the essential steps to transform a complete song into a stunning acapella track that highlights the vocals and showcases your musical creativity.
We started by setting up the project, importing the chosen song, and isolating the vocals to create a solid foundation. From there, we cleaned up the vocals, adjusted the timing and pitch, and added harmonies to bring depth and texture to the acapella.
Adding effects allowed us to enhance the vocals and create a unique sonic character, while the mixing and mastering stages ensured that the acapella song sounded balanced, polished, and ready for release. Finally, we exported the acapella song in a suitable format for sharing, distribution, or incorporation into other projects.
Throughout this journey, it is important to remember that creating an acapella song is an artistic process that requires a combination of technical skills, musical intuition, and creativity. Experimentation and personal expression play a crucial role in bringing your vision to life.
Now armed with the knowledge and steps outlined in this guide, you can confidently embark on your own acapella projects, exploring different genres, experimenting with vocal arrangements, and creating unique and captivating musical experiences.
So, gather your creativity, unleash your vocal talents, and dive into the world of acapella. Let your imagination soar, and enjoy the process of crafting beautiful acapella songs that leave a lasting impact on listeners. Happy creating!