Home>Events & Info>Acapella>How To Make An Acapella On Ableton
Acapella
How To Make An Acapella On Ableton
Published: January 3, 2024
Learn how to make an acapella on Ableton with our step-by-step guide. Unlock the power of vocal isolation and create stunning acapella tracks effortlessly.
(Many of the links in this article redirect to a specific reviewed product. Your purchase of these products through affiliate links helps to generate commission for AudioLover.com, at no extra cost. Learn more)
Table of Contents
Introduction
Welcome to the world of acapella! If you’re a music lover, you’ve probably heard the mesmerizing sounds of acapella – a style of music where singers use their vocal cords as instruments, creating harmonies and melodies without any instrumental accompaniment. Acapella has gained immense popularity over the years, thanks to vocal groups like Pentatonix, Home Free, and Straight No Chaser, who have taken this art form to new heights.
In this article, we will explore the process of creating your own acapella using Ableton, a popular digital audio workstation. Whether you’re a singer, producer, or just a curious music enthusiast, this guide will walk you through the steps to transform any song into a stunning acapella arrangement.
While making an acapella may sound daunting, with the right tools and techniques, you can achieve professional-level results. We will cover everything from isolating the instrumental track to cleaning up the vocals and adjusting levels and effects. So, let’s dive in and unlock the magical world of acapella creation!
Step 1: Setting Up Your Project
The first step in creating an acapella in Ableton is to set up your project. This involves importing the original song and organizing your tracks for easy access and editing. Here’s how to get started:
- Import the Original Song: Open Ableton and create a new project. Then, import the original song you want to create an acapella for. Simply drag and drop the audio file into the Ableton workspace.
- Organize Your Tracks: Once the song is imported, it’s a good idea to organize your tracks for better workflow. Create separate tracks for vocals and instrumental by right-clicking in the track area and selecting “Insert Audio Track.” Name each track accordingly, such as “Vocals” and “Instrumental.”
- Set the Tempo and Key: It’s important to set the tempo and key of your project to match the original song. You can find this information by checking the metadata of the original song or by using a tool like Mixed in Key. Adjust the tempo and key in Ableton by selecting the “Clip” view and entering the appropriate values.
- Find the Start Time: Listen to the original song and identify the precise start time of the vocals. This is crucial for aligning the acapella correctly with the instrumental later on. Make a note of the time or use Ableton’s time ruler to mark the start time.
- Save Your Project: Before moving on to the next step, save your project. This ensures that all your settings and progress are saved and can be easily accessed later. Go to “File” and select “Save” or use the shortcut “Ctrl + S.”


By following these steps, you have now set up your project in Ableton and are ready to move on to isolating the instrumental track in the next step.
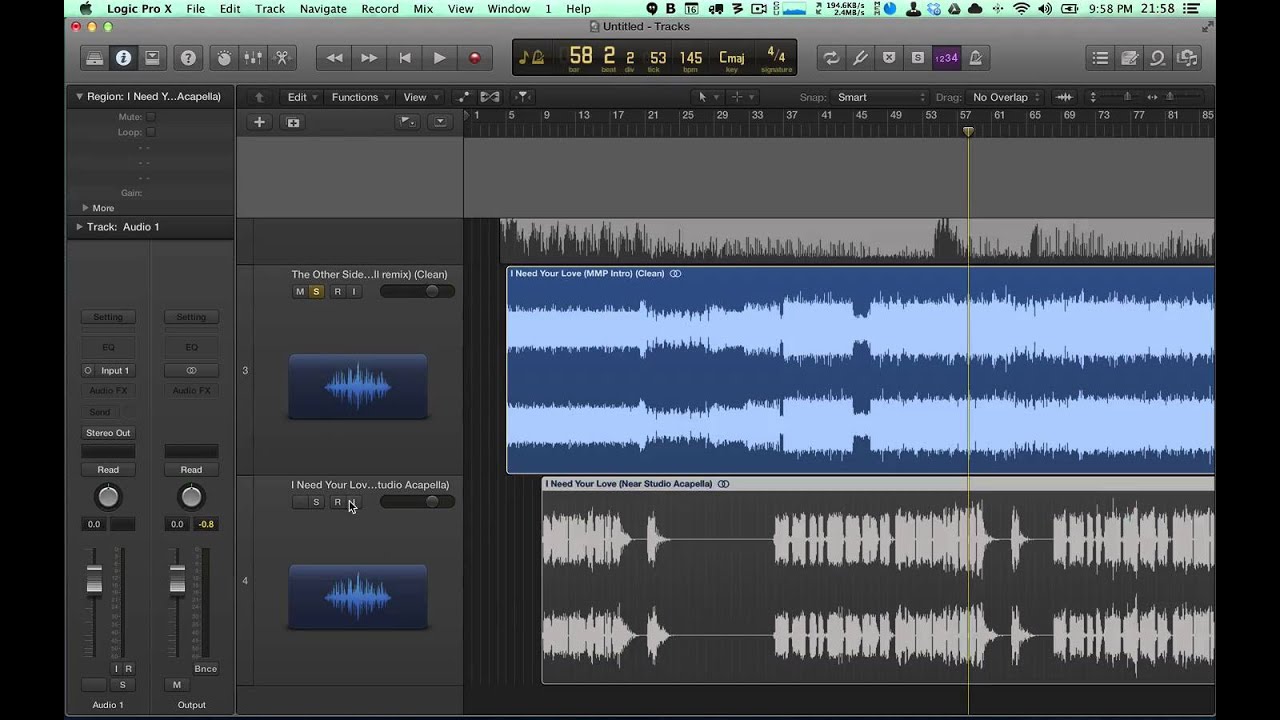
Step 2: Isolating the Instrumental
Now that you have your project set up, it’s time to isolate the instrumental track from the original song. This will allow you to separate the vocals from the rest of the music and focus solely on the acapella. Follow these steps to isolate the instrumental:
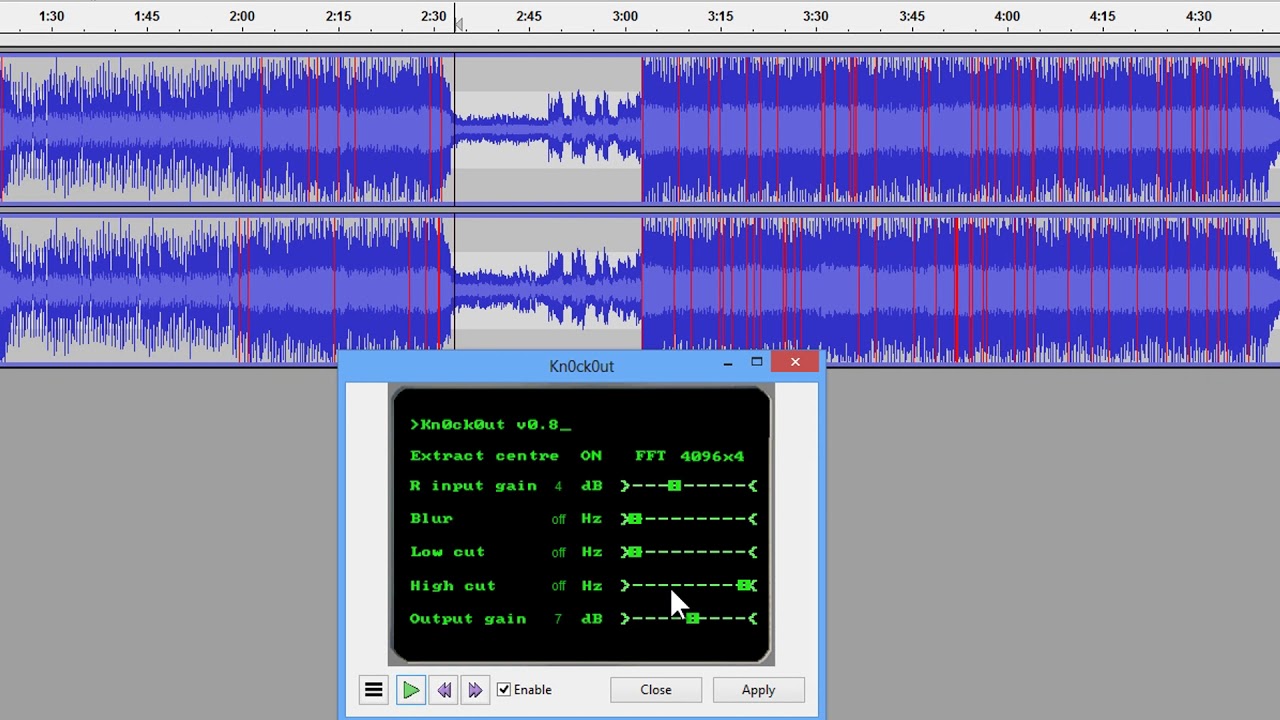
- Enable Extract Mode: In Ableton, select the track containing the original song. Then, activate “Extract” mode by clicking on the audio clip and choosing “Extract Melody” from the dropdown menu. This feature uses sophisticated algorithms to isolate the main melody and remove other elements from the track.
- Adjust Extract Settings: Once extract mode is enabled, adjust the settings to fine-tune the extraction process. You can adjust parameters such as sensitivity, dynamics, and threshold to achieve the desired result. Experiment with different settings until you’re satisfied with the instrumental isolation.
- Review the Extracted Instrumental: The extract mode will generate a new audio clip with the isolated instrumental. Listen to the clip and make sure that the vocals and other elements have been effectively removed. If there are any artifacts or remnants of vocals, you may need to go back and adjust the extract settings further.
- Trim the Instrumental Clip: If there are any silent or unwanted sections in the extracted instrumental clip, use the cutting tools in Ableton to trim and remove those portions. This will ensure a clean and seamless instrumental track to work with.
- Save Your Project: As always, remember to save your project. This step is crucial to preserve your progress and avoid losing any changes you’ve made. Use the shortcut “Ctrl + S” or go to “File” and select “Save.”


By following these steps, you have successfully isolated the instrumental track from the original song. Now, let’s move on to the next step and extract the vocals to create that mesmerizing acapella!
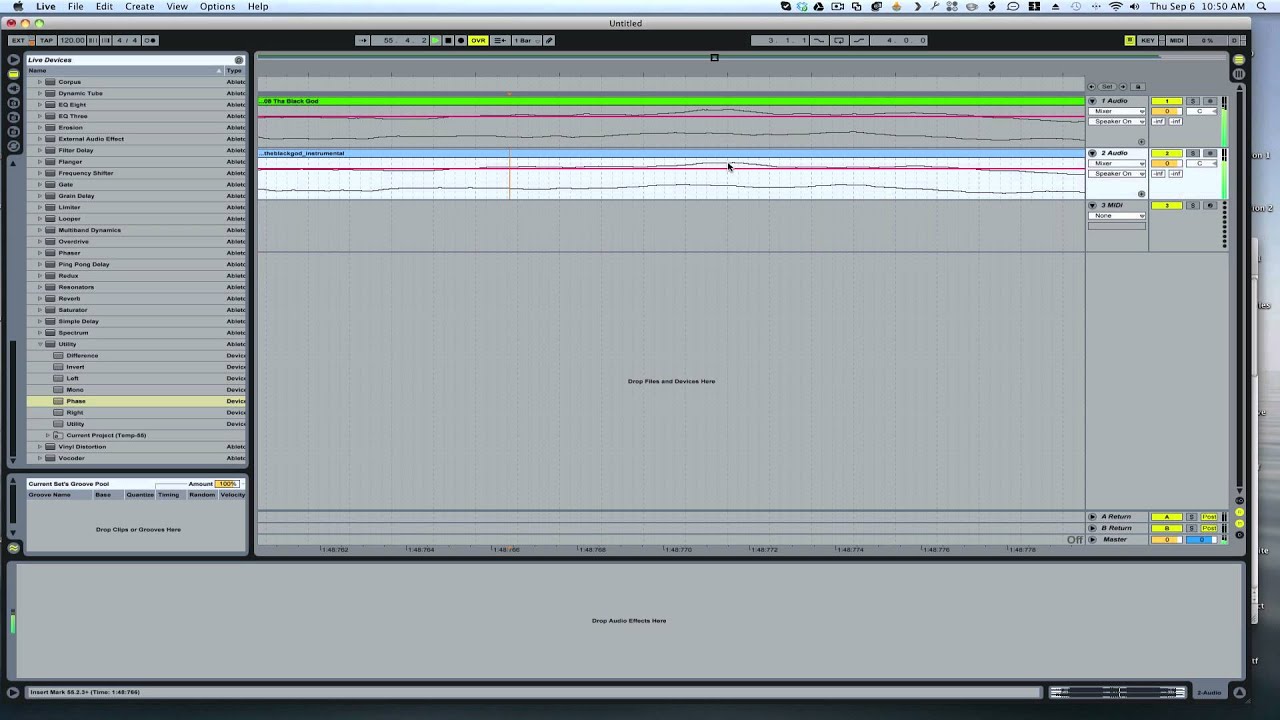
Step 3: Extracting the Vocals
Now that you have the instrumental track isolated, it’s time to extract the vocals from the original song. This will allow you to create the acapella by separating the vocals from the rest of the music. Follow these steps to extract the vocals:
- Create a Duplicate Track: In Ableton, duplicate the track containing the original song. Right-click on the track and select “Duplicate” from the dropdown menu. This will give you a copy of the track to work with while keeping the original intact.
- Apply an Invert Audio Effect: With the duplicated track selected, go to the audio effects section in Ableton and apply the “Invert” effect to the track. This effect helps to cancel out the instrumental elements and leave behind only the vocals. You can find the “Invert” effect under Audio Effects > Utility > Invert.
- Adjust Volume and Phase: After applying the “Invert” effect, you may notice that the volume of the vocals is significantly reduced. To fix this, increase the volume of the duplicated track using Ableton’s volume fader. Additionally, adjust the phase of the track by selecting the option “Phase” in the track’s settings and experimenting with the settings until you achieve the best results.
- Mix the Vocal and Instrumental Tracks: Now that you have both the vocal and instrumental tracks ready, it’s time to mix them together. Adjust the volume levels of both tracks and ensure that they blend well. You can also experiment with panning, EQ, and other effects to enhance the overall sound of the acapella.
- Save Your Project: As always, it’s important to save your project after making changes. This will protect all your hard work and allow you to easily access and modify your acapella in the future. Use the shortcut “Ctrl + S” or go to “File” and select “Save.”


By following these steps, you have successfully extracted the vocals from the original song and created your acapella track. However, there may still be some unwanted artifacts or background noise that need to be addressed. Don’t worry, we will clean up the acapella in the next step, so let’s move on!
Step 4: Cleaning Up the Acapella
After extracting the vocals and creating the acapella track, it’s time to clean up any undesired artifacts or background noise. This step will help ensure that your acapella sounds polished and professional. Follow these steps to clean up the acapella:
- Identify Unwanted Artifacts: Listen to the acapella track and identify any unwanted artifacts, such as clicks, pops, or breath sounds. These can often occur during the extraction process. Pay close attention to any sections that sound unnatural or distracting.
- Use Audio Effects and Tools: Ableton offers a range of audio effects and tools to help you clean up your acapella. Some useful effects include EQ, noise reduction, de-essing, and compression. Experiment with these effects to minimize or remove any unwanted artifacts or background noise.
- Automate Parameters: To fine-tune the cleaning process, consider automating certain effect parameters. For example, you can automate the volume level or EQ settings to address specific issues in different sections of the acapella. Automation allows you to have more control over the sound and make precise adjustments.
- Audition and Refine: After applying the necessary effects and making adjustments, it’s important to audition the acapella track again. Listen carefully to ensure that the cleaning process has improved the overall sound and eliminated any unwanted artifacts. Make further refinements if needed.
- Save Your Project: Remember to save your project once you’re satisfied with the cleaned-up acapella. This will ensure that all your adjustments and settings are preserved, saving you time and effort in the future. Use the shortcut “Ctrl + S” or go to “File” and select “Save.”


By following these steps, you have successfully cleaned up the acapella track, removing unwanted artifacts and background noise. Now, let’s move on to the next step and make some final adjustments to the levels and effects to enhance the acapella even further!
Step 5: Adjusting Levels and Effects
After cleaning up the acapella track, it’s time to make some final adjustments to the levels and effects. This step will help enhance the overall sound and bring out the best in your acapella. Follow these steps to adjust levels and effects:
- Balance the Levels: Start by adjusting the volume levels of the acapella track. This is important to ensure that the vocals are well balanced with the instrumental track. Use Ableton’s volume faders or automation to control the levels and make sure the vocals are heard clearly without overpowering the instrumental.
- Apply EQ and Other Effects: To further enhance the acapella, consider applying equalization (EQ), reverbs, delays, or other effects. EQ can help shape the tonal balance of the vocals and remove any unwanted frequencies. Experiment with different effects and settings to achieve the desired sound.
- Use Plugins and Virtual Instruments: Take advantage of the wide range of plugins and virtual instruments available in Ableton. These tools can add depth, warmth, and character to your acapella. Experiment with different plugins, such as compressors, vocal harmonizers, or saturation plugins, to explore creative possibilities.
- Experiment with Panning: To create a wider and more immersive soundstage, try experimenting with panning. By placing certain vocal elements or effects in different positions within the stereo field, you can add spatial depth to your acapella. Use Ableton’s panning controls to achieve your desired effect.
- Listen and Adjust: As you make adjustments to the levels and effects, it’s important to listen to the acapella track carefully. Take breaks and come back to it with fresh ears to ensure that you’re achieving the desired result. Make any necessary adjustments to refine the sound further.
- Save Your Project: Finally, save your project to preserve all the final adjustments you’ve made. This will ensure that you can easily access and modify your acapella in the future. Use the shortcut “Ctrl + S” or go to “File” and select “Save.”


By following these steps, you have successfully adjusted the levels and effects of your acapella, taking it to the next level. Now, let’s move on to the final step and learn how to export and save your acapella track!
Step 6: Exporting and Saving the Acapella
After putting in all the hard work to create your acapella, it’s time to export and save the final track. This step will allow you to share your acapella with others or incorporate it into your own music productions. Follow these steps to export and save your acapella:
- Select the Acapella Track: In Ableton, ensure that the acapella track is selected. This is the track that contains all the vocal elements you’ve extracted and worked on.
- Set the Export Settings: Before exporting, specify the export settings to ensure the highest quality output. Choose the desired file format, such as WAV or MP3, and set the sample rate and bit depth. It’s recommended to use a sample rate of 44.1 kHz and a bit depth of 16 or 24 bits for best results.
- Choose the Export Location: Specify the folder or location where you want to save the exported acapella file. It’s a good practice to organize your files in a dedicated folder to keep all your acapellas in one place for easy access.
- Export the Acapella: Once you’ve set the export settings and chosen the location, click on the export button to start the exporting process. Ableton will render the acapella track and save it as a file in the specified location. The time taken for export will depend on the length and complexity of the track.
- Name and Tag the Acapella: After the export is complete, give a unique and descriptive name to the acapella file. Consider including the song name, artist, and any other relevant information. Additionally, add appropriate tags to make it easier to search and categorize your acapella library.
- Listen and Verify: Before considering the process complete, take a moment to listen to the exported acapella file. Make sure that it sounds as expected and matches your vision. If necessary, make note of any improvements or adjustments that you may need to make in future iterations.
- Congratulations! You have successfully exported and saved your acapella track. You can now use it in your music productions, share it with others, or even submit it to remix contests or acapella competitions. Remember to keep backups of your acapella files to ensure you never lose your hard work.


With the completion of this final step, you have successfully gone through the process of creating, refining, and exporting an acapella track. You can now enjoy the fruits of your labor and continue exploring the captivating world of acapella music!
Conclusion
Congratulations on completing the journey of creating your own acapella using Ableton! Throughout this guide, we explored the steps involved in setting up your project, isolating the instrumental, extracting the vocals, cleaning up the acapella, adjusting levels and effects, and finally exporting and saving the acapella track. By following these steps, you have learned how to transform any song into a stunning acapella arrangement.
Creating an acapella may seem like a complex process, but with the right tools and techniques, you can achieve professional-level results. Ableton provides several powerful features and effects that allow you to manipulate audio and bring your creative vision to life. Remember to experiment, trust your ears, and make adjustments as needed to achieve the desired sound.
An acapella opens up a world of possibilities – from remixing popular songs to creating unique vocal arrangements. With your newfound knowledge and skills, you have the ability to create captivating acapella tracks that will grab the attention of listeners and fellow music enthusiasts.
Keep exploring different genres, experimenting with effects, and honing your acapella production skills. Share your creations with others, collaborate with fellow musicians, and continue to push the boundaries of your musical creativity.
Remember, creating an acapella is just the beginning. There are countless opportunities to explore and master this fascinating art form. So, embrace the power of your voice and let your acapella creations shine!